Embed Size (px)
Citation preview
Module 1: Conquer MS Word XP
Module Objectives
Upon completion of this module you will be able to:
Identify Word components
Customize the Word environment
Create and organize a filing system
Create and modify document components
Manipulate document breaks
Use advanced Word utilities
Module Introduction
Have you ever gotten frustrated trying to accomplish something in MS Word? You’re not alone. Many of the “automated” features that make each successive version of the program more “user friendly” also remove much of the user’s control. Hence, the casual user can become confused by all the options while the skilled user can become aggravated with all the controls.
Why study MS Word? To create a comfortable screen environment, to understand how to utilize more features and to accomplish tasks more easily and efficiently.
In this module, you will learn the basic knowledge and skills you need to function easily in Word XP, which you can then adapt for Word ’98, Word XP (2003), and Word 2007 (Vista). You will learn how to control the page, organize filing systems and manipulate document components. You will also learn how
to share document revisions with other people, create and manipulate macros, and use Mail Merge.
Lesson 1: The Word Environment
Lesson Objectives
Upon completion of this lesson you will be able to:
Identify the functions within the Standard toolbar menus
Identify the functions of the Formatting toolbar icons
Lesson Introduction
MS Word is a powerful, sophisticated program with a multitude of features that make it easy to create and customize any document, from a simple letter to a report complete with graphs and charts to a multi-page presentation full of stylized text and graphics. Many of those features can be customized to your own tastes and needs.
Before you begin modifying the screen, page and text, however—before you start learning about Word’s more sophisticated tools and functions—you must become familiar with the environment itself.
Before you try to make the program comfortable for you, you must become comfortable with it.
In this lesson, you will learn the components of the Standard toolbar menus, the functions of the Formatting toolbar icons and how to use and hide the Office Assistant. You will also learn how to create, save, open, preview and print a simple document.
Standard Toolbar
The Standard toolbar comprises a series of menus, each of which contain numerous functions. The most commonly used of these functions are duplicated as icons on the Formatting toolbar.
File
The File menu contains the functions necessary to create a new document, open and close documents, save documents, set up document margins and other parameters, preview and print documents, send documents to various other programs and view the document’s properties.
New brings up a taskbar in which you may select to open:
o A recent document
o A new blank document in normal.dot
o A new blank web page
o An older existing document
o A new document from a template other than normal.dot
A pre-programmed template
A user-created template
Open brings up a menu displaying My Documents. Select from one of the displayed files or folders or use the vertical taskbar or horizontal toolbar to move to the desired file location
Close either closes the document or opens a pop-up menu asking if you want to save it
Save opens a menu in which you can name the document and select what type of file to save it as. If you are working on an existing document, File: Save merely saves the document under the existing name and file type.
Save As, which opens a menu in which you name the document and select what type of file to save it as. Use Save As when you want to:
o Save as something other than a Word *.doc
o Save the document under a different name
o Save an existing document to a different location than its current location
o Save any document to a different drive, such as a floppy or backup drive
Save As Web Page brings up a menu in which you name the document and select the type of html file to save it as
Search brings up a taskbar in which you can:
o Search for the name of a file
o Search for specific text within a file
o Specify the range of files to search
o Specify the type of files to search
Versions brings up a menu in which you can:
o Save the current document as a version that you can refer to later
o View and select previously saved versions
o Program the document to save as a version when you close it
Web Page Preview opens your default internet browser and displays the document as a web page
Page Setup opens a menu that consists of three tabs:
o Margins, where you set the margins, orientation and multiple-Print Layout to the Whole Document, the Current Section or From this point forward. To save your current settings as the default settings for normal.dot, click Default at the bottom of the menu
o Paper, where you set a pre-programmed or customized paper size, the tray from which the paper will feed into your printer (normally “Default Tray”) and whether to apply the settings to the Whole Document, the Current Section or From this point forward. To save your current settings as the default settings for normal.dot, click Default at the bottom of the menu
o Layout, where you set the default section break to:
Next page, which moves the following content to a new page
Continuous, which allows the content to continue on the same page
Even page, which starts the section on an even-numbered page, skipping any odd-numbered interval
Odd page, which starts the section on an odd-numbered page, skipping any even-numbered interval
This tab is also where you set the parameters and margins for the headers and footers and whether to apply these settings to the Whole Document, the Current Section or From this point forward. To save your current settings as the default settings for normal.dot, click Default at the bottom of the menu
Print Preview displays the document as it will appear on the printed page without table gridlines or formatting marks
Print opens a menu in which you select the desired printer and program its properties for the individual document, if necessary. This is also where you select which pages to print, how many copies to print, whether those copies collated, what elements of the document you want printed and whether you want the document reduced or enlarged.
Set the document to print in Reverse Order either through File: Print: Printer Properties or by modifying the default order through Start: Printers and Faxes: [printer]
Send To sends the document to other programs such as your default email or fax program or MS PowerPoint
Properties displays the location, file type, date created, dates revised and various other file and statistical information
Word displays the last several documents worked on at the bottom of the File menu. To modify the number of documents displayed:
1. go to Tools: Options: General
2. Click Recently Used File List
3. Select a number between 1 and 9
Edit
The Edit menu allows you to undo or repeat typing or format painting; cut, copy and paste text or graphics; put material on the Office Clipboard for use elsewhere in the current document, in a different document or in a different program; clear formatting or contents, select all the material in a
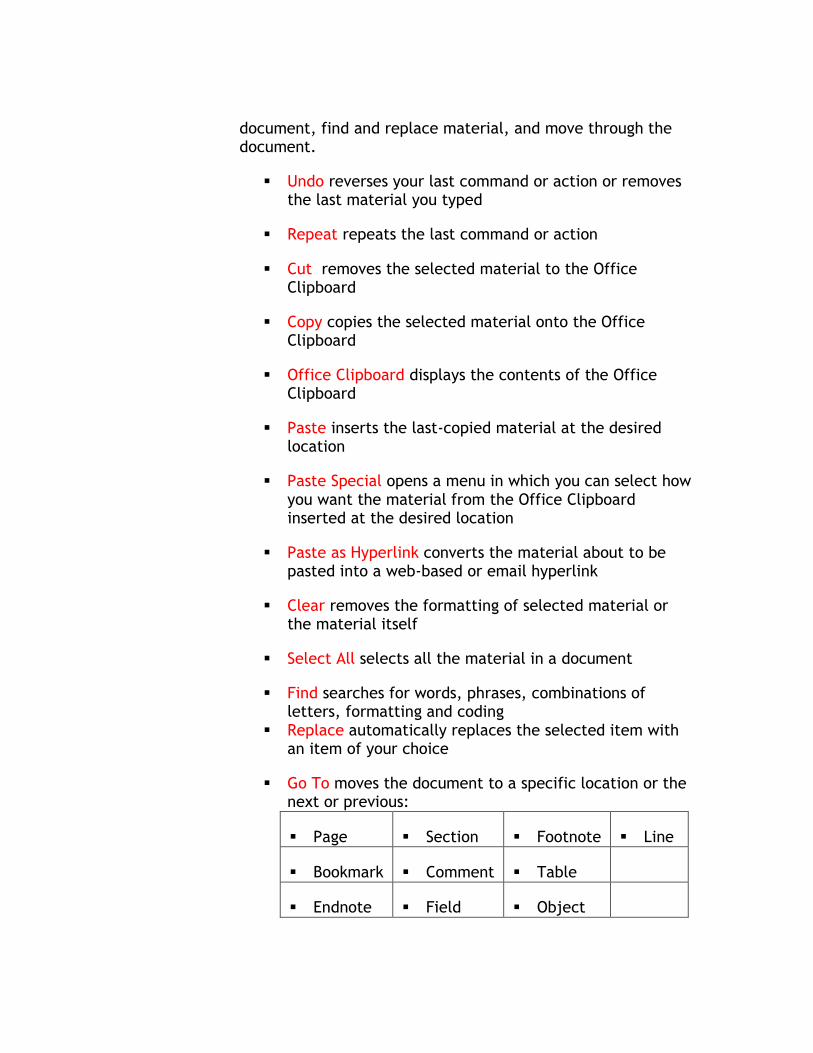
document, find and replace material, and move through the document.
Undo reverses your last command or action or removes the last material you typed
Repeat repeats the last command or action
Cut removes the selected material to the Office Clipboard
Copy copies the selected material onto the Office Clipboard
Office Clipboard displays the contents of the Office Clipboard
Paste inserts the last-copied material at the desired location
Paste Special opens a menu in which you can select how you want the material from the Office Clipboard inserted at the desired location
Paste as Hyperlink converts the material about to be pasted into a web-based or email hyperlink
Clear removes the formatting of selected material or the material itself
Select All selects all the material in a document
Find searches for words, phrases, combinations of letters, formatting and coding
Replace automatically replaces the selected item with an item of your choice
Go To moves the document to a specific location or the next or previous:
Page Section Footnote Line
Bookmark Comment Table
Endnote Field Object
Graphic Equation Heading
View
The View menu allows you to change how the document appears on the screen and what taskbars and toolbars are displayed. It also opens the Header/Footer and Footnotes menus, toggles the Markup function when you are tracking the changes in various versions of a document and adjust the document’s magnification.
Normal view, the default view, displays the document in one long sequence without graphically displayed borders or page breaks
Web Layout displays the document as it would appear on the Internet
Print Layout displays the document as it will print, page by page
Outline view displays the document in classic outline form.
Task Pane brings up a vertical panel that opens 8 panes of menus:
o New Document selects the type of new document to create
o Clipboard displays the material currently in the Office Clipboard
o Search institutes a search within a range of folders and file types for documents containing specific text
o Insert Clip Art searches for clip art on your computer or on the web via keyword
o Style & Formatting creates new and modifies existing styles
o Reveal Formatting reveals the formatting for the style currently in use
o Mail Merge contains a series of six panels that guide you through the Mail Merge process
o Translate allows you to select or type in specific text for translation into the languages programmed on your computer
Toolbars opens a menu of toolbars you can display in addition to the Standard toolbar of menus and the Formatting toolbar of icons
Ruler toggles the horizontal ruler in Normal view and the horizontal and vertical rules in Print Layout. Rulers are not displayed in Web Print Layout and Outline views
Document Map displays the document by Headings. You cannot move document elements around via Document Map, but you can use it to move through a document
Header and Footer opens a toolbar and the Header and Footer area of the document so you can insert AutoText or type in the appropriate text. Headers and footers are only displayed in Print Layout
Footnotes moves the cursor to the first footnote in the document
Markup toggles the Show Changes function when you are tracking changes in a document
Full Screen hides most screen elements so you can view more of the document
Zoom opens a menu where you can adjust how large or small the document appears on the screen
Insert
The Insert menu contains the functions necessary to add built-in and variable elements to a document.
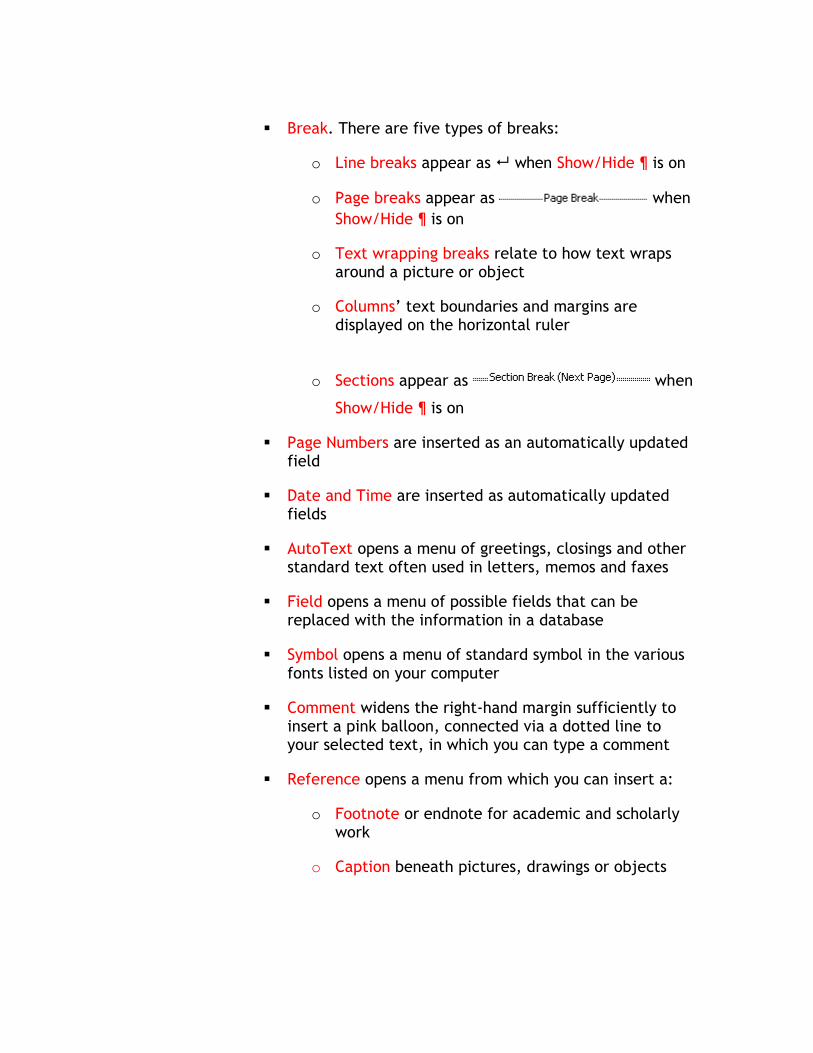
Break. There are five types of breaks:
o Line breaks appear as when Show/Hide ¶ is on
o Page breaks appear as when
Show/Hide ¶ is on
o Text wrapping breaks relate to how text wraps around a picture or object
o Columns’ text boundaries and margins are displayed on the horizontal ruler
o Sections appear as when
Show/Hide ¶ is on
Page Numbers are inserted as an automatically updated field
Date and Time are inserted as automatically updated fields
AutoText opens a menu of greetings, closings and other standard text often used in letters, memos and faxes
Field opens a menu of possible fields that can be replaced with the information in a database
Symbol opens a menu of standard symbol in the various fonts listed on your computer
Comment widens the right-hand margin sufficiently to insert a pink balloon, connected via a dotted line to your selected text, in which you can type a comment
Reference opens a menu from which you can insert a:
o Footnote or endnote for academic and scholarly work
o Caption beneath pictures, drawings or objects

o Cross-reference link that can be inserted as a hyperlink or heading for inclusion in an index or table
o Index or Table of:
Contents
Figures
Authorities
Web Component only inserts a web component when the document is in Web Print Layout
Picture inserts:
o Clip Art from the Clip Art Task Pane
o From File from the Open File menu
o From Scanner or Camera from your scanner or camera files
o Organization Chart opens the Organization Chart toolbar and a canvas on which you can create the chart using a template from the Diagram Gallery
o New Drawing opens a drawing canvas on which you can create a drawing via
Freehand
AutoShapes
Any combination of the above
o AutoShapes opens the AutoShape toolbar which comprises a series of menus containing standard, resizable shapes
o WordArt opens a gallery of text artwork
o Chart inserts a standardized chart and a database into which you can input the appropriate data to modify the chart
Diagram opens the Diagram Gallery and canvas
Text Box inserts a textbox at the insertion point. Textboxes can be reshaped by clicking and dragging their corners and formatted by right clicking on the box and choosing Format Text Box or going to File: Format Text Box
File brings up the Open File menu from which you can insert a file into your current document
Object allows you to create an object in another program or one already created
Bookmark inserts a field code that marks the selected point in the document. You can then move directly to the bookmark
Hyperlink opens a in which you can select or type in an URL or email hyperlink
Format
The Format menu allows you to modify the look and positioning of a document’s text, graphics and objects.
Font opens a menu with three tabs
o Font sets the font type, style, size and color, underline style and color and effects
o Character Spacing modifies the font’s scaling, spacing, position and kerning
o Text Effects do not appear on the printed page and hence are only useful for web pages
Paragraph opens a menu with two tabs
o Indents and Line Spacing sets the alignment, indentation and spacing, before and after the paragraph
o Line and Page Breaks sets the pagination parameters for the document
Bullets and Numbering opens a menu with four tabs
o Bulleted sets the graphic, font and positioning of a bulleted list
o Numbered sets the style, font, position and numbering of a numbered list
o Outline Numbered sets the style, font, position and numbering of a tiered outline
o List Styles imposes a pre-programmed numbering style on selected text or headings
Borders and Shading opens a menu with three tabs
o Borders sets the type, style, color, width and application of top, bottom and side borders around a paragraph or selected text
o Page Borders sets the type, style, color, width and application of top, bottom and side borders along the text boundaries of the page
o Shading sets the color and pattern of shading of a paragraph, selected text, a table or selected cells within a table
Columns sets the number and width of columns, the spacing between columns and the application of a line between columns
Tabs sets one or multiple tab positions, alignment and leaders
Drop Cap sets the position and other parameters for a drop cap, usually the first letter of the first word on the first page of a document, section or chapter
Text Direction alters the direction of text within a Text Box
Change Case alters the capitalization aspect of selected font
o Sentence case capitalizes the first word of each sentence
o Lowercase removes all capitalization from selected text
o UPPERCASE capitalizes all letters in selected text
o Title Case capitalizes the first letter of every word in selected text
o tOGGLE cASE reverses the effect of the shift key; i.e., capitalized letters appear as lowercase and lowercase letters appear as uppercase
Background is available only in Web Print Layout
Theme applies a pre-designed template to the document comprising a background, heading formats and bullet formats. Although the background is only displayed in Web Print Layout, the heading and bullet formats will appear in Print Layout
Frames will be addressed in Lesson 4: Advanced Word Utilities
AutoFormat applies automatic formatting to the document, either as you type or after you type
Styles and Formatting will be addressed in Lesson 2: Managing Documents
Reveal Formatting opens the Reveal Formatting task bar
Object sets the size, coloring, position and text wrapping for the selected object
Tools
The Tools menu contains a variety of basic, intermediate and advanced features. Most will be addressed in later lessons in this module.
Spelling and Grammar checks the document for spelling and grammatical errors. It does not set the parameters for those errors
Language sets:
o The default Language is the one you set for your computer
o Translation opens the Translation task bar
o Thesaurus offers synonym and antonym suggestions for the selected word
o Hyphenation toggles the hyphenation function and sets its parameters
Fix Broken Text is a Unicode Support feature. For more information, go to http://support.microsoft.com
Word Count provides the statistics of the document
AutoSummarize will be addressed in Lesson 4: Advanced Word Utilities
Speech toggles Word’s built-in speech-recognition function. For more information, go to http://support.microsoft.com
Track Changes will be addressed in Lesson 4: Advanced Word Utilities
Compare and Merge Documents will be addressed in Lesson 4: Advanced Word Utilities
Protect Document will be addressed in Lesson 3: Managing Documents
Online Collaboration toggles MS Meeting. For more information, go to http://support.microsoft.com
Letters and Mailings will be addressed in Lesson 4: Advanced Word Utilities
Tools on the Web takes you to the Microsoft Office Online website in your default browser
Macro will be addressed in Lesson 4: Advanced Word Utilities
Templates and Add-Ins will be addressed in Lesson 2: Customizing Word
AutoCorrect Options will be addressed in Lesson 2: Customizing Word
Customize will be addressed in Lesson 2: Customizing Word
Options will be addressed in Lesson 2: Customizing Word
Table
All Table menu functions will be addressed in Chapter 4: Advanced Word Utilities.
Window
New Window opens up the current document in a duplicate window
Arrange All opens all files in separate windows on the screen, making it easier to drag material from one document to another

Split splits the active window into panes or removes the split. This allows you to move through the document in one pane while maintaining your place in another.
Word displays a list of open documents at the bottom of the Windows menu.
Help
Microsoft Word Help turns on the Office Assistant
Hide the Office Assistant turns off the Office Assistant
What’s This? displays screen tips for the selected menu feature or icon
Office on the Web takes you to the Microsoft Office Online website in your default browser
Activate Product takes you to the MS Word activation window
WordPerfect Help provides a brief tutorial for WordPerfect users converting to MS Word
Detect and Repair automatically detects and fixes problems with the MS Word program
About Microsoft Word displays the version number of the program as well as copyright, system and other legal notices
Formatting Toolbar
The icons on the Formatting toolbar duplicate the more commonly used functions of the Standard toolbar menus. Rest your cursor on the icon to display its Screen Tip.
Feedback Exercise
This exercise will give you the opportunity to review what you learned in this lesson. Answer the questions below. You may refer to the text for help or additional information.
1. What menu functions open the Microsoft Office Online website in your default browser?
2. What menu function turns on Show Revisions when you are tracking changes in a document?
3. What menu function displays Styles and Formatting?
4. What menu function moves you to the next bookmark?
5. What is the advantage to using Window: Split?
6. In what menu is the hyphenation feature?
7. In what view can you insert a colored background?
8. What are the three tabs on the Borders and Shading menu?
9. What is the difference between cut and deleted text?
10. On what menu is Page Setup?
Lesson Conclusion
In this lesson you learned the fundamental components of the Standard toolbar and their corresponding Formatting toolbar icons. This basic knowledge will be utilized in later lessons in this module.

[This page intentionally left blank.]