Embed Size (px)
Citation preview
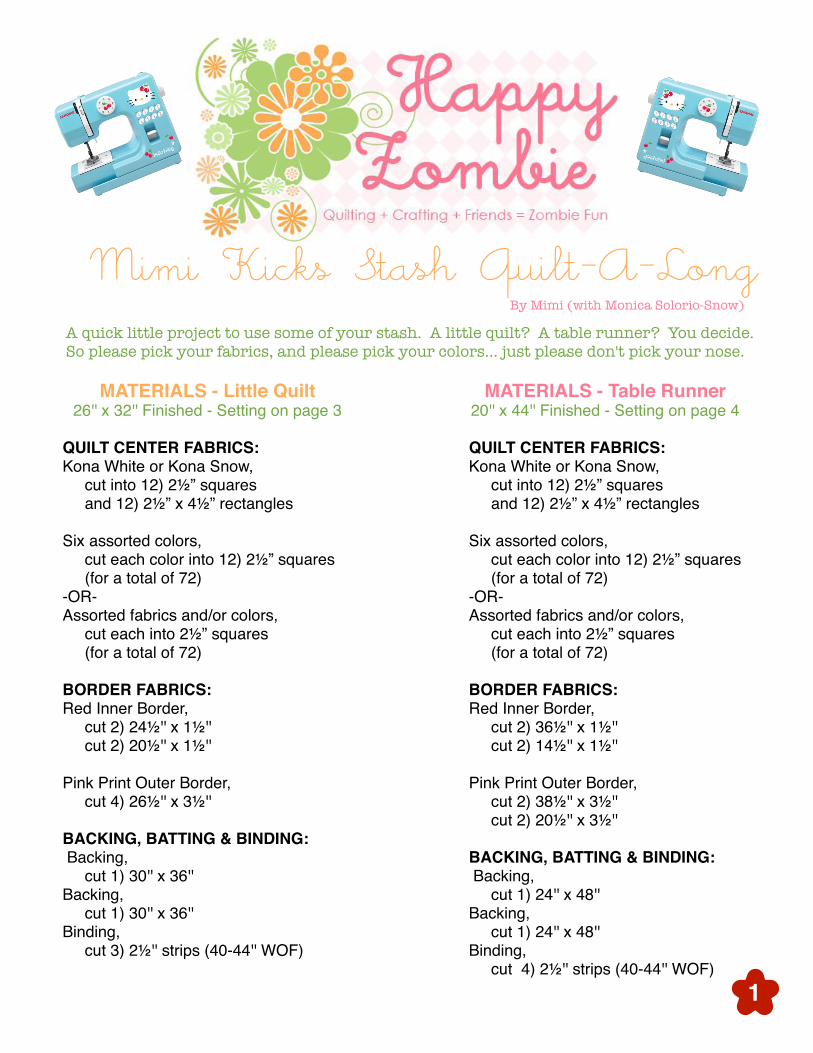
Mimi Kicks Stash Quilt-A-Long
MATERIALS - Table Runner20'' x 44'' Finished - Setting on page 4
QUILT CENTER FABRICS:Kona White or Kona Snow, cut into 12) 2 ” squares and 12) 2 ” x 4 ” rectangles
Six assorted colors, cut each color into 12) 2 ” squares (for a total of 72)-OR-Assorted fabrics and/or colors, cut each into 2 ” squares (for a total of 72)
BORDER FABRICS:Red Inner Border, cut 2) 36 '' x 1 '' cut 2) 14 '' x 1 ''
Pink Print Outer Border, cut 2) 38 '' x 3 '' cut 2) 20 '' x 3 ''
BACKING, BATTING & BINDING: Backing, cut 1) 24'' x 48''Backing, cut 1) 24'' x 48''Binding, cut 4) 2 '' strips (40-44'' WOF)
MATERIALS - Little Quilt26'' x 32'' Finished - Setting on page 3
QUILT CENTER FABRICS:Kona White or Kona Snow, cut into 12) 2 ” squares and 12) 2 ” x 4 ” rectangles
Six assorted colors, cut each color into 12) 2 ” squares (for a total of 72)-OR-Assorted fabrics and/or colors, cut each into 2 ” squares (for a total of 72)
BORDER FABRICS:Red Inner Border, cut 2) 24 '' x 1 '' cut 2) 20 '' x 1 ''
Pink Print Outer Border, cut 4) 26 '' x 3 ''
BACKING, BATTING & BINDING: Backing, cut 1) 30'' x 36''Backing, cut 1) 30'' x 36''Binding, cut 3) 2 '' strips (40-44'' WOF)
By Mimi (with Monica Solorio-Snow)
A quick little project to use some of your stash. A little quilt? A table runner? You decide.So please pick your fabrics, and please pick your colors... just please don't pick your nose.
1
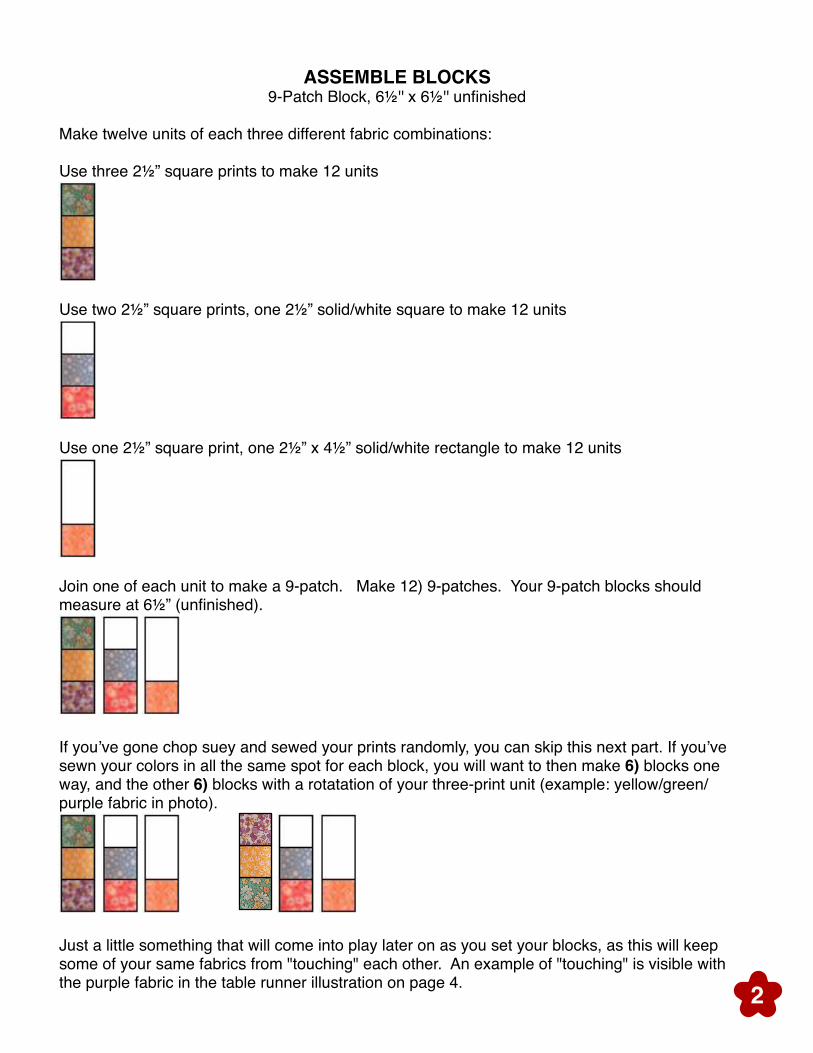
ASSEMBLE BLOCKS9-Patch Block, 6!'' x 6!'' unfinished
Make twelve units of each three different fabric combinations:
Use three 2!” square prints to make 12 units
Use two 2!” square prints, one 2!” solid/white square to make 12 units
Use one 2!” square print, one 2!” x 4!” solid/white rectangle to make 12 units
Join one of each unit to make a 9-patch. Make 12) 9-patches. Your 9-patch blocks should measure at 6!” (unfinished).
If you"ve gone chop suey and sewed your prints randomly, you can skip this next part. If you"ve sewn your colors in all the same spot for each block, you will want to then make 6) blocks one way, and the other 6) blocks with a rotatation of your three-print unit (example: yellow/green/purple fabric in photo).
Just a little something that will come into play later on as you set your blocks, as this will keep some of your same fabrics from "touching" each other. An example of "touching" is visible with the purple fabric in the table runner illustration on page 4.
1
2
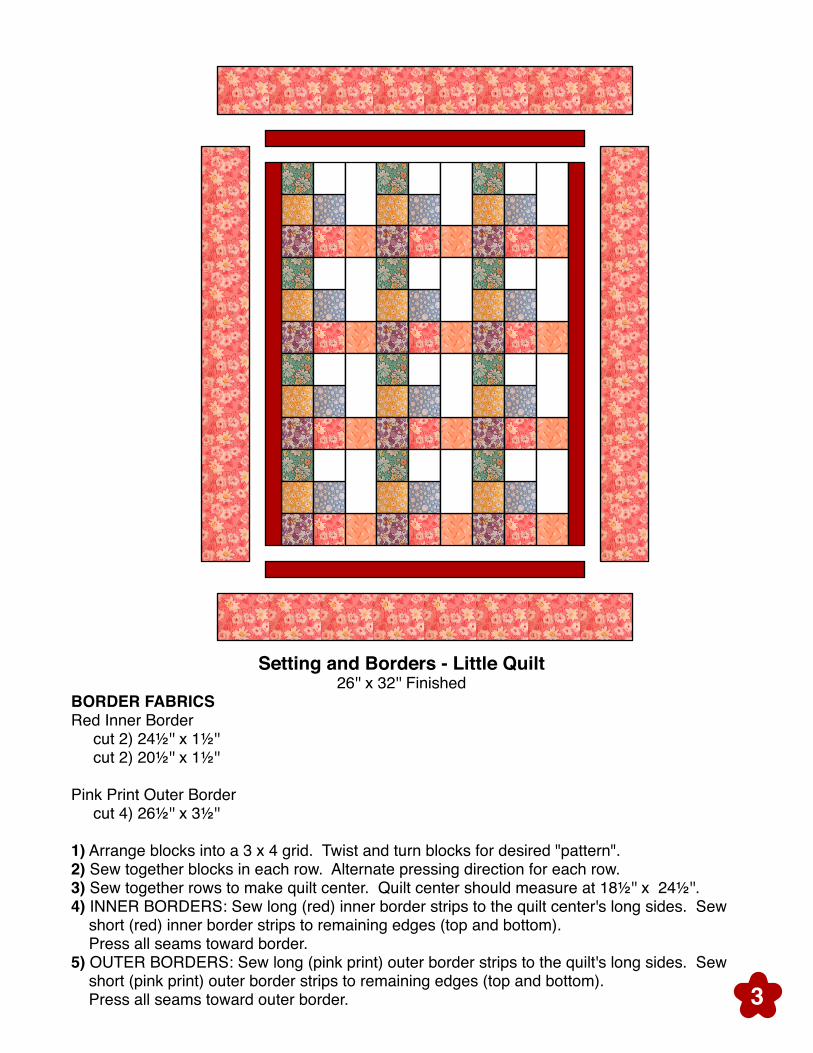
Setting and Borders - Little Quilt26'' x 32'' Finished
BORDER FABRICSRed Inner Border cut 2) 24!'' x 1!'' cut 2) 20!'' x 1!''
Pink Print Outer Border cut 4) 26!'' x 3!''
1) Arrange blocks into a 3 x 4 grid. Twist and turn blocks for desired "pattern".2) Sew together blocks in each row. Alternate pressing direction for each row.3) Sew together rows to make quilt center. Quilt center should measure at 18!'' x 24!''.4) INNER BORDERS: Sew long (red) inner border strips to the quilt center's long sides. Sew short (red) inner border strips to remaining edges (top and bottom). Press all seams toward border.5) OUTER BORDERS: Sew long (pink print) outer border strips to the quilt's long sides. Sew short (pink print) outer border strips to remaining edges (top and bottom). Press all seams toward outer border.
2
3
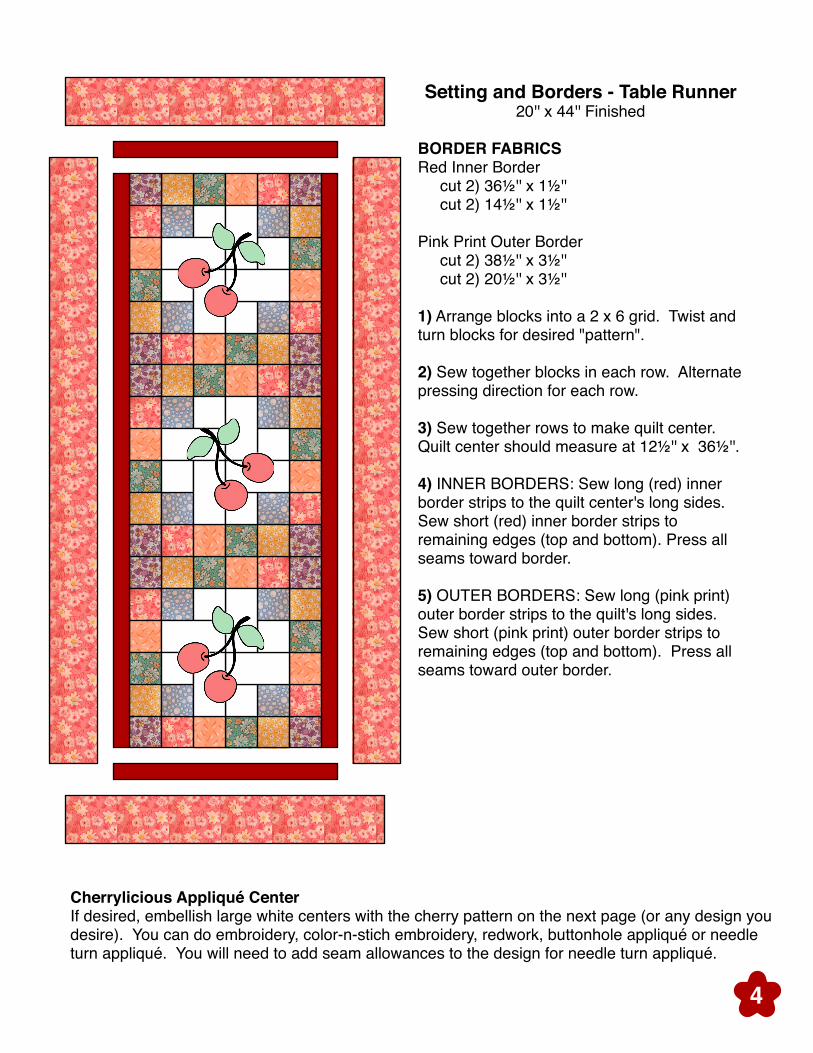
Setting and Borders - Table Runner20'' x 44'' Finished
BORDER FABRICSRed Inner Border cut 2) 36!'' x 1!'' cut 2) 14!'' x 1!''
Pink Print Outer Border cut 2) 38!'' x 3!'' cut 2) 20!'' x 3!''
1) Arrange blocks into a 2 x 6 grid. Twist and turn blocks for desired "pattern".
2) Sew together blocks in each row. Alternate pressing direction for each row.
3) Sew together rows to make quilt center. Quilt center should measure at 12!'' x 36!''.
4) INNER BORDERS: Sew long (red) inner border strips to the quilt center's long sides. Sew short (red) inner border strips to remaining edges (top and bottom). Press all seams toward border.
5) OUTER BORDERS: Sew long (pink print) outer border strips to the quilt's long sides. Sew short (pink print) outer border strips to remaining edges (top and bottom). Press all seams toward outer border.
Cherrylicious Appliqué CenterIf desired, embellish large white centers with the cherry pattern on the next page (or any design youdesire). You can do embroidery, color-n-stich embroidery, redwork, buttonhole appliqué or needle turn appliqué. You will need to add seam allowances to the design for needle turn appliqué.
3
4
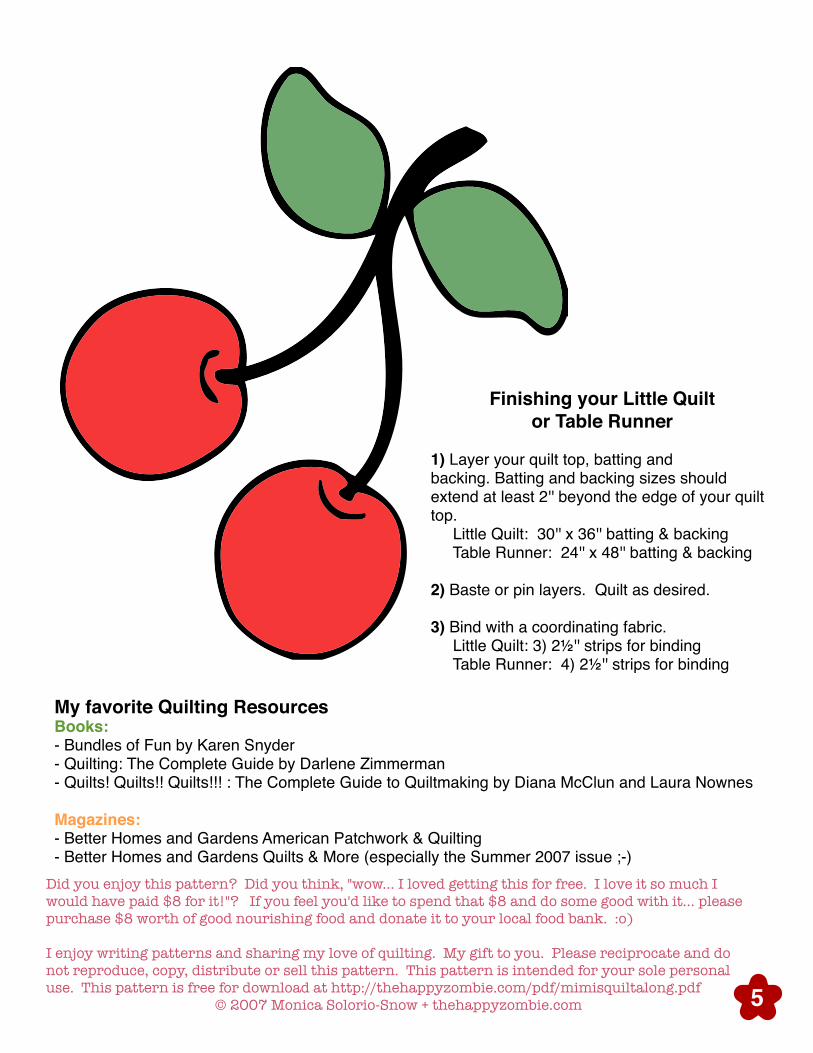
Finishing your Little Quilt
or Table Runner
1) Layer your quilt top, batting and backing. Batting and backing sizes should extend at least 2'' beyond the edge of your quilt top. Little Quilt: 30'' x 36'' batting & backing Table Runner: 24'' x 48'' batting & backing
2) Baste or pin layers. Quilt as desired.
3) Bind with a coordinating fabric. Little Quilt: 3) 2!'' strips for binding Table Runner: 4) 2!'' strips for binding
My favorite Quilting ResourcesBooks: - Bundles of Fun by Karen Snyder- Quilting: The Complete Guide by Darlene Zimmerman- Quilts! Quilts!! Quilts!!! : The Complete Guide to Quiltmaking by Diana McClun and Laura Nownes
Magazines: - Better Homes and Gardens American Patchwork & Quilting- Better Homes and Gardens Quilts & More (especially the Summer 2007 issue ;-)
Did you enjoy this pattern? Did you think, "wow... I loved getting this for free. I love it so much I would have paid $8 for it!"? If you feel you'd like to spend that $8 and do some good with it... please purchase $8 worth of good nourishing food and donate it to your local food bank. :o)
I enjoy writing patterns and sharing my love of quilting. My gift to you. Please reciprocate and do not reproduce, copy, distribute or sell this pattern. This pattern is intended for your sole personal use. This pattern is free for download at http://thehappyzombie.com/pdf/mimisquiltalong.pdf
© 2007 Monica Solorio-Snow + thehappyzombie.com
4
5