Embed Size (px)
Citation preview

Microsoft Project2010
Dr. Nouh Alhindawi
Jadara University

Project Management
Jadara UniversityFaculty of Information Technology
Department of Software EngineeringInstructor: Dr.Nouh Alhindawi
Mo’ad Salem Shatnawi
Calendars
• At the beginning of any project you must have a special business calendar .
• In MS Project 2010 you can use standard calendar like
- 24 Hours (No off day) - Night Shift (1PM – 11 PM) - Standard (8AM – 5 PM , Fri and Sat off) - Or Create new calendar

Calendars
*

Calendars
• Create new calendar

Calendars
• Now you can create the calendar from beginning or make a copy of the standards calendars and edit it .

Calendars
- Edit Calendar according the project .- Friday off- The other days, as in the picture

Calendars
• Exception : you can select a specific day to be on holiday or change the work time and repeat this day in a weekly, monthly or etc.

Calendars
• Linking the new calendar with the project

Calendars
• Linking the new calendar with the project in (Time scale)
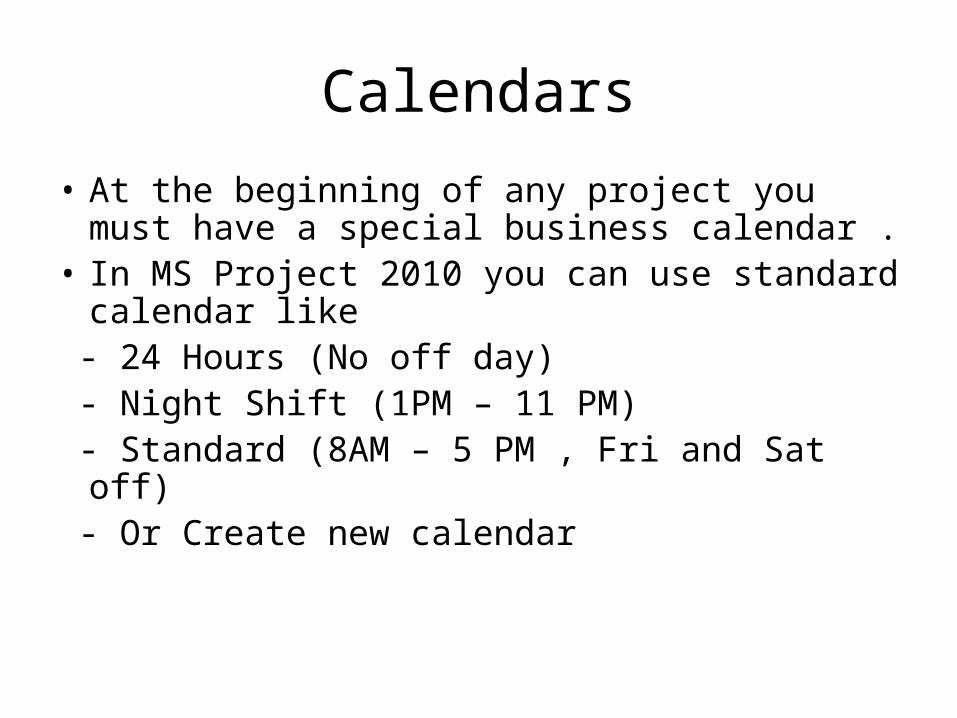
Work breakdown structure (WBS)
• Split the project into smaller components connected to each .

WBS
• Insert Summery task
• To show WBS column right click on any column –insert column-.

WBS
• Right the Main task (Project name)

WBS
• Fill out the tasks table.
• And modify the WBS using each of the tools or change the number in WBS column

WBS
• Basis , Build and Finishing on same level .

Tasks
1- Timeline2-Gantt chart3-Indicator4-Task Mode5-Task Name6-Duration7-Start8-Finish

Tasks
1- Time Line : Line shows where we are from the timeline.
2-Gantt chart : Area which show tasks and everything related to and relationships between tasks.
3-Indicator : Information and note about task.

Tasks Mode
4-Task Mode : In MS-Project we have two types (mode) of tasks (Auto Or Manually)
* Auto : We define the duration of the task and the program calculate
the date of start and finish task. * Manually : We define the duration of the task and date of start and finish task.

Tasks
5-Task Name : The name of task.6-Duration : Duration of the work task (per day,
week, hour, etc.)7-Start : Task start date 8-Finish : 8-Task finish date

Predecessors & Successors
1-Right Click and select show split.2-Right Click and select Predecessors & Successors .

Predecessors & Successors
• Predecessor : the previous task • Successor : the next task• Any task has task before it or task after it or task
before and task after it .• The four relation between tasks1- F-S(Finish – Start ) : after finish task 1 start task 2 .2- S-S(Start – Start ).3- F-F(Finish – Finish ).4- S-F(Start – Finish ).

Predecessors & Successors
• How do you define Predecessors & Successors of task X .
• Select the task , then choose the predecessors and successors , Type, and Lag (time delay allowed)

Milestone Task
• Milestone task : To insert event without duration to the project.

Recurring Task
• Recurring Task : Activity or a task is repeated regularly (daily, weekly or etc).
- Such a meeting every Sunday at 8:00 AM.

Split Task
• If you want to split task (Painting , 10 days duration) each week, just two days.
1- select the task2- click on split task image3-by mouse cursor go to time scale and change as you like

Split Task
• 3-

Task Information
• To show or edit task information :1- Right click on any task and select Information.
2-Or double click on any task.

Task Information
• Estimated : If you not sure of the duration of the task , ”?” beside the duration to remind.
• Inactive : disable the task.

Task Information
* Dead line : select the last day to finish task.
* Constrain type : constrain on the task by time .
• Note : by duration we can add “e” before day to work without off days. (10 eday, 10 eweek,…)

Note , Attachment file
• You can add note to your tasks and attach files.

Filter, Highlight
• Filter : If you want to watch a specific set of tasks or certain conditions
• You can create new filter.• Highlight : the same of filter but without hide
the other task and highlight on specific task .• image below shows only the summery task by
filter and highlight .

.Filter
Highlight
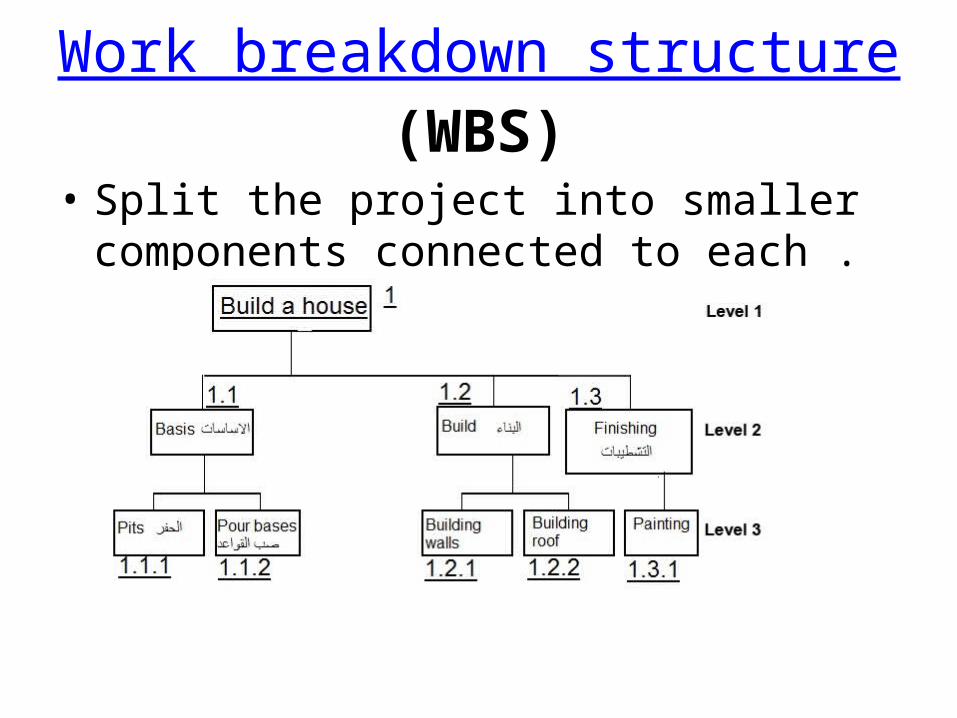
Format
• To show specific task on timeline :1- click on add to timeline from task menu.2- Or right click on the task and click on add to timeline

Resources
• resources are required to carry out the project tasks. They can be people, hardware, software, funding, or anything .

Resources
• Recourses sheet :

Resources
1- Resource Name : the name of resource (human ,hardware,.. )2- Type : type of resource ( work, material, cost )3- Material : The material type or unit .4- Max : Percentage your use of this resource (100% = Fulltime)5- Std. Rate : standard salary.6-Ovt. Rate : over time salary .7-Cost use : cost paid for once when use the resource.8-Accure : payment method - Start : when start project - Prorated : after each activity
- End: after finish the work

Resources
9-Base: the base calendar
• Note : Change currency : File >> Option >> Display >> Currency .
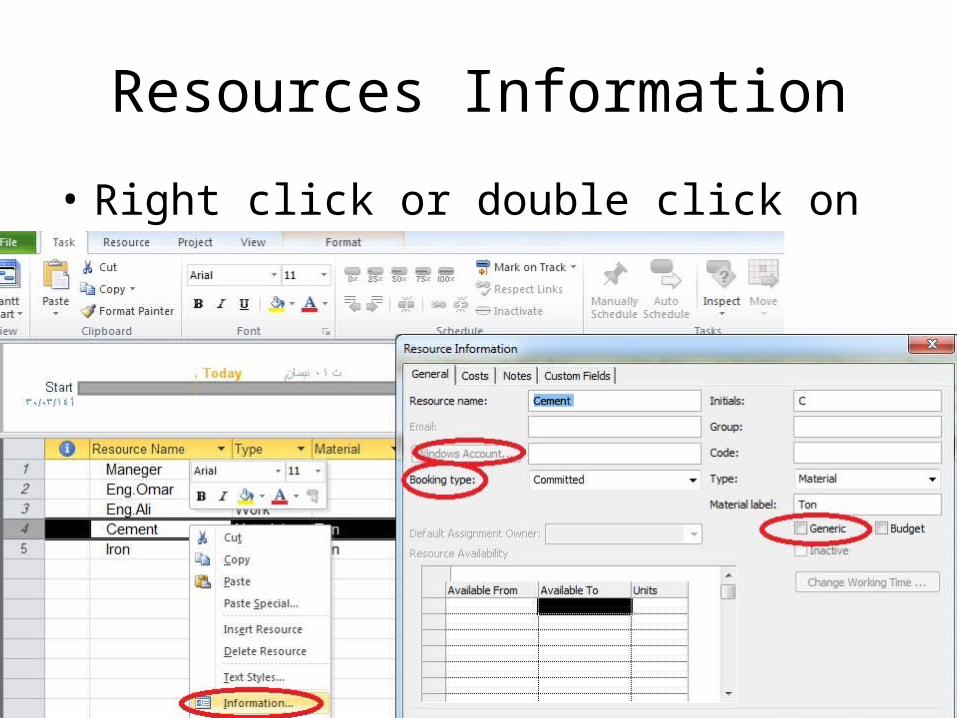
Resources Information
• Right click or double click on any Resource :

Resources Information
• Booking type : (committed OR proposed), are you sure to use this resource or just a proposal?.
• Generic : this resource is generally (Job title) not employee ?.
• Windows Account : use with humans have outlook email .
• And many of option ….

Add Resources To Tasks
1- Back to Gantt chart. 2- Add column >> Cost 3- View split and chose cost
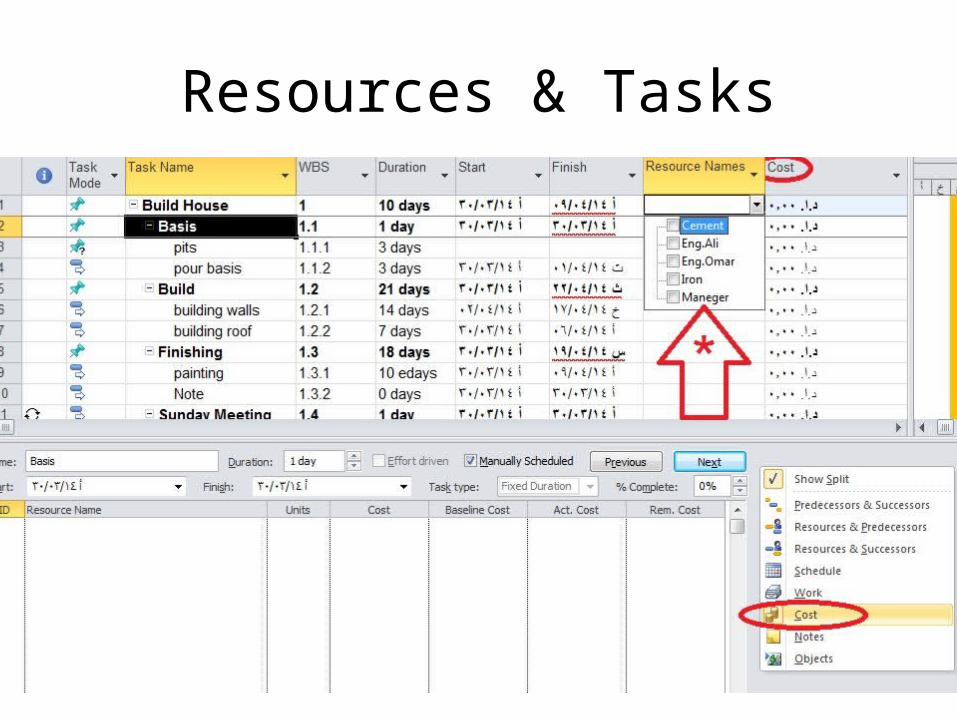
Resources & Tasks

Resources & Tasks
• Now add the resources to each task .• The cost calculated automatically .

Task Usage , Resource Usage
• Task Usage : Showing each task and resource of its .
• Resource Usage : Showing each resource and task of its .

Set Base Line Cost
• Set baseline cost:- Add column (Baseline cost)
- Go to project >>

Set Base Line Cost
- Make sure options- Ok .
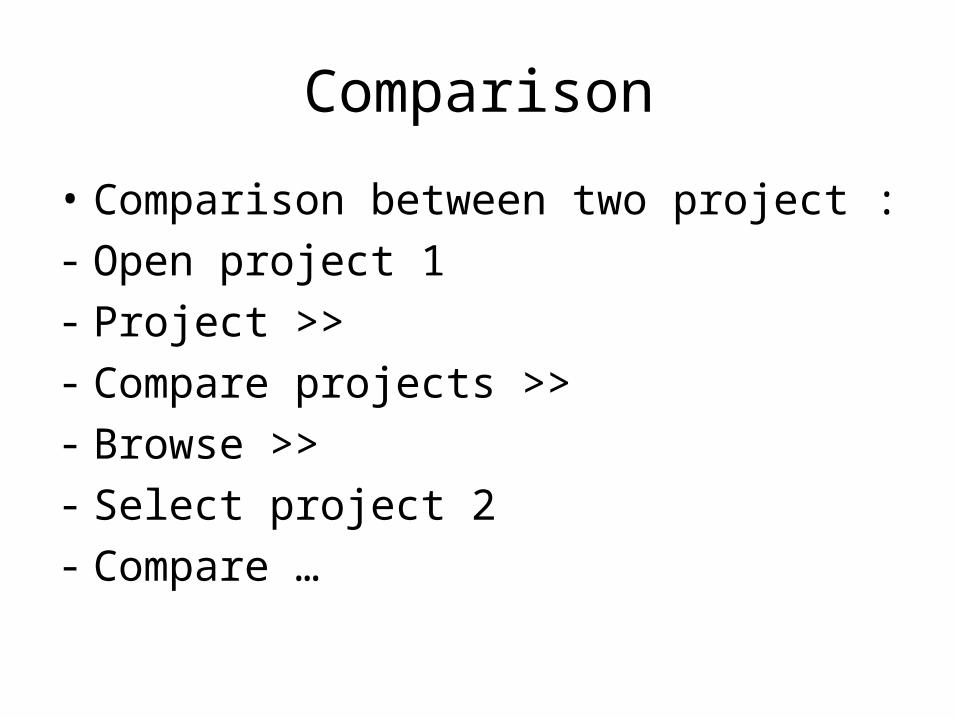
Comparison
• Comparison between two project :- Open project 1- Project >>- Compare projects >>- Browse >> - Select project 2- Compare …
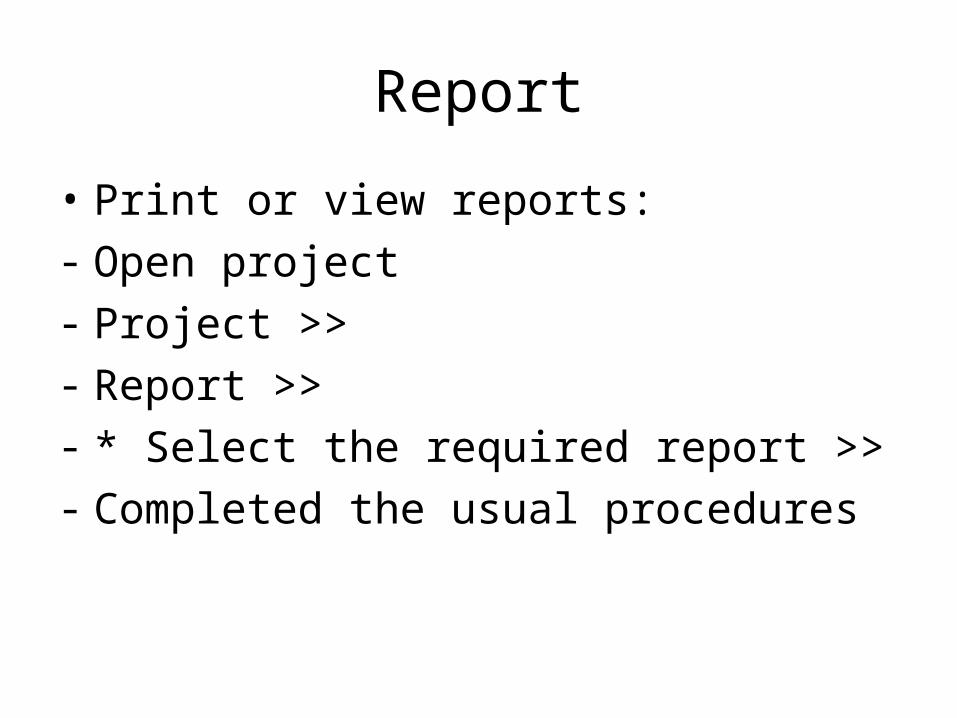
Report
• Print or view reports:- Open project- Project >>- Report >>- * Select the required report >>- Completed the usual procedures


![Home > []€¦ · Mahmoud Sabri Al-Asal, Jadara University, Irbid-Jordan Thi Mai Hanh Do, Hochiminh City Law University, Vietnam Khalid Mohamed Mustafa Aburaida, International University](https://img.pdfslide.us/doc/110x75/6014f02392c11a49d8235c09/home-mahmoud-sabri-al-asal-jadara-university-irbid-jordan-thi-mai-hanh.jpg)