Embed Size (px)
Citation preview
GEOLOGIAN TUTKIMUSKESKUS (GTK) Espoo Arkistoraportti 11/2016
MINERAL RESOURCES POTENTIAL AND SMALL SCALE MINING IN
NACHINGWEA AREA AND A GENERAL NATION-WIDE GEOCHEMICAL MAP OF TANZANIA
Manual for measuring soil samples with the Niton
XL3 GOLDD+ XRF-instrument
Birgitta Backman, Kristian Lindqvist, and Eija Hyvönen
5th February 2016
GEOLOGIAN TUTKIMUSKESKUS Birgitta Backman, Kristian Lindqvist, and Eija Hyvönen: Manual for measuring
soil samples with the Niton XL3 GOLDD+ XRF-instrument
TUTKIMUSKESKUS KUVAILULEHTI
5.2.2016 Arkistoraportti 11/2016
Tekijät
Birgitta Backman, Kristian Lindqvist ja Eija Hyvönen
Raportin laji
Arkistoraportti
Toimeksiantaja
Raportin nimi
Manual for measuring soil samples with the Niton XL3 GOLDD+ XRF-instrument
Tiivistelmä
Raportti on yksityiskohtainen ja käytännönläheinen käsikirja Mineral resources potential and small scale mining in Nachingwea area and a general nation-wide geochemical map of Tanzania hankkeen NAFORMA-maaperänäytteiden p-XRF-mittauksia varten. Mittaukset tehdään Tansaniassa. Käsikirja on tarkoitettu laitetoimittajan toimittaman ohjekirjan ohella helpottamaan maaperänäytteiden mittausta käytännössä. Raportissa painotetaan mittausten laadunvarmistusta sekä turvallista mittauskäytäntöä.
Asiasanat (kohde, menetelmät jne.)
Maaperä, geokemia, XRF-mittaus
Maantieteellinen alue (maa, lääni, kunta, kylä, esiintymä)
Tansania
Karttalehdet
Muut tiedot
Arkistosarjan nimi
Arkistotunnus
11/2016
Kokonaissivumäärä
8 + 1 liite Kieli
Englanti Hinta
Julkisuus
Yksikkö ja vastuualue
Mineraalitekniikka ja materiaalit (MMA) Hanketunnus
50401-10133
Allekirjoitus/nimen selvennys
Allekirjoitus/nimen selvennys
GEOLOGIAN TUTKIMUSKESKUS Birgitta Backman, Kristian Lindqvist, and Eija Hyvönen: Manual for measuring
soil samples with the Niton XL3 GOLDD+ XRF-instrument
Contents
1 INTRODUCTION 1
2 THE NITON XL3 GOLDD+ INSTRUMENT SET-UP 2
3 ANALYZING NAFORMA SOIL SAMPLES WITH THE NITON INSTRUMENT 5
4 QUALITY CONTROL IN THE MEASUREMENTS 7
5 SAFE USE OF THE XRF-INSTRUMENT 8
Appendix 1. Safely using of Niton XL3t Goldd+ XRF analyser
This manual is kept together with the NITON XL3 GOLDD+ instrument.

GEOLOGIAN TUTKIMUSKESKUS Birgitta Backman, Kristian Lindqvist, and Eija Hyvönen: Manual for measuring
soil samples with the Niton XL3 GOLDD+ XRF-instrument
1
1 INTRODUCTION
The Geological Survey of Finland (GTK) together with the Geological Survey of Tanzania
(GST) submitted a Project Document for proposed cooperation to the Ministry for Foreign
Affairs of Finland (MFAF) in late 2014 for consideration. The proposed cooperation project
entitled "Mineral Resources Potential and Small Scale Mining in Nachingwea Area and a
General Nation-Wide Geochemical Map of Tanzania" was approved by MFAF and the
funding document signed by the Minister for International Cooperation on 08.05.2015.
One component of the project aims at preparing a nation-wide geochemical map of Tanzania
utilizing soil samples collected by an earlier FAO funded project (NAFORMA) for national
forestry resources monitoring and assessment in Tanzania. Soil samples from 1488 sampling
sites were collected by the NAFORMA project covering the whole country including Zanzibar.
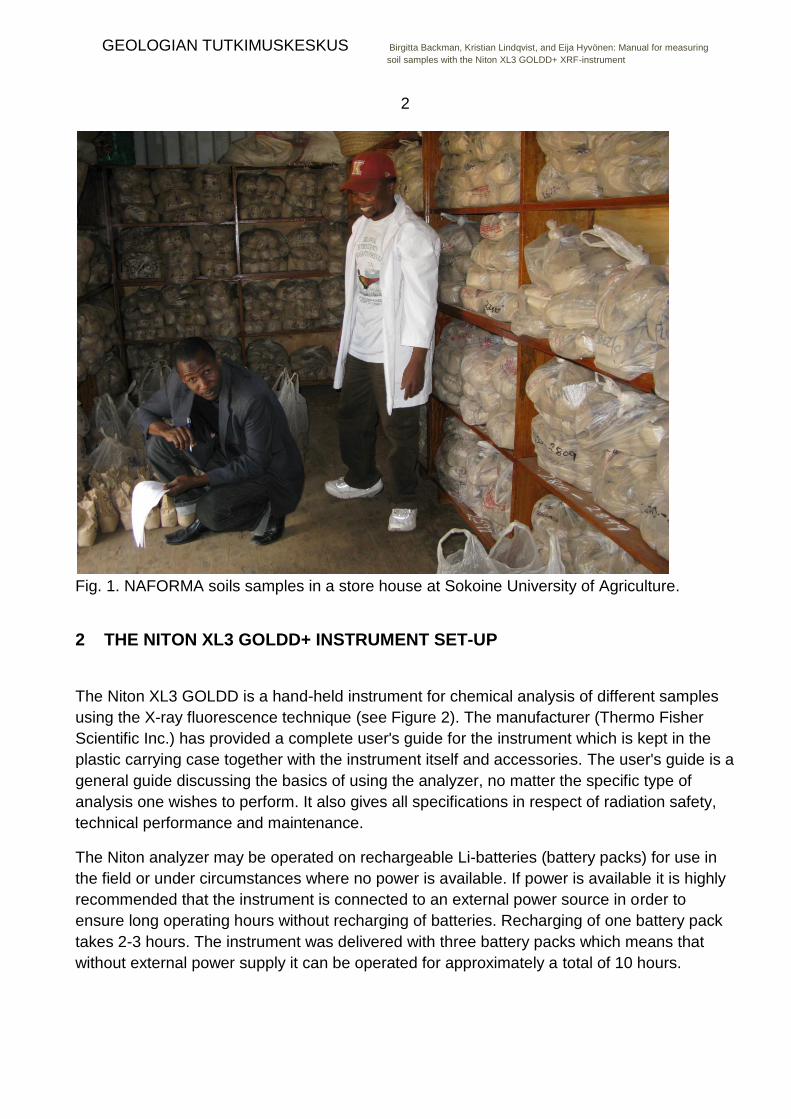
The samples are stored in Morogoro at the Sokoine University of Agriculture (SUA) (see
Figure 1). The samples had been analyzed for general soil parameters (e.g. pH, grain size
and carbon content) but no chemical element analyses had been conducted. The stored
samples were found in good condition with relevant information (e.g. sample depth and
coordinates) recorded and consequently cooperation for chemical analysis of the samples
was started jointly by SUA, GST and GTK in late 2015 for a countrywide geochemical survey.
For practical measurements of the samples the use of a portable XRF-instrument was
chosen. A bidding competition for supplying of such an instrument was launched and the
portable Niton XRF-instrument (Niton XL3 GOLDD+ manufactured by Thermo Fisher
Scientific Inc.) could be chosen.
This manual covering the practical use of the instrument is compiled especially for the
purpose of measuring the NAFORMA soil samples in order to prepare a preliminary 'Nation-
Wide Geochemical Map of Tanzania'.
The contents of this manual are based on theoretical matters related to X-ray techniques and
general chemical analysis practices supplemented by concrete experiences during actual
measurements.
Note that the instrument manufacturer supplied together with the instrument a detailed user's
manual including technical specifications, users' guide and safety matters covering different
applications. This present manual focuses on the application for specifically analysis of
NAFORMA samples.
GEOLOGIAN TUTKIMUSKESKUS Birgitta Backman, Kristian Lindqvist, and Eija Hyvönen: Manual for measuring
soil samples with the Niton XL3 GOLDD+ XRF-instrument
2
Fig. 1. NAFORMA soils samples in a store house at Sokoine University of Agriculture.
2 THE NITON XL3 GOLDD+ INSTRUMENT SET-UP
The Niton XL3 GOLDD is a hand-held instrument for chemical analysis of different samples
using the X-ray fluorescence technique (see Figure 2). The manufacturer (Thermo Fisher
Scientific Inc.) has provided a complete user's guide for the instrument which is kept in the
plastic carrying case together with the instrument itself and accessories. The user's guide is a
general guide discussing the basics of using the analyzer, no matter the specific type of
analysis one wishes to perform. It also gives all specifications in respect of radiation safety,
technical performance and maintenance.
The Niton analyzer may be operated on rechargeable Li-batteries (battery packs) for use in
the field or under circumstances where no power is available. If power is available it is highly
recommended that the instrument is connected to an external power source in order to
ensure long operating hours without recharging of batteries. Recharging of one battery pack
takes 2-3 hours. The instrument was delivered with three battery packs which means that
without external power supply it can be operated for approximately a total of 10 hours.
GEOLOGIAN TUTKIMUSKESKUS Birgitta Backman, Kristian Lindqvist, and Eija Hyvönen: Manual for measuring
soil samples with the Niton XL3 GOLDD+ XRF-instrument
3
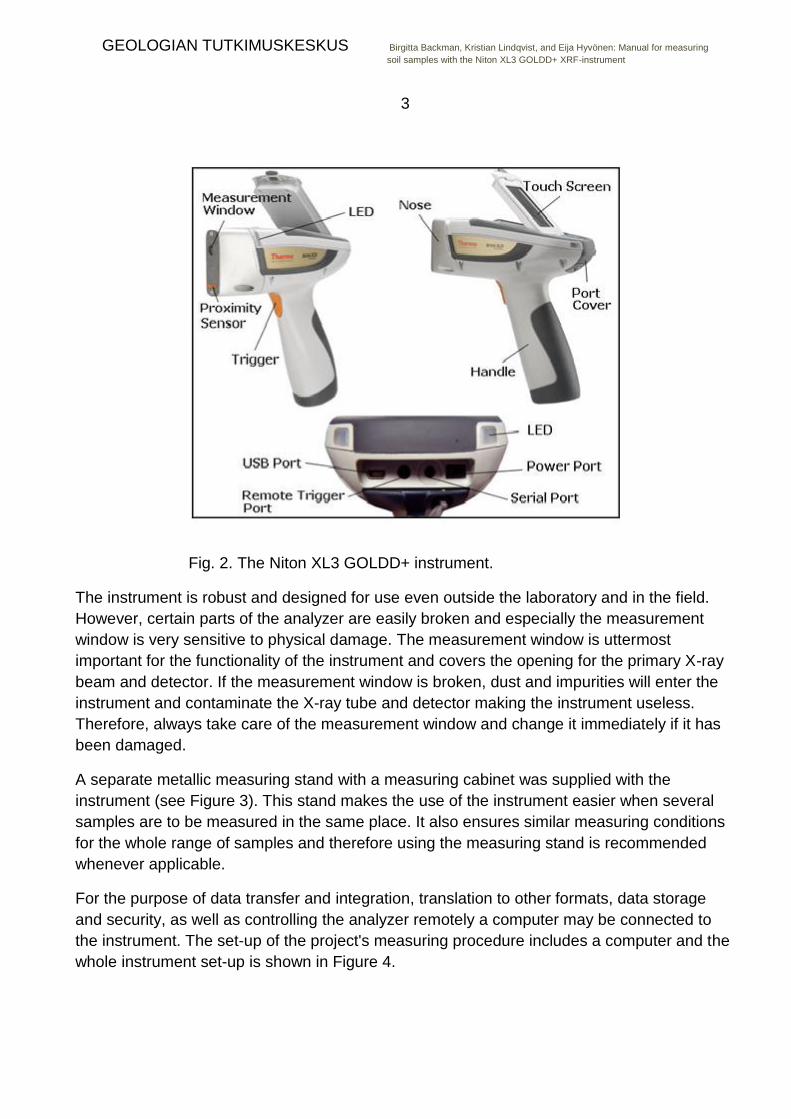
Fig. 2. The Niton XL3 GOLDD+ instrument.
The instrument is robust and designed for use even outside the laboratory and in the field.
However, certain parts of the analyzer are easily broken and especially the measurement
window is very sensitive to physical damage. The measurement window is uttermost
important for the functionality of the instrument and covers the opening for the primary X-ray
beam and detector. If the measurement window is broken, dust and impurities will enter the
instrument and contaminate the X-ray tube and detector making the instrument useless.
Therefore, always take care of the measurement window and change it immediately if it has
been damaged.
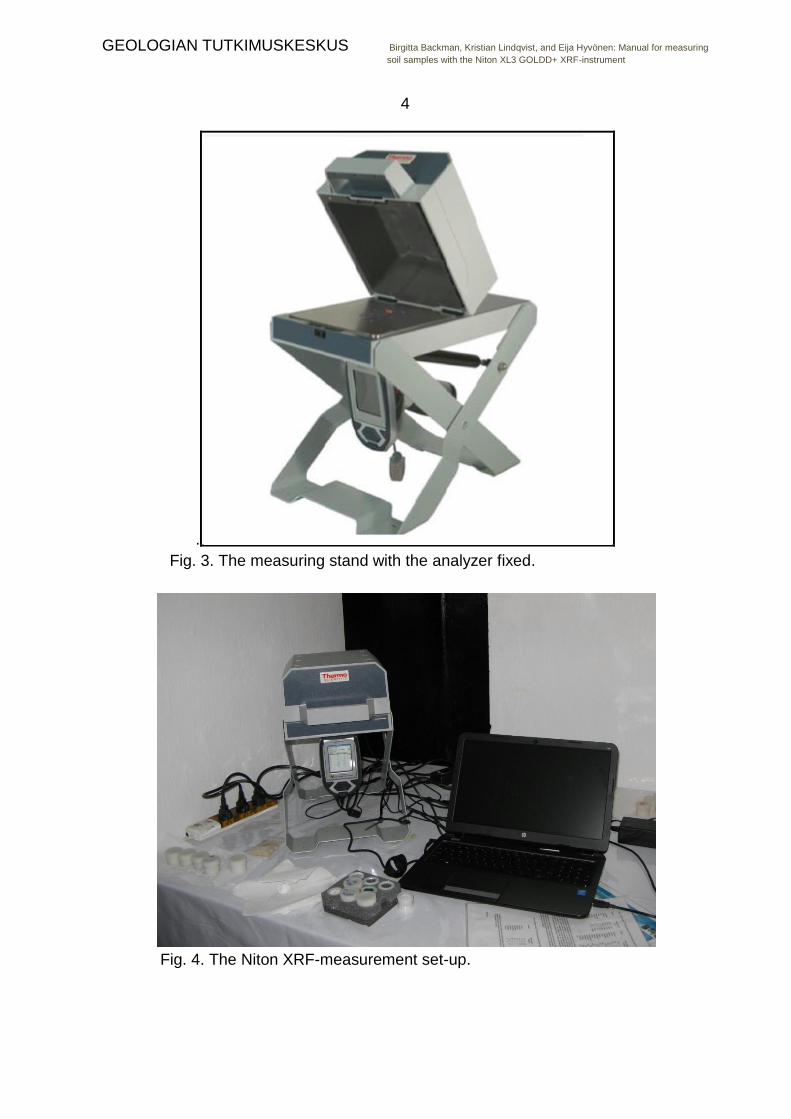
A separate metallic measuring stand with a measuring cabinet was supplied with the
instrument (see Figure 3). This stand makes the use of the instrument easier when several
samples are to be measured in the same place. It also ensures similar measuring conditions
for the whole range of samples and therefore using the measuring stand is recommended
whenever applicable.
For the purpose of data transfer and integration, translation to other formats, data storage
and security, as well as controlling the analyzer remotely a computer may be connected to
the instrument. The set-up of the project's measuring procedure includes a computer and the
whole instrument set-up is shown in Figure 4.
GEOLOGIAN TUTKIMUSKESKUS Birgitta Backman, Kristian Lindqvist, and Eija Hyvönen: Manual for measuring
soil samples with the Niton XL3 GOLDD+ XRF-instrument
4
.
Fig. 3. The measuring stand with the analyzer fixed.
Fig. 4. The Niton XRF-measurement set-up.
GEOLOGIAN TUTKIMUSKESKUS Birgitta Backman, Kristian Lindqvist, and Eija Hyvönen: Manual for measuring
soil samples with the Niton XL3 GOLDD+ XRF-instrument
5
3 ANALYZING NAFORMA SOIL SAMPLES WITH THE NITON INSTRUMENT
The User's Guide provided by the Thermo Fisher Scientific Company is extensive and covers
among others the technical performance for chemical analyses. However, during the basic
training in the use of the instrument it was observed that a hands-on manual focusing
especially on measurement procedures for the NAFORMA soil samples was needed. This
assists in following certain routines and cuts down the amount of long flick of the general
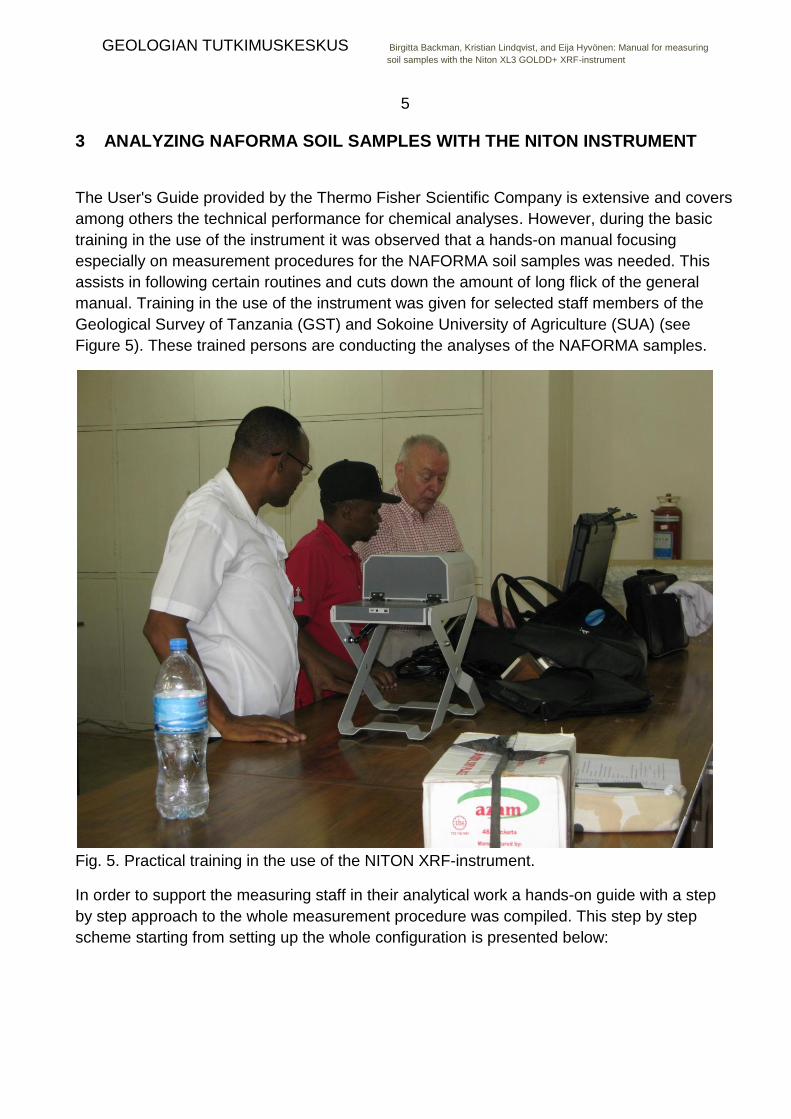
manual. Training in the use of the instrument was given for selected staff members of the
Geological Survey of Tanzania (GST) and Sokoine University of Agriculture (SUA) (see
Figure 5). These trained persons are conducting the analyses of the NAFORMA samples.
Fig. 5. Practical training in the use of the NITON XRF-instrument.
In order to support the measuring staff in their analytical work a hands-on guide with a step
by step approach to the whole measurement procedure was compiled. This step by step
scheme starting from setting up the whole configuration is presented below:

GEOLOGIAN TUTKIMUSKESKUS Birgitta Backman, Kristian Lindqvist, and Eija Hyvönen: Manual for measuring
soil samples with the Niton XL3 GOLDD+ XRF-instrument
6
1. Start the computer
2. Set up the instrument stand
3. Take the cables from under the lid and lock the lid (cables to be used with the stand
are stored in the measuring cabinet)
4. Take the instrument; check that the battery is fully loaded
5. Tip the stand (for easier connection of the instrument and cables)
6. Connect the cables to the instrument
Communication cable, analyzer-computer (flat ends)
Connection cable stand-instrument (thin cable, round end to the instrument)
Power supply cable (instrument-socket)
7. Attach the instrument to the stand
8. Put the stand into upright position
9. Connect the power cable for the stand (cable from charger to the back of the stand)
and the connection cable stand-instrument (from step 6)
10. Check that the green light is on in the chargers
11. Switch on the instrument; let it warm up for 5 minutes
12. Start the instrument by pressing "start" for 3-4 seconds until the program opens
13. Press "log on" – YES
14. Enter password (1234)
15. Wait for ca 5 minutes
16. Turn to the computer (two programs downloaded: NDT saves the measurement data,
NDTr is the measuring program)
17. Start NDT, check the communication between instrument and computer:
Tools >> Options >> Communications >> Port Com 4, Baud Rate 115 200
--- if the system cannot connect: check the USB-port
Test >> successfully OK >> OK
18. Close the NDT program (uses the same cable as the NDTr program)
19. Open the NDTr program; if there is a text message in red = disconnection >> settings
>> select connect
20. Do the system check >> yes >> system OK >> close
21. Make a work file; go to "download" and create a new file with a different name from
the others in the destination folder (otherwise the program will download the data with
overwriting of old data)
22. Tick boxes for CSV and NDT (two files)
23. Go to the menu; select sample type >> soils and minerals >> Test all geo
24. Data entry; insert sample name/number
25. Return; Test all geo; Tools >> average 3 >> enter (E)
26. Clean the sample plastic bag, place the sample in the measuring cabinet of the stand,
close the lid

GEOLOGIAN TUTKIMUSKESKUS Birgitta Backman, Kristian Lindqvist, and Eija Hyvönen: Manual for measuring
soil samples with the Niton XL3 GOLDD+ XRF-instrument
7
27. Info: Press "start" (upper panel) when 1 (240 s) out of 3 measurements is done start
again
28. When ready; navigate data entry (when a new sample) >> main.
-Measure the M2 test sample every second day.
-When the instrument is installed and the measurements continue day after day the everyday
measurement procedure steps start from point 10, page 6.
4 QUALITY CONTROL IN THE MEASUREMENTS
Scientific measurements include always a matter of accuracy. Therefore, quality control (QC)
connected to the soil sample measurements is important. In order to ensure the QC of the
measurements specific guidelines for the QC of NAFORMA soil sample measurements have
been compiled and are presented below:
1. Check the condition of the fine transparent film (membrane) of the measuring window.
The membrane is very thin and breaks easily, clean by blowing.
if the membrane has to be changed see the general portable XRF- manual, spear
membranes and one membrane support are in the instrument box
remember to clean the measuring cabinet table also
2. Open the NDT and NDTr programs according to chapter 3 of this manual
remember to give a new name for the result file
remember to set the number of measurements for the average (3 measurements)
3. The XRF-measurements:
cross check the sample numbers on the plastic bag and in the program (data entry)
and again when the measurement is done
remember to clean the sample bag (plastic bag) before the measurement
if there is a numbering error re-analyze the sample
after measuring the first sample check the Excel-file so you can be sure that all
three measurements+ average are done. If problems occur do a re-analysis and
add the letter R to the end of the sample number (6262R). Do not edit the data
file
the measurement times are 240 s + 240 s + 240 s or in total 720 s
during the measurement do not open the Excel-file (might interfere with the XRF-
measurement)
during the day check every now and then the Excel file (between two samples) so
you know that everything works correctly.
if an error code appears see the manufacturer's general manual
GEOLOGIAN TUTKIMUSKESKUS Birgitta Backman, Kristian Lindqvist, and Eija Hyvönen: Manual for measuring
soil samples with the Niton XL3 GOLDD+ XRF-instrument
8
4. If you need to create a new result-file (Excel-file) e.g. after an electric power cut, name it:
date + version 2 (04122015_v2)
5. Measure the standard sample every second day (Mon, Wed, Fri)
6. Do not edit the result file (Excel- and NDT-files) because all data is needed for further
data processing
7. Take back-up files (memory stick) every day. Store the stick in a different place, not
together with the computer
8. Measuring operators should not be changed during an ongoing measurement but
between two samples
9. All documents e.g. sample lists must be stored
5 SAFE USE OF THE XRF-INSTRUMENT
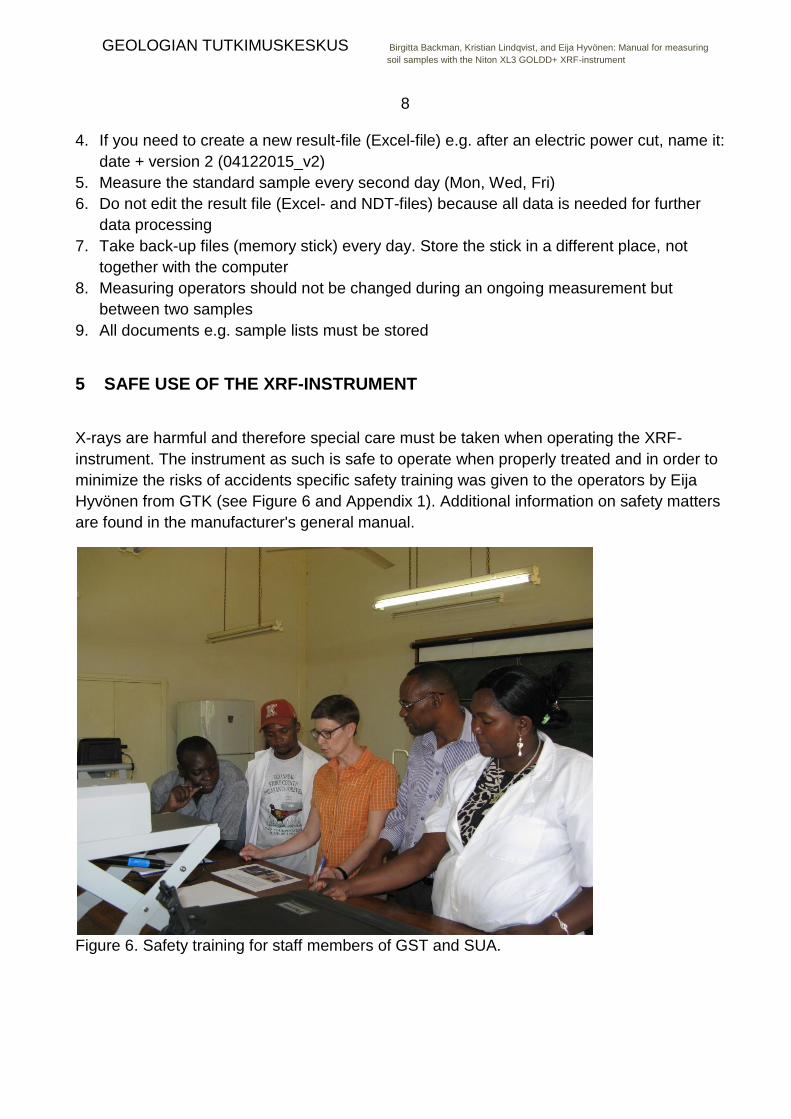
X-rays are harmful and therefore special care must be taken when operating the XRF-
instrument. The instrument as such is safe to operate when properly treated and in order to
minimize the risks of accidents specific safety training was given to the operators by Eija
Hyvönen from GTK (see Figure 6 and Appendix 1). Additional information on safety matters
are found in the manufacturer's general manual.
Figure 6. Safety training for staff members of GST and SUA.
Appendix 1.
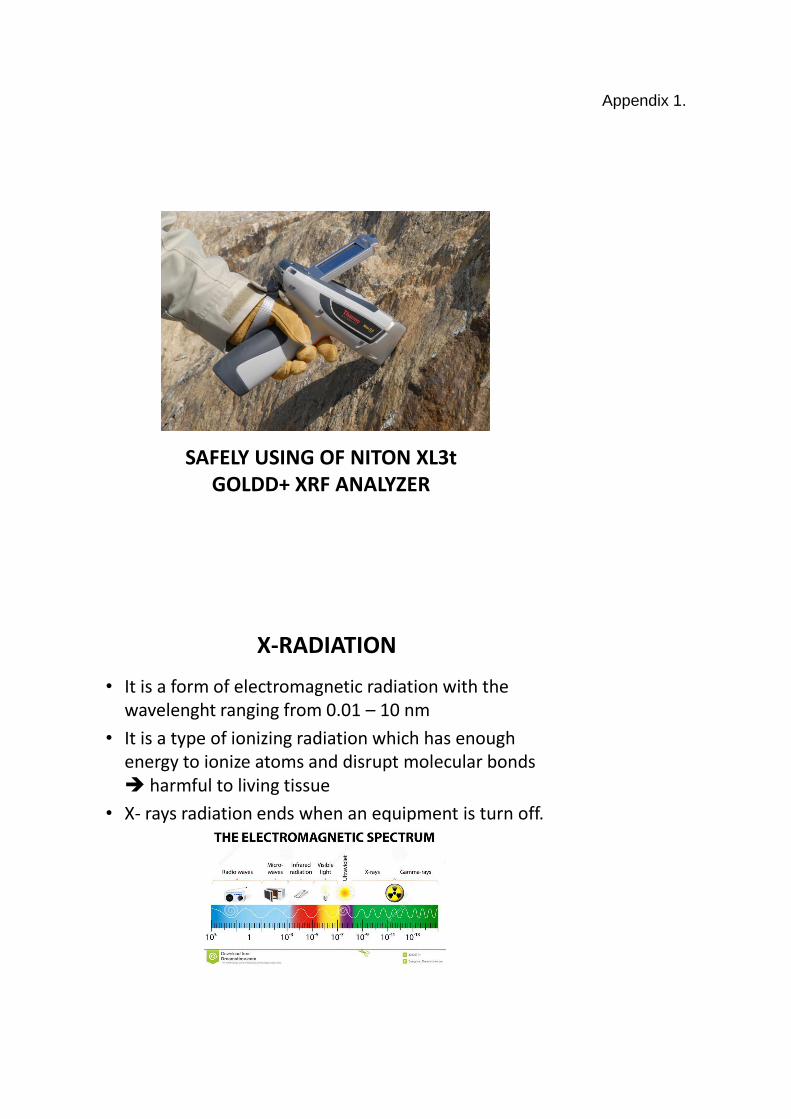
SAFELY USING OF NITON XL3t GOLDD+ XRF ANALYZER
X-RADIATION
• It is a form of electromagnetic radiation with the wavelenght ranging from 0.01 – 10 nm
• It is a type of ionizing radiation which has enough energy to ionize atoms and disrupt molecular bonds harmful to living tissue
• X- rays radiation ends when an equipment is turn off.
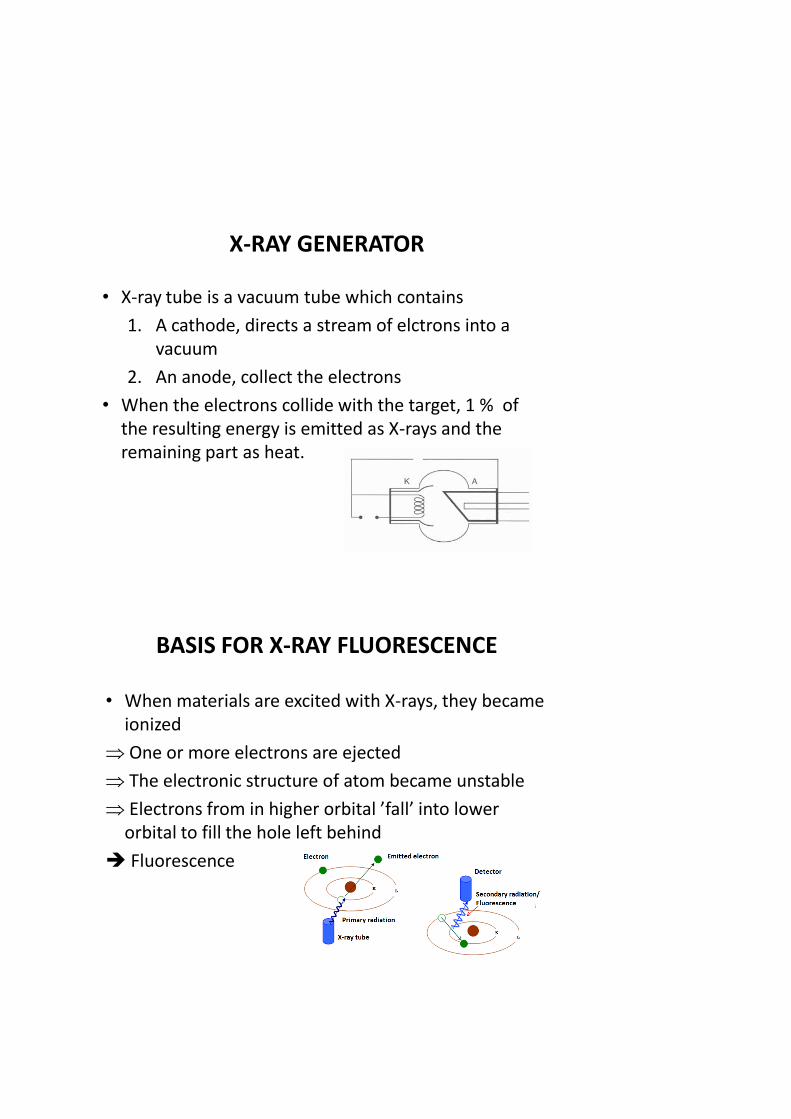
X-RAY GENERATOR
• X-ray tube is a vacuum tube which contains
1. A cathode, directs a stream of elctrons into a vacuum
2. An anode, collect the electrons
• When the electrons collide with the target, 1 % of the resulting energy is emitted as X-rays and the remaining part as heat.
BASIS FOR X-RAY FLUORESCENCE
• When materials are excited with X-rays, they became ionized
One or more electrons are ejected
The electronic structure of atom became unstable
Electrons from in higher orbital ’fall’ into lower orbital to fill the hole left behind
Fluorescence
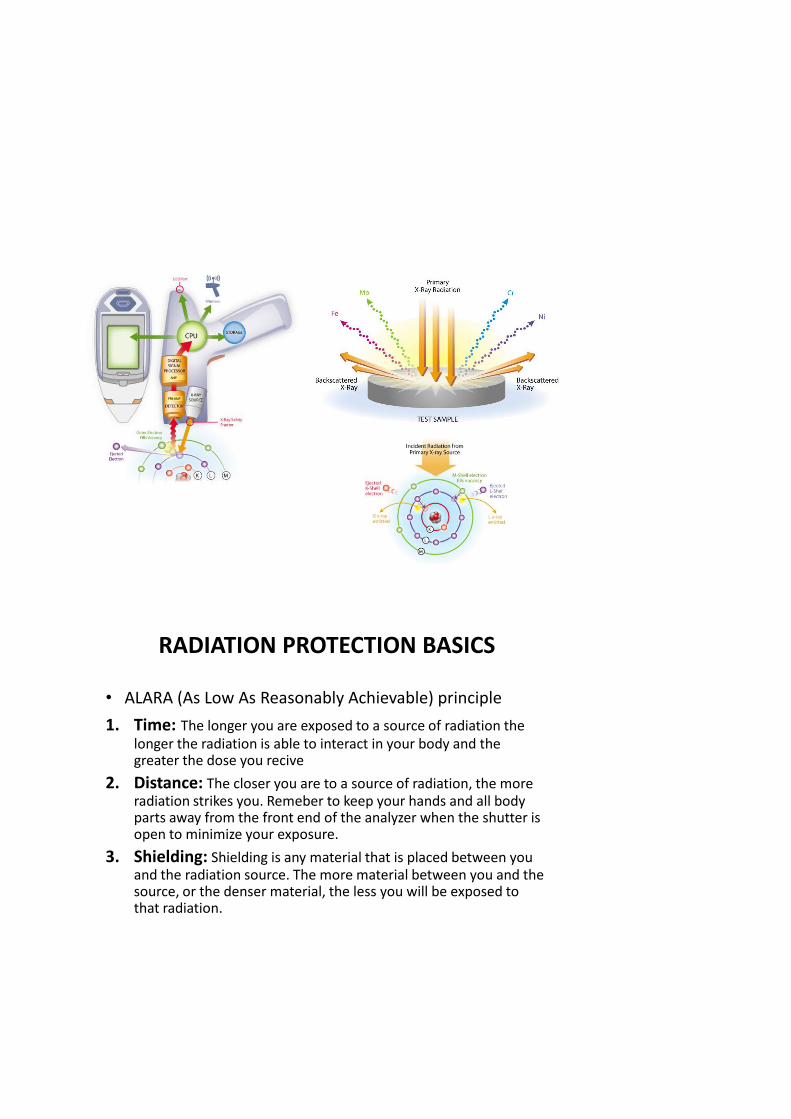
RADIATION PROTECTION BASICS
• ALARA (As Low As Reasonably Achievable) principle
1. Time: The longer you are exposed to a source of radiation the longer the radiation is able to interact in your body and the greater the dose you recive
2. Distance: The closer you are to a source of radiation, the more radiation strikes you. Remeber to keep your hands and all body parts away from the front end of the analyzer when the shutter is open to minimize your exposure.
3. Shielding: Shielding is any material that is placed between you and the radiation source. The more material between you and the source, or the denser material, the less you will be exposed to that radiation.
EXPOSURE TO RADIATION
• Equivalent dose: measures the biological effects of ionising radiation. Unit is Sievert [Sv].
• Equivalent dose rate: the time of exposure to ionising radiation. Unit Sv/h.
• Niton XL3t : 2 mSv per year if the analyzer is used as much as 2000 hours per year.
• The dose rate 0.4 mSv/h at the distance of 1 meter and without a sample.
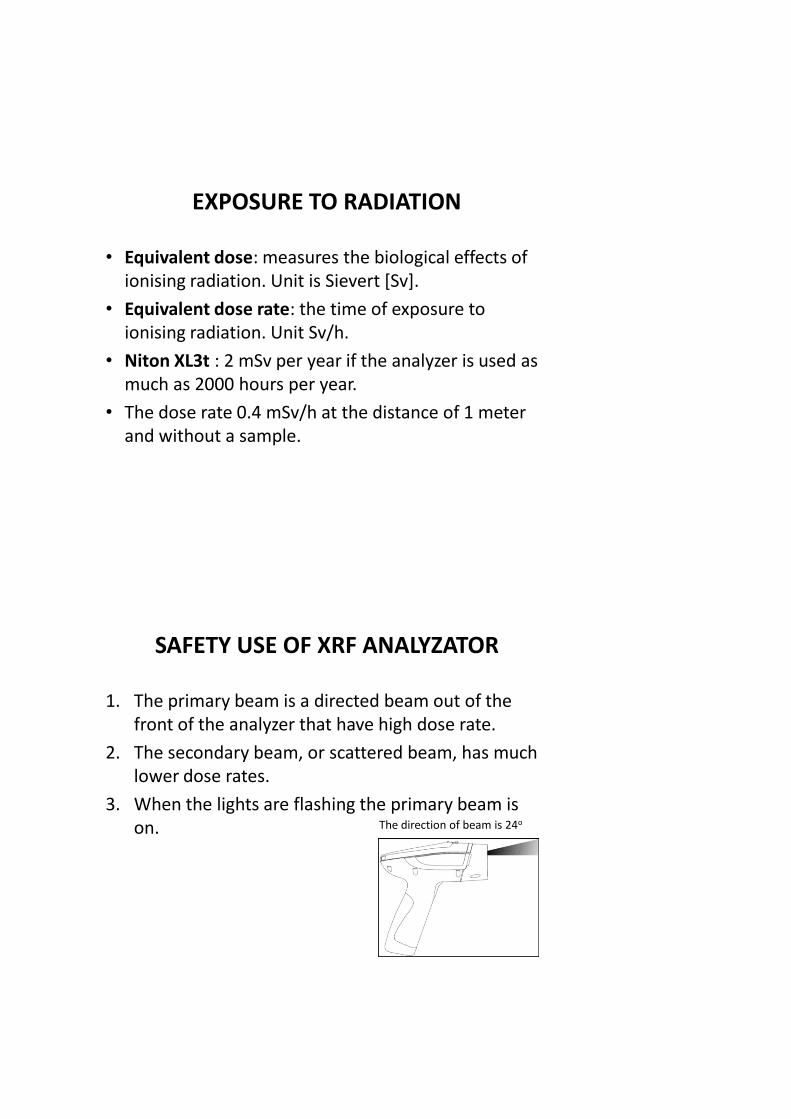
SAFETY USE OF XRF ANALYZATOR
1. The primary beam is a directed beam out of the front of the analyzer that have high dose rate.
2. The secondary beam, or scattered beam, has much lower dose rates.
3. When the lights are flashing the primary beam is on. The direction of beam is 24o
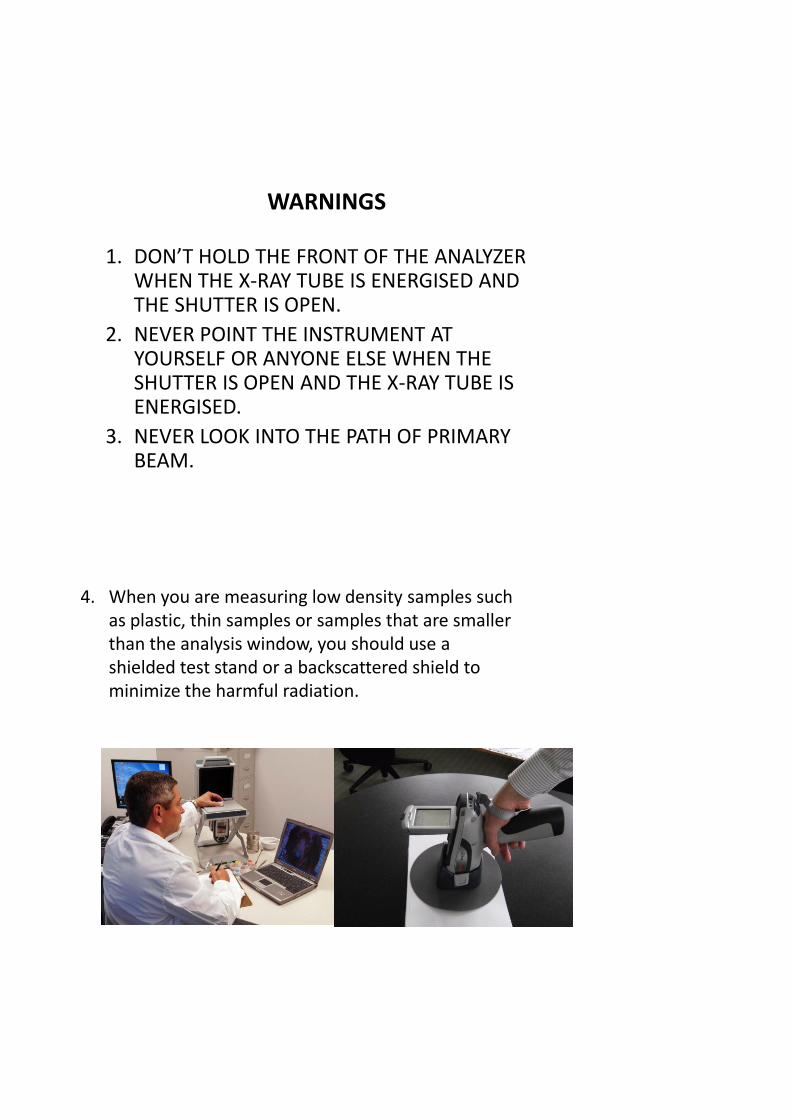
WARNINGS
1. DON’T HOLD THE FRONT OF THE ANALYZER WHEN THE X-RAY TUBE IS ENERGISED AND THE SHUTTER IS OPEN.
2. NEVER POINT THE INSTRUMENT AT YOURSELF OR ANYONE ELSE WHEN THE SHUTTER IS OPEN AND THE X-RAY TUBE IS ENERGISED.
3. NEVER LOOK INTO THE PATH OF PRIMARY BEAM.
4. When you are measuring low density samples such as plastic, thin samples or samples that are smaller than the analysis window, you should use a shielded test stand or a backscattered shield to minimize the harmful radiation.
NITON XL3 SAFETY MECHANISM
• The X-ray tube cannot be energized before the instrument is turned on, the password is given and the mode of analyze is selcted.
• X-ray tube is activated when you press the trigger and closed when you realease the trigger.
• If the sample is missing from the front of the analyzer, the X-ray tube is closed automatically.
• When the primary beam is on four lights are flashing around the instrument.
• Remember to shut the analyzer always when you are not using it.
• Maint the instrument in safty place.• Transport the instrument in a shock-proof case.
IF YOU HAVE PROBLEM WITH THE ANALYZER TAKE A CONTACT TO
HOLGER HARTMANN OYTANJA SIUVATTI
PHONE: +358 50 4093175E-MAIL: [email protected]


![Analyses of soil samples from [Saipan, Tinian & Rota]](https://img.pdfslide.us/doc/110x75/568bd9401a28ab2034a6588e/analyses-of-soil-samples-from-saipan-tinian-rota.jpg)