Embed Size (px)
Citation preview

Light-Up Angler Fish EmbroideryCreated by Becky Stern
Last updated on 2015-08-29 03:01:21 PM EDT

2359
1018222427
Guide Contents
Guide ContentsOverviewTools & SuppliesLayout & Circuit DiagramSew CircuitCodeHand EmbroideryBatteryWear it!
© Adafruit Industries https://learn.adafruit.com/light-up-angler-fish-embroidery Page 2 of 28
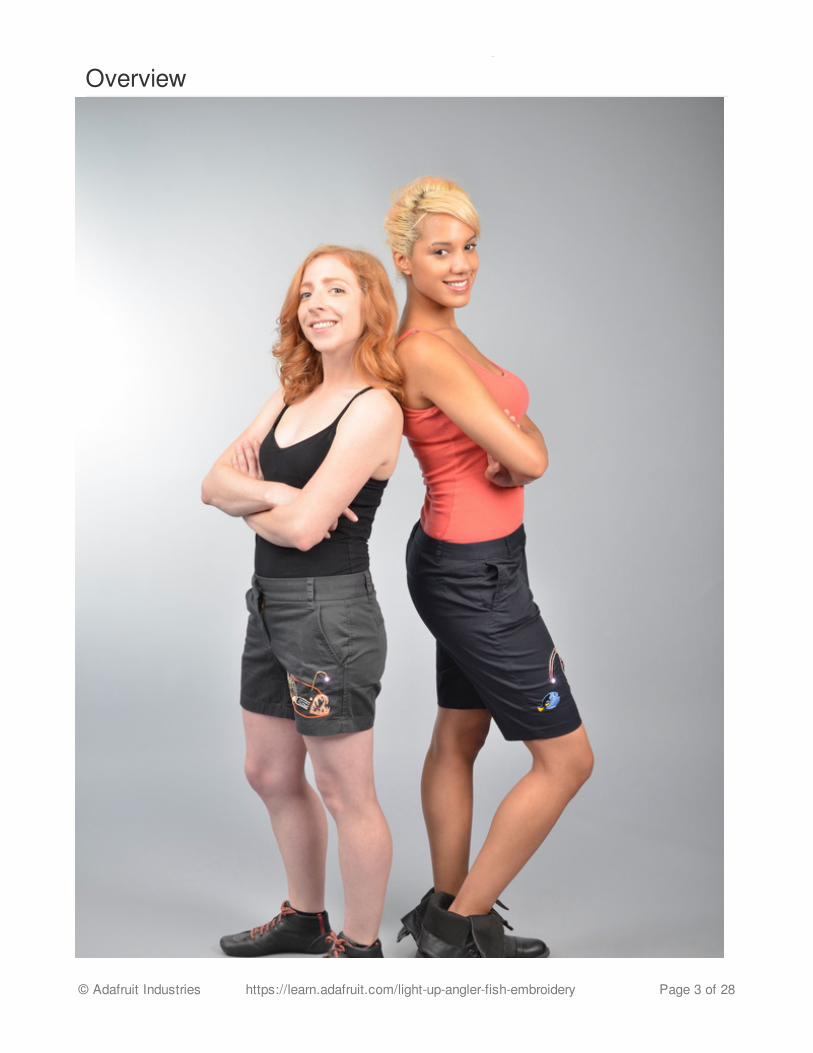
Overview
© Adafruit Industries https://learn.adafruit.com/light-up-angler-fish-embroidery Page 3 of 28
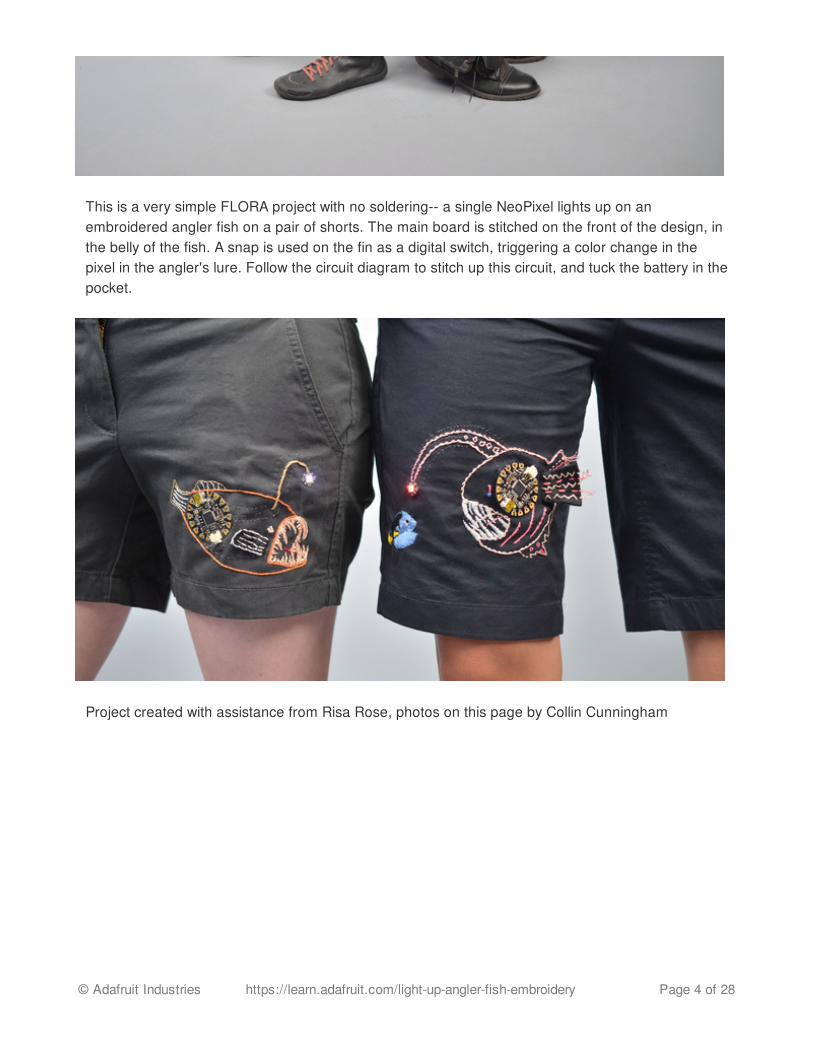
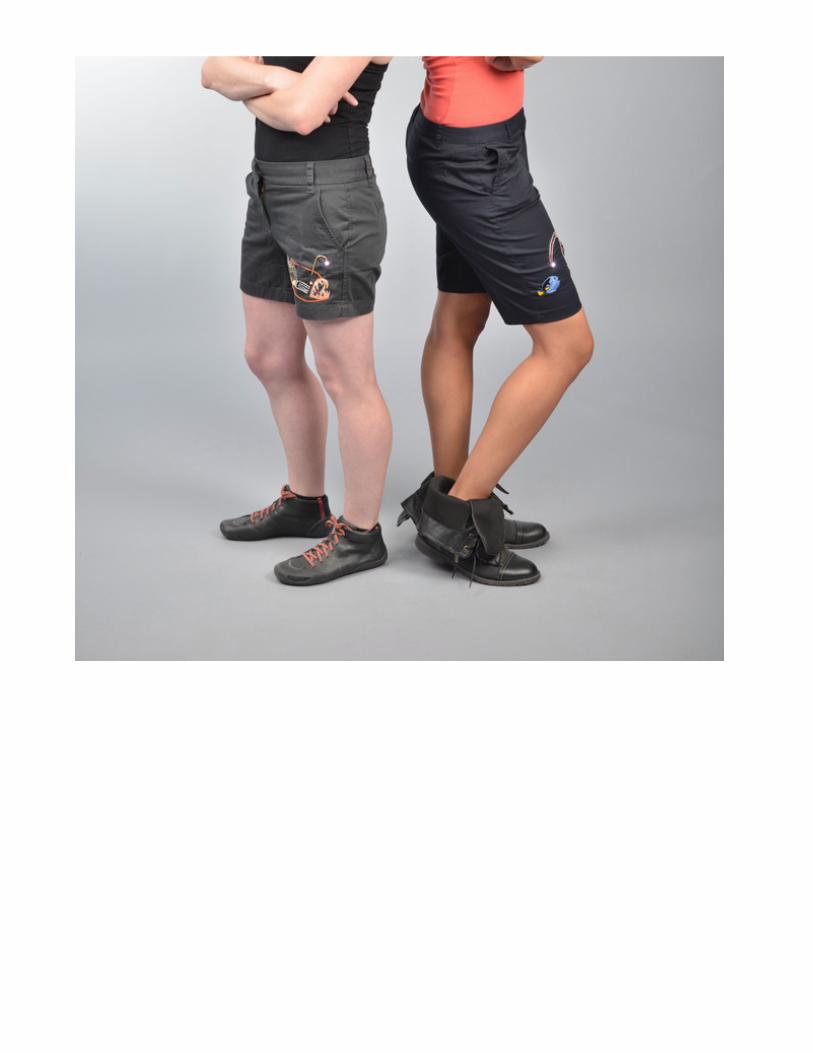
This is a very simple FLORA project with no soldering-- a single NeoPixel lights up on anembroidered angler fish on a pair of shorts. The main board is stitched on the front of the design, inthe belly of the fish. A snap is used on the fin as a digital switch, triggering a color change in thepixel in the angler's lure. Follow the circuit diagram to stitch up this circuit, and tuck the battery in thepocket.
Project created with assistance from Risa Rose, photos on this page by Collin Cunningham
© Adafruit Industries https://learn.adafruit.com/light-up-angler-fish-embroidery Page 4 of 28
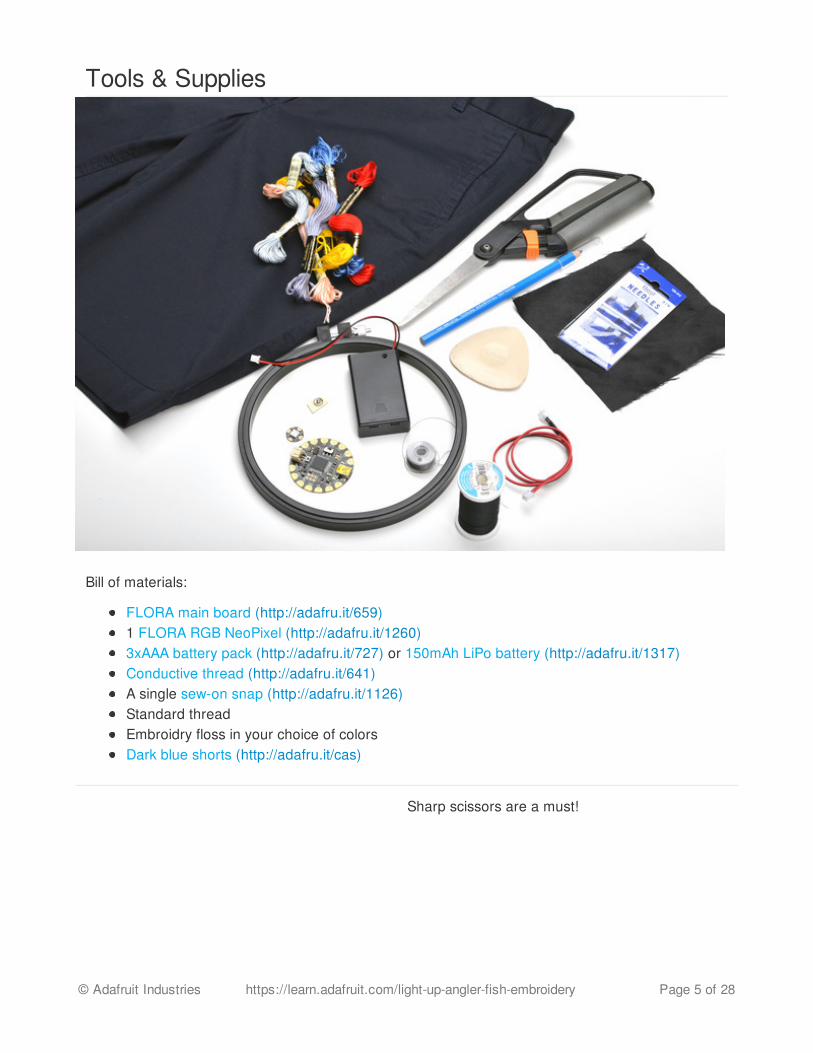
Tools & Supplies
Bill of materials:
FLORA main board (http://adafru.it/659)1 FLORA RGB NeoPixel (http://adafru.it/1260)3xAAA battery pack (http://adafru.it/727) or 150mAh LiPo battery (http://adafru.it/1317)Conductive thread (http://adafru.it/641)A single sew-on snap (http://adafru.it/1126)Standard threadEmbroidry floss in your choice of colorsDark blue shorts (http://adafru.it/cas)
Sharp scissors are a must!
© Adafruit Industries https://learn.adafruit.com/light-up-angler-fish-embroidery Page 5 of 28

Conductive thread (http://adafru.it/aVx) will carrysignal and current from the main board to the pixellure and connect to the snap switch.
An embroidery hoop is critical for a beautiful resultand a pleasant experience. For more informationon using an embroidery hoop correctly, check outour Cross Stitch tutorial (http://adafru.it/aUT).
Clear nail polish or fray check to seal knots
© Adafruit Industries https://learn.adafruit.com/light-up-angler-fish-embroidery Page 6 of 28

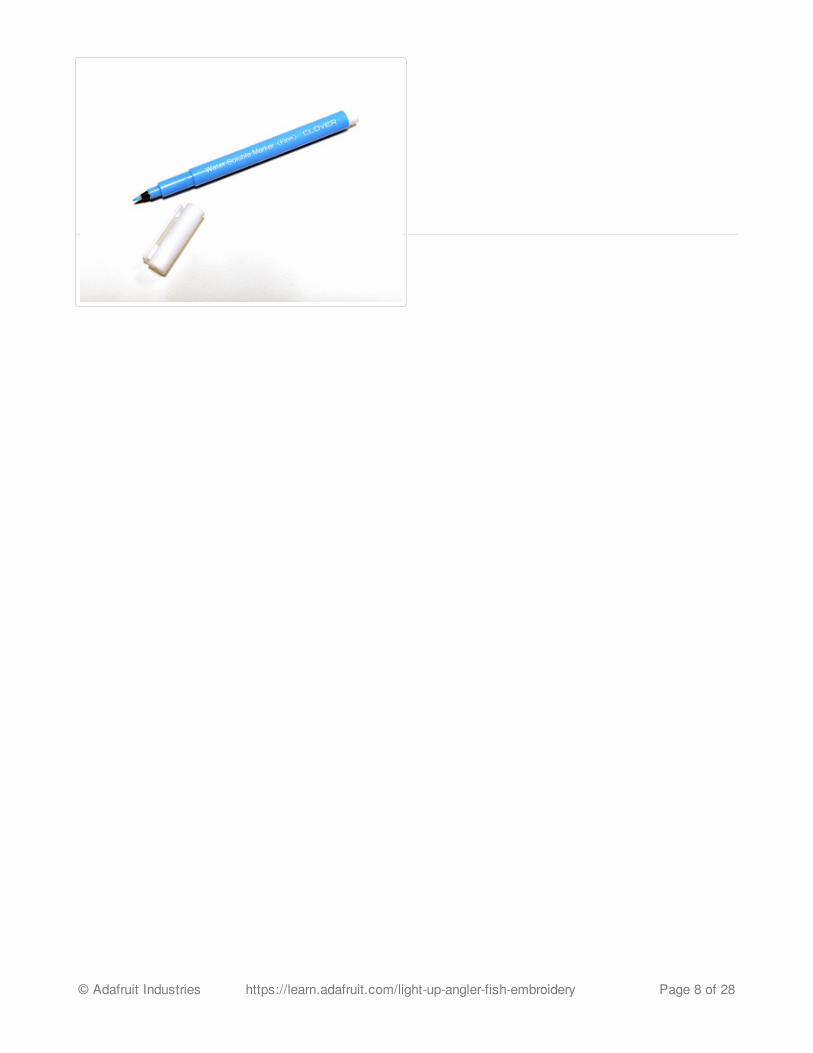
To mark out your circuit use a water-solubleembroidery marker or tailor's chalk.
© Adafruit Industries https://learn.adafruit.com/light-up-angler-fish-embroidery Page 7 of 28
© Adafruit Industries https://learn.adafruit.com/light-up-angler-fish-embroidery Page 8 of 28

Layout & Circuit Diagram
D6 is the data bus for the NeoPixel, VBATT and GND also connect to + and - on the pixel. A snap isused as a switch-- one half is connected to GND and stitched to the body of the fish, and the otherto TX (aka D1, any digital pin will work), and sewn to the back of the fin so you can snap andunsnap it at will. You can print out the fish pattern on transfer paper or just use it as a reference.
You an adapt this project for Gemma by changing the button pin to be Digital #0 or #2 and theNeoPixels on Digital #1 - the code will also need adjustments for the new pin connections
© Adafruit Industries https://learn.adafruit.com/light-up-angler-fish-embroidery Page 9 of 28

Sew CircuitSandwich the pant leg between the two pieces ofan embroidery hoop. If your solid piece has a "griplip," make sure it is facing up.
Begin tightening the knob on the outer ring andalso pulling the fabric taut in the hoop.
Place your FLORA main board and single pixel onthe taut fabric, and sketch out your pattern (ortrace ours) with tailor's chalk.
Thread a needle with 2-ply conductive thread andpierce the fabric from back to front next to the padmarked D6 on FLORA.
Leave a 5" tail at the back of the fabric and make afew stitches through the D6 hole, securing it to thepant leg.
© Adafruit Industries https://learn.adafruit.com/light-up-angler-fish-embroidery Page 10 of 28

End at the back and tie a knot with the workingthread and the tail you left at the start. Seal theknot with clear nail polish or fray check.
Learn more tips over at our ConductiveThread (http://adafru.it/aVx) guide!
© Adafruit Industries https://learn.adafruit.com/light-up-angler-fish-embroidery Page 11 of 28

Use a running stitch to sew a path with the workingthread up the angler's lure to the end. Make a fewstitches around the pixel's pad marked with aninward-facing arrow to secure it both electricallyand mechanically. make a knot at the back, sealand snip off the tail.
© Adafruit Industries https://learn.adafruit.com/light-up-angler-fish-embroidery Page 12 of 28
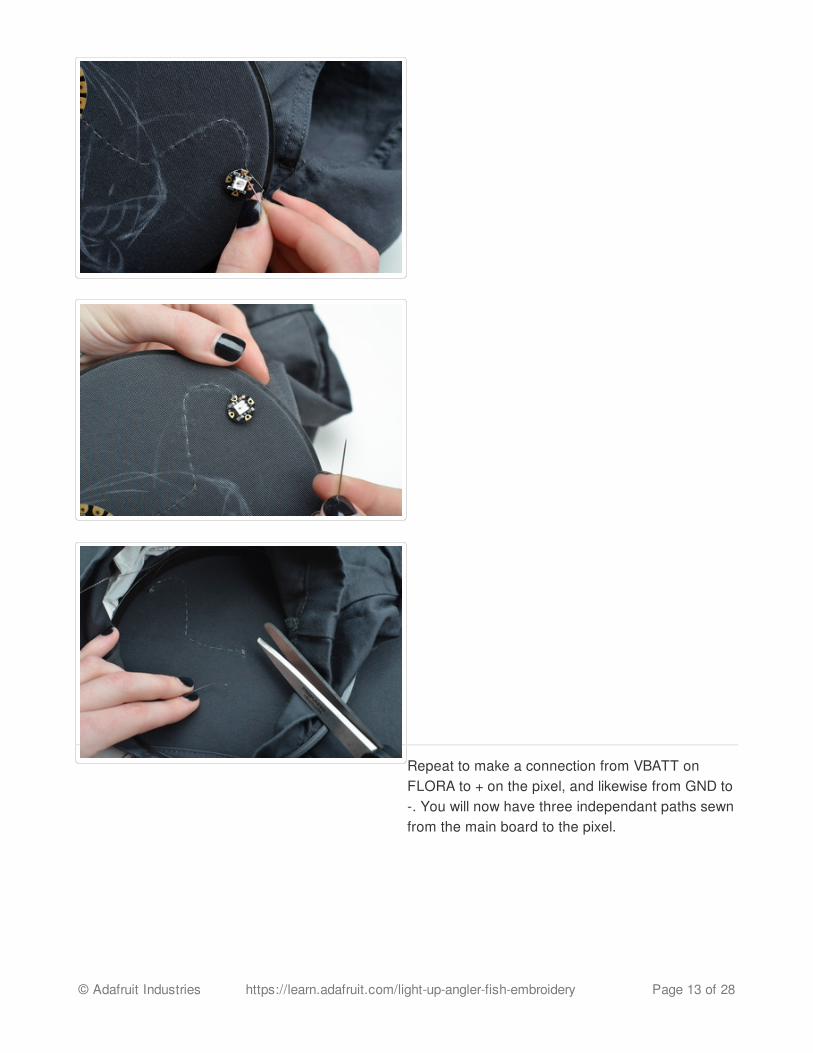
Repeat to make a connection from VBATT onFLORA to + on the pixel, and likewise from GND to-. You will now have three independant paths sewnfrom the main board to the pixel.
© Adafruit Industries https://learn.adafruit.com/light-up-angler-fish-embroidery Page 13 of 28

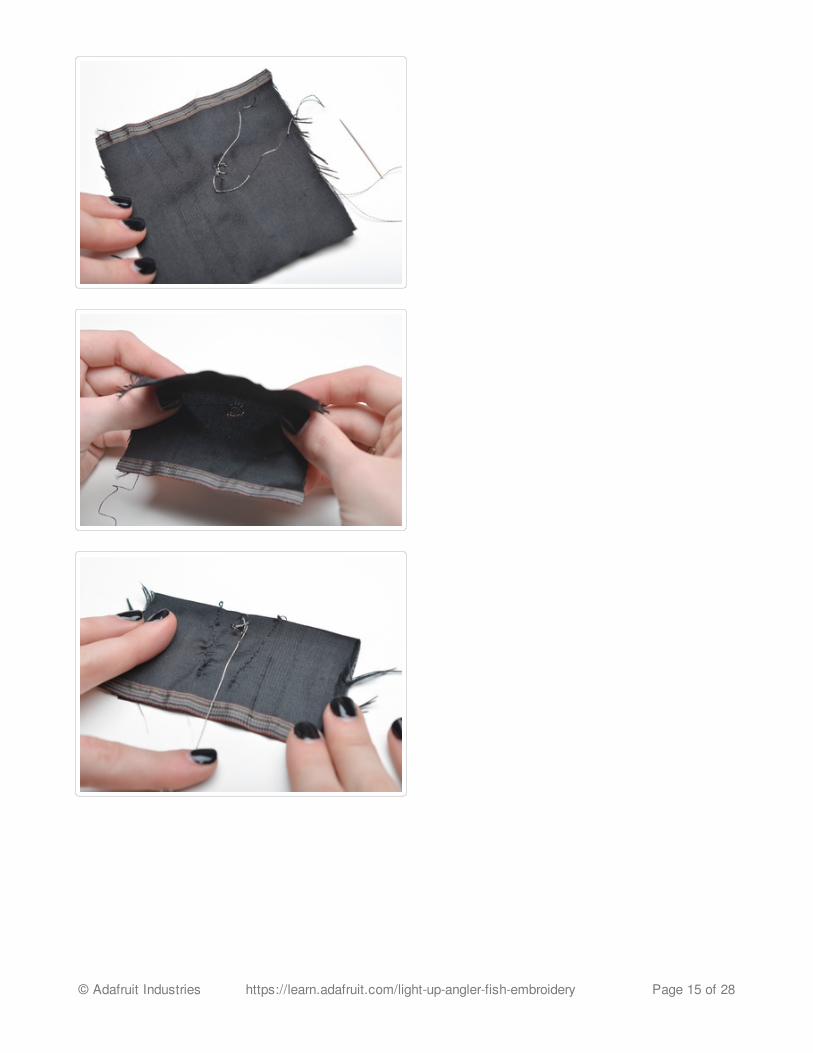
To make the fin, sew one half of a snap to a smallpiece of fabric with conductive thread.
Knot and seal at the back, then cover the snap byfolding the fabric in half.
Stitch two lines as shown in plan thread, creatingthe shape of a fin. Cut off excess fabric about 1/4"from the seam and turn the fin right side out.
You should have a long piece of conductive threadcoming from the inside of the fin.
© Adafruit Industries https://learn.adafruit.com/light-up-angler-fish-embroidery Page 14 of 28
© Adafruit Industries https://learn.adafruit.com/light-up-angler-fish-embroidery Page 15 of 28
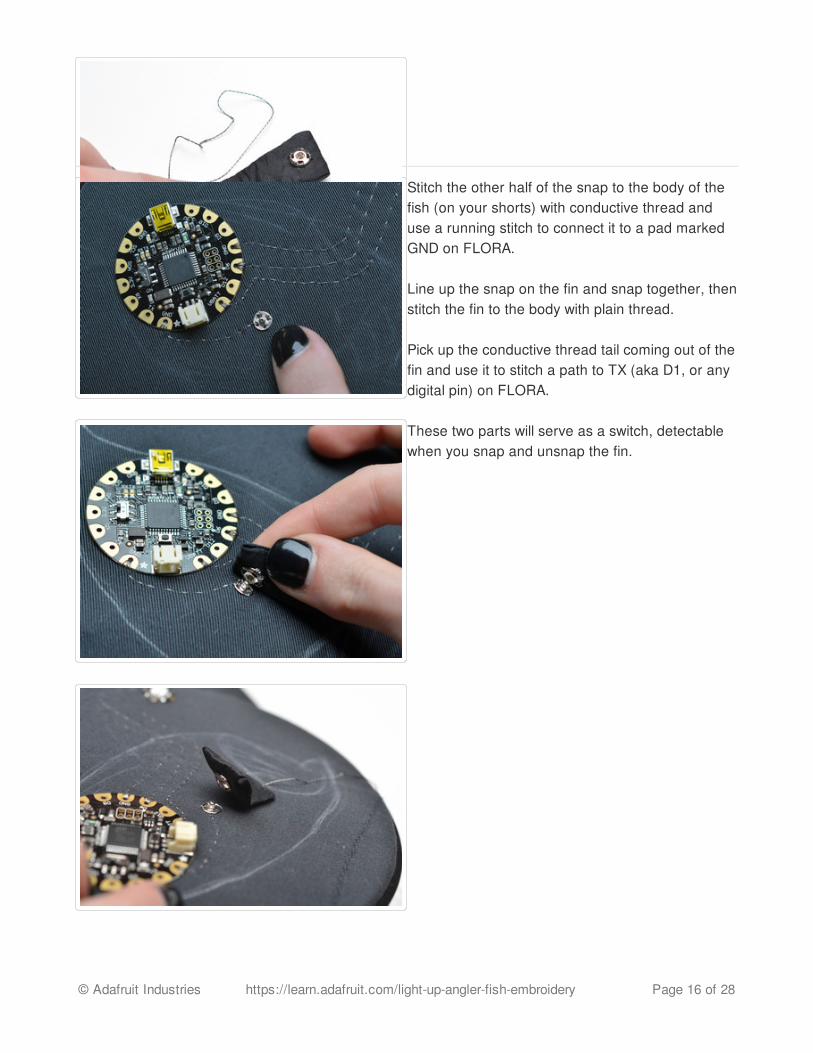
Stitch the other half of the snap to the body of thefish (on your shorts) with conductive thread anduse a running stitch to connect it to a pad markedGND on FLORA.
Line up the snap on the fin and snap together, thenstitch the fin to the body with plain thread.
Pick up the conductive thread tail coming out of thefin and use it to stitch a path to TX (aka D1, or anydigital pin) on FLORA.
These two parts will serve as a switch, detectablewhen you snap and unsnap the fin.
© Adafruit Industries https://learn.adafruit.com/light-up-angler-fish-embroidery Page 16 of 28

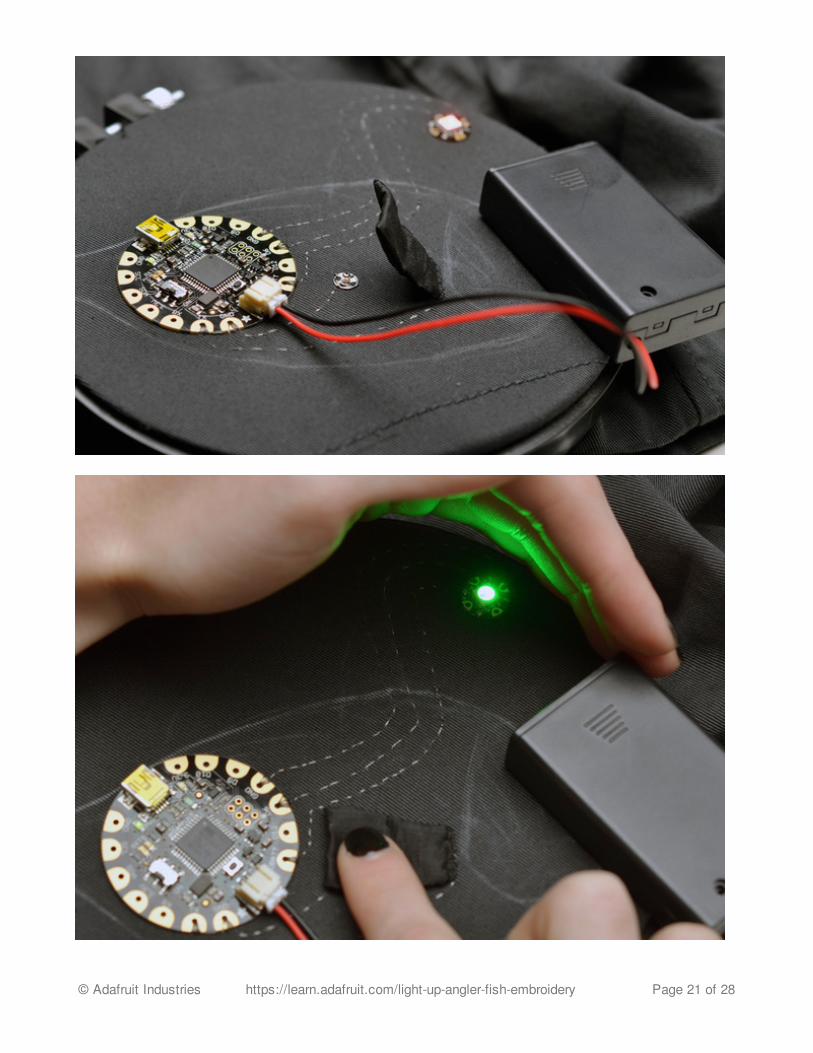
Double check your circuit for stray threads, and getready to load it with a program that will change thelure's color when you snap the fish's fin.
© Adafruit Industries https://learn.adafruit.com/light-up-angler-fish-embroidery Page 17 of 28

© Adafruit Industries https://learn.adafruit.com/light-up-angler-fish-embroidery Page 18 of 28
CodePlug in a USB cable to connect the FLORA main board to your computer. Open up the AdafruitArduino IDE, which you can download from the Getting Started with FLORAguide (http://adafru.it/aVE).
First test out your pixel's connections by uploading the sketch in File >> Examples >>Adafruit_NeoPixel >> strandtest.
Then upload the code below to make the pixel change color when the snap isconnected/disconnected:
© Adafruit Industries https://learn.adafruit.com/light-up-angler-fish-embroidery Page 19 of 28

You an adapt this project for Gemma by changing the button pin to be Digital #0 or #2 and theNeoPixels on Digital #1 - the code will also need adjustments for the new pin connections
#include <Adafruit_NeoPixel.h>
// Parameter 1 = number of pixels in strip// Parameter 2 = pin number (most are valid)// Parameter 3 = pixel type flags, add together as needed:// NEO_RGB Pixels are wired for RGB bitstream// NEO_GRB Pixels are wired for GRB bitstream// NEO_KHZ400 400 KHz bitstream (e.g. FLORA pixels)// NEO_KHZ800 800 KHz bitstream (e.g. High Density LED strip)Adafruit_NeoPixel strip = Adafruit_NeoPixel(1, 6, NEO_GRB + NEO_KHZ800);const int buttonPin = 1; // the fin snap is connected to FLORA TX, the other half of the snap is conntected to GNDint buttonState = 0; // variable for reading the snap status
void setup() { strip.begin(); strip.show(); // Initialize all pixels to 'off' // initialize the pushbutton pin as an input: pinMode(buttonPin, INPUT); digitalWrite(buttonPin, HIGH);}
void loop() { // read the state of the pushbutton value: buttonState = digitalRead(buttonPin); // check if the pushbutton is pressed. // if it is, the buttonState is HIGH: if (buttonState == LOW) { // turn LED on: strip.setPixelColor(0, strip.Color(200, 211, 254)); // color when snap is connected strip.show(); } else { // change LED color strip.setPixelColor(0, strip.Color(250, 0, 0)); // color when snap is disconnected strip.show(); } delay(50);}
© Adafruit Industries https://learn.adafruit.com/light-up-angler-fish-embroidery Page 20 of 28
© Adafruit Industries https://learn.adafruit.com/light-up-angler-fish-embroidery Page 21 of 28

© Adafruit Industries https://learn.adafruit.com/light-up-angler-fish-embroidery Page 22 of 28

Hand Embroidery
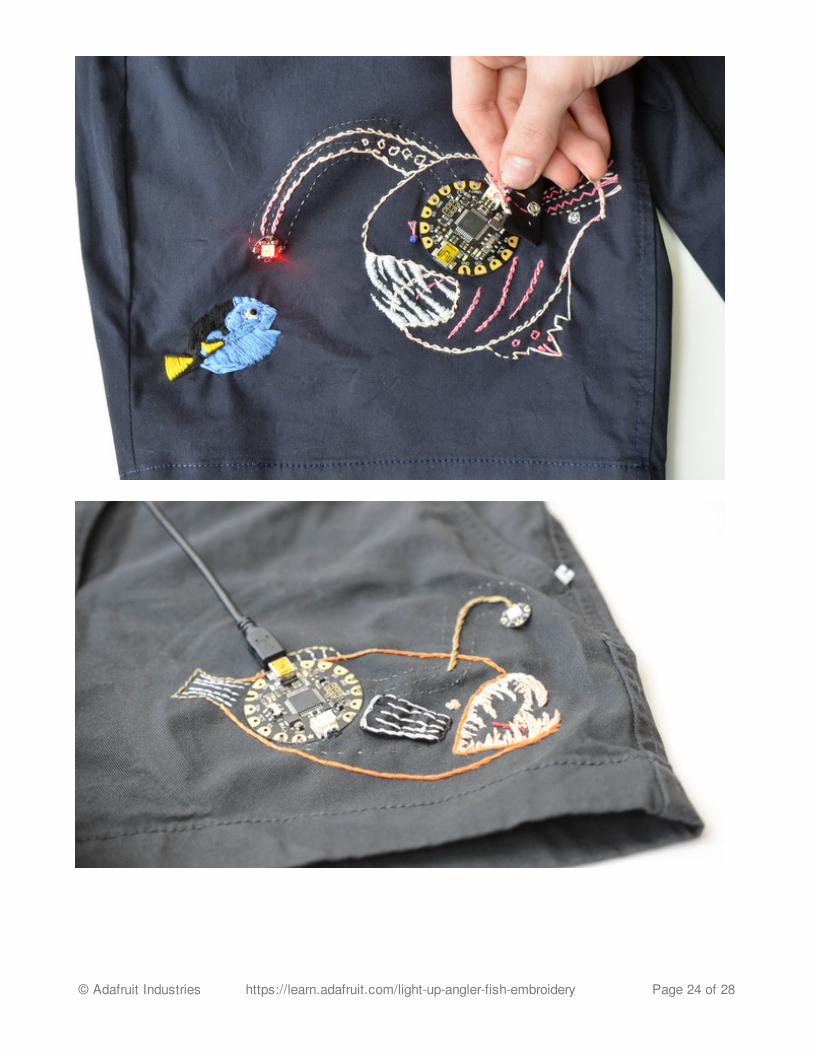
Whether you follow our pattern or draw up your own, learn all types of great embroidery stitches atNeedle'nThread (http://adafru.it/caw)'s website. Sublime Stitching (http://adafru.it/cay) also hasgreat tutorials and embroidery kits. Embroidery is is to cross stitch as vector graphics are to raster:you can create various lines and fills to create color effects and texture.
© Adafruit Industries https://learn.adafruit.com/light-up-angler-fish-embroidery Page 23 of 28
© Adafruit Industries https://learn.adafruit.com/light-up-angler-fish-embroidery Page 24 of 28
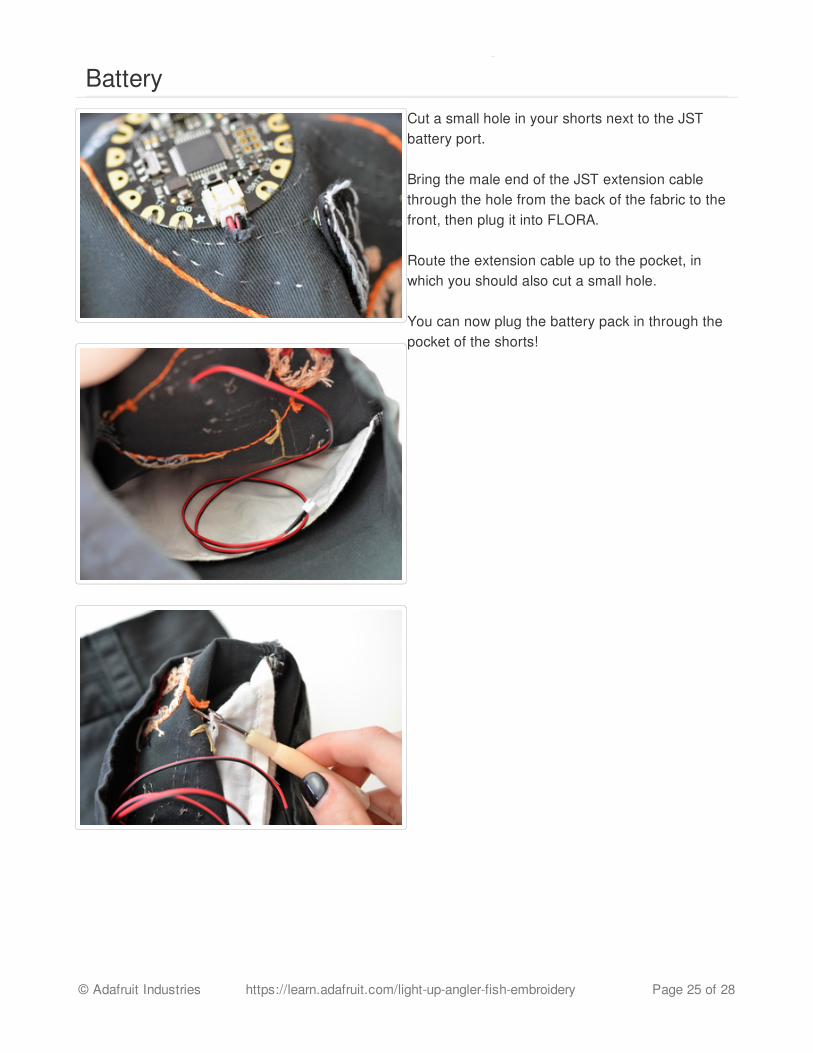
BatteryCut a small hole in your shorts next to the JSTbattery port.
Bring the male end of the JST extension cablethrough the hole from the back of the fabric to thefront, then plug it into FLORA.
Route the extension cable up to the pocket, inwhich you should also cut a small hole.
You can now plug the battery pack in through thepocket of the shorts!
© Adafruit Industries https://learn.adafruit.com/light-up-angler-fish-embroidery Page 25 of 28

Tack down the extension cable on the back of theembroidery, using stitches or just a very few fiberson the fabric to anchor it with plain thread. Stitchalong the entire cable, and you can optionally usethis same thread to secure the holes you cut ateither end with a few whip stitches.
We recommend powering this project with our3xAAA holder (http://adafru.it/727).
Remove the battery for washing and turn the shortsinside out before washing by hand. Allow to drythoroughly before plugging the battery back in.
For a smaller battery option, try our tiny lipobattery (http://adafru.it/1317) and micro lipo USBcharger (http://adafru.it/1304). Be sure to heed allsafety warnings about lithium polymer batteries anddo not use them unless you are comfortable withpower supplies.
© Adafruit Industries https://learn.adafruit.com/light-up-angler-fish-embroidery Page 26 of 28
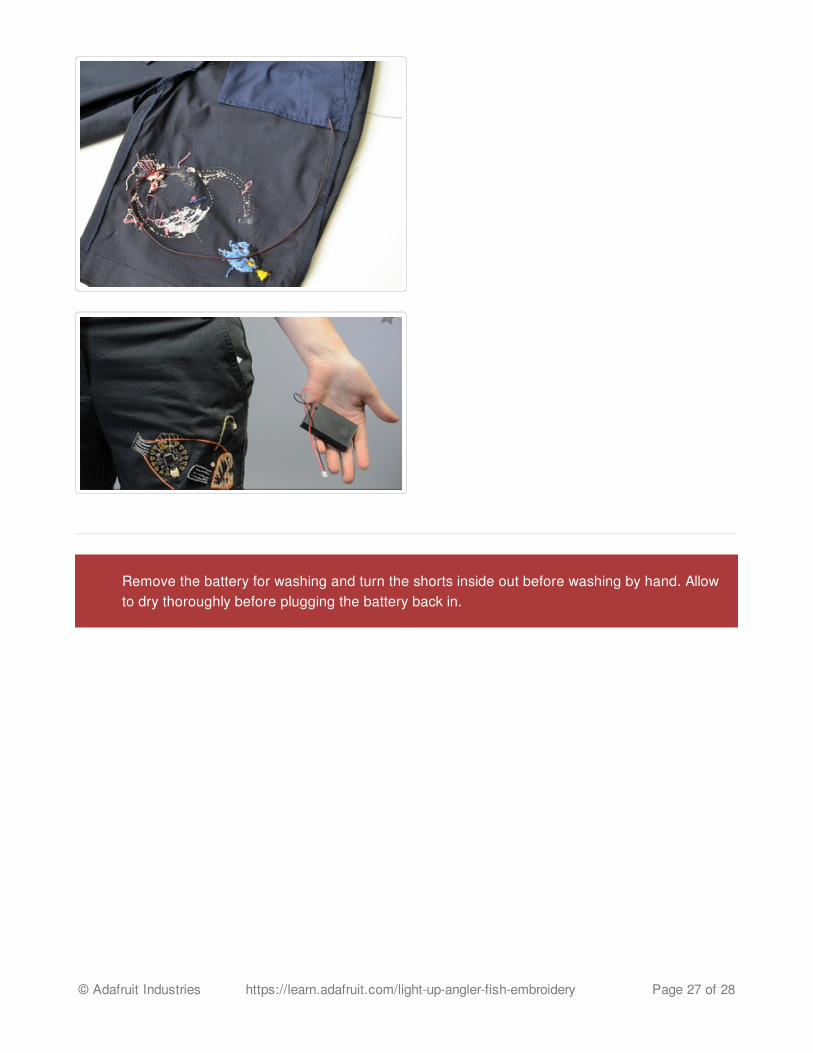
Remove the battery for washing and turn the shorts inside out before washing by hand. Allowto dry thoroughly before plugging the battery back in.�
© Adafruit Industries https://learn.adafruit.com/light-up-angler-fish-embroidery Page 27 of 28

Wear it!
This basic project can take you far-- try changing up the code to animate the pixel or add more snapswitches! We hope this introductory project will inspire your own wearable electronics project.Please share yours in our weekly Show and Tell on Google+ ()!
© Adafruit Industries Last Updated: 2015-08-29 03:01:22 PM EDT Page 28 of 28