Embed Size (px)
Citation preview
LG Chocolate LCD Screen ReplacementGeschrieben von: Charles Yoon
LG Chocolate LCD Screen Replacement
© iFixit — CC BY-NC-SA de.iFixit.com Seite 1 von 9
WERKZEUGE:Phillips #00 Screwdriver (1)
iFixit Opening Tools (1)
Spudger (1)
LG Chocolate LCD Screen Replacement
© iFixit — CC BY-NC-SA de.iFixit.com Seite 2 von 9
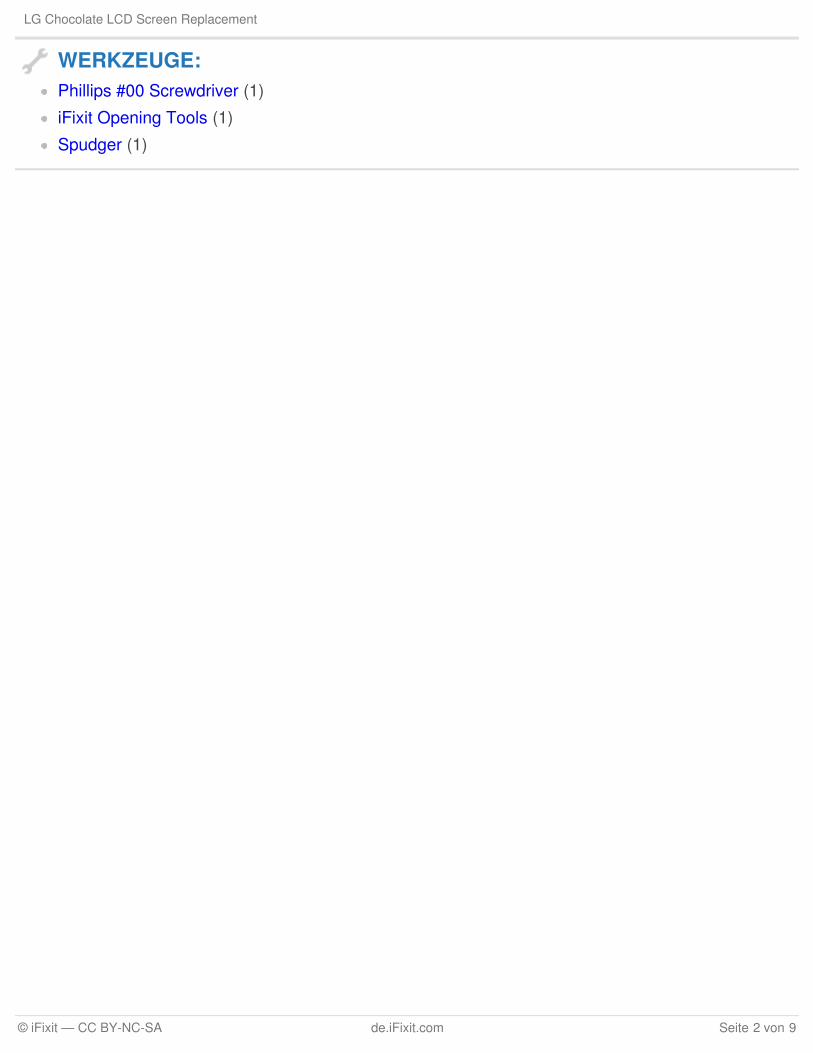
Schritt 1 — Battery
Find a sliding button on the lower back side of the device and with your finger, slide it to the leftfirmly.
The battery should pop out fairly easily. If not, slide the button further or grab and pull it whilesliding the button.
Schritt 2 — Back Cover
Unscrew the four Phillips 00 screwson the four corners under the batteryto unfasten the back case from thephone.
LG Chocolate LCD Screen Replacement
© iFixit — CC BY-NC-SA de.iFixit.com Seite 3 von 9
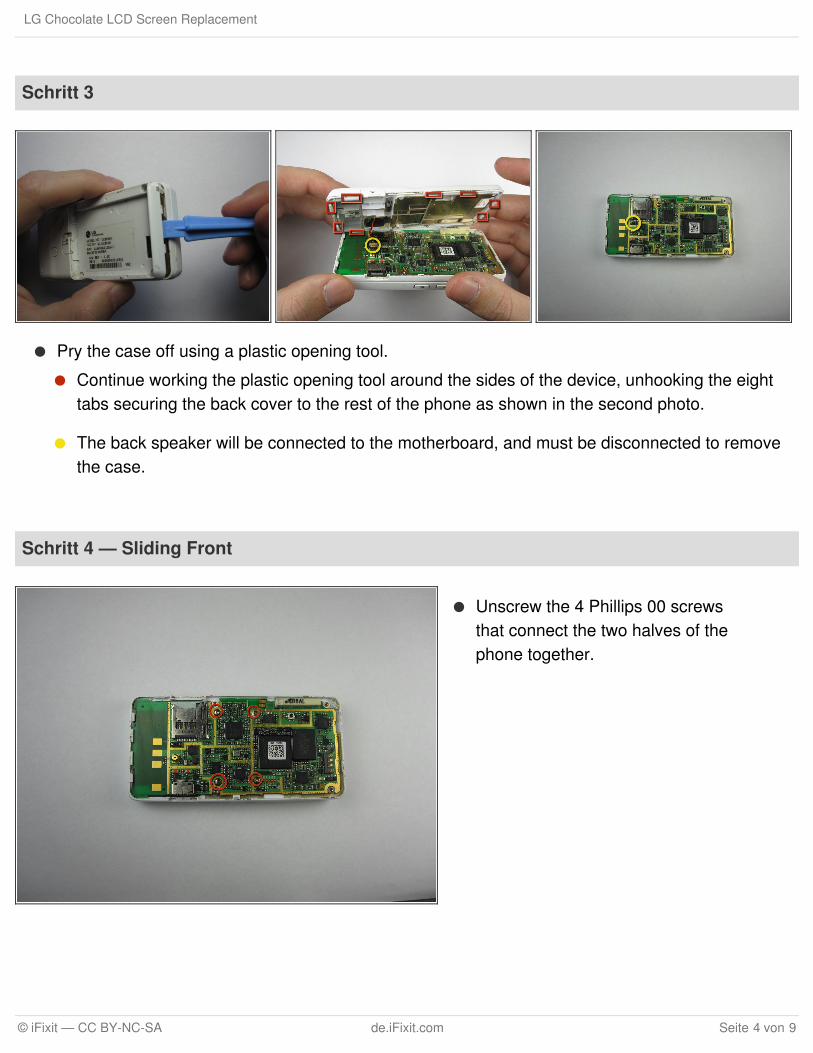
Schritt 3
Pry the case off using a plastic opening tool.
Continue working the plastic opening tool around the sides of the device, unhooking the eighttabs securing the back cover to the rest of the phone as shown in the second photo.
The back speaker will be connected to the motherboard, and must be disconnected to removethe case.
Schritt 4 — Sliding Front
Unscrew the 4 Phillips 00 screwsthat connect the two halves of thephone together.
LG Chocolate LCD Screen Replacement
© iFixit — CC BY-NC-SA de.iFixit.com Seite 4 von 9
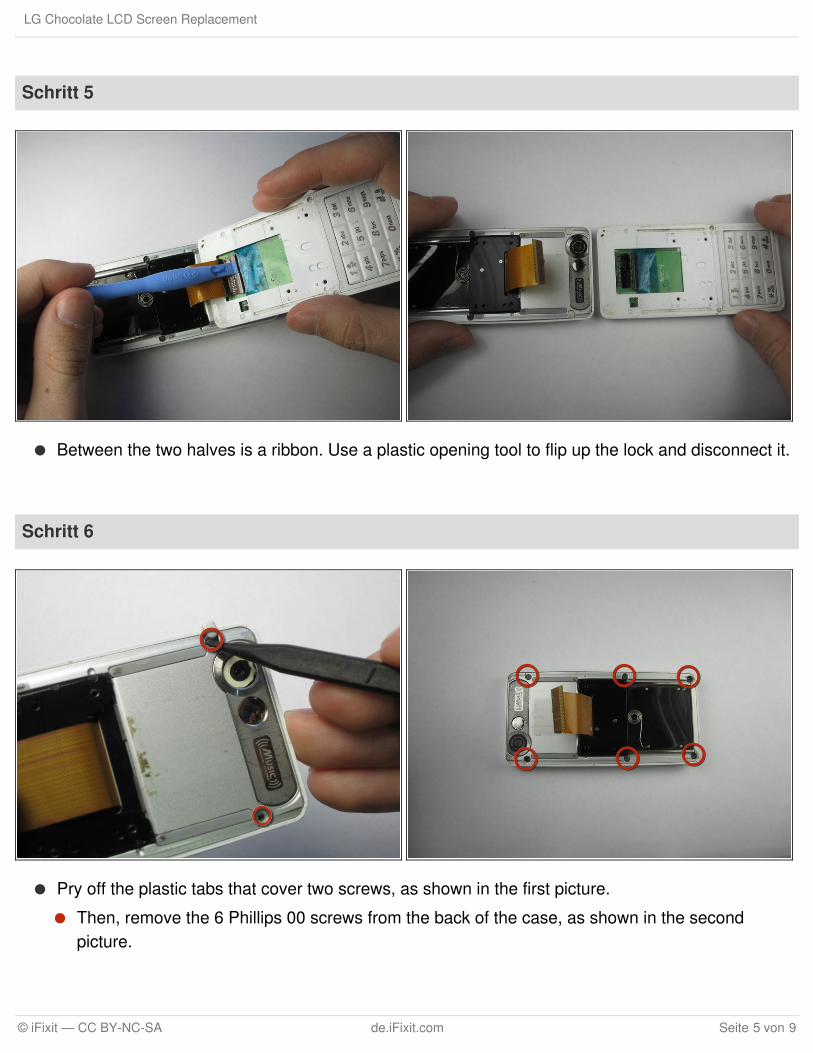
Schritt 5
Between the two halves is a ribbon. Use a plastic opening tool to flip up the lock and disconnect it.
Schritt 6
Pry off the plastic tabs that cover two screws, as shown in the first picture.
Then, remove the 6 Phillips 00 screws from the back of the case, as shown in the secondpicture.
LG Chocolate LCD Screen Replacement
© iFixit — CC BY-NC-SA de.iFixit.com Seite 5 von 9
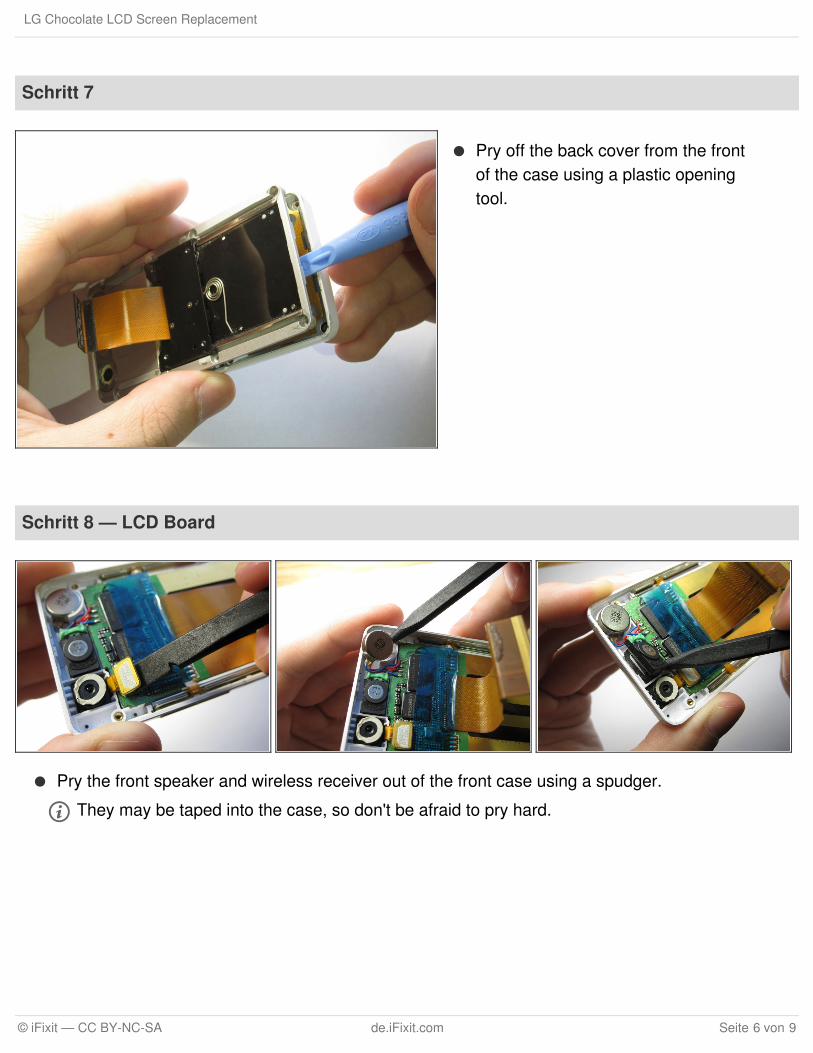
Schritt 7
Pry off the back cover from the frontof the case using a plastic openingtool.
Schritt 8 — LCD Board
Pry the front speaker and wireless receiver out of the front case using a spudger.
They may be taped into the case, so don't be afraid to pry hard.
LG Chocolate LCD Screen Replacement
© iFixit — CC BY-NC-SA de.iFixit.com Seite 6 von 9

Schritt 9
Starting with the side that has the speaker and receiver, carefully lift the LCD Board out of thecase.
Schritt 10
Unhook the ribbon cable using thatflat side of a spudger.
LG Chocolate LCD Screen Replacement
© iFixit — CC BY-NC-SA de.iFixit.com Seite 7 von 9

Schritt 11
Next, carefully remove the tape fromthe LCD board.
Schritt 12
Finally, flip up the black switch to unhook the LCD screen from the LCD board using a spudger.
The LCD Board in now accessible.
LG Chocolate LCD Screen Replacement
© iFixit — CC BY-NC-SA de.iFixit.com Seite 8 von 9
To reassemble your device, follow these instructions in reverse order.
Dieses Dokument wurde zuletzt angelegt am 2018-04-25 09:31:14 AM.
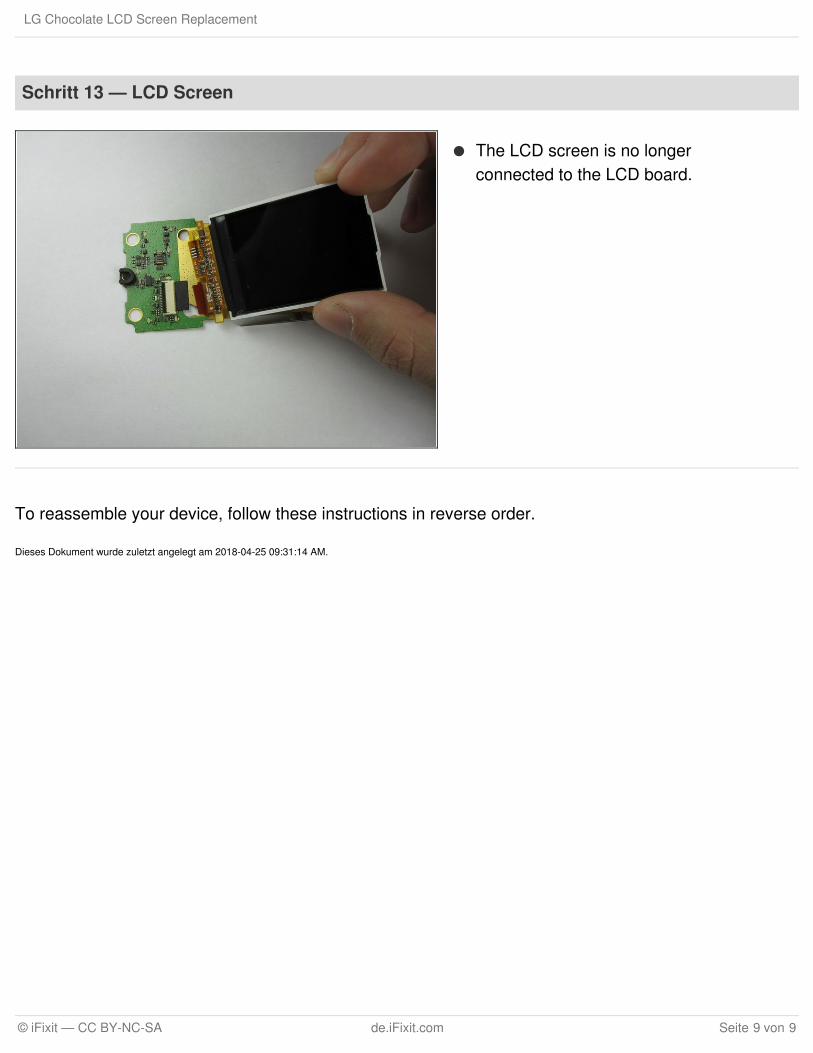
Schritt 13 — LCD Screen
The LCD screen is no longerconnected to the LCD board.
LG Chocolate LCD Screen Replacement
© iFixit — CC BY-NC-SA de.iFixit.com Seite 9 von 9