Embed Size (px)
Citation preview
ISEB – An Introduction
Geschäftsbereich Lerntechnologen E-Mail: [email protected]
Table of Contents
Table of Contents ................................................................................................................................................................ 1
1. Introduction .............................................................................................................. 4
2. Authoring functions ..................................................................................................... 5
2.1 Authoring portal ...................................................................................................................................................... 5
2.2 Books ....................................................................................................................................................................... 5
2.2.1 Creating books .......................................................................................................................................................... 5
2.2.2 Editing Books ............................................................................................................................................................. 6
2.2.3 Deleting Books........................................................................................................................................................... 6
2.2.4 Visibility/Publishing Books .......................................................................................................................................... 6
2.3 Slides ............................................................................................................................................................................. 6
2.3.1 Add Slides ................................................................................................................................................................... 7
2.3.2 Sort Slides ................................................................................................................................................................. 7
2.3.3 Deleting Slides ........................................................................................................................................................... 7
2.3.4 Editing license information ......................................................................................................................................... 7
2.4 Clickable Areas .............................................................................................................................................................. 7
2.4.1 Create Clickable Areas ................................................................................................................................................ 8
2.4.2 Copy Clickable Areas .................................................................................................................................................. 8
2.4.3 Delete Buttons .......................................................................................................................................................... 9
2.5 Managing Contents ....................................................................................................................................................... 9
2.5.1 Create Contents ......................................................................................................................................................... 9
2.5.2 Delete Contents ....................................................................................................................................................... 10
2.5.3 Edit Contents ........................................................................................................................................................... 10
3. Students’ view ......................................................................................................... 11
3.1 Book Topics ................................................................................................................................................................. 11
3.2 Clickable Areas ............................................................................................................................................................ 11
3.3 Navigation Bar ............................................................................................................................................................. 12
4. Examination environment ........................................................................................... 14
4.1 Quiz ............................................................................................................................................................................. 14
4.1.1 Creating quizzes....................................................................................................................................................... 14
4.1.2 Editing a Quiz .......................................................................................................................................................... 14

ISEB – An Introduction
Geschäftsbereich Lerntechnologen E-Mail: [email protected]
4.1.3 Domain ................................................................................................................................................................... 15
4.2 Creating and Editing quiz questions ............................................................................................................................ 15
4.2.1 Single Choice ........................................................................................................................................................... 15
4.2.2 Multiple-Choice ....................................................................................................................................................... 16
4.2.3 Clickable Area .......................................................................................................................................................... 16
...................................................................................................................................................................................... 16
4.2.4 Textboxes ............................................................................................................................................................... 16
4.3 Feedback ............................................................................................................................................................... 17
5. Other/Miscellanious ................................................................................................... 18
5.1 Consulting & contact ................................................................................................................................................... 18
5.2 Support ........................................................................................................................................................................ 18

ISEB – An Introduction
Geschäftsbereich Lerntechnologen E-Mail: [email protected]
1. Introduction
Within the context of the new E-Learning Strategy the faculty for learning technologies of the ZIM at the University of
Duisburg-Essen developed the E-Learning Tool ISEB (Interactive Slide E-Book).
ISEB was developed with the intention to give students the opportunity to access learning materials interactively. This is
mostly achieved by the display of slides. Parts of these slides are accessible via mouse click. When clicking onto a certain
area of the slide, the program opens a window with contents and information. When switching to the next slide, the content
can either be changed, pointing towards changes in the slide or disappear entirely - in case there are no further materials.
This enables interactive paths, which students can use to navigate through the book and materials.
In this context ISEB should not be seen as a replacement tool for your current teaching offers but rather one that enhances
them.

ISEB – An Introduction
Geschäftsbereich Lerntechnologen E-Mail: [email protected]
2. Authoring functions
2.1 Authoring portal
The authoring portal is the user surface, which allows teachers to create and manage contents.
Figure 1: Authoring portal at the bottom of the page
To get to the authoring portal, open the start page of ISEB and scroll to the bottom of the page, where you can find the log-
in section (see Figure 1). Here you can log in with your University Identification (Unikennung) and your password. When
the authentication is successful, you are redirected to the authoring portal.
2.2 Books
Books represent the essential concept of ISEB. In the context of ISEB “Bücher” are assigned to a certain category and can
be accessed by students. As soon as you are logged in successfully through the authoring portal you will be able to create
and edit books.
2.2.1 Creating books
When successfully logged in the authoring portal displays an overview of your current books:
Fig. 2: Link „Buch hinzufügen“
The link “Buch hinzufügen” is positioned in the upper right corner, underneath the navigation bar (see Fig. 2). To create a
book, simply click on the link.
You will now see an input mask which helps you to do several adjustments tot he book. First, choose a book title, which will
be displayed later serve as a headline oft he publication. Once books have been created they will be alphabetically sorted
in the respective categories. In a case where the correct category has not been assigned to the book, you can adjust this
manually afterwards. Please note that the selection of the book title only allows for a couple of special characters. In
addition you can add a short description of the book.
Also you are able to assign a password to the book, which allows only selected users with the password to have access to
the book. After that, click the “Speichern” button.
ISEB – An Introduction
Geschäftsbereich Lerntechnologen E-Mail: [email protected]
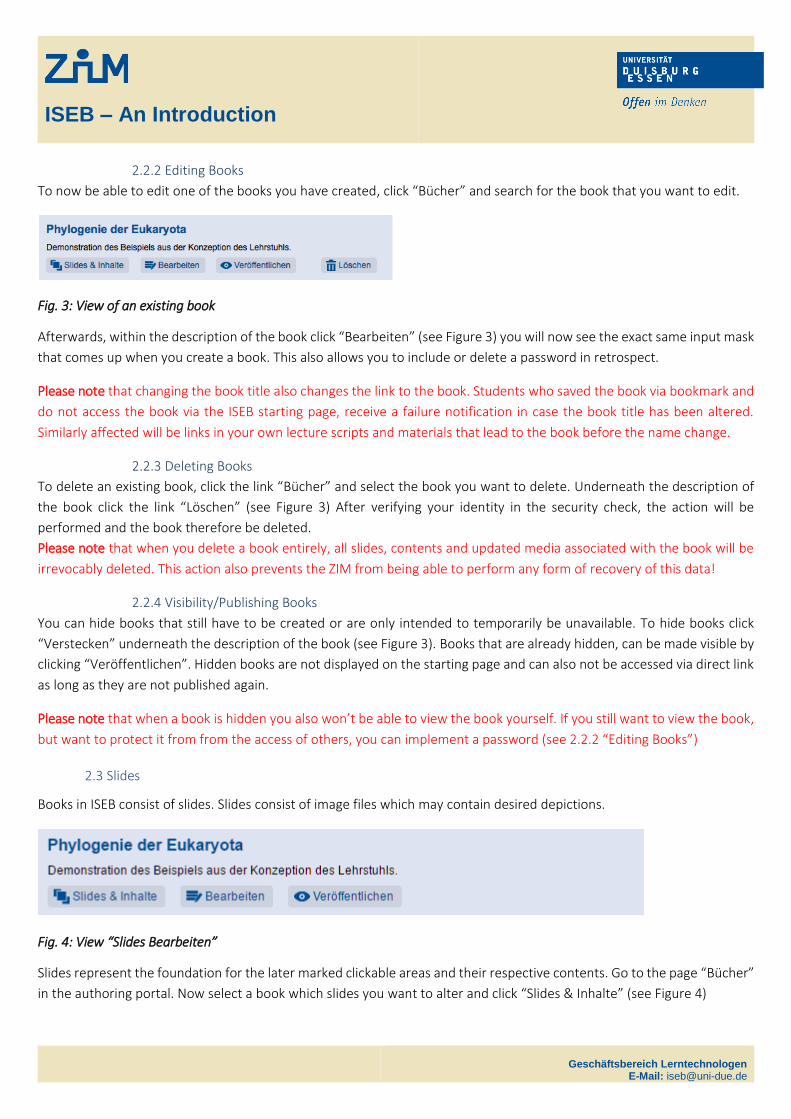
2.2.2 Editing Books
To now be able to edit one of the books you have created, click “Bücher” and search for the book that you want to edit.
Fig. 3: View of an existing book
Afterwards, within the description of the book click “Bearbeiten” (see Figure 3) you will now see the exact same input mask
that comes up when you create a book. This also allows you to include or delete a password in retrospect.
Please note that changing the book title also changes the link to the book. Students who saved the book via bookmark and
do not access the book via the ISEB starting page, receive a failure notification in case the book title has been altered.
Similarly affected will be links in your own lecture scripts and materials that lead to the book before the name change.
2.2.3 Deleting Books
To delete an existing book, click the link “Bücher” and select the book you want to delete. Underneath the description of
the book click the link “Löschen” (see Figure 3) After verifying your identity in the security check, the action will be
performed and the book therefore be deleted.
Please note that when you delete a book entirely, all slides, contents and updated media associated with the book will be
irrevocably deleted. This action also prevents the ZIM from being able to perform any form of recovery of this data!
2.2.4 Visibility/Publishing Books
You can hide books that still have to be created or are only intended to temporarily be unavailable. To hide books click
“Verstecken” underneath the description of the book (see Figure 3). Books that are already hidden, can be made visible by
clicking “Veröffentlichen”. Hidden books are not displayed on the starting page and can also not be accessed via direct link
as long as they are not published again.
Please note that when a book is hidden you also won’t be able to view the book yourself. If you still want to view the book,
but want to protect it from from the access of others, you can implement a password (see 2.2.2 “Editing Books”)
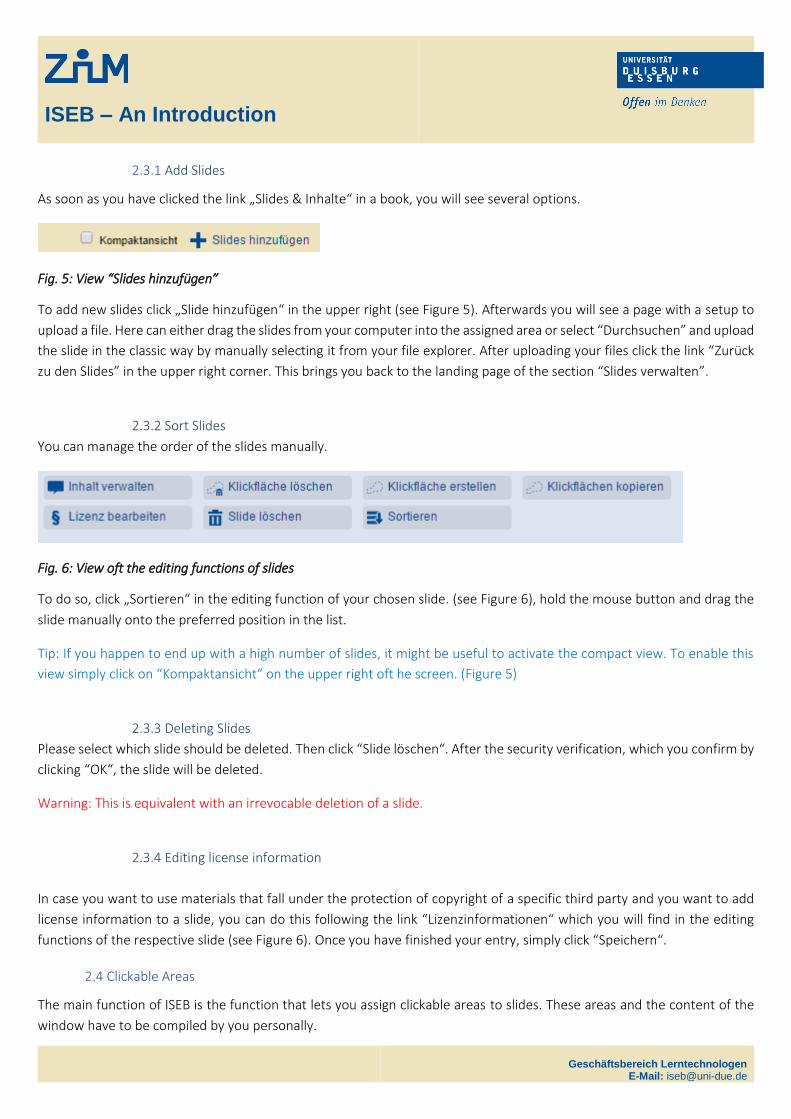
2.3 Slides
Books in ISEB consist of slides. Slides consist of image files which may contain desired depictions.
Fig. 4: View “Slides Bearbeiten”
Slides represent the foundation for the later marked clickable areas and their respective contents. Go to the page “Bücher”
in the authoring portal. Now select a book which slides you want to alter and click “Slides & Inhalte” (see Figure 4)
ISEB – An Introduction
Geschäftsbereich Lerntechnologen E-Mail: [email protected]
2.3.1 Add Slides
As soon as you have clicked the link „Slides & Inhalte“ in a book, you will see several options.
Fig. 5: View “Slides hinzufügen”
To add new slides click „Slide hinzufügen“ in the upper right (see Figure 5). Afterwards you will see a page with a setup to
upload a file. Here can either drag the slides from your computer into the assigned area or select “Durchsuchen” and upload
the slide in the classic way by manually selecting it from your file explorer. After uploading your files click the link “Zurück
zu den Slides” in the upper right corner. This brings you back to the landing page of the section “Slides verwalten”.
2.3.2 Sort Slides
You can manage the order of the slides manually.
Fig. 6: View oft the editing functions of slides
To do so, click „Sortieren“ in the editing function of your chosen slide. (see Figure 6), hold the mouse button and drag the
slide manually onto the preferred position in the list.
Tip: If you happen to end up with a high number of slides, it might be useful to activate the compact view. To enable this
view simply click on “Kompaktansicht“ on the upper right oft he screen. (Figure 5)
2.3.3 Deleting Slides
Please select which slide should be deleted. Then click “Slide löschen“. After the security verification, which you confirm by
clicking “OK“, the slide will be deleted.
Warning: This is equivalent with an irrevocable deletion of a slide.
2.3.4 Editing license information
In case you want to use materials that fall under the protection of copyright of a specific third party and you want to add
license information to a slide, you can do this following the link “Lizenzinformationen“ which you will find in the editing
functions of the respective slide (see Figure 6). Once you have finished your entry, simply click “Speichern“.
2.4 Clickable Areas
The main function of ISEB is the function that lets you assign clickable areas to slides. These areas and the content of the
window have to be compiled by you personally.

ISEB – An Introduction
Geschäftsbereich Lerntechnologen E-Mail: [email protected]
2.4.1 Create Clickable Areas
In order to create clickable areas on a slide, please go tot he “Überblick”. Now select one slide that you want to assign
buttons to and click “Klickfläche hinzufügen” (see Figure 6). The site will now display an overview.
Fig. 7: View „Klickfläche erstellen“
At first, tick the respective checkbox and then click “Klickfläche erstellen” (see Fig. 7) in the upper left corner. Now you will
see the editable slide that you can assign the clickable area to. To do so, simply hover over the selected field with your
mouse cursor and click it one time.
In order for you to now make an area clickable, click onto different
spots in the selected area several times. (see Fig. 8) Now you can
adjust the scale of the selected areas (now shown in red color)
manually in ordert o create an area. In case you want to cancel the
process and create a new area onto that same slide in the same spot,
simply click the “Löschen” button in the upper right corner. If you want
to save the clickable area you have just created, click “Fertig” and then
“Speichern”. For this clickable area you can now move on and create
contents which will be displayed to the students once they click onto
the area you have assigned. Further information on how to “Inhalte
erstellen” for a clickable area can be found in chapter 2.5.1.
2.4.2 Copy Clickable Areas
Go to the slide you want to copy and click the link „Klickfläche kopieren“ (see Fig. 6).
Fig. 8: Create Clickable Areas

ISEB – An Introduction
Geschäftsbereich Lerntechnologen E-Mail: [email protected]
Fig. 9: View Clickable Areas
Now the program shows you an overview oft he clickable areas (in red color) on the slide (see Fig. 9). Now click the are you
want to copy which will now change to a blue color (see Fig. 9) Underneath the image you will now find the other slides,
which now can be used to copy the selected area onto. To copy the selected are simply select the slide you want to copy
onto and click the “Kopieren“ button.
2.4.3 Delete Buttons
Go to the slide which contains the clickable area you want to delete and click “Klickfläche löschen” (see Fig. 6). You will now
see the slide with all clickable areas it contains. Now select the area that you want to delete and click it one time. Please
verify the following security check with “OK”.
Warning: This is equivalent to an irrevocable deletion of a clickable area.
2.5 Managing Contents
2.5.1 Create Contents
You can now add your own text contents tot he clickable areas you have created. Those will appear once a student clicks
onto the area. To do so, go tot he overview page of your books and select the book which you want to edit. Then click
“Slides & Inhalte”. Now click the slide you want to edit and click the linkn “Inhalte verwalten” (see Fig. 6)
Fig. 10: Creating Contents
Vorschlag screenshot: “Add content”, “Back to slides”
In the upper right corner click the link “Inhalt hinzufügen” (see Fig. 10) The program will display an input mask. Beforehand,
you will have to select a clickable area that you want to assign the content to. To do so click “Klickfläche auswählen” to the
ISEB – An Introduction
Geschäftsbereich Lerntechnologen E-Mail: [email protected]
upper left. Afterwards the slide will be displayed, including all clickable areas, which you will now be able to select. Select
one or several claickable areas and highlight them by clicking them once. Then close the window by clicking the button
“Schließen” on the upper right.
You can now move on to assigning a headline and the text which should appear when clicking onto the selected area. Finish
the process by clicking the button “Erstellen” on the bottom of the page.
2.5.2 Delete Contents
Go tot he overview page of your books and click the link “Slides and Inhalte” of the book you want to edit. Now select the
slide, which contains the content that you want to delete and click the link “Inhalt verwalten” (see Fig. 6). You will now see
an overview of all contents so far. The selected content you can now delete by clicking the link “Löschen”. Before the
content will be deleted, the program asks for another verification with “OK”. Only then the deletion will be completed.
Warning: This entails an irrevocable deletion of the contents.
2.5.3 Edit Contents
Please select a book on the starting page (overview of your books) and click the link “Slides & Inhalte“. Now you will see an
overview of your slides. Please select the slide, which contents you want to edit and click the link “Inhalte verwalten” (see
Figure 6). Now you will see an overview of your contents. Select the editable contents and click the link “Bearbeiten”. When
you have finished editing the contents, click the “Speichern” Button.
ISEB – An Introduction
Geschäftsbereich Lerntechnologen E-Mail: [email protected]
3. Students’ view
Students have the opportunity to use the books that you have created in ordert o receive an interactive input. Students
receive a reading permission but not the permission to alter and add contents.
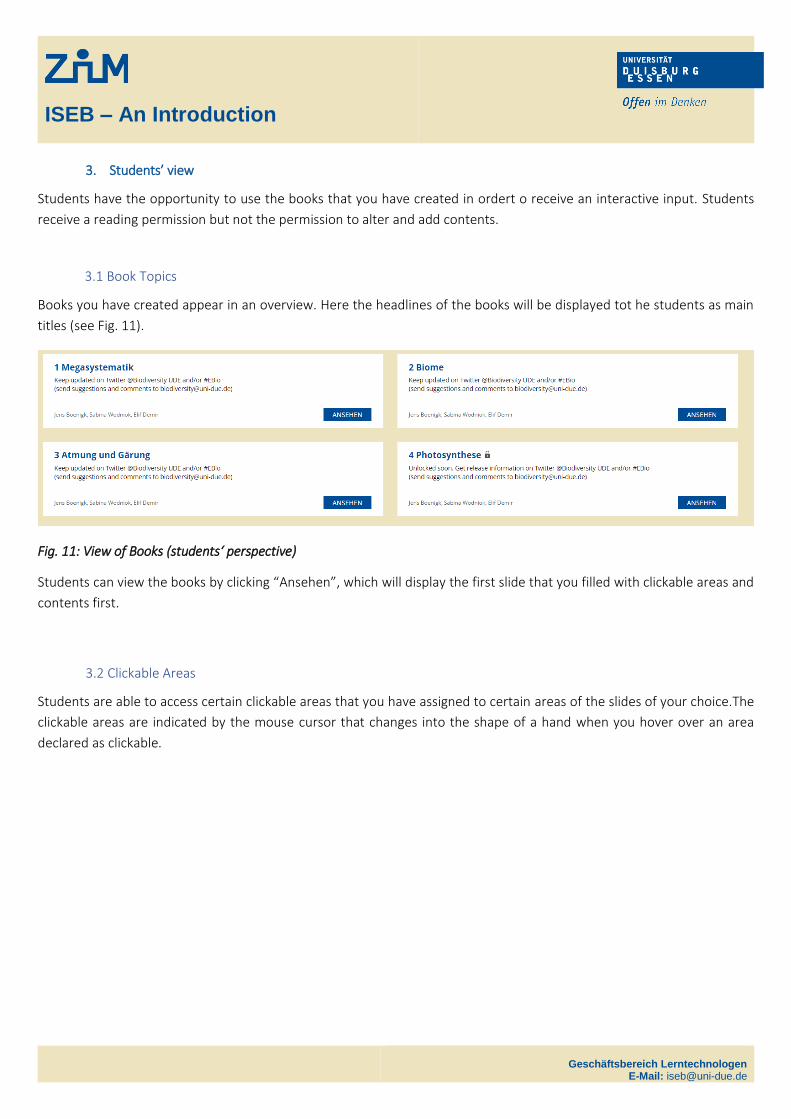
3.1 Book Topics
Books you have created appear in an overview. Here the headlines of the books will be displayed tot he students as main
titles (see Fig. 11).
Fig. 11: View of Books (students‘ perspective)
Students can view the books by clicking “Ansehen”, which will display the first slide that you filled with clickable areas and
contents first.
3.2 Clickable Areas
Students are able to access certain clickable areas that you have assigned to certain areas of the slides of your choice.The
clickable areas are indicated by the mouse cursor that changes into the shape of a hand when you hover over an area
declared as clickable.

ISEB – An Introduction
Geschäftsbereich Lerntechnologen E-Mail: [email protected]
Fig. 12: View of Buttons and Contents of a Slide
After one or several clicks onto the clickable areas the program will display one or several smaller windows which contain
the content that you have assigned to the areas (see Fig. 12). Every window can be closed by the students by clicking the
“X”. In addition the content windows can be moved across the screen in case they overlap (see Fig. 12).
3.3 Navigation Bar
Once the students entered the view of the first slide, they can navigate between the slides as follows:
Fig. 13: Navigation between various slides

ISEB – An Introduction
Geschäftsbereich Lerntechnologen E-Mail: [email protected]
While viewing the first slide the right side oft he screen will display a navigation with an overview of all slides oft he selected
book (see Fig. 13). This navigation allows students to switch to the slide they want to access next.
Furthermore, the lower left and lower right sections of the screen provide arrow buttons that allow students to browse to
the previous or next slide. The slides are presented in the order that you have assigned them to previously in the editing
phase (see chapter 2.3.2)
ISEB – An Introduction
Geschäftsbereich Lerntechnologen E-Mail: [email protected]
4. Examination environment
After the students internalized the input from viewing the various slides, you have the chance to install a quiz to further
foster the consolidation of the input. You can design the quiz in such a way that all aspects from the slide at hand are
covered by questions and answers.
4.1 Quiz
4.1.1 Creating quizzes
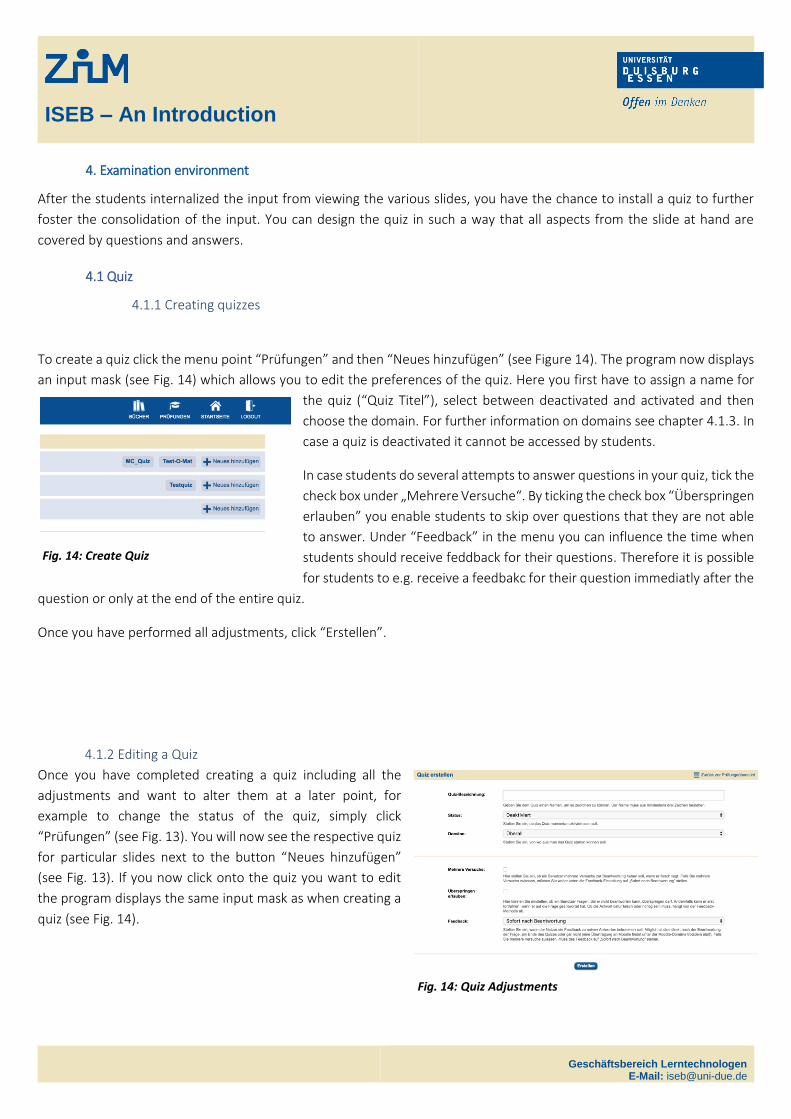
To create a quiz click the menu point “Prüfungen” and then “Neues hinzufügen” (see Figure 14). The program now displays
an input mask (see Fig. 14) which allows you to edit the preferences of the quiz. Here you first have to assign a name for
the quiz (“Quiz Titel”), select between deactivated and activated and then
choose the domain. For further information on domains see chapter 4.1.3. In
case a quiz is deactivated it cannot be accessed by students.
In case students do several attempts to answer questions in your quiz, tick the
check box under „Mehrere Versuche“. By ticking the check box “Überspringen
erlauben” you enable students to skip over questions that they are not able
to answer. Under “Feedback” in the menu you can influence the time when
students should receive feddback for their questions. Therefore it is possible
for students to e.g. receive a feedbakc for their question immediatly after the
question or only at the end of the entire quiz.
Once you have performed all adjustments, click “Erstellen”.
4.1.2 Editing a Quiz
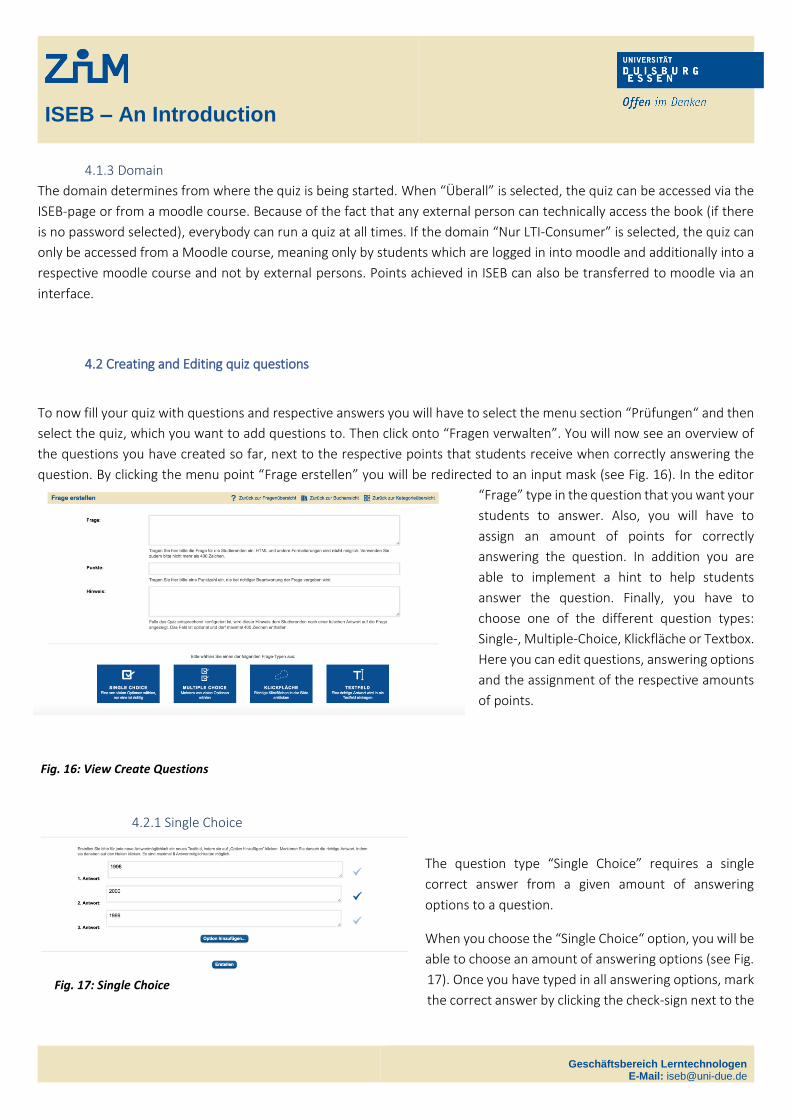
Once you have completed creating a quiz including all the
adjustments and want to alter them at a later point, for
example to change the status of the quiz, simply click
“Prüfungen” (see Fig. 13). You will now see the respective quiz
for particular slides next to the button “Neues hinzufügen”
(see Fig. 13). If you now click onto the quiz you want to edit
the program displays the same input mask as when creating a
quiz (see Fig. 14).
Fig. 14: Create Quiz
Fig. 14: Quiz Adjustments
ISEB – An Introduction
Geschäftsbereich Lerntechnologen E-Mail: [email protected]
4.1.3 Domain
The domain determines from where the quiz is being started. When “Überall” is selected, the quiz can be accessed via the
ISEB-page or from a moodle course. Because of the fact that any external person can technically access the book (if there
is no password selected), everybody can run a quiz at all times. If the domain “Nur LTI-Consumer” is selected, the quiz can
only be accessed from a Moodle course, meaning only by students which are logged in into moodle and additionally into a
respective moodle course and not by external persons. Points achieved in ISEB can also be transferred to moodle via an
interface.
4.2 Creating and Editing quiz questions
To now fill your quiz with questions and respective answers you will have to select the menu section “Prüfungen“ and then
select the quiz, which you want to add questions to. Then click onto “Fragen verwalten”. You will now see an overview of
the questions you have created so far, next to the respective points that students receive when correctly answering the
question. By clicking the menu point “Frage erstellen” you will be redirected to an input mask (see Fig. 16). In the editor
“Frage” type in the question that you want your
students to answer. Also, you will have to
assign an amount of points for correctly
answering the question. In addition you are
able to implement a hint to help students
answer the question. Finally, you have to
choose one of the different question types:
Single-, Multiple-Choice, Klickfläche or Textbox.
Here you can edit questions, answering options
and the assignment of the respective amounts
of points.
4.2.1 Single Choice
The question type “Single Choice” requires a single
correct answer from a given amount of answering
options to a question.
When you choose the “Single Choice“ option, you will be
able to choose an amount of answering options (see Fig.
17). Once you have typed in all answering options, mark
the correct answer by clicking the check-sign next to the
Fig. 16: View Create Questions
Fig. 17: Single Choice

ISEB – An Introduction
Geschäftsbereich Lerntechnologen E-Mail: [email protected]
correct answer. Then click the button “Erstellen”.
4.2.2 Multiple-Choice
As the name suggests multiple-choice questions offer mulitple answer choices to students. The procedure of creating
questions from previous chapters can be applied in this scenario in the exact same way. The correct answers can again be
marked with the checkboxes of the respective answer. In order to also credit answers which are partially correct, you can
assign individual amounts of points for specific answers. The program enables you to differentiate between the quality of
answers with labels such as “Gute Antworten” and “Sehr gute Antworten”. Once you have marked all correct answers click
“Erstellen”.
4.2.3 Clickable Area
In the case of this question type you are able to create the questions in combination with a slide and a clickable area. As
soon as you have completed the usual adjustments like assigning the amount of points ands compiling the question, click
the button “Klickfläche auswählen”. The program will now show an image, in which the clickable areas are marked as red
(see Fig. 18). You are now able to click several areas, which
should be clicked by the student to answer the question.
Once you’re done with this step, click “Fertig” on the upper
right of the screen. You will now be guided back to the
previous overview.
Finally you are now able to adjust whether it suffices fort he
student to click one correct answer or if the entire set of
points is neccessary to find all correct answers (in this case
clickable areas). Once you’re done with these adjustments,
simply click the button “Fertig”.
4.2.4 Textboxes
The textbox represents the fourth and last question type. In this section you create a question that students have to answer
in a free text form. When you are finished compiling the points and annotations fort he question, you type in the answer
text. In this case you can create several options for solution texts. Note that all options are connected in an “Oder”-relation.
This means, that just one of the answers already suffices for the correct answer to the question. You now also have the
option to influence the way in which the student is asked the question. The texts can e.g. be compared by the parameter
Fig. 18: Question Type Clickable Area
Fig. 19: Question Type Clickable Area

ISEB – An Introduction
Geschäftsbereich Lerntechnologen E-Mail: [email protected]
“Entspricht exakt…“ (see Fig. 20). In this case the answer text has to exactly match the text of the solution given by you, to
receive the full amount of points. In case you only want to assess the beginning or end of the students’ answer and give
points according to that indicator, select “Beginnt mit…” or “Endet
mit…” in the drop-down section. Finally you can - by selecting the
option “Enthält…” – only match certain keywords or phrases to give
points for answering the question.
4.3 Feedback
In this section you can manage options for when students receive
feedbacks for their answers. This enables you to decide whether the
feedback should be visible immediately after answering an
individual question or only after the completion of the entire quiz.
If several attempts are allowed for a specific question, the feedback options have to be set to “Sofort nach Beantwortung”.
Fig. 20: Question Type Free Form
ISEB – An Introduction
Geschäftsbereich Lerntechnologen E-Mail: [email protected]
5. Other/Miscellanious
5.1 Consulting & contact
Given the fact that ISEB is a tool developed by the ZIM, we constantly work on refining and enhancing the tools and their
functions to improve the practice quality of ISEB. We are happy to receive your suggestions, wishes and impulses for
improvements via email [email protected]. We also offer individual appointments for consulting specifically geared towards
the use of ISEB.
5.2 Support
In case you notice any mistakes or system failures while using and working with ISEB and its respective functions, please
feel free to contact us directly via email: [email protected]. We will then get in contact with you ASAP and try to solve any
occurring issues.