Embed Size (px)
Citation preview

INSTALLATION GUIDE
SLATS

MODULARWALLS DOES NOT SUPPLY SLATS OR DECORATIVE INFILLS DIRECTLY, ALTHOUGH WE CAN TYPICALLY PUT YOU IN TOUCH WITH A LOCAL SUPPLIER.
NOTEIt is recommended that the reader pays particular attention to items identified as a NOTE in this manual to ensure a satisfactory installation and that the long term performance of the products.
For correct finishing of your ModularWalls product, you must paint or seal the panels within 90 days of installation.
SLATS
Add a designer edge to any wall, with varying height slat or infill options. Best used in conjunction with SlimWall, VogueWall and EstateWall, slats can easily be mounted Into a modular wall.
Slats are the perfect feature to break the monotony of a wall and add a warm residential look to a property. Note that any designer feature is best discussed with your installer as it requires additional work and craftsmanship.

7 DAY A WEEK TECHNICAL AND INSTALLATION ADVICE IS AVAILABLE
BY PHONING 1300 556 957 AND SELECTING THE AFTER HOURS OPTION
BEFORE YOU START
The recommendations detailed by ModularWalls in this guide are formulated along the lines of good building practice. They form a “common-sense” approach and are not intended to be an exhaustive statement of all the relevant data. Further, as the success of projects depend on factors outside the control of ModularWalls (e.g. quality of workmanship, particular design, detail requirements, etc.), we accept no responsibility for, or in connection with, the quality of the projects or their suitability when completed.
If you are in any doubt please seek independent advice or contact ModularWalls. We are always happy and available to answer questions regarding installation procedures, no matter how small or insignificant you think they may be. 7 day technical and installation advice is available on 1300 556 957.

TOOLS NEEDED
STEP 1: INSTALLING THE CHANNELS ONTO THE SURFACE
Insert your end post infill into the post (this procedure is covered in the Installation Guide for each ModularWalls product style) and sikaflex into position.
Drill/DriverHex Driver Bit Spirit Level Tape Measure
4 SLATS INSTALLATION GUIDE
NOTE: Before starting, we recommend you plan your installation carefully and also determine the number of slats and spacings within the bay.
NOTE: You may consider painting your end post infills before proceeding to step 2.
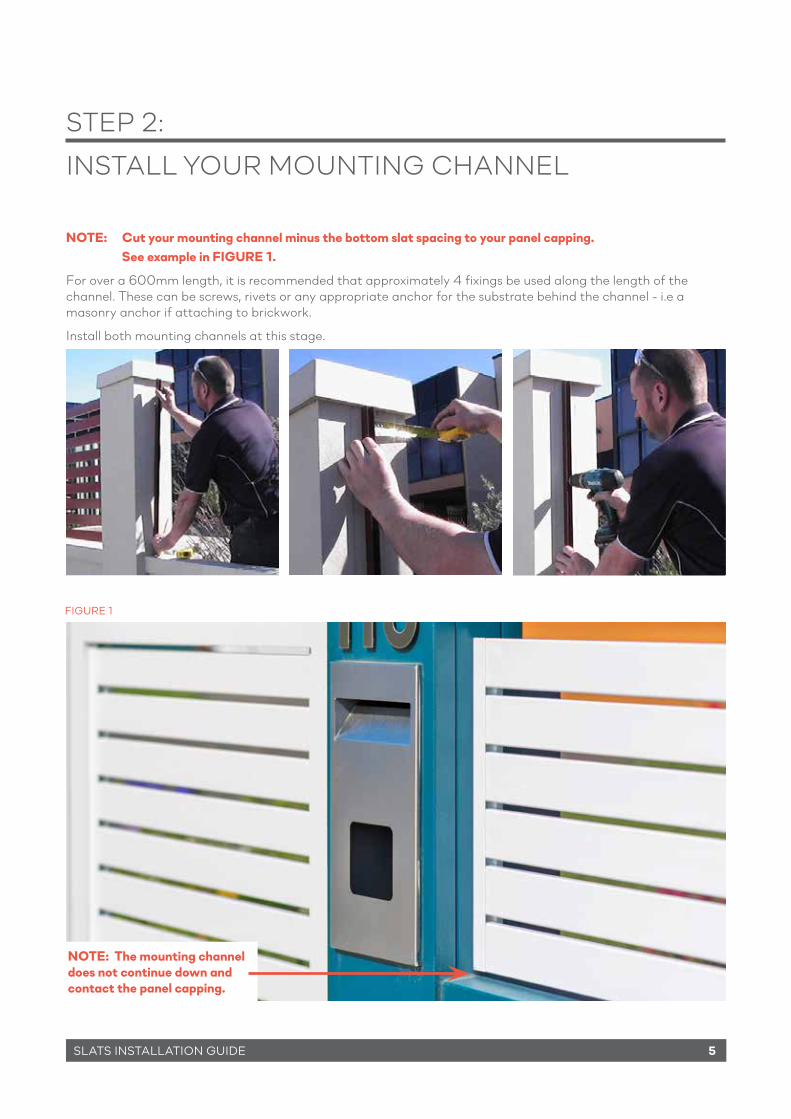
FIGURE 1
SLATS INSTALLATION GUIDE 5
STEP 2: INSTALL YOUR MOUNTING CHANNEL
NOTE: Cut your mounting channel minus the bottom slat spacing to your panel capping. See example in FIGURE 1.
For over a 600mm length, it is recommended that approximately 4 fixings be used along the length of the channel. These can be screws, rivets or any appropriate anchor for the substrate behind the channel - i.e a masonry anchor if attaching to brickwork.
Install both mounting channels at this stage.
NOTE: The mounting channel does not continue down and contact the panel capping.
6 SLATS INSTALLATION GUIDE
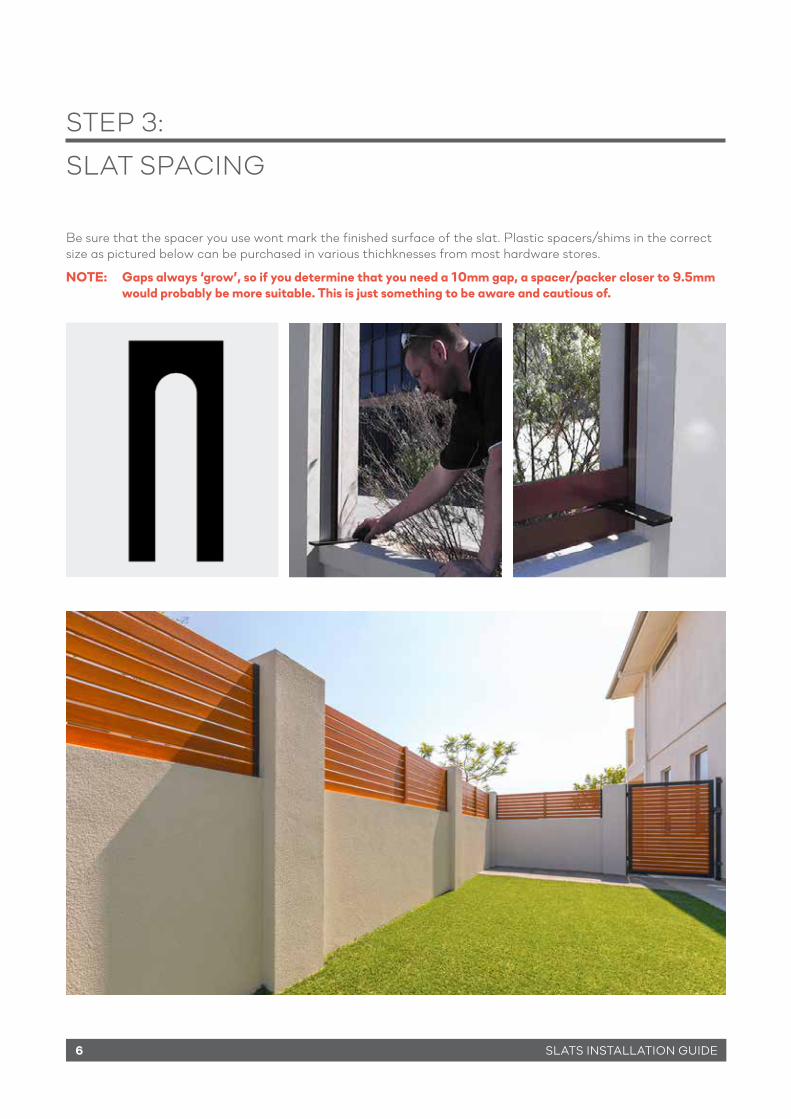
STEP 3: SLAT SPACING
Be sure that the spacer you use wont mark the finished surface of the slat. Plastic spacers/shims in the correct size as pictured below can be purchased in various thichknesses from most hardware stores.
NOTE: Gaps always ‘grow’, so if you determine that you need a 10mm gap, a spacer/packer closer to 9.5mm would probably be more suitable. This is just something to be aware and cautious of.
SLATS INSTALLATION GUIDE 7
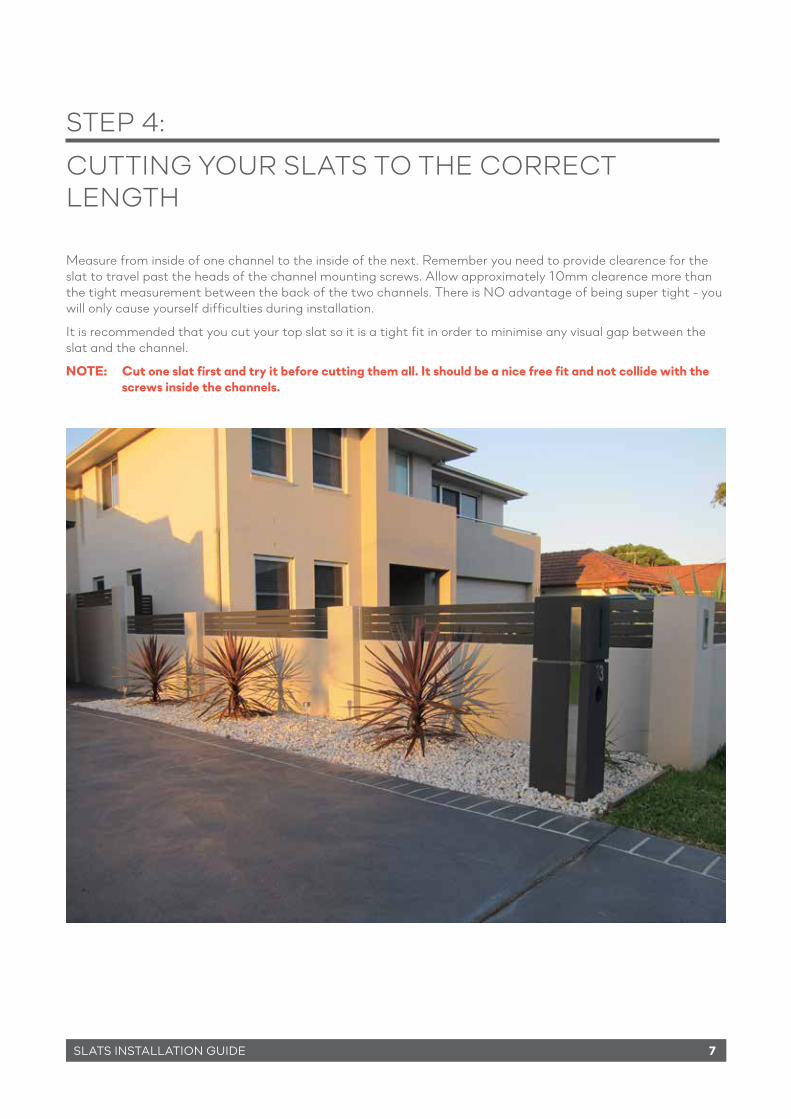
STEP 4: CUTTING YOUR SLATS TO THE CORRECT LENGTH
Measure from inside of one channel to the inside of the next. Remember you need to provide clearence for the slat to travel past the heads of the channel mounting screws. Allow approximately 10mm clearence more than the tight measurement between the back of the two channels. There is NO advantage of being super tight - you will only cause yourself difficulties during installation.
It is recommended that you cut your top slat so it is a tight fit in order to minimise any visual gap between the slat and the channel.
NOTE: Cut one slat first and try it before cutting them all. It should be a nice free fit and not collide with the screws inside the channels.
8 SLATS INSTALLATION GUIDE
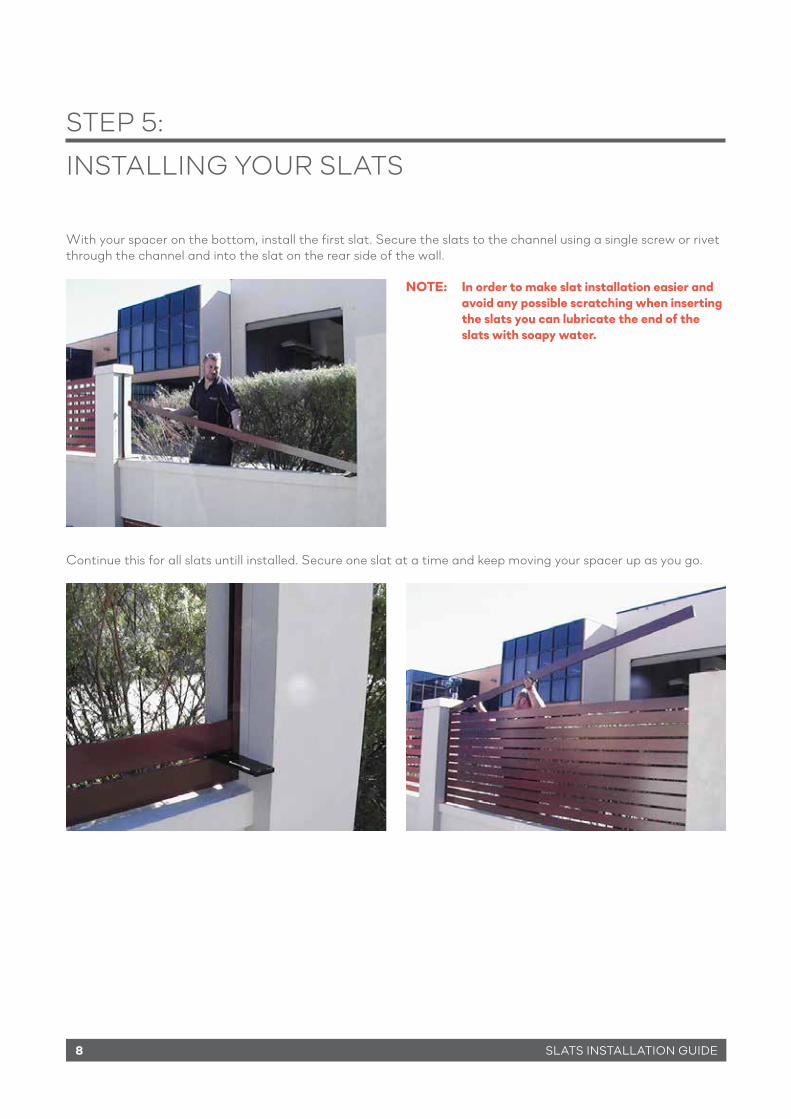
With your spacer on the bottom, install the first slat. Secure the slats to the channel using a single screw or rivet through the channel and into the slat on the rear side of the wall.
Continue this for all slats untill installed. Secure one slat at a time and keep moving your spacer up as you go.
STEP 5: INSTALLING YOUR SLATS
NOTE: In order to make slat installation easier and avoid any possible scratching when inserting the slats you can lubricate the end of the slats with soapy water.

To stabalize the slats in the middle (if required) over longer spans you can install a vertical brace.
Measure the height of the slats and minus 10mm. This is the length you will cut your vertical brace at. For example, if you measure 590mm from the bottom of the slats to the top, you will cut your vertical brace at 580mm.
Mark the middle of the slats and apply a small square of high strength exterior gradedouble sided tape (such as 3MVHB tape).
NOTE: Remember to clean both surfaces that the double sided tape will be applied to with a suitable alcohol wipe.
Next to the square of double sided tape, also apply a small daub of exterior silicone. The double sided tape is there to hold the vertical brace in position whilst the silicone dries.
STEP 6: VERTICAL BRACE (OPTIONAL)
SLATS INSTALLATION GUIDE 9
10 SLATS INSTALLATION GUIDE
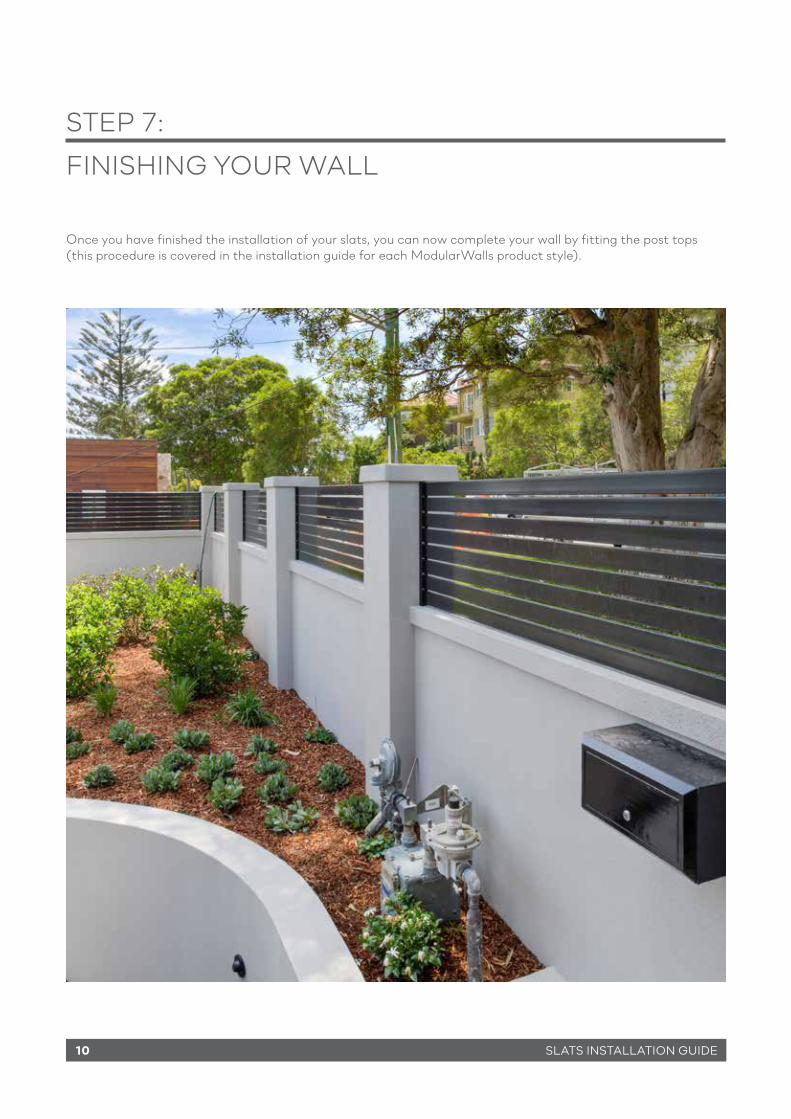
Once you have finished the installation of your slats, you can now complete your wall by fitting the post tops (this procedure is covered in the installation guide for each ModularWalls product style).
STEP 7: FINISHING YOUR WALL

NOTES:
SLATS INSTALLATION GUIDE 11

7 DAY A WEEK TECHNICAL AND INSTALLATION ADVICE IS AVAILABLE
BY PHONING 1300 556 957 AND SELECTING THE AFTER HOURS OPTION
www.modularwalls.com.au
WITH A REPUTATION FOR QUALITY AND INNOVATION, MODULARWALLS®PROVIDED REVOLUTIONARY WAYS TO
CREATE STYLISH AND COST-EFFECTIVEWALLS AND FENCING.