Embed Size (px)
Citation preview
USER’S GUIDE
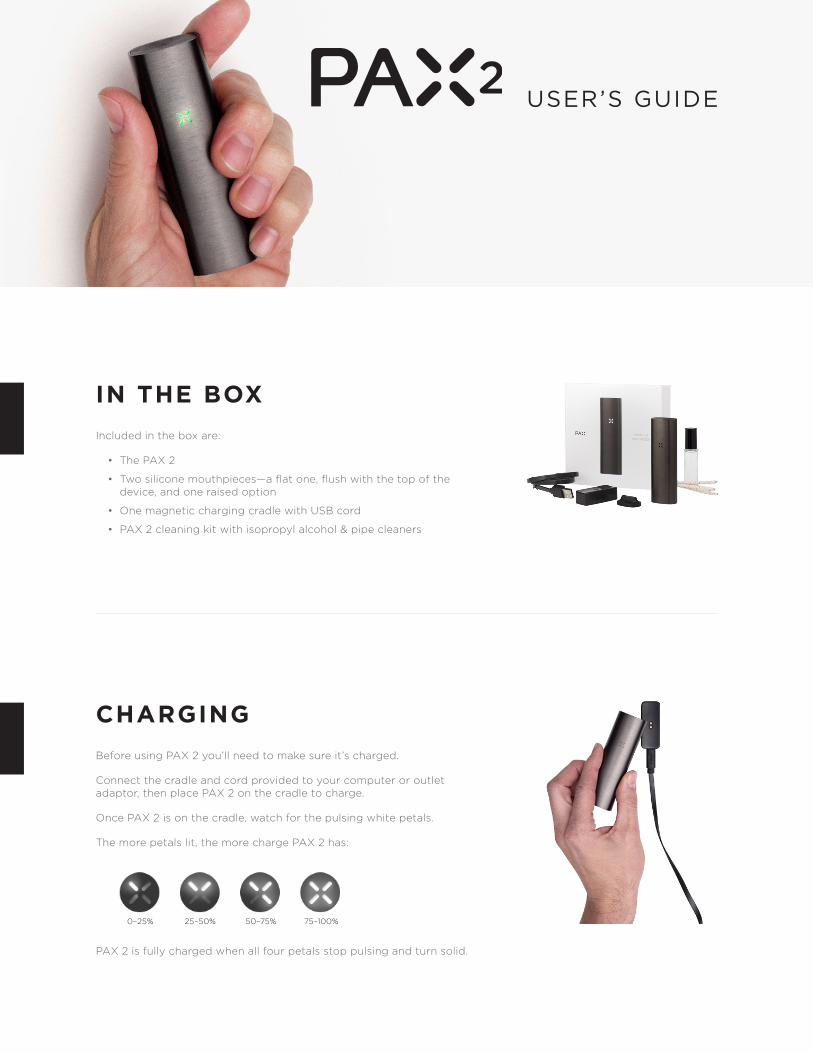
IN THE BOX
Included in the box are:
• The PAX 2
• Two silicone mouthpieces—a flat one, flush with the top of the device, and one raised option
• One magnetic charging cradle with USB cord
• PAX 2 cleaning kit with isopropyl alcohol & pipe cleaners
CHARGING
Before using PAX 2 you’ll need to make sure it’s charged.
Connect the cradle and cord provided to your computer or outlet adaptor, then place PAX 2 on the cradle to charge.
Once PAX 2 is on the cradle, watch for the pulsing white petals.
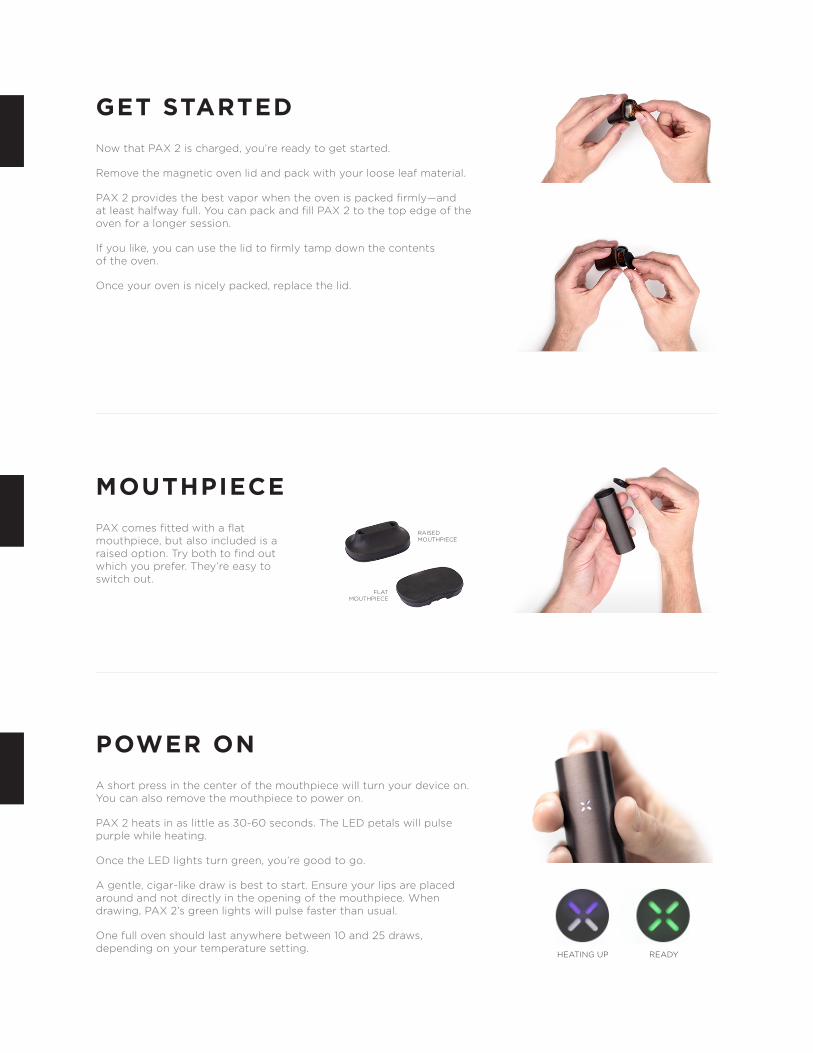
The more petals lit, the more charge PAX 2 has:
PAX 2 is fully charged when all four petals stop pulsing and turn solid.
0–25% 25–50% 50–75% 75–100%
GET STARTED
Now that PAX 2 is charged, you’re ready to get started.
Remove the magnetic oven lid and pack with your loose leaf material.
PAX 2 provides the best vapor when the oven is packed firmly—and at least halfway full. You can pack and fill PAX 2 to the top edge of the oven for a longer session.
If you like, you can use the lid to firmly tamp down the contents of the oven.
Once your oven is nicely packed, replace the lid.
POWER ON
A short press in the center of the mouthpiece will turn your device on. You can also remove the mouthpiece to power on.
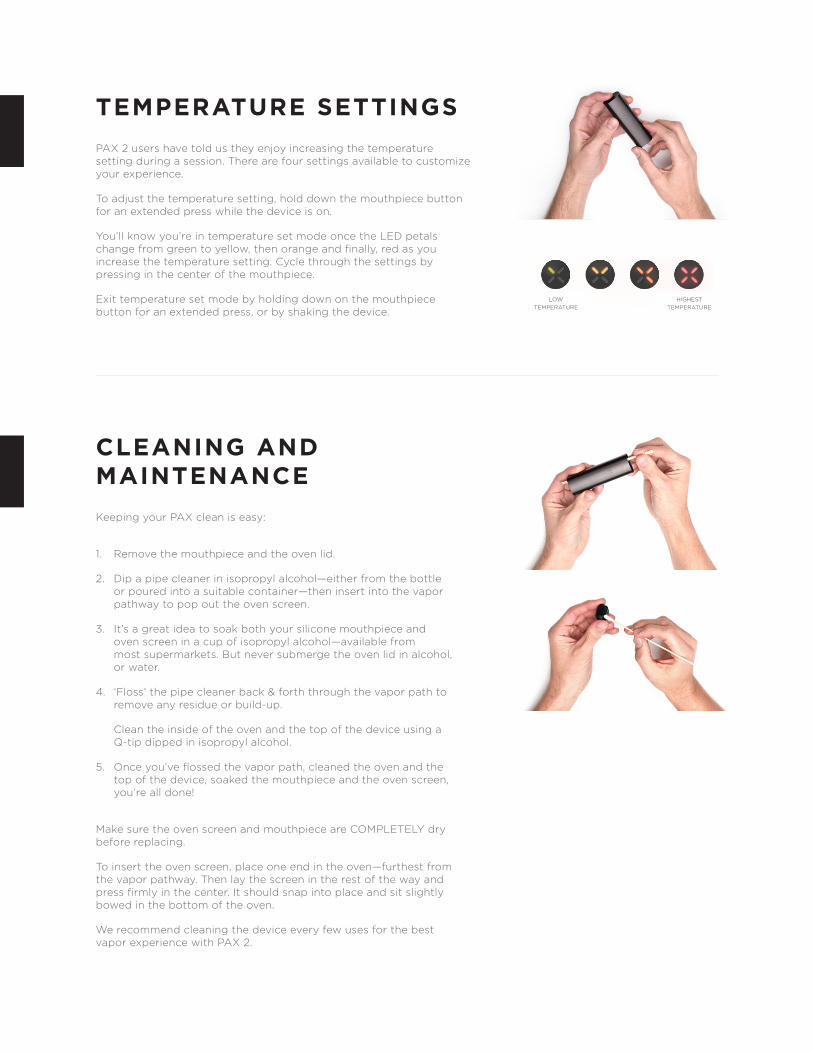
PAX 2 heats in as little as 30-60 seconds. The LED petals will pulse purple while heating.
Once the LED lights turn green, you’re good to go.
A gentle, cigar-like draw is best to start. Ensure your lips are placed around and not directly in the opening of the mouthpiece. When drawing, PAX 2’s green lights will pulse faster than usual.
One full oven should last anywhere between 10 and 25 draws, depending on your temperature setting.
MOUTHPIECE
PAX comes fitted with a flat mouthpiece, but also included is a raised option. Try both to find out which you prefer. They’re easy to switch out.
raised mouthpiece
flat mouthpiece
HEATING UP READY
TEMPERATURE SETTINGS
PAX 2 users have told us they enjoy increasing the temperature setting during a session. There are four settings available to customize your experience.
To adjust the temperature setting, hold down the mouthpiece button for an extended press while the device is on.
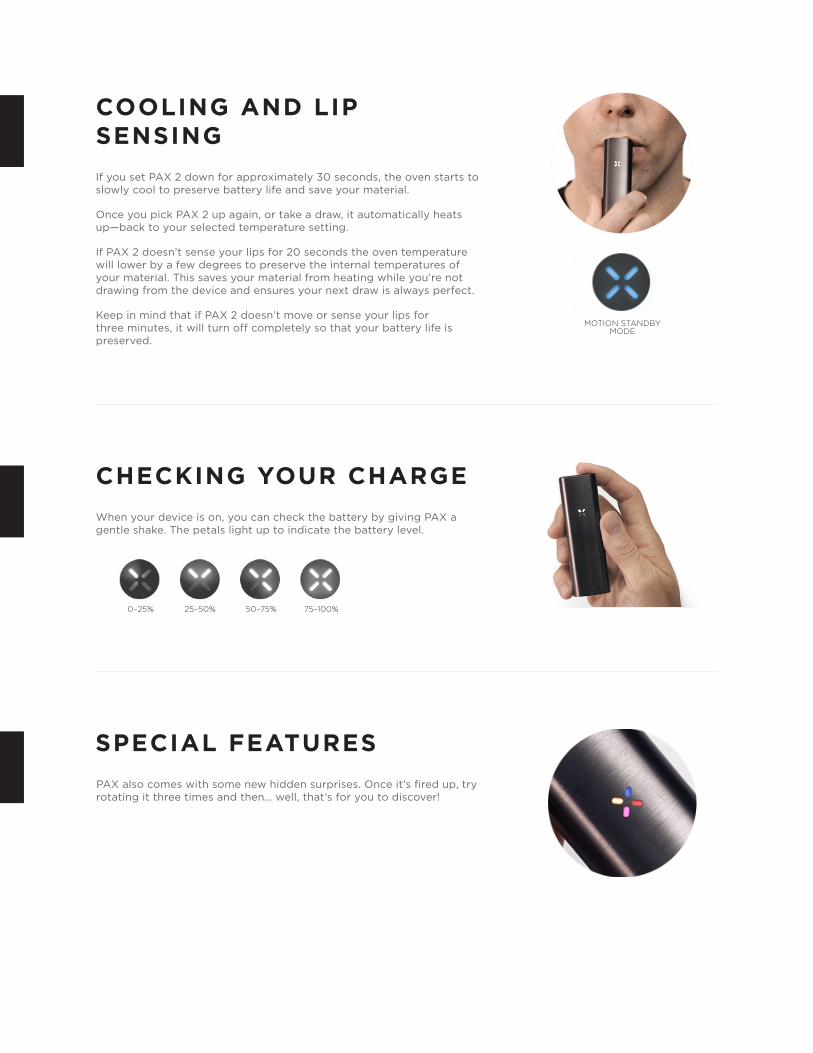
You’ll know you’re in temperature set mode once the LED petals change from green to yellow, then orange and finally, red as you increase the temperature setting. Cycle through the settings by pressing in the center of the mouthpiece.
Exit temperature set mode by holding down on the mouthpiece button for an extended press, or by shaking the device.
CLEANING AND MAINTENANCE
Keeping your PAX clean is easy:
1. Remove the mouthpiece and the oven lid.
2. Dip a pipe cleaner in isopropyl alcohol—either from the bottle or poured into a suitable container—then insert into the vapor pathway to pop out the oven screen.
3. It’s a great idea to soak both your silicone mouthpiece and oven screen in a cup of isopropyl alcohol—available from most supermarkets. But never submerge the oven lid in alcohol, or water.
4. ‘Floss’ the pipe cleaner back & forth through the vapor path to remove any residue or build-up.
Clean the inside of the oven and the top of the device using a Q-tip dipped in isopropyl alcohol.
5. Once you’ve flossed the vapor path, cleaned the oven and the top of the device, soaked the mouthpiece and the oven screen, you’re all done!
Make sure the oven screen and mouthpiece are COMPLETELY dry before replacing.
To insert the oven screen, place one end in the oven—furthest from the vapor pathway. Then lay the screen in the rest of the way and press firmly in the center. It should snap into place and sit slightly bowed in the bottom of the oven.
We recommend cleaning the device every few uses for the best vapor experience with PAX 2.
low temperature
highest temperature
COOLING AND LIP SENSING
If you set PAX 2 down for approximately 30 seconds, the oven starts to slowly cool to preserve battery life and save your material.
Once you pick PAX 2 up again, or take a draw, it automatically heats up—back to your selected temperature setting.
If PAX 2 doesn’t sense your lips for 20 seconds the oven temperature will lower by a few degrees to preserve the internal temperatures of your material. This saves your material from heating while you’re not drawing from the device and ensures your next draw is always perfect.
Keep in mind that if PAX 2 doesn’t move or sense your lips for three minutes, it will turn off completely so that your battery life is preserved.
CHECKING YOUR CHARGE
When your device is on, you can check the battery by giving PAX a gentle shake. The petals light up to indicate the battery level.
SPECIAL FEATURES
PAX also comes with some new hidden surprises. Once it’s fired up, try rotating it three times and then… well, that’s for you to discover!
0–25% 25–50% 50–75% 75–100%
MOTION STANDBY MODE


![Box Office Best Practices [Webinar]](https://img.pdfslide.us/doc/110x75/5871b3461a28abda6a8b709d/box-office-best-practices-webinar.jpg)