Embed Size (px)
Citation preview
http://blackboard.umbc.edu
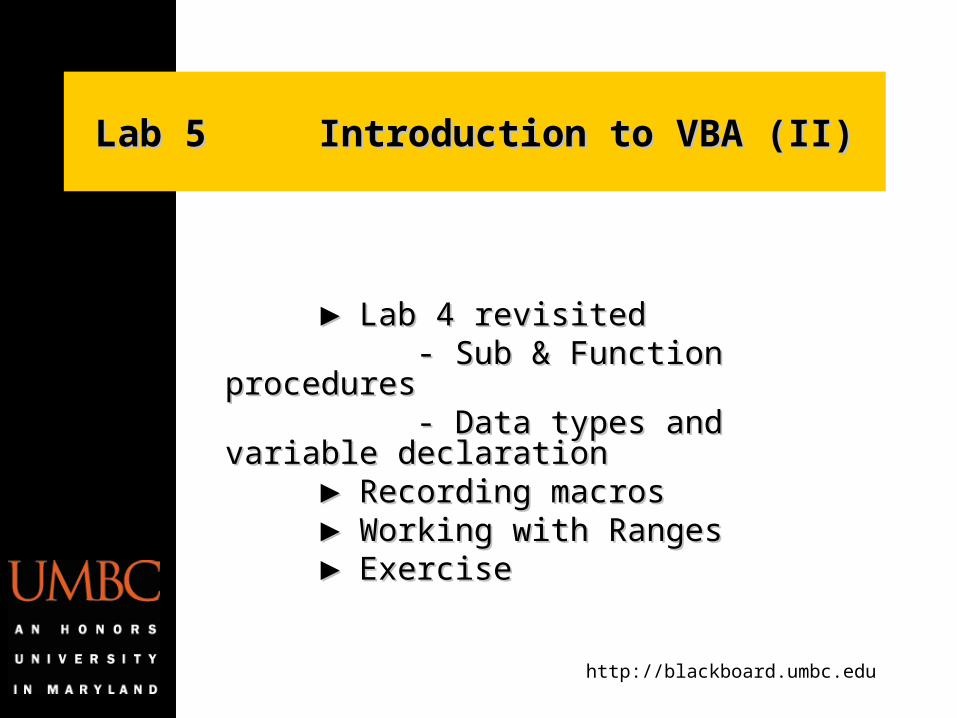
Lab 5 Introduction to VBA (II)Lab 5 Introduction to VBA (II)
► ► Lab 4 revisitedLab 4 revisited-- Sub & Function procedures Sub & Function procedures- Data types and variable declaration- Data types and variable declaration
► ► Recording macros Recording macros ► ► Working with RangesWorking with Ranges► ► ExerciseExercise
http://blackboard.umbc.edu
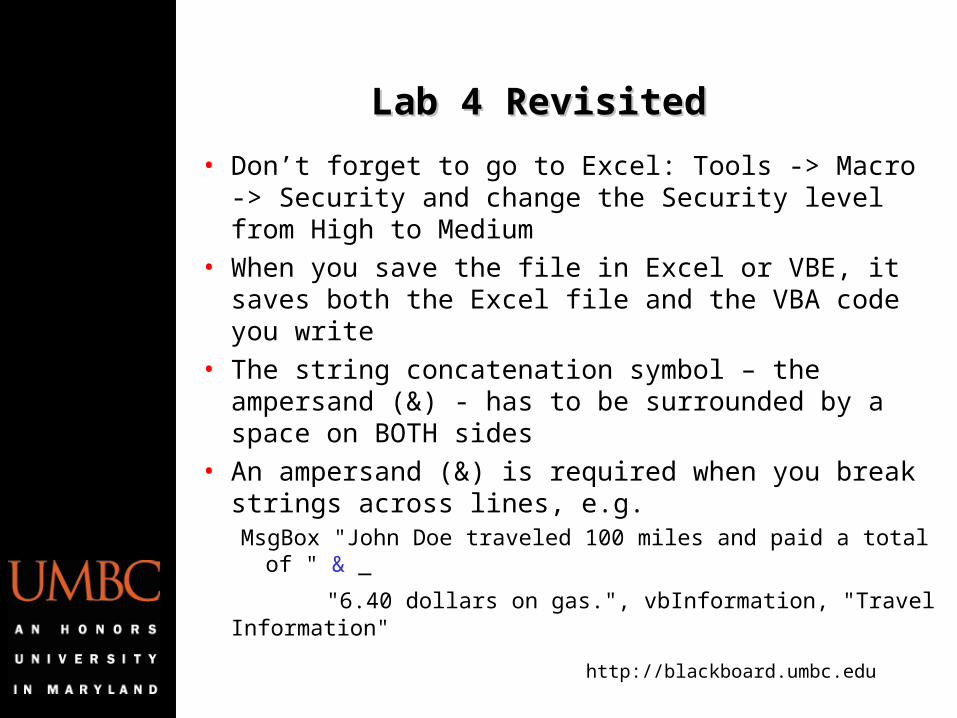
Lab 4 RevisitedLab 4 Revisited
• Don’t forget to go to Excel: Tools -> Macro -> Security and change the Security level from High to Medium
• When you save the file in Excel or VBE, it saves both the Excel file and the VBA code you write
• The string concatenation symbol – the ampersand (&) - has to be surrounded by a space on BOTH sides
• An ampersand (&) is required when you break strings across lines, e.g.MsgBox "John Doe traveled 100 miles and paid a total of " & _
"6.40 dollars on gas.", vbInformation, "Travel Information"
http://blackboard.umbc.edu
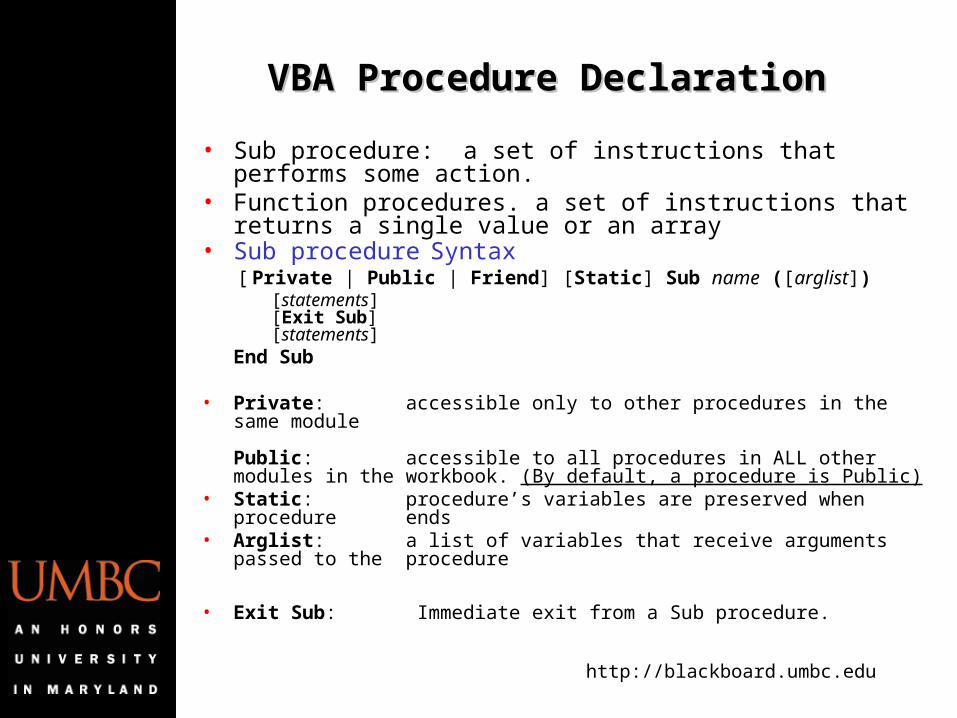
VBA Procedure DeclarationVBA Procedure Declaration
• Sub procedure: a set of instructions that performs some action. • Function procedures. a set of instructions that returns a single
value or an array• Sub procedure Syntax
[ Private | Public | Friend] [Static] Sub name ([arglist])
[statements][Exit Sub][statements]
End Sub
• Private: accessible only to other procedures in the same module Public: accessible to all procedures in ALL other modules in the
workbook. (By default, a procedure is Public)• Static: procedure’s variables are preserved when procedure
ends• Arglist: a list of variables that receive arguments passed to the
procedure
• Exit Sub: Immediate exit from a Sub procedure.
http://blackboard.umbc.edu
Function Procedure DeclarationFunction Procedure Declaration
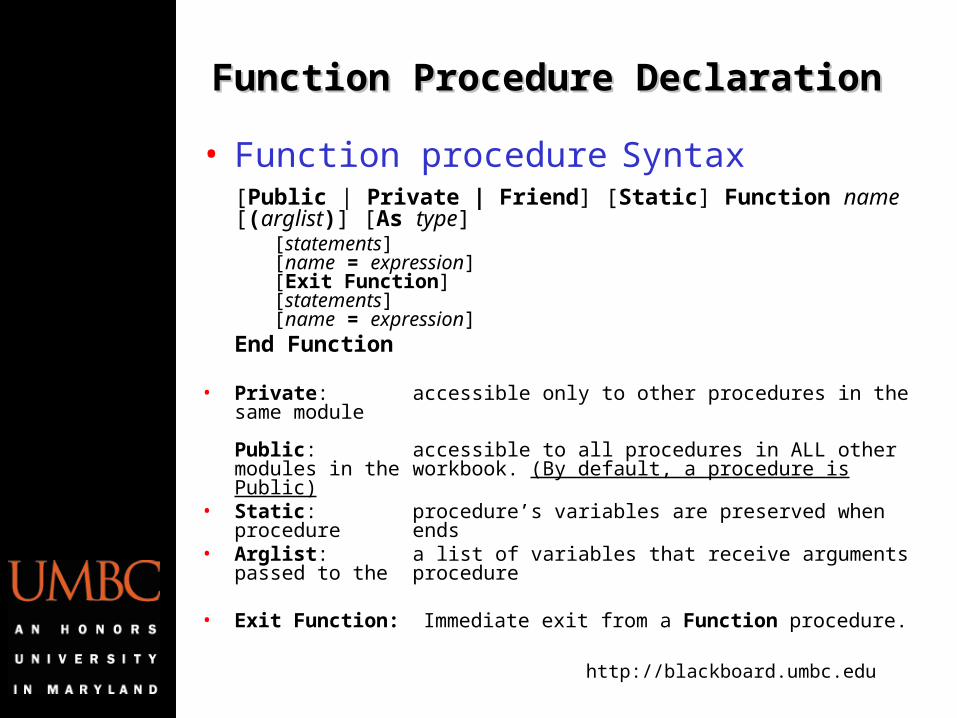
• Function procedure Syntax[Public | Private | Friend] [Static] Function name [(arglist)] [As type]
[statements][name = expression][Exit Function] [statements][name = expression]
End Function
• Private: accessible only to other procedures in the same module
Public: accessible to all procedures in ALL other modules in the workbook. (By default, a procedure is Public)
• Static: procedure’s variables are preserved when procedure ends
• Arglist: a list of variables that receive arguments passed to the procedure
• Exit Function: Immediate exit from a Function procedure.
http://blackboard.umbc.edu
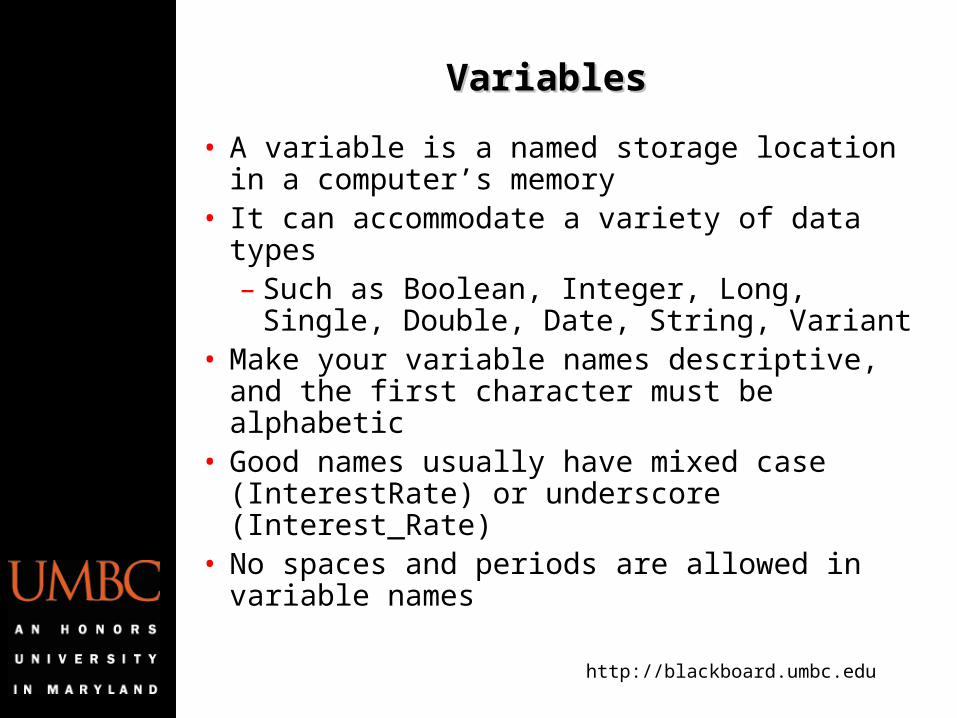
• A variable is a named storage location in a computer’s memory
• It can accommodate a variety of data types– Such as Boolean, Integer, Long, Single,
Double, Date, String, Variant• Make your variable names descriptive, and
the first character must be alphabetic• Good names usually have mixed case
(InterestRate) or underscore (Interest_Rate)• No spaces and periods are allowed in variable
names
VariablesVariables
http://blackboard.umbc.edu
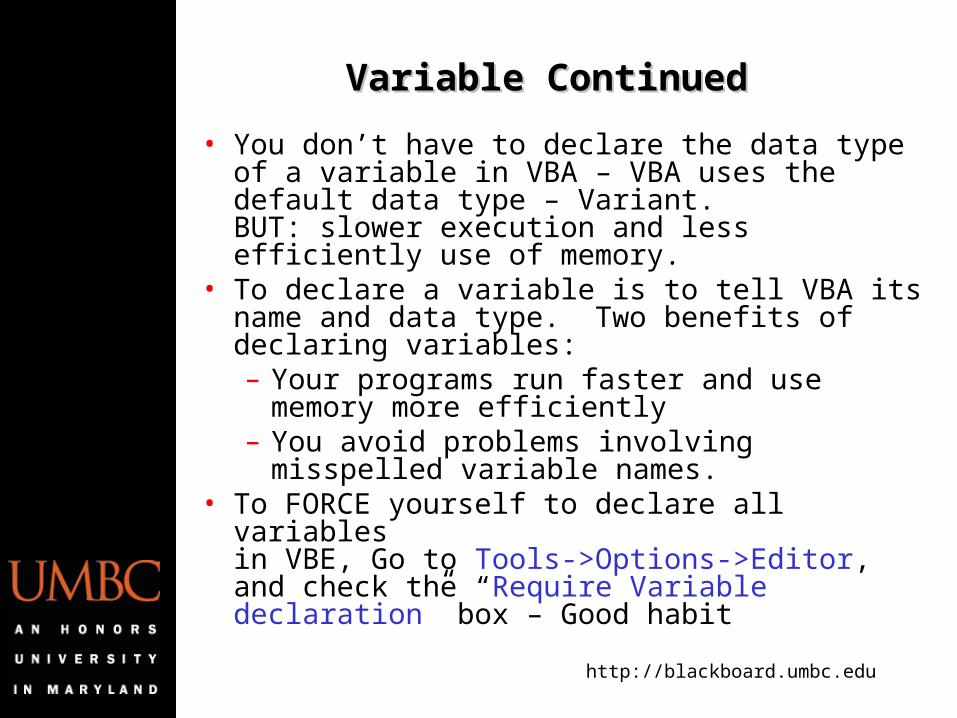
• You don’t have to declare the data type of a variable in VBA – VBA uses the default data type – Variant. BUT: slower execution and less efficiently use of memory.
• To declare a variable is to tell VBA its name and data type. Two benefits of declaring variables:– Your programs run faster and use memory more
efficiently– You avoid problems involving misspelled
variable names. • To FORCE yourself to declare all variables
in VBE, Go to Tools->Options->Editor, and check the “Require Variable declaration” box – Good habit
Variable ContinuedVariable Continued
http://blackboard.umbc.edu
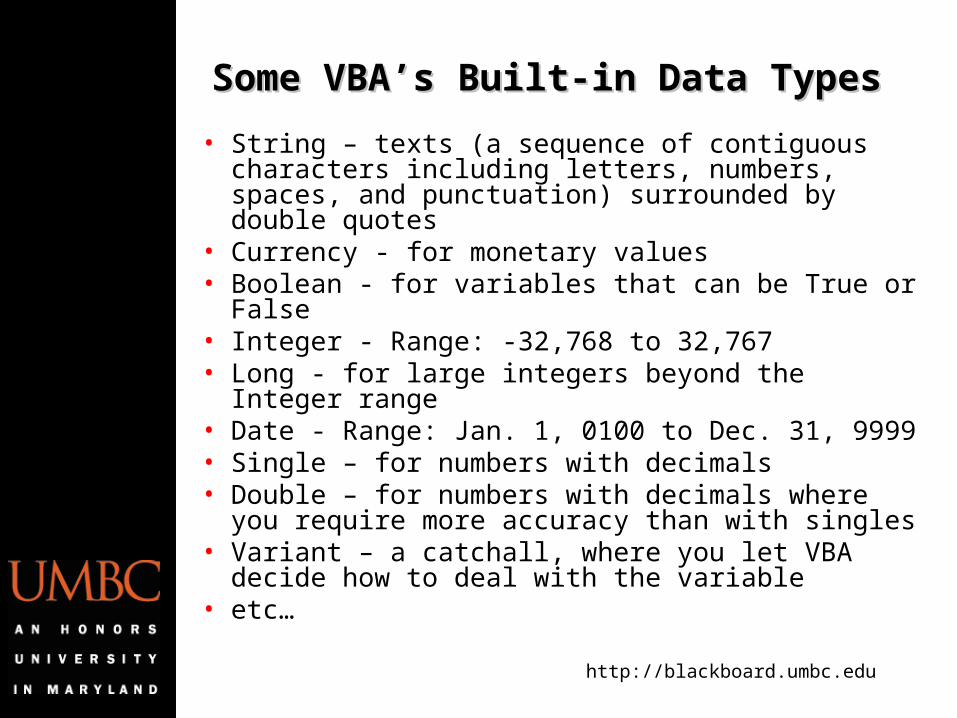
• String – texts (a sequence of contiguous characters including letters, numbers, spaces, and punctuation) surrounded by double quotes
• Currency - for monetary values• Boolean - for variables that can be True or False• Integer - Range: -32,768 to 32,767 • Long - for large integers beyond the Integer range• Date - Range: Jan. 1, 0100 to Dec. 31, 9999• Single – for numbers with decimals• Double – for numbers with decimals where you
require more accuracy than with singles• Variant – a catchall, where you let VBA decide how
to deal with the variable• etc…
Some VBA’s Built-in Data TypesSome VBA’s Built-in Data Types
http://blackboard.umbc.edu
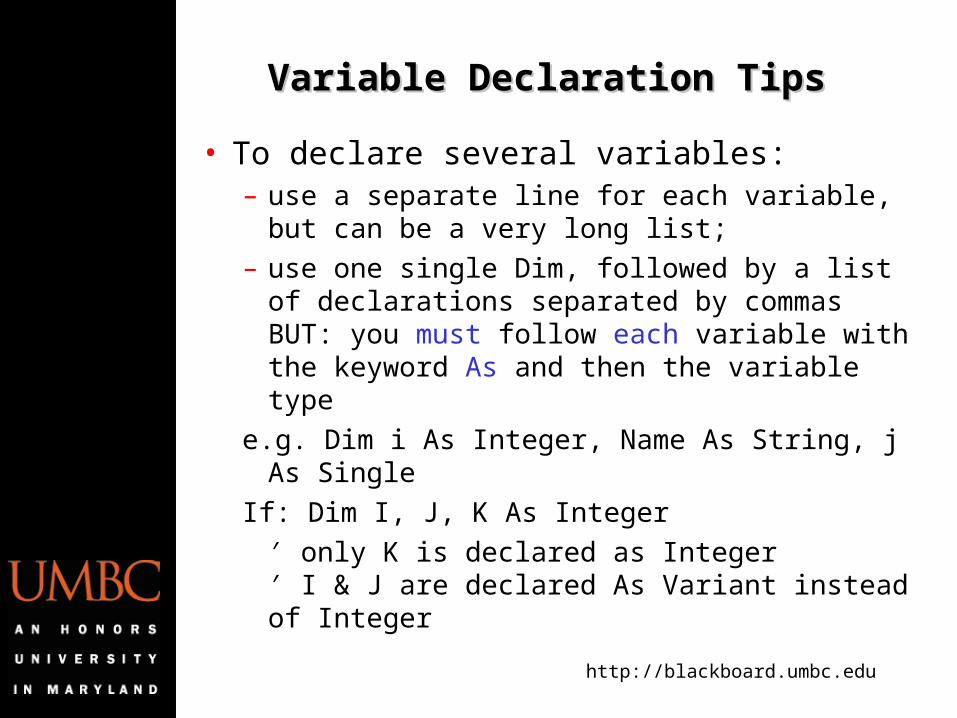
• To declare several variables:– use a separate line for each variable, but can be a
very long list;
– use one single Dim, followed by a list of declarations separated by commas BUT: you must follow each variable with the keyword As and then the variable type
e.g. Dim i As Integer, Name As String, j As Single
If: Dim I, J, K As Integer
′ only K is declared as Integer′ I & J are declared As Variant instead of Integer
Variable Declaration TipsVariable Declaration Tips
http://blackboard.umbc.edu
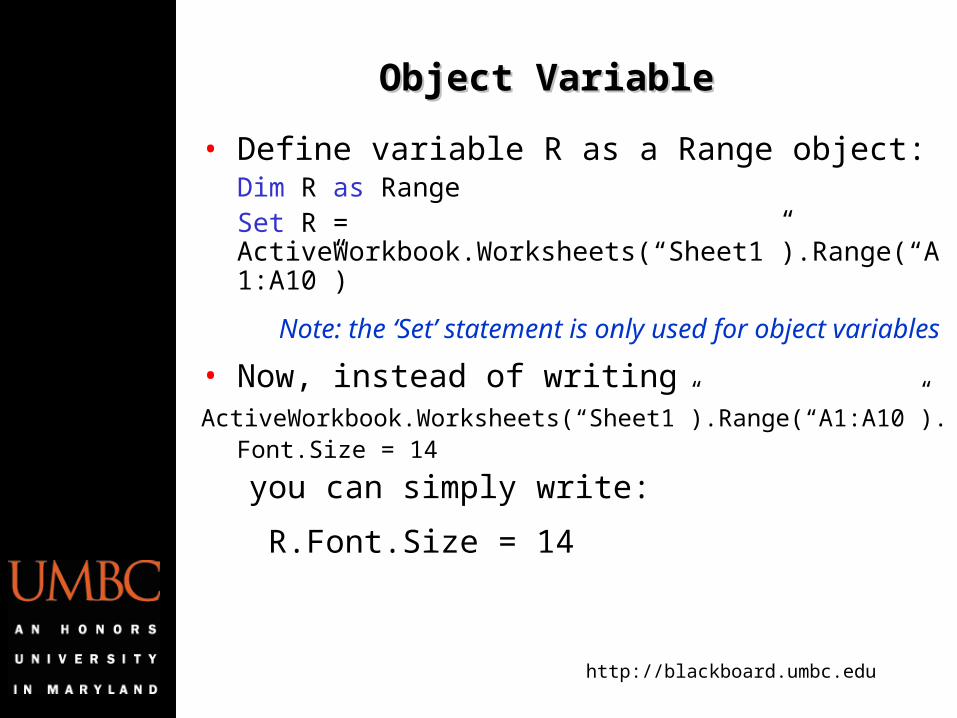
• Define variable R as a Range object:Dim R as RangeSet R = ActiveWorkbook.Worksheets(“Sheet1”).Range(“A1:A10”)
Note: the ‘Set’ statement is only used for object variables
• Now, instead of writingActiveWorkbook.Worksheets(“Sheet1”).Range(“A1:A10”).Font.Size = 14
you can simply write:
R.Font.Size = 14
Object VariableObject Variable
http://blackboard.umbc.edu
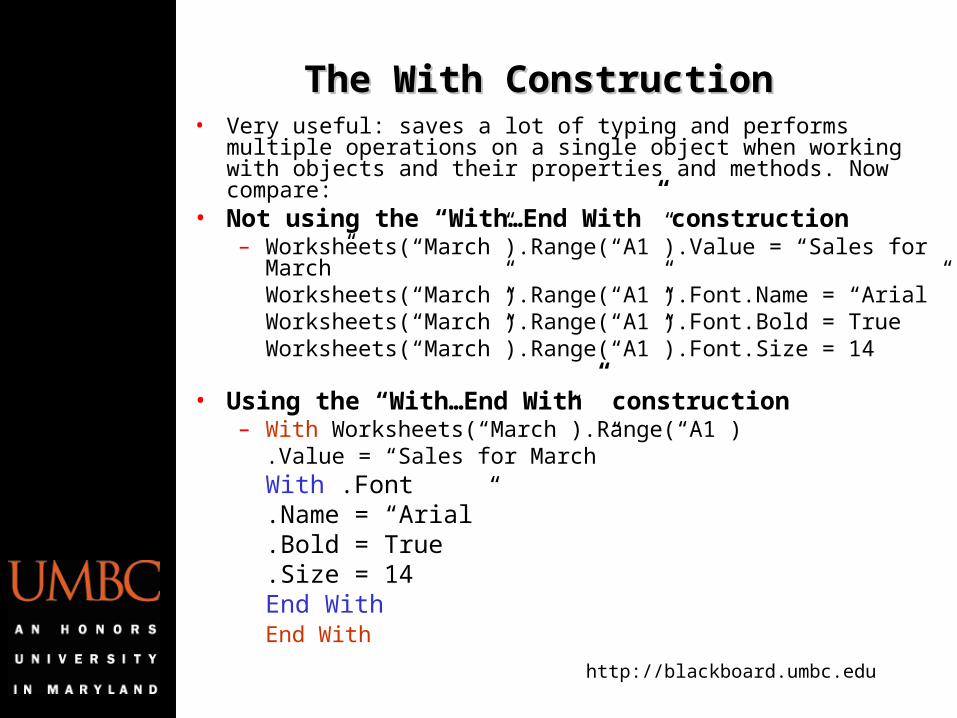
The With ConstructionThe With Construction• Very useful: saves a lot of typing and performs multiple operations on a
single object when working with objects and their properties and methods. Now compare:
• Not using the “With…End With” construction– Worksheets(“March”).Range(“A1”).Value = “Sales for March”
Worksheets(“March”).Range(“A1”).Font.Name = “Arial” Worksheets(“March”).Range(“A1”).Font.Bold = TrueWorksheets(“March”).Range(“A1”).Font.Size = 14
• Using the “With…End With” construction– With Worksheets(“March”).Range(“A1”)
.Value = “Sales for March”With .Font
.Name = “Arial”
.Bold = True
.Size = 14End With
End With

http://blackboard.umbc.edu
Recording Macros (TRY THIS)Recording Macros (TRY THIS)● Learn VBA by using the Macro recorder
– Activate a worksheet in the workbook– Select the Tools->Macro->Record New Macro command
Or: Click on Record Macro tool at the Visual Basic Toolbar– Accept the defaults or change them. Then, click OK to begin
recording your actions• Macro name: The name of the macro• Shortcut key: You can specify a key combination that executes
the macro• Store macro in: The location for the macro• Description: A description of the macro. By default, Excel
inserts the date and your name. You can add additional information if you like
– Make some changes in the workbook: Click on File->Page Setup ->Orientation ->Landscape
– Click the Stop Recording button on the toolbar– Open the module in VBE and see the code that has been
generated automatically
http://blackboard.umbc.edu
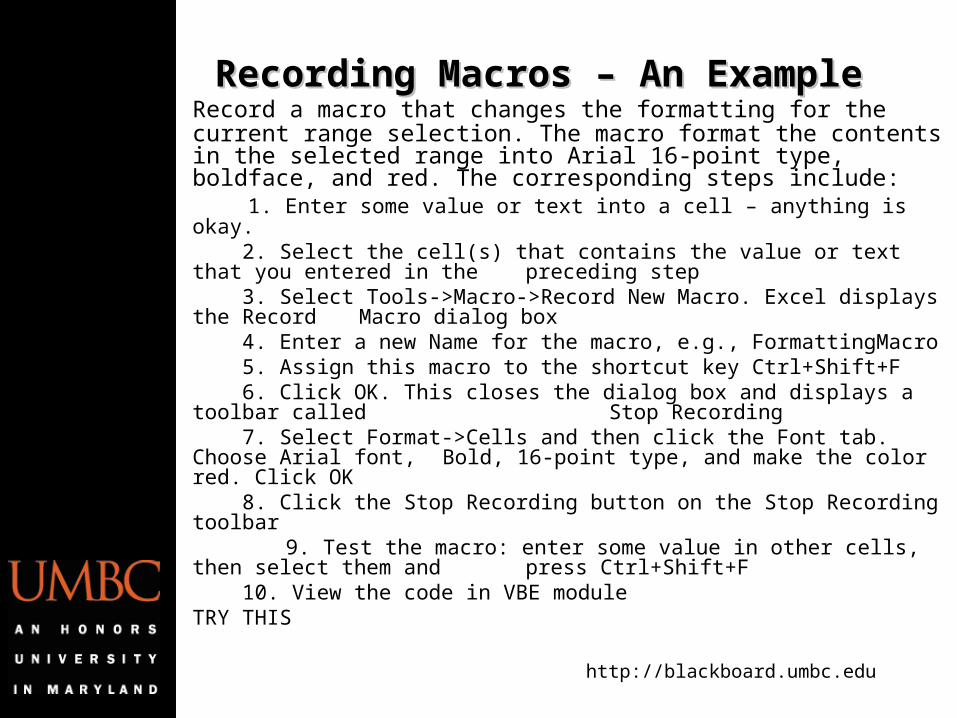
Recording Macros – An ExampleRecording Macros – An ExampleRecord a macro that changes the formatting for the current range selection. The macro format the contents in the selected range into Arial 16-point type, boldface, and red. The corresponding steps include: 1. Enter some value or text into a cell – anything is okay. 2. Select the cell(s) that contains the value or text that you entered in the
preceding step 3. Select Tools->Macro->Record New Macro. Excel displays the Record
Macro dialog box 4. Enter a new Name for the macro, e.g., FormattingMacro 5. Assign this macro to the shortcut key Ctrl+Shift+F 6. Click OK. This closes the dialog box and displays a toolbar called
Stop Recording 7. Select Format->Cells and then click the Font tab. Choose Arial font,
Bold, 16-point type, and make the color red. Click OK 8. Click the Stop Recording button on the Stop Recording toolbar
9. Test the macro: enter some value in other cells, then select them and press Ctrl+Shift+F
10. View the code in VBE moduleTRY THIS
http://blackboard.umbc.edu
Recording Macros – Sort MethodRecording Macros – Sort Method
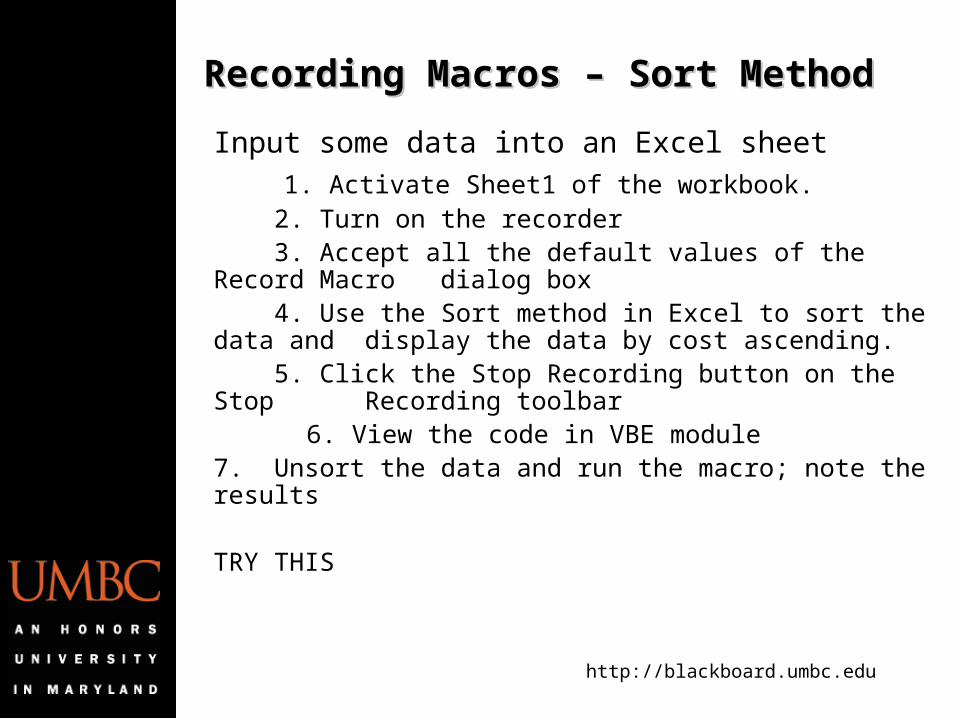
Input some data into an Excel sheet
1. Activate Sheet1 of the workbook. 2. Turn on the recorder 3. Accept all the default values of the Record Macro dialog box 4. Use the Sort method in Excel to sort the data and display the data by cost ascending. 5. Click the Stop Recording button on the Stop Recording toolbar
6. View the code in VBE module7. Unsort the data and run the macro; note the results
TRY THIS
http://blackboard.umbc.edu
Sort MethodSort Method
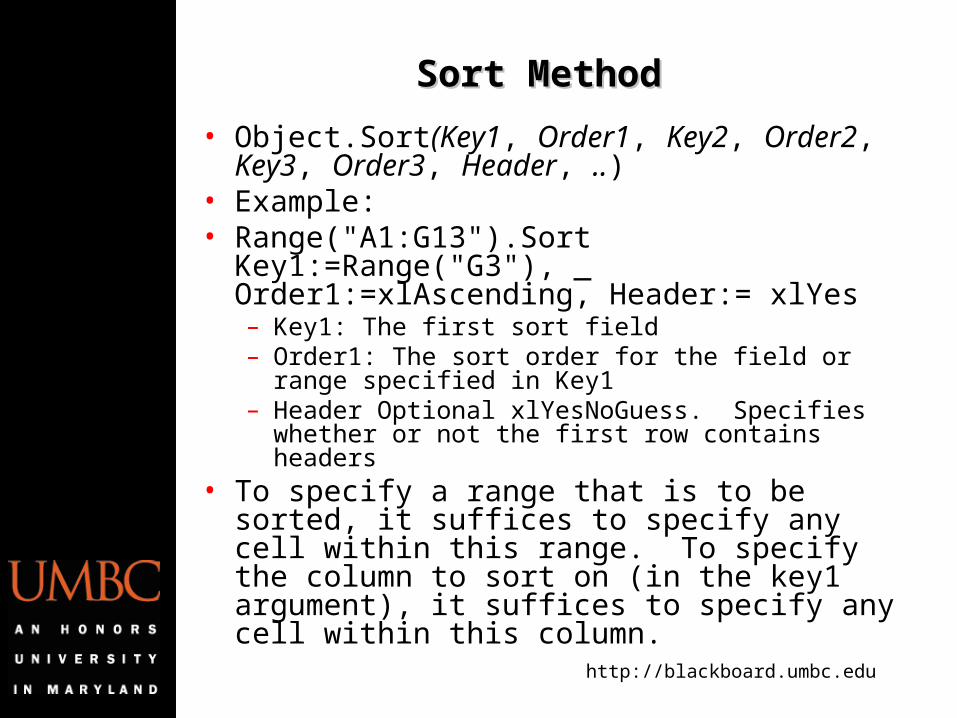
• Object.Sort(Key1, Order1, Key2, Order2, Key3, Order3, Header, ..)
• Example: • Range("A1:G13").Sort Key1:=Range("G3"), _
Order1:=xlAscending, Header:= xlYes– Key1: The first sort field – Order1: The sort order for the field or range specified in
Key1 – Header Optional xlYesNoGuess. Specifies whether or not
the first row contains headers• To specify a range that is to be sorted, it suffices to
specify any cell within this range. To specify the column to sort on (in the key1 argument), it suffices to specify any cell within this column.
http://blackboard.umbc.edu
More on Recording MacrosMore on Recording Macros
• Personal.xls – a special workbook. Macros recorded in this workbook are available all the times as you work in Excel, but it is a hidden file.
• Limitations – It cannot record everything (e.g., loops and
control logic)
– The automatically generated code is often far from elegant

http://blackboard.umbc.edu
Specify Range With VBA (1)Specify Range With VBA (1)
• Use an addresse.g. Range(″A1:B10″).Value = 2‘Value is the default property of Range object, can be
omitted Range(″A1″, ″B10″).ClearContents
• Use a range namee.g. To create a range name: Range("A1:F1").Name = "NameList"
-> Range(″NameList″)
• Use a variable for a range name
E.g., SalesName = Range(“Sales”).Name Then, this range can be referred to as Range(SalesName)
• Use Range(ColumnIndex & RowIndex)e.g. Range(“A” & 5)
http://blackboard.umbc.edu
Specify Range With VBA (2)Specify Range With VBA (2)
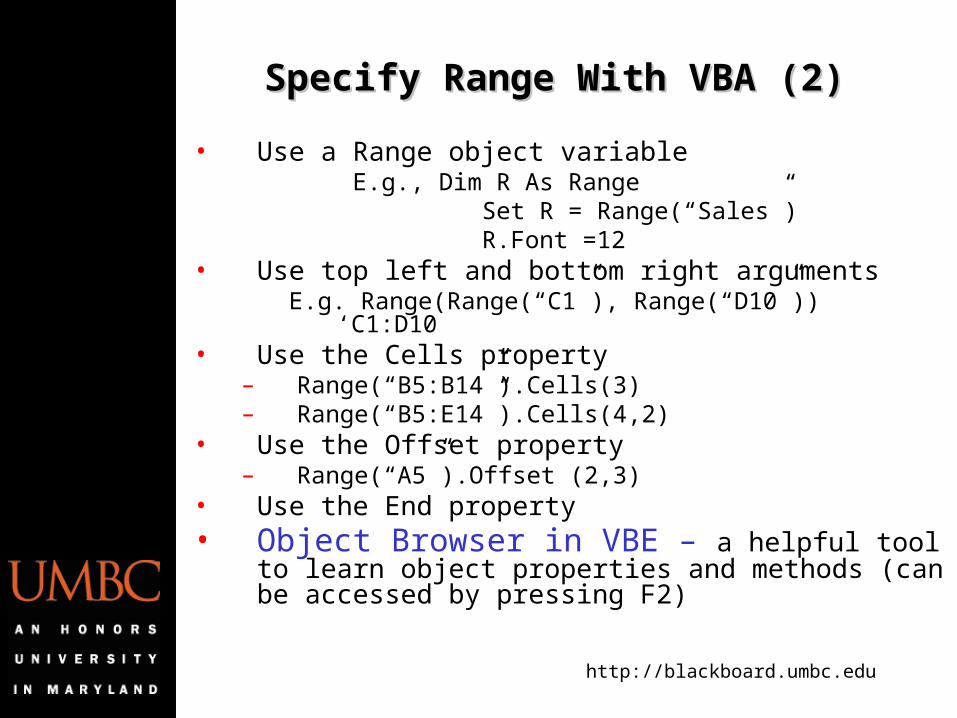
• Use a Range object variable E.g., Dim R As Range Set R = Range(“Sales”) R.Font =12
• Use top left and bottom right argumentsE.g. Range(Range(“C1”), Range(“D10”)) ‘C1:D10
• Use the Cells property– Range(“B5:B14”).Cells(3)– Range(“B5:E14”).Cells(4,2)
• Use the Offset property– Range(“A5”).Offset (2,3)
• Use the End property• Object Browser in VBE – a helpful tool to learn object
properties and methods (can be accessed by pressing F2)
http://blackboard.umbc.edu
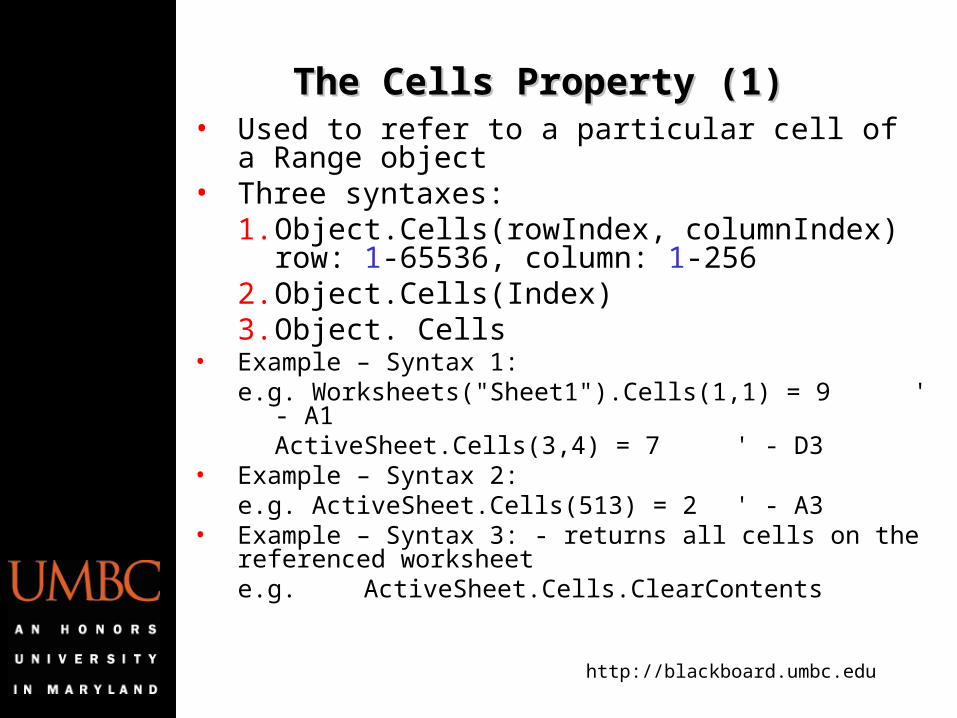
The Cells Property (1)The Cells Property (1)• Used to refer to a particular cell of a Range object• Three syntaxes:
1. Object.Cells(rowIndex, columnIndex)row: 1-65536, column: 1-256
2. Object.Cells(Index)3. Object. Cells
• Example – Syntax 1:e.g. Worksheets("Sheet1").Cells(1,1) = 9 ' - A1
ActiveSheet.Cells(3,4) = 7 ' - D3• Example – Syntax 2:
e.g. ActiveSheet.Cells(513) = 2 ' - A3 • Example – Syntax 3: - returns all cells on the referenced
worksheete.g.ActiveSheet.Cells.ClearContents
http://blackboard.umbc.edu
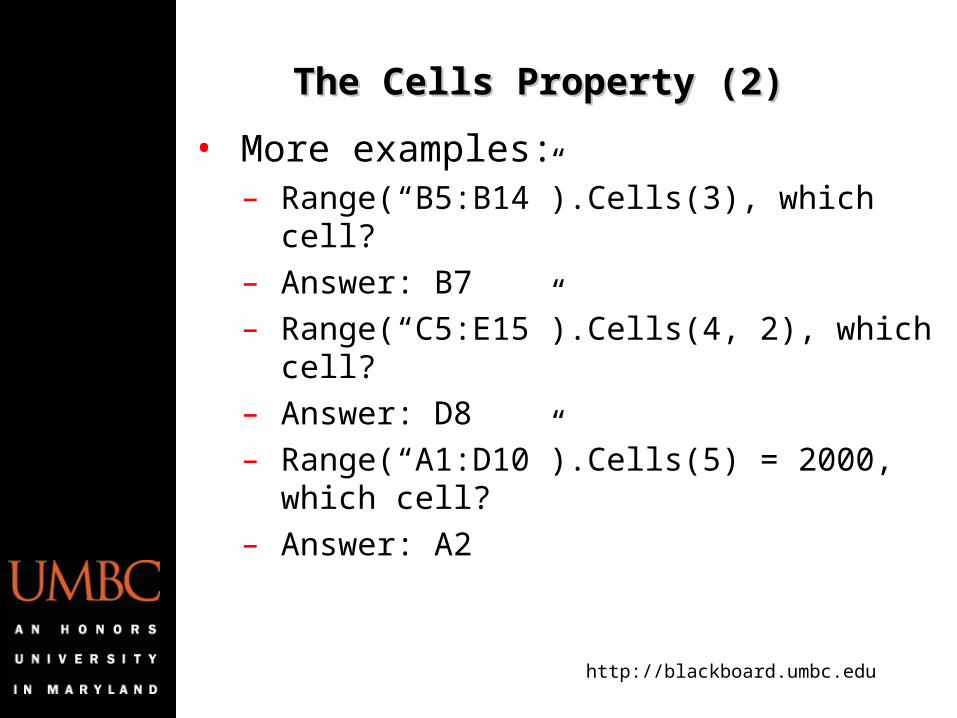
The Cells Property (2)The Cells Property (2)
• More examples:– Range(“B5:B14”).Cells(3), which cell?
– Answer: B7
– Range(“C5:E15”).Cells(4, 2), which cell?
– Answer: D8
– Range(“A1:D10”).Cells(5) = 2000, which cell?
– Answer: A2
http://blackboard.umbc.edu
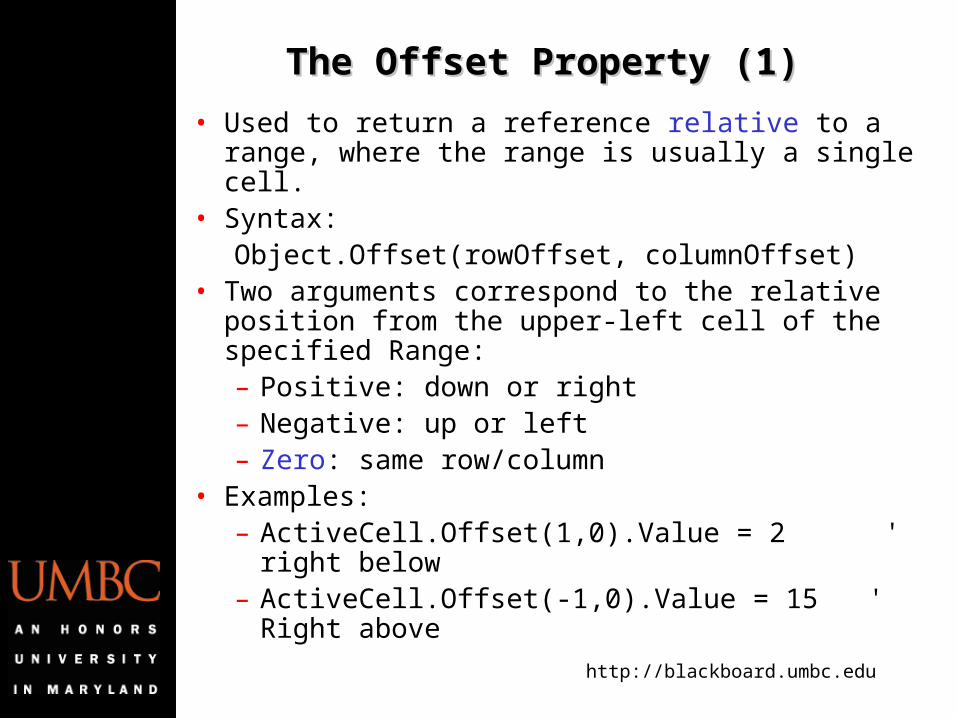
The Offset Property (1)The Offset Property (1)
• Used to return a reference relative to a range, where the range is usually a single cell.
• Syntax:Object.Offset(rowOffset, columnOffset)
• Two arguments correspond to the relative position from the upper-left cell of the specified Range:– Positive: down or right– Negative: up or left– Zero: same row/column
• Examples:– ActiveCell.Offset(1,0).Value = 2 ' right below– ActiveCell.Offset(-1,0).Value = 15 ' Right above
http://blackboard.umbc.edu
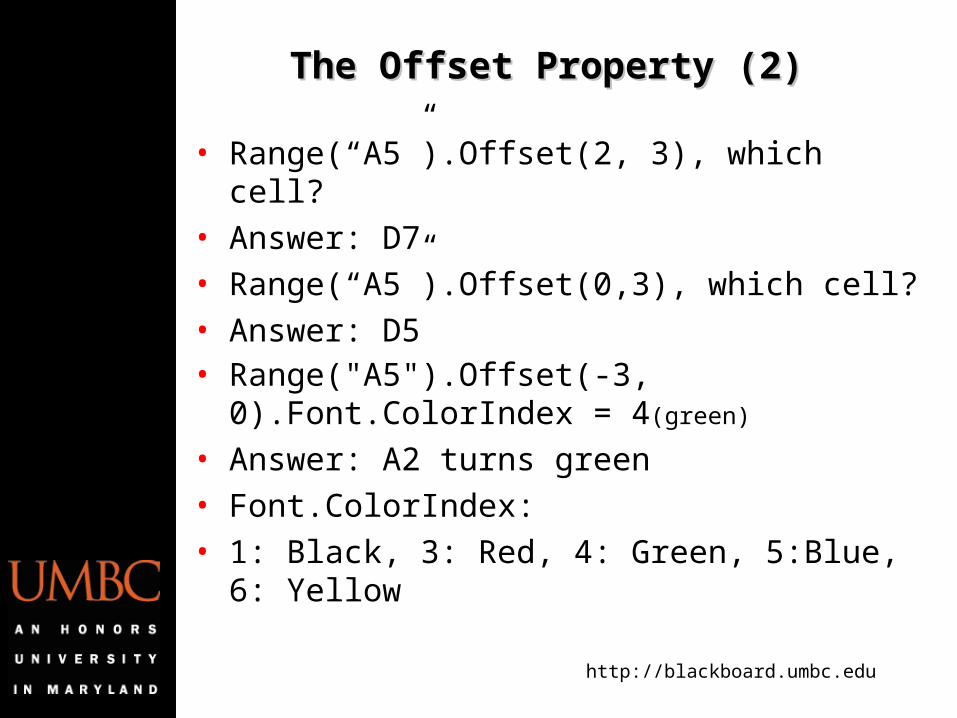
• Range(“A5”).Offset(2, 3), which cell?
• Answer: D7
• Range(“A5”).Offset(0,3), which cell?
• Answer: D5• Range("A5").Offset(-3, 0).Font.ColorIndex = 4(green)
• Answer: A2 turns green
• Font.ColorIndex:
• 1: Black, 3: Red, 4: Green, 5:Blue, 6: Yellow
The Offset Property (2)The Offset Property (2)
http://blackboard.umbc.edu
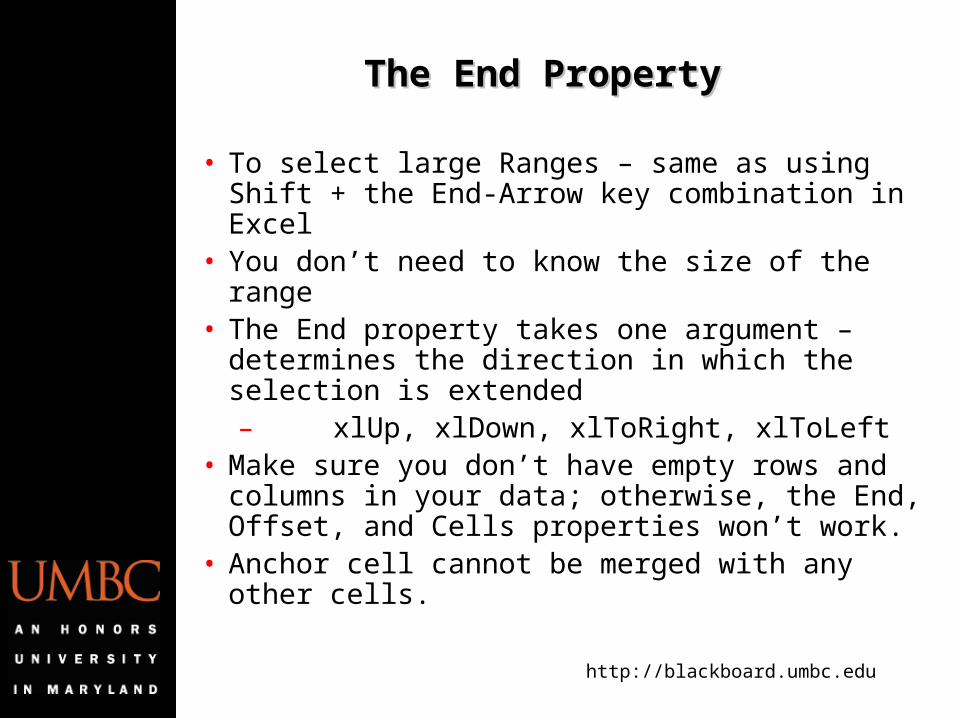
The End PropertyThe End Property
• To select large Ranges – same as using Shift + the End-Arrow key combination in Excel
• You don’t need to know the size of the range• The End property takes one argument –
determines the direction in which the selection is extended– xlUp, xlDown, xlToRight, xlToLeft
• Make sure you don’t have empty rows and columns in your data; otherwise, the End, Offset, and Cells properties won’t work.
• Anchor cell cannot be merged with any other cells.
http://blackboard.umbc.edu
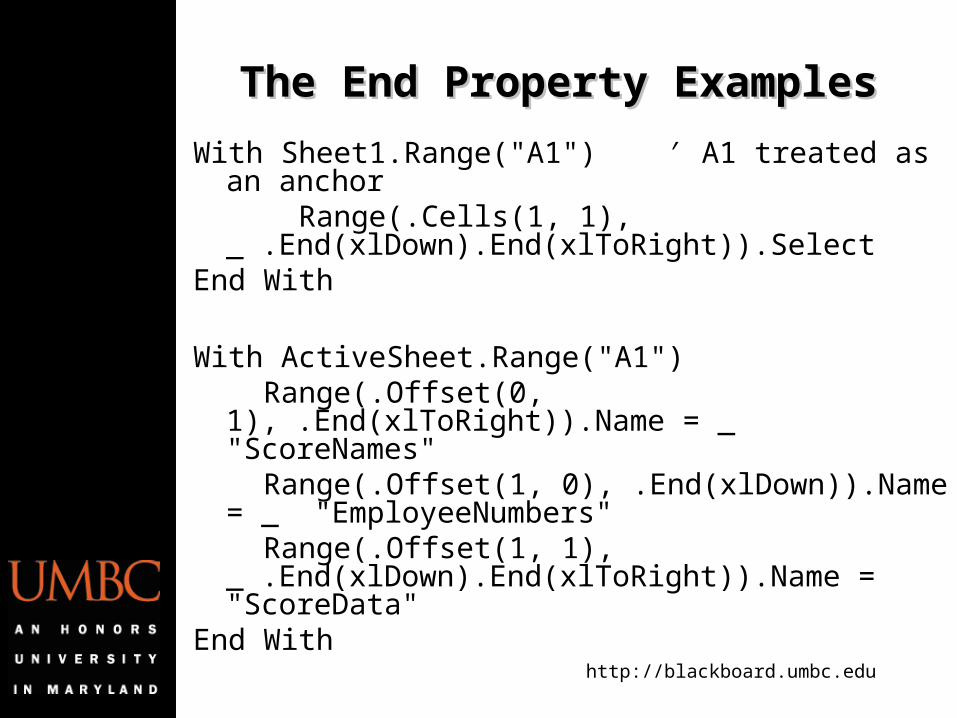
The End Property ExamplesThe End Property Examples
With Sheet1.Range("A1") ′ A1 treated as an anchor Range(.Cells(1, 1),
_ .End(xlDown).End(xlToRight)).SelectEnd With
With ActiveSheet.Range("A1") Range(.Offset(0, 1), .End(xlToRight)).Name = _
"ScoreNames" Range(.Offset(1, 0), .End(xlDown)).Name = _
"EmployeeNumbers" Range(.Offset(1, 1),
_ .End(xlDown).End(xlToRight)).Name = "ScoreData"End With
http://blackboard.umbc.edu
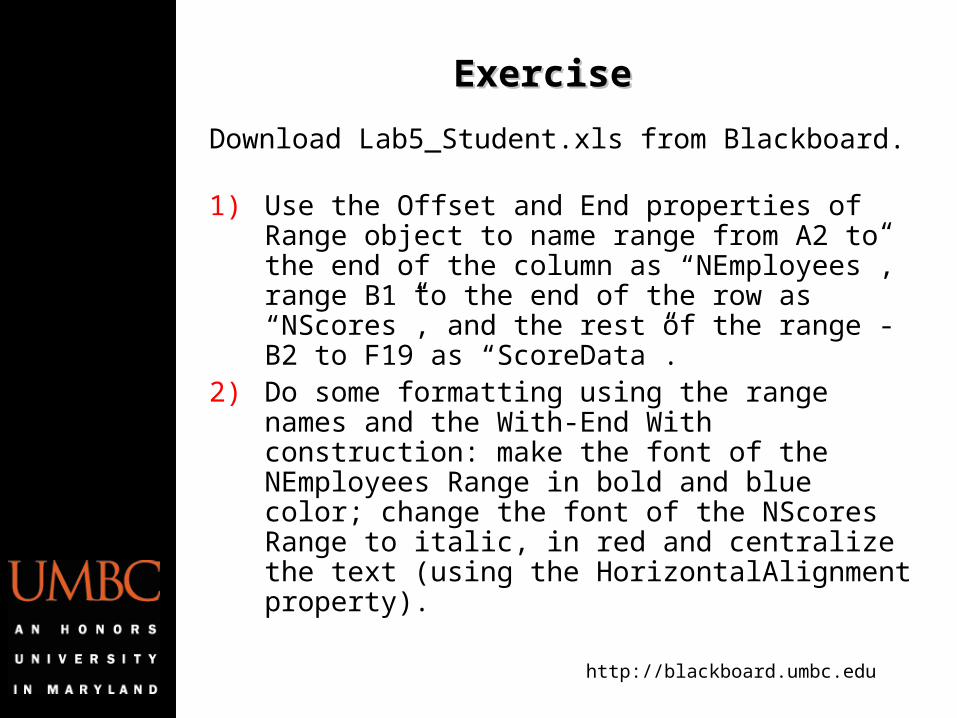
ExerciseExercise
Download Lab5_Student.xls from Blackboard. 1) Use the Offset and End properties of Range
object to name range from A2 to the end of the column as “NEmployees”, range B1 to the end of the row as “NScores”, and the rest of the range - B2 to F19 as “ScoreData”.
2) Do some formatting using the range names and the With-End With construction: make the font of the NEmployees Range in bold and blue color; change the font of the NScores Range to italic, in red and centralize the text (using the HorizontalAlignment property).


![[MS-VBAL]: VBA Language SpecificationMS-VBAL].pdf · [MS-VBAL]: VBA Language Specification ... vba](https://img.pdfslide.us/doc/110x75/5e6b43c27f31a13cd8257e06/ms-vbal-vba-language-specification-ms-vbalpdf-ms-vbal-vba-language-specification.jpg)