Embed Size (px)
Citation preview
How to Use Photo Story 3 Training Module
Design Plan
Belen C. Abarca
08 March 2009
EDTC 3332
Instructional Technology Practicum
Needs Assessment:
The instructional/training problem or opportunity Teachers are lacking technology skills. They are lacking skills that
will help them incorporate technology into the classrooms.

Needs Assessment continued…
The analysis of the gap between what is available and what should be available Most teachers know basic computer skills, those needed to take
roll/enter absences and enter grades. However, they are lacking skills that can help them incorporate technology into the classroom and make learning fun!
Needs Assessment continued…
The recommended solution for filling the gap Currently, students are growing up in technological world and it is
important that teachers use this to their advantage. Teacher need to learn skills that they can you to integrate technology into the classroom. By learning to use this simple program, Photo Story 3, teachers can gain the confidence needed to explore other technological media.
Instructional Goal:
The primary grades teachers will be able to create a digital story using Microsoft’s Photo Story 3. They will create this digital story using a computer with internet access in my classroom.
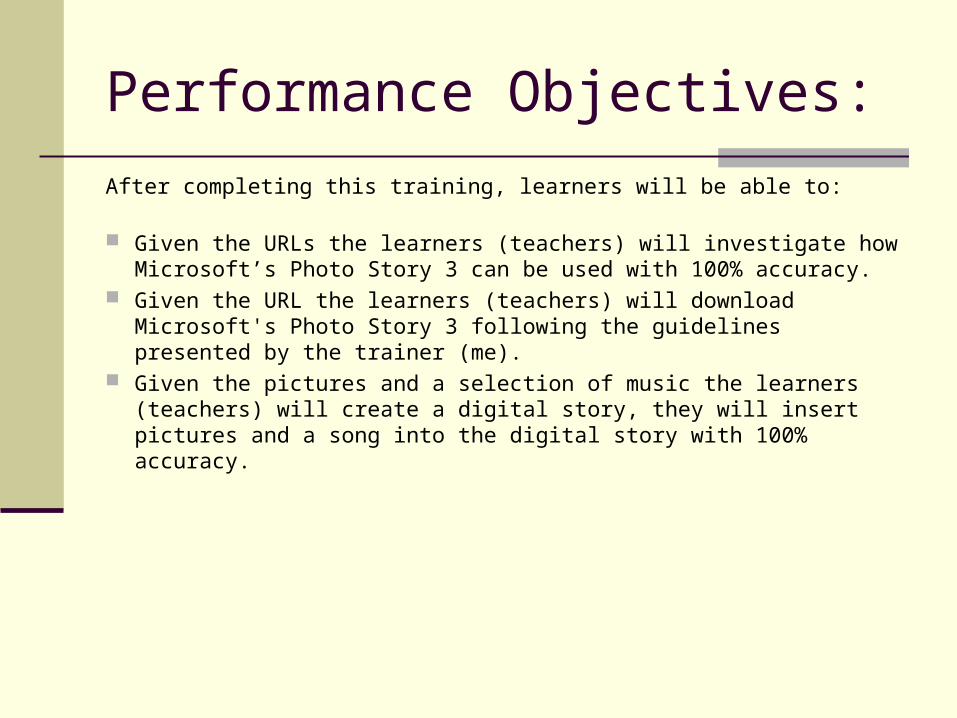
Performance Objectives:
After completing this training, learners will be able to:
Given the URLs the learners (teachers) will investigate how Microsoft’s Photo Story 3 can be used with 100% accuracy.
Given the URL the learners (teachers) will download Microsoft's Photo Story 3 following the guidelines presented by the trainer (me).
Given the pictures and a selection of music the learners (teachers) will create a digital story, they will insert pictures and a song into the digital story with 100% accuracy.
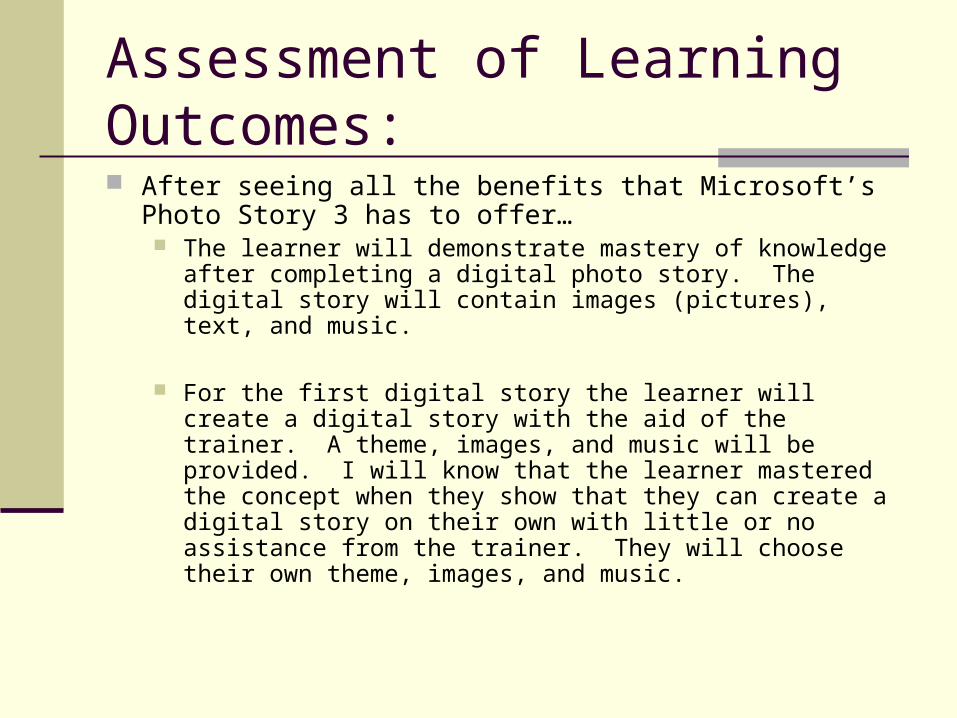
Assessment of Learning Outcomes:
After seeing all the benefits that Microsoft’s Photo Story 3 has to offer… The learner will demonstrate mastery of knowledge after
completing a digital photo story. The digital story will contain images (pictures), text, and music.
For the first digital story the learner will create a digital story with the aid of the trainer. A theme, images, and music will be provided. I will know that the learner mastered the concept when they show that they can create a digital story on their own with little or no assistance from the trainer. They will choose their own theme, images, and music.
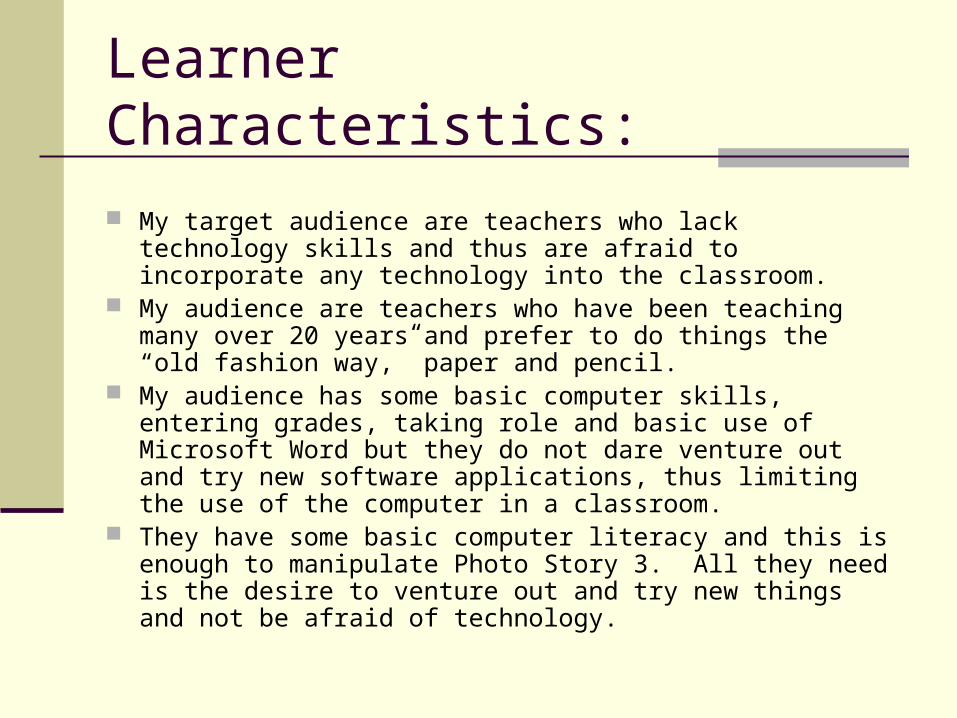
Learner Characteristics:
My target audience are teachers who lack technology skills and thus are afraid to incorporate any technology into the classroom.
My audience are teachers who have been teaching many over 20 years and prefer to do things the “old fashion way,” paper and pencil.
My audience has some basic computer skills, entering grades, taking role and basic use of Microsoft Word but they do not dare venture out and try new software applications, thus limiting the use of the computer in a classroom.
They have some basic computer literacy and this is enough to manipulate Photo Story 3. All they need is the desire to venture out and try new things and not be afraid of technology.
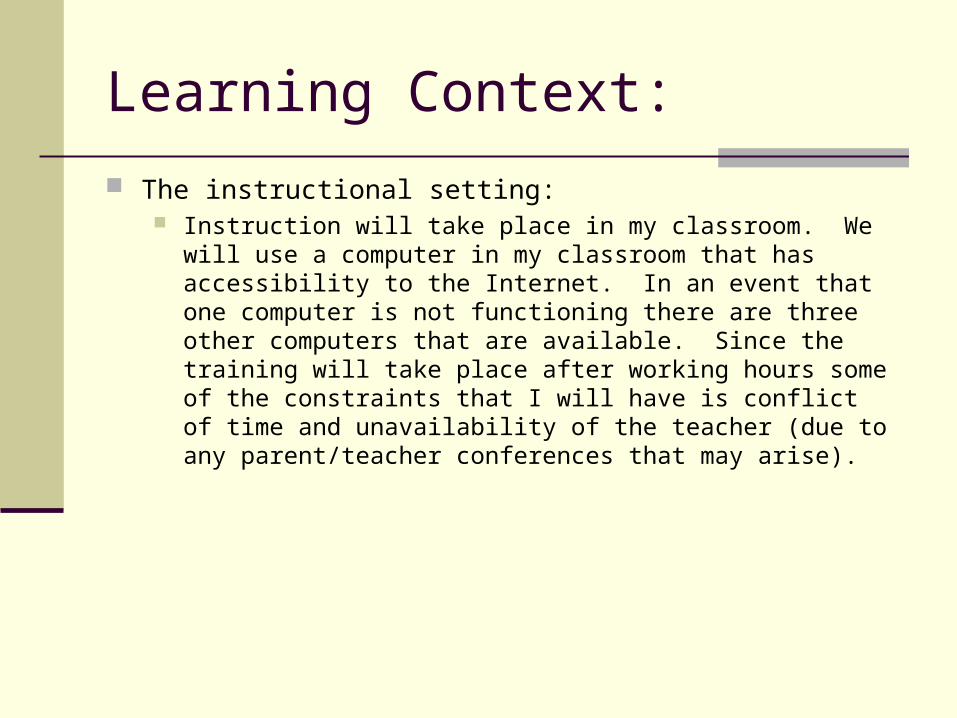
Learning Context:
The instructional setting: Instruction will take place in my classroom. We will use a computer
in my classroom that has accessibility to the Internet. In an event that one computer is not functioning there are three other computers that are available. Since the training will take place after working hours some of the constraints that I will have is conflict of time and unavailability of the teacher (due to any parent/teacher conferences that may arise).
Instructional Strategies: Introduction:
(a) The training is going to be design so that teachers can introduce technology into the classroom and make learning fun and inviting. There are many ways to use Photo Story 3 to make learning fun. (b) Goal: The primary grades teachers will be able to create a digital story using Microsoft’s Photo Story 3. They will create this digital story using a computer with internet access in my classroom.
Instructional Strategies continued…
(c) Objectives:
(1) Given the URLs the learners (teachers) will investigate how Microsoft’s Photo Story 3 can be used with 100% accuracy.
(2) Given the URL the learners (teachers) will download Microsoft's Photo Story 3 following the guidelines presented by the trainer (me).
(3) Given the pictures and a selection of music the learners (teachers) will create a digital story, they will insert pictures and a song into the digital story with 100% accuracy.
Instructional Strategies continued…
(d) The training will allow the learner to create a digital story using Microsoft Photo Story 3. With this software the learner will learn how to insert photos and music (and/but not necessary narration) to this program to create lively stories which can be used for both personal and educational purposes.
Instructional Strategies continued…
Presentation of Information(a) First we will view how this program works and we will view different ways to use it, then we will download Microsoft Photo Story. (b) These are the steps needed to do this training module. See the next frame
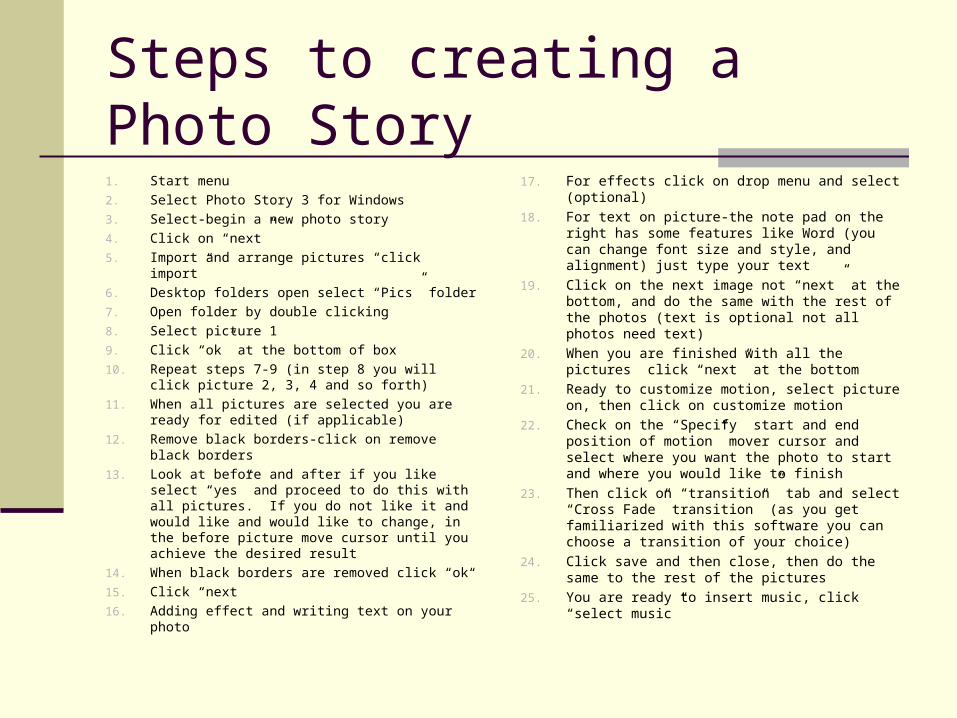
Steps to creating a Photo Story1. Start menu
2. Select Photo Story 3 for Windows
3. Select-begin a new photo story
4. Click on “next”
5. Import and arrange pictures “click import”
6. Desktop folders open select “Pics” folder
7. Open folder by double clicking
8. Select picture 1
9. Click “ok” at the bottom of box
10. Repeat steps 7-9 (in step 8 you will click picture 2, 3, 4 and so forth)
11. When all pictures are selected you are ready for edited (if applicable)
12. Remove black borders-click on remove black borders
13. Look at before and after if you like select “yes” and proceed to do this with all pictures. If you do not like it and would like and would like to change, in the before picture move cursor until you achieve the desired result
14. When black borders are removed click “ok“
15. Click “next
16. Adding effect and writing text on your photo
17. For effects click on drop menu and select (optional)
18. For text on picture-the note pad on the right has some features like Word (you can change font size and style, and alignment) just type your text
19. Click on the next image not “next” at the bottom, and do the same with the rest of the photos (text is optional not all photos need text)
20. When you are finished with all the pictures click “next” at the bottom
21. Ready to customize motion, select picture on, then click on customize motion
22. Check on the “Specify start and end position of motion” mover cursor and select where you want the photo to start and where you would like to finish
23. Then click on “transition” tab and select “Cross Fade” transition” (as you get familiarized with this software you can choose a transition of your choice)
24. Click save and then close, then do the same to the rest of the pictures
25. You are ready to insert music, click “select music”
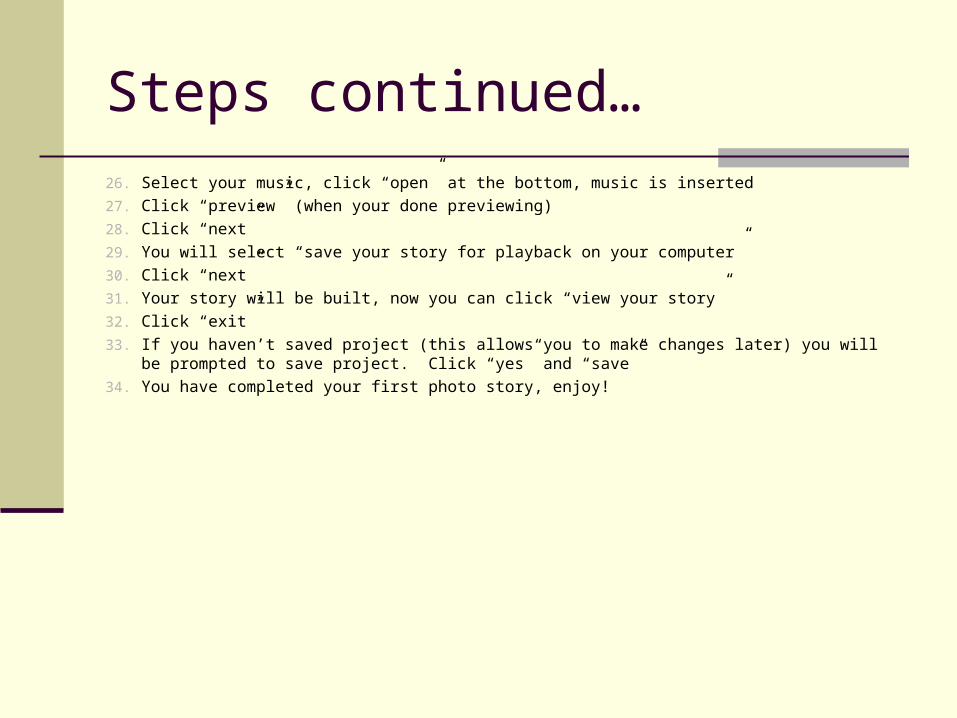
Steps continued…26. Select your music, click “open” at the bottom, music is inserted
27. Click “preview” (when your done previewing)
28. Click “next”
29. You will select “save your story for playback on your computer”
30. Click “next”
31. Your story will be built, now you can click “view your story”
32. Click “exit”
33. If you haven’t saved project (this allows you to make changes later) you will be prompted to save project. Click “yes” and “save”
34. You have completed your first photo story, enjoy!
Instructional strategies continued…
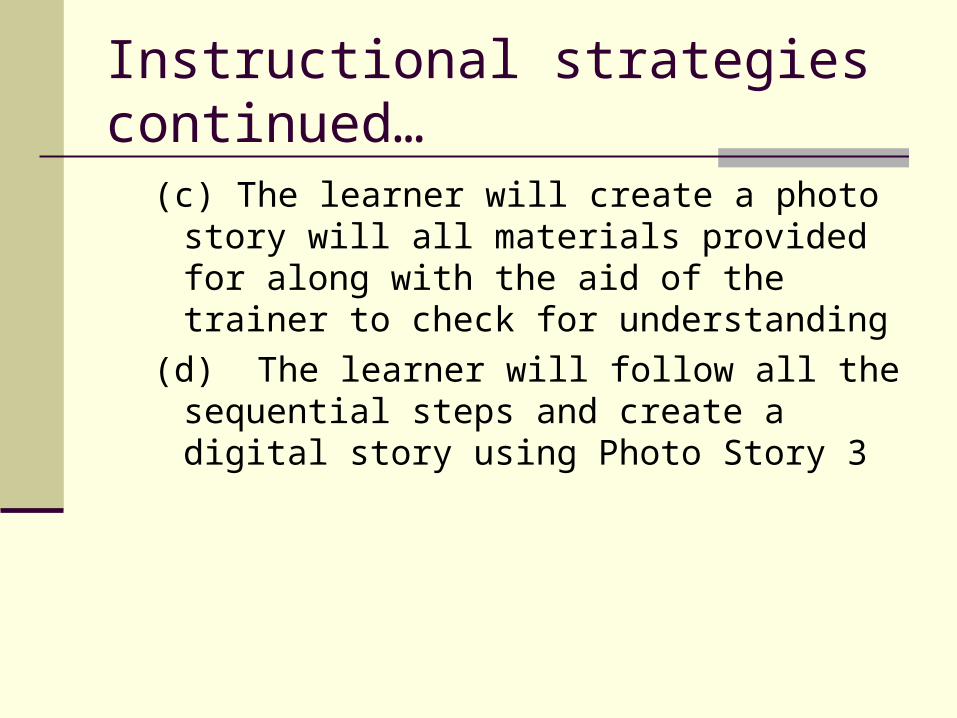
(c) The learner will create a photo story will all materials provided for along with the aid of the trainer to check for understanding
(d) The learner will follow all the sequential steps and create a digital story using Photo Story 3

Instructional Strategies continued…
Assessment. The learner will create a digital photo story
without the assistant (or minimal assistance) from the trainer.
Instructional Resources
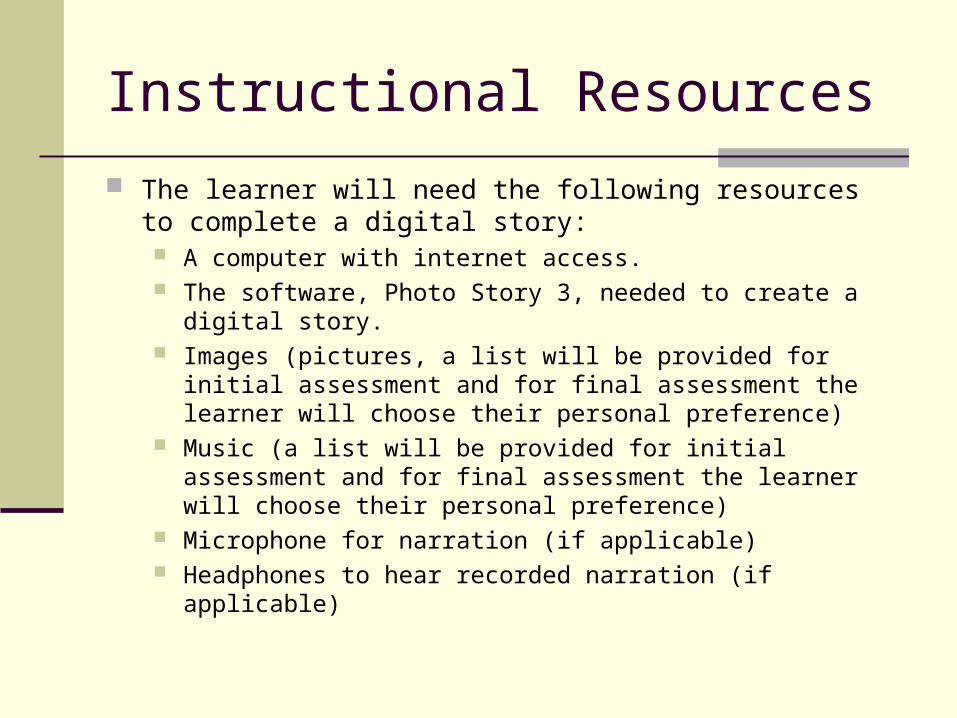
The learner will need the following resources to complete a digital story: A computer with internet access. The software, Photo Story 3, needed to create a digital story. Images (pictures, a list will be provided for initial assessment and
for final assessment the learner will choose their personal preference)
Music (a list will be provided for initial assessment and for final assessment the learner will choose their personal preference)
Microphone for narration (if applicable) Headphones to hear recorded narration (if applicable)
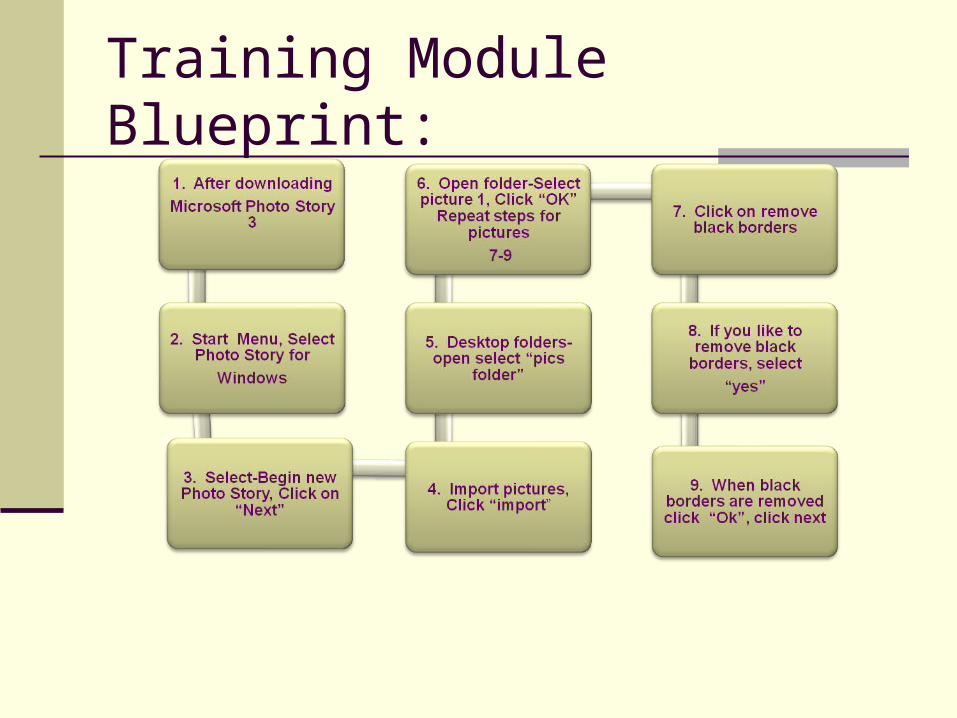
Training Module Blueprint:
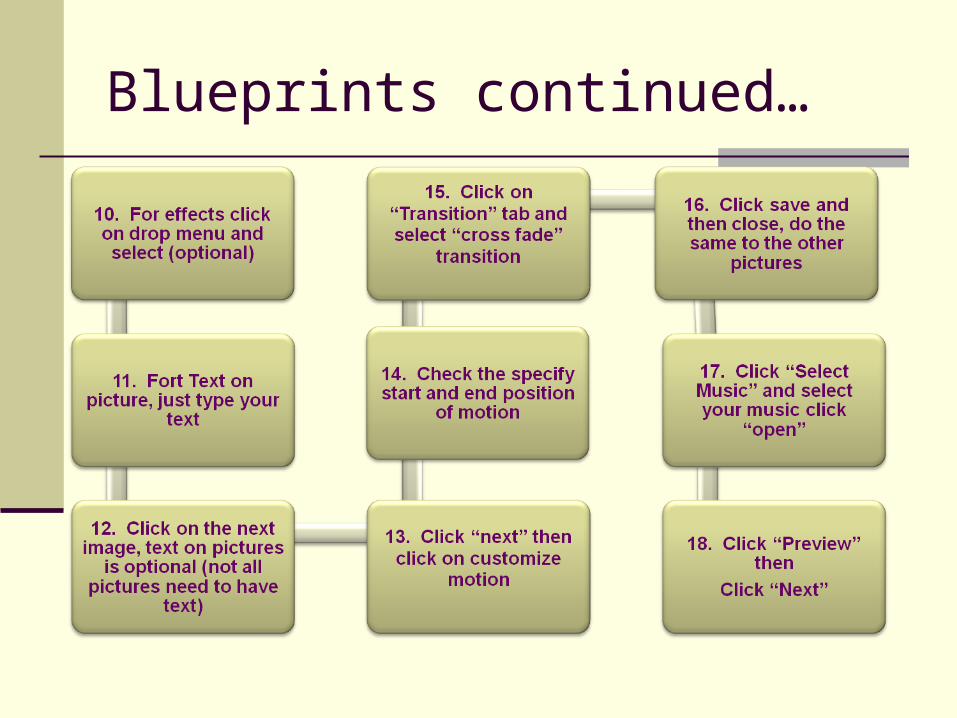
Blueprints continued…
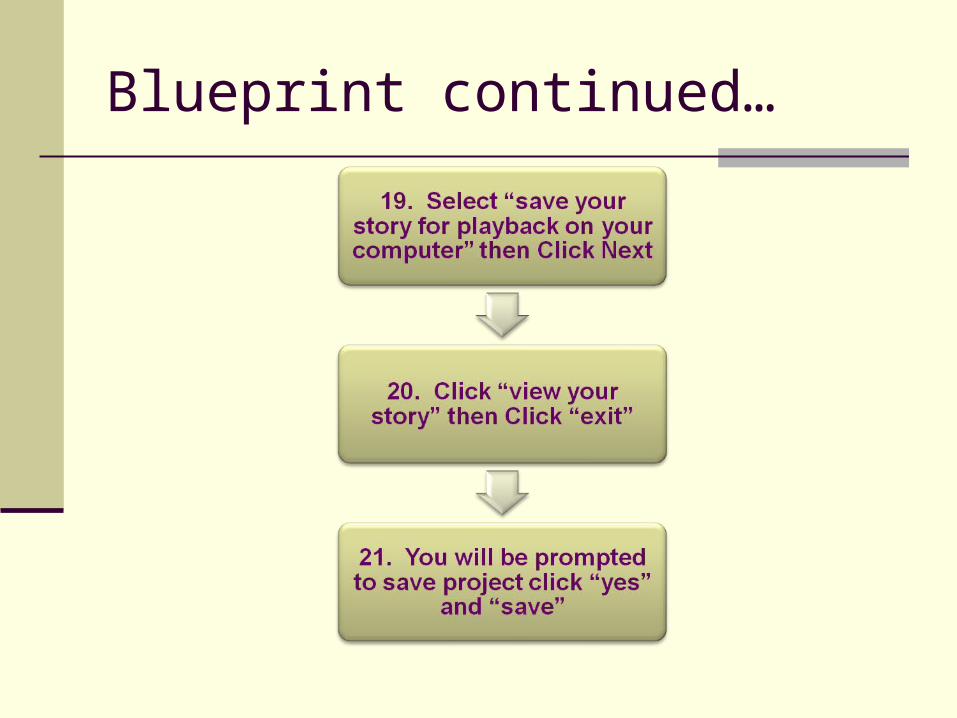
Blueprint continued…
Formative Evaluation:
I will evaluate using a small group evaluation--I want to measure existing strengths and weakness of the learners during the training if the learning is experiencing any challenges I can observe them on the spot and provide feedback and make any changes necessary.
I will also evaluate by using a peer review. I will ask fellow Photo Story 3 users if the training module is clear and concise or if any changes need to be made.
Summary
The purpose of this design plan is to show my fellow co-workers how easy it is to use Microsoft Photo Story 3 so that they can begin to incorporate technology into their classrooms. The learners that will be utilizing this training model shy away from using technology, they insist that technology is difficult. I want to introduce this software and demonstrate that there are programs that are not difficult to use. This software is fun and can make learning fun for their students.