Embed Size (px)
Citation preview

M
Front Cover art http://www.nhcs.net/science/hug-club-clip-art-741.jpg http://www.barnstable.k12.ma.us
TABLE OF CONTENTS
SCHEDULE OF EVENTS . . . . . . . . . . . . . . . . . . . . . . . . 1
HOUGHTALING SCIENCE FAIR . . . . . . . . . . . . . . . . . . . 2
PLANNING YOUR PROJECT . . . . . . . . . . . . . . . . . . . . .3
GUIDELINES FOR EXPERIMENTS . . . . . . . . . . . . . . . . . 4
GUIDELINES FOR INVENTIONS . . . . . . . . . . . . . . . . . . 6
GUIDELINES FOR MODELS/DEMONSTRATIONS . . . . . . . 8
TIPS FOR PARENTS . . . . . . . . . . . . . . . . . . . . . . . . . 10
PREPARING YOUR DISPLAY . . . . . . . . . . . . . . . . . . . 11
RULES . . . . . . . . . . . . . . . . . . . . . . . . . . . . . . . . 12
MAKING YOUR DISPLAY . . . . . . . . . . . . . . . . . . . . . . 13
SCIENCE FAIR PLANNER . . . . . . . . . . . . . . . . . . . . . . 14
NOTES . . . . . . . . . . . . . . . . . . . . . . . . . . . . . . . . . 15
EXAMPLE OF DISPLAY . . . . . . . . . . . . . . . . . . . . . . . 16
SCIENCE FAIR ENTRY FORM . . . . . . . . . . . . . . last page
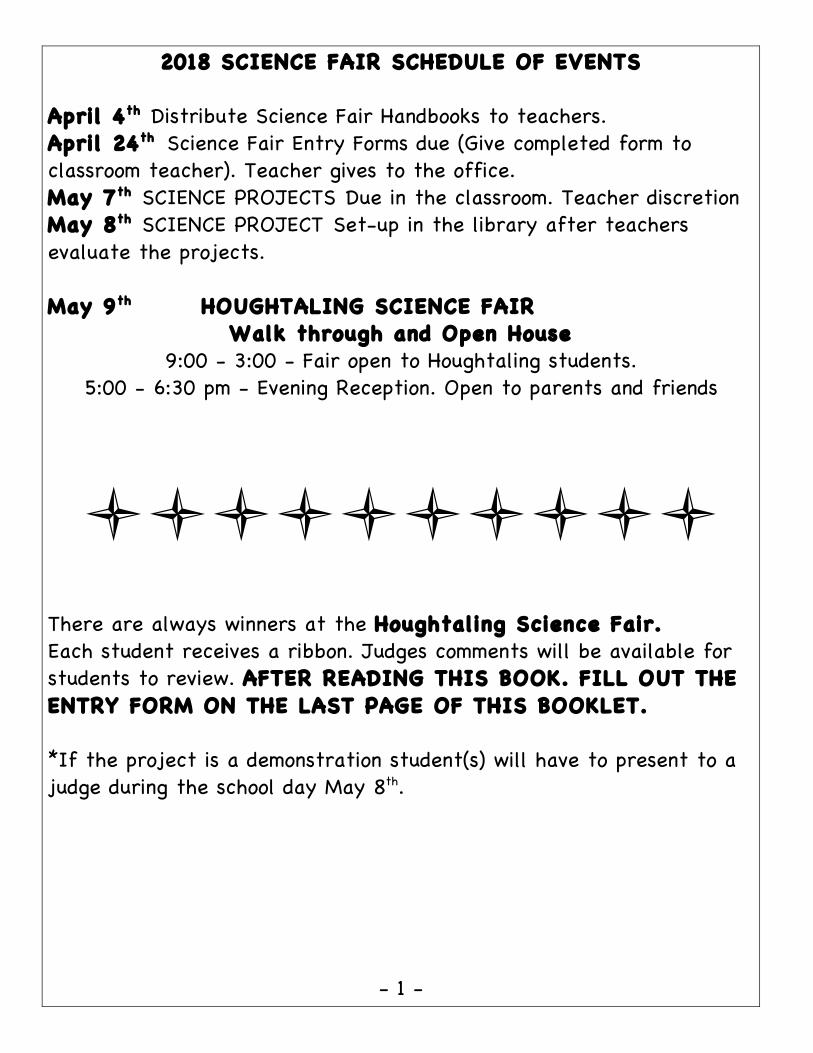
2018 SCIENCE FAIR SCHEDULE OF EVENTS April 4th Distribute Science Fair Handbooks to teachers.April 24th Science Fair Entry Forms due (Give completed form to classroom teacher). Teacher gives to the office. May 7th SCIENCE PROJECTS Due in the classroom. Teacher discretionMay 8th SCIENCE PROJECT Set-up in the library after teachers evaluate the projects. May 9th HOUGHTALING SCIENCE FAIR
Walk through and Open House 9:00 - 3:00 - Fair open to Houghtaling students.
5:00 - 6:30 pm - Evening Reception. Open to parents and friends
!!!!!!!!!! There are always winners at the Houghtaling Science Fair. Each student receives a ribbon. Judges comments will be available for students to review. AFTER READING THIS BOOK. FILL OUT THE ENTRY FORM ON THE LAST PAGE OF THIS BOOKLET. *If the project is a demonstration student(s) will have to present to a judge during the school day May 8th.
- 1 -
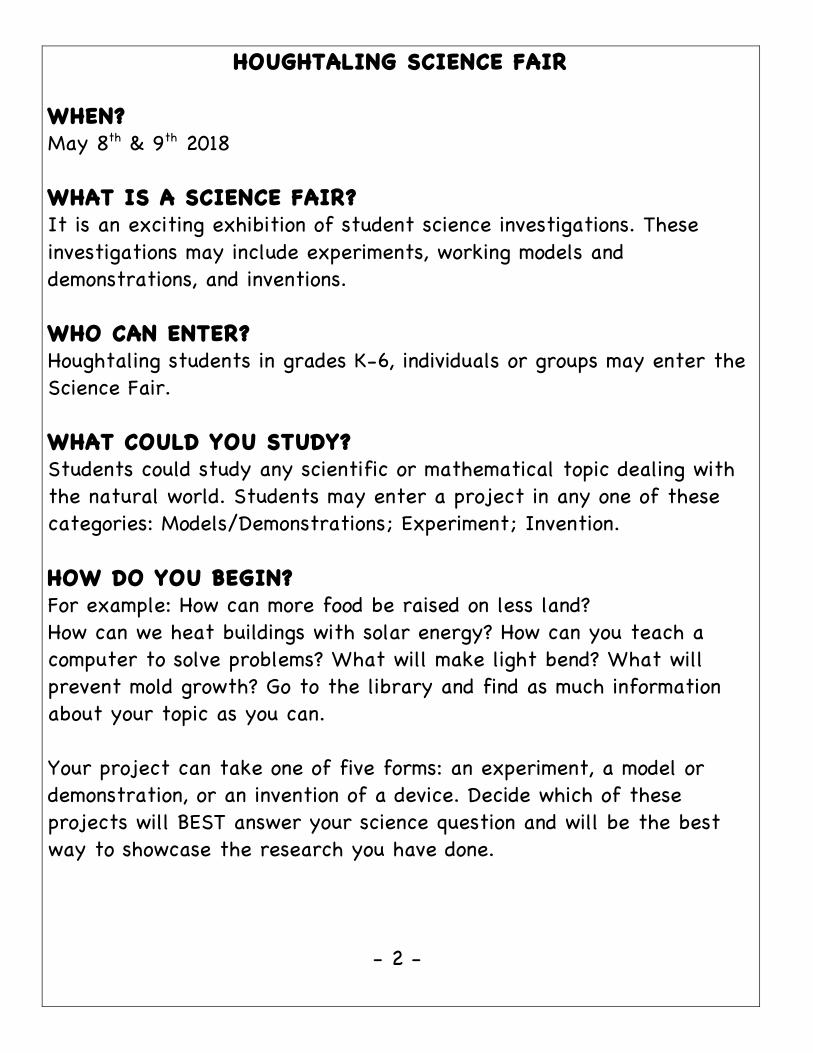
HOUGHTALING SCIENCE FAIR WHEN? May 8th & 9th 2018 WHAT IS A SCIENCE FAIR? It is an exciting exhibition of student science investigations. These investigations may include experiments, working models and demonstrations, and inventions. WHO CAN ENTER? Houghtaling students in grades K-6, individuals or groups may enter the Science Fair. WHAT COULD YOU STUDY? Students could study any scientific or mathematical topic dealing with the natural world. Students may enter a project in any one of these categories: Models/Demonstrations; Experiment; Invention. HOW DO YOU BEGIN? For example: How can more food be raised on less land? How can we heat buildings with solar energy? How can you teach a computer to solve problems? What will make light bend? What will prevent mold growth? Go to the library and find as much information about your topic as you can. Your project can take one of five forms: an experiment, a model or demonstration, or an invention of a device. Decide which of these projects will BEST answer your science question and will be the best way to showcase the research you have done.
- 2 -

PLANNING YOUR PROJECT
*If your question is not answered by any source you have read, then perhaps you can think of an EXPERIMENT that would give you the information to answer your question. For example: “What are the stages of ice crystal growth?” can be answered by conducting an experiment.
*If your question is about how something works, then perhaps you can build a WORKING MODEL and demonstrate how it works. For example: “How does water form into ice crystals?” Can be answered by building a model of a water molecule and fitting them together.
*If, in your research, you have found a way to improve the working of an existing device, or can design a new device to accomplish the same task, you can make an INVENTION. For example: “How can I improve basket ball shoes to give them more bounce?” Can be answered by building a bounce apparatus onto the bottom of a basketball shoe and testing it for improved bounciness.
- 3 -
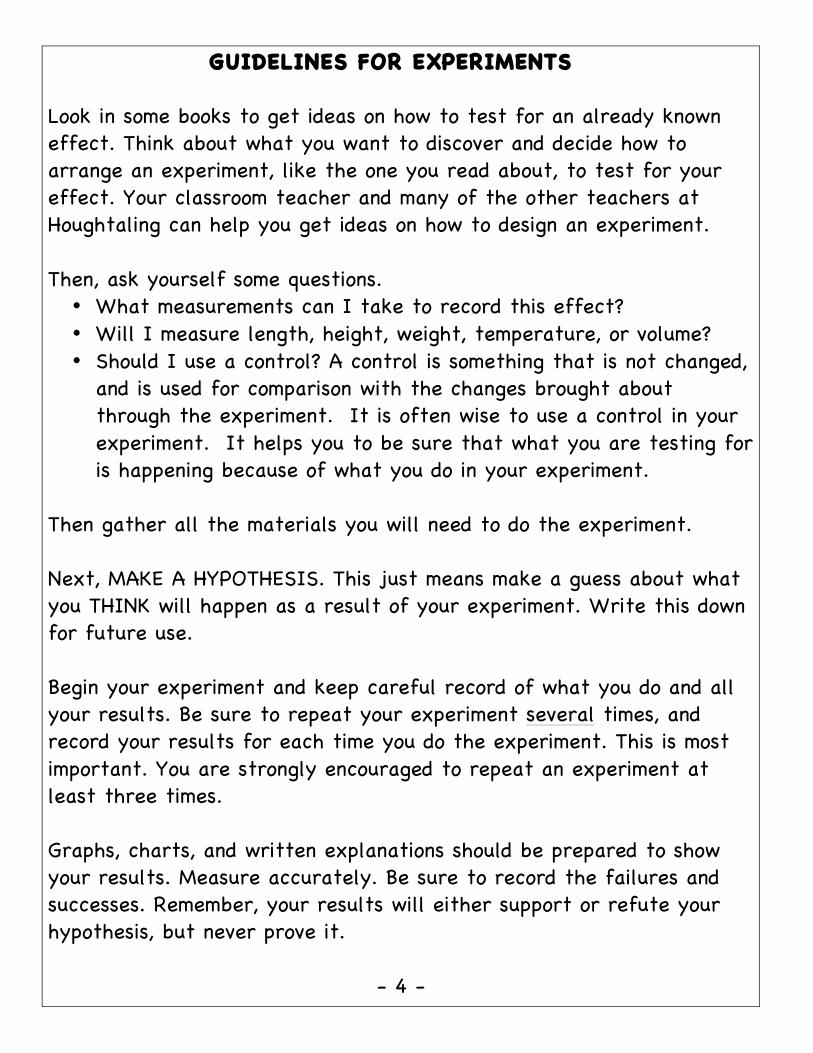
GUIDELINES FOR EXPERIMENTS Look in some books to get ideas on how to test for an already known effect. Think about what you want to discover and decide how to arrange an experiment, like the one you read about, to test for your effect. Your classroom teacher and many of the other teachers at Houghtaling can help you get ideas on how to design an experiment. Then, ask yourself some questions. • What measurements can I take to record this effect? • Will I measure length, height, weight, temperature, or volume? • Should I use a control? A control is something that is not changed,
and is used for comparison with the changes brought about through the experiment. It is often wise to use a control in your experiment. It helps you to be sure that what you are testing for is happening because of what you do in your experiment.
Then gather all the materials you will need to do the experiment. Next, MAKE A HYPOTHESIS. This just means make a guess about what you THINK will happen as a result of your experiment. Write this down for future use. Begin your experiment and keep careful record of what you do and all your results. Be sure to repeat your experiment several times, and record your results for each time you do the experiment. This is most important. You are strongly encouraged to repeat an experiment at least three times. Graphs, charts, and written explanations should be prepared to show your results. Measure accurately. Be sure to record the failures and successes. Remember, your results will either support or refute your hypothesis, but never prove it.
- 4 -
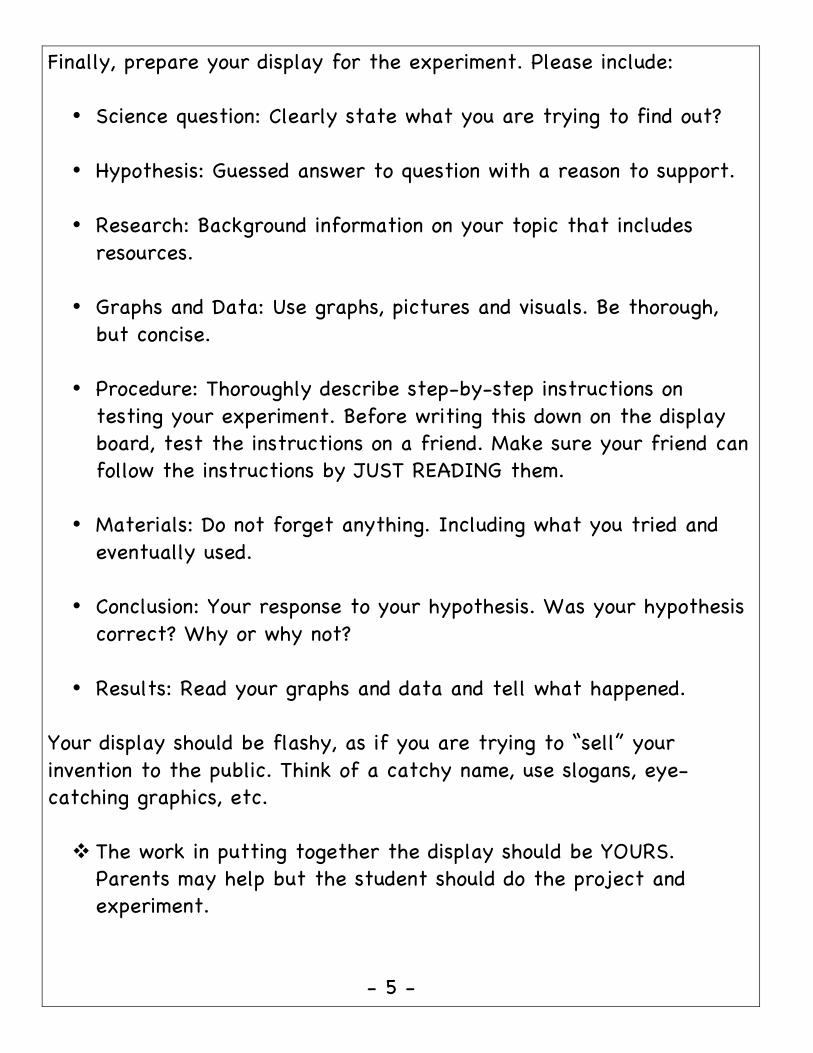
Finally, prepare your display for the experiment. Please include: • Science question: Clearly state what you are trying to find out?
• Hypothesis: Guessed answer to question with a reason to support.
• Research: Background information on your topic that includes
resources. • Graphs and Data: Use graphs, pictures and visuals. Be thorough,
but concise. • Procedure: Thoroughly describe step-by-step instructions on
testing your experiment. Before writing this down on the display board, test the instructions on a friend. Make sure your friend can follow the instructions by JUST READING them.
• Materials: Do not forget anything. Including what you tried and
eventually used. • Conclusion: Your response to your hypothesis. Was your hypothesis
correct? Why or why not? • Results: Read your graphs and data and tell what happened.
Your display should be flashy, as if you are trying to “sell” your invention to the public. Think of a catchy name, use slogans, eye-catching graphics, etc.
! The work in putting together the display should be YOURS. Parents may help but the student should do the project and experiment.
- 5 -
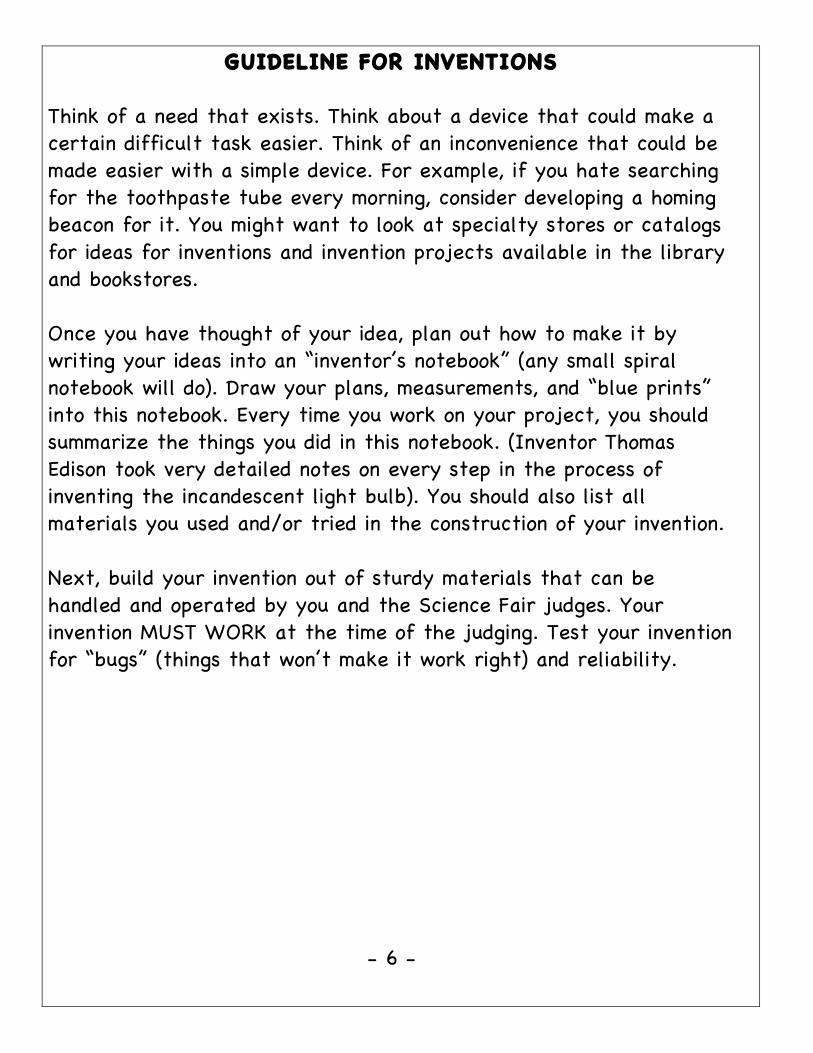
GUIDELINE FOR INVENTIONS Think of a need that exists. Think about a device that could make a certain difficult task easier. Think of an inconvenience that could be made easier with a simple device. For example, if you hate searching for the toothpaste tube every morning, consider developing a homing beacon for it. You might want to look at specialty stores or catalogs for ideas for inventions and invention projects available in the library and bookstores. Once you have thought of your idea, plan out how to make it by writing your ideas into an “inventor’s notebook” (any small spiral notebook will do). Draw your plans, measurements, and “blue prints” into this notebook. Every time you work on your project, you should summarize the things you did in this notebook. (Inventor Thomas Edison took very detailed notes on every step in the process of inventing the incandescent light bulb). You should also list all materials you used and/or tried in the construction of your invention. Next, build your invention out of sturdy materials that can be handled and operated by you and the Science Fair judges. Your invention MUST WORK at the time of the judging. Test your invention for “bugs” (things that won’t make it work right) and reliability.
- 6 -
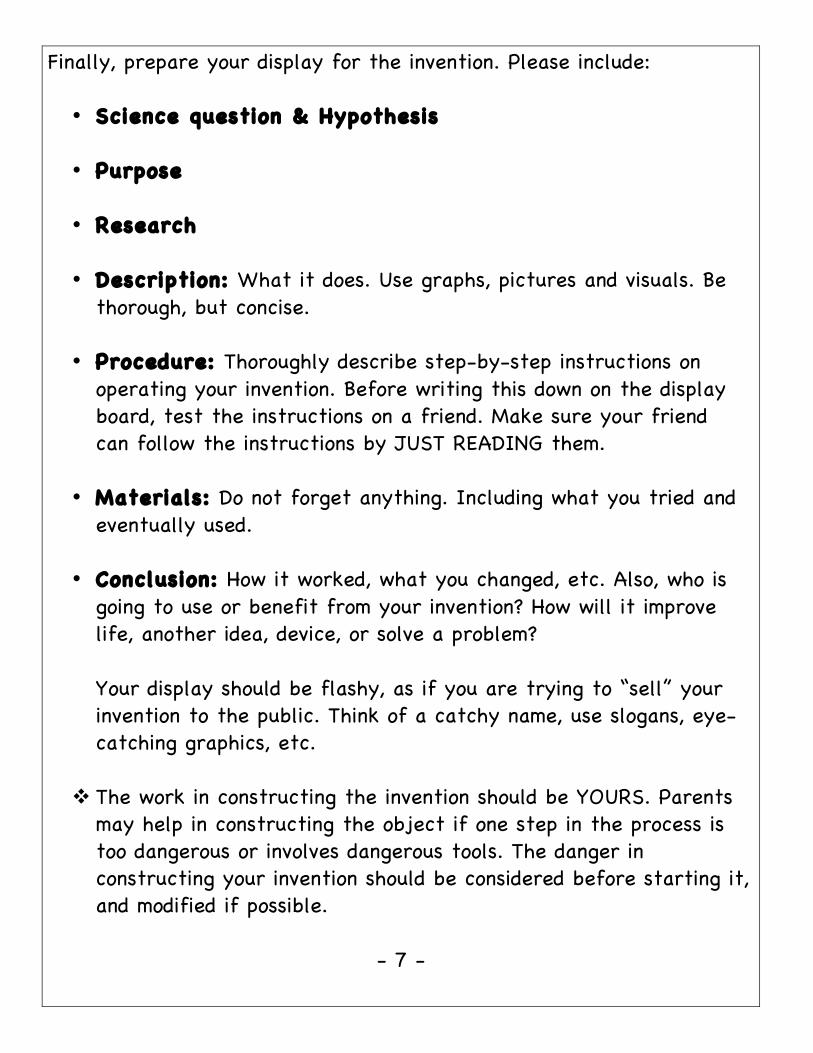
Finally, prepare your display for the invention. Please include: • Science question & Hypothesis • Purpose • Research • Description: What it does. Use graphs, pictures and visuals. Be
thorough, but concise. • Procedure: Thoroughly describe step-by-step instructions on
operating your invention. Before writing this down on the display board, test the instructions on a friend. Make sure your friend can follow the instructions by JUST READING them.
• Materials: Do not forget anything. Including what you tried and
eventually used. • Conclusion: How it worked, what you changed, etc. Also, who is
going to use or benefit from your invention? How will it improve life, another idea, device, or solve a problem?
Your display should be flashy, as if you are trying to “sell” your invention to the public. Think of a catchy name, use slogans, eye-catching graphics, etc.
! The work in constructing the invention should be YOURS. Parents
may help in constructing the object if one step in the process is too dangerous or involves dangerous tools. The danger in constructing your invention should be considered before starting it, and modified if possible.
- 7 -
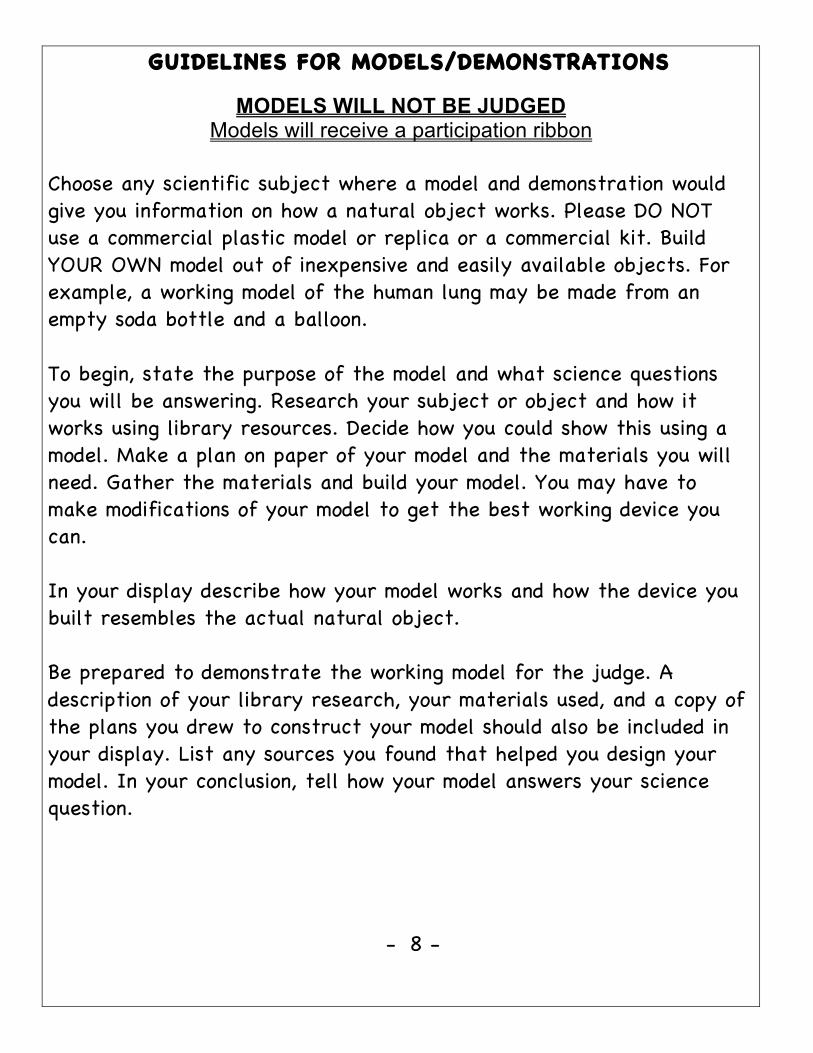
GUIDELINES FOR MODELS/DEMONSTRATIONS
MODELS WILL NOT BE JUDGED Models will receive a participation ribbon
Choose any scientific subject where a model and demonstration would give you information on how a natural object works. Please DO NOT use a commercial plastic model or replica or a commercial kit. Build YOUR OWN model out of inexpensive and easily available objects. For example, a working model of the human lung may be made from an empty soda bottle and a balloon. To begin, state the purpose of the model and what science questions you will be answering. Research your subject or object and how it works using library resources. Decide how you could show this using a model. Make a plan on paper of your model and the materials you will need. Gather the materials and build your model. You may have to make modifications of your model to get the best working device you can. In your display describe how your model works and how the device you built resembles the actual natural object. Be prepared to demonstrate the working model for the judge. A description of your library research, your materials used, and a copy of the plans you drew to construct your model should also be included in your display. List any sources you found that helped you design your model. In your conclusion, tell how your model answers your science question.
- 8 -
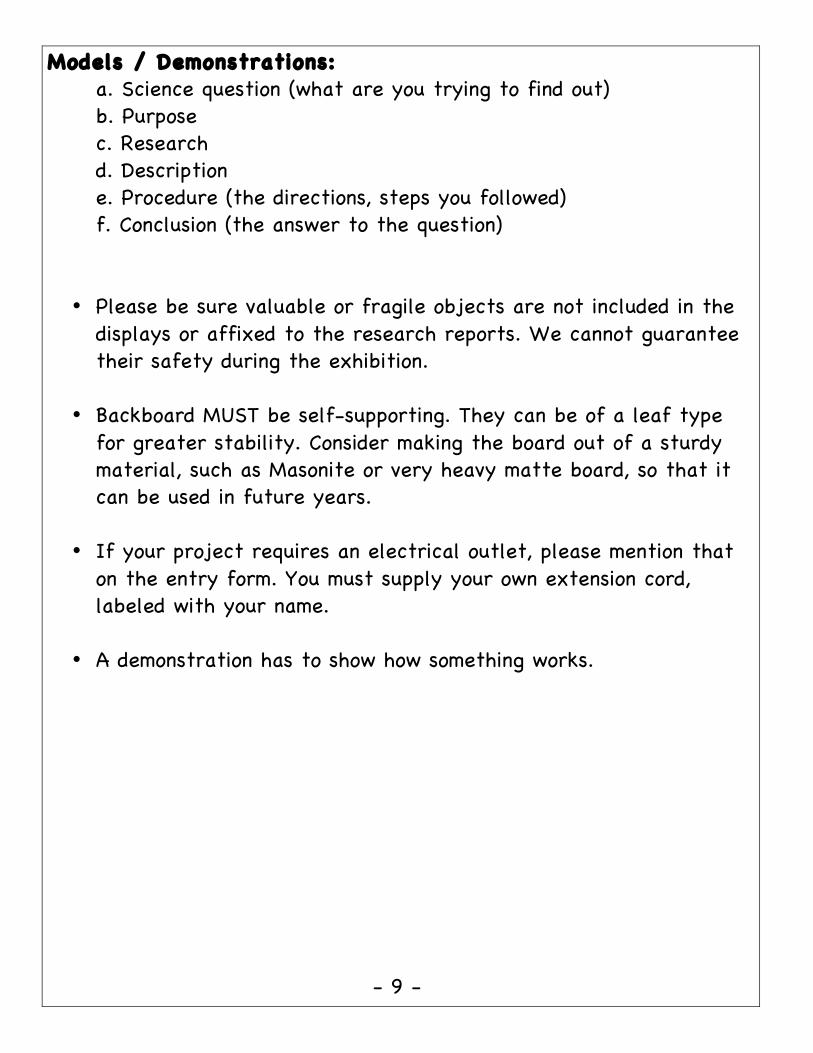
Models / Demonstrations: a. Science question (what are you trying to find out) b. Purpose c. Research d. Description e. Procedure (the directions, steps you followed) f. Conclusion (the answer to the question) • Please be sure valuable or fragile objects are not included in the
displays or affixed to the research reports. We cannot guarantee their safety during the exhibition.
• Backboard MUST be self-supporting. They can be of a leaf type
for greater stability. Consider making the board out of a sturdy material, such as Masonite or very heavy matte board, so that it can be used in future years.
• If your project requires an electrical outlet, please mention that
on the entry form. You must supply your own extension cord, labeled with your name.
• A demonstration has to show how something works.
- 9 -
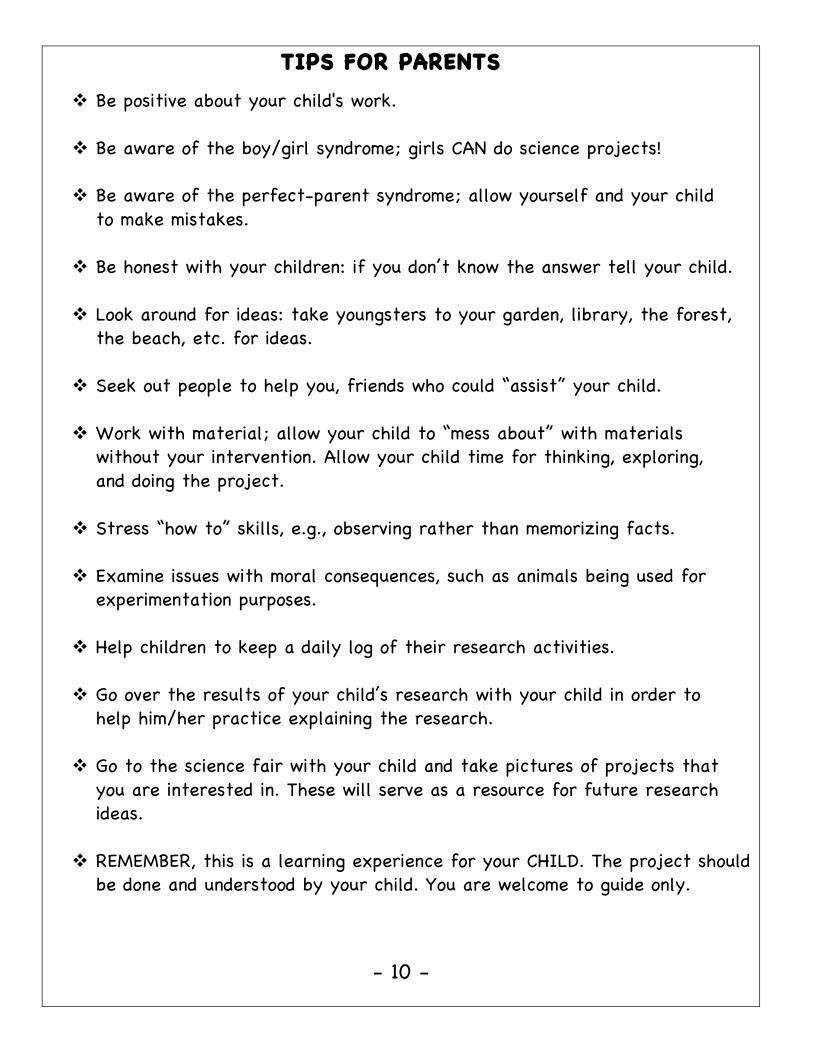
TIPS FOR PARENTS
! Be positive about your child's work.
! Be aware of the boy/girl syndrome; girls CAN do science projects!
! Be aware of the perfect-parent syndrome; allow yourself and your child to make mistakes.
! Be honest with your children: if you don’t know the answer tell your child.
! Look around for ideas: take youngsters to your garden, library, the forest,
the beach, etc. for ideas.
! Seek out people to help you, friends who could “assist” your child.
! Work with material; allow your child to “mess about” with materials without your intervention. Allow your child time for thinking, exploring, and doing the project.
! Stress “how to” skills, e.g., observing rather than memorizing facts.
! Examine issues with moral consequences, such as animals being used for
experimentation purposes.
! Help children to keep a daily log of their research activities.
! Go over the results of your child’s research with your child in order to help him/her practice explaining the research.
! Go to the science fair with your child and take pictures of projects that
you are interested in. These will serve as a resource for future research ideas.
! REMEMBER, this is a learning experience for your CHILD. The project should
be done and understood by your child. You are welcome to guide only.
- 10 -

PREPARING YOUR DISPLAY
Consider your color scheme: don’t use more than two or three colors. Avoid pastels and yellow on white backgrounds. Some good color combinations: dark blue, black, dark green, or red with white accents. Bright colors on dark backgrounds also look nice.
Lettering: Words should be easily read at a distance. Print in block type (LIKE THIS) and use computer for captions. You may also want to use letter stencils or press-on lettering available at most stores. You might want to vary the size of your letters for title, headings, subheadings and captions.
Use pictures, photographs, graphs, illustrations and diagrams to interest the viewer. Vary the sizes of the pictures to produce an interesting layout. Be careful not to crowd your display with too much - involve blank space, too, by putting in margins! Have someone check your spelling and punctuation.
Be sure there are NO identifiable marks, your name or picture on your project.
! Use chart, graph or numbers
! Drawings, photographs, and display of measuring device or materials tested
! Samples, specimens, results, or measuring devices
- 11 -
RULES
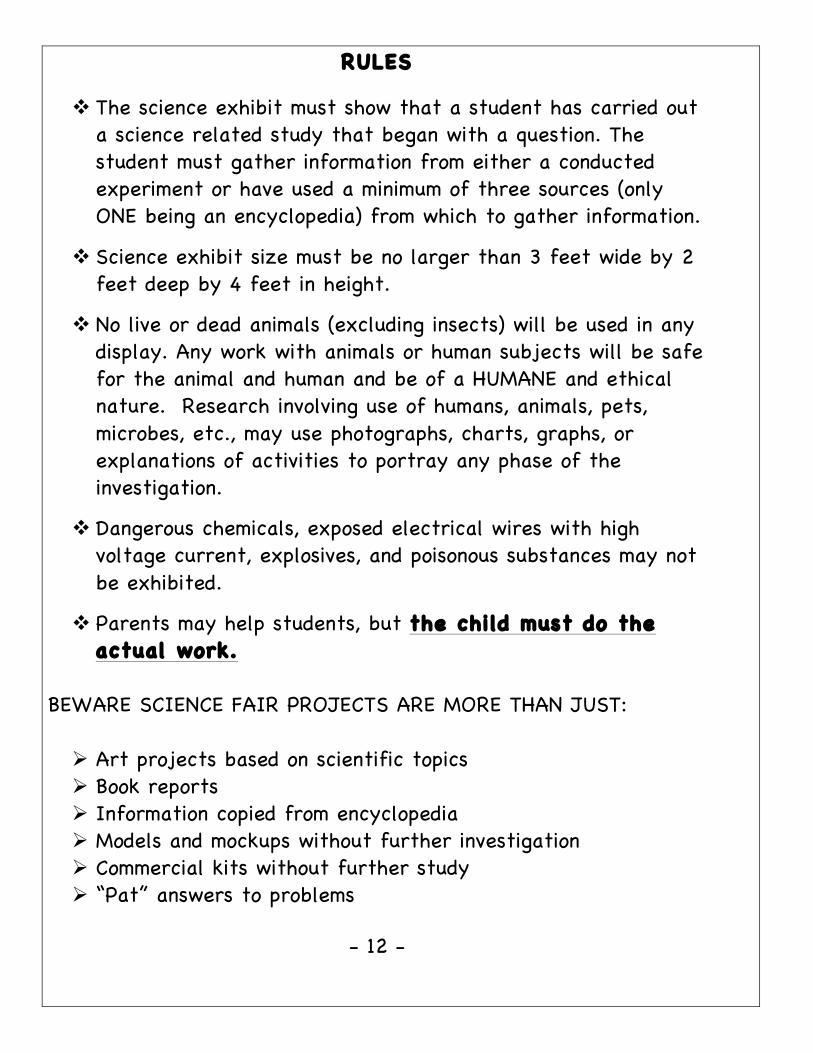
! The science exhibit must show that a student has carried out a science related study that began with a question. The student must gather information from either a conducted experiment or have used a minimum of three sources (only ONE being an encyclopedia) from which to gather information.
! Science exhibit size must be no larger than 3 feet wide by 2 feet deep by 4 feet in height.
! No live or dead animals (excluding insects) will be used in any display. Any work with animals or human subjects will be safe for the animal and human and be of a HUMANE and ethical nature. Research involving use of humans, animals, pets, microbes, etc., may use photographs, charts, graphs, or explanations of activities to portray any phase of the investigation.
! Dangerous chemicals, exposed electrical wires with high voltage current, explosives, and poisonous substances may not be exhibited.
! Parents may help students, but the child must do the actual work.
BEWARE SCIENCE FAIR PROJECTS ARE MORE THAN JUST:
" Art projects based on scientific topics " Book reports " Information copied from encyclopedia " Models and mockups without further investigation " Commercial kits without further study " “Pat” answers to problems
- 12 -

MAKING YOUR DISPLAY
Name, picture or identifying marks should not be visible on the front of your display
Students are asked to provide a durable safe display. They are encouraged to make a self-supporting backboard to provide an attractive space to display the project. All projects require a display. Elements of the display are:
Experiments: a. Science question (what are you trying to find out) b. Research c. Hypothesis (your best guess as to the answer) d. List of materials e. Procedure (the directions, steps you followed)
f. Observations, results, including charts, graphs, and diagrams (description of everything that happens)
g. Conclusion (the answer to the question)
Inventions: a. Science question (what are you trying to find out) b. Purpose (why did you think to make this invention) c. Research d. Description - see guidelines e. Procedure - see guidelines f. Materials g. Conclusion (the answer to the question)
- 13 –
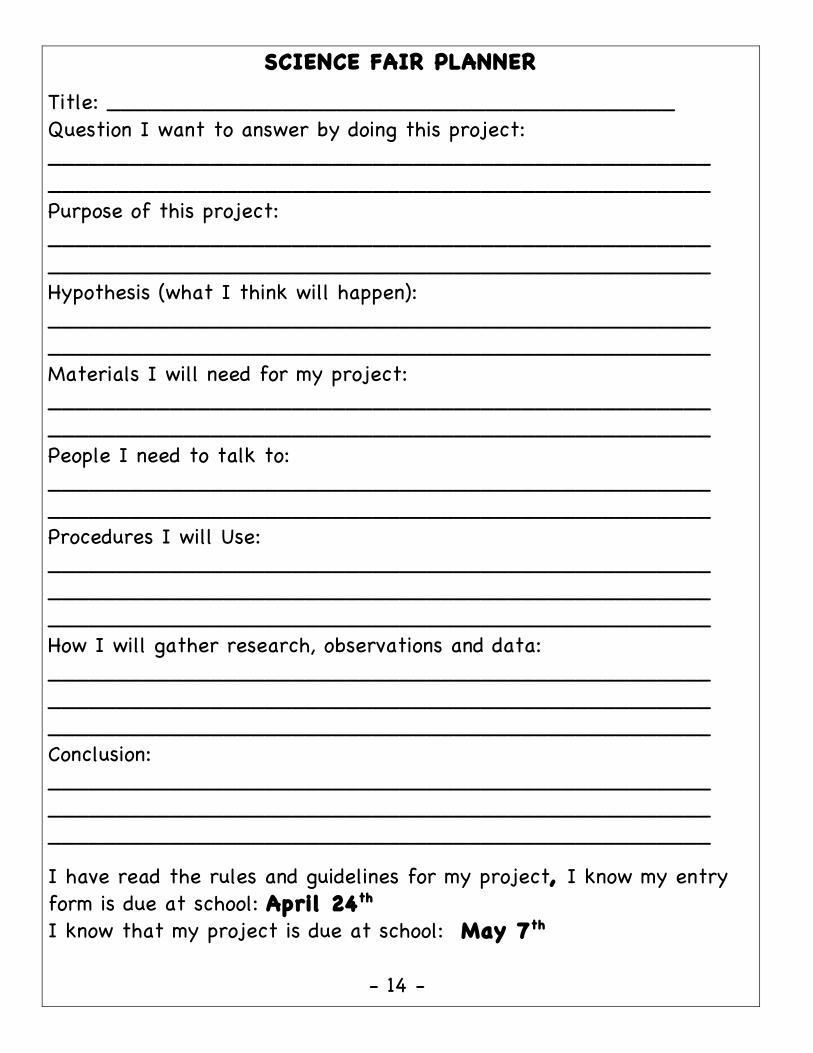
SCIENCE FAIR PLANNER
Title: __________________________________________ Question I want to answer by doing this project: _________________________________________________ _________________________________________________ Purpose of this project: _________________________________________________ _________________________________________________ Hypothesis (what I think will happen): _________________________________________________ _________________________________________________ Materials I will need for my project: _________________________________________________ _________________________________________________ People I need to talk to: _________________________________________________ _________________________________________________ Procedures I will Use: _________________________________________________ _________________________________________________ _________________________________________________ How I will gather research, observations and data: _________________________________________________ _________________________________________________ _________________________________________________ Conclusion: _________________________________________________ _________________________________________________ _________________________________________________
I have read the rules and guidelines for my project, I know my entry form is due at school: April 24th I know that my project is due at school: May 7th
- 14 -

Notes:
– 15 -
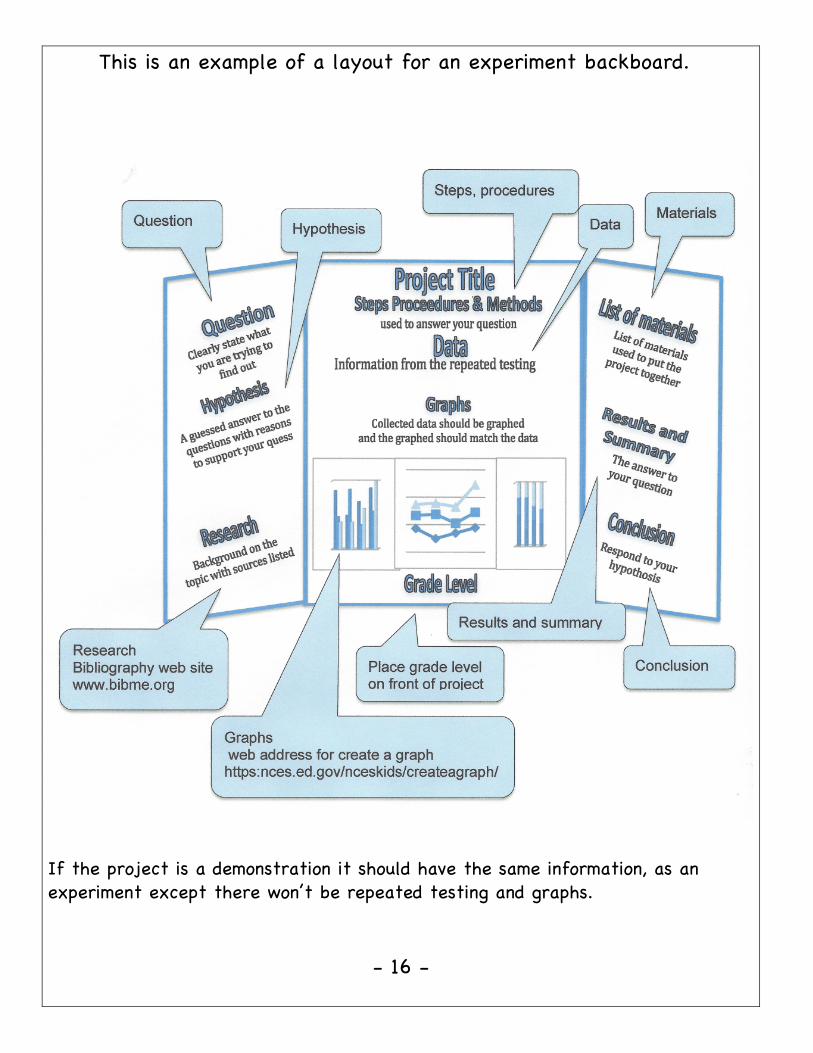
This is an example of a layout for an experiment backboard.
If the project is a demonstration it should have the same information, as an experiment except there won’t be repeated testing and graphs.
- 16 -
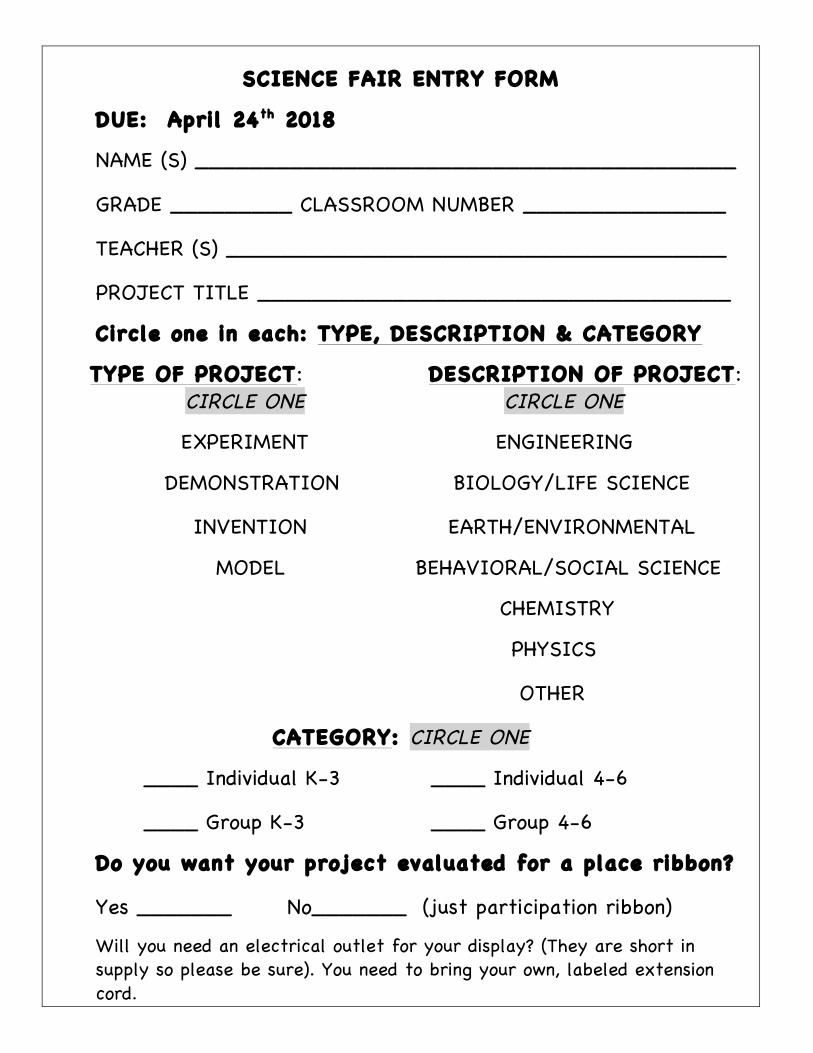
SCIENCE FAIR ENTRY FORM
DUE: April 24th 2018
NAME (S) ________________________________________
GRADE _________ CLASSROOM NUMBER _______________
TEACHER (S) _____________________________________
PROJECT TITLE ___________________________________
Circle one in each: TYPE, DESCRIPTION & CATEGORY
TYPE OF PROJECT: DESCRIPTION OF PROJECT: CIRCLE ONE CIRCLE ONE
EXPERIMENT ENGINEERING
DEMONSTRATION BIOLOGY/LIFE SCIENCE
INVENTION EARTH/ENVIRONMENTAL
MODEL BEHAVIORAL/SOCIAL SCIENCE
CHEMISTRY
PHYSICS
OTHER
CATEGORY: CIRCLE ONE
____ Individual K-3 ____ Individual 4-6
____ Group K-3 ____ Group 4-6
Do you want your project evaluated for a place ribbon?
Yes _______ No_______ (just participation ribbon)
Will you need an electrical outlet for your display? (They are short in supply so please be sure). You need to bring your own, labeled extension cord.