Embed Size (px)
Citation preview
FRAMING GARAGE LAY-ON ROOF (STICK BUILT) The following are the steps to “hand frame” the Lay- On roof extension, of the garage roof, on to the house. PRE-WORK The following must be COMPLETE and VERIFIED before starting this process: House trusses sheeted on the garage side Lay-on area FULLY nailed off Garage truss’s set with last truss, closest to house, on layout, from the 2nd truss IN from the garage gable truss, and plumb. Critical Step: House and garage fascia’s MATCHING and INSTALLED MATERIALS NEEDED 1-2 x 8 14’ for the ridge board 6-1 x 4 12’ for the lay on boards 2-2 x 6 12’ for the rafters, rough cut to 130” 2- 2 x 6 10’ “ , rough cut to 120” 4- 2 x 6 8’ “ , 2 pcs rough cut to 78”, 2 pcs rough cut to 55”, and 2 pcs rough cut to 32” 1-2 x 4 @ 41” ridge support
INITIAL LAYOUT Plumb down from the peak of the last garage truss and mark on the HOUSE roof.
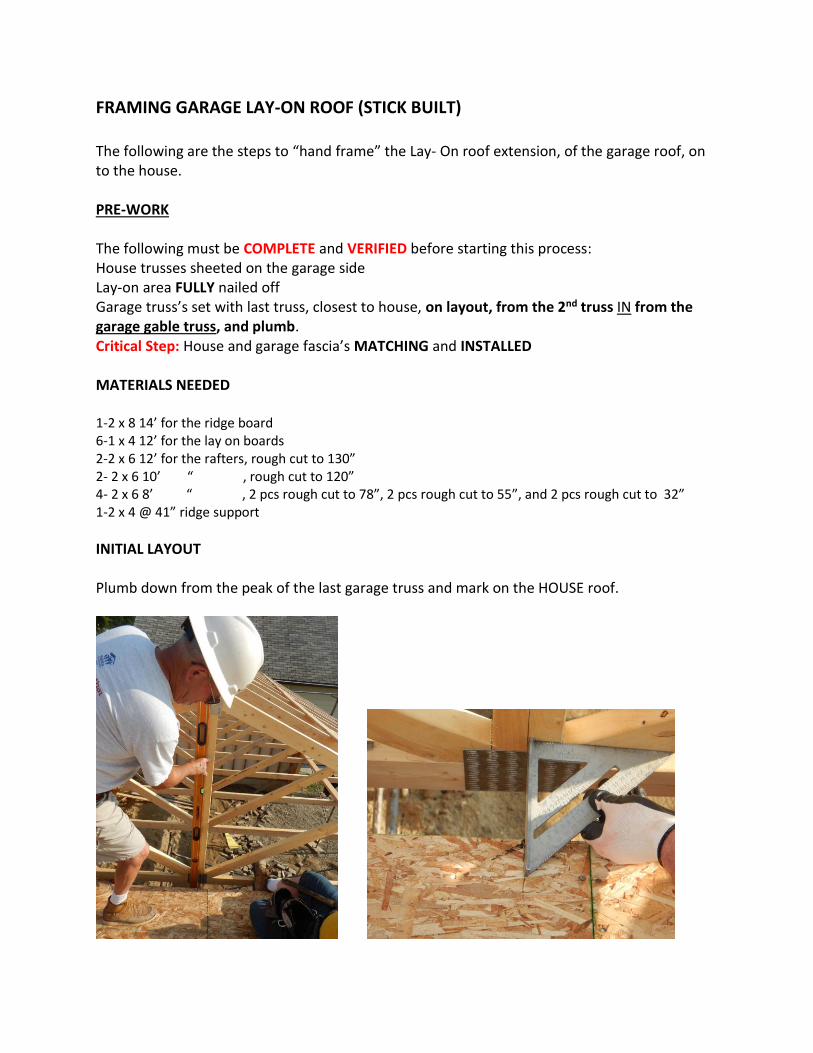
Go up the HOUSE roof to a point about 2’ below the top and locate the mark on the roof used to set the Garage truss’s. Snap a line, up the roof, between these 2 points. SETTING THE RIDGE BOARD Bring the PRE-CUT ( angled at one end) 2 x 8 and the level to the roof and set the square end on the peak of the last garage truss. With the ANGLED END POINTING UP, place the point, up the roof, on the snapped line, made in the previous step. Move the ridge board up/down the line until the Ridge board is level.
Mark that spot where the point of the ridge touches the snapped line. Without moving the ridge board, mark where it touches the house side of the last garage truss.
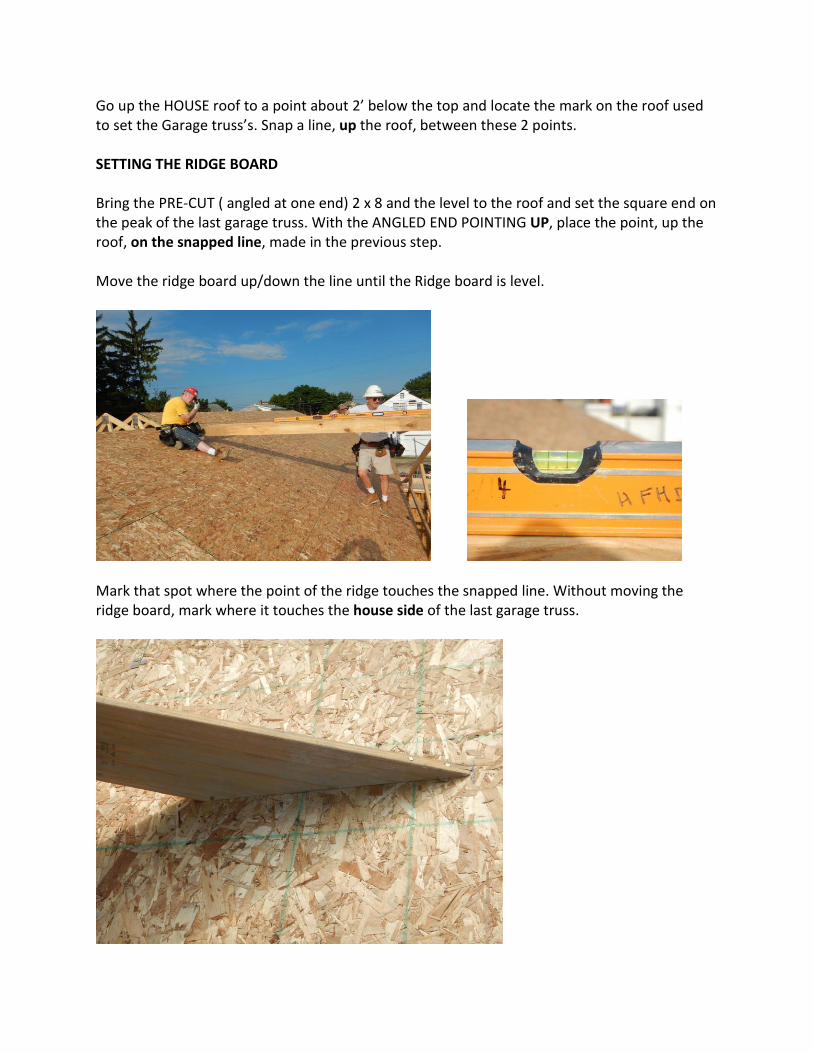
Cut as marked and return to the roof, check for fit, and nail (16d’s ) into place on the roof mark and in to the truss.
Nail a pre-cut 2 x 4 (aprx 41” long) with angles, as shown, in to the top chord of the truss, to support the ridge.
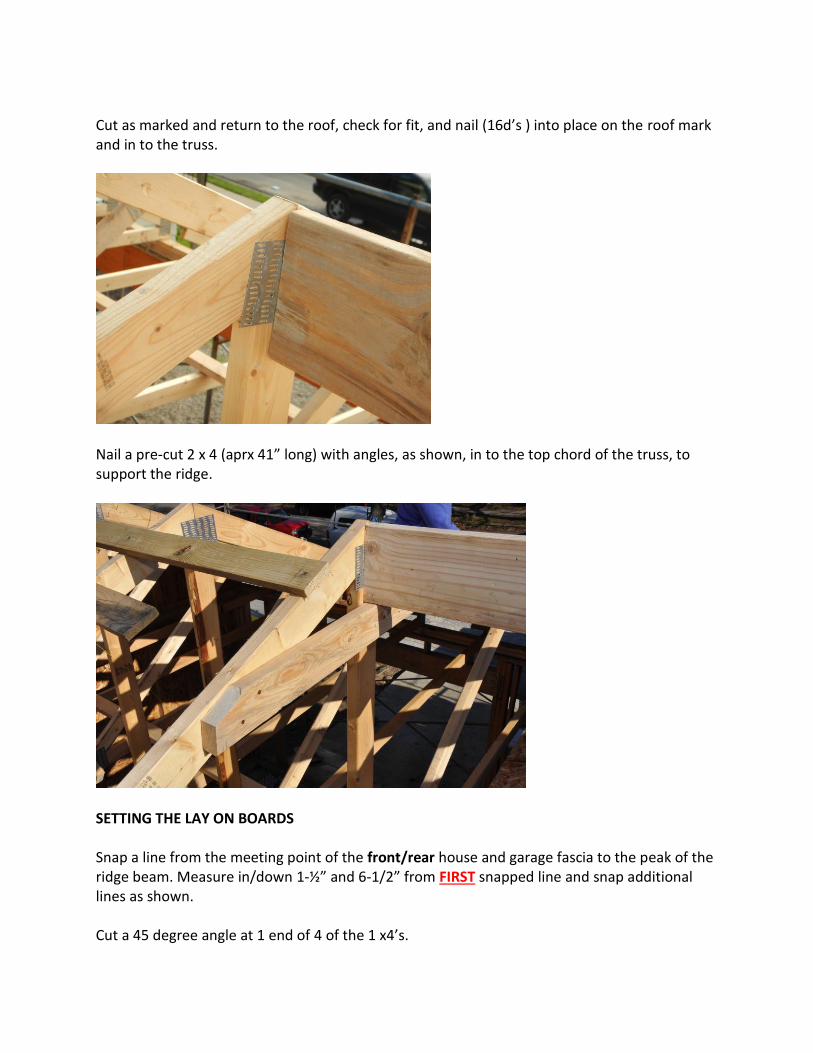
SETTING THE LAY ON BOARDS Snap a line from the meeting point of the front/rear house and garage fascia to the peak of the ridge beam. Measure in/down 1-½” and 6-1/2” from FIRST snapped line and snap additional lines as shown. Cut a 45 degree angle at 1 end of 4 of the 1 x4’s.
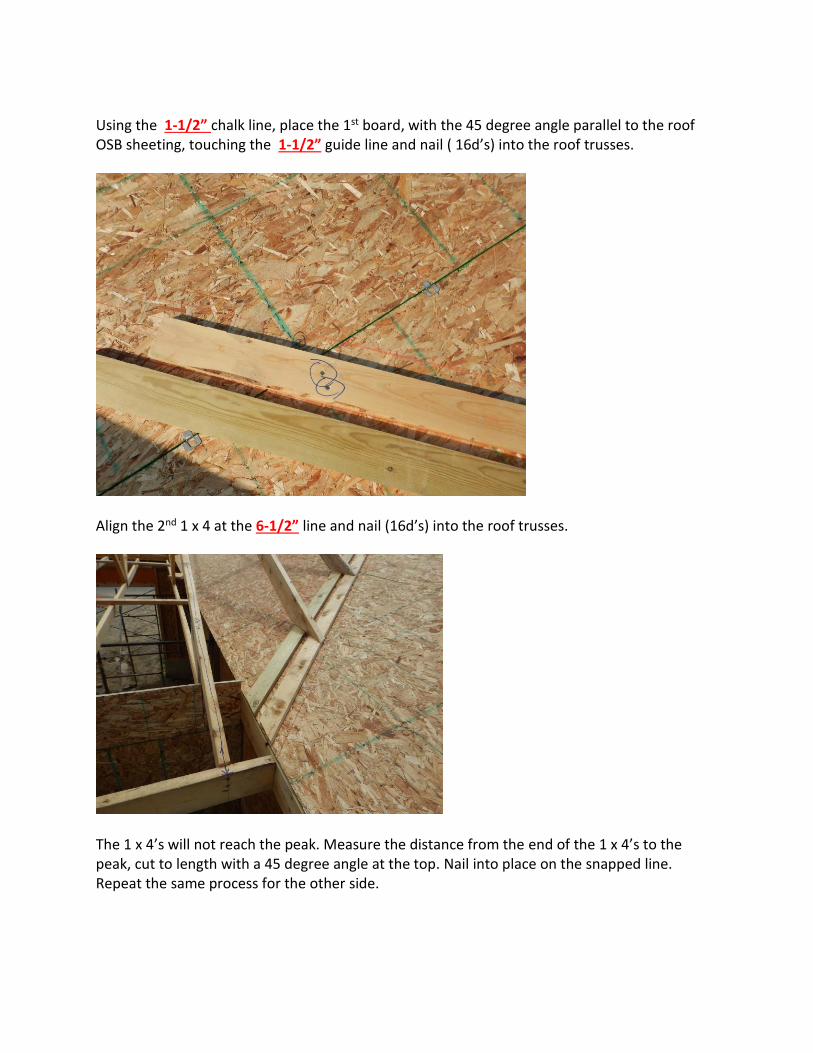
Using the 1-1/2” chalk line, place the 1st board, with the 45 degree angle parallel to the roof OSB sheeting, touching the 1-1/2” guide line and nail ( 16d’s) into the roof trusses.
Align the 2nd 1 x 4 at the 6-1/2” line and nail (16d’s) into the roof trusses.
The 1 x 4’s will not reach the peak. Measure the distance from the end of the 1 x 4’s to the peak, cut to length with a 45 degree angle at the top. Nail into place on the snapped line. Repeat the same process for the other side.
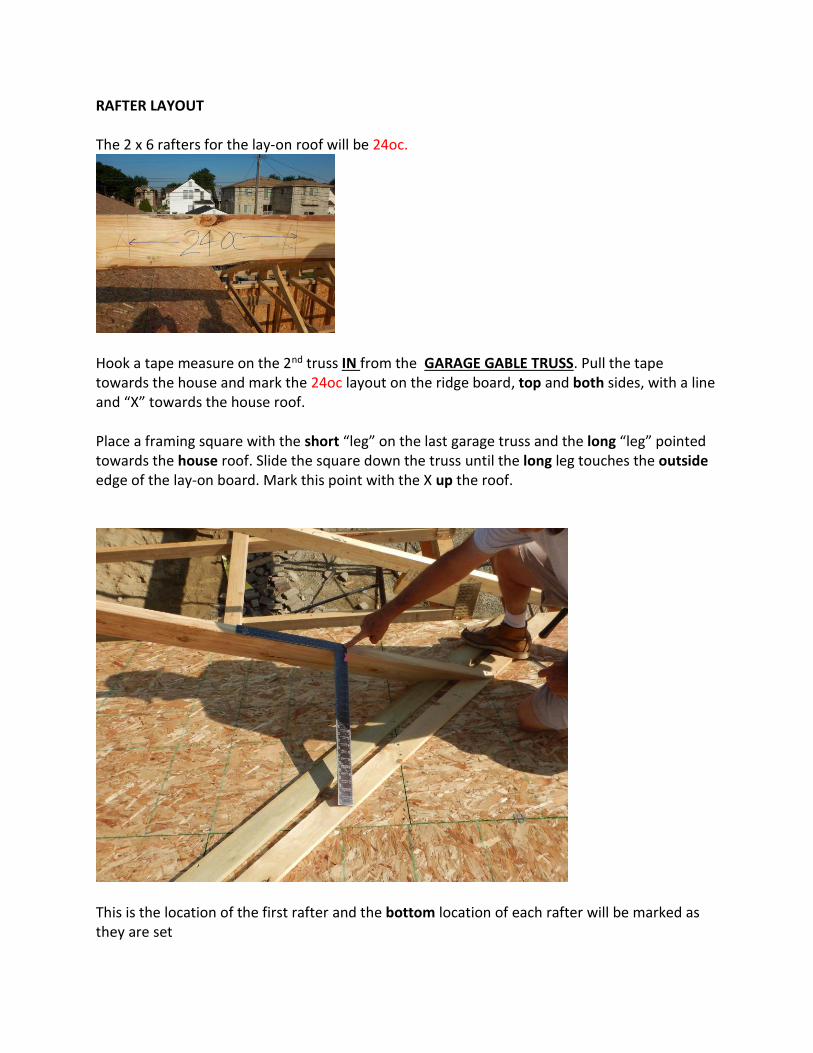
RAFTER LAYOUT The 2 x 6 rafters for the lay-on roof will be 24oc.
Hook a tape measure on the 2nd truss IN from the GARAGE GABLE TRUSS. Pull the tape towards the house and mark the 24oc layout on the ridge board, top and both sides, with a line and “X” towards the house roof. Place a framing square with the short “leg” on the last garage truss and the long “leg” pointed towards the house roof. Slide the square down the truss until the long leg touches the outside edge of the lay-on board. Mark this point with the X up the roof.
This is the location of the first rafter and the bottom location of each rafter will be marked as they are set
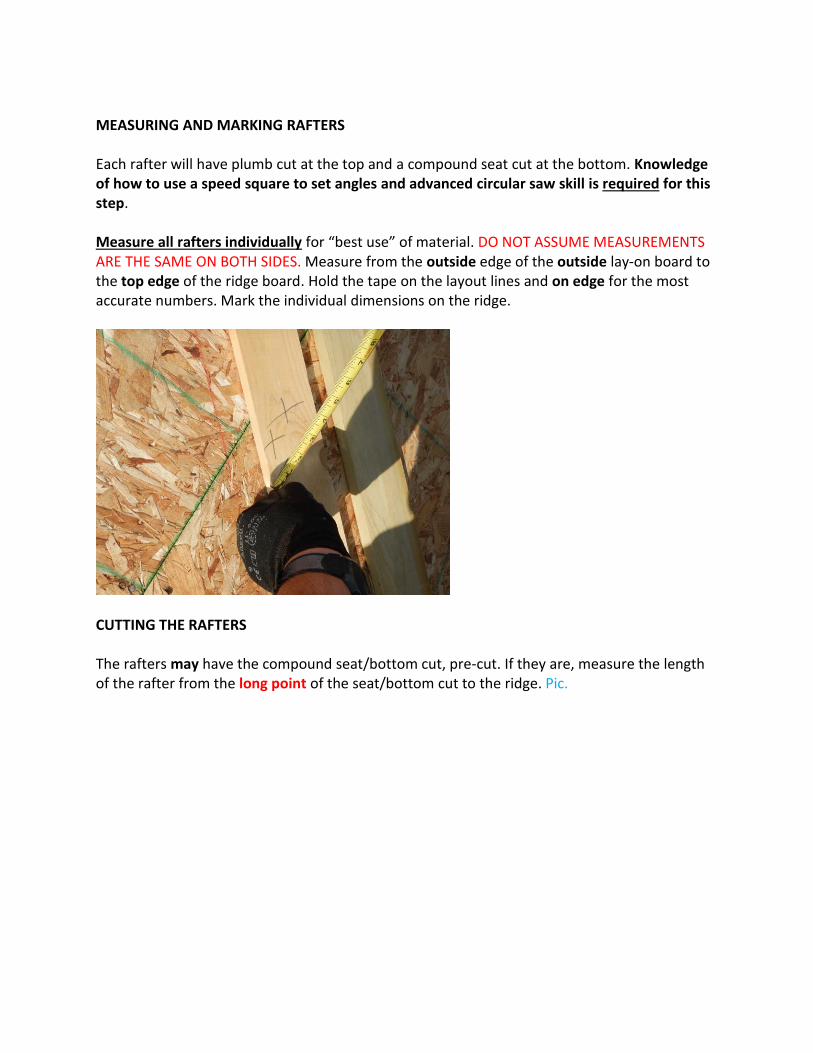
MEASURING AND MARKING RAFTERS Each rafter will have plumb cut at the top and a compound seat cut at the bottom. Knowledge of how to use a speed square to set angles and advanced circular saw skill is required for this step. Measure all rafters individually for “best use” of material. DO NOT ASSUME MEASUREMENTS ARE THE SAME ON BOTH SIDES. Measure from the outside edge of the outside lay-on board to the top edge of the ridge board. Hold the tape on the layout lines and on edge for the most accurate numbers. Mark the individual dimensions on the ridge.
CUTTING THE RAFTERS The rafters may have the compound seat/bottom cut, pre-cut. If they are, measure the length of the rafter from the long point of the seat/bottom cut to the ridge. Pic.
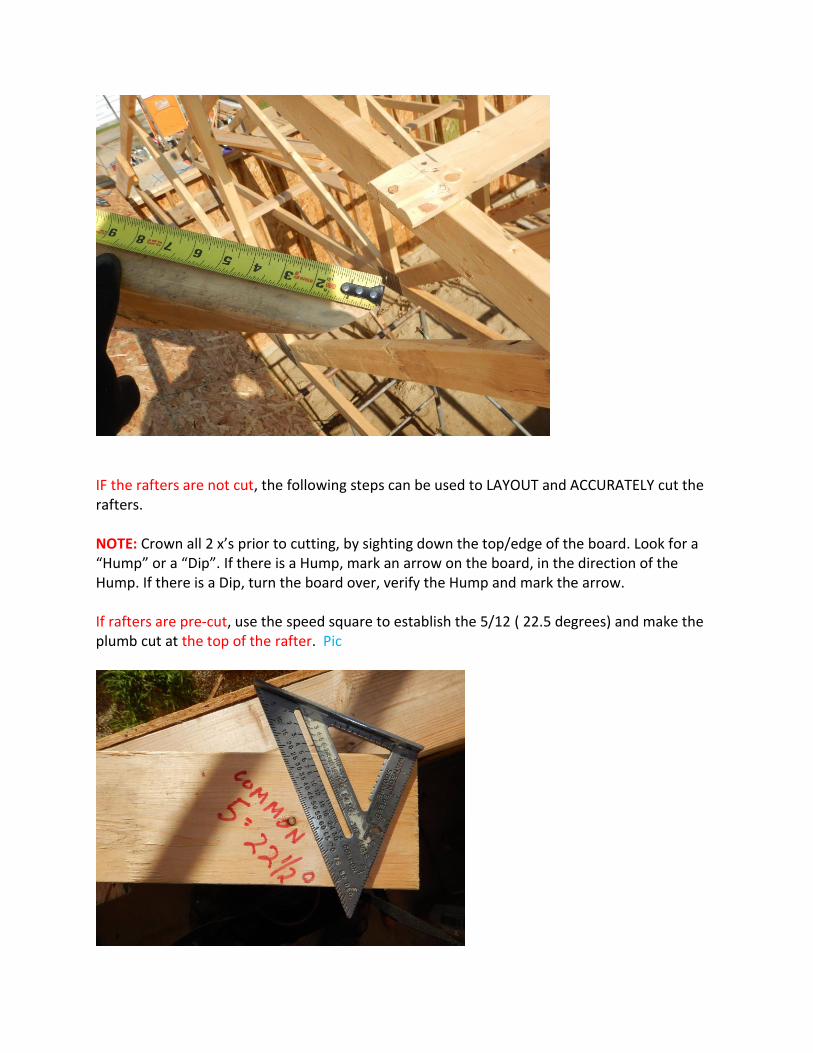
IF the rafters are not cut, the following steps can be used to LAYOUT and ACCURATELY cut the rafters. NOTE: Crown all 2 x’s prior to cutting, by sighting down the top/edge of the board. Look for a “Hump” or a “Dip”. If there is a Hump, mark an arrow on the board, in the direction of the Hump. If there is a Dip, turn the board over, verify the Hump and mark the arrow. If rafters are pre-cut, use the speed square to establish the 5/12 ( 22.5 degrees) and make the plumb cut at the top of the rafter. Pic
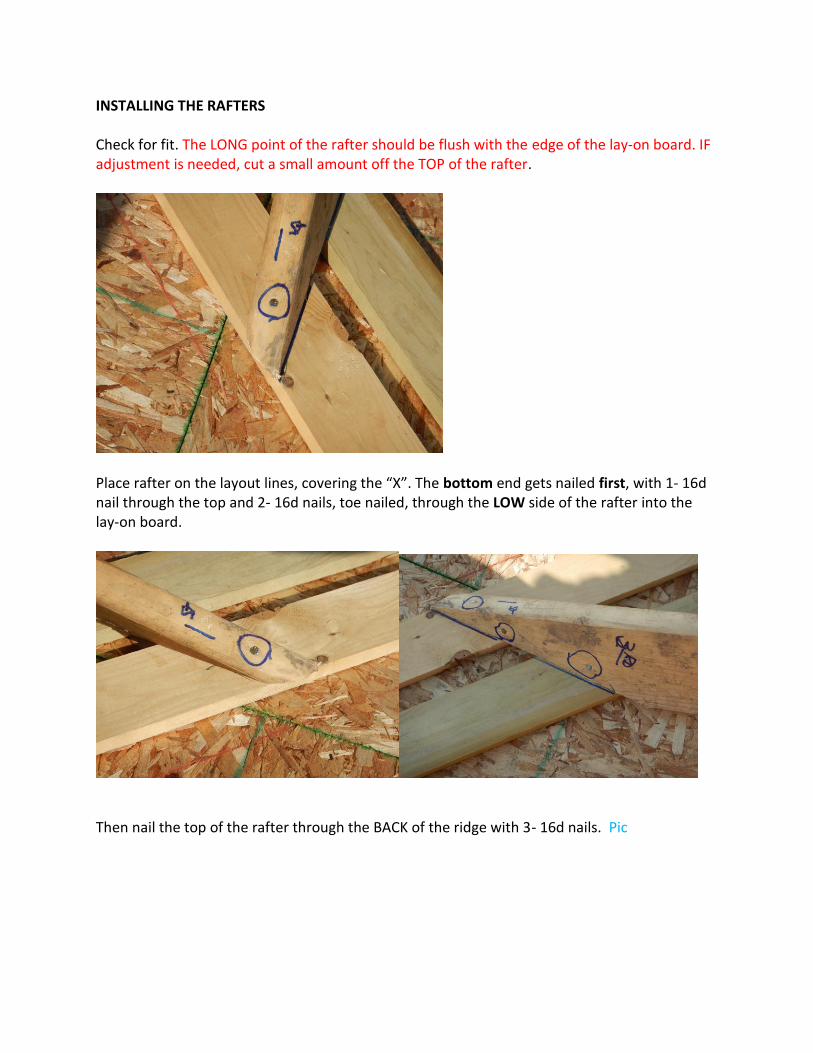
INSTALLING THE RAFTERS Check for fit. The LONG point of the rafter should be flush with the edge of the lay-on board. IF adjustment is needed, cut a small amount off the TOP of the rafter.
Place rafter on the layout lines, covering the “X”. The bottom end gets nailed first, with 1- 16d nail through the top and 2- 16d nails, toe nailed, through the LOW side of the rafter into the lay-on board.
Then nail the top of the rafter through the BACK of the ridge with 3- 16d nails. Pic
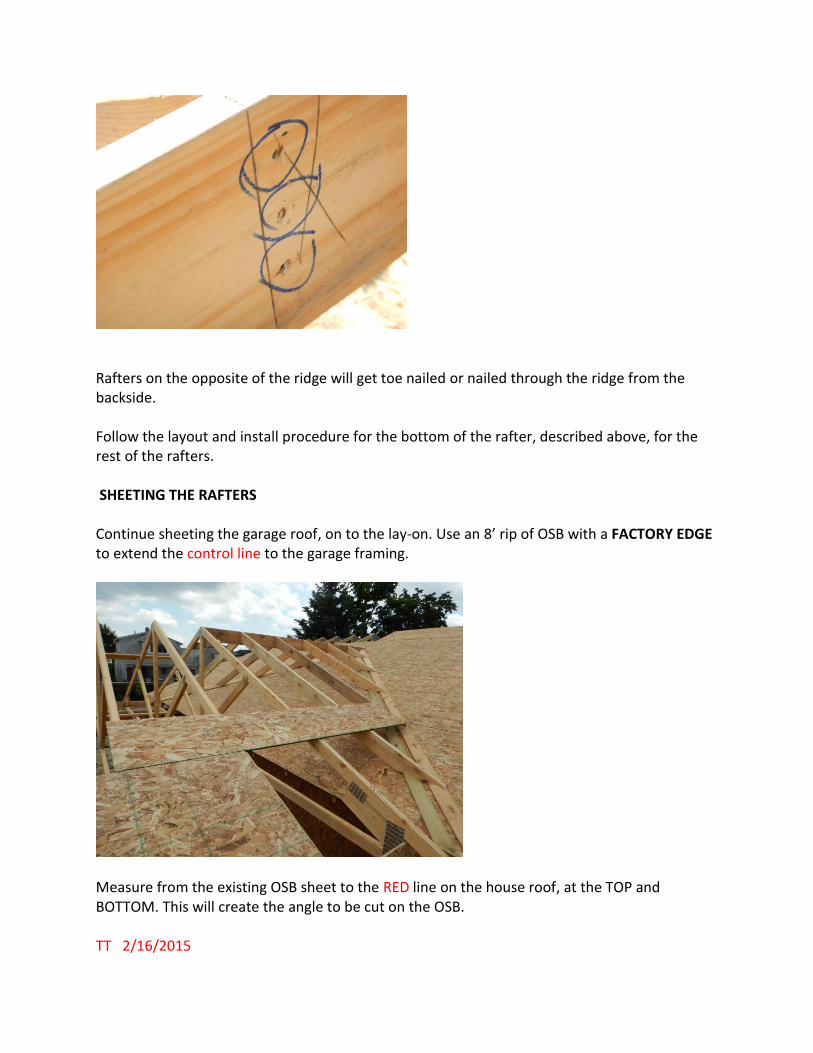
Rafters on the opposite of the ridge will get toe nailed or nailed through the ridge from the backside. Follow the layout and install procedure for the bottom of the rafter, described above, for the rest of the rafters. SHEETING THE RAFTERS Continue sheeting the garage roof, on to the lay-on. Use an 8’ rip of OSB with a FACTORY EDGE to extend the control line to the garage framing.
Measure from the existing OSB sheet to the RED line on the house roof, at the TOP and BOTTOM. This will create the angle to be cut on the OSB. TT 2/16/2015