Embed Size (px)
Citation preview

Fix Photos the Smart Way 1
Fix Photos the Smart Way
The Smart Photo Fix command is the best way to correct color, exposure, and lighting problems. You'll see how, with only one click, your photo is analyzed and corrections are suggested — you're then free to adjust the corrections to suit your tastes.
In this tutorial, you’ll become familiar with• Using the Learning Center palette to open a photo and display the Smart Photo Fix
dialog• Using the Smart Photo Fix dialog to adjust a photo
Open the photo1 From the Learning Center's Home page, choose Get Photos, and then choose
Browse.
2 From the Browser palette, navigate to where you've saved the “SPF_before.jpg” photo.
3 Double click the photo's Browser palette thumbnail to open the photo in the Paint Shop Pro X workspace.
2 Corel Paint Shop Pro X
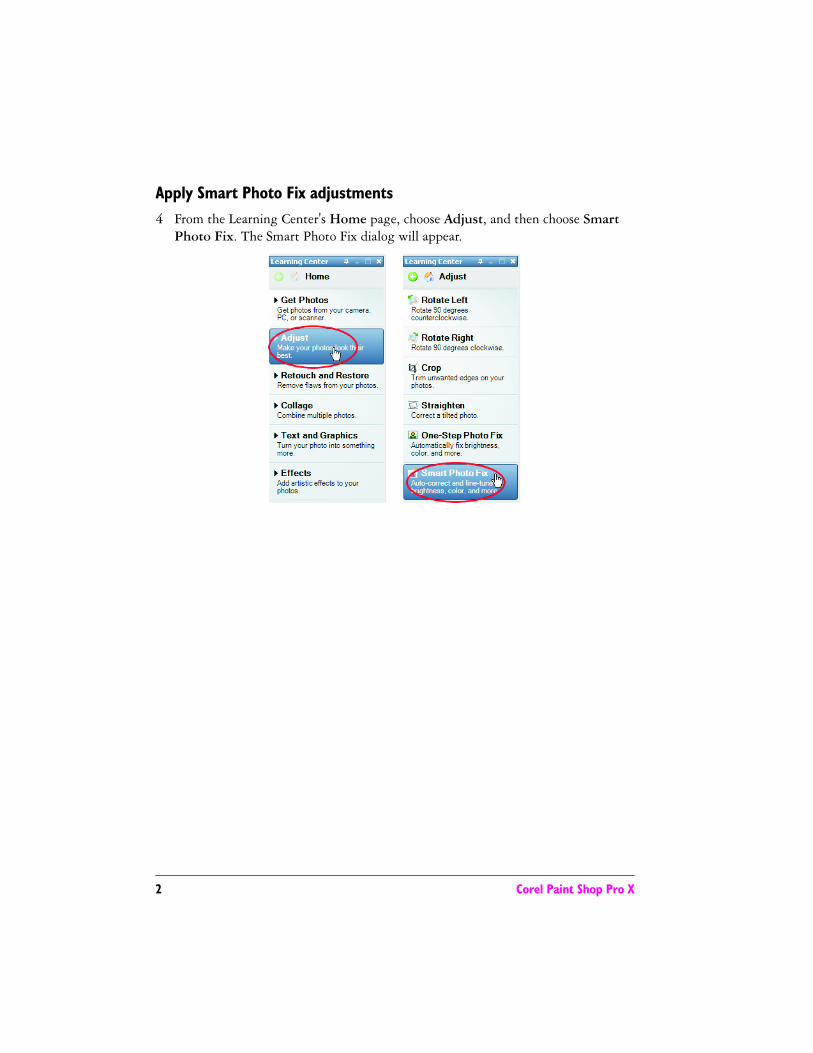
Apply Smart Photo Fix adjustments4 From the Learning Center's Home page, choose Adjust, and then choose Smart
Photo Fix. The Smart Photo Fix dialog will appear.

Fix Photos the Smart Way 3
5 Toward the top of the dialog, you'll see the original photo (Before) and the photo with the suggested command settings applied (After). The Smart Photo Fix command instantly analyzes your photo and applies a set of suggested adjustments.
6 You can make your own adjustments. For example, place the cursor over the Overall brightness slider, and drag the slider left and right. When you move the slider and release the mouse button, the After preview will be updated with the new Overall brightness setting.
4 Corel Paint Shop Pro X
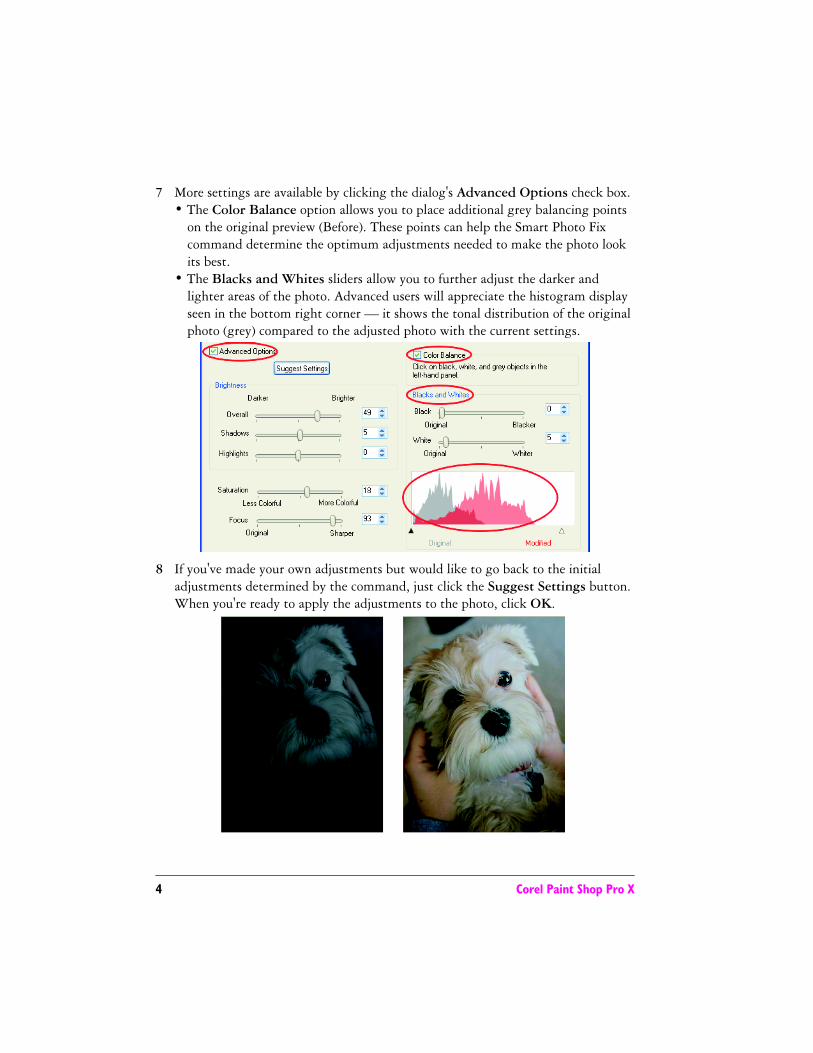
7 More settings are available by clicking the dialog's Advanced Options check box.• The Color Balance option allows you to place additional grey balancing points
on the original preview (Before). These points can help the Smart Photo Fix command determine the optimum adjustments needed to make the photo look its best.
• The Blacks and Whites sliders allow you to further adjust the darker and lighter areas of the photo. Advanced users will appreciate the histogram display seen in the bottom right corner — it shows the tonal distribution of the original photo (grey) compared to the adjusted photo with the current settings.
8 If you've made your own adjustments but would like to go back to the initial adjustments determined by the command, just click the Suggest Settings button. When you're ready to apply the adjustments to the photo, click OK.