Embed Size (px)
Citation preview

Faculty Guide to eMedley
Office of Assessment and Educational Development
July 2019
For Use by WVSOM Faculty and Staff Only

Assistance with eMedley
Web Resources Videos and individual PDFs of this document: https://www.wvsom.edu/Programs/OAED/eMedley Just Videos: https://www.gotostage.com/channel/a19970070ff0458c9cae513d55a51890 If asked to register just enter your name and WVSOM email address. Assistance by phone, email or in-person Bridget Moore 304-793-6587 [email protected] Room A433 Dr. Machelle Linsenmeyer 304-793-6871 [email protected] Room A428
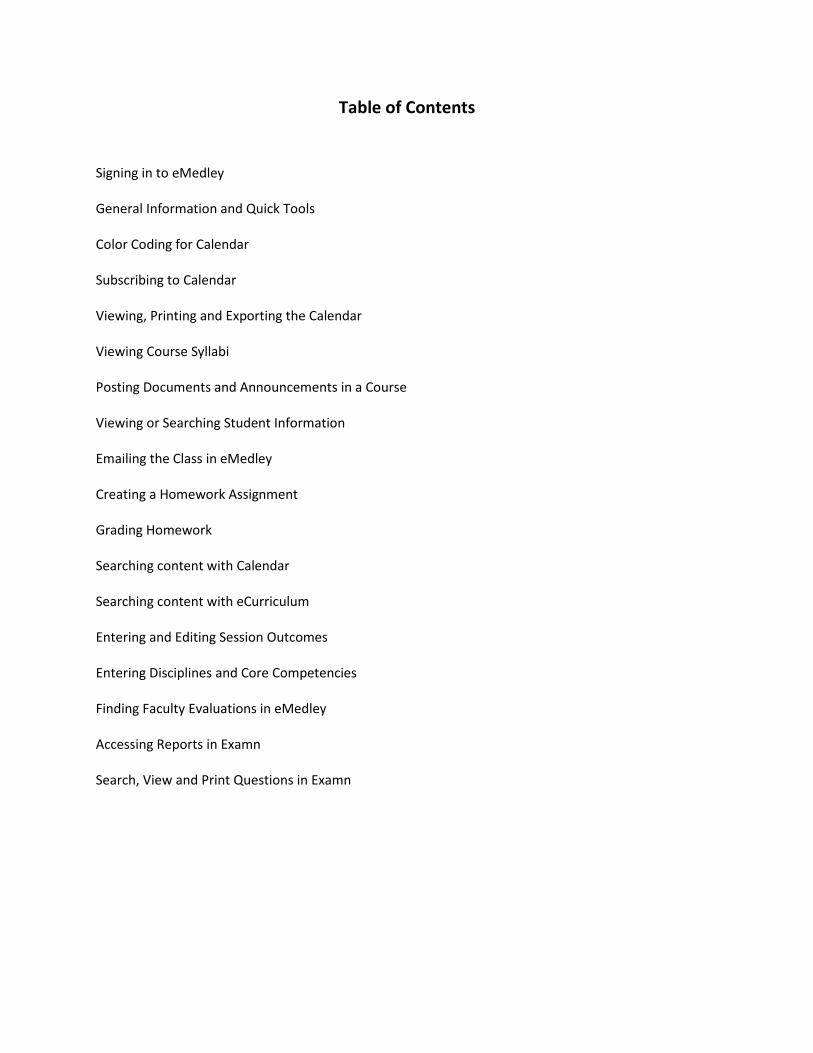
Table of Contents
Signing in to eMedley
General Information and Quick Tools
Color Coding for Calendar
Subscribing to Calendar
Viewing, Printing and Exporting the Calendar
Viewing Course Syllabi
Posting Documents and Announcements in a Course
Viewing or Searching Student Information
Emailing the Class in eMedley
Creating a Homework Assignment
Grading Homework
Searching content with Calendar
Searching content with eCurriculum
Entering and Editing Session Outcomes
Entering Disciplines and Core Competencies
Finding Faculty Evaluations in eMedley
Accessing Reports in Examn
Search, View and Print Questions in Examn
Signing in to eMedley
1. Open up your Google browser (do not use Internet Explorer)
2. Type in the address to eMedley https://he.emedley.com/univ/wvsom/common/adfs/login.php
3. From this screen click on the Click Here to Login text. You will then be taken to a login screen.
4. From this screen enter your WVSOM email account. This should be the entire email account name. Then enter your WVSOM password.
5. Click on the Sign In button.
6. At this point you can change some of the settings to best fit your use of eMedley.
7. Click on the downward arrow beside your name in the top right of the screen.
8. Click on My Setting
9. This will open a screen that allows you to change your password, calendar view, and what application eMedley will open in, as well as what term.
10. When you are finished with your changes click on Save Changes.
1
General Information and Quick Tools
After you log in to eMedley you will see your name in the upper right hand corner. From this area you can find some tools.
The Bell icon will take you to notifications if you have any.
The Green bar will display the amount of idle time you have left before being logged out of the system. Clicking on this will reset the time you have remaining.
The Drop down arrow will take you to some navigation tools.
The Star icon is your personal account settings. From here you can change the calendar view and the start application.
The Calendar icon allows you to switch between terms. This is helpful if you need to go back to another year to find information.
The Support icon takes you to an email address to receive help.
The Arrow icon will allow you to logout of the system.
To navigate between the various areas of eMedley, click on the three stacked boxes at the left hand side of the screen. This will open a drop down menu displaying the different areas of eMedley.
Once you are in one of the areas of eMedley you can go back to your home page by click on the drop down arrow beside your name.
If you want to just go back to the home page of that area, click on the name of the area at the top of the page.
2

Color Coding for Calendar in eMedley
Blue is a lecture
Green is a lab
Black is a Quiz or Exam
Light Grey is a Quiz or Exam review
Dark Grey is a DS (Directed Study)
Red is an AE (Application Exercise)
Yellow is a TBL (Team Based Learning)
Purple is a Special function
Maroon is a Holiday
Light Green is Orientation and ECE’s (Early Clinical Encounters)
Brown is Independent Study
Dark blue is OCL (Outside Classroom Learning)
3

Subscribing to the Calendar in eMedley
1. The calendar feature is located under eCurriculum. To access it, click on the applications iconand select eCurriculum.
2. Click on the calendar icon at the top of the page. This will open a list of cohorts. Select the oneyou want and click schedule.
3. This will open the calendar to the current month for that specific cohort.
4. Click on Subscribe All.
5. A Calendar Subscription window will open. Copy the URL and import it into your own calendar.
6. To do this from the online version of Outlook, after you login to Outlook, double click on thecalendar icon at the bottom of the screen.
7. Click on Open Calendar from the tool bar at the top of the screen.
8. Select From Internet and then paste in the URL you previously copied.
9. Click save. If it asks if you want to add the calendar to outlook and subscribe to updates, clickYes.
10. You are now subscribed to the calendar and will get all updates. The Calendar will show upunder Other Calendars in your list of calendars in Outlook.
4

Viewing, Printing or Exporting the Calendar in eMedley
1. The calendar feature is located under eCurriculum. To access it, click on the applications iconand select eCurriculum.
2. Click on the calendar icon at the top of the page. This will open a list of cohorts. Select the oneyou want and click schedule
3. This will open the calendar to the current month for that specific cohort. You can search thecalendar or scroll to find the event (lecture, lab etc.) that you are looking for and click on it toopen the details. (See Searching Curriculum by Calendar for additional information).
Printing the Calendar
4. To print the calendar, select what you want to print (day, week, month). Then click the printicon at the top right of the screen.
5. This will open the print options menu for your computer and printer.
Exporting the Calendar
6. Exporting the calendar will just give you a snapshot of the calendar. It will not give you anyupdates made to the calendar after you have exported it. To export, click the Export icon at thetop right of the screen.
This will open a window asking if you want to Limit Date Range. If you only want to export acertain number of days, put a check next to the Limit Date Range box and select the start andend dates for the range.
5

Viewing Course Syllabi
1. After logging into eMedley, click on the Application Icon (three stacked boxes) and select eCurriculum.
2. Click on View Curriculum Website. Select the year for the course syllabi you want to view.
3. Then click on the name of the course.
4. Scroll down to you see the section named Documents and click to open the syllabus.
6
Posting Documents or Announcements to a Course
1. Once you are in eMedley click the Applications icon and select educate.
2. From this screen you can either search for your class or use the dropdown menu and scroll tillyou find your course. Click on the name of your course.
3. Under Announcements where it says “What’s New?” type Session Documents. This is importantbecause students search by the Documents to get a list of all documents for the course.
4. Click on the paperclip under announcements and browse to find your document on yourcomputer. Click on the name of the file and click open. This will upload your file into eMedley.
5. Click on the gear icon and select the date to show the file.
6. Find the appropriate session by tying in a few words for it in the search bar under “Sessions” oryou can type in the Course Name or another keyword to find all sessions for that course. Selectthe appropriate one.
7. When the screen switches click Post in the Announcement area. Your document should nowappear in that session of the course.
8. If you want to check that it has posted correctly, click on the link that will appear in the box ofthe item you posted.
7

Viewing or Search Student Information
1. After logging into eMedley, click on the Application icon (three stacked blocks) and selecteKeeper.
2. Click on Students.
3. You will see a list of student names down the left side of the screen. You can either scroll to findthe student you need or put their name in the search box.
4. This will show you the student information that you are allowed to see based on your role in thesystem.
8
Emailing the Class in eMedley
You can send an email to your entire class or select just some students by using the educate application in eMedley.
1. Once you are in eMedley click the Applications icon and select educate.
2. Click on the Sections icon.
3. From this screen you can either search for your class or use the dropdown menu and scroll till you find your course. Click on the name of your course.
4. Click on the envelope icon far upper right of the screen.
5. Click Compose.
6. Click in the To field.
7. This will open a pop-up window where you will see that all students have been selected by default. If that is what you want, click the Select button at the bottom of the window. If you do not wish to email all of the students, unselect the box next to Select All and select the appropriate students by using the CTRL or SHIFT button on the keyboard and clicking on the student names. Then click the Select button. NOTE: If a student is highlighted with a blue box around their name, they are selected. If there is no highlighting, they are not selected.
8. Enter the Subject in the subject line and type your message in the message box.
9. Click Submit in the lower right corner of the screen.
9
Creating a Homework Assignment
1. After logging into eMedley, click on the Applications icon on the left and select educate.
2. Click on Sections.
3. Select the appropriate course from the list or search for the course. Then click on the name of the course.
4. Click on the box Assign, located in the blue announcement bar.
5. Click on the plus sign beside homework.
6. Add a title, the total points for the homework, and attach any documents (a list of instructions, etc.). Then click submit.
7. If it is to be graded click on the graded box.
8. Select a category from the drop down menu. Add a short name, points, select the show from and to dates. (You can ignore rubric and precision.)
9. Make sure all the students are selected on the right side of the screen and click save.

Grading Homework
By default, the person who created the homework will be able to grade it. That person will need to grant access to others.
1. In educate, click on sections.
2. From the drop down menu select the appropriate course or search for the course by name.
3. Find homework by typing in Homework in the search box or by scrolling through the course tillyou come to the homework.
4. When you have located the appropriate homework, click on the gear and from the drop downmenu select View/Edit Scores.
5. Right click on the score area next to a student name and click View Submission.
6. After reviewing the submission, double click on the score area next to the student name to enterthe grade.
Assigning Others to Grade
Only the person who created the homework will be able to grade it unless that person assigns someone else.
1. Click the Gear icon to the right of the box for the homework listing you want to share gradingwith others.
2. From the drop down menu select Share Homework.
3. Select the user for Share With (easiest way is to type the name in the Share with: field to filterfor that person versus scrolling through the names to find the person).
4. Select Can Edit from the drop down menu.
5. Click Save Changes.
11
Searching for Content Using the Calendar
1. Log into eMedley
2. Click the drop down menu beside your name.
3. Click Switch Terms.
4. From the drop down menu, select the term you wish to search.
5. Go to applications and select eCurriculum.
6. From eCurriculum, click on the Calendar icon.
7. This will open a menu that allows you to select the class cohort calendar you wish to search.
8. Click on the cohort you want and then click Schedule at the top left corner of the screen.
9. This will open the calendar for that specific class. At the top of the calendar page select search.
10. A search window will open allowing you to enter your search term(s). Enter your term(s) andclick ok.
11. eMedley is now searching that cohort calendar for your search term. Remember this is notsearching in the lecture files, powerpoints or handouts.
12. If you do not get any results, click on the search from all time. This will look at all the cohortcalendars and may help you find the material.
13. Once you have search results, click on the name of the lecture that you want.
14. You will get a screen that shows all the materials related to that specific lecture. You can then click on the desired material to bring up the content.
15. If you are having difficulty finding the material you need, refer to the instructions on searchusing eCurriculum search.
12

Searching Content Using eCurriculum Search Feature
This is the preferred method for finding materials. You can use this method to search any term for materials.
1. Log into eMedley
2. Click the drop down menu beside your name.
3. Click Switch Terms.
4. From the drop down menu, select the term you wish to search.
5. Go to applications and select eCurriculum.
6. From eCurriculum, click on the Search icon.
7. This will open a search window. Type in your search term(s) and click the search icon.
8. eMedley is now searching for every place your search term appears in that year’s materials. This includes lecture titles, powerpoints, video and audio files and any handouts.
9. Once you have your search results you may want to narrow your search by putting in more specific terms, or just scroll through the results until you find the desired material.
10. Click on the title of the material you wish to view and you will get a screen that displays all the materials related to that specific lecture. You can then click on the desired material to bring up the content.
13

Entering, Editing and Deleting Session Outcomes in eMedley
You should only have 3-5 outcomes for each lecture. When you are ready to enter them, or need to edit or delete outcomes follow the directions below.
1. Click on the Applications icon on the left (three stacked boxes) and select eCurriculum.
2. Click on Courses.
3. Select the appropriate course from the list by scrolling or searching by course number or nameby typing in the Search box.
4. Click on the Sessions button at the top of the screen. This will open up a list of all session forthat specific course. From the list highlight the session where you want to add, change or deleteoutcomes. Note: you will only be able to see and edit your individual sessions.
5. Click Update at the top of the screen. This will open a second window with a new set ofbuttons.
6. From this window click on Session Outcomes. This window will show you all the sessionoutcomes. Or if none are listed it will just say none.
7. From this screen you can click on Insert to add an outcome. This will open a window that allowsyou type in or paste in an outcome.
8. When you are finished click on Save Changes.
9. If you want to make changes to an existing outcome, highlight that outcome and click onUpdate. This opens up the box with the outcome and allows you to make changes. Again whenyou are finished click on Save Changes.
10. If you need to delete an outcome, highlight the outcome and click the Delete button. You willget a prompt asking if you are sure you want to delete. Click Yes if you do want to delete.
11. If at any time while editing the session outcomes you need to go back, you can simply click the Xin the upper right corner of the screen and you will be taken to the previous screen.
14

Entering Disciplines and Core Competencies in eMedley
You should have no more than 2 disciplines and at least one competency per outcome. When you are ready to enter them, or need to edit or delete them follow the directions below.
1. Click on the Applications icon on the left (three stacked boxes) and select eCurriculum.
2. Click on Courses.
3. Select the appropriate course from the list by scrolling or searching by course number or nameby typing in the Search box.
4. Click on the Sessions button at the top of the screen. This will open up a list of all session forthat specific course. From the list highlight the session where you want to add, change or deleteoutcomes. Note: you will only be able to see and edit your individual sessions.
5. Click Update at the top of the screen. This will open a second window with a new set ofbuttons.
6. From this window click on Session Outcomes. This window will show you all the sessionoutcomes. Or if none are listed it will just say none and these will need to be entered beforeyou can add the discipline and competency.
7. From this screen, highlight the outcome where want to add the discipline and competency andclick on Update.
8. From the new screen click on Alignments.
9. From this screen you will be able to select the disciplines by clicking on the discipline tag. Selectthe discipline you want from the list by clicking in the check box. Then click Submit at thebottom left of the screen.
10. Add the core competencies by clicking on the Core Competencies tab and selecting the corecompetencies by clicking on the check box, then click Submit at the bottom of the screen.
11. If at any time while editing the session outcomes you need to go back, you can simply click the Xin the upper right corner of the screen and you will be taken to the previous screen.
15
Finding Evaluations in eMedley
You can pull your own faculty evaluation results from eMedley. To do this:
1. After logging in to eMedley, go to evaluate.
2. In evaluate click on the icon Basic Reports.
3. Find and select Faculty Evaluation Response Frequency Details. Your list of reports may appeardifferent since this is based on individual access.
4. After you have highlighted this report, move to the top left corner of the screen and click onView. This will open a new window.
5. From the form dropdown, select either Faculty Feedback type A (faculty teaching in a course) orB (faculty teaching in anatomy labs).
6. Select the course you want to review or you can select all the courses you have taught. (You willonly see courses that you have taught in)
7. After selecting the course(s) click on filter at the bottom left of the screen.
8. This will open the evaluation(s) for you to review. From this point you can view them on thescreen, print them, save them as a PDF or export them to Excel.
16

Accessing Reports in Examn
1. Once you are in examn, select the reports tab on the left side of the screen.
2. Click on Report Listing at the top of the screen.
3. From this screen you can select the report that you need.
4. Some of the basic reports that are frequently used are:a. Item Analysisb. Item Analysis by Facultyc. Item Analysis Detailsd. Score Distribution Percentile
5. To view a report, highlight the report name and then click View.
6. Then use the drop down menus to select the term, test and classes you want to use as filters for the report. Then click filter at the bottom of the screen.
17

Item Analysis
The Item Analysis shows the short form of Item Analysis (basic Information). It provides information on total points, median, mean, high and low scores, standard deviation and KR20 (reliability measure).
Item Analysis by Faculty
Searches for Item Analysis for each item used by a faculty member on a given test. Lists all items, but can filter by specific exams.
Item Analysis Details
Traditionally what faculty expect with Item Analysis.
Key Item Analysis Information
• Flagged questions need to be reviewed in a post-exam analysis.• Flagged characteristics include:
o Difficulty (p) <0.75 (meaning less than 75% of students got it correct) AND,o Point Bi-serial <0.20 (comparison of the students who got it correct/incorrect and their
overall performance on the exam).o These two parameters give us a sense of how difficult a question is and how well it
discriminates between students who performed well or who performed poorly.
Score Distribution Percentile
• Breaks down student distribution within each exam.
Question History
Remember, most items may have many versions, but not a lot of statistics.
18

Search and View Questions in Examn
1. After logging into eMedley, go to the application icon (three stacked boxes) and click on Examn. 2. From the menu on the left side of the screen click on Search and Print Questions. 3. There are several search options.
Searching by Question ID: Click on the Question ID box at the top of the screen and enter the question ID number. Click search at the bottom right of the screen. This will bring up that one specific question with that ID number. Search by creator: Click on the drop down arrow in the Created By box. Then scroll down to find the appropriate faculty name (you may also type in the last name of the faculty to find the questions). Click search at the bottom right of the screen. This will bring up all questions created by that faculty.
4. After you have found the question that you are looking for you can view or print the question.
Click on the question(s) you want to view or print. Click on the Add Selected icon at the top of the screen. Then click on the View/Print box at the top of the screen. When finished click the X at the top right of the screen.
5. You can also view more details about a question by hovering over the question ID box. This will
show you the question, who created it, date last modified, the correct answer and any tagging related to the question.