Embed Size (px)
Citation preview
Anterior Segment Ocular
Photography
Cled T. Click, O.D. 1
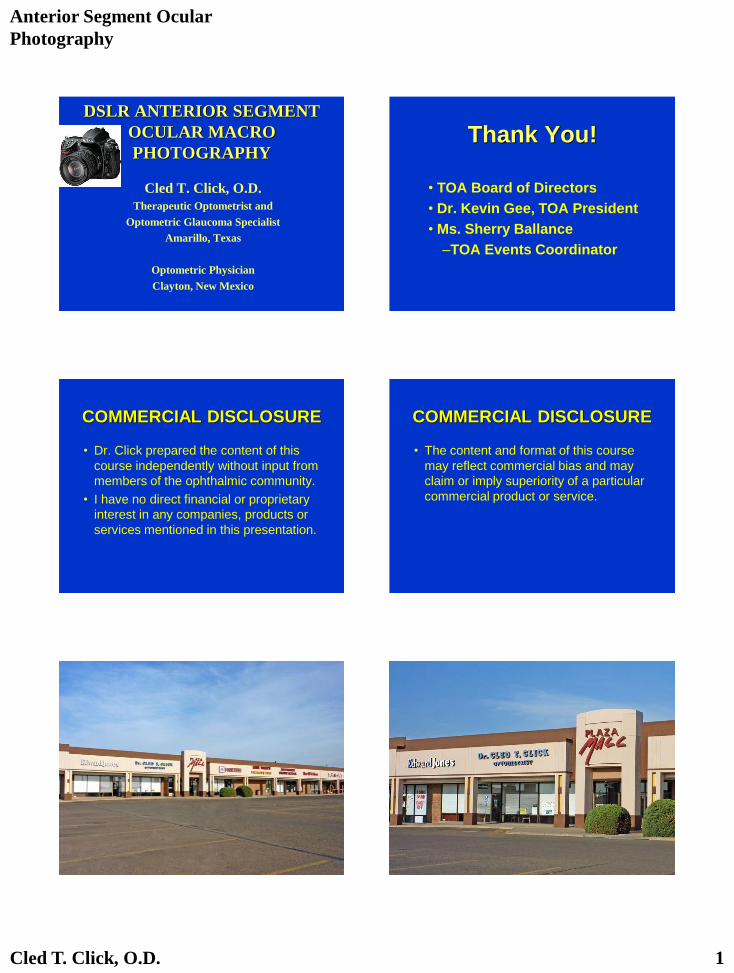
DSLR ANTERIOR SEGMENT
OCULAR MACRO
PHOTOGRAPHY
Cled T. Click, O.D.
Therapeutic Optometrist and
Optometric Glaucoma Specialist
Amarillo, Texas
Optometric Physician
Clayton, New Mexico
Thank You!
• TOA Board of Directors
• Dr. Kevin Gee, TOA President
• Ms. Sherry Ballance
–TOA Events Coordinator
COMMERCIAL DISCLOSURE
• Dr. Click prepared the content of this
course independently without input from
members of the ophthalmic community.
• I have no direct financial or proprietary
interest in any companies, products or
services mentioned in this presentation.
COMMERCIAL DISCLOSURE
• The content and format of this course
may reflect commercial bias and may
claim or imply superiority of a particular
commercial product or service.
Anterior Segment Ocular
Photography
Cled T. Click, O.D. 2
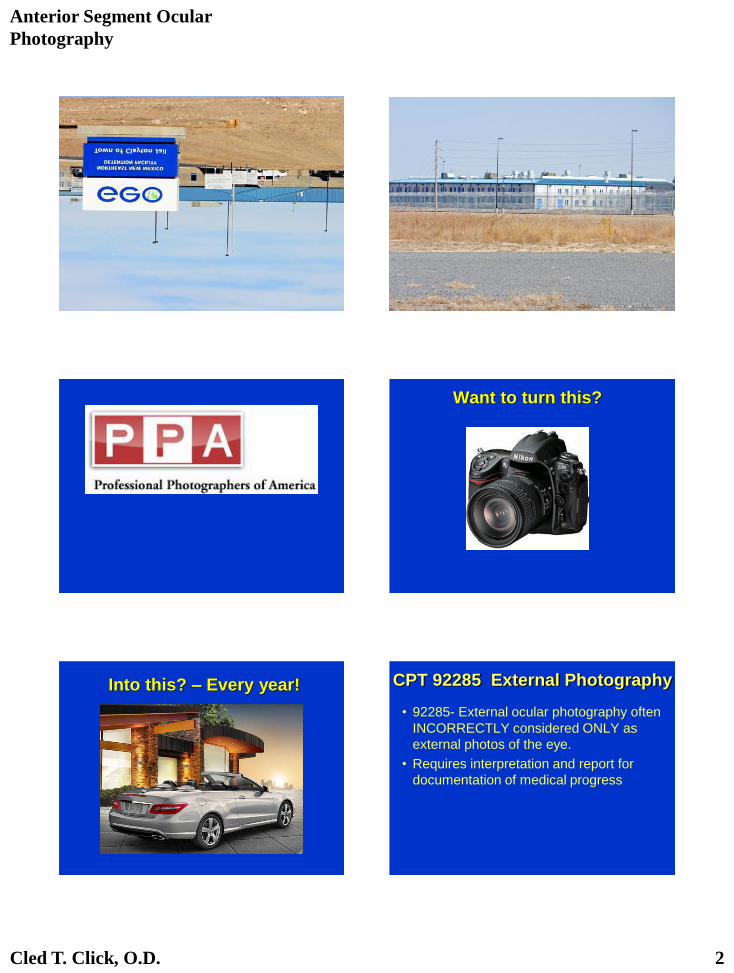
Want to turn this?
Into this? – Every year! CPT 92285 External Photography
• 92285- External ocular photography often
INCORRECTLY considered ONLY as
external photos of the eye.
• Requires interpretation and report for
documentation of medical progress
Anterior Segment Ocular
Photography
Cled T. Click, O.D. 3
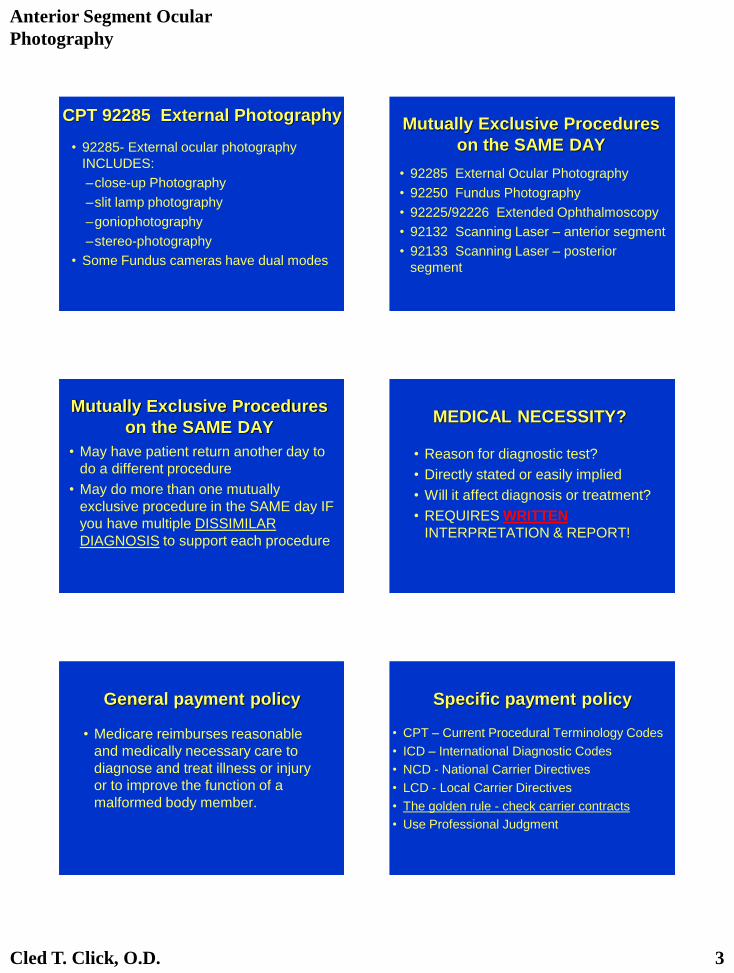
CPT 92285 External Photography
• 92285- External ocular photography
INCLUDES:
–close-up Photography
–slit lamp photography
–goniophotography
–stereo-photography
• Some Fundus cameras have dual modes
Mutually Exclusive Procedures
on the SAME DAY
• 92285 External Ocular Photography
• 92250 Fundus Photography
• 92225/92226 Extended Ophthalmoscopy
• 92132 Scanning Laser – anterior segment
• 92133 Scanning Laser – posterior
segment
Mutually Exclusive Procedures
on the SAME DAY
• May have patient return another day to
do a different procedure
• May do more than one mutually
exclusive procedure in the SAME day IF
you have multiple DISSIMILAR
DIAGNOSIS to support each procedure
MEDICAL NECESSITY?
• Reason for diagnostic test?
• Directly stated or easily implied
• Will it affect diagnosis or treatment?
• REQUIRES WRITTEN
INTERPRETATION & REPORT!
General payment policy
• Medicare reimburses reasonable
and medically necessary care to
diagnose and treat illness or injury
or to improve the function of a
malformed body member.
Specific payment policy
• CPT – Current Procedural Terminology Codes
• ICD – International Diagnostic Codes
• NCD - National Carrier Directives
• LCD - Local Carrier Directives
• The golden rule - check carrier contracts
• Use Professional Judgment
Anterior Segment Ocular
Photography
Cled T. Click, O.D. 4
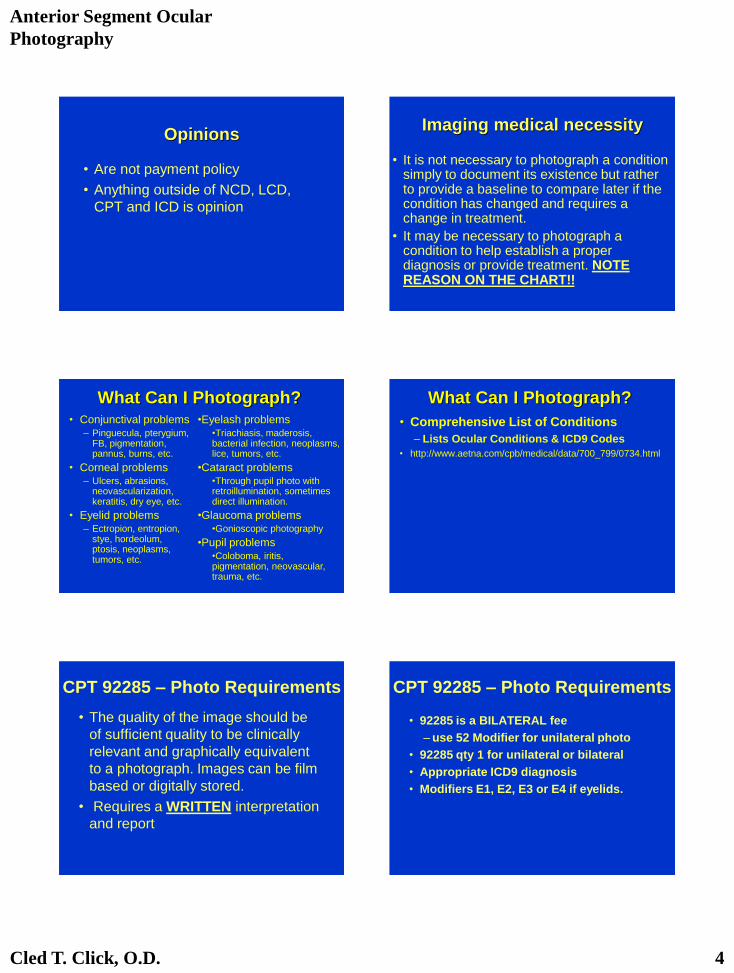
Opinions
• Are not payment policy
• Anything outside of NCD, LCD,
CPT and ICD is opinion
Imaging medical necessity
• It is not necessary to photograph a condition simply to document its existence but rather to provide a baseline to compare later if the condition has changed and requires a change in treatment.
• It may be necessary to photograph a condition to help establish a proper diagnosis or provide treatment. NOTE REASON ON THE CHART!!
What Can I Photograph? • Conjunctival problems
– Pinguecula, pterygium, FB, pigmentation, pannus, burns, etc.
• Corneal problems – Ulcers, abrasions,
neovascularization, keratitis, dry eye, etc.
• Eyelid problems – Ectropion, entropion,
stye, hordeolum, ptosis, neoplasms, tumors, etc.
•Eyelash problems •Triachiasis, maderosis, bacterial infection, neoplasms, lice, tumors, etc.
•Cataract problems •Through pupil photo with retroillumination, sometimes direct illumination.
•Glaucoma problems •Gonioscopic photography
•Pupil problems •Coloboma, iritis, pigmentation, neovascular, trauma, etc.
What Can I Photograph?
• Comprehensive List of Conditions
– Lists Ocular Conditions & ICD9 Codes
• http://www.aetna.com/cpb/medical/data/700_799/0734.html
CPT 92285 – Photo Requirements
• The quality of the image should be
of sufficient quality to be clinically
relevant and graphically equivalent
to a photograph. Images can be film
based or digitally stored.
• Requires a WRITTEN interpretation
and report
CPT 92285 – Photo Requirements
• 92285 is a BILATERAL fee
– use 52 Modifier for unilateral photo
• 92285 qty 1 for unilateral or bilateral
• Appropriate ICD9 diagnosis
• Modifiers E1, E2, E3 or E4 if eyelids.
Anterior Segment Ocular
Photography
Cled T. Click, O.D. 5
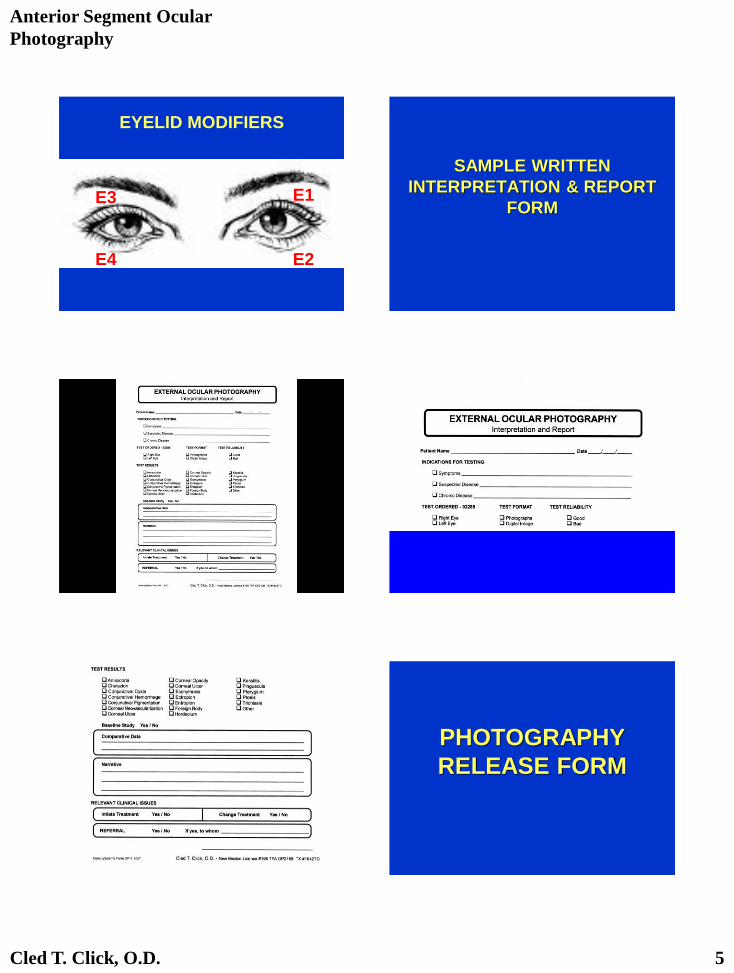
EYELID MODIFIERS
E1
E2
E3
E4
SAMPLE WRITTEN
INTERPRETATION & REPORT
FORM
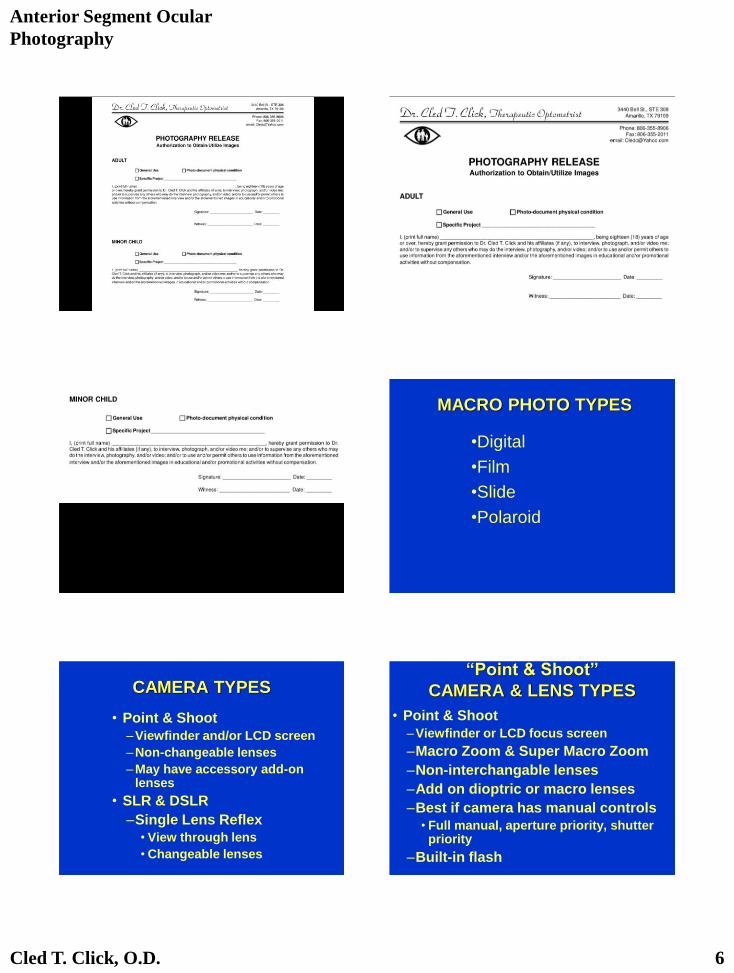
PHOTOGRAPHY
RELEASE FORM
Anterior Segment Ocular
Photography
Cled T. Click, O.D. 6
MACRO PHOTO TYPES
•Digital
•Film
•Slide
•Polaroid
CAMERA TYPES
• Point & Shoot
–Viewfinder and/or LCD screen
–Non-changeable lenses
–May have accessory add-on lenses
• SLR & DSLR
–Single Lens Reflex
• View through lens
• Changeable lenses
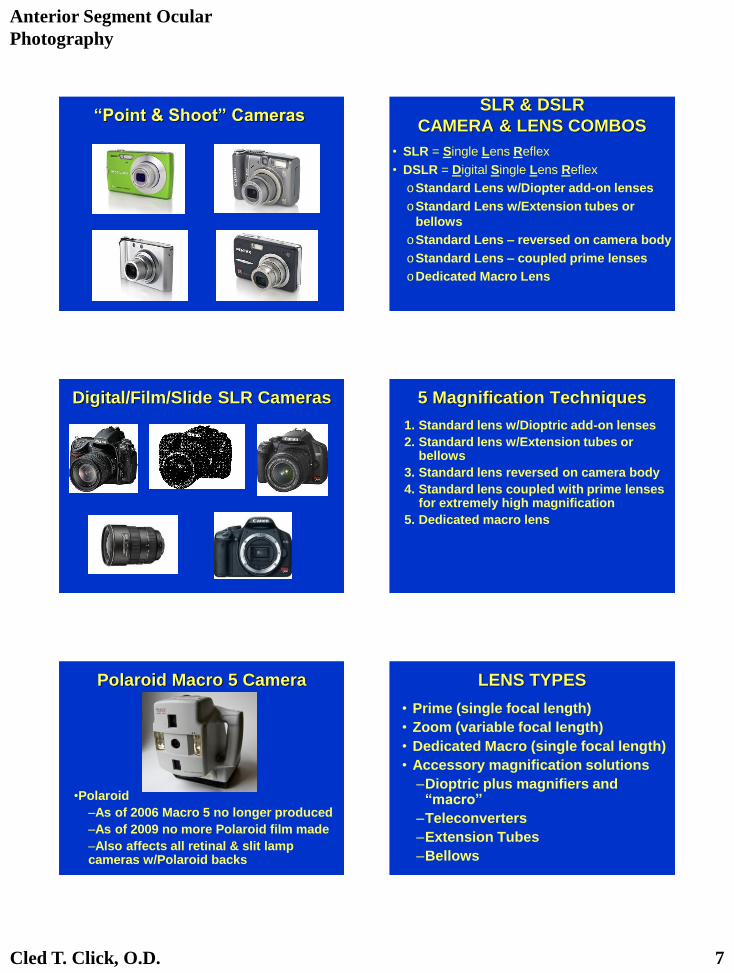
“Point & Shoot”
CAMERA & LENS TYPES
• Point & Shoot
–Viewfinder or LCD focus screen
–Macro Zoom & Super Macro Zoom
–Non-interchangable lenses
–Add on dioptric or macro lenses
–Best if camera has manual controls
• Full manual, aperture priority, shutter priority
–Built-in flash
Anterior Segment Ocular
Photography
Cled T. Click, O.D. 7
“Point & Shoot” Cameras SLR & DSLR
CAMERA & LENS COMBOS
• SLR = Single Lens Reflex
• DSLR = Digital Single Lens Reflex
oStandard Lens w/Diopter add-on lenses
oStandard Lens w/Extension tubes or
bellows
oStandard Lens – reversed on camera body
oStandard Lens – coupled prime lenses
oDedicated Macro Lens
Digital/Film/Slide SLR Cameras 5 Magnification Techniques
1. Standard lens w/Dioptric add-on lenses
2. Standard lens w/Extension tubes or bellows
3. Standard lens reversed on camera body
4. Standard lens coupled with prime lenses for extremely high magnification
5. Dedicated macro lens
Polaroid Macro 5 Camera
•Polaroid
–As of 2006 Macro 5 no longer produced
–As of 2009 no more Polaroid film made
–Also affects all retinal & slit lamp cameras w/Polaroid backs
LENS TYPES
• Prime (single focal length)
• Zoom (variable focal length)
• Dedicated Macro (single focal length)
• Accessory magnification solutions
–Dioptric plus magnifiers and “macro”
–Teleconverters
–Extension Tubes
–Bellows
Anterior Segment Ocular
Photography
Cled T. Click, O.D. 8
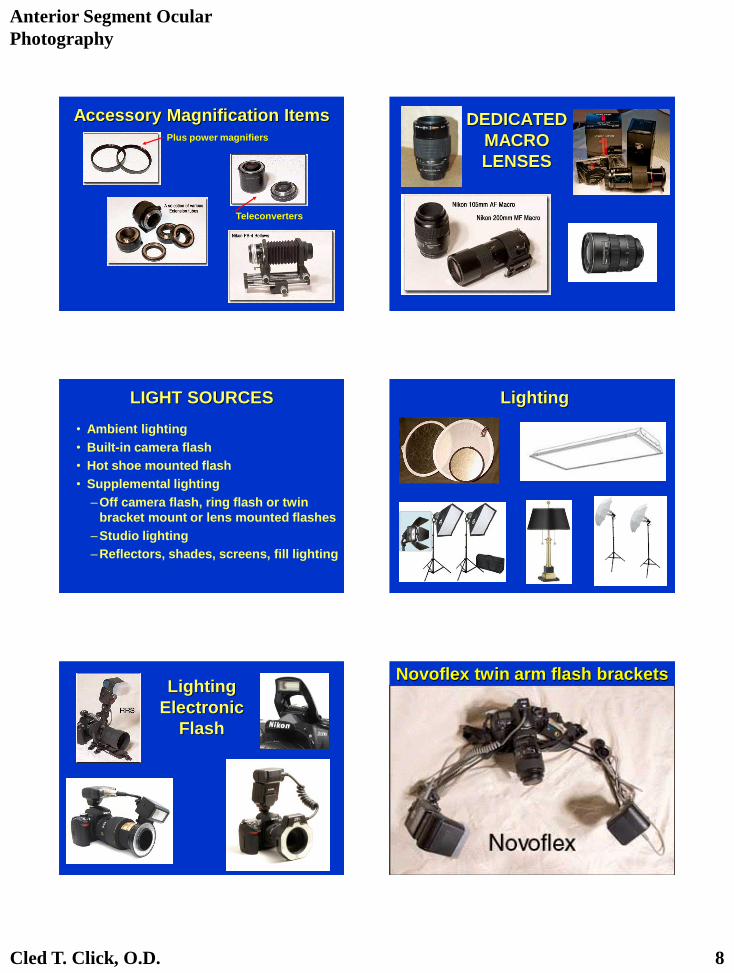
Accessory Magnification Items Plus power magnifiers
Teleconverters
DEDICATED
MACRO
LENSES
LIGHT SOURCES
• Ambient lighting
• Built-in camera flash
• Hot shoe mounted flash
• Supplemental lighting
–Off camera flash, ring flash or twin
bracket mount or lens mounted flashes
–Studio lighting
–Reflectors, shades, screens, fill lighting
Lighting
Lighting
Electronic
Flash
Novoflex twin arm flash brackets
Anterior Segment Ocular
Photography
Cled T. Click, O.D. 9
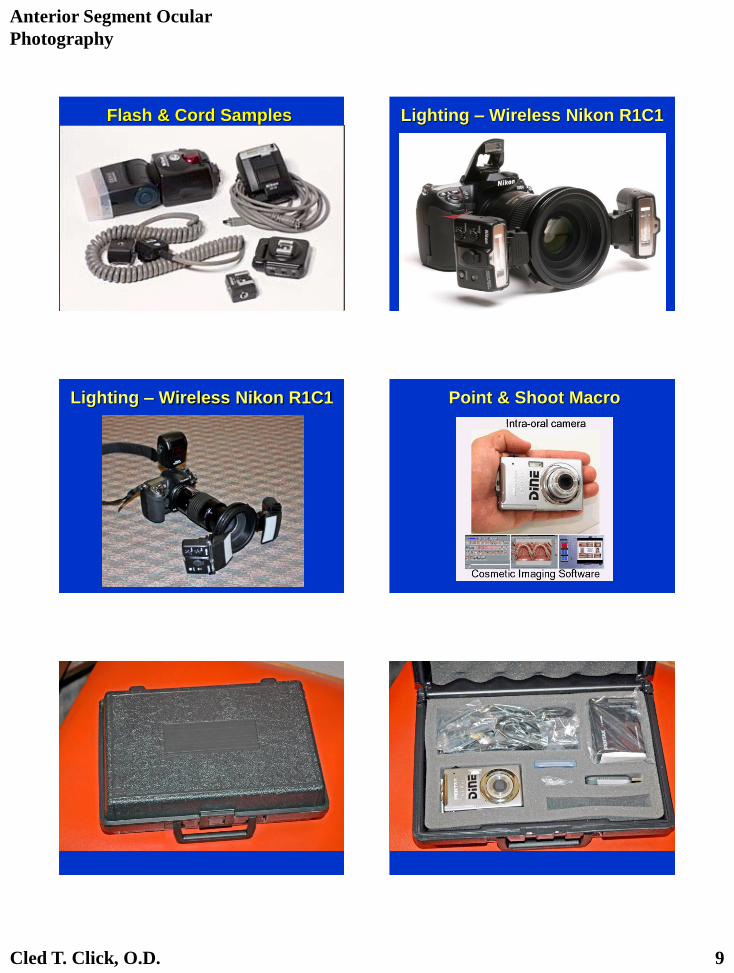
Flash & Cord Samples Lighting – Wireless Nikon R1C1
Lighting – Wireless Nikon R1C1 Point & Shoot Macro

Anterior Segment Ocular
Photography
Cled T. Click, O.D. 10
Newest DINE Dental Camera
Modified Pentax Optio WG2 - 14MP
$695 www.dinecorp.com
MAGNIFICATION METHODS
• Diopter Add-on lenses
• Extension tubes
• Bellows
• Teleconverters
• Reverse lens mounts
• Stacked lenses
• Dedicated macro lenses
DSLR w/kit lens & add-on Diopter
Kit lens not less than
55mm focal length
recommended.
Hoya +10D Aspheric lens
Add +2D Close Up lens
Total +12D add-on
Zoerk Macroscope Lens
+12 D double aspheric lens
w/antireflective coatings
DIOPTER ADD-ON LENSES
• ADVANTAGES
–Inexpensive (except Macroscope)
–Compact
–Works with lenses you already have
• DISADVANTAGES
–Not quite as sharp as a true macro lens
Anterior Segment Ocular
Photography
Cled T. Click, O.D. 11
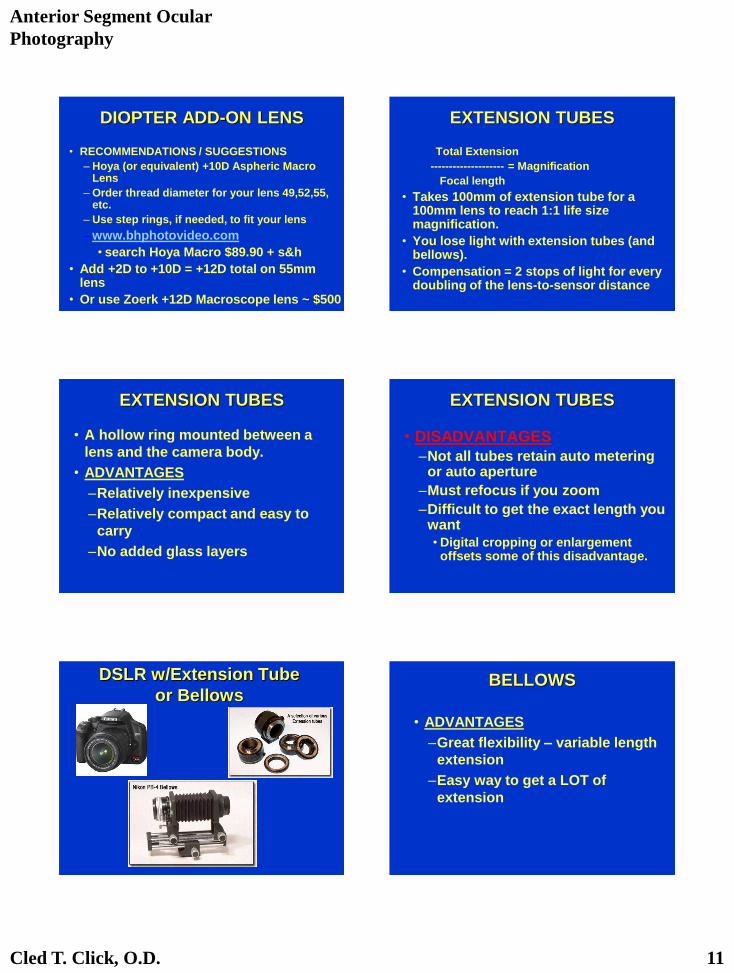
DIOPTER ADD-ON LENS
• RECOMMENDATIONS / SUGGESTIONS
– Hoya (or equivalent) +10D Aspheric Macro Lens
– Order thread diameter for your lens 49,52,55, etc.
– Use step rings, if needed, to fit your lens
–www.bhphotovideo.com
• search Hoya Macro $89.90 + s&h
• Add +2D to +10D = +12D total on 55mm lens
• Or use Zoerk +12D Macroscope lens ~ $500
EXTENSION TUBES
Total Extension
-------------------- = Magnification
Focal length
• Takes 100mm of extension tube for a 100mm lens to reach 1:1 life size magnification.
• You lose light with extension tubes (and bellows).
• Compensation = 2 stops of light for every doubling of the lens-to-sensor distance
EXTENSION TUBES
• A hollow ring mounted between a
lens and the camera body.
• ADVANTAGES
–Relatively inexpensive
–Relatively compact and easy to
carry
–No added glass layers
EXTENSION TUBES
• DISADVANTAGES
–Not all tubes retain auto metering or auto aperture
–Must refocus if you zoom
–Difficult to get the exact length you want
• Digital cropping or enlargement offsets some of this disadvantage.
DSLR w/Extension Tube
or Bellows BELLOWS
• ADVANTAGES
–Great flexibility – variable length
extension
–Easy way to get a LOT of
extension
Anterior Segment Ocular
Photography
Cled T. Click, O.D. 12
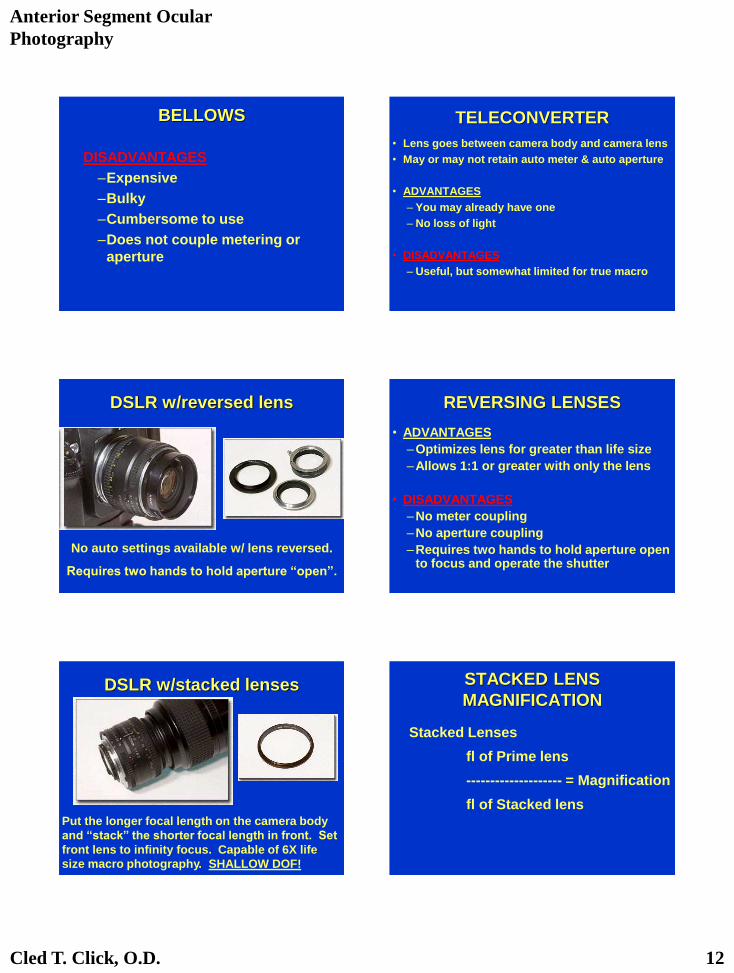
BELLOWS
DISADVANTAGES
–Expensive
–Bulky
–Cumbersome to use
–Does not couple metering or
aperture
TELECONVERTER
• Lens goes between camera body and camera lens
• May or may not retain auto meter & auto aperture
• ADVANTAGES
– You may already have one
– No loss of light
• DISADVANTAGES
– Useful, but somewhat limited for true macro
DSLR w/reversed lens
No auto settings available w/ lens reversed.
Requires two hands to hold aperture “open”.
REVERSING LENSES
• ADVANTAGES
–Optimizes lens for greater than life size
–Allows 1:1 or greater with only the lens
• DISADVANTAGES
–No meter coupling
–No aperture coupling
–Requires two hands to hold aperture open to focus and operate the shutter
DSLR w/stacked lenses
Put the longer focal length on the camera body
and “stack” the shorter focal length in front. Set
front lens to infinity focus. Capable of 6X life
size macro photography. SHALLOW DOF!
STACKED LENS
MAGNIFICATION
Stacked Lenses
fl of Prime lens
-------------------- = Magnification
fl of Stacked lens
Anterior Segment Ocular
Photography
Cled T. Click, O.D. 13
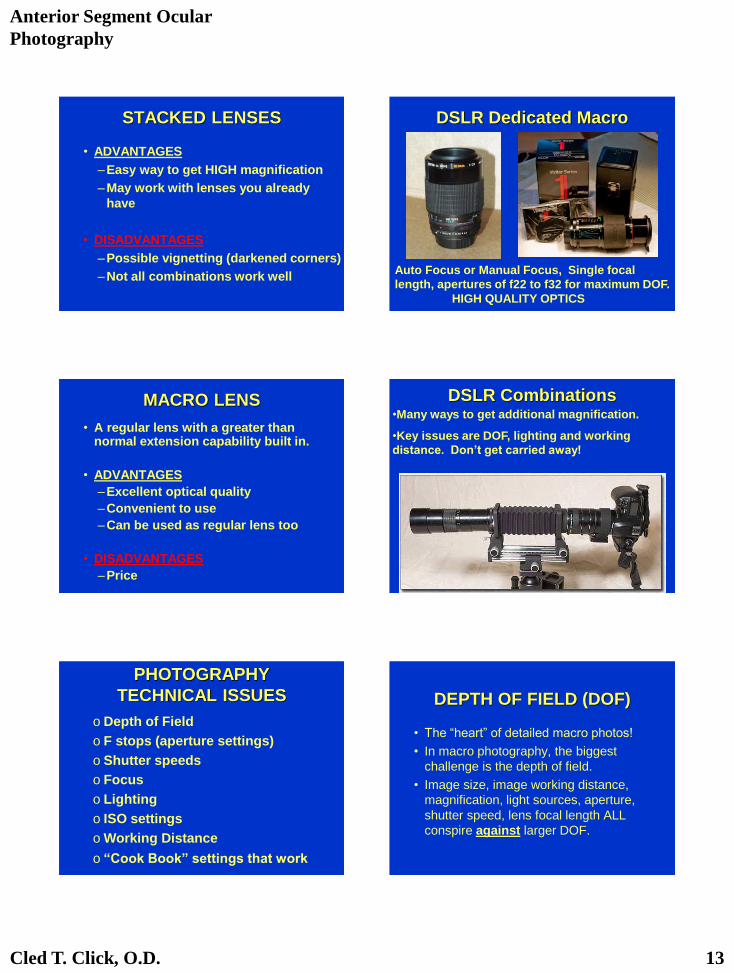
STACKED LENSES
• ADVANTAGES
–Easy way to get HIGH magnification
–May work with lenses you already
have
• DISADVANTAGES
–Possible vignetting (darkened corners)
–Not all combinations work well
DSLR Dedicated Macro
Auto Focus or Manual Focus, Single focal
length, apertures of f22 to f32 for maximum DOF.
HIGH QUALITY OPTICS
MACRO LENS
• A regular lens with a greater than normal extension capability built in.
• ADVANTAGES
–Excellent optical quality
–Convenient to use
–Can be used as regular lens too
• DISADVANTAGES
–Price
DSLR Combinations •Many ways to get additional magnification.
•Key issues are DOF, lighting and working
distance. Don’t get carried away!
PHOTOGRAPHY
TECHNICAL ISSUES
o Depth of Field
o F stops (aperture settings)
o Shutter speeds
o Focus
o Lighting
o ISO settings
o Working Distance
o “Cook Book” settings that work
DEPTH OF FIELD (DOF)
• The “heart” of detailed macro photos!
• In macro photography, the biggest
challenge is the depth of field.
• Image size, image working distance,
magnification, light sources, aperture,
shutter speed, lens focal length ALL
conspire against larger DOF.
Anterior Segment Ocular
Photography
Cled T. Click, O.D. 14
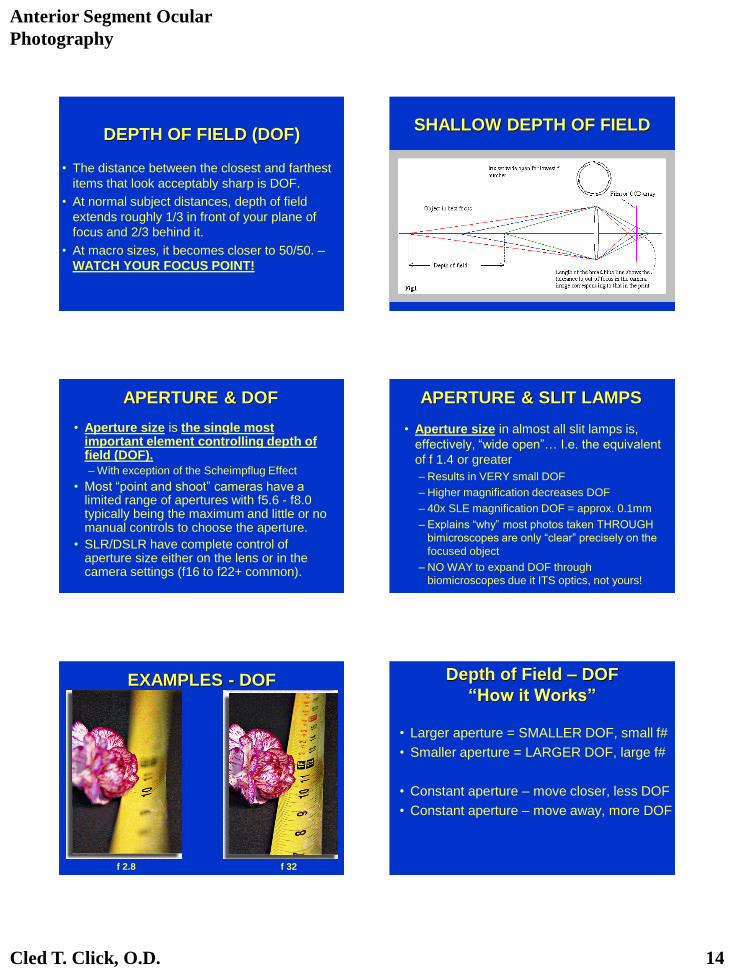
DEPTH OF FIELD (DOF)
• The distance between the closest and farthest
items that look acceptably sharp is DOF.
• At normal subject distances, depth of field
extends roughly 1/3 in front of your plane of
focus and 2/3 behind it.
• At macro sizes, it becomes closer to 50/50. –
WATCH YOUR FOCUS POINT!
SHALLOW DEPTH OF FIELD
APERTURE & DOF
• Aperture size is the single most important element controlling depth of field (DOF).
– With exception of the Scheimpflug Effect
• Most “point and shoot” cameras have a limited range of apertures with f5.6 - f8.0 typically being the maximum and little or no manual controls to choose the aperture.
• SLR/DSLR have complete control of aperture size either on the lens or in the camera settings (f16 to f22+ common).
APERTURE & SLIT LAMPS
• Aperture size in almost all slit lamps is,
effectively, “wide open”… I.e. the equivalent
of f 1.4 or greater
– Results in VERY small DOF
– Higher magnification decreases DOF
– 40x SLE magnification DOF = approx. 0.1mm
– Explains “why” most photos taken THROUGH
bimicroscopes are only “clear” precisely on the
focused object
– NO WAY to expand DOF through
biomicroscopes due it ITS optics, not yours!
EXAMPLES - DOF
f 2.8 f 32
Depth of Field – DOF
“How it Works”
• Larger aperture = SMALLER DOF, small f#
• Smaller aperture = LARGER DOF, large f#
• Constant aperture – move closer, less DOF
• Constant aperture – move away, more DOF
Anterior Segment Ocular
Photography
Cled T. Click, O.D. 15
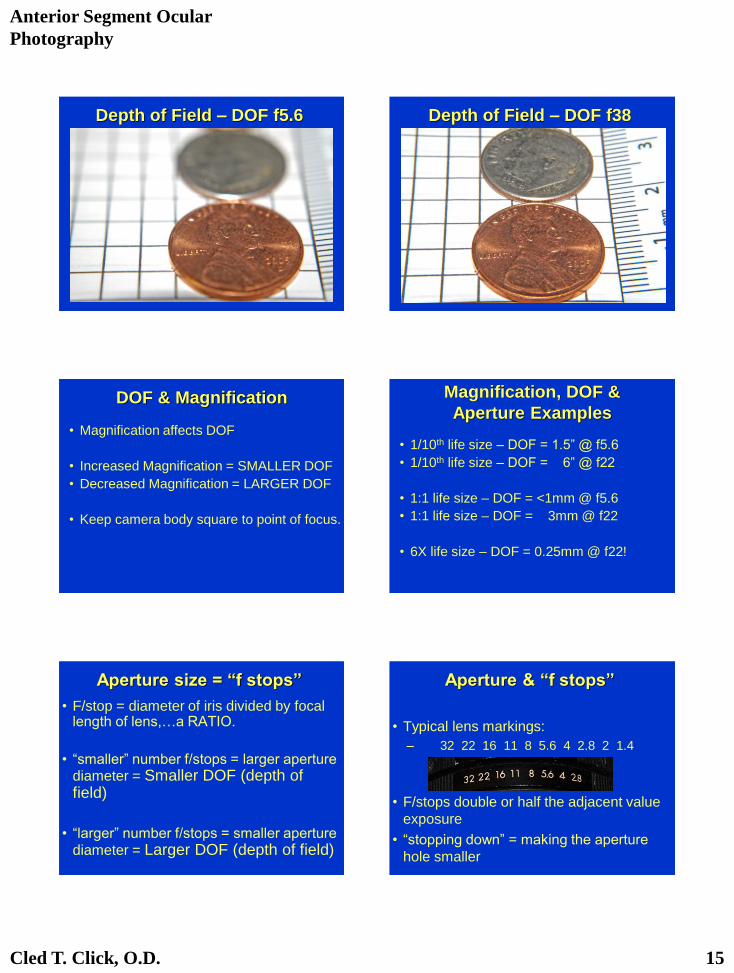
Depth of Field – DOF f5.6 Depth of Field – DOF f38
DOF & Magnification
• Magnification affects DOF
• Increased Magnification = SMALLER DOF
• Decreased Magnification = LARGER DOF
• Keep camera body square to point of focus.
Magnification, DOF &
Aperture Examples
• 1/10th life size – DOF = 1.5” @ f5.6
• 1/10th life size – DOF = 6” @ f22
• 1:1 life size – DOF = <1mm @ f5.6
• 1:1 life size – DOF = 3mm @ f22
• 6X life size – DOF = 0.25mm @ f22!
Aperture size = “f stops”
• F/stop = diameter of iris divided by focal length of lens,…a RATIO.
• “smaller” number f/stops = larger aperture diameter = Smaller DOF (depth of field)
• “larger” number f/stops = smaller aperture
diameter = Larger DOF (depth of field)
Aperture & “f stops”
• Typical lens markings:
– 32 22 16 11 8 5.6 4 2.8 2 1.4
• F/stops double or half the adjacent value
exposure
• “stopping down” = making the aperture
hole smaller
Anterior Segment Ocular
Photography
Cled T. Click, O.D. 16
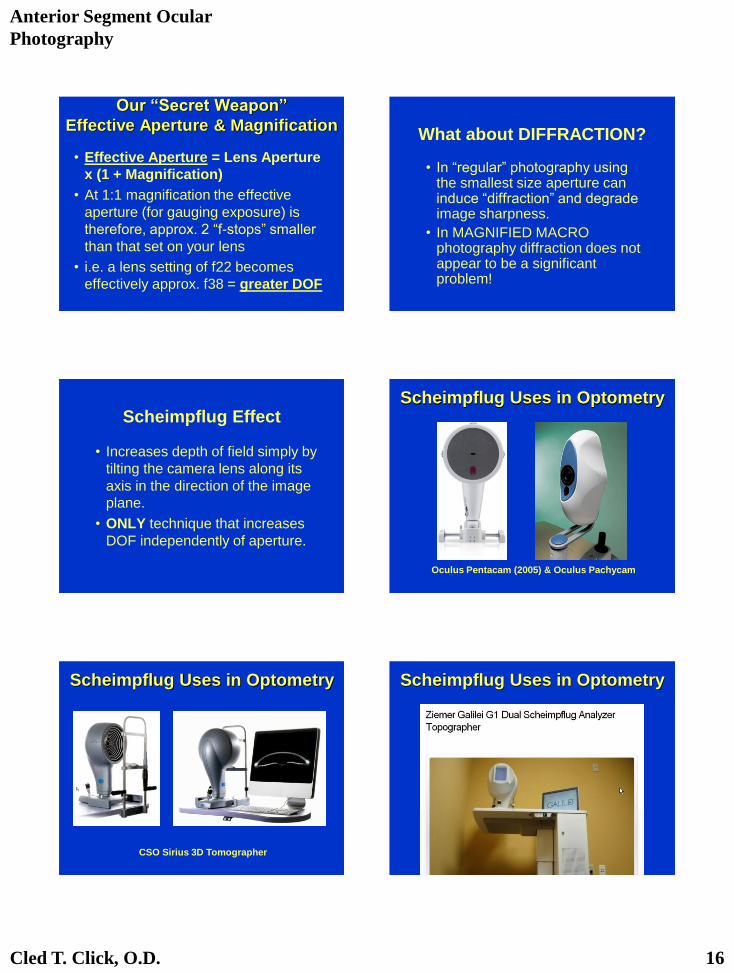
Our “Secret Weapon”
Effective Aperture & Magnification
• Effective Aperture = Lens Aperture
x (1 + Magnification)
• At 1:1 magnification the effective
aperture (for gauging exposure) is
therefore, approx. 2 “f-stops” smaller
than that set on your lens
• i.e. a lens setting of f22 becomes
effectively approx. f38 = greater DOF
What about DIFFRACTION?
• In “regular” photography using the smallest size aperture can induce “diffraction” and degrade image sharpness.
• In MAGNIFIED MACRO photography diffraction does not appear to be a significant problem!
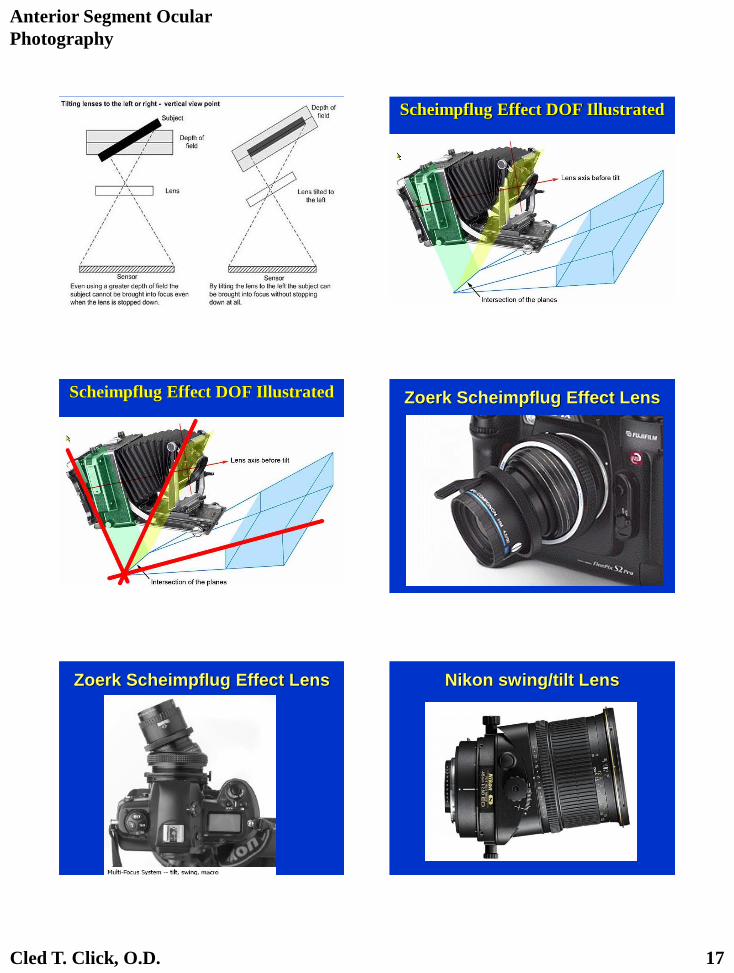
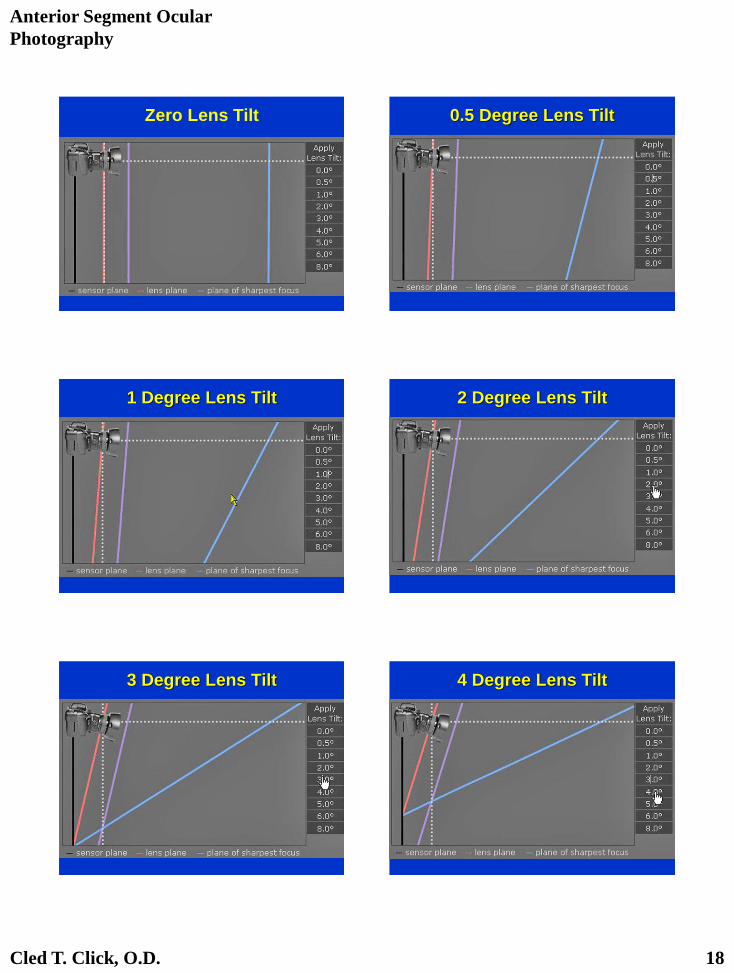
Scheimpflug Effect
• Increases depth of field simply by
tilting the camera lens along its
axis in the direction of the image
plane.
• ONLY technique that increases
DOF independently of aperture.
Scheimpflug Uses in Optometry
Oculus Pentacam (2005) & Oculus Pachycam
Scheimpflug Uses in Optometry
CSO Sirius 3D Tomographer
Scheimpflug Uses in Optometry
Anterior Segment Ocular
Photography
Cled T. Click, O.D. 17
Scheimpflug Effect DOF Illustrated
Scheimpflug Effect DOF Illustrated Zoerk Scheimpflug Effect Lens
Zoerk Scheimpflug Effect Lens Nikon swing/tilt Lens
Anterior Segment Ocular
Photography
Cled T. Click, O.D. 18
Zero Lens Tilt 0.5 Degree Lens Tilt
1 Degree Lens Tilt 2 Degree Lens Tilt
3 Degree Lens Tilt 4 Degree Lens Tilt
Anterior Segment Ocular
Photography
Cled T. Click, O.D. 19
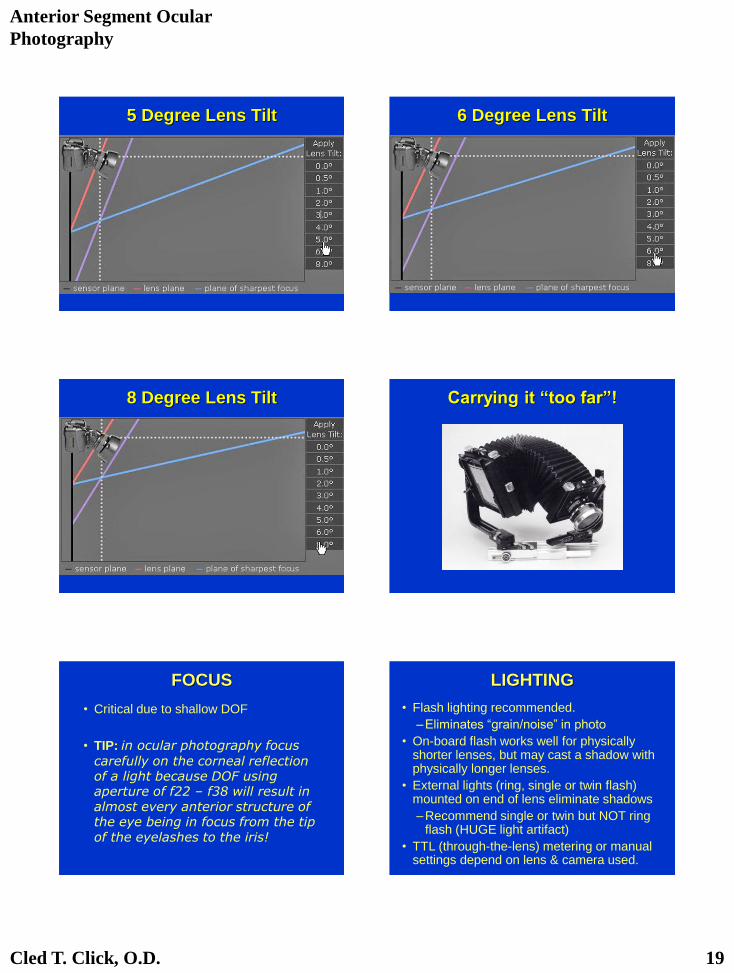
5 Degree Lens Tilt 6 Degree Lens Tilt
8 Degree Lens Tilt Carrying it “too far”!
FOCUS
• Critical due to shallow DOF
• TIP: in ocular photography focus
carefully on the corneal reflection of a light because DOF using aperture of f22 – f38 will result in almost every anterior structure of the eye being in focus from the tip of the eyelashes to the iris!
LIGHTING
• Flash lighting recommended.
–Eliminates “grain/noise” in photo
• On-board flash works well for physically shorter lenses, but may cast a shadow with physically longer lenses.
• External lights (ring, single or twin flash) mounted on end of lens eliminate shadows
–Recommend single or twin but NOT ring flash (HUGE light artifact)
• TTL (through-the-lens) metering or manual settings depend on lens & camera used.
Anterior Segment Ocular
Photography
Cled T. Click, O.D. 20
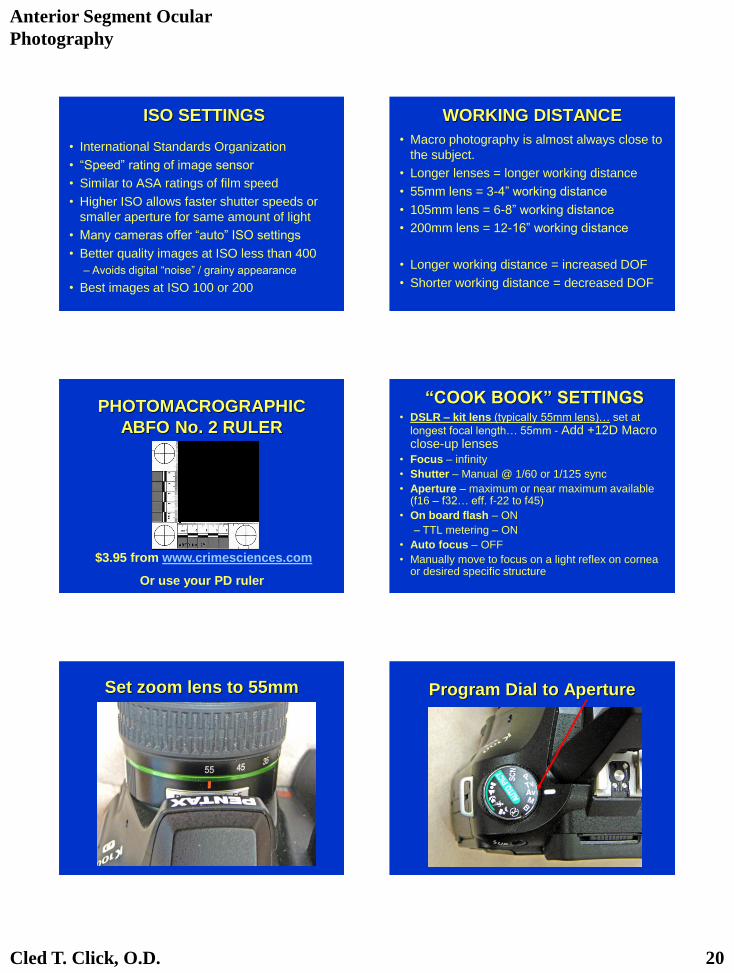
ISO SETTINGS
• International Standards Organization
• “Speed” rating of image sensor
• Similar to ASA ratings of film speed
• Higher ISO allows faster shutter speeds or
smaller aperture for same amount of light
• Many cameras offer “auto” ISO settings
• Better quality images at ISO less than 400
– Avoids digital “noise” / grainy appearance
• Best images at ISO 100 or 200
WORKING DISTANCE
• Macro photography is almost always close to
the subject.
• Longer lenses = longer working distance
• 55mm lens = 3-4” working distance
• 105mm lens = 6-8” working distance
• 200mm lens = 12-16” working distance
• Longer working distance = increased DOF
• Shorter working distance = decreased DOF
PHOTOMACROGRAPHIC
ABFO No. 2 RULER
$3.95 from www.crimesciences.com
Or use your PD ruler
“COOK BOOK” SETTINGS • DSLR – kit lens (typically 55mm lens)… set at
longest focal length… 55mm - Add +12D Macro close-up lenses
• Focus – infinity
• Shutter – Manual @ 1/60 or 1/125 sync
• Aperture – maximum or near maximum available (f16 – f32… eff. f-22 to f45)
• On board flash – ON
– TTL metering – ON
• Auto focus – OFF
• Manually move to focus on a light reflex on cornea or desired specific structure
Set zoom lens to 55mm Program Dial to Aperture

Anterior Segment Ocular
Photography
Cled T. Click, O.D. 21
Aperture set to Max. f stop Or… manually set Aperture to
Max. f stop & shutter to M 1/125
Or… manually set Aperture to
Max. f stop & shutter to M 1/125
Or… manually set Aperture to
Max. f stop & shutter to M 1/125
Add +10 Macro & +2 Diopter Or use +12D Zoerk Macroscope
Anterior Segment Ocular
Photography
Cled T. Click, O.D. 22
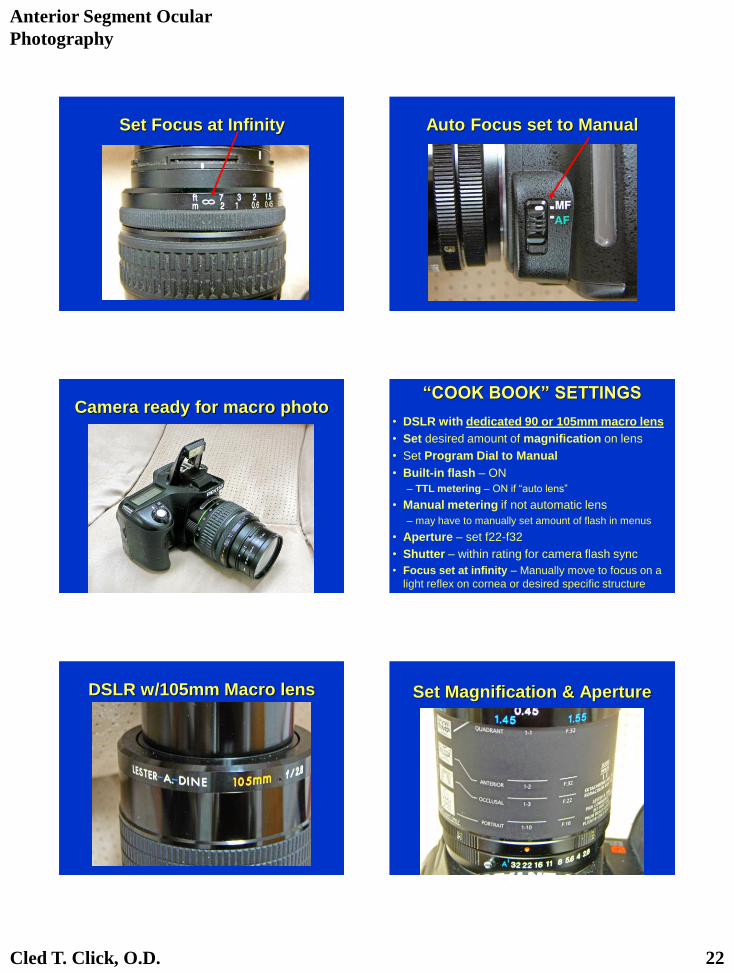
Set Focus at Infinity Auto Focus set to Manual
Camera ready for macro photo “COOK BOOK” SETTINGS
• DSLR with dedicated 90 or 105mm macro lens
• Set desired amount of magnification on lens
• Set Program Dial to Manual
• Built-in flash – ON
– TTL metering – ON if “auto lens”
• Manual metering if not automatic lens
– may have to manually set amount of flash in menus
• Aperture – set f22-f32
• Shutter – within rating for camera flash sync
• Focus set at infinity – Manually move to focus on a
light reflex on cornea or desired specific structure
DSLR w/105mm Macro lens Set Magnification & Aperture
Anterior Segment Ocular
Photography
Cled T. Click, O.D. 23
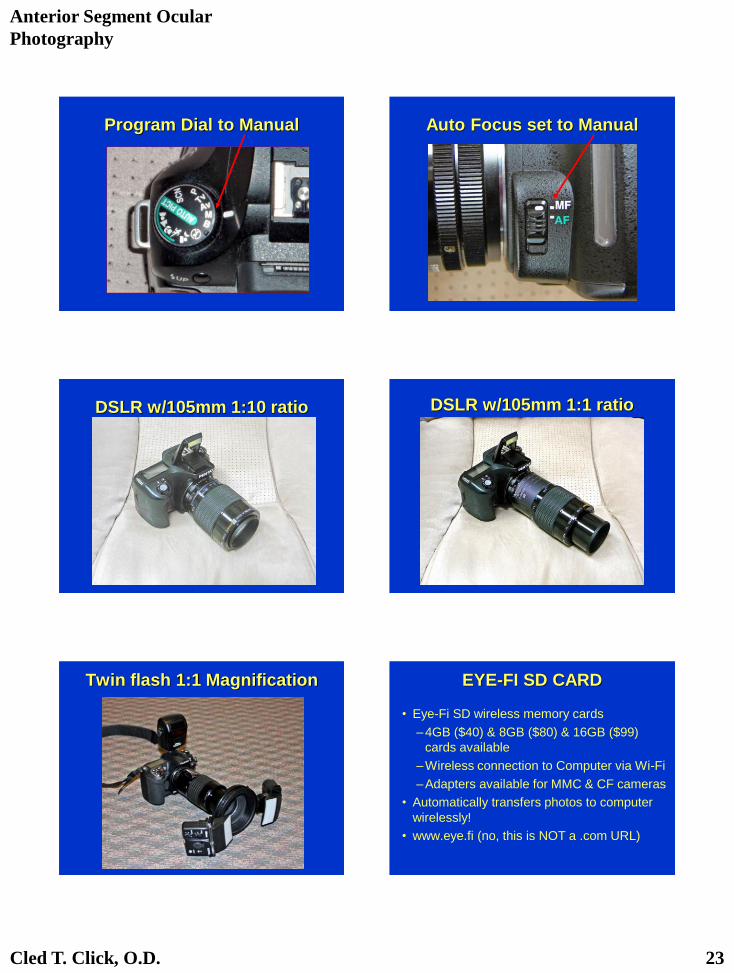
Program Dial to Manual Auto Focus set to Manual
DSLR w/105mm 1:10 ratio DSLR w/105mm 1:1 ratio
Twin flash 1:1 Magnification EYE-FI SD CARD
• Eye-Fi SD wireless memory cards
–4GB ($40) & 8GB ($80) & 16GB ($99)
cards available
–Wireless connection to Computer via Wi-Fi
–Adapters available for MMC & CF cameras
• Automatically transfers photos to computer
wirelessly!
• www.eye.fi (no, this is NOT a .com URL)
Anterior Segment Ocular
Photography
Cled T. Click, O.D. 24
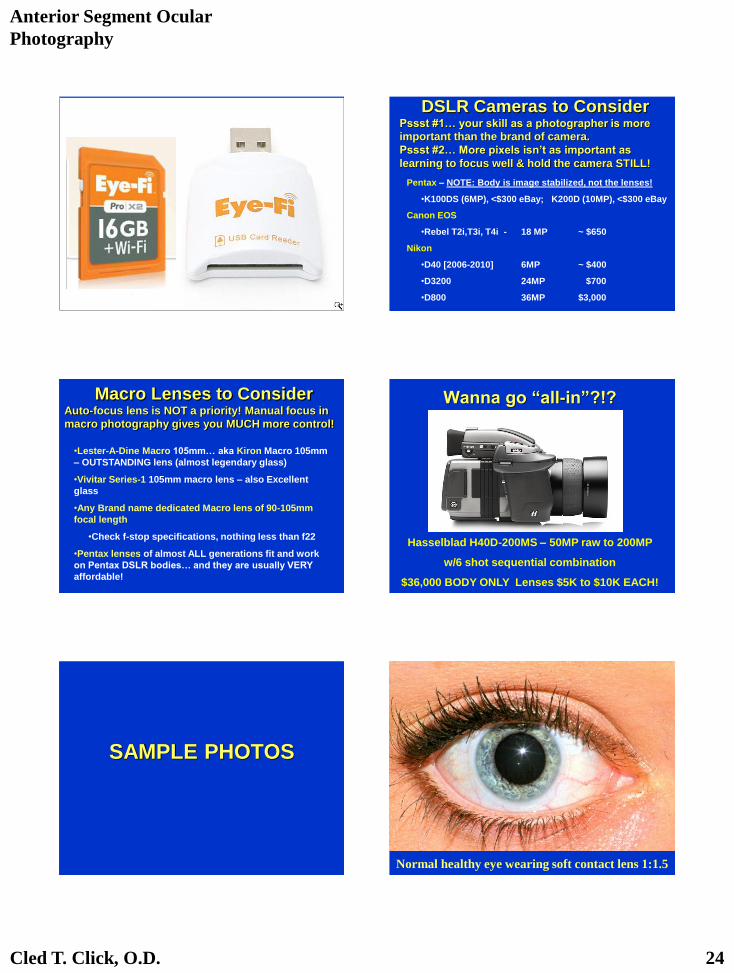
DSLR Cameras to Consider Pssst #1… your skill as a photographer is more
important than the brand of camera.
Pssst #2… More pixels isn’t as important as
learning to focus well & hold the camera STILL!
Pentax – NOTE: Body is image stabilized, not the lenses!
•K100DS (6MP), <$300 eBay; K200D (10MP), <$300 eBay
Canon EOS
•Rebel T2i,T3i, T4i - 18 MP ~ $650
Nikon
•D40 [2006-2010] 6MP ~ $400
•D3200 24MP $700
•D800 36MP $3,000
Macro Lenses to Consider Auto-focus lens is NOT a priority! Manual focus in
macro photography gives you MUCH more control!
•Lester-A-Dine Macro 105mm… aka Kiron Macro 105mm
– OUTSTANDING lens (almost legendary glass)
•Vivitar Series-1 105mm macro lens – also Excellent
glass
•Any Brand name dedicated Macro lens of 90-105mm
focal length
•Check f-stop specifications, nothing less than f22
•Pentax lenses of almost ALL generations fit and work
on Pentax DSLR bodies… and they are usually VERY
affordable!
Wanna go “all-in”?!?
Hasselblad H40D-200MS – 50MP raw to 200MP
w/6 shot sequential combination
$36,000 BODY ONLY Lenses $5K to $10K EACH!
SAMPLE PHOTOS
Normal healthy eye wearing soft contact lens 1:1.5

Anterior Segment Ocular
Photography
Cled T. Click, O.D. 25
Normal healthy eye wearing contact lens 1:1 Corneal FB before removal
Cornea after FB removal FB on 28 gauge insulin needle
FB on Q-tip Cornea after FB removal & Algar brush
Anterior Segment Ocular
Photography
Cled T. Click, O.D. 26
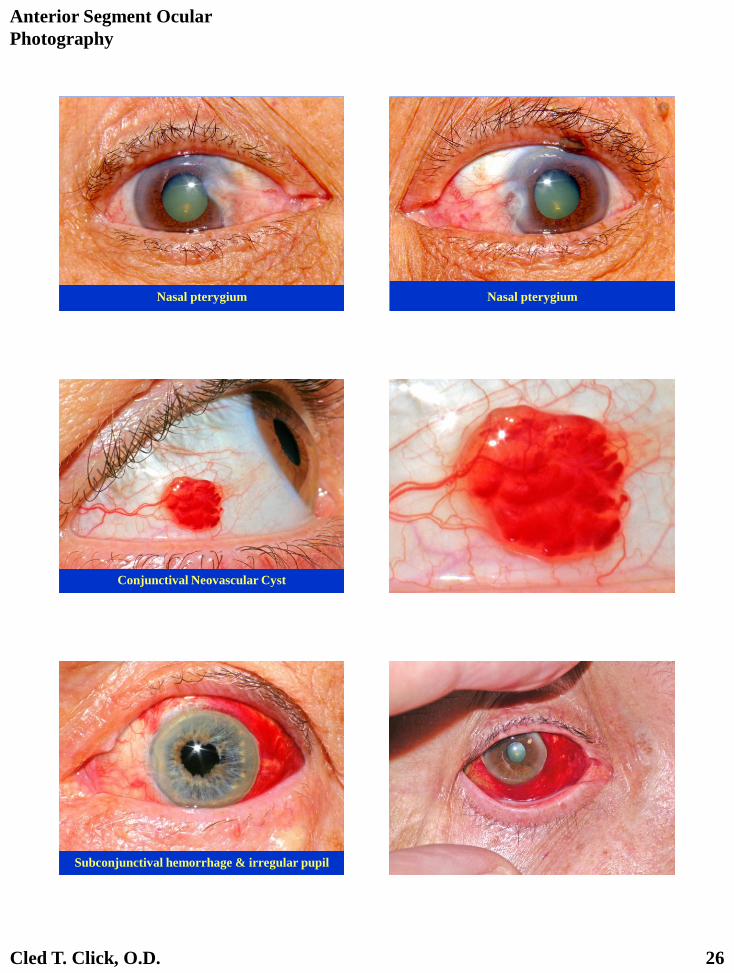
Nasal pterygium Nasal pterygium
Conjunctival Neovascular Cyst
Subconjunctival hemorrhage & irregular pupil
Anterior Segment Ocular
Photography
Cled T. Click, O.D. 27
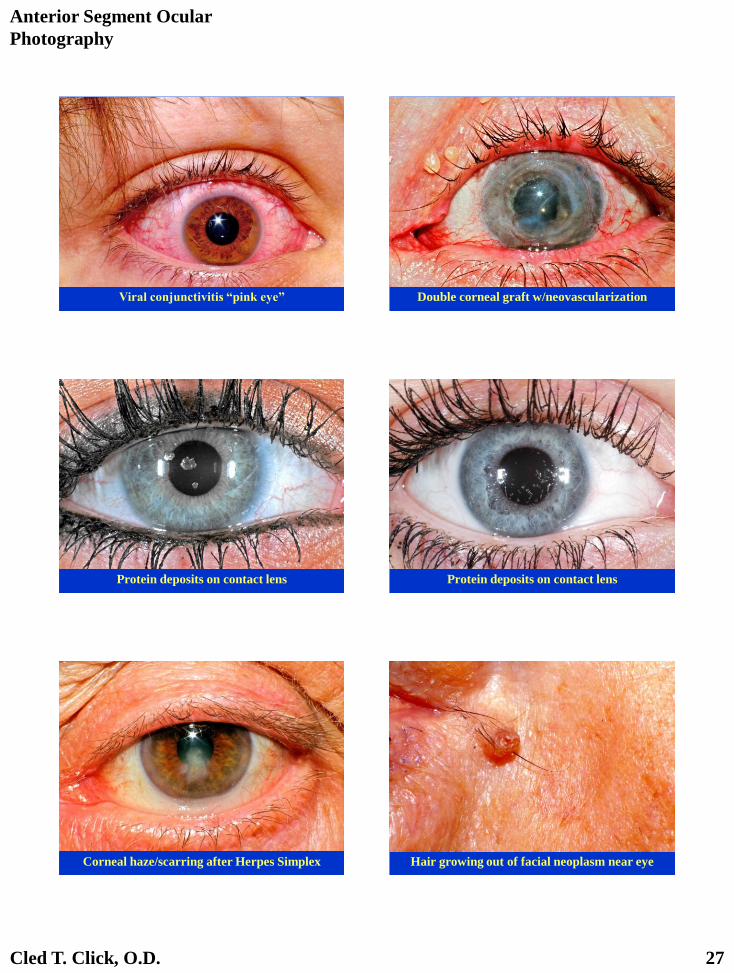
Viral conjunctivitis “pink eye” Double corneal graft w/neovascularization
Protein deposits on contact lens Protein deposits on contact lens
Corneal haze/scarring after Herpes Simplex Hair growing out of facial neoplasm near eye
Anterior Segment Ocular
Photography
Cled T. Click, O.D. 28
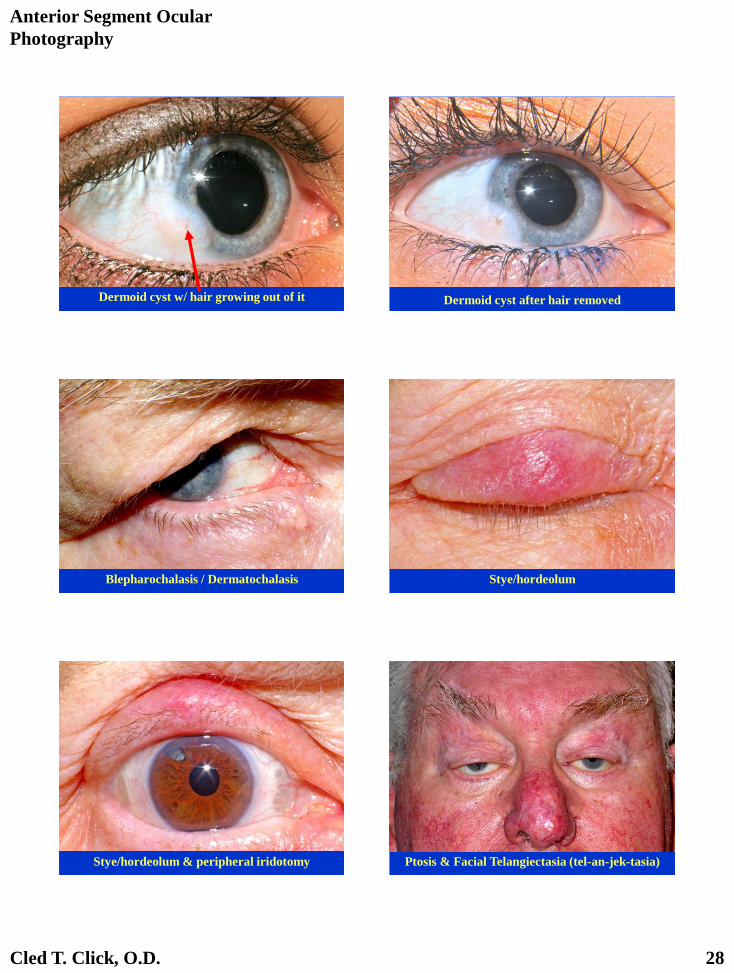
Dermoid cyst w/ hair growing out of it Dermoid cyst after hair removed
Blepharochalasis / Dermatochalasis Stye/hordeolum
Stye/hordeolum & peripheral iridotomy Ptosis & Facial Telangiectasia (tel-an-jek-tasia)
Anterior Segment Ocular
Photography
Cled T. Click, O.D. 29
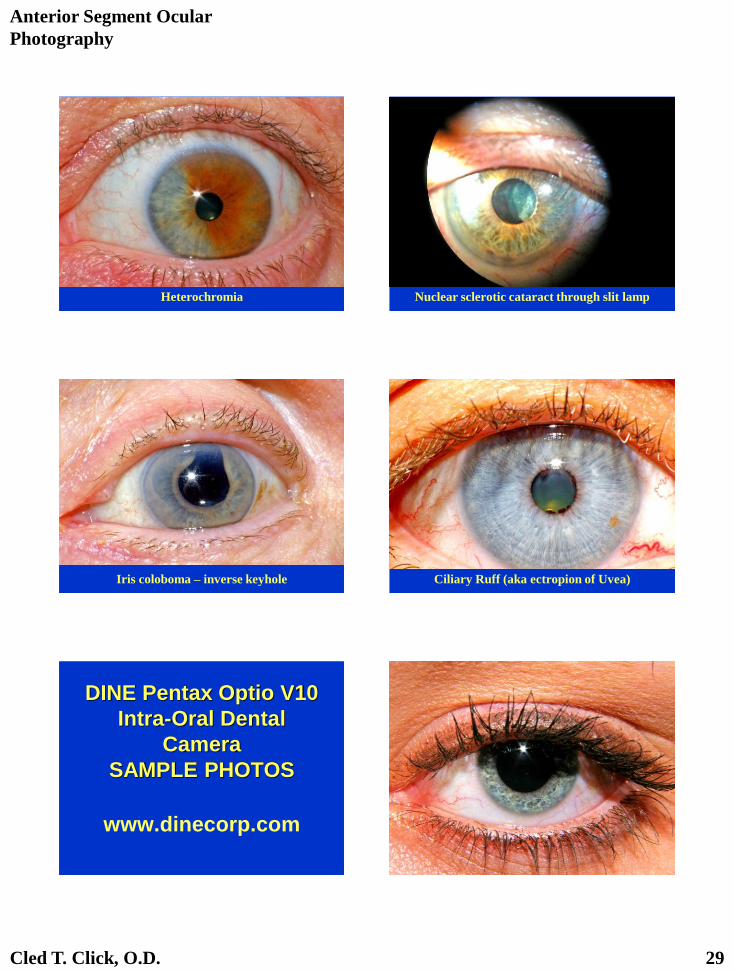
Heterochromia Nuclear sclerotic cataract through slit lamp
Iris coloboma – inverse keyhole Ciliary Ruff (aka ectropion of Uvea)
DINE Pentax Optio V10
Intra-Oral Dental
Camera
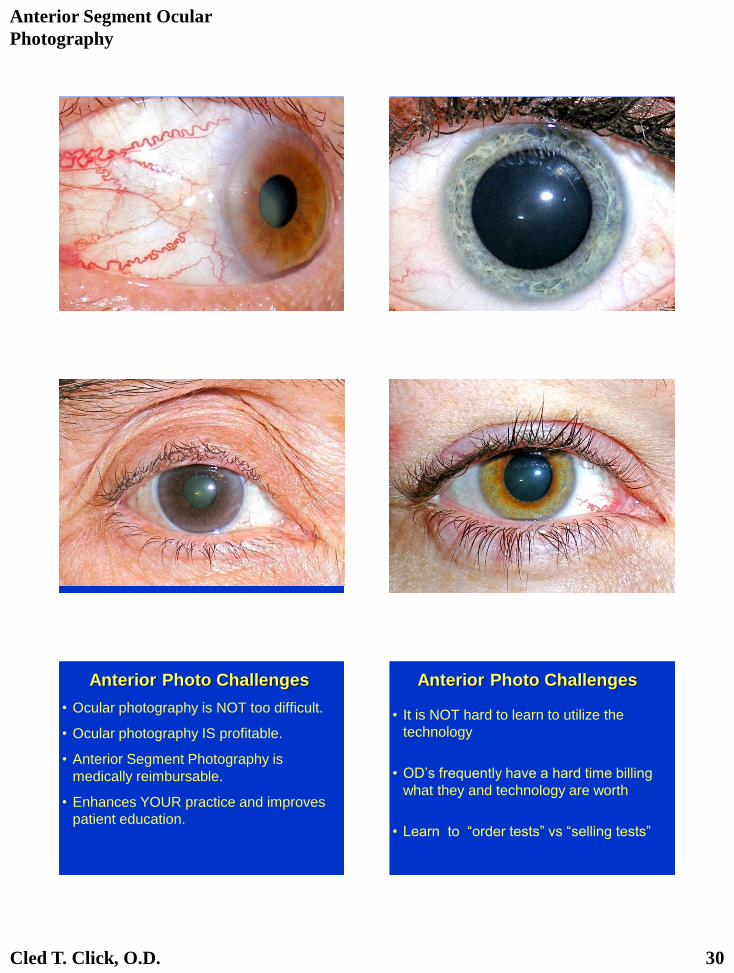
SAMPLE PHOTOS
www.dinecorp.com
Anterior Segment Ocular
Photography
Cled T. Click, O.D. 30
Anterior Photo Challenges
• Ocular photography is NOT too difficult.
• Ocular photography IS profitable.
• Anterior Segment Photography is
medically reimbursable.
• Enhances YOUR practice and improves
patient education.
Anterior Photo Challenges
• It is NOT hard to learn to utilize the
technology
• OD’s frequently have a hard time billing
what they and technology are worth
• Learn to “order tests” vs “selling tests”
Anterior Segment Ocular
Photography
Cled T. Click, O.D. 31
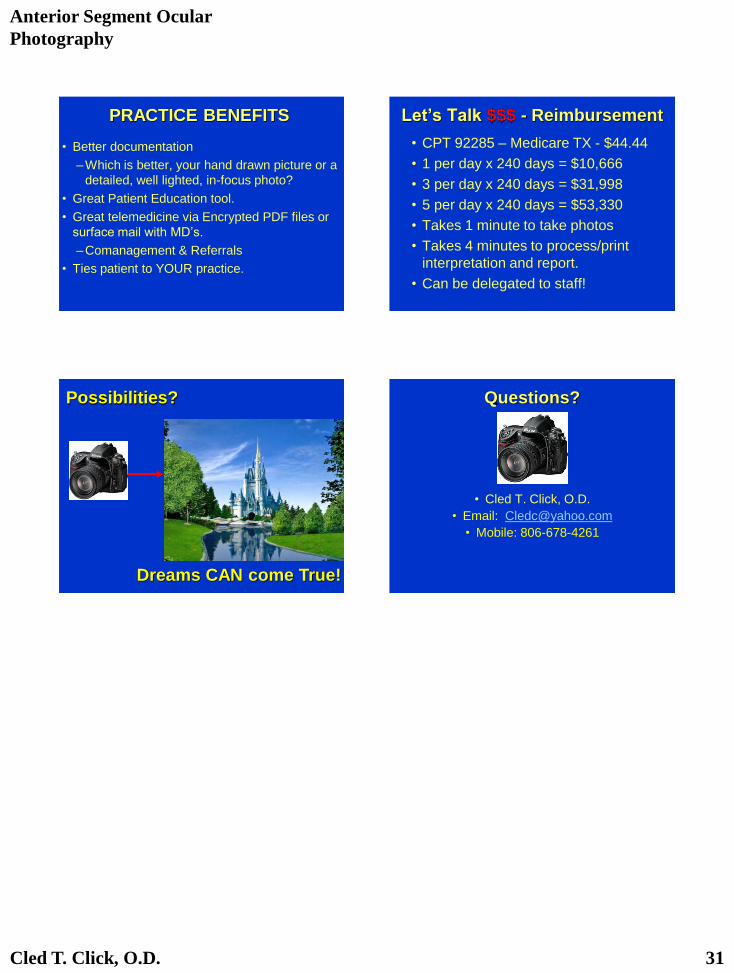
PRACTICE BENEFITS
• Better documentation
–Which is better, your hand drawn picture or a
detailed, well lighted, in-focus photo?
• Great Patient Education tool.
• Great telemedicine via Encrypted PDF files or
surface mail with MD’s.
–Comanagement & Referrals
• Ties patient to YOUR practice.
Let’s Talk $$$ - Reimbursement
• CPT 92285 – Medicare TX - $44.44
• 1 per day x 240 days = $10,666
• 3 per day x 240 days = $31,998
• 5 per day x 240 days = $53,330
• Takes 1 minute to take photos
• Takes 4 minutes to process/print
interpretation and report.
• Can be delegated to staff!
Possibilities?
Dreams CAN come True!
Questions?
• Cled T. Click, O.D.
• Email: [email protected]
• Mobile: 806-678-4261