Embed Size (px)
Citation preview

Drawing Objects with Illustrator
1. Start a new image in RGB mode. 2. Size 1024 X 7683. Unit = pixels4. Go to View > Show Grid to turn on the grid. 5. Go to Edit > Preferences > Guides & Grid and set up
the grid. Grid every 72 pixels; subdivisions: 4. Now we're ready to start.

Step 1.
• Click on the rectangle tool in the toolbar to activate it and click once on the art board to open the rectangle options.
• Enter 514 pixels for the width and 42 pixels for the height.
• Click OK, and the rectangle appears on the artboard.

Step 2. • Leave the rectangle selected and change the
color (ANY COLOR), and set the stroke width to 0.5 in the stroke palette.
Step 3. • Click on the Line segment tool in the toolbar
and then click once on the artboard to open the line options. Enter 514 pixels for the length and 0° for the angle. Click OK. Copy and paste it so you have two lines.
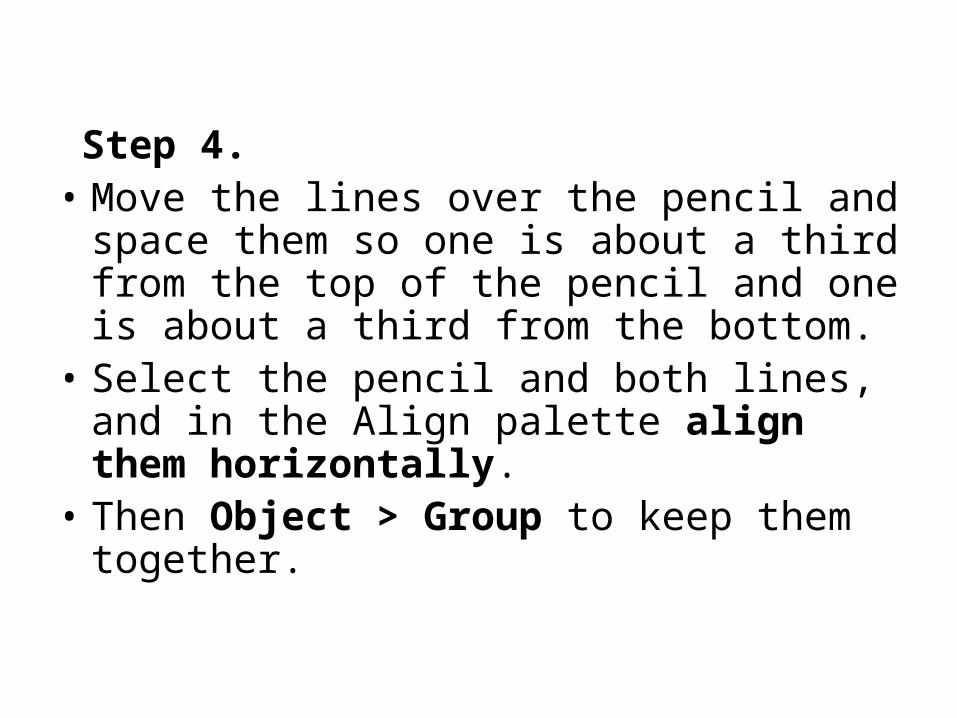
Step 4. • Move the lines over the pencil and space
them so one is about a third from the top of the pencil and one is about a third from the bottom.
• Select the pencil and both lines, and in the Align palette align them horizontally.
• Then Object > Group to keep them together.

Step 5.
• Select the Rounded Rectangle tool in the toolbar. Click once on the artboard to open the options and set the width to 60, the height to 42, and the corner radius to 12. Click OK, and the rectangle appears on the artboard.
• Change the color (any color).

Step 6.
• Position the eraser at the right end of the pencil, and keeping it selected, go to Object > Arrange > Send to Back so it pops behind the pencil.
• Select the eraser and the pencil-lines and go to Object > Group in the menu.

Step 7. • Once again activate the rounded rectangle and
click once on the artboard to open the options. Set the options as follows: – Width 5 pixels – Height 44 pixels – Corner Radius 12
• Click OK and the rectangle appears on the artboard. Change color to GRAY
• Keep the rectangle selected.

Step 8.
• Select the band with the select tool (black arrow) and start to drag it to the right, hold down the ALT and SHIFT keys as you drag to make a copy and keep it moving at a 90° angle, and don't let go till you have the copy to the right and butting up against the original.
• Make 4 bands.
• Drag a marquee around all four bands to select them and then group them

Step 9.
• Drag the group of bands to the pencil and position them on top of the pencil and eraser as shown. Select all pieces of the band, pencil and eraser.
Step 10.
• In the Align palette, choose the vertical align center button to align the pieces horizontally.
• Group all the pieces.
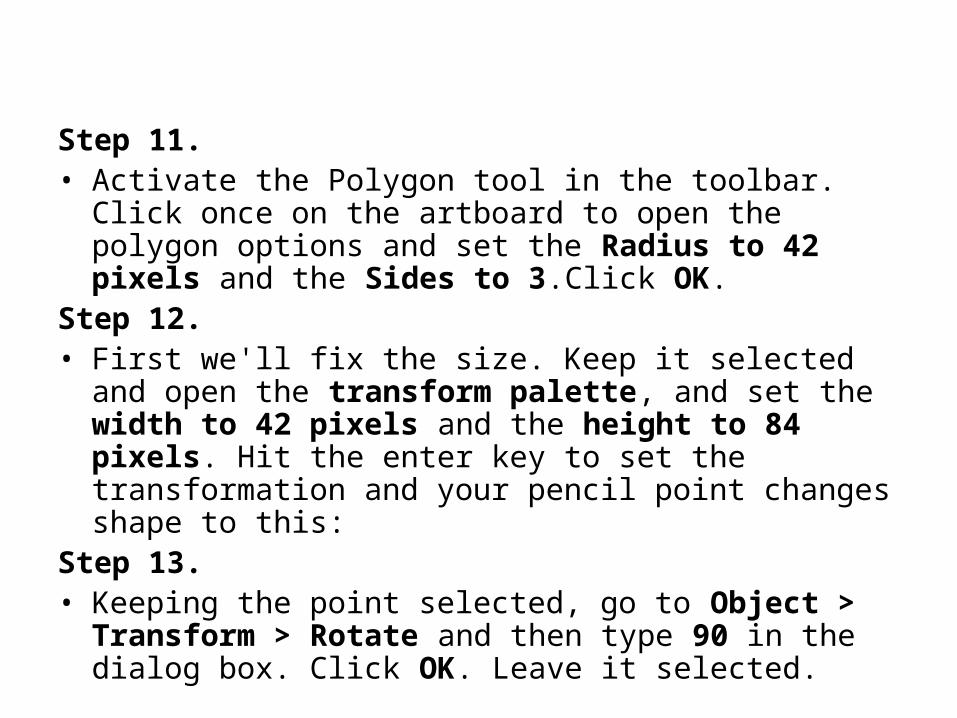
Step 11. • Activate the Polygon tool in the toolbar. Click once on
the artboard to open the polygon options and set the Radius to 42 pixels and the Sides to 3.Click OK.
Step 12. • First we'll fix the size. Keep it selected and open the
transform palette, and set the width to 42 pixels and the height to 84 pixels. Hit the enter key to set the transformation and your pencil point changes shape to this:
Step 13. • Keeping the point selected, go to Object > Transform >
Rotate and then type 90 in the dialog box. Click OK. Leave it selected.
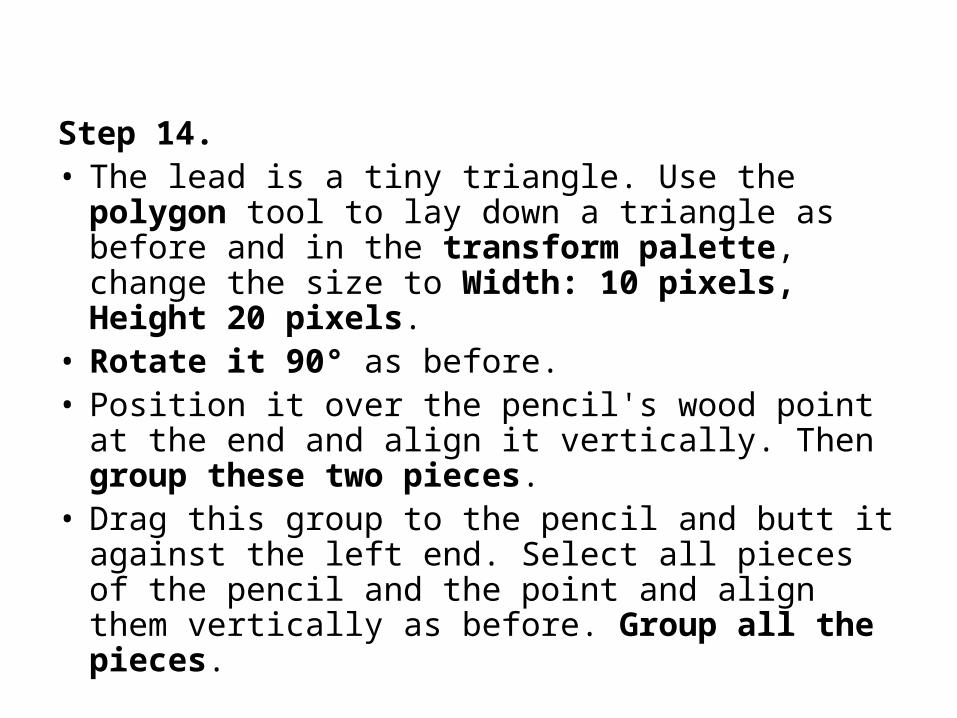
Step 14. • The lead is a tiny triangle. Use the polygon tool
to lay down a triangle as before and in the transform palette, change the size to Width: 10 pixels, Height 20 pixels.
• Rotate it 90° as before. • Position it over the pencil's wood point at the
end and align it vertically. Then group these two pieces.
• Drag this group to the pencil and butt it against the left end. Select all pieces of the pencil and the point and align them vertically as before. Group all the pieces.