Embed Size (px)
Citation preview
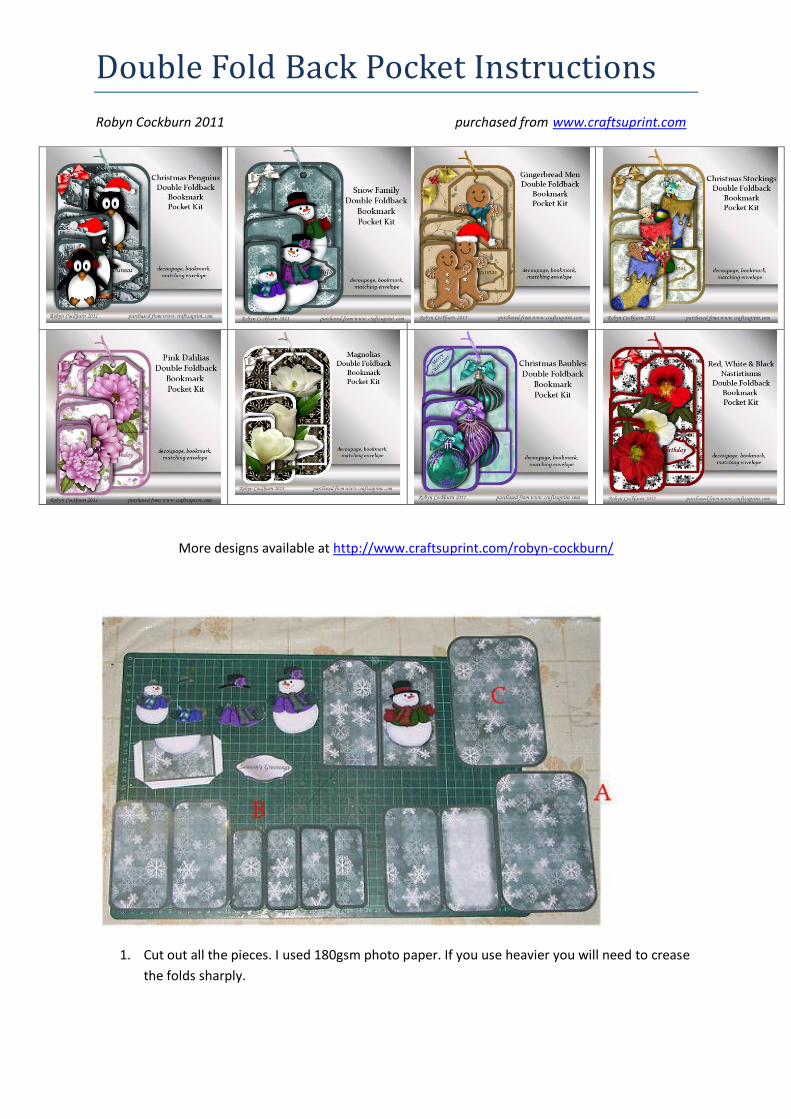
Double Fold Back Pocket Instructions
Robyn Cockburn 2011 purchased from www.craftsuprint.com
More designs available at http://www.craftsuprint.com/robyn-cockburn/
1. Cut out all the pieces. I used 180gsm photo paper. If you use heavier you will need to crease
the folds sharply.
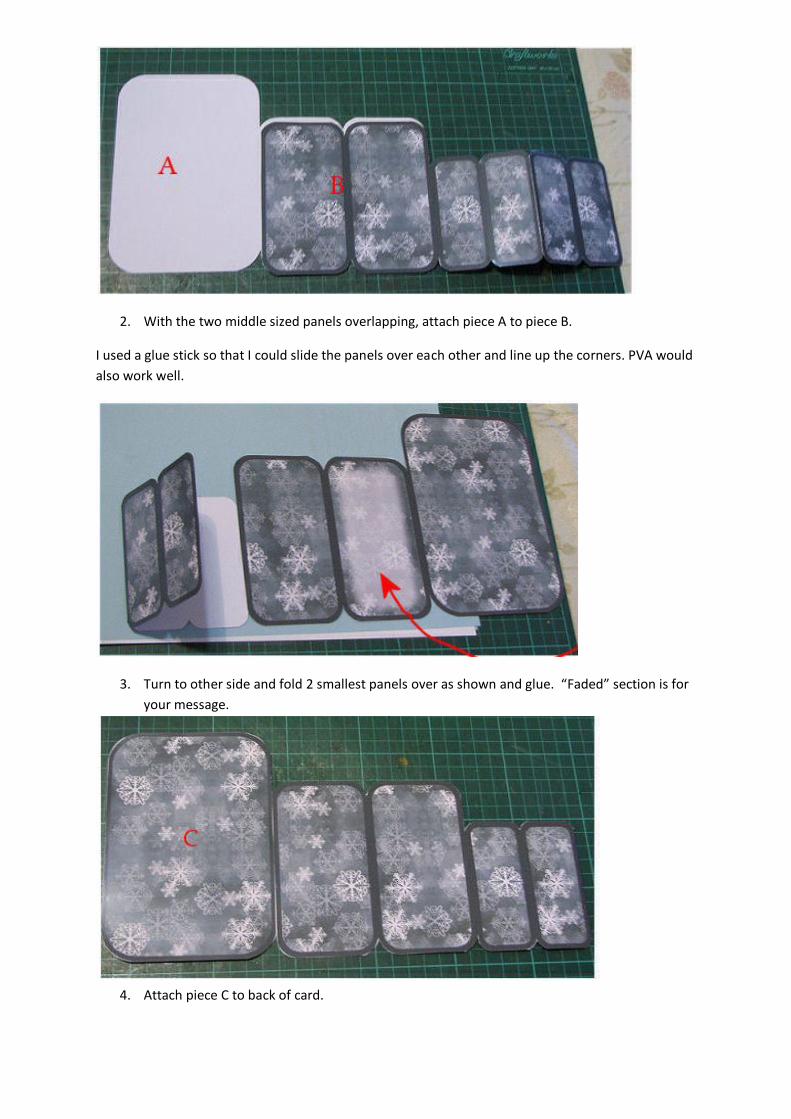
2. With the two middle sized panels overlapping, attach piece A to piece B.
I used a glue stick so that I could slide the panels over each other and line up the corners. PVA would
also work well.
3. Turn to other side and fold 2 smallest panels over as shown and glue. “Faded” section is for
your message.
4. Attach piece C to back of card.
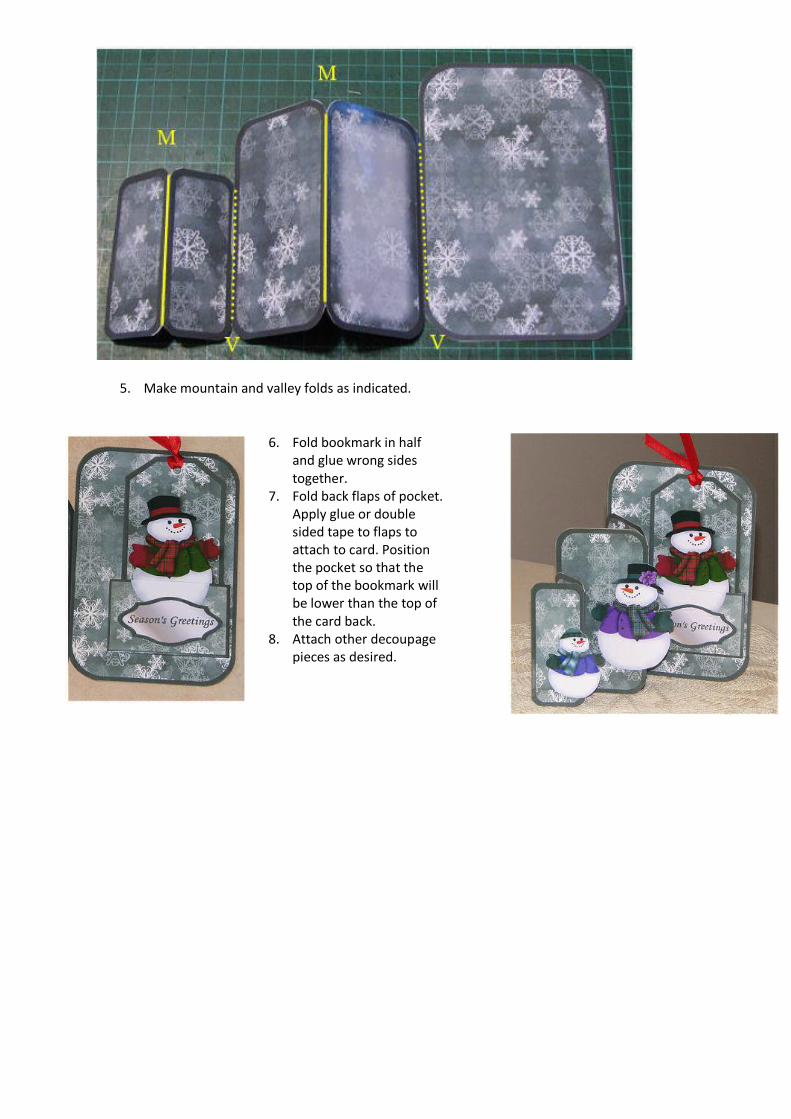
5. Make mountain and valley folds as indicated.
6. Fold bookmark in half and glue wrong sides together.
7. Fold back flaps of pocket. Apply glue or double sided tape to flaps to attach to card. Position the pocket so that the top of the bookmark will be lower than the top of the card back.
8. Attach other decoupage pieces as desired.
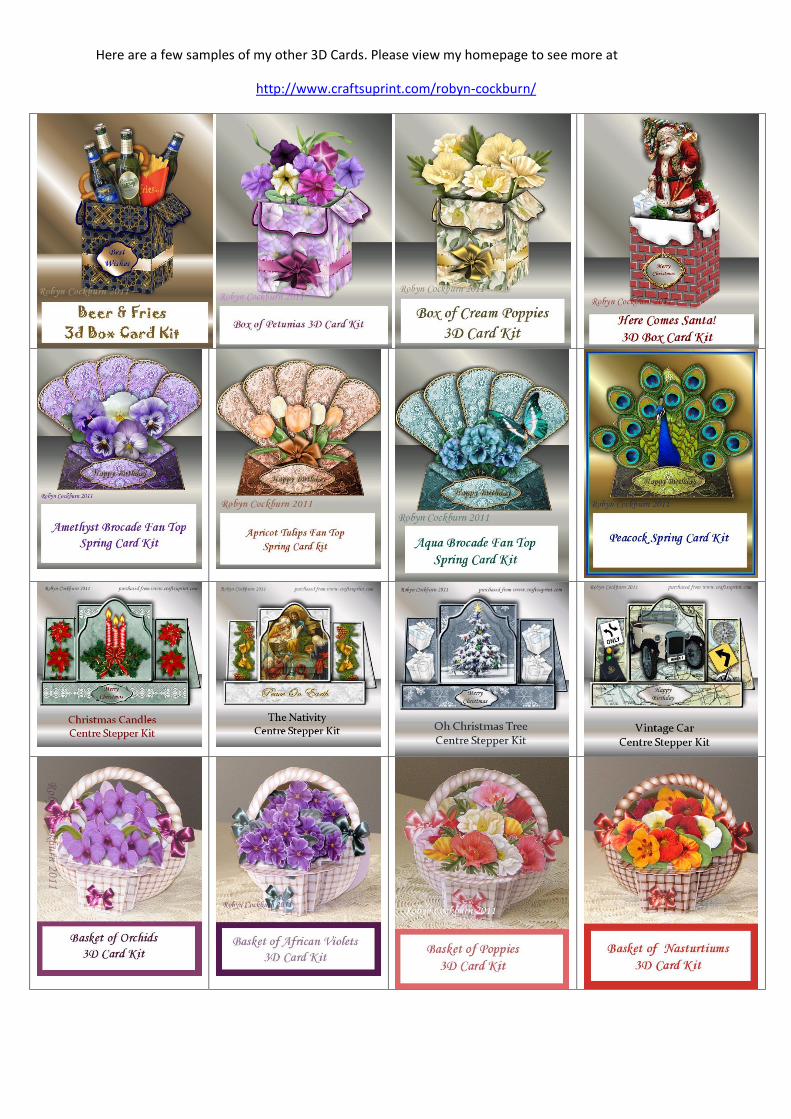
Here are a few samples of my other 3D Cards. Please view my homepage to see more at
http://www.craftsuprint.com/robyn-cockburn/
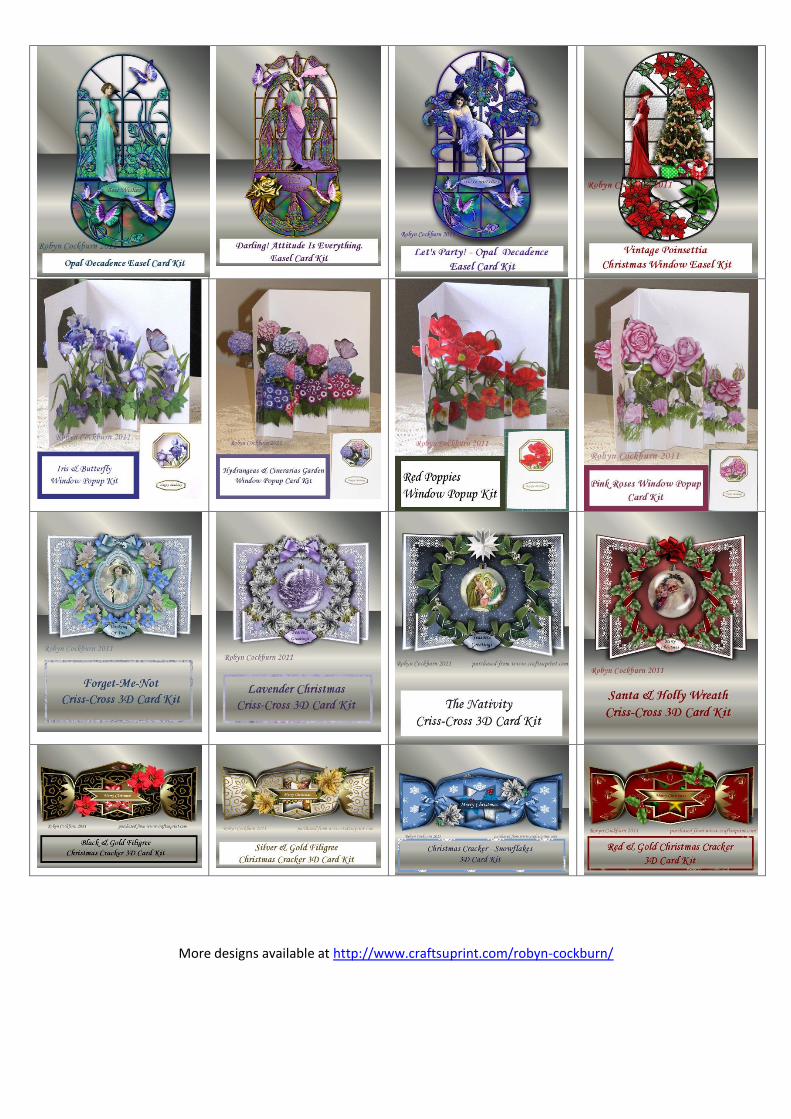
More designs available at http://www.craftsuprint.com/robyn-cockburn/