Embed Size (px)
Citation preview

Configuring a Windows 2003 Server for IAS
When setting up a Windows 2003 server to function as an IAS server for our demo environment we will need the server to serve several functions. First of all we will configure the server to be a Domain Controller so that we can use Active Directory to define users and/or machines. Next we will configure the server to act as a Certificate Authority for providing certificate services for our demo environment. In order for the certificate services to operate fully, we will also need to enable IIS to all web access for certificate requests. Finally we need to enable IAS to allow the server to function as a Radius server. The following tasks should be done in the order shown.
1. Configure the Server as a Domain Controller 2. Enable IIS on the Server 3. Configure the Server as a Certificate Authority 4. Download the CA Certificate 5. Enable and configure IAS
The remainder of this document will show the step by step process required to complete each of these tasks. It is assumed that we will be starting from a freshly installed Windows 2003 Server.

Configure the Server as a Domain Controller When a newly installed 2003 server is first logged into, the following window will be opened. This Manage Your Server window will allow you to change the role that your server plays on the network. In order to configure the server to be a Domain Controller we need to start the process by selecting the Add or remove a role option in this window.
The configuration wizard will now start and ask you to verify that preliminary steps have been completed. Hit “Next” to continue.
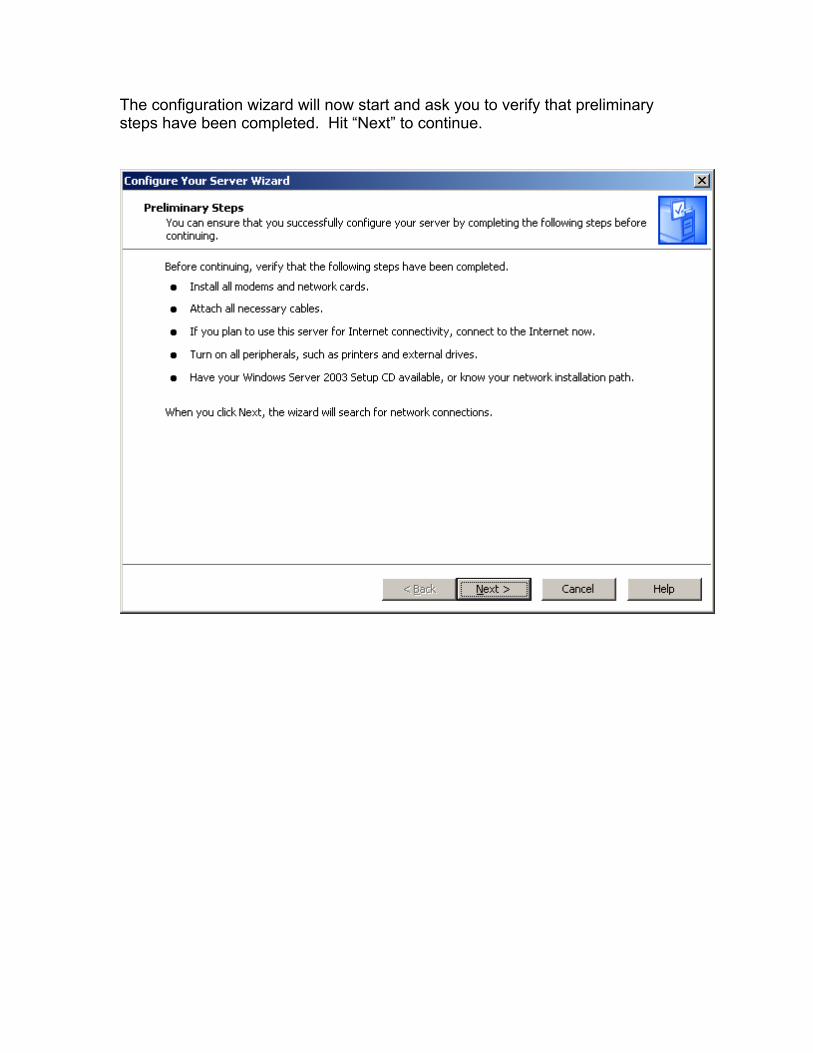
The wizard will then provide a list of server roles that can be configured. As shown below, select “Domain Controller” from the list and hit the “Next” Button.
The Wizard will ask you to confirm your selection. Press “Next” to confirm and continue.
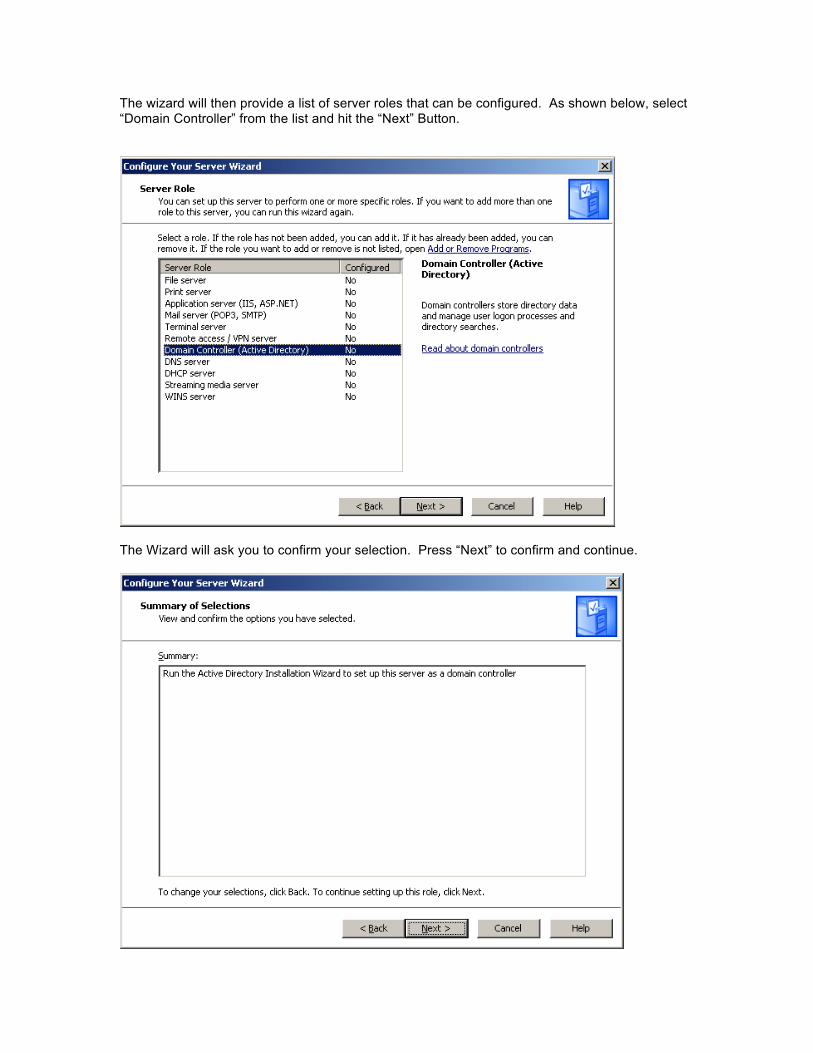
The Active Directory Installation Wizard will now start. Select “Next” to continue.
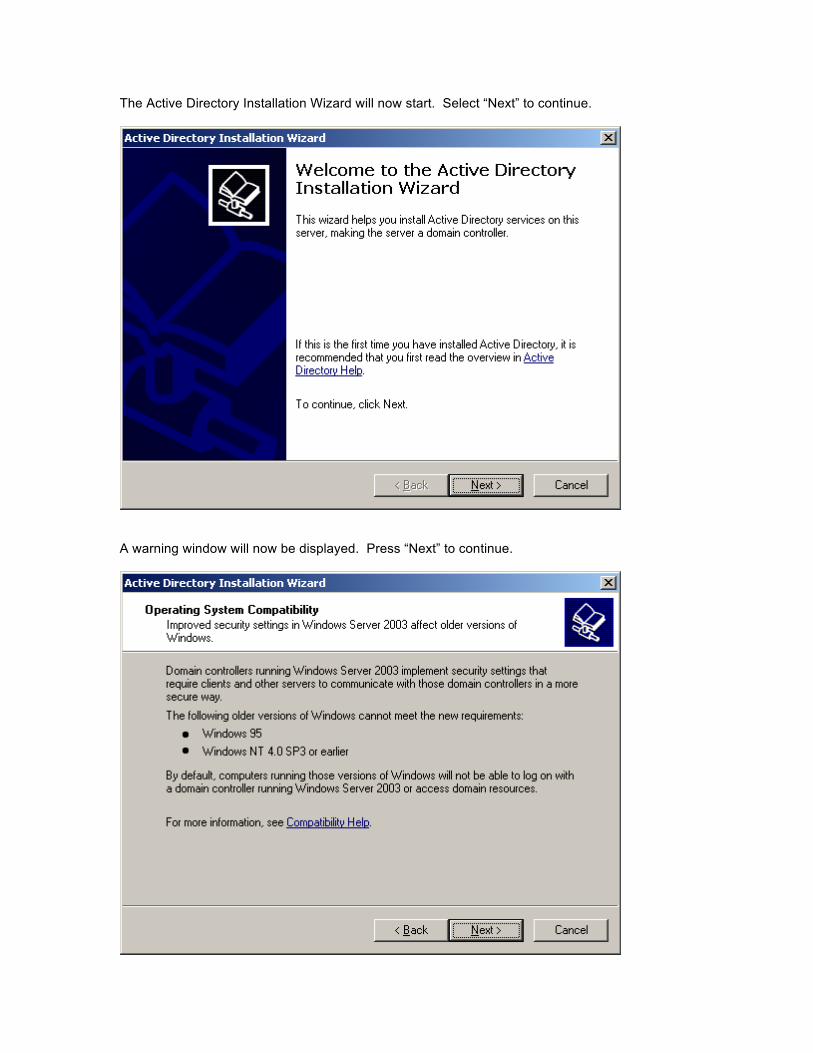
A warning window will now be displayed. Press “Next” to continue.

You will now be asked to specify a Domain Controller Type. Here we will want to select the Domain controller for a new domain radio button, and select “Next” to continue.
Next select the “Domain in new forest” radio button, and select “Next” to continue.
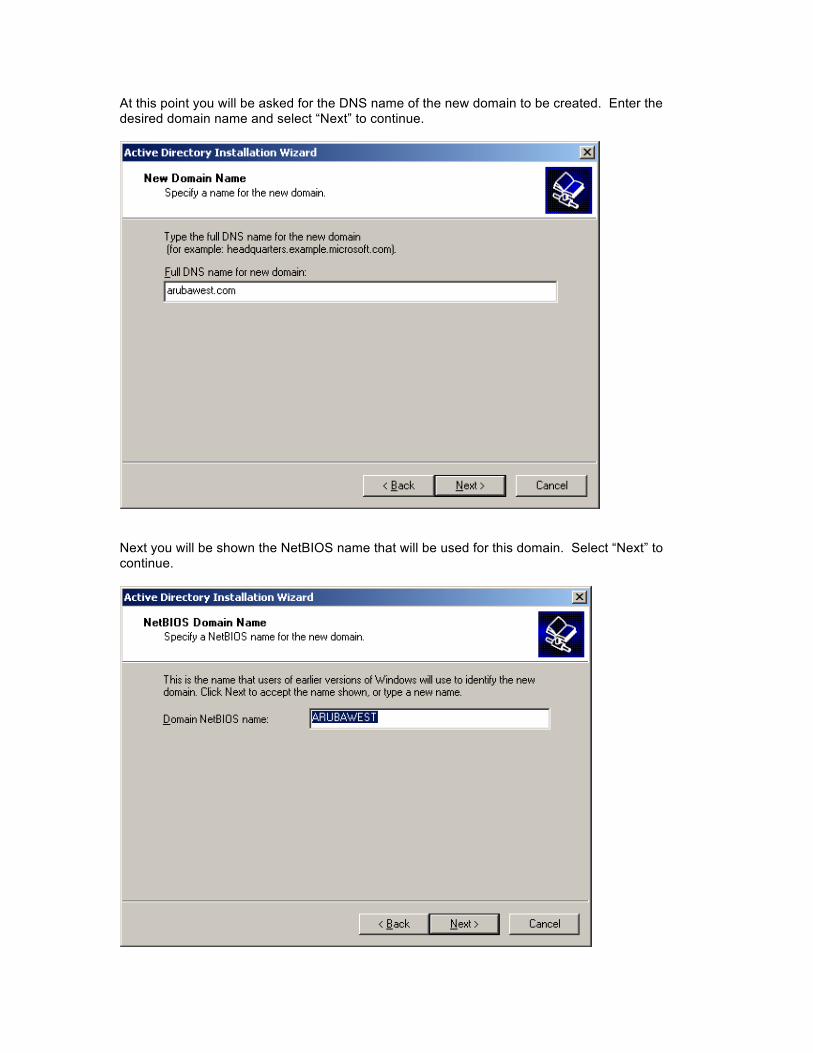
At this point you will be asked for the DNS name of the new domain to be created. Enter the desired domain name and select “Next” to continue.
Next you will be shown the NetBIOS name that will be used for this domain. Select “Next” to continue.
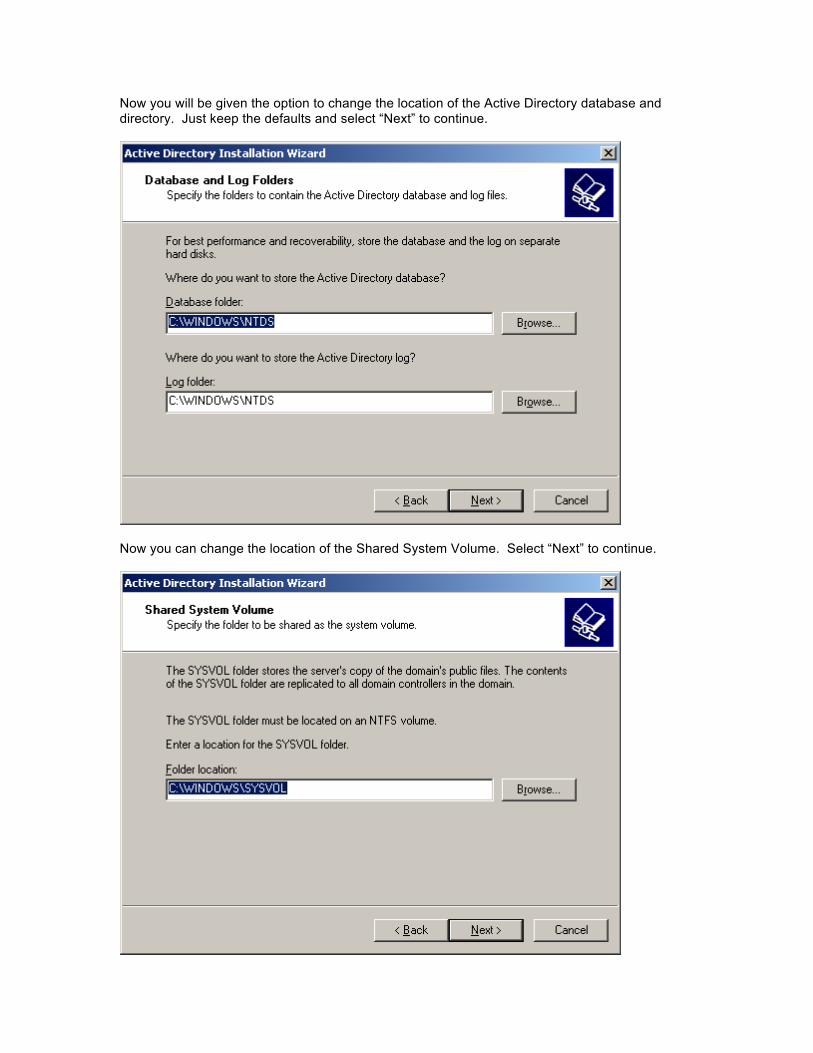
Now you will be given the option to change the location of the Active Directory database and directory. Just keep the defaults and select “Next” to continue.
Now you can change the location of the Shared System Volume. Select “Next” to continue.
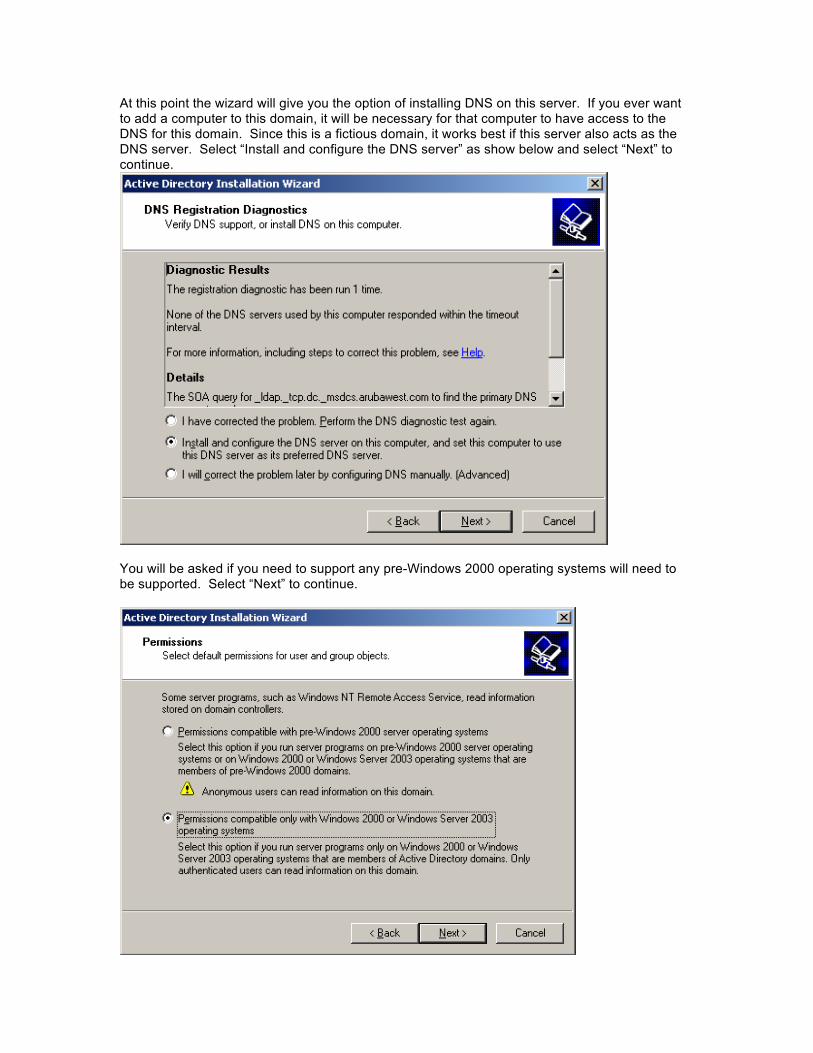
At this point the wizard will give you the option of installing DNS on this server. If you ever want to add a computer to this domain, it will be necessary for that computer to have access to the DNS for this domain. Since this is a fictious domain, it works best if this server also acts as the DNS server. Select “Install and configure the DNS server” as show below and select “Next” to continue.
You will be asked if you need to support any pre-Windows 2000 operating systems will need to be supported. Select “Next” to continue.

You will now be prompted for a Restore Mode Password. Enter and confirm the password and select “Next” to continue.
You will now be given an opportunity to review your config options before they are applied. Press “Next” to continue or “Back” if something needs to be changed.
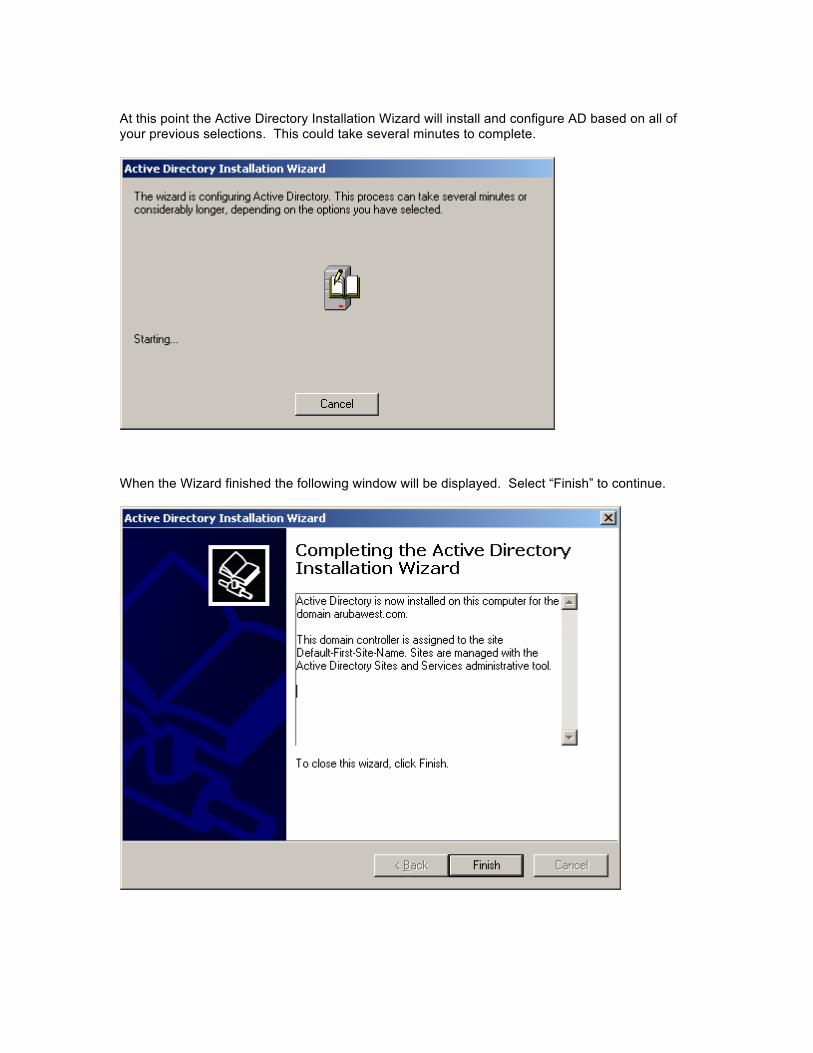
At this point the Active Directory Installation Wizard will install and configure AD based on all of your previous selections. This could take several minutes to complete.
When the Wizard finished the following window will be displayed. Select “Finish” to continue.
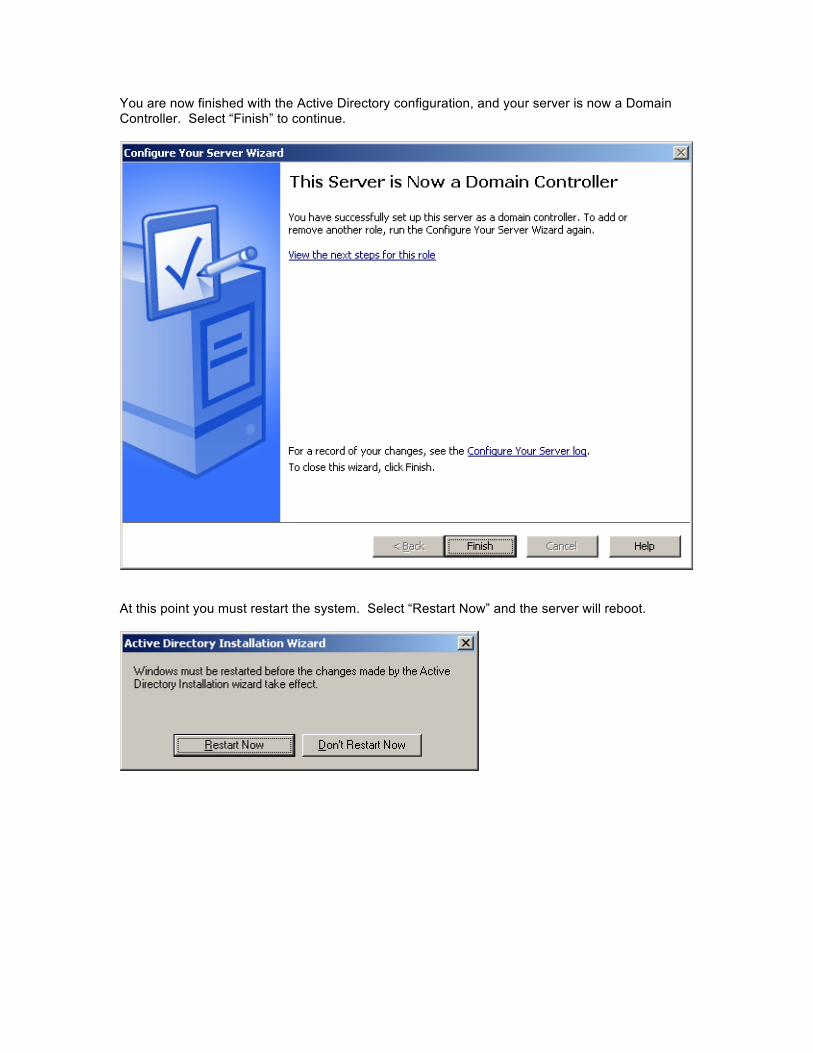
You are now finished with the Active Directory configuration, and your server is now a Domain Controller. Select “Finish” to continue.
At this point you must restart the system. Select “Restart Now” and the server will reboot.
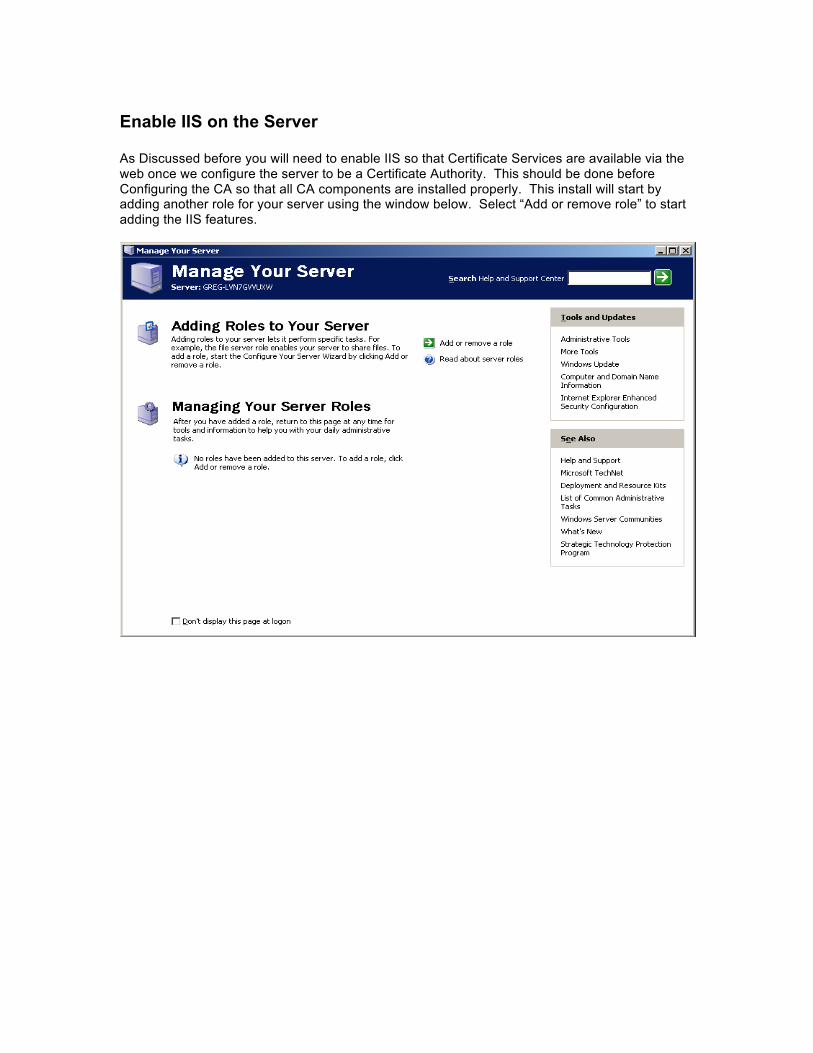
Enable IIS on the Server As Discussed before you will need to enable IIS so that Certificate Services are available via the web once we configure the server to be a Certificate Authority. This should be done before Configuring the CA so that all CA components are installed properly. This install will start by adding another role for your server using the window below. Select “Add or remove role” to start adding the IIS features.
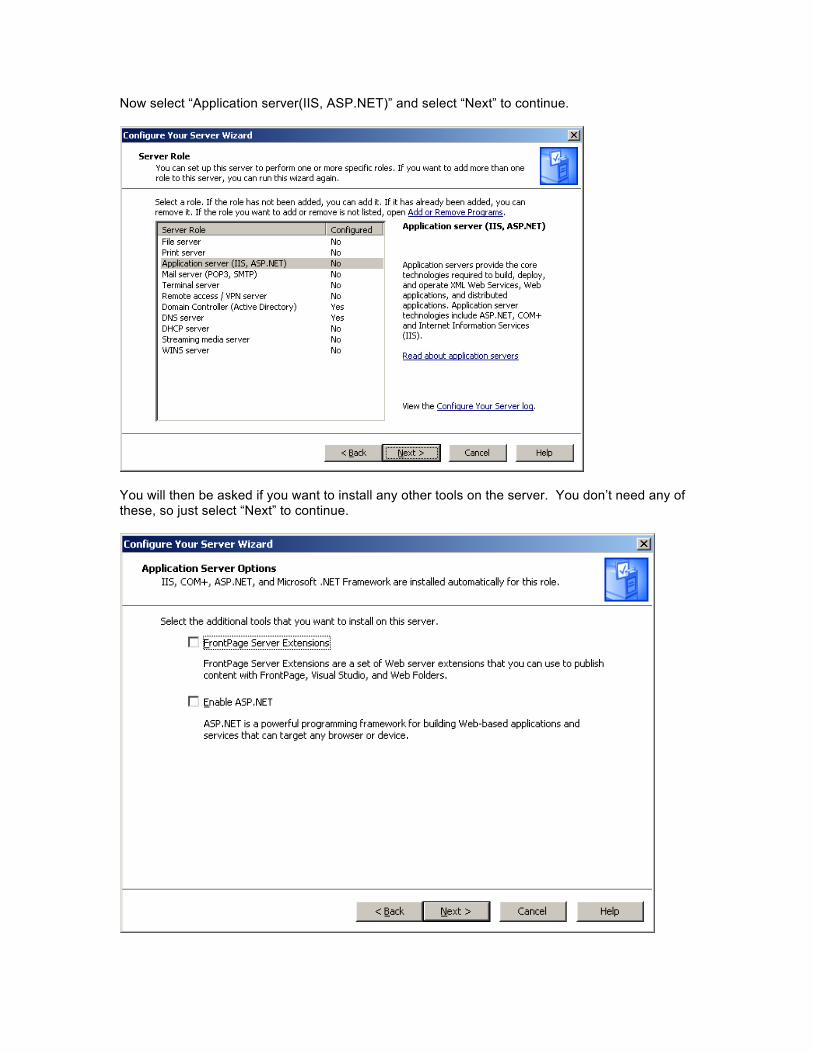
Now select “Application server(IIS, ASP.NET)” and select “Next” to continue.
You will then be asked if you want to install any other tools on the server. You don’t need any of these, so just select “Next” to continue.
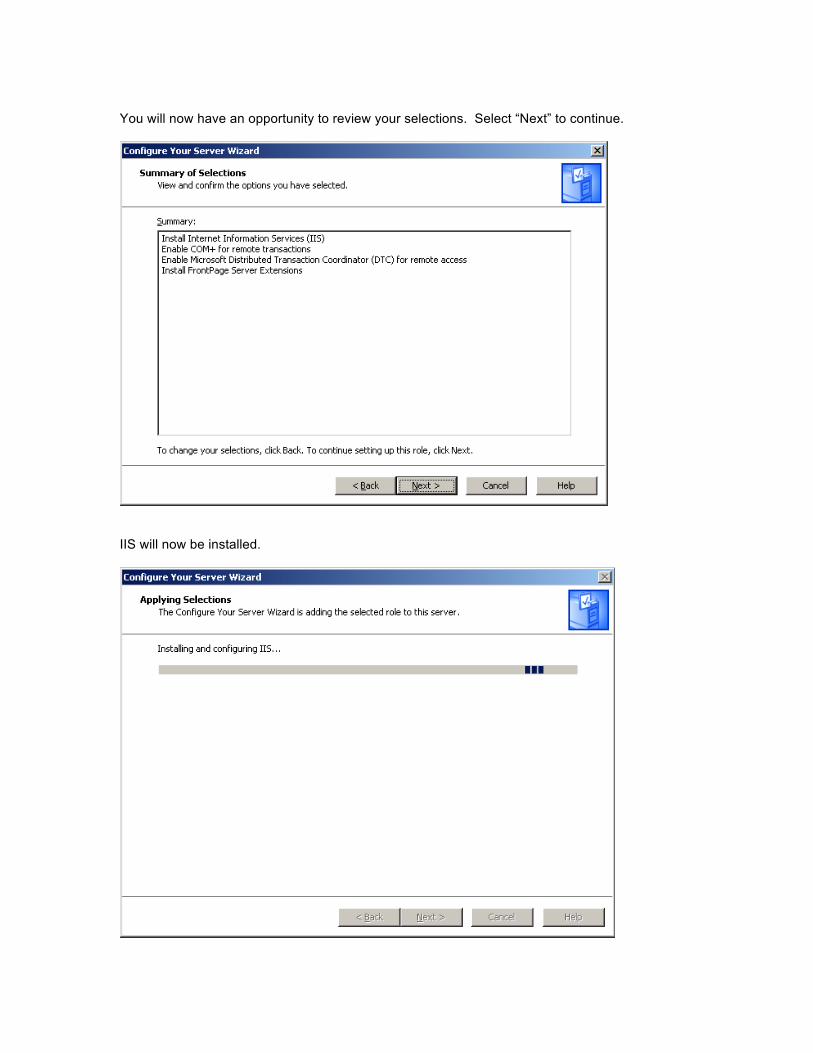
You will now have an opportunity to review your selections. Select “Next” to continue.
IIS will now be installed.
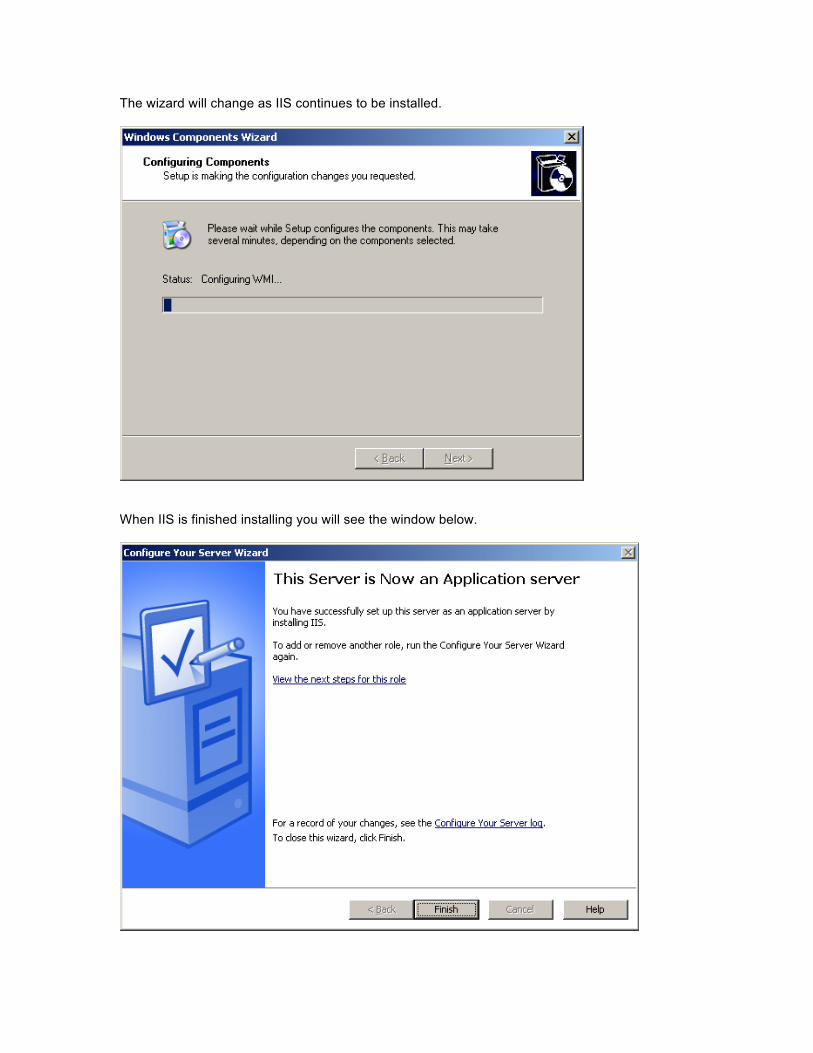
The wizard will change as IIS continues to be installed.
When IIS is finished installing you will see the window below.
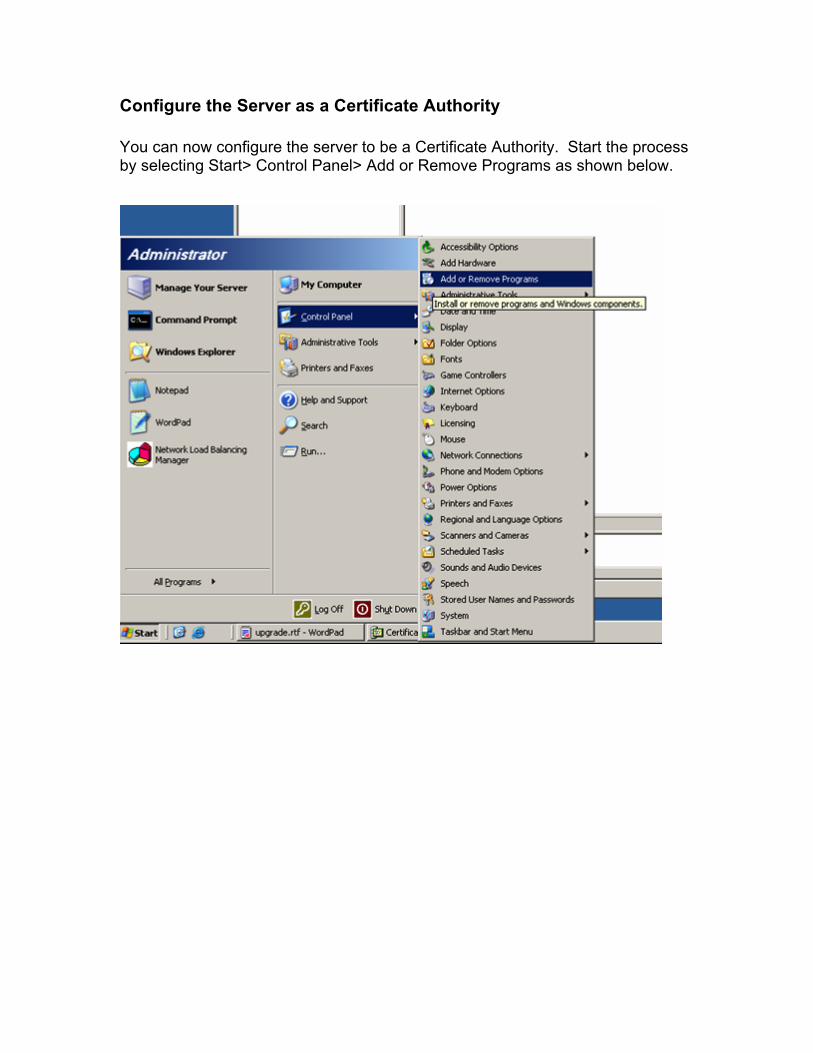
Configure the Server as a Certificate Authority You can now configure the server to be a Certificate Authority. Start the process by selecting Start> Control Panel> Add or Remove Programs as shown below.
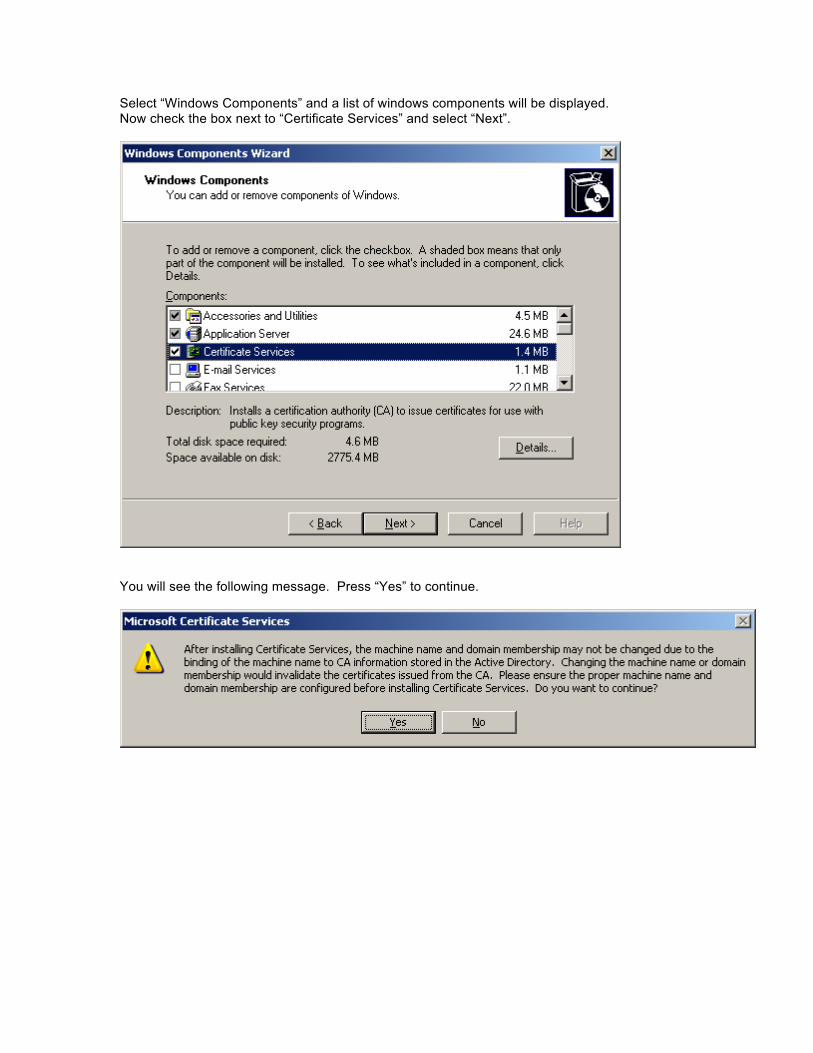
Select “Windows Components” and a list of windows components will be displayed. Now check the box next to “Certificate Services” and select “Next”.
You will see the following message. Press “Yes” to continue.
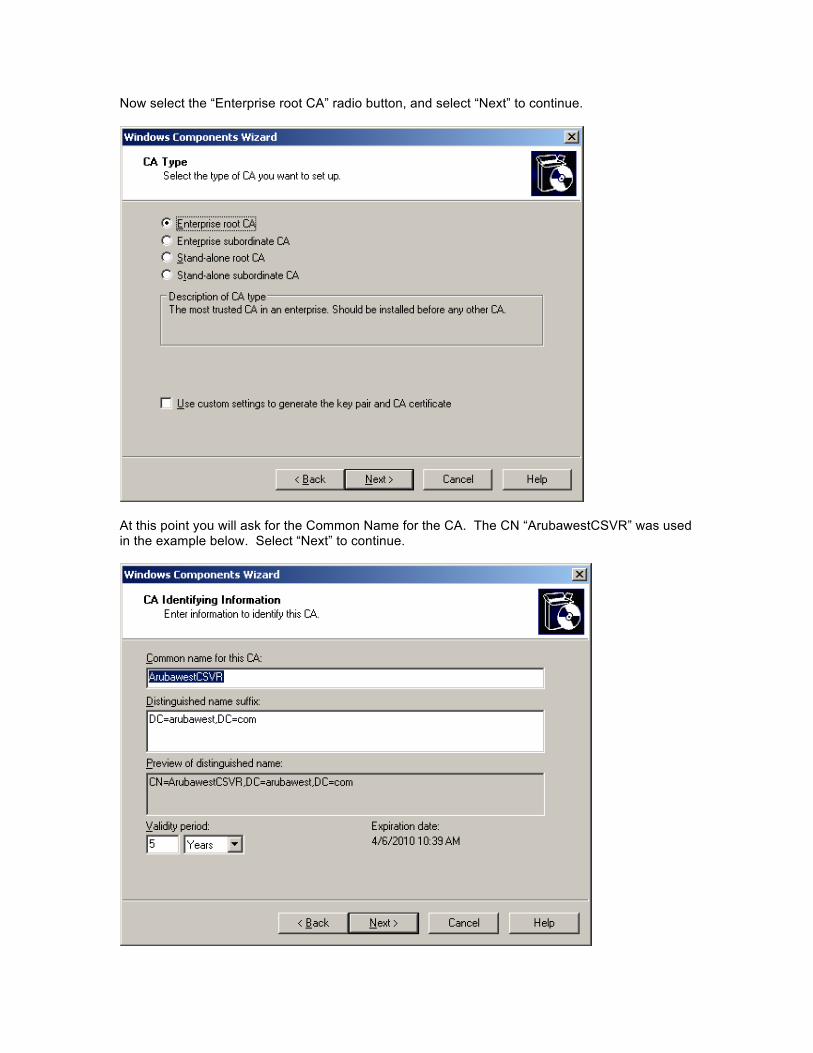
Now select the “Enterprise root CA” radio button, and select “Next” to continue.
At this point you will ask for the Common Name for the CA. The CN “ArubawestCSVR” was used in the example below. Select “Next” to continue.
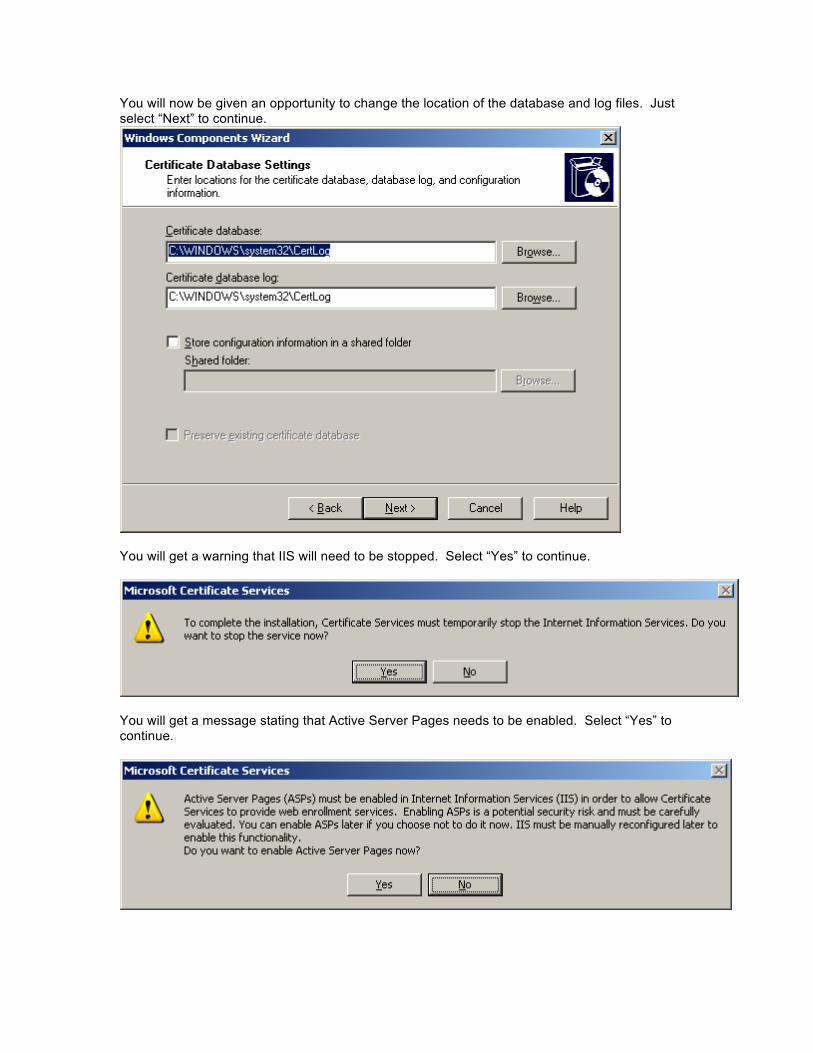
You will now be given an opportunity to change the location of the database and log files. Just select “Next” to continue.
You will get a warning that IIS will need to be stopped. Select “Yes” to continue.
You will get a message stating that Active Server Pages needs to be enabled. Select “Yes” to continue.
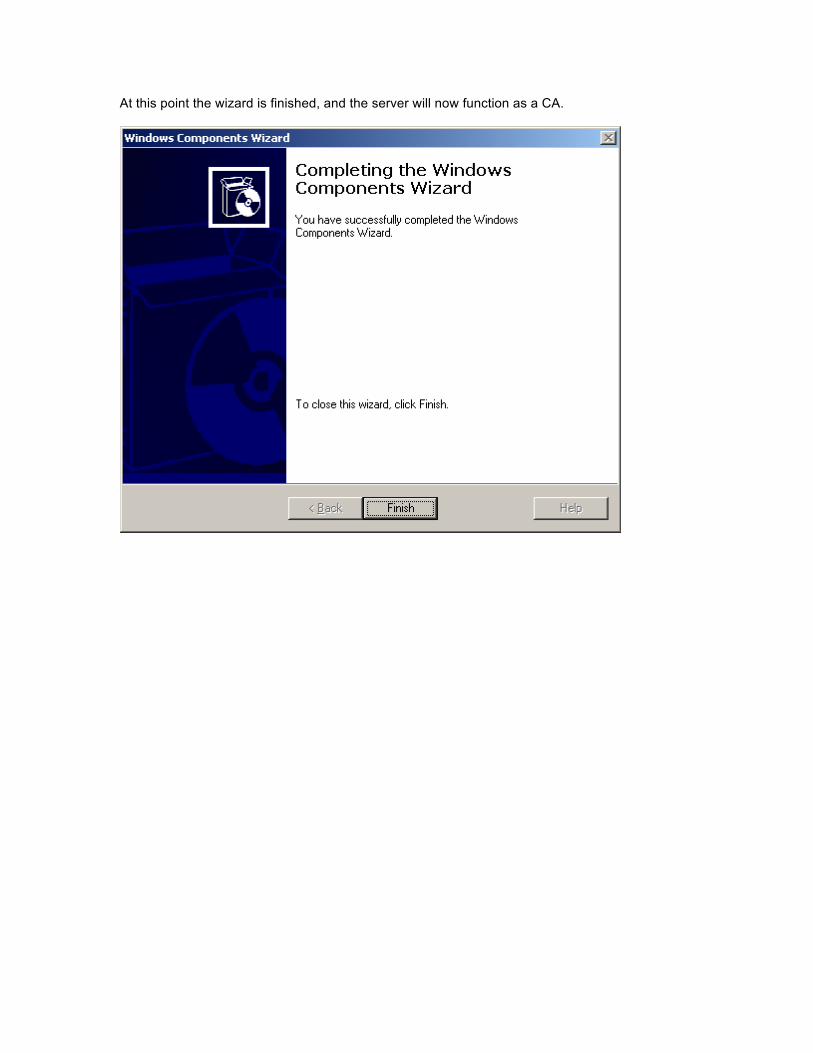
At this point the wizard is finished, and the server will now function as a CA.
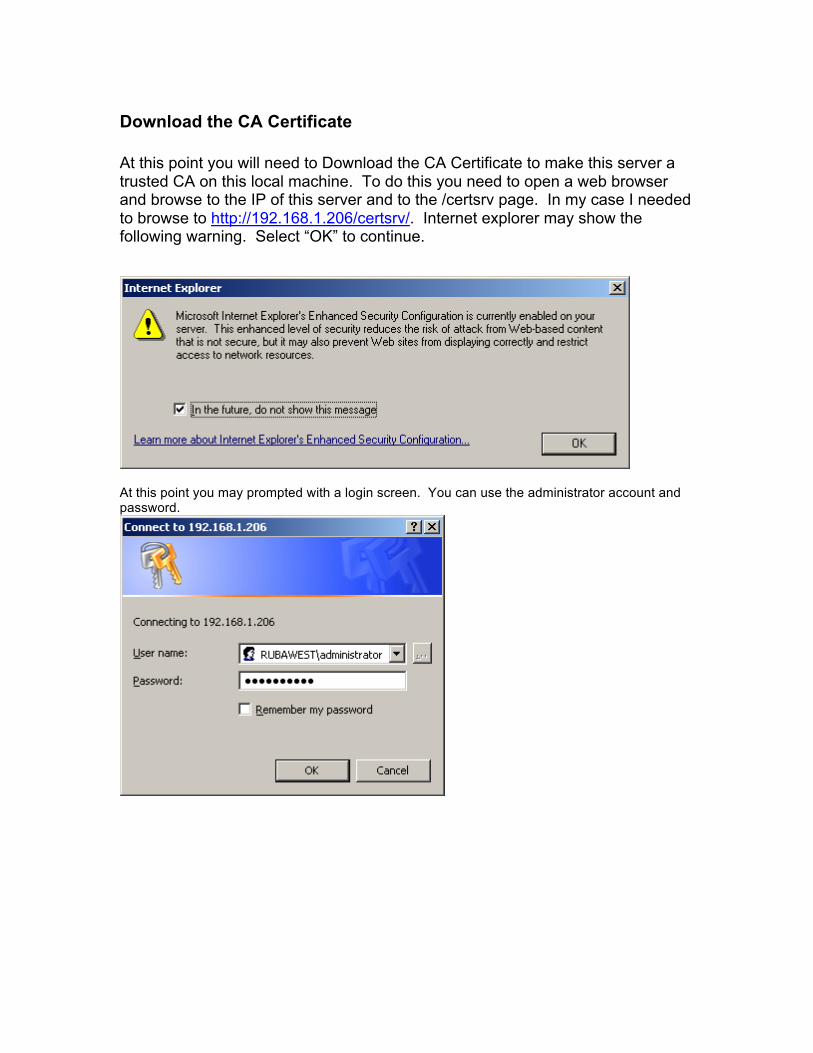
Download the CA Certificate At this point you will need to Download the CA Certificate to make this server a trusted CA on this local machine. To do this you need to open a web browser and browse to the IP of this server and to the /certsrv page. In my case I needed to browse to http://192.168.1.206/certsrv/. Internet explorer may show the following warning. Select “OK” to continue.
At this point you may prompted with a login screen. You can use the administrator account and password.
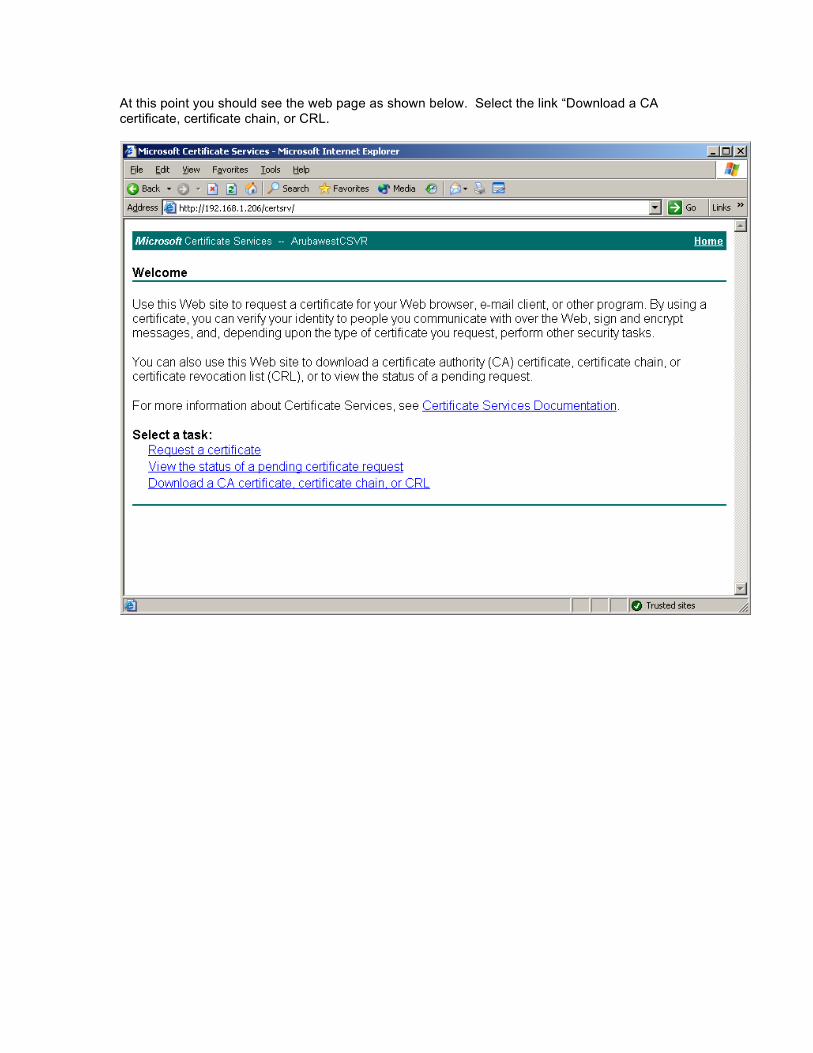
At this point you should see the web page as shown below. Select the link “Download a CA certificate, certificate chain, or CRL.
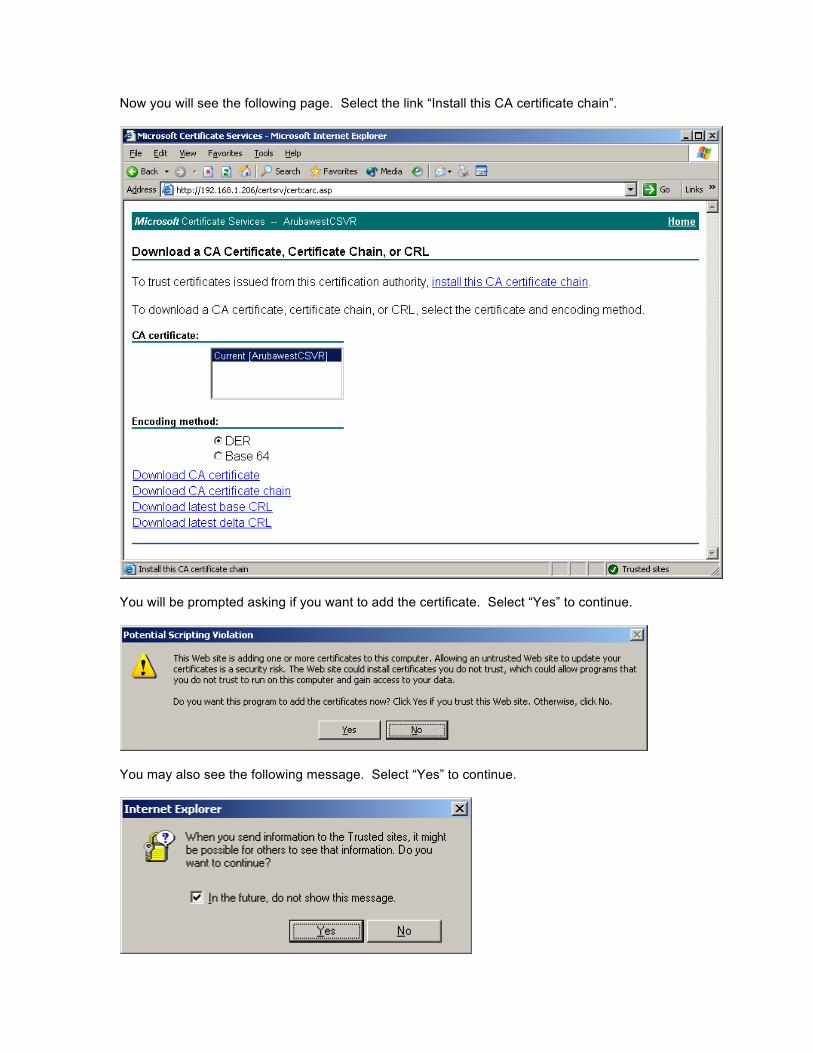
Now you will see the following page. Select the link “Install this CA certificate chain”.
You will be prompted asking if you want to add the certificate. Select “Yes” to continue.
You may also see the following message. Select “Yes” to continue.

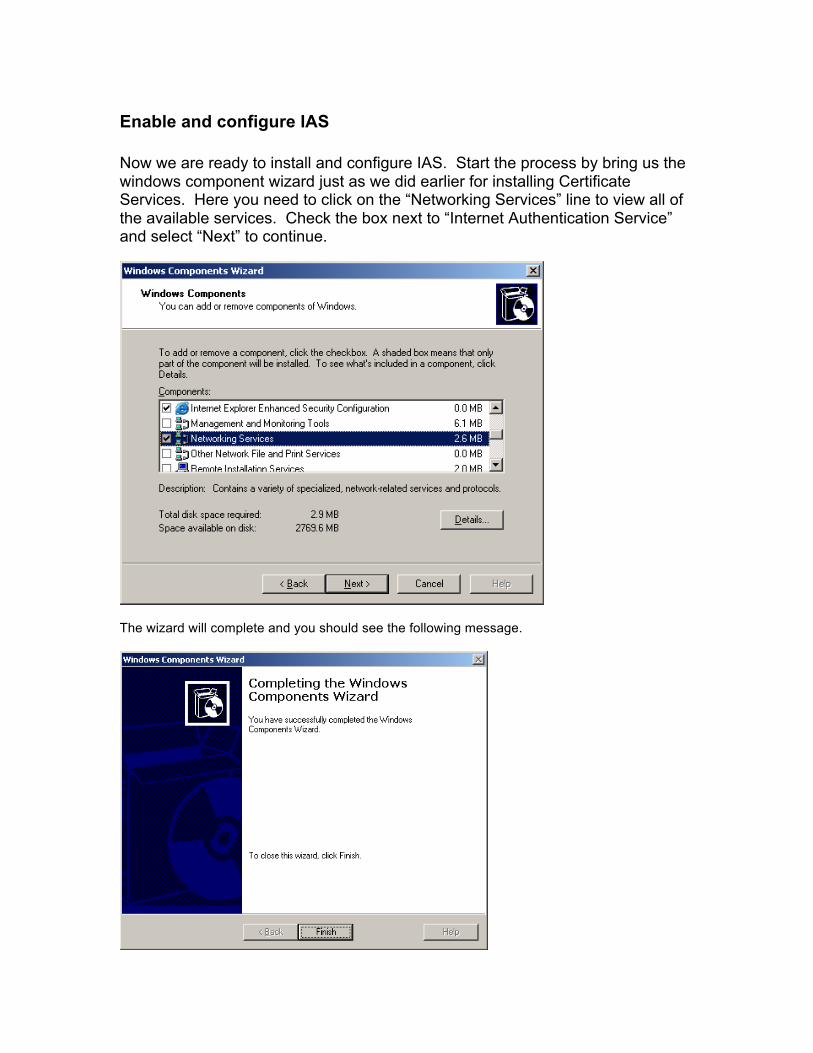
Enable and configure IAS Now we are ready to install and configure IAS. Start the process by bring us the windows component wizard just as we did earlier for installing Certificate Services. Here you need to click on the “Networking Services” line to view all of the available services. Check the box next to “Internet Authentication Service” and select “Next” to continue.
The wizard will complete and you should see the following message.

You can now configure IAS by going to Start>Administrative Tools>Internet Authentication Service> .
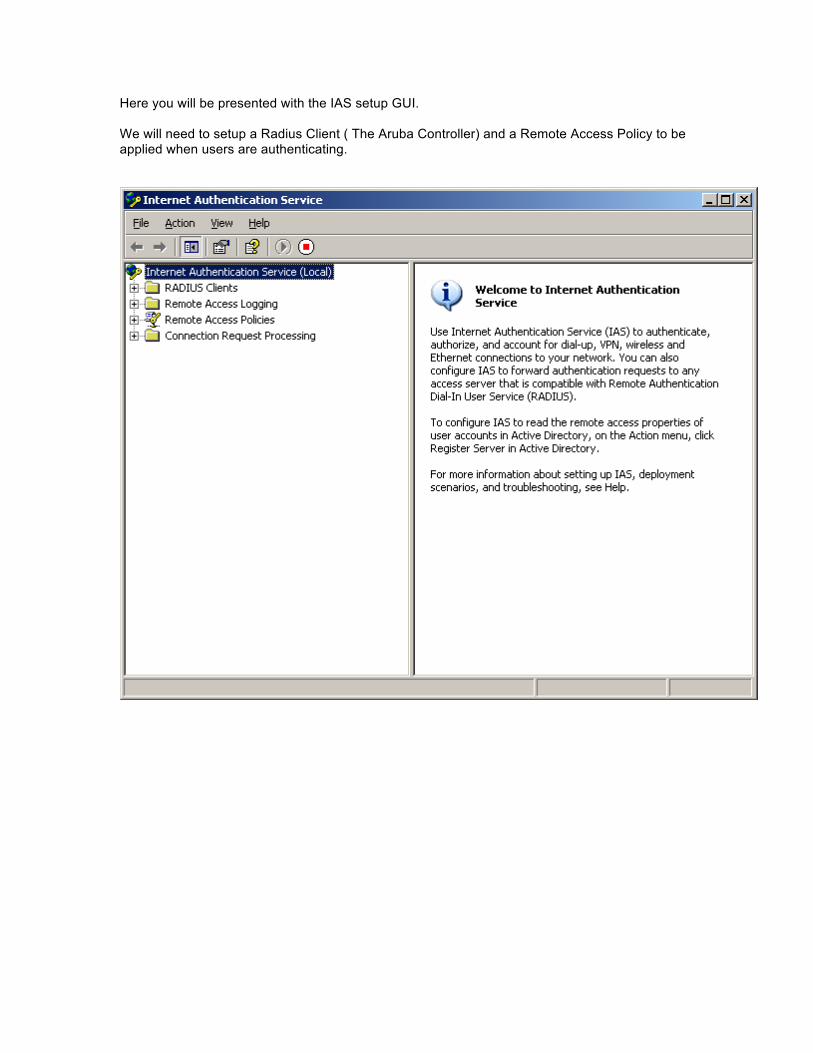
Here you will be presented with the IAS setup GUI. We will need to setup a Radius Client ( The Aruba Controller) and a Remote Access Policy to be applied when users are authenticating.
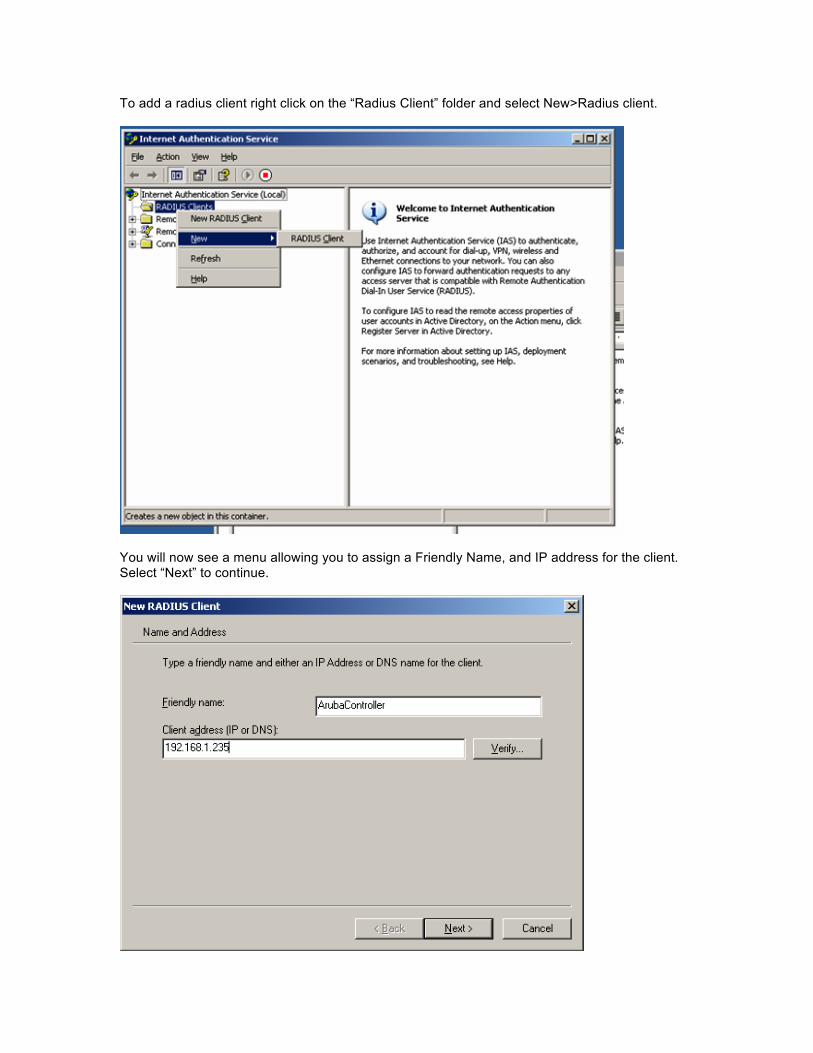
To add a radius client right click on the “Radius Client” folder and select New>Radius client.
You will now see a menu allowing you to assign a Friendly Name, and IP address for the client. Select “Next” to continue.

Next you will be asked to select a Client-Vendor, and to define a shared secret. Use RADIUS Standard, and any shared secret you wish. Select “Finish” and the client is now created.
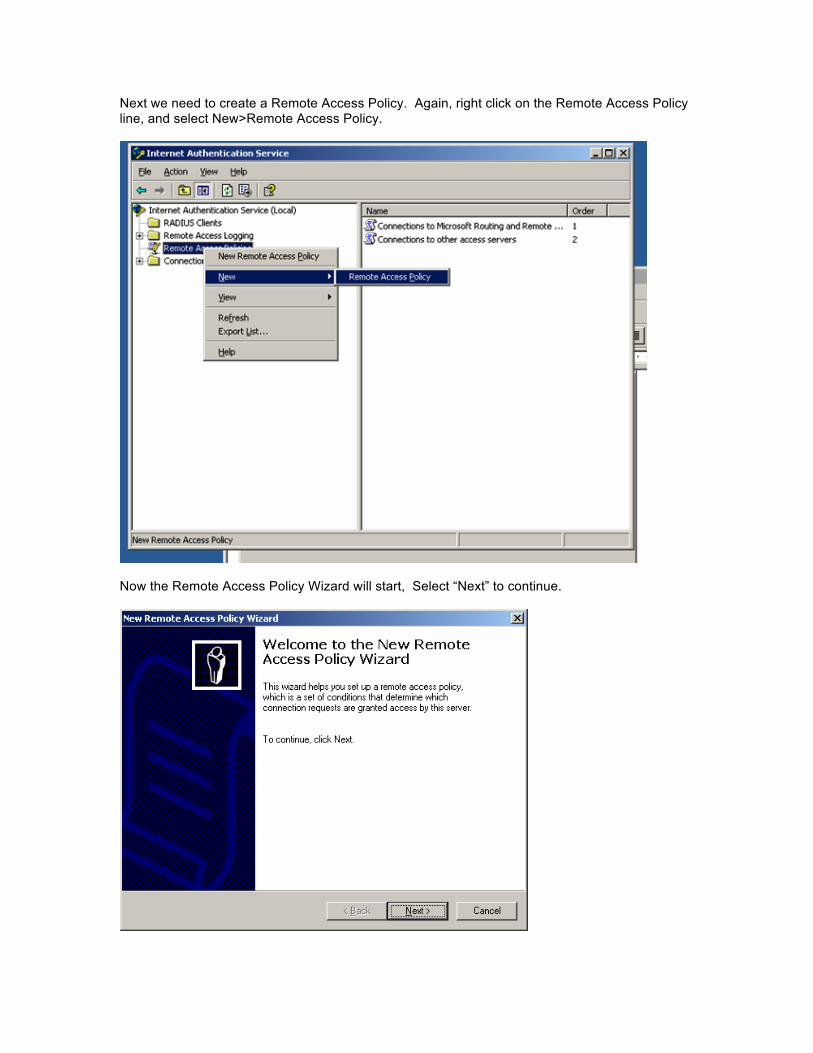
Next we need to create a Remote Access Policy. Again, right click on the Remote Access Policy line, and select New>Remote Access Policy.
Now the Remote Access Policy Wizard will start, Select “Next” to continue.

First you need to give the policy a name, and select “Next” to continue
Next select “Wireless” as the access method, and select “Next” to continue.
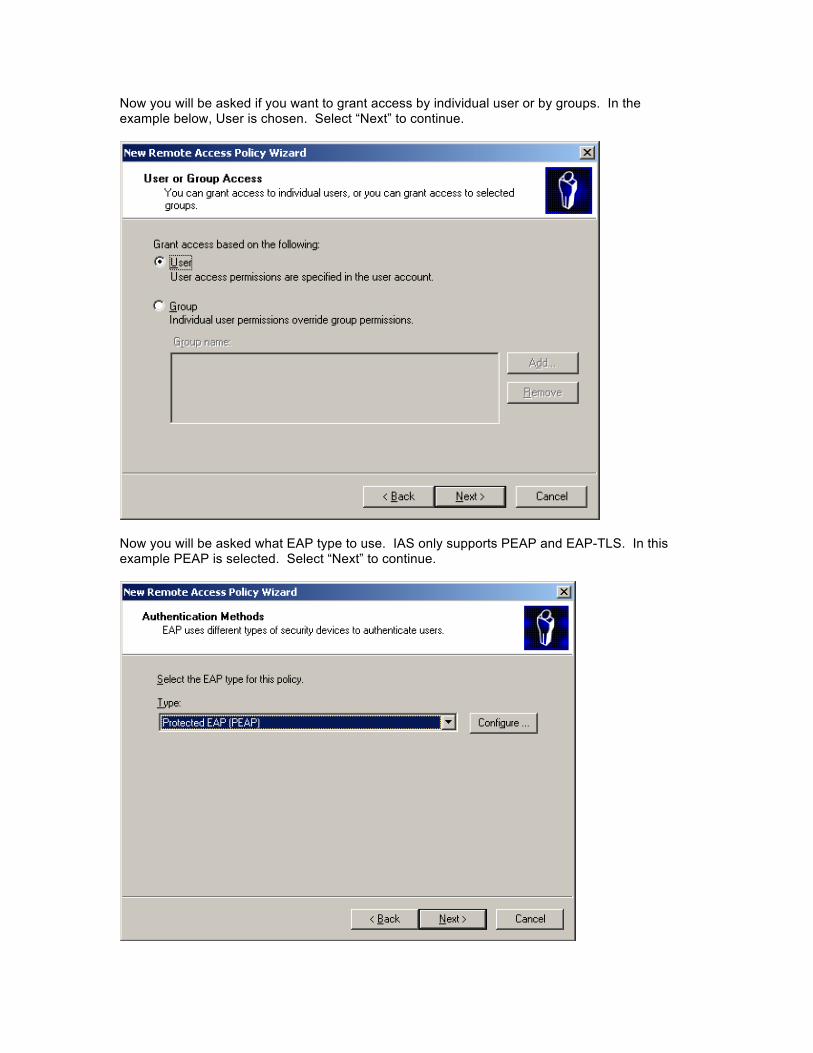
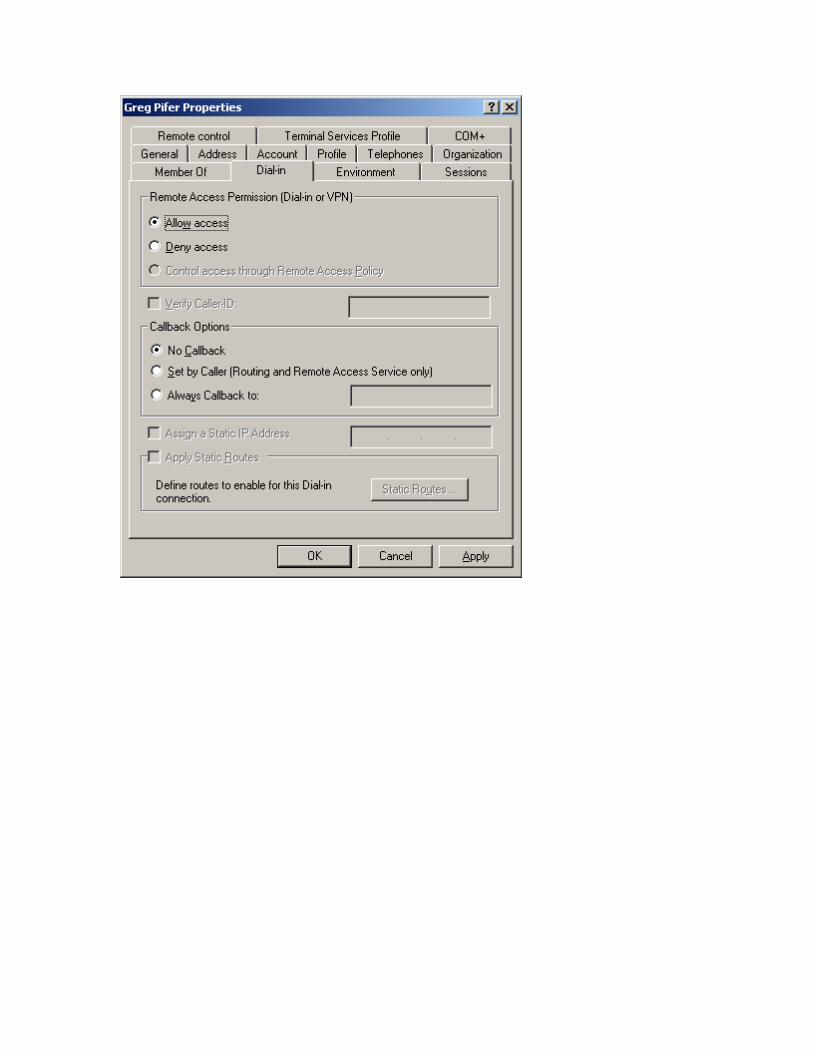
Now you will be asked if you want to grant access by individual user or by groups. In the example below, User is chosen. Select “Next” to continue.
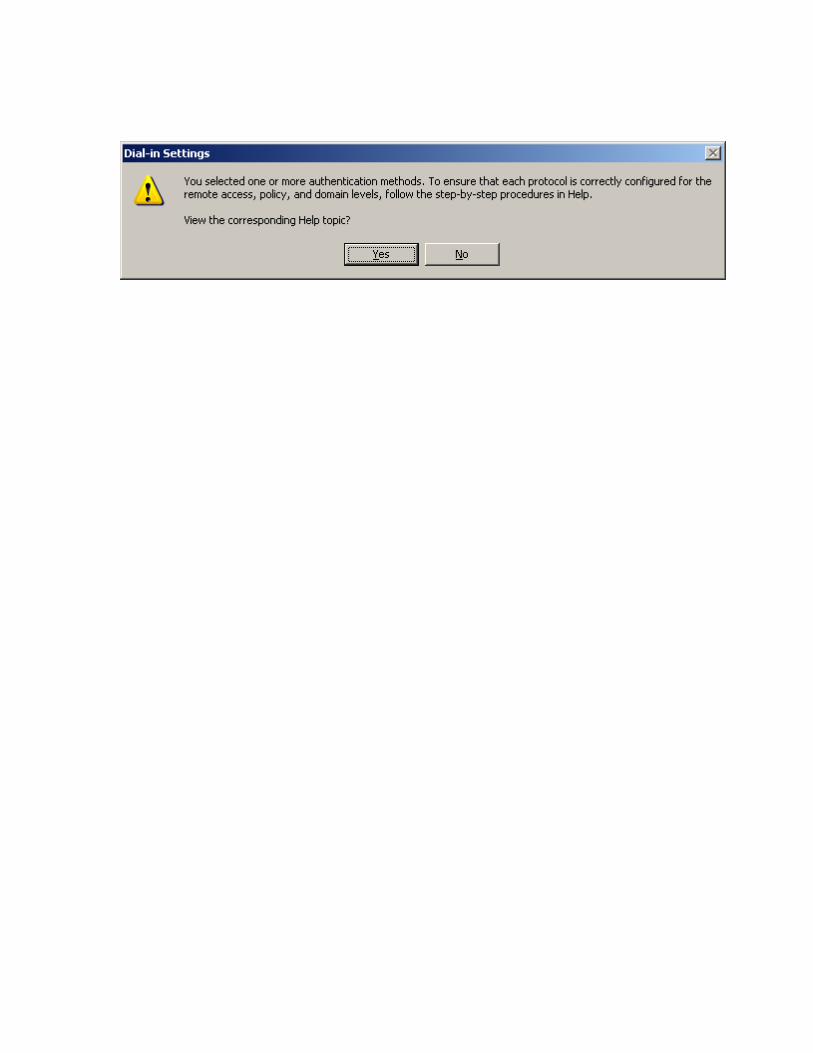
Now you will be asked what EAP type to use. IAS only supports PEAP and EAP-TLS. In this example PEAP is selected. Select “Next” to continue.

The following window will be displayed. Select “Finish”.
The new policy will be added