Embed Size (px)
DESCRIPTION
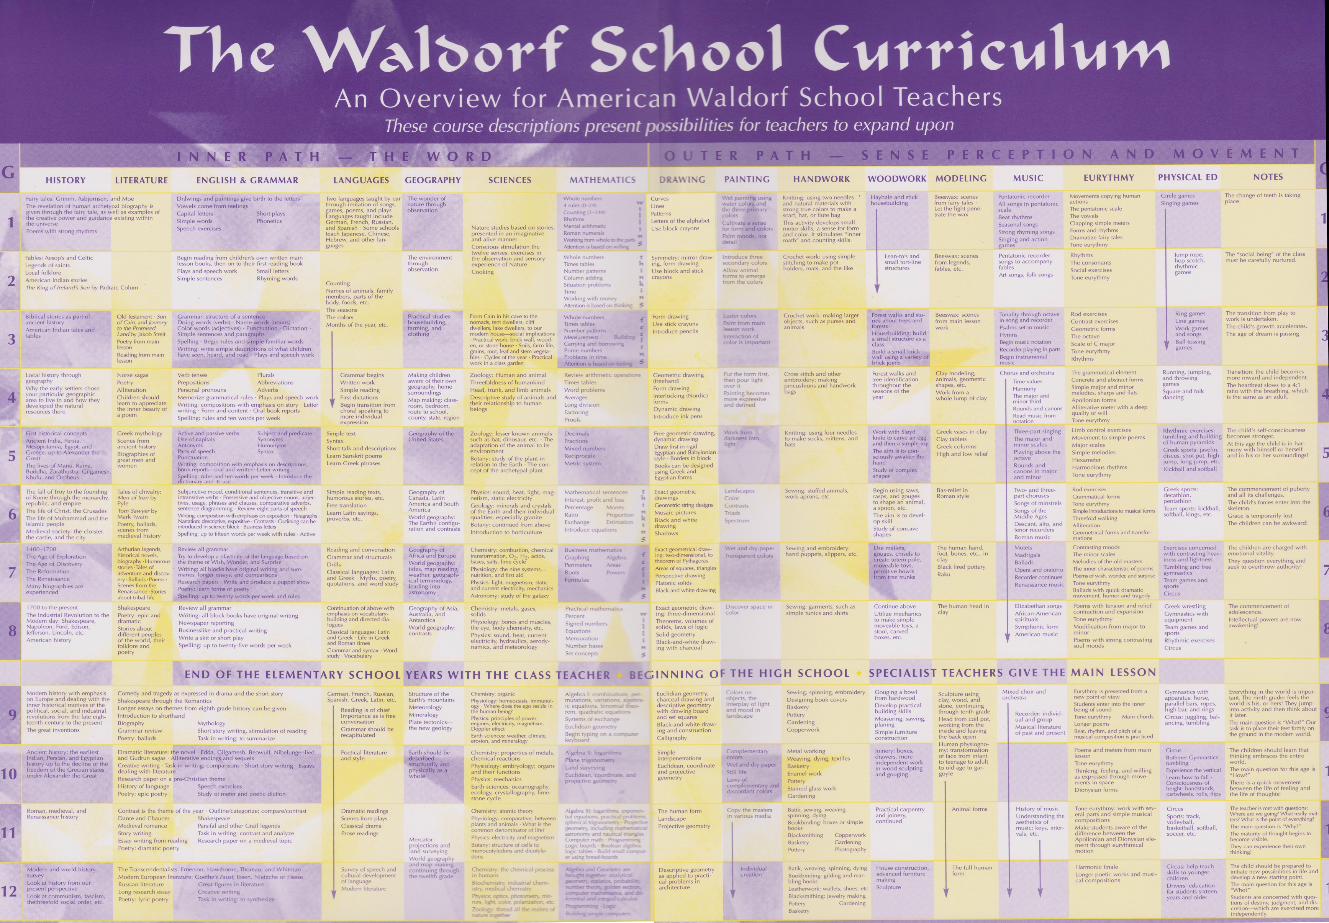
Knit patterns
Citation preview
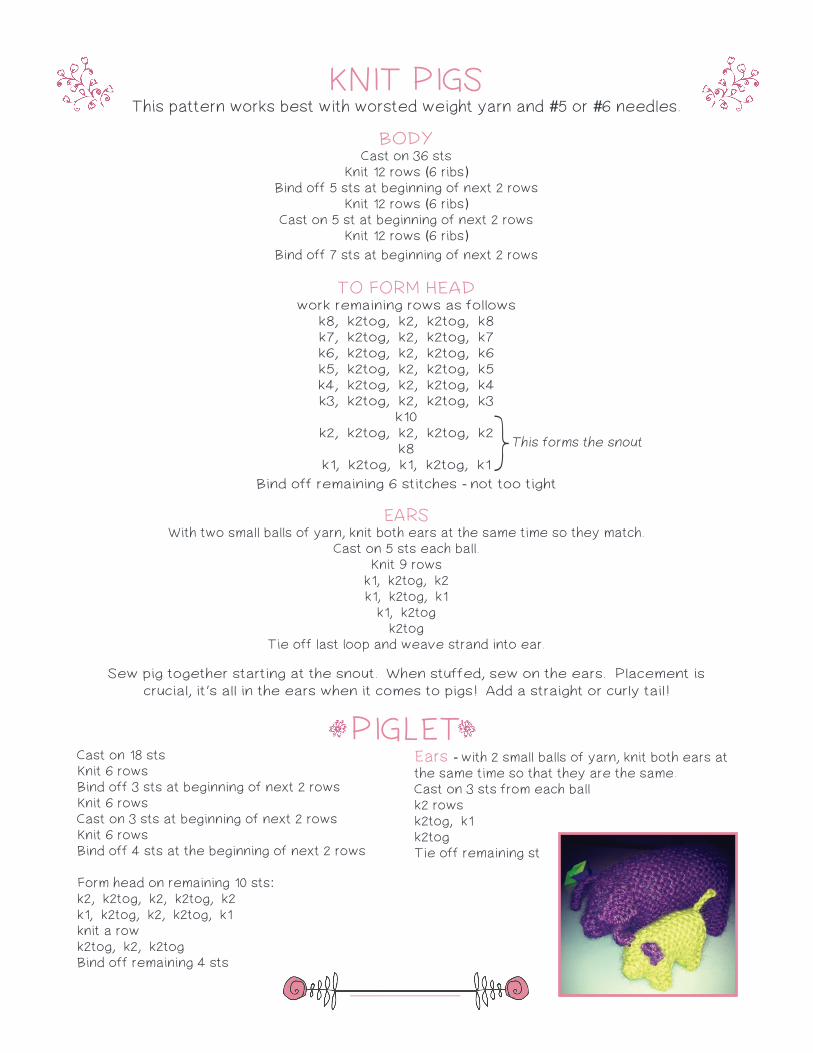
KNIT PIGSThis pattern works best with worsted weight yarn and #5 or #6 needles.
BODYCast on 36 sts
Knit 12 rows (6 ribs)Bind off 5 sts at beginning of next 2 rows
Knit 12 rows (6 ribs)Cast on 5 st at beginning of next 2 rows
Knit 12 rows (6 ribs)Bind off 7 sts at beginning of next 2 rows
TO FORM HEADwork remaining rows as follows
k8, k2tog, k2, k2tog, k8 k7, k2tog, k2, k2tog, k7k6, k2tog, k2, k2tog, k6k5, k2tog, k2, k2tog, k5k4, k2tog, k2, k2tog, k4k3, k2tog, k2, k2tog, k3
k10k2, k2tog, k2, k2tog, k2
k8k1, k2tog, k1, k2tog, k1
Bind off remaining 6 stitches - not too tight
EARSWith two small balls of yarn, knit both ears at the same time so they match.
Cast on 5 sts each ball.Knit 9 rows
k1, k2tog, k2k1, k2tog, k1
k1, k2togk2tog
Tie off last loop and weave strand into ear.
Sew pig together starting at the snout. When stuffed, sew on the ears. Placement is
crucial, it's all in the ears when it comes to pigs! Add a straight or curly tail!
}This forms the snout
Cast on 18 stsKnit 6 rowsBind off 3 sts at beginning of next 2 rowsKnit 6 rows Cast on 3 sts at beginning of next 2 rowsKnit 6 rowsBind off 4 sts at the beginning of next 2 rows
Form head on remaining 10 sts:k2, k2tog, k2, k2tog, k2k1, k2tog, k2, k2tog, k1knit a rowk2tog, k2, k2togBind off remaining 4 sts
Ears - with 2 small balls of yarn, knit both ears at the same time so that they are the same. Cast on 3 sts from each ballk2 rowsk2tog, k1k2togTie off remaining st
PIGLET

Simple and fun to create, these stunning light catchers brighten your windows, even on gloomy winter days. A great family project—just a few folds and glue. Display in groups for an even more powerful effect!
Materials:Tissue paperScissorsGlue stick (dries clear)Clear one sided tapeRuler
Instructions:
1. Cutting the paper Fold eight 6 1/4 x 6 1/4 inch sheets of tissue paper in half, and cut along the folds to create sixteen rectangles that are 6 1/4 x 3 1/8 inches.
2. Fold and glue For all 16 rectangles do the following a. Fold the sheet in half lengthwise b. Unfold c. Fold all 4 corners into the center line -creasing the folds with fingernail d. Fold all 4 corners in again e. Glue all folds so that each piece lies flat
3. Assemble the sections Take 2 units and place them on top of each other. Holding the two points together, fan them apart until they overlap about half of an inch and glue the sections together. Continue joining section by section. Glue the last section and tuck it underneath the first section to complete the circle.
Window Stars
Try using several colors for one star! Get creative! Have fun!
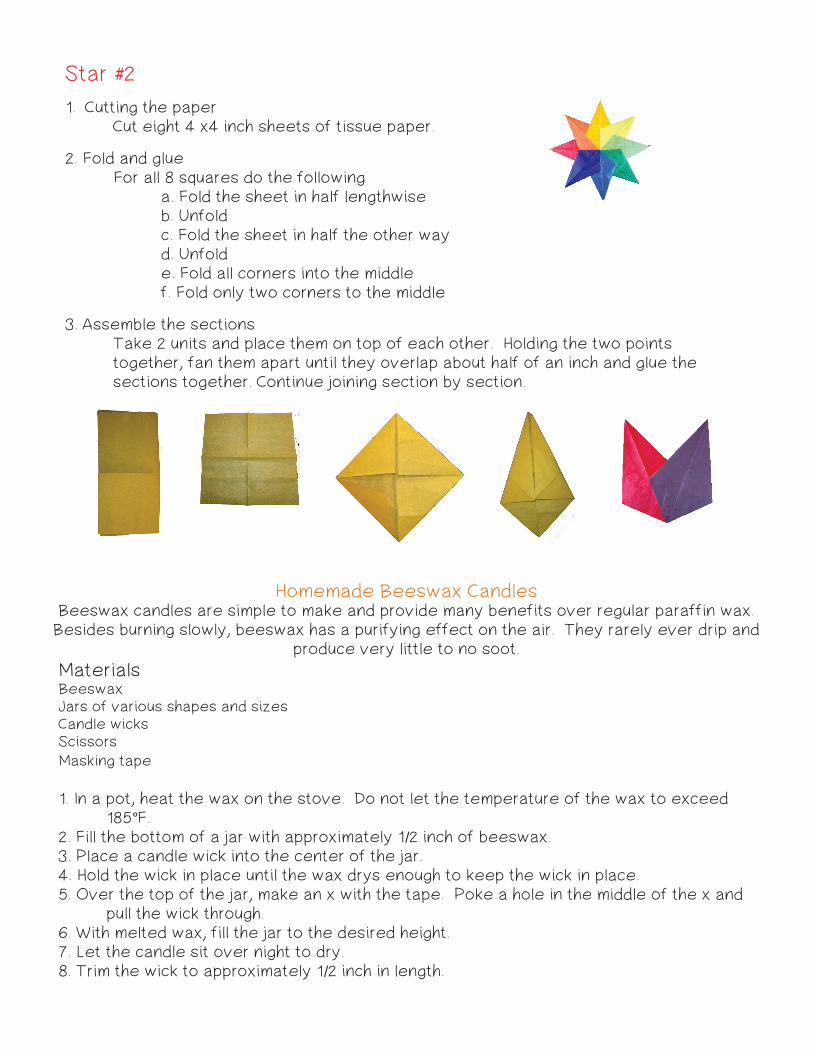
Star #21. Cutting the paper Cut eight 4 x4 inch sheets of tissue paper.
2. Fold and glue For all 8 squares do the following a. Fold the sheet in half lengthwise b. Unfold c. Fold the sheet in half the other way d. Unfold e. Fold all corners into the middle f. Fold only two corners to the middle
3. Assemble the sections Take 2 units and place them on top of each other. Holding the two points together, fan them apart until they overlap about half of an inch and glue the sections together. Continue joining section by section.
Homemade Beeswax Candles
MaterialsBeeswaxJars of various shapes and sizesCandle wicksScissors
Masking tape
1. In a pot, heat the wax on the stove. Do not let the temperature of the wax to exceed 185°F. 2. Fill the bottom of a jar with approximately 1/2 inch of beeswax.3. Place a candle wick into the center of the jar. 4. Hold the wick in place until the wax drys enough to keep the wick in place. 5. Over the top of the jar, make an x with the tape. Poke a hole in the middle of the x and pull the wick through.6. With melted wax, fill the jar to the desired height. 7. Let the candle sit over night to dry. 8. Trim the wick to approximately 1/2 inch in length.
Beeswax candles are simple to make and provide many benefits over regular paraffin wax. Besides burning slowly, beeswax has a purifying effect on the air. They rarely ever drip and
produce very little to no soot.