Embed Size (px)
Citation preview

“Matisse Decoupage Artwork”1Dana Stasko, Art Educator
Art Lesson Plan
Lesson: Henri Matisse’s fauvism decoupageconstruction paper worksLevel: 1st GradeDuration: 3 x 40 minute classesOverview: Students will be able to create decoupage “paper cut out drawings” with construction paper mimicking Henri Matisse. This project includes a focus on color, shape, pattern, simplicity and the decoupage style.
PA Standards:9.1.1. A. Elements and Principals in each art form9.1.1. B. Demonstration of Dance, Music, Theatre, and Visual Arts9.2.1. C. Styles and Genres in the Arts9.2.1. D. Historical and Cultural Perspectives9.3.1. A. Critical Process9.3.1. D. Artistic Choices
Objectives: students will be able to…9.1.1. A: incorporate line, shape, and color into their decoupage pieces.9.1.1. B: demonstrate visual arts through cutting, pasting, drawing and applying decoupage.9.2.1. C: incorporate fauvism and decoupage styles of cutting paper into their own artwork.9.2.1. D: learn about Henri Matisse, why his work is important and what makes him so famous. 9.3.1. A: follow a step by step process create the decoupage cut out style work.
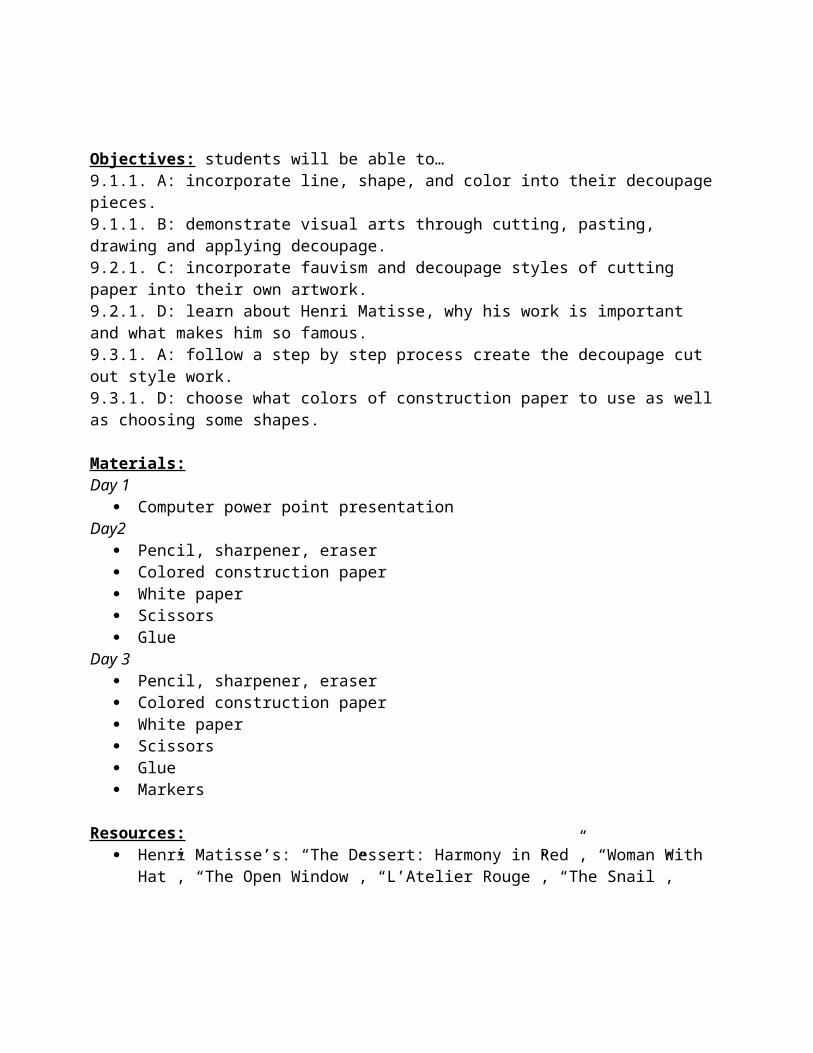
9.3.1. D: choose what colors of construction paper to use as well as choosing some shapes.
Materials:Day 1
Computer power point presentationDay2
Pencil, sharpener, eraser Colored construction paper White paper Scissors Glue
Day 3 Pencil, sharpener, eraser Colored construction paper White paper Scissors Glue Markers
Resources: Henri Matisse’s: “The Dessert: Harmony in Red”, “Woman With Hat”, “The Open
Window”, “L’Atelier Rouge”, “The Snail”, “Woman Reading”, “The Sorrows of the King”, “Beasts of the Sea”
Fauvism Decoupage
Vocabulary: Decoupage- the art or craft of decorating objects with paper cut-outsPattern- repeated decorative design, constant/ reoccurringColor- what we see when the eye emits light on an objects; hue, tint, tone, shadeShape- external form of an object; the outline of an area or figureFauvism- style of painting with vivid expressionistic and unnaturalistic use of color with relaxed form; paved the way for expressionists
Teacher Preparation: Power point on Henri Matisse and decoupage artwork Project sample Materials out
Questions:
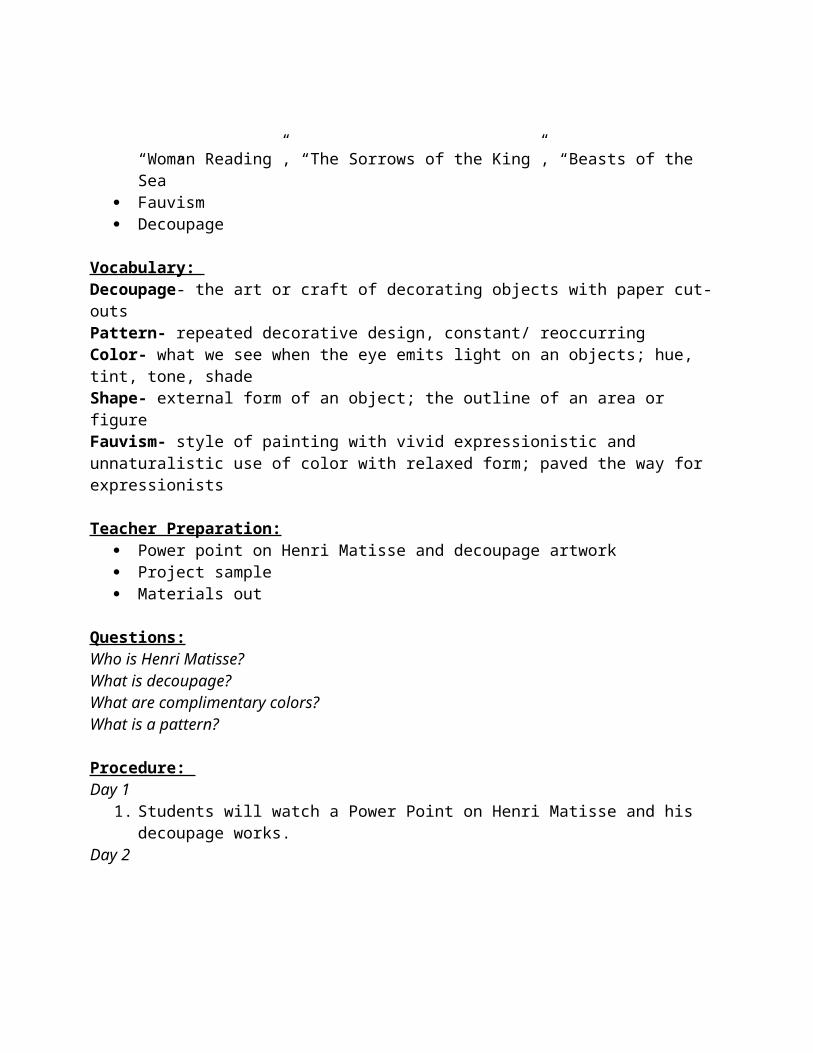
Who is Henri Matisse?What is decoupage?What are complimentary colors?What is a pattern?
Procedure: Day 1
1. Students will watch a Power Point on Henri Matisse and his decoupage works.Day 2
2. Students will first create a practice piece. I will give a brief demonstration on drawing shapes, cutting them out, pasting them on, and also pasting on the extra cuttings/clippings from the first cut shape.
3. Students will begin tracing their hand4. They will cut out their hand and paste it onto the white paper5. They will then take the cut out with the hand negative space and paste it on to the white
paper as well6. Students will then take paper of another color and draw a funky or “organic” shape7. They will continue cutting this out and pasting or “decoupaging” onto the white paper8. They will do this one more time with another color and a regular or “geometric shape”9. I will then have students write their name or their initials in the bottom right corner with a
black markerDay 3
10. Next, students will follow my step by step directions to create the next piece.11. I will first have the students cut out a large rectangular shape out of construction paper
with whatever color they choose for the bottom of the image, then paste it on.12. Next students will take their markers and create a pattern in the top half of the piece.13. Next students will choose a color to cut out a square, and then choose a different color to
cut out a square the same size. Students will do this by cutting out the one square first, and then tracing and cutting out the next
14. Then the students will glue down one of the squares. 15. Next they will take the other square and draw a large plus sign. I will then show them
how to cut this out and paste it onto the other square, making it a window.16. Next students will choose a different color to cut out a circle17. Using that same color they will cut out a rectangle to go under the square. They will paste
these connecting to one another18. Then students will cut out a large rectangle, followed by two small and thin rectangles and
paste them onto the bottom rectangle to create a table19. Students will then take any color paper and cut out and/or draw their favorite food to paste
onto the table20. Lastly, students will finish with adding their name or initials in the bottom right corner

Closure: A review of who Henri Matisse was, why he was important, and a brief review of his style. We will finish by looking at a few of the students artworks and reviewing their patterns and decoupage styles.
Assessment: Class participation Following directions Making their own artistic choices
Modifications: Time extension Possible funky curved scissors for more interesting lines Help with cutting and pasting when needed