Embed Size (px)
DESCRIPTION
A Steampunk Mini PC - All
Citation preview
let's make Explore (/tag/typeid/) Publish (/about/create.jsp)
Featured: Intel IoT(/id/intel/) Kitchen & Bath(/id/Moen/) LinkIt ONE(/id/mediateklinkitone/)
(/halloween/)
(/file/FAAPU3LH15N8XA0/)
(/file/FEBS56VH15NCKE2/)
About This Instructable
8 12,810 views
120 favorites
License:
(/member/Horatius.Steam/)
Horatius.Steam(/member/Horatius.Steam/)Steampunk Design(http://www.steampunkdesign.com)
Follow
Bio: I am a home constructor, an inventorand a dreamer. If you ask me who guidedme and who inspired me then this peoplecomes ... More »(/member/Horatius.Steam/)
498
More by Horatius.Steam:
(/)
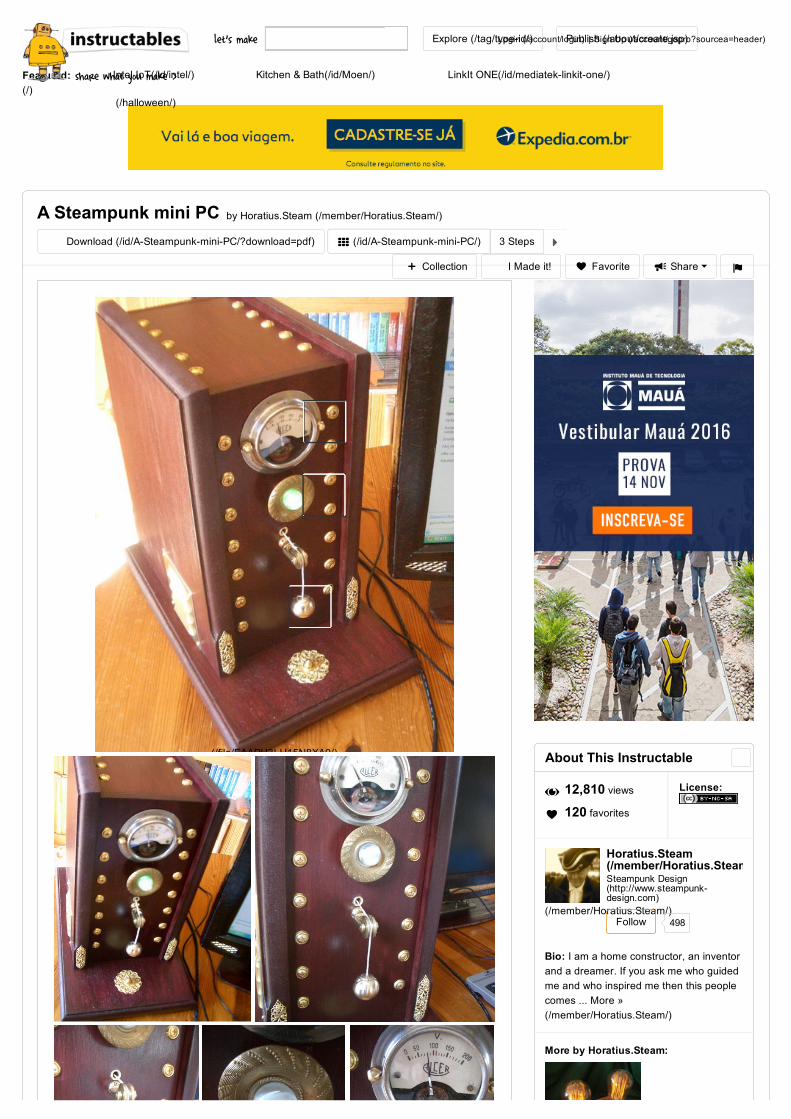
A Steampunk mini PC by Horatius.Steam (/member/Horatius.Steam/)
Download (/id/ASteampunkminiPC/?download=pdf)
Favorite I Made it! Collection
3 Steps .
Share
h (/id/ASteampunkminiPC/)
share what you make >
Login (/account/login) | Sign Up (/account/gopro?sourcea=header)
I needed a PC with a COM Port to program my micro controllers.So I started thinking and I found, that it could be a good idea to have in thesame style, than my monitor (http://www.instructables.com/id/HowtogiveanormalTFTmonitorawoodenfinish/), keyboard an mouse(http://www.instructables.com/id/SteampunkKeyboardandMouseTheeasyway/).Beside this, I found some nice brass applications, like the tiny brass roll. Th ideacomes in mind, to use this as the power on switch for the computer.The housing was made of MDF.The meter that shows that power is on is an old French meter, that sowsirregular results. But for the power indicator it is good enough.The HDD indicator was made from a green LED and a stained marble gluedinside a brass knob for furniture.The switch was made from a micro switch inside the case, a brass roll, and aball nut.
Now let´s have a look inside.
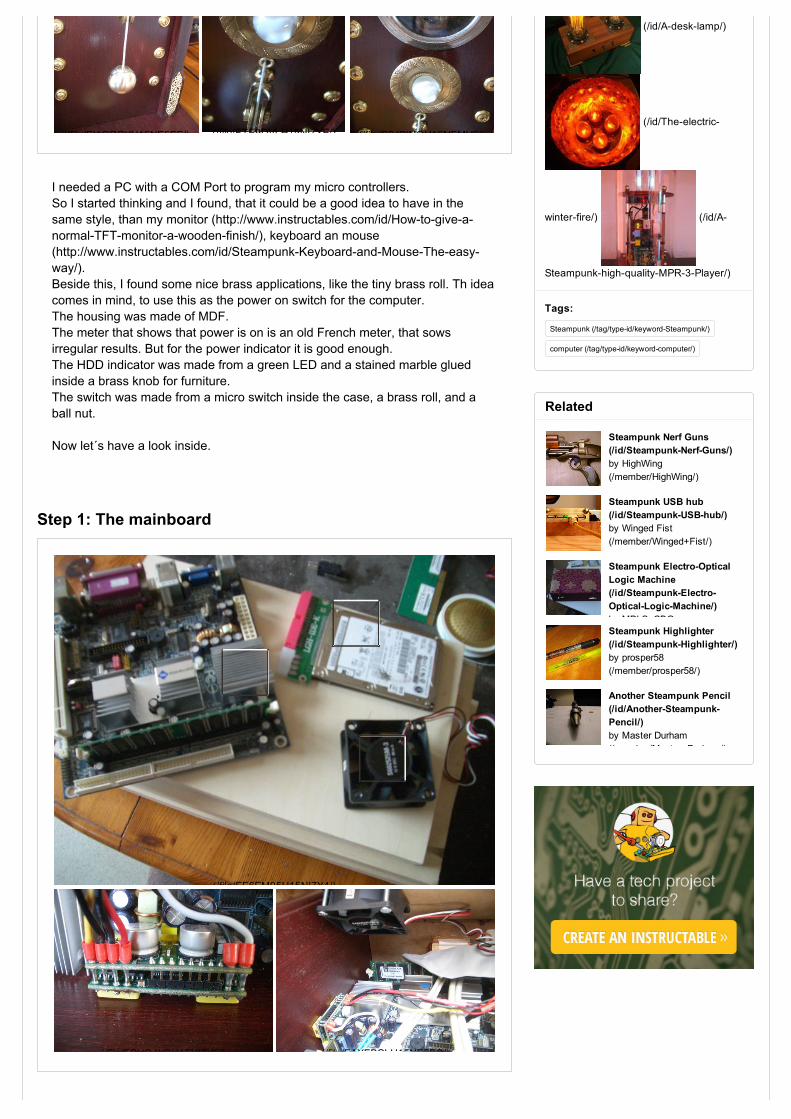
Step 1: The mainboard
The CPU FAN was terribly loud and I decided to use the case fan for cooling the
(/file/FI1GRCYH15NE5EE/) (/file/FTE9DVLH15NI7YE/) (/file/F9JPINGH15NFMV6/)
(/file/FF6EM95H15NI7Y4/)
(/file/FSUQ4YBH15NI7Y5/) (/file/FAXFBCLH15NE5EC/)
(/id/Adesklamp/)
(/id/Theelectric
winterfire/) (/id/A
SteampunkhighqualityMPR3Player/)
Steampunk (/tag/typeid/keywordSteampunk/)
computer (/tag/typeid/keywordcomputer/)
Tags:
Related
(/id/Steampunk
Steampunk Nerf Guns(/id/SteampunkNerfGuns/)by HighWing(/member/HighWing/)
(/id/Steampunk
Steampunk USB hub(/id/SteampunkUSBhub/)by Winged Fist(/member/Winged+Fist/)
(/id/Steampunk
Steampunk ElectroOpticalLogic Machine(/id/SteampunkElectroOpticalLogicMachine/)by MPLS_CBG
(/id/Steampunk
Steampunk Highlighter(/id/SteampunkHighlighter/)by prosper58(/member/prosper58/)
(/id/Another
Another Steampunk Pencil(/id/AnotherSteampunkPencil/)by Master Durham(/member/Master+Durham/)
The CPU FAN was terribly loud and I decided to use the case fan for cooling theCPU as well.Its working fine and the CPU temp. is always below 45 degrees C.I used a MICRO PSU Power supply that fits directly inside the Power connectorof the main board.It gives enough power for the board, the HDD and the external TFT.
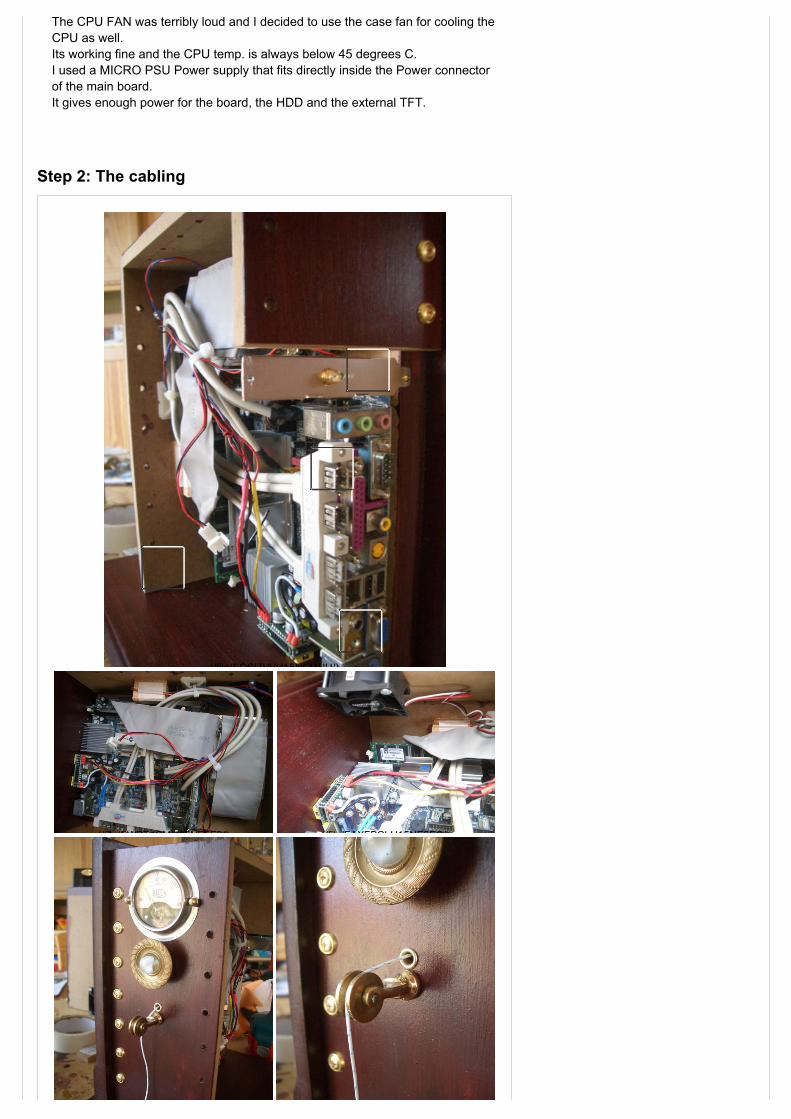
Step 2: The cabling
(/file/FOSI7VVH15NFMUU/)
(/file/FWBT1SMH15NE5E8/) (/file/FAXFBCLH15NE5EC/)
The cabling was standard.The fan was a bit loud, so I connected it between +5 and +12 Volt to operate itwith 7V.Now its quite and cool enough.On picture 2 you can see the small wooden block that hides the micro switchwhere the small cord is connected.If you pull the cord, the power goes on.
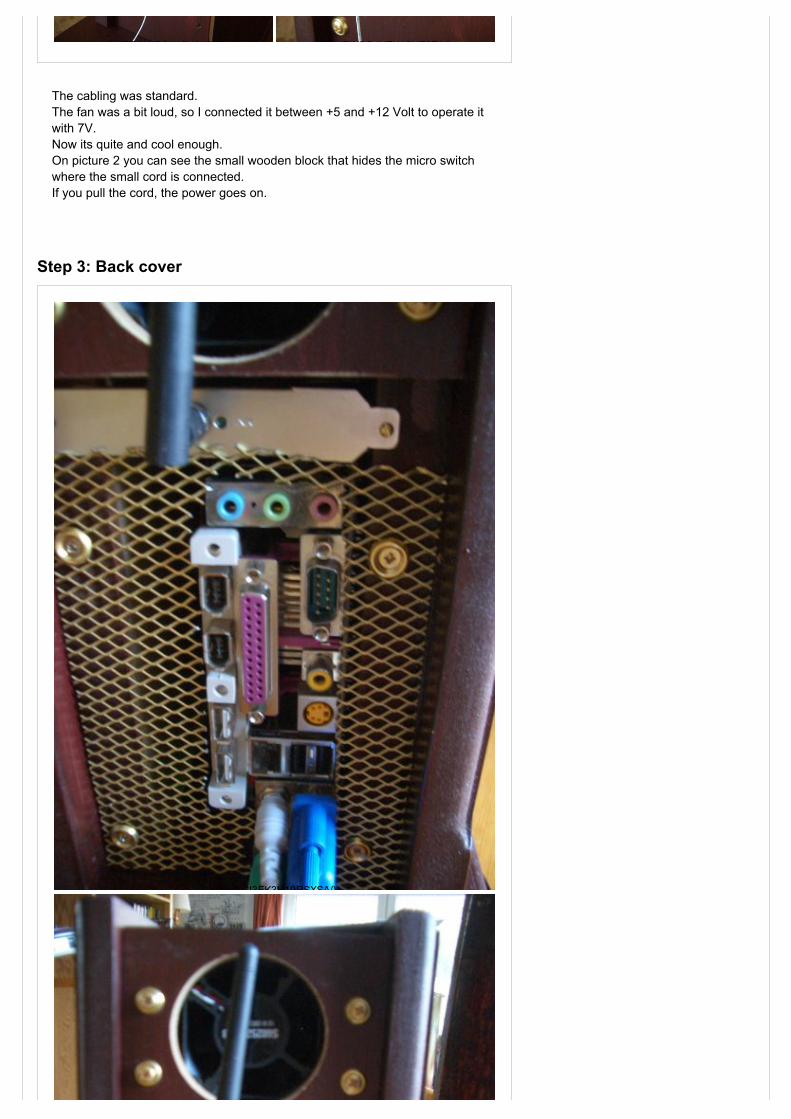
Step 3: Back cover
(/file/FR0MID5H15N8X9N/) (/file/FWSG4VEH15NE5EA/)
(/file/FCI3FK3H19RSXSA/)
We have a be nice comment policy.Please be positive and constructive. w I Made it! Add Images Post Comment
Reply5 months ago
Reply5 months agoX|8
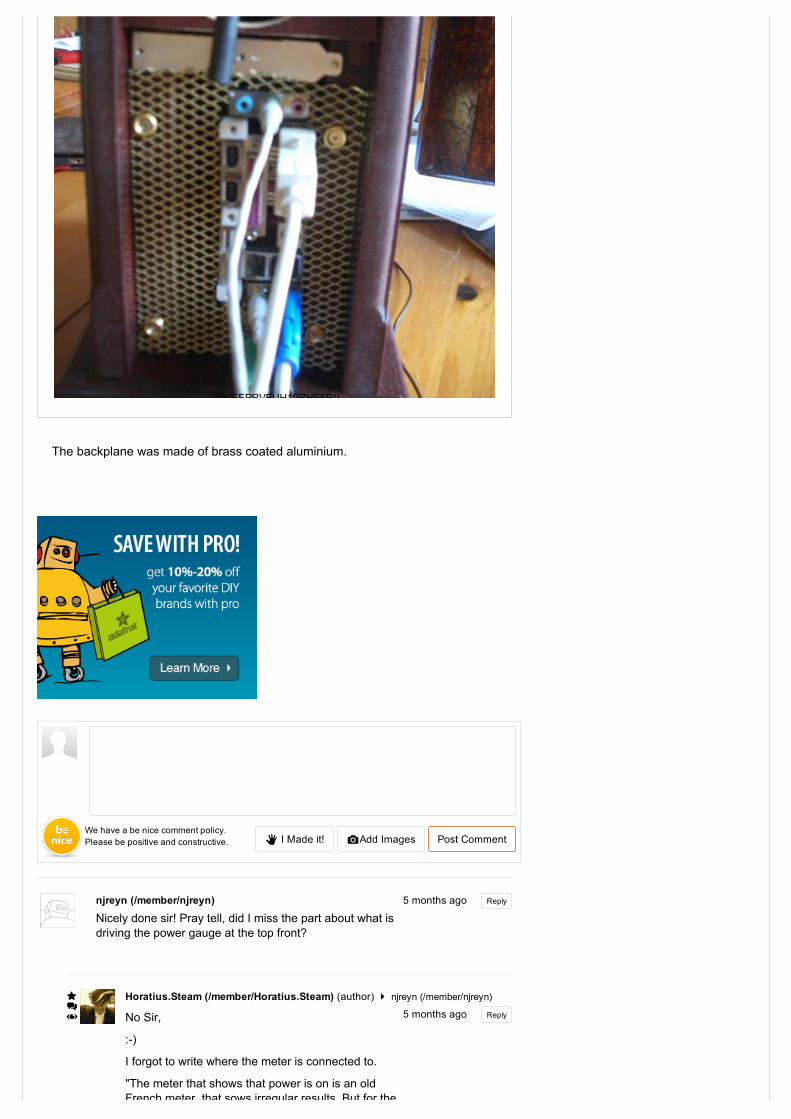
The backplane was made of brass coated aluminium.
njreyn (/member/njreyn)Nicely done sir! Pray tell, did I miss the part about what isdriving the power gauge at the top front?
Horatius.Steam (/member/Horatius.Steam) (author) . njreyn (/member/njreyn)
No Sir,
:)
I forgot to write where the meter is connected to.
"The meter that shows that power is on is an oldFrench meter, that sows irregular results. But for the
(/file/FFPRVEUH19RHE6R/)