Embed Size (px)
Citation preview
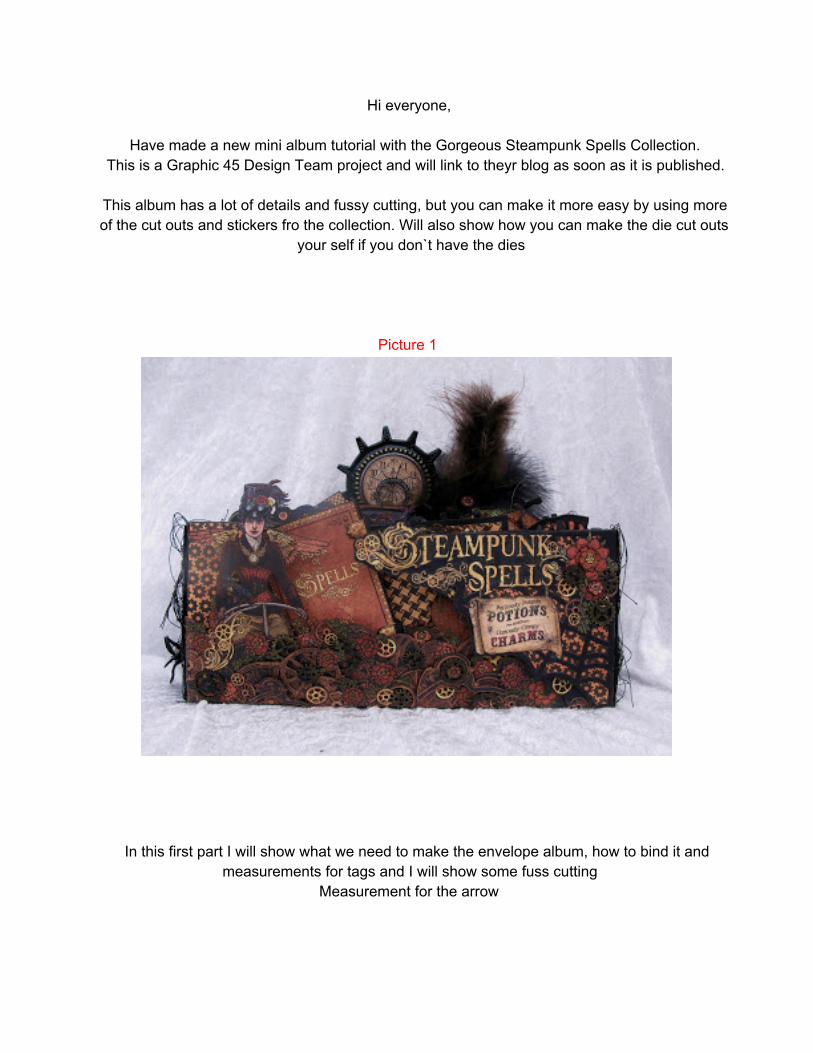
Hi everyone,
Have made a new mini album tutorial with the Gorgeous Steampunk Spells Collection.This is a Graphic 45 Design Team project and will link to theyr blog as soon as it is published.
This album has a lot of details and fussy cutting, but you can make it more easy by using moreof the cut outs and stickers fro the collection. Will also show how you can make the die cut outs
your self if you don`t have the dies
Picture 1
In this first part I will show what we need to make the envelope album, how to bind it andmeasurements for tags and I will show some fuss cutting
Measurement for the arrow

Here is the arrow tag cut out.
Measurement for the tag
In this video we will decorate the 1. inside envelope. Make a flip out page.some tags, pocketsand I will also show how you can make your own spider web

Picture 2
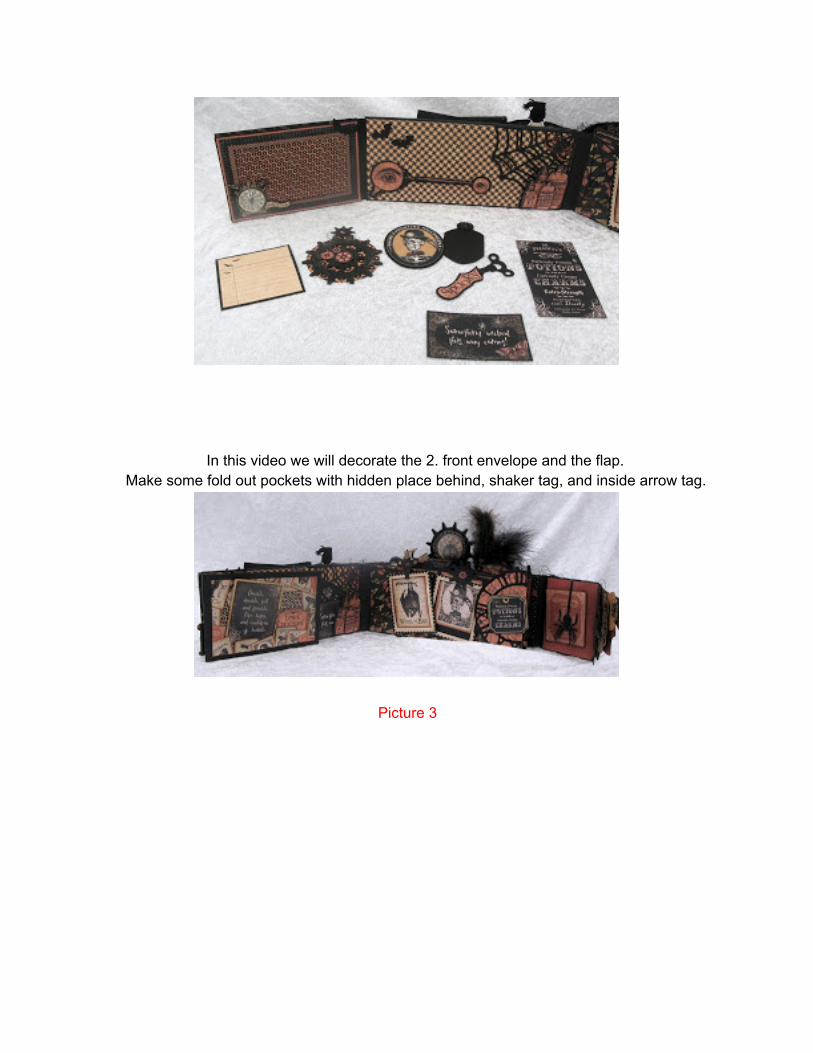
In this video we will decorate the 2. front envelope and the flap.Make some fold out pockets with hidden place behind, shaker tag, and inside arrow tag.
Picture 3
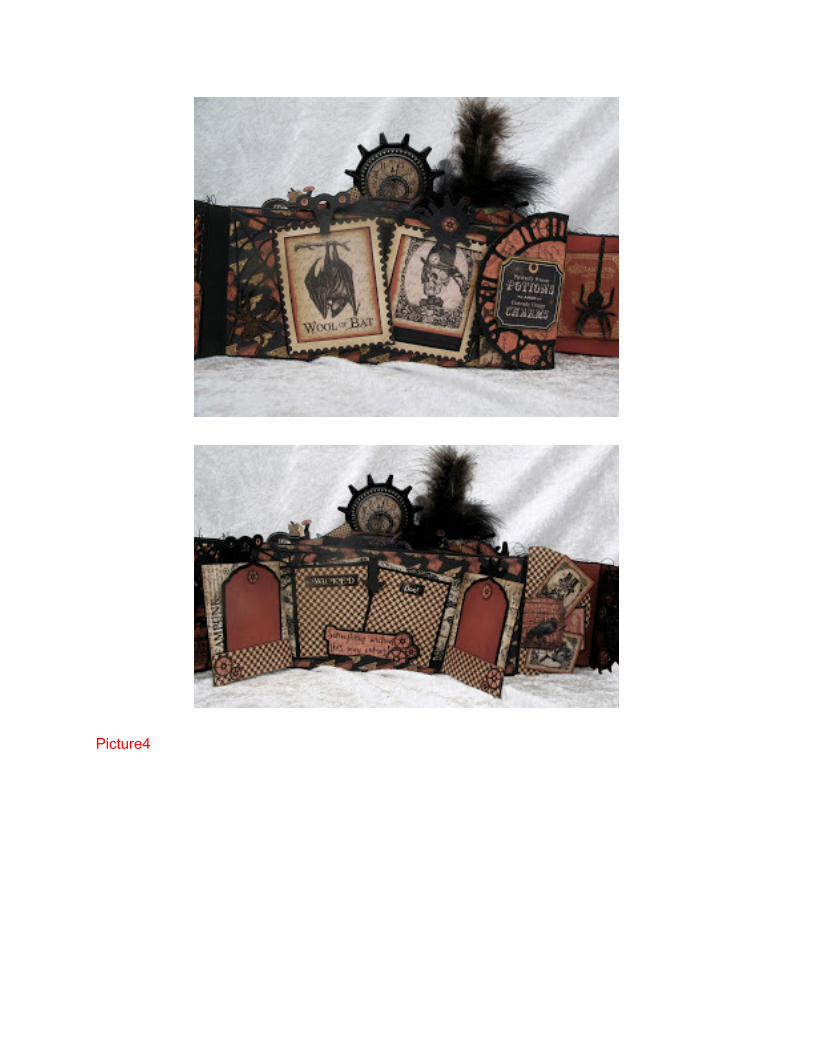
Picture4

In this video we will start decorate the 2. envelope back side. Make a house fold out, a large flap,pockets,post card and I will also tell how you can make your own house,bike and grass if you
don`t have the diesHere is the link to the fence tutorial that start at 14.25 minutes in the video
https://www.youtube.com/watch?v=6x2F9vYhFlU
Picture5

In this video we will decorate the inside pager of the flap we made in the previous.An other flip down pocket.decorate with banners, tags and on the other side there is a slider

Picture6

In this video we will decorate the front of the 3. envelope.Make a flip out, pockets and tags. Will also show how you can make your own tree if you don`t
have a die.


Picture 7
In this video we will decorate the 3. envelope back.Make a slider pop up and tags. Will also use thread on the hot ear balloon.

Picture8

In this video we will decorate the front of the 4. envelope.Make pockets, gear fastener with chain an key, shaker tag and a arrow tag.
Picture 9


Picture10


In this video we will decorate the 4. back envelope.Make a flop out page, pockets and tags

Picture11

In this video we will decorate the 5. envelope front.Make a inside slider tag with the bird moving, tags.and making the closure flap

Picture 12
In this video we will decorate the backside of the album and sides.We will make a magnet frame, pockets and tags
Picture 13

In this video we will make a flip up page for the front side.Make some slider frames. flip out pocket and tags

Picture 14

Decorate the front flap, make a little booklet and side flap


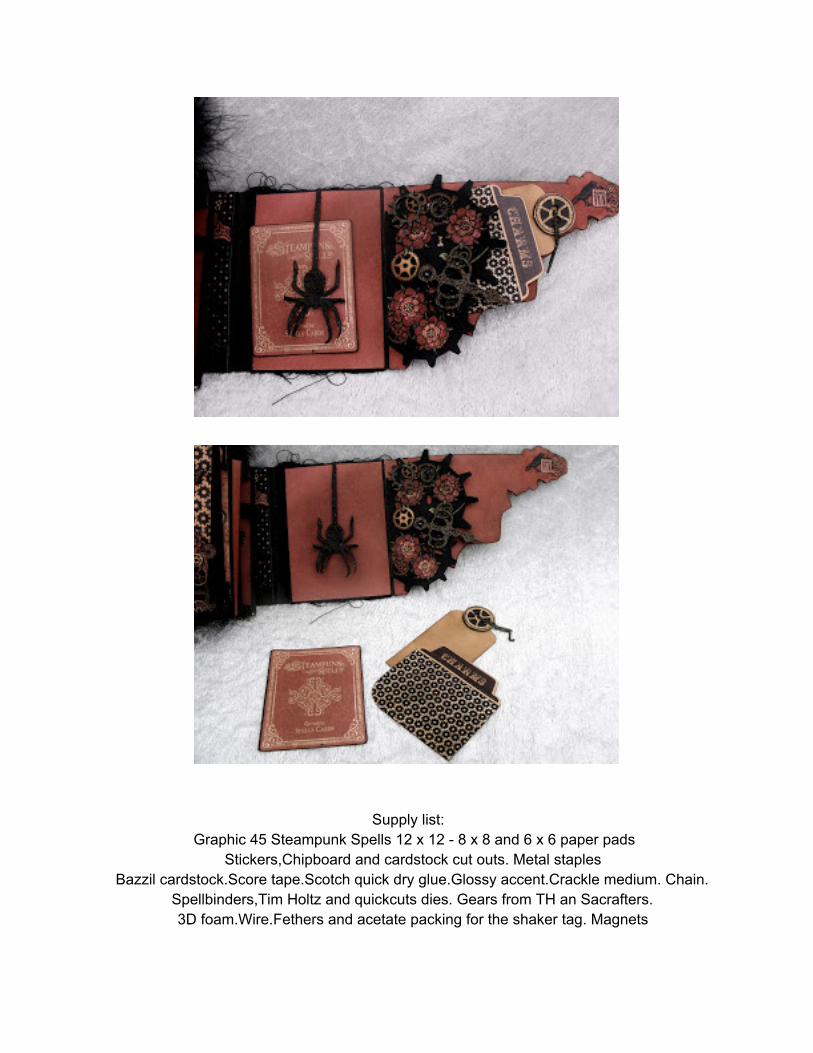
Supply list:Graphic 45 Steampunk Spells 12 x 12 8 x 8 and 6 x 6 paper pads
Stickers,Chipboard and cardstock cut outs. Metal staplesBazzil cardstock.Score tape.Scotch quick dry glue.Glossy accent.Crackle medium. Chain.
Spellbinders,Tim Holtz and quickcuts dies. Gears from TH an Sacrafters.3D foam.Wire.Fethers and acetate packing for the shaker tag. Magnets

Hope you can use some of the ideas and that it is a bit inspiring.Have fun creating :)
Hugs, Anne
![Steampunk as Design Fiction · conventions, Steampunk musical acts, local Steampunk hobby organizations, and even touring Steampunk circuses [47; 49-51]. One of the key defining characteristics](https://img.pdfslide.us/doc/110x75/5f417000d0401d50a508ea9c/steampunk-as-design-fiction-conventions-steampunk-musical-acts-local-steampunk.jpg)