Embed Size (px)
Citation preview
A Collection of Cream Pie Recipes
Recipes and Techniques for Light and Delightful Cream Pies
The Prepared Pantry3847 East 38 North
Rigby, ID 83442208-745-7892
www.preparedpantry.com
Cream PiesRecipes and Techniques for
Light and Delightful Cream Pies
Table of Contents
The Perfect Crust..................................................................................................3American Walnut Pie Crust Recipe.......................................................................4Vanilla Nut Pie Crust.............................................................................................5Peach Chiffon Pie with Gingersnap Crust Recipe.................................................6How to Make Cream Pies .....................................................................................7How to Make Cool Cream Pies from Vanilla Cream to Strawberry Cream .........10Vanilla, Chocolate, Coconut, Banana Cream Pie . . ...........................................11Banana Cream Pie in a Vanilla Wafer Crust .......................................................12Double Chocolate Cream Pie .............................................................................14Easy Strawberry Cream Pie................................................................................16Boston Cream Pie Recipe...................................................................................17
The Prepared Pantry3847 East 38 North
Rigby, ID 83442208-745-7892
www.preparedpantry.com
Copyright 2005-2007, The Prepared Pantry. All rights reserved. The material herein is published by The Prepared Pantry for the private use of individuals and may not be used for commercial purposes without the express consent of the publisher. The information contained herein is believed accurate but the publisher makes no warranties, express or implied, and the recipient is using this information at his or her own risk.
The Perfect Crust
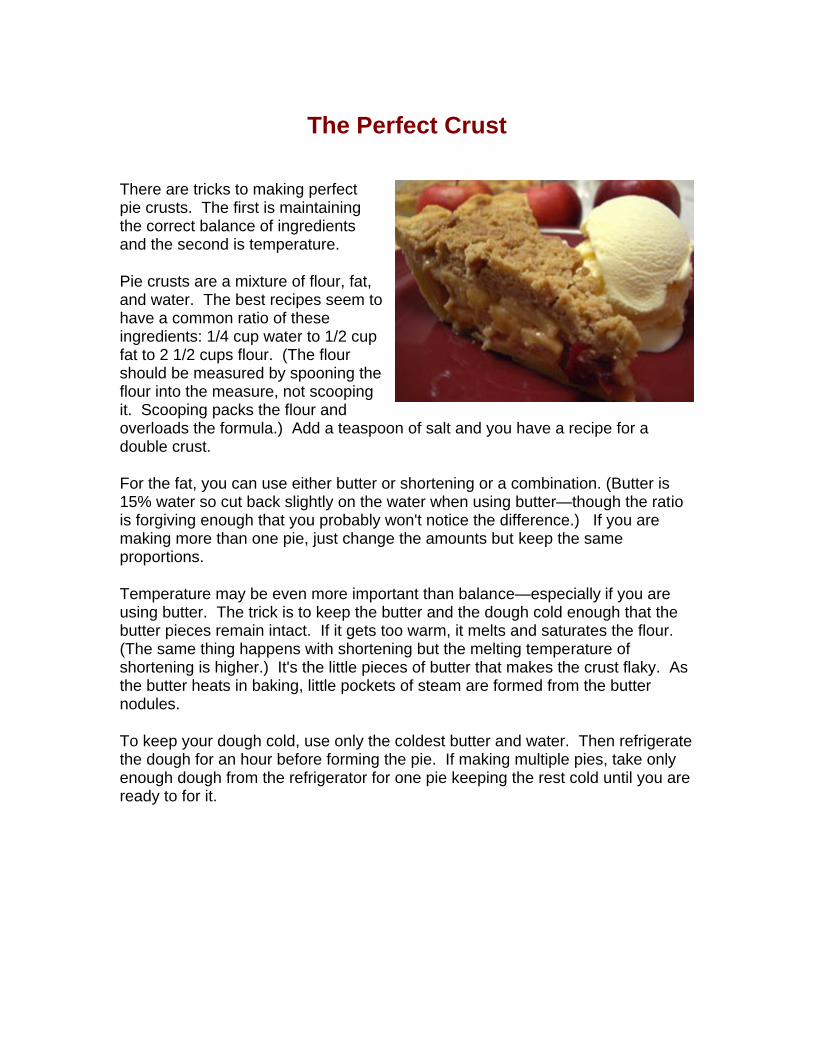
There are tricks to making perfect pie crusts. The first is maintaining the correct balance of ingredients and the second is temperature.
Pie crusts are a mixture of flour, fat, and water. The best recipes seem to have a common ratio of these ingredients: 1/4 cup water to 1/2 cup fat to 2 1/2 cups flour. (The flour should be measured by spooning the flour into the measure, not scooping it. Scooping packs the flour and overloads the formula.) Add a teaspoon of salt and you have a recipe for a double crust.
For the fat, you can use either butter or shortening or a combination. (Butter is 15% water so cut back slightly on the water when using butter—though the ratio is forgiving enough that you probably won't notice the difference.) If you are making more than one pie, just change the amounts but keep the same proportions.
Temperature may be even more important than balance—especially if you are using butter. The trick is to keep the butter and the dough cold enough that the butter pieces remain intact. If it gets too warm, it melts and saturates the flour.(The same thing happens with shortening but the melting temperature of shortening is higher.) It's the little pieces of butter that makes the crust flaky. As the butter heats in baking, little pockets of steam are formed from the butter nodules.
To keep your dough cold, use only the coldest butter and water. Then refrigerate the dough for an hour before forming the pie. If making multiple pies, take only enough dough from the refrigerator for one pie keeping the rest cold until you are ready to for it.
American Walnut Pie Crust Recipe
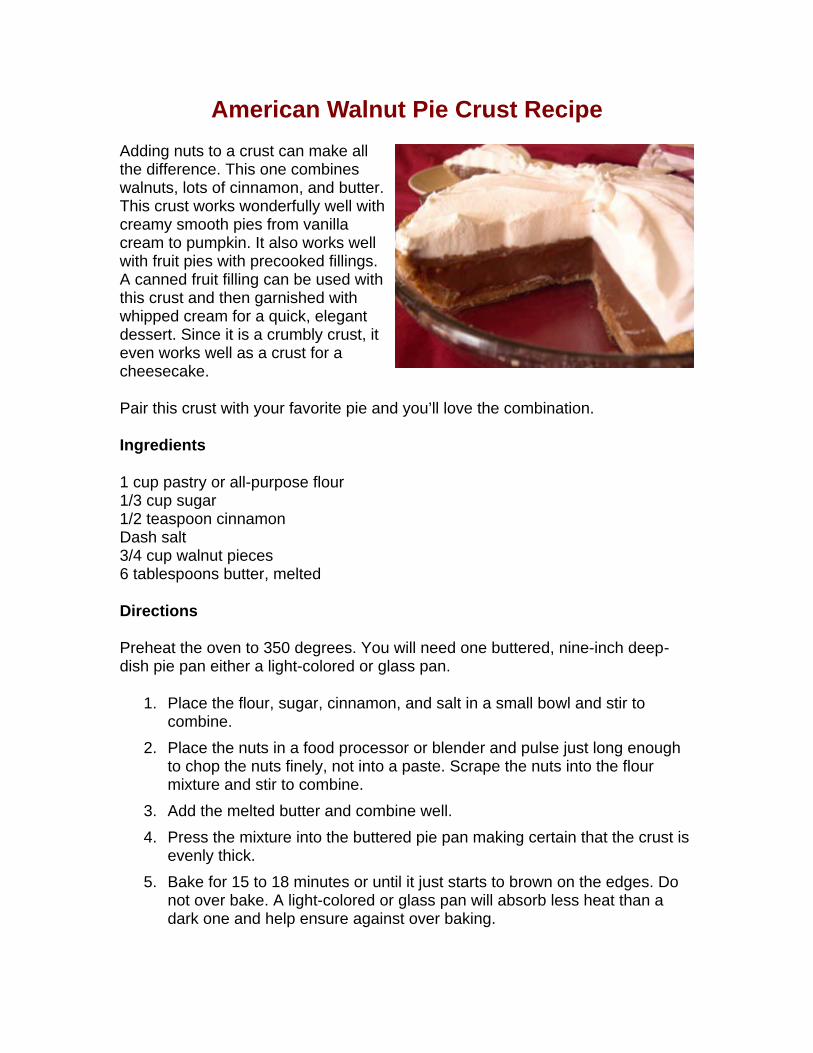
Adding nuts to a crust can make all the difference. This one combines walnuts, lots of cinnamon, and butter. This crust works wonderfully well with creamy smooth pies from vanilla cream to pumpkin. It also works well with fruit pies with precooked fillings. A canned fruit filling can be used with this crust and then garnished with whipped cream for a quick, elegant dessert. Since it is a crumbly crust, it even works well as a crust for a cheesecake.
Pair this crust with your favorite pie and you’ll love the combination.
Ingredients
1 cup pastry or all-purpose flour1/3 cup sugar1/2 teaspoon cinnamon Dash salt3/4 cup walnut pieces6 tablespoons butter, melted
Directions
Preheat the oven to 350 degrees. You will need one buttered, nine-inch deep-dish pie pan either a light-colored or glass pan.
1. Place the flour, sugar, cinnamon, and salt in a small bowl and stir to combine.
2. Place the nuts in a food processor or blender and pulse just long enough to chop the nuts finely, not into a paste. Scrape the nuts into the flour mixture and stir to combine.
3. Add the melted butter and combine well.
4. Press the mixture into the buttered pie pan making certain that the crust is evenly thick.
5. Bake for 15 to 18 minutes or until it just starts to brown on the edges. Do not over bake. A light-colored or glass pan will absorb less heat than a dark one and help ensure against over baking.
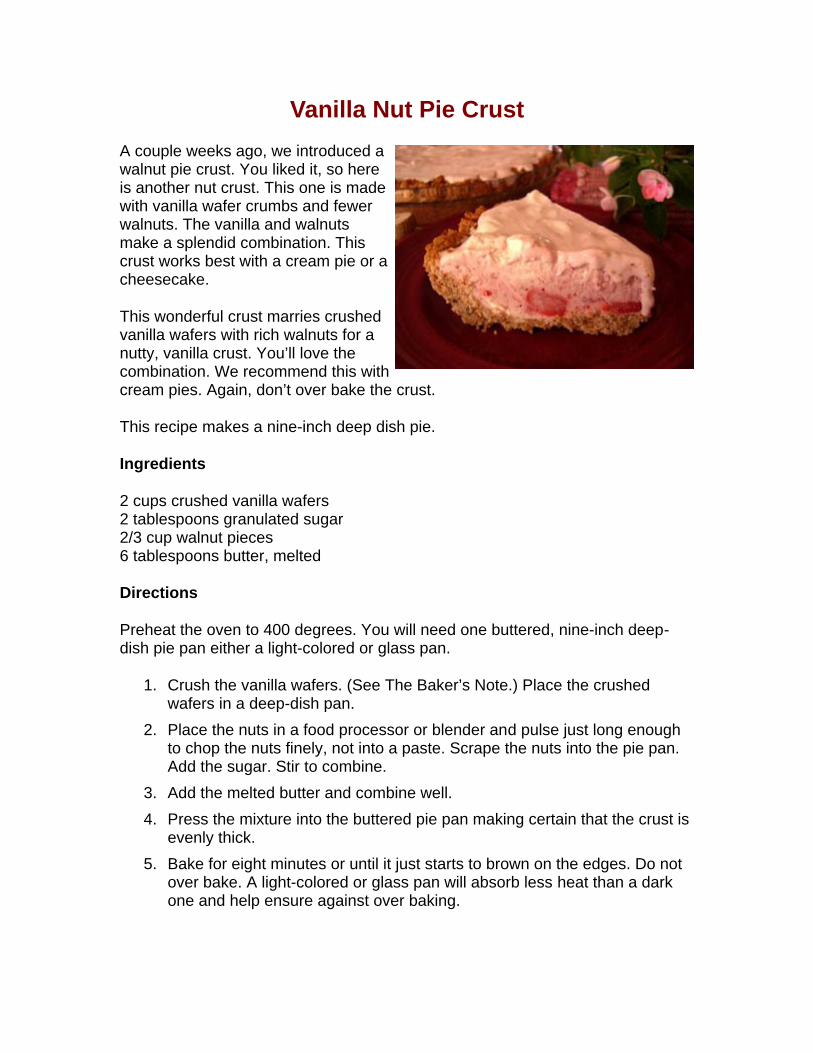
Vanilla Nut Pie Crust
A couple weeks ago, we introduced a walnut pie crust. You liked it, so here is another nut crust. This one is made with vanilla wafer crumbs and fewerwalnuts. The vanilla and walnuts make a splendid combination. This crust works best with a cream pie or a cheesecake.
This wonderful crust marries crushed vanilla wafers with rich walnuts for a nutty, vanilla crust. You’ll love the combination. We recommend this with cream pies. Again, don’t over bake the crust.
This recipe makes a nine-inch deep dish pie.
Ingredients
2 cups crushed vanilla wafers2 tablespoons granulated sugar2/3 cup walnut pieces6 tablespoons butter, melted
Directions
Preheat the oven to 400 degrees. You will need one buttered, nine-inch deep-dish pie pan either a light-colored or glass pan.
1. Crush the vanilla wafers. (See The Baker’s Note.) Place the crushed wafers in a deep-dish pan.
2. Place the nuts in a food processor or blender and pulse just long enough to chop the nuts finely, not into a paste. Scrape the nuts into the pie pan. Add the sugar. Stir to combine.
3. Add the melted butter and combine well.
4. Press the mixture into the buttered pie pan making certain that the crust is evenly thick.
5. Bake for eight minutes or until it just starts to brown on the edges. Do not over bake. A light-colored or glass pan will absorb less heat than a dark one and help ensure against over baking.
The Baker’s Note: This is how we crush cookies, vanilla, wafers, and graham cracker. Place handful of crackers or cookies in a heavy-duty plastic bag. Using a rolling pin, roll over the cookies to crush them. When crushed, empty the bag into a measuring cup and repeat the process until you have the desired amount of crumbs.
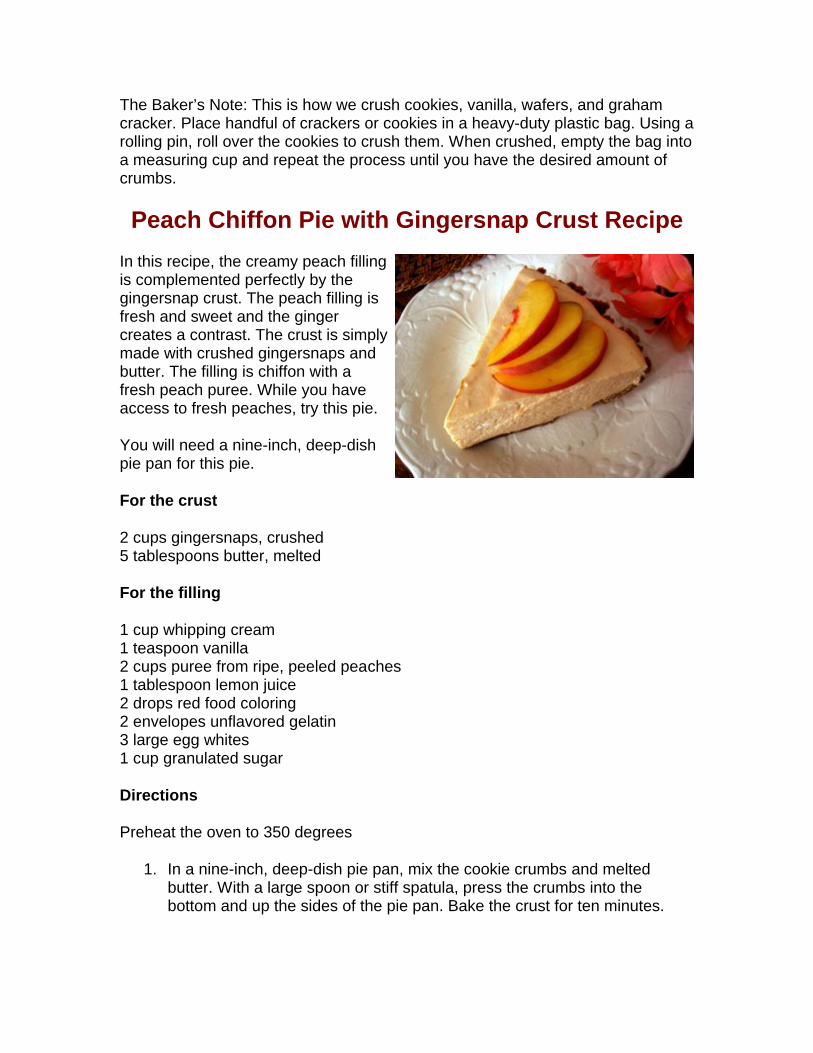
Peach Chiffon Pie with Gingersnap Crust Recipe
In this recipe, the creamy peach filling is complemented perfectly by the gingersnap crust. The peach filling is fresh and sweet and the ginger creates a contrast. The crust is simply made with crushed gingersnaps and butter. The filling is chiffon with a fresh peach puree. While you have access to fresh peaches, try this pie.
You will need a nine-inch, deep-dish pie pan for this pie.
For the crust
2 cups gingersnaps, crushed5 tablespoons butter, melted
For the filling
1 cup whipping cream1 teaspoon vanilla2 cups puree from ripe, peeled peaches1 tablespoon lemon juice2 drops red food coloring2 envelopes unflavored gelatin3 large egg whites1 cup granulated sugar
Directions
Preheat the oven to 350 degrees
1. In a nine-inch, deep-dish pie pan, mix the cookie crumbs and melted butter. With a large spoon or stiff spatula, press the crumbs into the bottom and up the sides of the pie pan. Bake the crust for ten minutes.
2. Whip the cream until soft peaks form. Add the vanilla and continue whipping until mixed.
3. Mix the puree, lemon juice, and red food coloring together.
Baker’s Note: The lemon juice helps the peach puree from turning dark. The touch of red food coloring should give the puree just a blush of pink.
4. Sprinkle the gelatin over 1/2 cup of the peach puree. Place the puree and gelatin in the microwave and heat for fifteen seconds. Take the puree out and stir it with a spoon. Heat it again for 15 seconds and stir again. Repeat the process until the mixture is very hot and the gelatin is dissolved. Mix the hot puree with the rest of the puree and refrigerate it for ten minutes.
5. Place the egg whites in a metal or Pyrex bowl. Stir in the sugar. Place the bowl in a pan of water on the stove. Heat the water and stir the egg whites with a whisk until the egg white mixture reaches 160 degrees. (Use your insta-read thermometer. If you don’t have a thermometer, the mixture will be very hot but not bubbling.) Remove from the heat. Beat with an electric mixer until soft peaks form.
6. Fold the peach mixture into the egg white mixture. Fold the whipped cream into the mixture. Refrigerate for two or three hours or until firm. Store in the refrigerator.
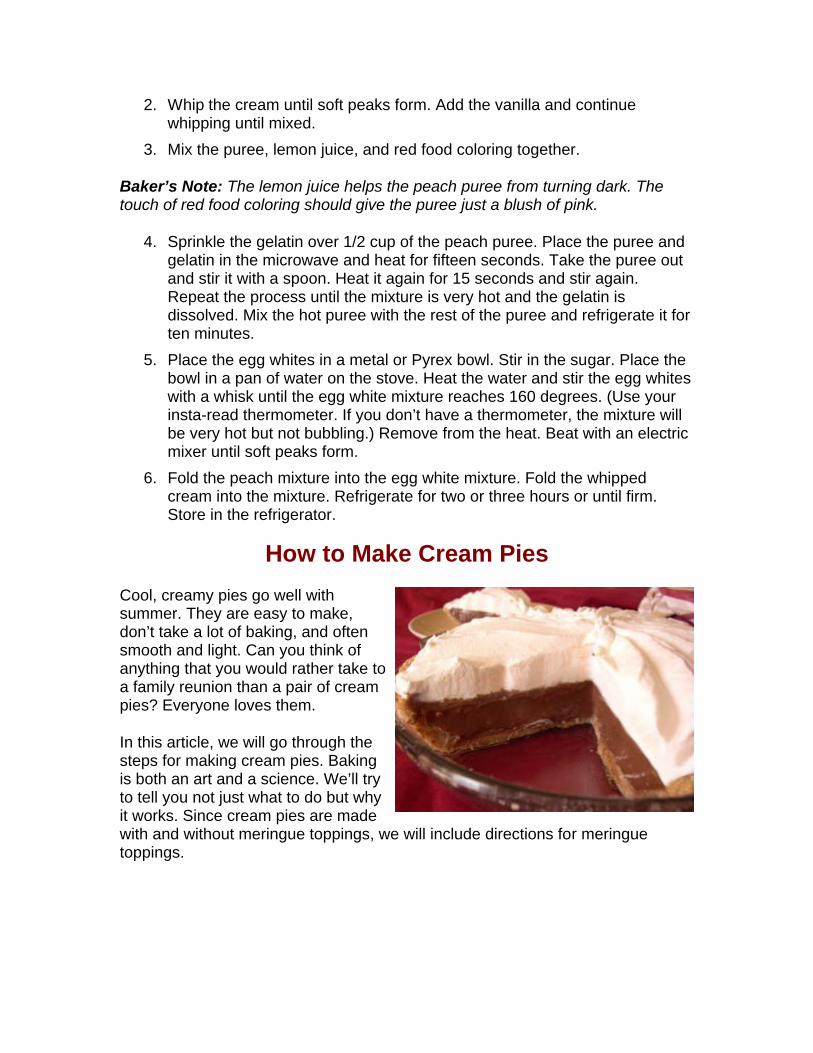
How to Make Cream Pies
Cool, creamy pies go well with summer. They are easy to make, don’t take a lot of baking, and often smooth and light. Can you think of anything that you would rather take to a family reunion than a pair of cream pies? Everyone loves them.
In this article, we will go through the steps for making cream pies. Baking is both an art and a science. We’ll try to tell you not just what to do but why it works. Since cream pies are made with and without meringue toppings, we will include directions for meringue toppings.
Step 1:
Cream pies are made in pre-baked single pie shells. Make the pastry dough from the recipe of your choice. Roll the dough to a thickness of about 1/8-inch thick. You can use a toothpick to gauge how thick the dough is in various spots.
Place the dough in the pie pan. For cream pies, we prefer to use a dark, metal pan to get a crisper crust than from a light-colored or glass pan. There are several ways to place the dough in the pan without tearing it. A simple way is to fold the dough in half and then in quarters, place the folded dough in the pan with the point in the center of the pan, and then unfold the dough. The disadvantage of this method is that the crease marks will remain.
The dough can also be placed using the rolling pin method. Roll the dough partially around the rolling pin, lift the dough and move it to the pie pan, then unroll the dough. (It’s easier than my description sounds.)
Trim the dough about 1 inch beyond the edges of the pie pan. Turn the edges under and flute the edges for an attractive finish.
For cream pies, use a fork to prick the surface of the pie crust. The holes will allow steam to escape as the shell bakes instead of creating bubbles.
Step 2:
Cream pies need to be firm enough to hold their shape when cut and served. They rely primarily on the coagulation of the proteins in the eggs to create that structure. Often flour or cornstarch is added for additional structure and to prevent the pie from “weeping”.
Mix the sugar, salt, and flour or cornstarch together in a saucepan. It is important that the combination be thoroughly mixed so that the sugar particles separate the flour and avoid lumping.
Gradually pour the liquid into the sugar mixture while stirring.
Step 3:
Cook the mixture over medium to medium-high heat, stirring regularly, until it is thick and bubbly. Cooking over low heat takes too long. Cooking over high heat may scorch the filling. The higher the heat, the more diligent you must be in your stirring.
Once the filling is bubbly, cook and stir for two minutes more. The continued cooking will gelatinize the starches in the cornstarch or flour and avoid the pasty taste of undercooked starches.

Step 4:
In most recipes, egg yolks are used instead of the whole eggs. The egg whites can be saved for a meringue topping. The fat in the egg yolks add a pleasant “mouth feel” to the custard and the yolks have a high protein content to make the filling firm.
The egg yolks need to be tempered before adding to the pan. Whisk the yolks together in a medium bowl until combined. Take about one cup of hot filling mixture and pour it in a stream into the egg yolks while stirring constantly. This will warm the egg yolks so that they will not curdle and lump as they are poured into the hot mixture.
Pour the egg yolk mixture into the rest of the hot filling while stirring constantly.
Immediately return the saucepan to the heat and cook for two more minutes. This cooking will cause the proteins in the egg yolks to coagulate—they coagulate at about 160 degrees—and create a firm pie filling. Do not overcook. Overcooking will weaken the protein structure.
Step 5:
Preheat the oven to 350 degrees.
Stir the butter into the hot filling along with any extract that the recipe may call for. Use a rubber spatula to scrape the pie filling into the cooled pastry shell.
If you are not topping the pie with meringue, cover the filling with plastic pressed against the surface. This will keep the filling from developing a tough skin. If you are going to top the pie with meringue, make it now.
Step 6: (Optional Meringue Topping)
Place the egg whites in a medium bowl, one with deep, straight sides works best. Four large egg whites will make enough meringue to cover a nine-inch pie. For a larger, more generous topping, use five or six egg whites.
Add one to 1 1/2 teaspoons vanilla and 1/2 teaspoon cream of tartar. Do not add the sugar yet. Beat for about 1 1/2 minutes or until soft peaks form. Do not over-beat.
Add 1/2 cup granulated sugar gradually to the mixture as you beat. Beat for another four minutes or until stiff peaks form. Rub a little of the meringue between your fingers to make sure that the sugar is dissolved. You should not feel any grains of sugar between your fingers.

With a spatula, spread the meringue topping on the pie. Push the meringue against the crust to seal the edges. (If the meringue is not anchored on the crust, it will tend to pull away from the crust in baking.)
Bake the pie for 12 to 16 minutes or until the topping is a golden brown.
Store the pie in the refrigerator. To cut the pie, first dip the knife in cold water; the meringue will not stick to a wet knife.
How to Make Cool Cream Pies from Vanilla Cream to Strawberry Cream
Smooth and cool, cream pies are wonderful in the summer. Once you understand the principles, they are easy. Then you can take the basic vanilla pie recipe and be creative, making other pies that your family will love. And since the filling is made on the stovetop there is no long baking time.
Basic Vanilla Cream Pie
Use this cream pie recipe as the basis for many other pies.
Ingredients
3 cups milk or light cream1/3 cup granulated sugar1/4 teaspoon salt3 large egg yolks1 whole egg1/4 cup cornstarch1/2 cup granulated sugar2 tablespoons butter1/2 tablespoon vanilla extract
One 9-inch baked pie shell
Directions
1. In a heavy saucepan, mix the milk, 1/3 cup sugar, and salt. Cook, stirring often with a whisk, just until the mixture begins to boil.
2. With a whisk, whip the egg yolks and whole egg together in a stainless steel bowl. Sift the cornstarch and 1/2 cup sugar together into the eggs. Whip until perfectly smooth.
3. While stirring the eggs with your whisk, drizzle the hot milk into the egg mixture. The hot milk will temper the eggs. Return the filling mixture to the heat and cook, stirring constantly, until the mixture comes to a boil and thickens. Remove from the heat.
4. Stir in the butter and vanilla until the butter is melted. Pour into a baked, cooled pie shell.
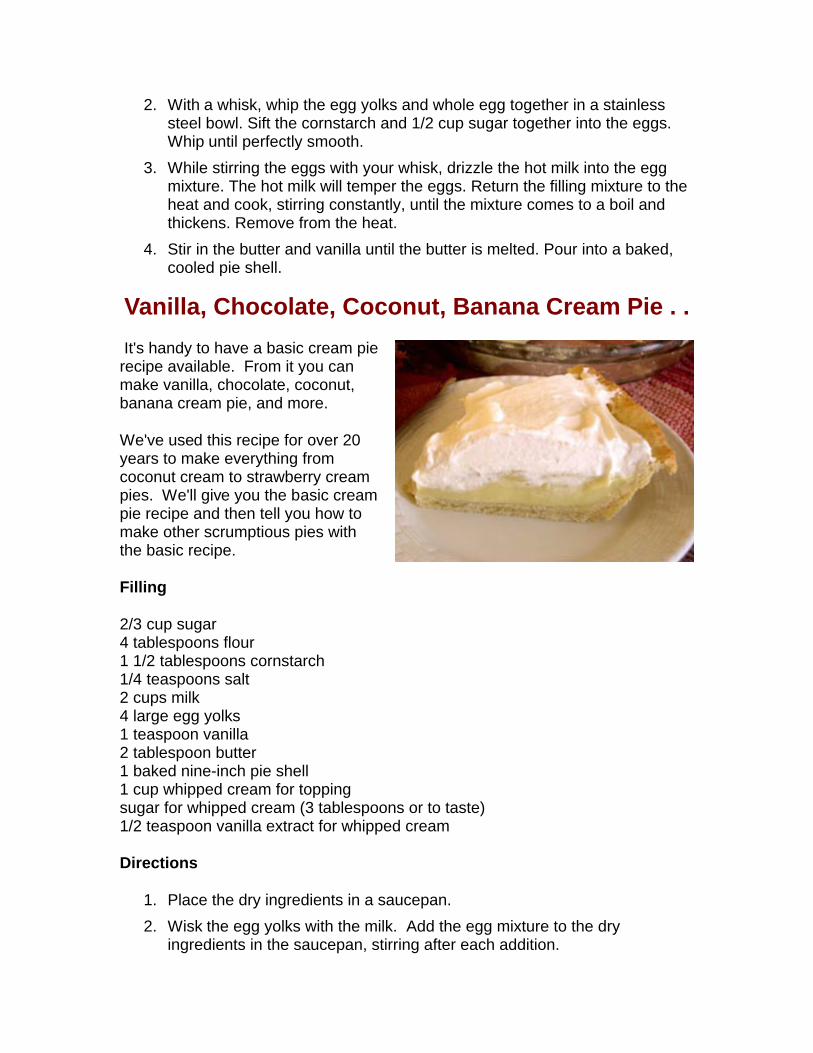
Vanilla, Chocolate, Coconut, Banana Cream Pie . .
It's handy to have a basic cream pie recipe available. From it you can make vanilla, chocolate, coconut, banana cream pie, and more.
We've used this recipe for over 20 years to make everything from coconut cream to strawberry cream pies. We'll give you the basic cream pie recipe and then tell you how to make other scrumptious pies with the basic recipe.
Filling
2/3 cup sugar4 tablespoons flour1 1/2 tablespoons cornstarch1/4 teaspoons salt2 cups milk4 large egg yolks1 teaspoon vanilla 2 tablespoon butter1 baked nine-inch pie shell1 cup whipped cream for toppingsugar for whipped cream (3 tablespoons or to taste)1/2 teaspoon vanilla extract for whipped cream
Directions
1. Place the dry ingredients in a saucepan.
2. Wisk the egg yolks with the milk. Add the egg mixture to the dry ingredients in the saucepan, stirring after each addition.

3. Heat over low heat, stirring regularly, until the mixture is thick and just begins to bubble.
4. Add the butter and vanilla and stir.
5. Let the mixture cool for fifteen minutes and then remove the filling to the baked pie shell. Chill for several hours.
Variations
Banana Cream Pie
Cover the bottom of the pie shell with sliced ripe bananas. Pour the cream filling over the bananas.
Chocolate Cream Pie
Add one cup semi-sweet chocolate chips to the mixture when you begin to heat the filling.
Double-Decker Cherry Cream
Spread a can of cherry pie filling over the vanilla cream filling after the pie has cooled.
Coconut Cream Pie
If you have coconut flavor, substitute the coconut for vanilla in the base recipe.
Toast one cup of sweetened, flaked coconut. Mix one half cup into the filling just before adding the filling to the pie shell. Sprinkle the other one half cup over the whipped cream topping.
Banana Cream Pie in a Vanilla Wafer Crust
We especially love this pie in the summer time; we don’t have to bake it. It goes together quickly and easily and is so scrumptious—ripe bananas, a smooth vanilla custard, and vanilla wafer crumb crust.
This deep-dish pie will be a hit wherever you serve it. And with a crumb crust, you didn’t have to toil away to make it. But don’t tell your
guests that.
This is one of the relatively few recipes that use egg yolks instead of whole eggs or egg whites. Save the egg whites for meringue cookies or a lemon meringue pie or your favorite angel food cake. You will need a nine-inch, deep-dish pie pan. Since it is not baked, a glass or ceramic pan will work just fine.
For the crust:
Ingredients
2 cups crushed vanilla wafers1 tablespoons granulated sugar6 tablespoons butter, melted
Directions
1. Crush the vanilla wafers. (See The Baker’s Note.) Place the crushed wafers in a deep-dish pan.
2. Add the sugar. Stir to combine.3. Add the melted butter and combine well.
3. Press the mixture into the buttered pie pan making certain that the crust is evenly thick.
4. Place the crust in the freezer to get hard while you make the filling.
The Baker’s Note: This is how we crush cookies, vanilla, wafers, and graham cracker. Place handful of crackers or cookies in a heavy-duty plastic bag. Using a rolling pin, roll over the cookies to crush them. When crushed, empty the bag into a measuring cup and repeat the process until you have the desired amount of crumbs.
For the filling:
Ingredients
Three small to medium-sized bananas2/3 cup sugar1/4 cup flour 1 tablespoon cornstarch1/4 teaspoons salt2 cups milk or light cream4 large egg yolks1 teaspoon vanilla 2 tablespoon butter
Directions
1. Place the dry ingredients in a saucepan. Add the milk or light cream and whisk together. Add the egg yolks and whisk those in.
2. Heat over low heat, stirring regularly, until the mixture is thick and just begins to bubble. Add the butter and vanilla and stir.
3. Let the mixture cool for fifteen minutes. Spread the banana slices evenly across the bottom of the pie shell. Pour the filling over the banana slices. Chill for several hours.
Baker’s note: To get the pie slices to release easily from the pie pan, heat up a wet dish cloth in the microwave and heat until hot. Fold the cloth into a nine-inch square and place it on the counter. Place the pie on the hot cloth. In a few minutes, the heat will soften the butter in the crumb crust enough that slices will slide from the pan.
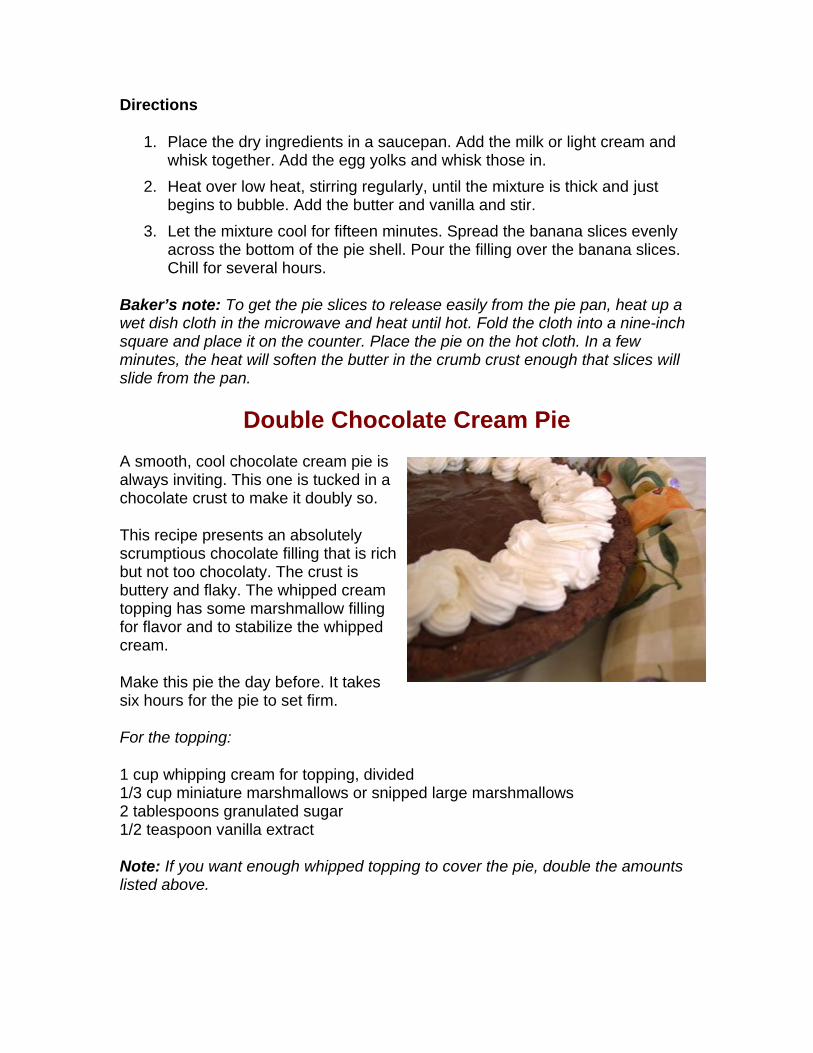
Double Chocolate Cream Pie
A smooth, cool chocolate cream pie is always inviting. This one is tucked in a chocolate crust to make it doubly so.
This recipe presents an absolutely scrumptious chocolate filling that is rich but not too chocolaty. The crust is buttery and flaky. The whipped cream topping has some marshmallow filling for flavor and to stabilize the whipped cream.
Make this pie the day before. It takes six hours for the pie to set firm.
For the topping:
1 cup whipping cream for topping, divided1/3 cup miniature marshmallows or snipped large marshmallows2 tablespoons granulated sugar1/2 teaspoon vanilla extract
Note: If you want enough whipped topping to cover the pie, double the amounts listed above.
For the crust:
3 tablespoons cocoa1 1/2 cups pastry flour (or all-purpose flour if pastry flour is not available)1/2 teaspoon salt3 tablespoons sugar 2/3 cup cold butter (1 1/3 cubes)1/3 cup ice cold water
For the filling:
1/3 cup sugar4 tablespoons cornstarch1/4 teaspoons salt2 1/2 cups whole milk5 large egg yolks2/3 cup semi-sweet chocolate chips1/2 tablespoon vanilla 4 tablespoon butter (6 tablespoons if you are using nonfat milk)
Directions
For the topping
1. Place 1/4 cup of the whipping cream in a small saucepan. Add the marshmallows and heat, stirring often, until the marshmallows are melted.
2. Pour the marshmallow mixture into a medium glass, ceramic, or steel bowl suitable for whipping the cream. Add the remainder of the whipping cream and refrigerate until well-chilled. Chill the mixer attachments that you will use for whipping.
3. To top the pie, whip the cream at medium speed until soft peaks form. Add the sugar and vanilla and continue beating until firm peaks form. Spread the topping on the pie as desired.
For the crust
1. Preheat the oven to 425 degrees. Make the pie crust by mixing the cocoa, flour, salt, and sugar in a medium bowl. Cut in the butter with a pastry blender until it is the size of peas.
2. Add the ice cold water all at once. Mix these ingredients with a fork just until they start to come together. Remove the dough to the counter and knead just a few times until the dough is coherent and can be rolled out.
3. Roll the dough out until it is less than 1/4-inch thick and larger than a pie pan. Place the dough in a nine-inch pie pan and shape the crust.
4. Fill the pie with pie weights and bake the shell for 8 minutes at 450degrees then reduce the heat to 350 degrees and bake for another 25 minutes. (Baking times will vary depending on the type of pie weights that you use. See how to use pie weights.)
For the filling
1. Mix the sugar, cornstarch, and salt in a medium sauce pan. Add the milk and egg yolks to the pan and. Stir the contents until smooth.
2. Heat over medium heat, stirring frequently, until the contents are bubbly and thick. Cook for another 30 seconds or so, stirring constantly.
3. Remove the pan from the stove and add the vanilla and butter. Set the filling aside to cool for fifteen minutes.
4. Pour the filling into the baked pie crust and smooth top. To prevent a crust on the top of the filling, cover the pie with plastic wrap and press the plastic against the filling.
5. Refrigerate the pie for at least six hours to set the filling,
Bakers Note: Make certain that the filling is cooked enough. Amylose is the primary thickener in starch. Eggs contain enzyme that will attack and destroy amylose. This enzyme in eggs is destroyed with high heat, nearly boiling. If this enzyme is not destroyed, the pie that looks perfect this evening will be a runny mess in the morning.
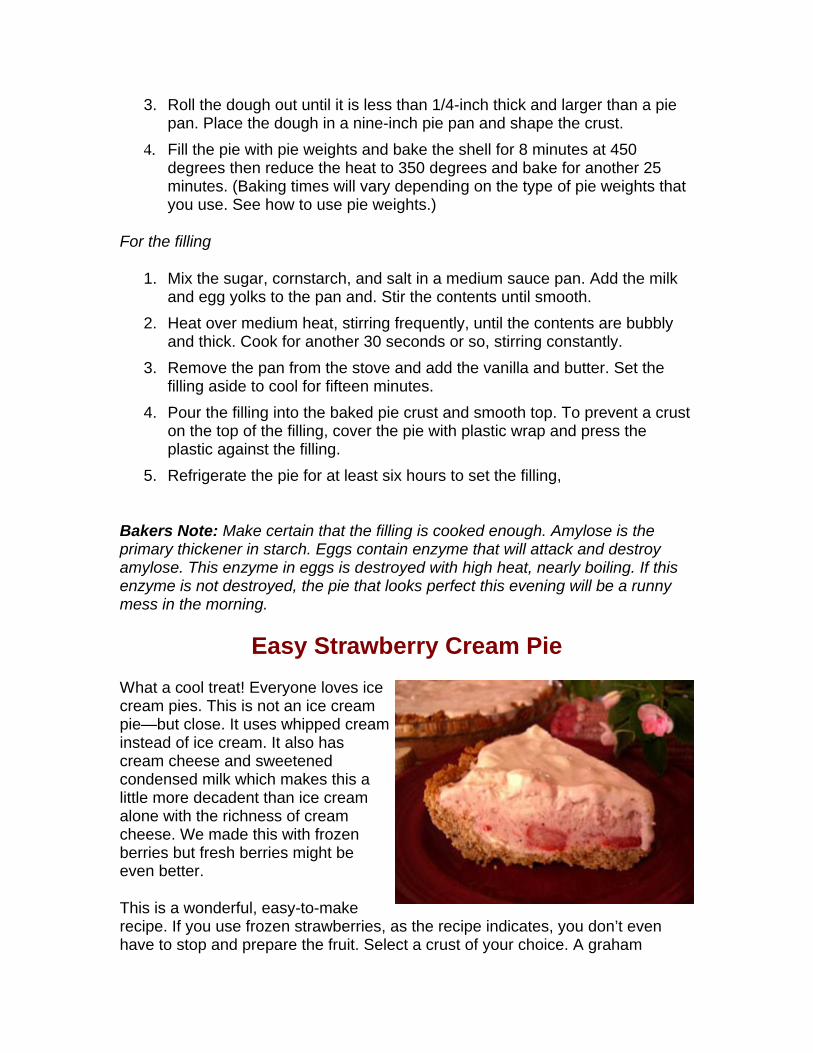
Easy Strawberry Cream Pie
What a cool treat! Everyone loves ice cream pies. This is not an ice cream pie—but close. It uses whipped cream instead of ice cream. It also has cream cheese and sweetened condensed milk which makes this a little more decadent than ice cream alone with the richness of cream cheese. We made this with frozen berries but fresh berries might be even better.
This is a wonderful, easy-to-make recipe. If you use frozen strawberries, as the recipe indicates, you don’t even have to stop and prepare the fruit. Select a crust of your choice. A graham
cracker crust is the classic but you can use a baked pastry crust. For a real treat,consider a nut crust—either the Vanilla Pie Nut Crust recipe or the American Walnut Pie Crust recipe.
Ingredients
1 nine-inch deep dish pie shell, well-chilled1 cup whipping cream4 ounces cream cheese1 14-ounce can of sweetened condensed milk, well-chilled1 1/2 cups pureed, sweetened strawberries (strawberries in syrup or strawberries with sugar added
Directions
Make sure the ingredients and the pie shell are well-chilled.
1. Whip the cream until stiff peaks form. Set in the refrigerator to keep cold.
2. Whip the cream cheese. Beat in the condensed milk and strawberries.
3. Gently fold in the whipped cream. Pour the filling into the pie shell. If the filling ingredients have been kept cold and you work quickly, the shell should overfill to a slight mound. Immediately stick the pie in the freezer to set. Freeze for four hours or more. Serve frozen.
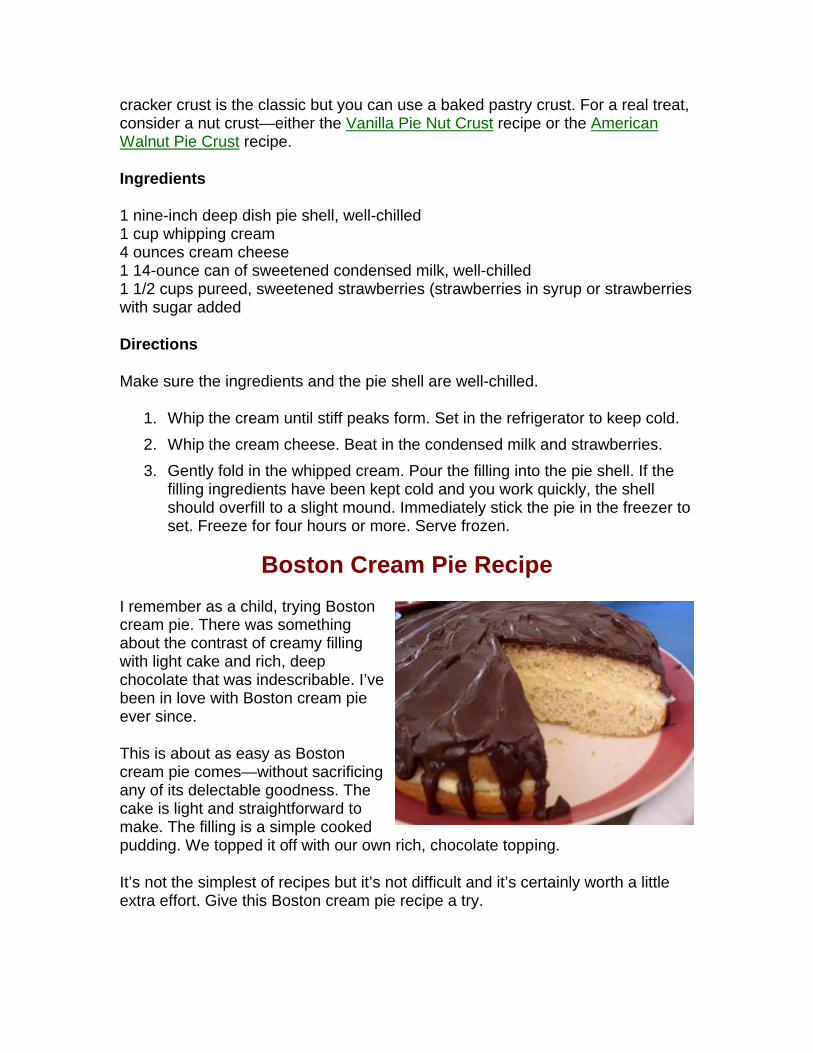
Boston Cream Pie Recipe
I remember as a child, trying Boston cream pie. There was something about the contrast of creamy filling with light cake and rich, deep chocolate that was indescribable. I’ve been in love with Boston cream pie ever since.
This is about as easy as Boston cream pie comes—without sacrificing any of its delectable goodness. The cake is light and straightforward to make. The filling is a simple cooked pudding. We topped it off with our own rich, chocolate topping.
It’s not the simplest of recipes but it’s not difficult and it’s certainly worth a little extra effort. Give this Boston cream pie recipe a try.
For the cake:
Bake single-layer Easy Everyday White Cake Recipe.
For the filling:
1/4 teaspoon salt2 1/2 tablespoons cornstarch1/3 cup granulated sugar1 1/2 cups milk2 large egg yolks
Combine the salt, cornstarch, and sugar in a medium saucepan. Gradually stir in the milk. Add the egg yolks. Cook over medium heat, stirring with a whisk often, until the mixture comes to a boil. Cook for one more minute. Set aside to cool.
For the topping:
Heat over low heat, two ounces unsweetened chocolate and three tablespoons butter until melted. Remove from the heat and stir in one cup powdered sugar and on-half teaspoon vanilla along with one to two tablespoons water until you have the desired consistency.
To assemble:
1. With a long-bladed, serrated knife, split the cake horizontally.
2. Spread the cream filling on the bottom half of the cake. Place the top half on the filling.
3. Spread the chocolate topping on the cake.
Since the filling includes milk and eggs, this cake should be refrigerated.