Embed Size (px)
Citation preview

Fold Guide
Optional - Cut out windows (leaving the center rails). Build the window inserts and glue in place behindeach window and door opening. Note - “Mother” is in the front, top, left window.
5B 5B
8A
Insert tabs through slotsand glue down tabs
Apply a small amount of glue to top corners andtop edges. Insert tabs through slots of 5A, 2B and 2C.
DO NOT GLUE DOWN TABS YET!
Score and fold the edges of5A, 2B and 2C as shown.
Apply a small amount of glue to bottom corners andtop edges of roof parts 6A and 6B.
Position roof parts so TABS ARE OUTSIDE (see inset)!When roof is in position, glue down tabs.
2B 2C
5A
6B
6B
6A
6A
Apply a small amount of glueto top corners and edges.
Apply a small amountof glue to bottom
corners and edges.
Assemble roof parts 6A and 6B.
TABS ARE OUTSIDE!
4A1A
3A
2A 2A
3A7A
7B
APlease note that this project is not recommended for children. It requires a moderate degree of skill, and the use of a cutting blade, which is extremely dangerous.
When using cutting blades always use protective eyewear. This model was designed to be printed on Matte Paper Heavyweight, and the use of white glue is recommended. Black dashed lines represent a mountain fold (a fold which point upward), and orange dashed lines represent a valley fold (the fold points downward). The orange dashed lines are
accompanied by a red “+” at each end. These are to be used as pin guides. Poke small holes at the “+”, flip the sheet over, and score between the holes for a clean valley fold.Read the instructions and study the illustrations carefully before beginning.
A free project from http://www.haunteddimensions.raykeim.com

B
Apply a small amount of glue to bottomcorners and top edges of tower roof 5C.
Position roof parts soTABS ARE OUTSIDE (see inset)!
When roof is in position,glue down tabs.
5C
5C
8E
8D
8C
4H
4C
8B 4J
4J
4B
6C
Completed Model
6C
4B
4B x 2
6C x 2
4F & 4G
4F & 4G
4D4D4iAssemble tower roof parts 5C and dormer 4D.
Insert tabs in slotthen glue down tabs.
Attach beneath side door.
Attach to side of porch.
Apply glue totabs then insert.
TABS ARE OUTSIDE!
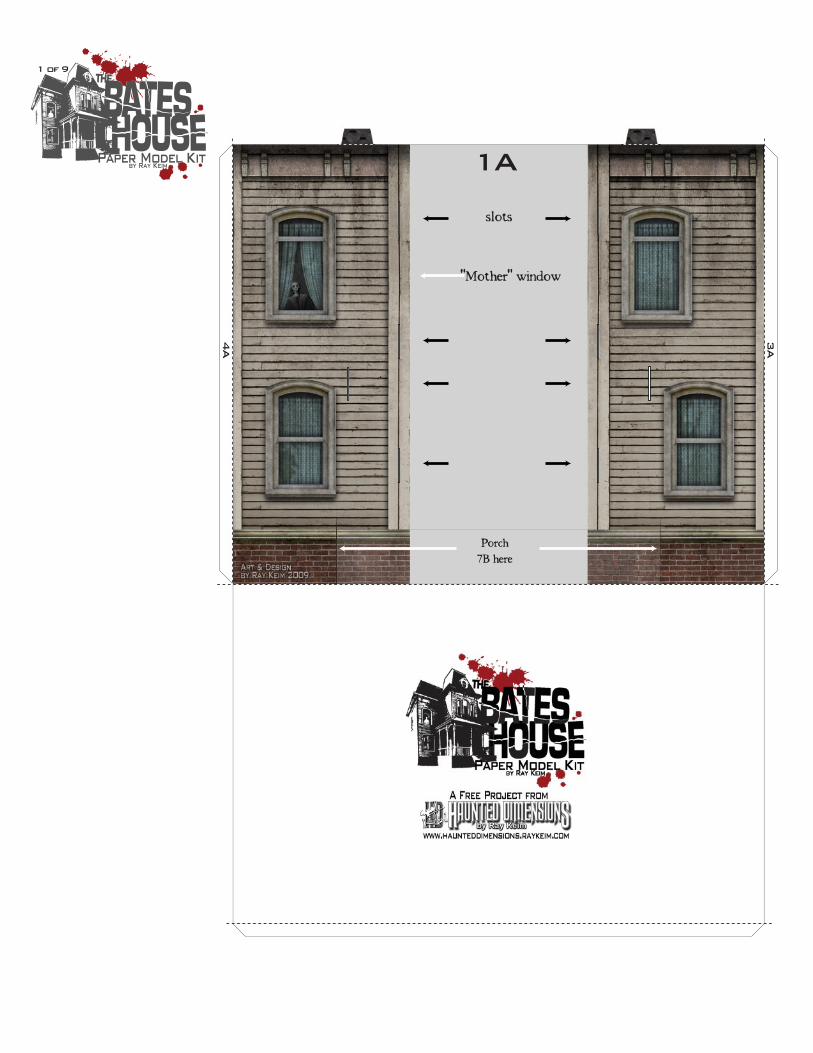
1 of 9
slots
"Mother" window
Porch7B here
1A
3A
4A

2 of 9
slots
slots
slots
2A
2C
2B
A free project from http://www.haunteddimensions.raykeim.com

3 of 9
3A
Atta
ch p
iece
2A h
ere
A free project from http://www.haunteddimensions.raykeim.com

4 of 9
to 3
A
4A
4B 4B
4C
4D
4i
4H
4J
4F 4G
slots
A free project from http://www.haunteddimensions.raykeim.com

5 of 9
slots
slots
slots slots
slots5C
5A
5B
A free project from http://www.haunteddimensions.raykeim.com
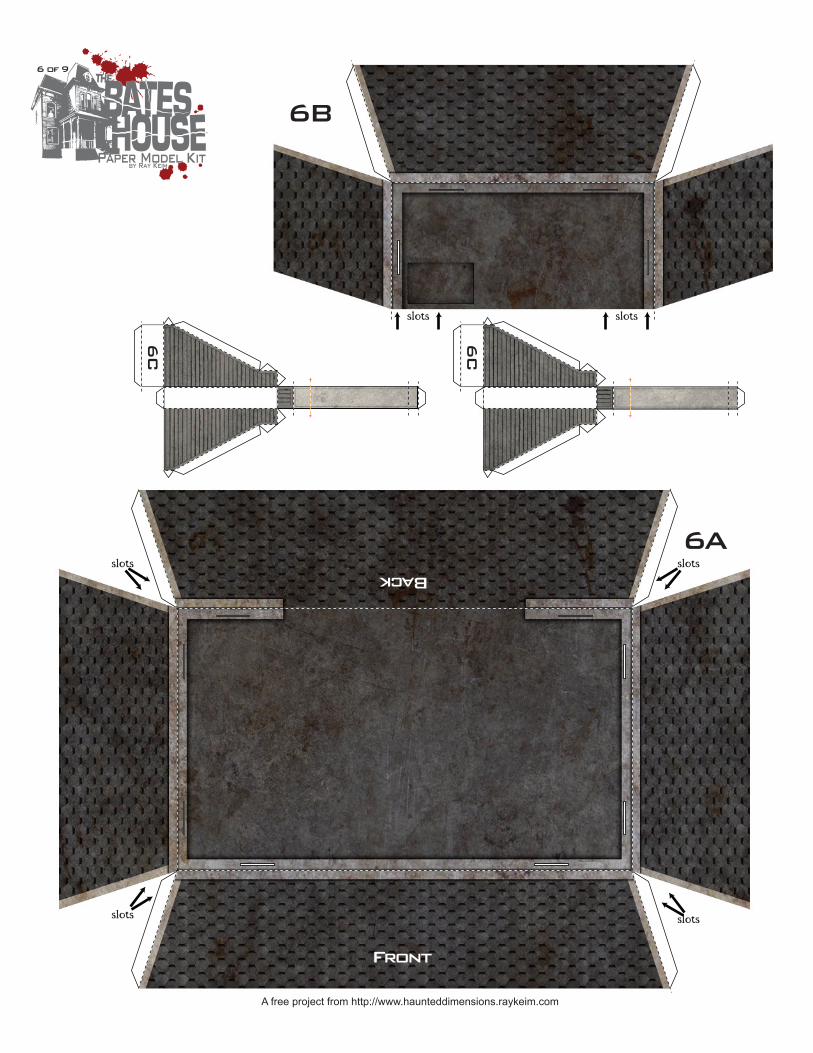
6 of 9
slots
slotsslots
slotsslots
slots
6A
Front
Back
6B
6C
6C
A free project from http://www.haunteddimensions.raykeim.com

7 of 9
7A
7B
A free project from http://www.haunteddimensions.raykeim.com
slots
slots
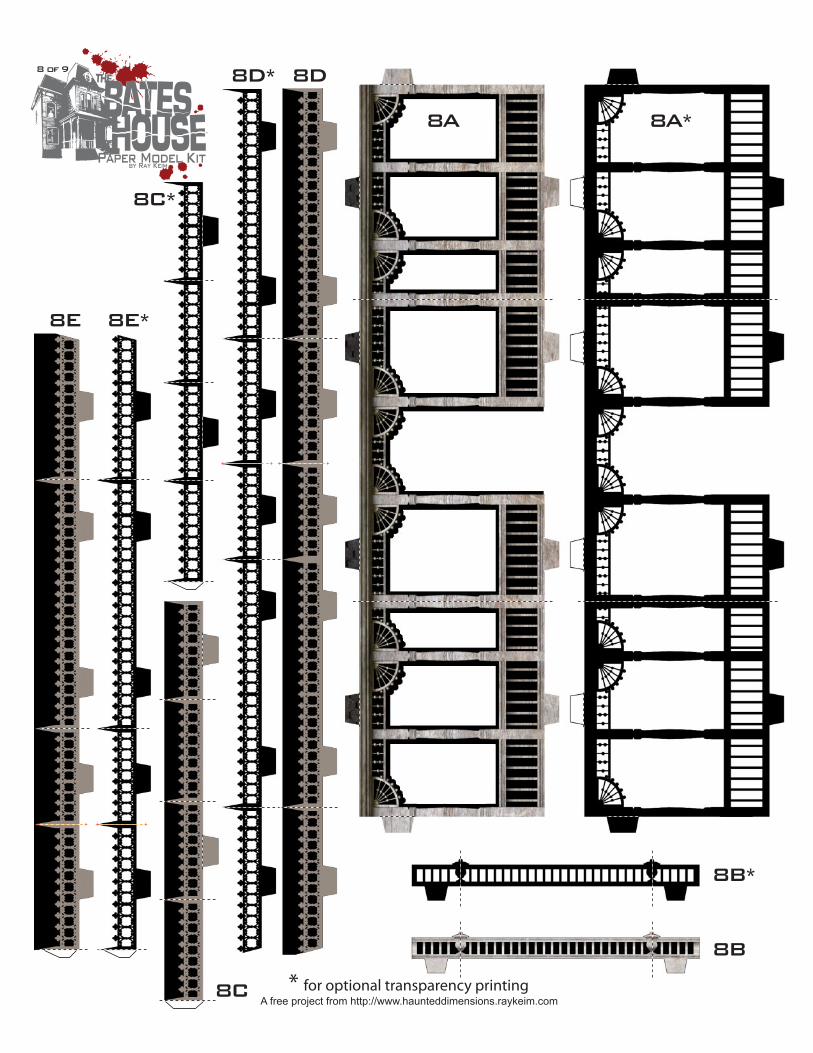
8 of 9
8A
8B*
8B
8D*
8C*
8C
8E 8E*
8D
8A*
* for optional transparency printingA free project from http://www.haunteddimensions.raykeim.com

9 of 9
Mother
Side Door
Front DoorTower front
Towerside
Optional window inserts
A free project from http://www.haunteddimensions.raykeim.com