Embed Size (px)
Citation preview
P. Michael Henderson [email protected] Page 1
Making Templates for a Sunburst P. Michael Henderson
January 15, 2007
n my tutorial on making a compass rose, I used a template and said that instructions for making it were beyond the scope of that
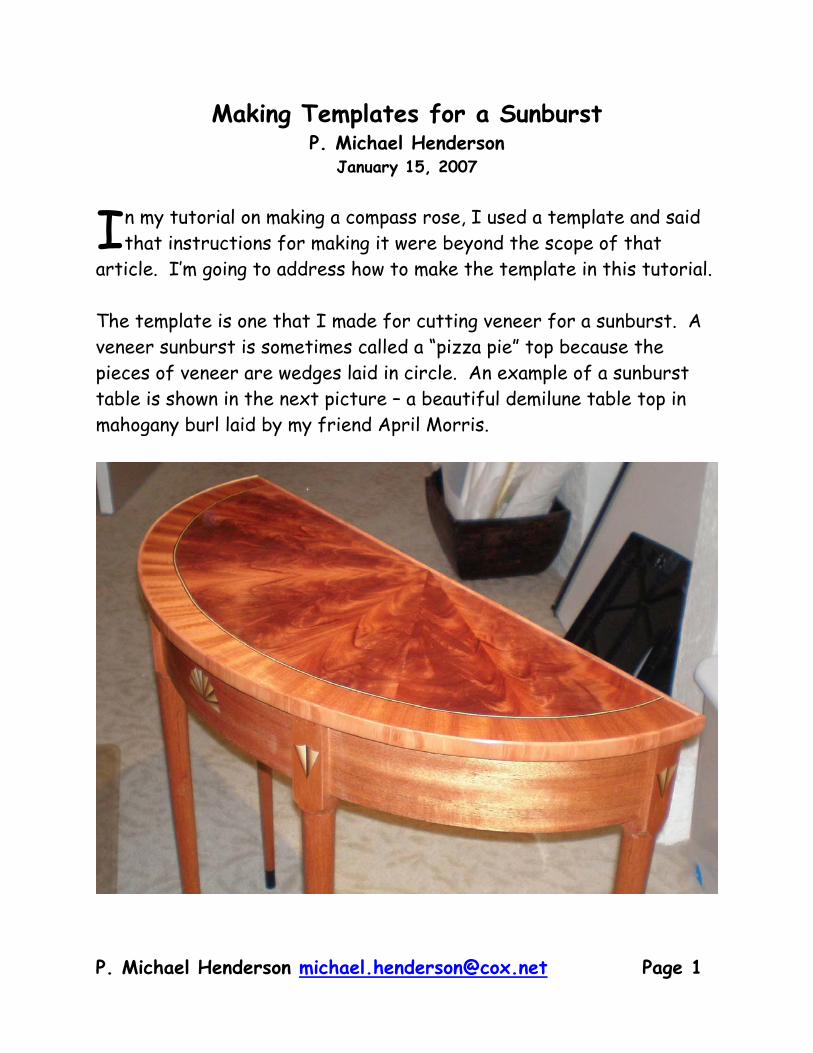
article. I’m going to address how to make the template in this tutorial. The template is one that I made for cutting veneer for a sunburst. A veneer sunburst is sometimes called a “pizza pie” top because the pieces of veneer are wedges laid in circle. An example of a sunburst table is shown in the next picture – a beautiful demilune table top in mahogany burl laid by my friend April Morris.
I
Making Templates for a Sunburst
P. Michael Henderson [email protected] Page 2
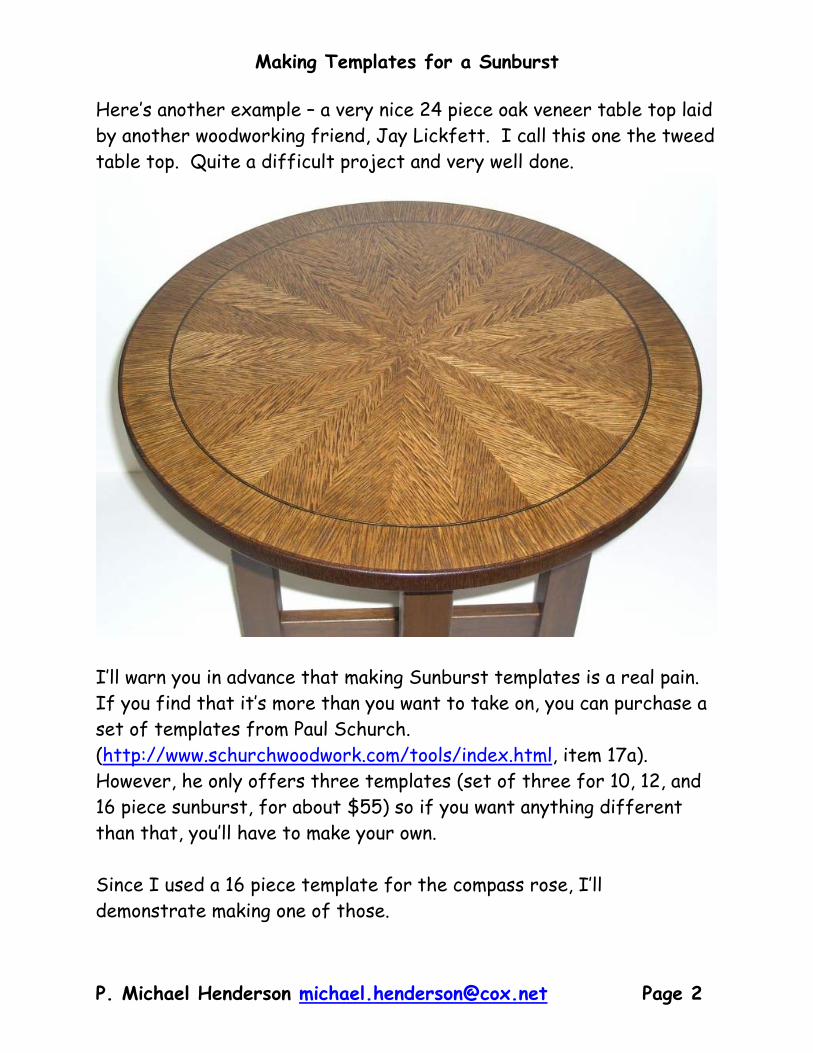
Here’s another example – a very nice 24 piece oak veneer table top laid by another woodworking friend, Jay Lickfett. I call this one the tweed table top. Quite a difficult project and very well done.
I’ll warn you in advance that making Sunburst templates is a real pain. If you find that it’s more than you want to take on, you can purchase a set of templates from Paul Schurch. (http://www.schurchwoodwork.com/tools/index.html, item 17a). However, he only offers three templates (set of three for 10, 12, and 16 piece sunburst, for about $55) so if you want anything different than that, you’ll have to make your own. Since I used a 16 piece template for the compass rose, I’ll demonstrate making one of those.
Making Templates for a Sunburst
P. Michael Henderson [email protected] Page 3
Materials and tools You should make the template out of a material that is stable and fairly hard - you want the template to hold up in use. I use 1/4 inch tempered hardboard. You could probably use Baltic birch plywood, plastic, or other materials but I’ve not used other than tempered hardboard. The hardboard MUST be cut so that the edge you will be working with is straight. Run it over the jointer, or make a cut on the table saw, or whatever. But make sure it’s straight. You’ll need a marking knife, a long straight edge (maybe 60 inches), a shorter 36 inch straight edge, a good combination square, a couple of clamps, and some kraft paper. You’ll also need ways to cut the hardboard – I used a band saw and table saw. General Discussion The templates need to be very accurate if the sunburst pieces are to fit together. About the only way to make the templates accurately is to make use of trigonometry. While many people’s eye’s glaze over at the mention of mathematics, stick with me a bit longer and let me see if I can make sense of it for you. I’ve tried to use tables for everything so all you have to do is look things up in the table. (an Excel spreadsheet is available at the end of this article.) A circle consist of 360 degrees. If we’re going to have 16 pieces in a sunburst, each wedge will be 22 1/2 degrees. Now into the trigonometry.
Making Templates for a Sunburst
P. Michael Henderson [email protected] Page 4
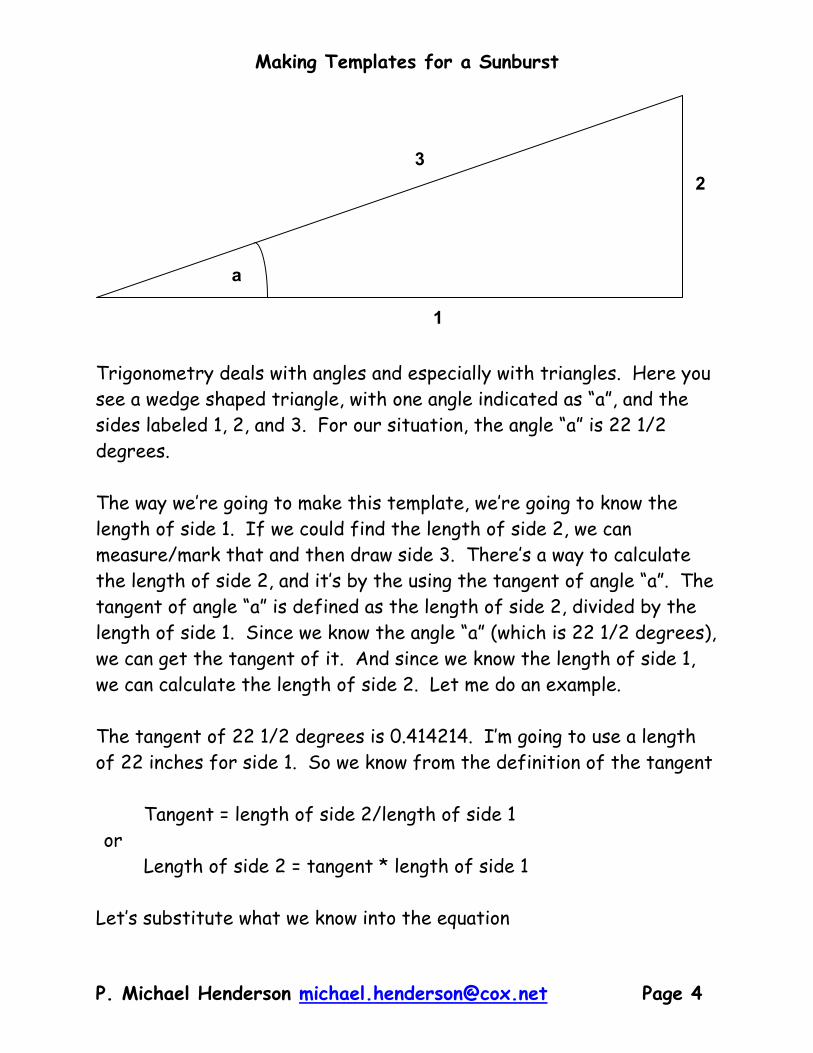
Trigonometry deals with angles and especially with triangles. Here you see a wedge shaped triangle, with one angle indicated as “a”, and the sides labeled 1, 2, and 3. For our situation, the angle “a” is 22 1/2 degrees. The way we’re going to make this template, we’re going to know the length of side 1. If we could find the length of side 2, we can measure/mark that and then draw side 3. There’s a way to calculate the length of side 2, and it’s by the using the tangent of angle “a”. The tangent of angle “a” is defined as the length of side 2, divided by the length of side 1. Since we know the angle “a” (which is 22 1/2 degrees), we can get the tangent of it. And since we know the length of side 1, we can calculate the length of side 2. Let me do an example. The tangent of 22 1/2 degrees is 0.414214. I’m going to use a length of 22 inches for side 1. So we know from the definition of the tangent
Tangent = length of side 2/length of side 1 or
Length of side 2 = tangent * length of side 1
Let’s substitute what we know into the equation
a
1
23
Making Templates for a Sunburst
P. Michael Henderson [email protected] Page 5
Length of side 2 = 0.414214 * 22 Length of side 2 = 9.112698
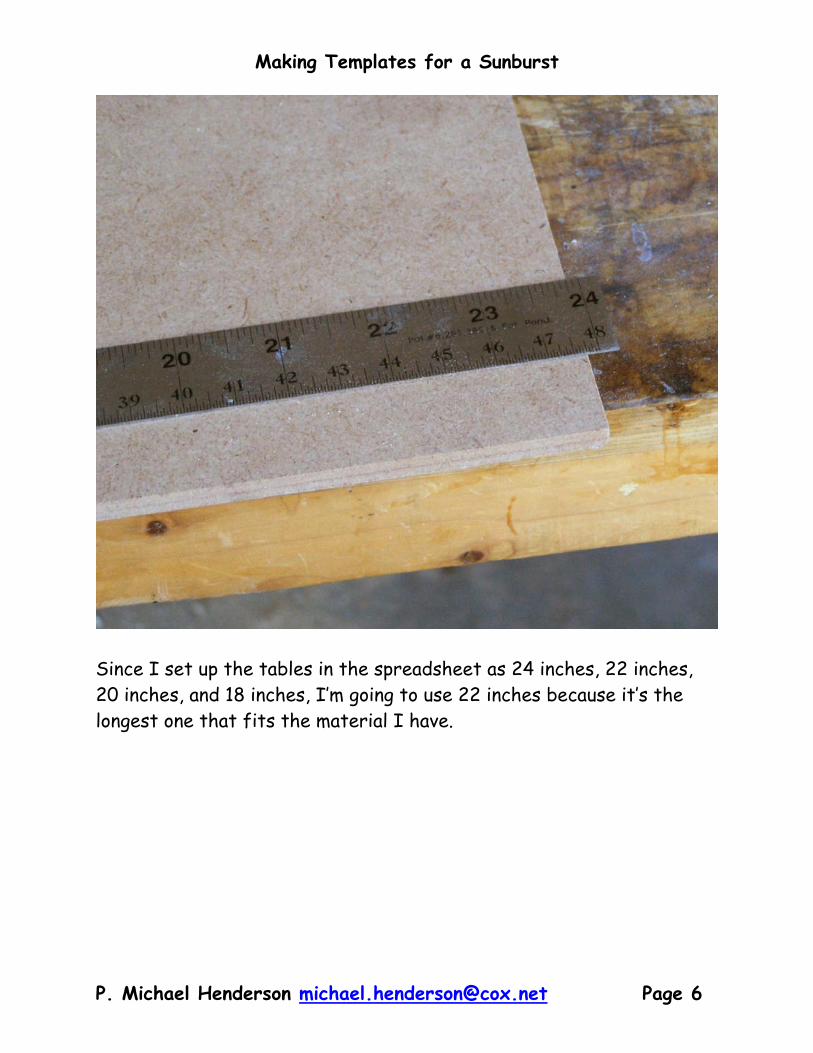
Or a little less than 9 1/8 inches (9.125 inches), since we have to work in fractions with our rulers. Now that we’ve done the trigonometry, let’s look at the actual marking and cutting. Cutting the template The hardboard I have is a bit shorter than 24 inches.
Making Templates for a Sunburst
P. Michael Henderson [email protected] Page 6
Since I set up the tables in the spreadsheet as 24 inches, 22 inches, 20 inches, and 18 inches, I’m going to use 22 inches because it’s the longest one that fits the material I have.
Making Templates for a Sunburst
P. Michael Henderson [email protected] Page 7
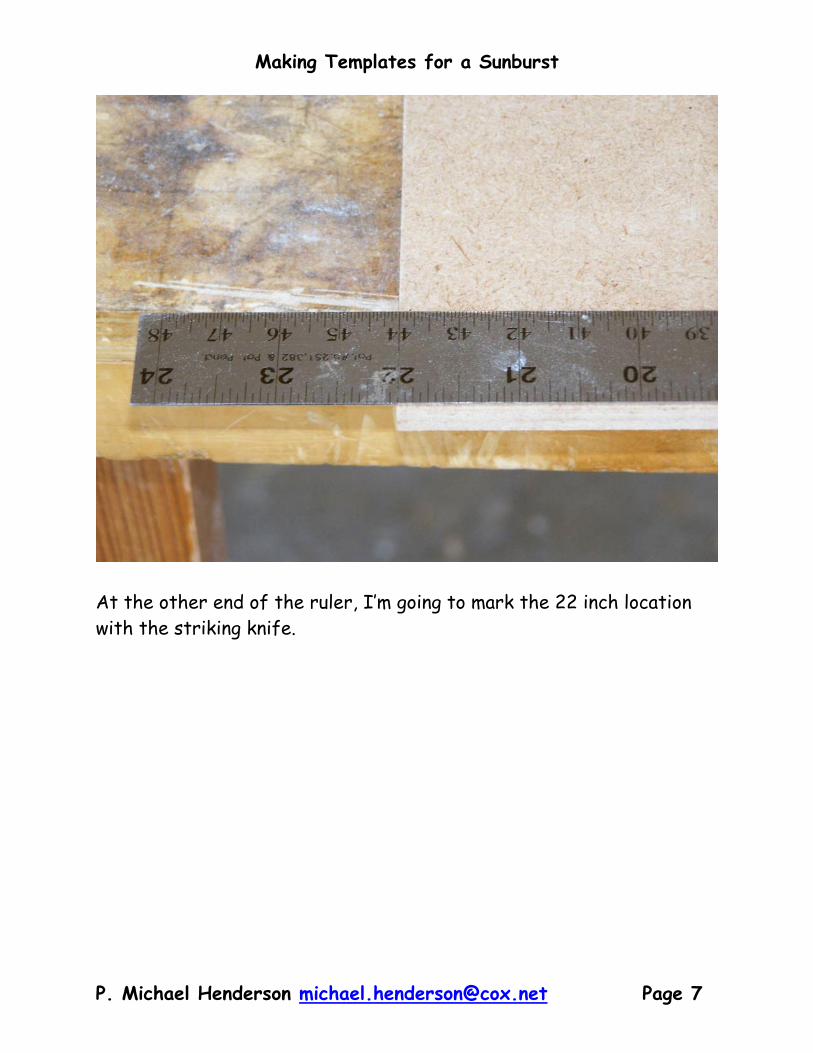
At the other end of the ruler, I’m going to mark the 22 inch location with the striking knife.
Making Templates for a Sunburst
P. Michael Henderson [email protected] Page 8
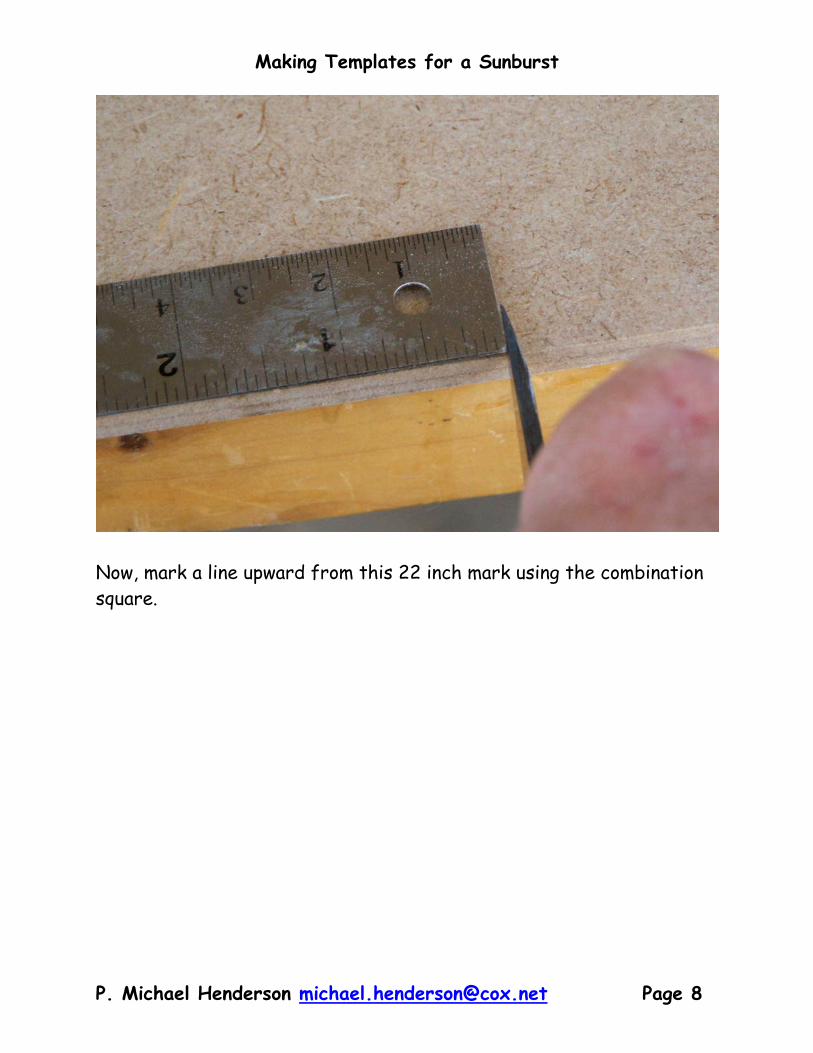
Now, mark a line upward from this 22 inch mark using the combination square.
Making Templates for a Sunburst
P. Michael Henderson [email protected] Page 9
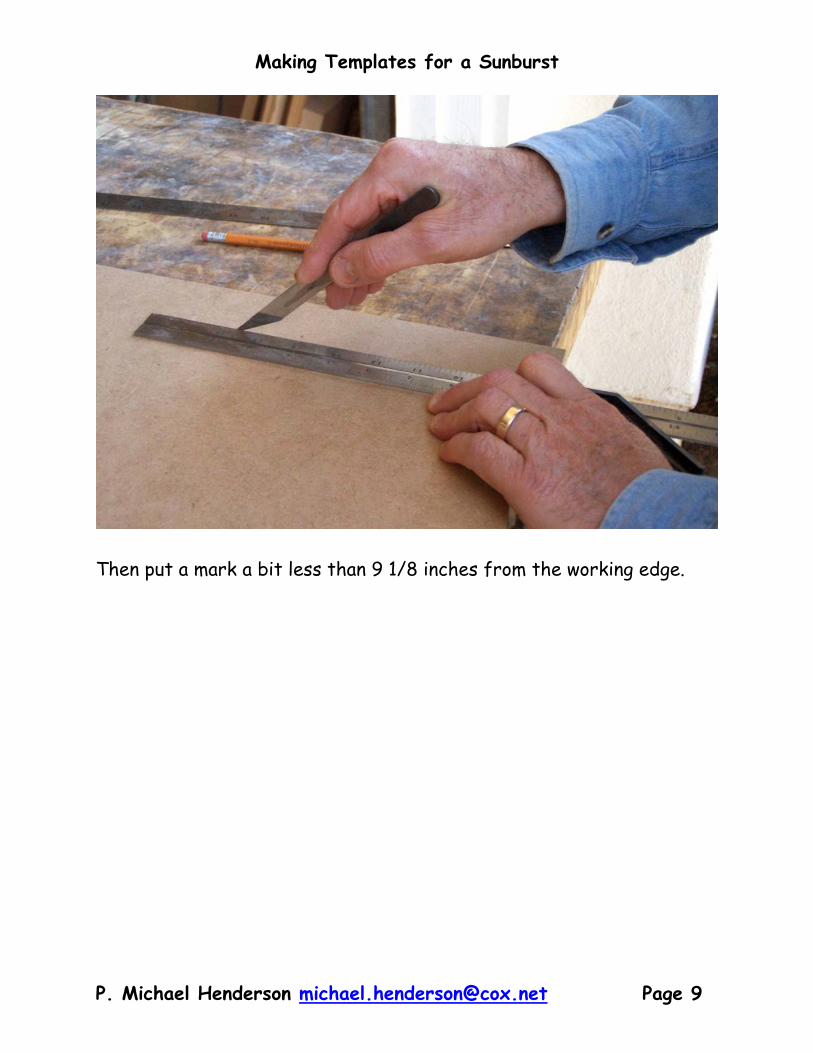
Then put a mark a bit less than 9 1/8 inches from the working edge.
Making Templates for a Sunburst
P. Michael Henderson [email protected] Page 10
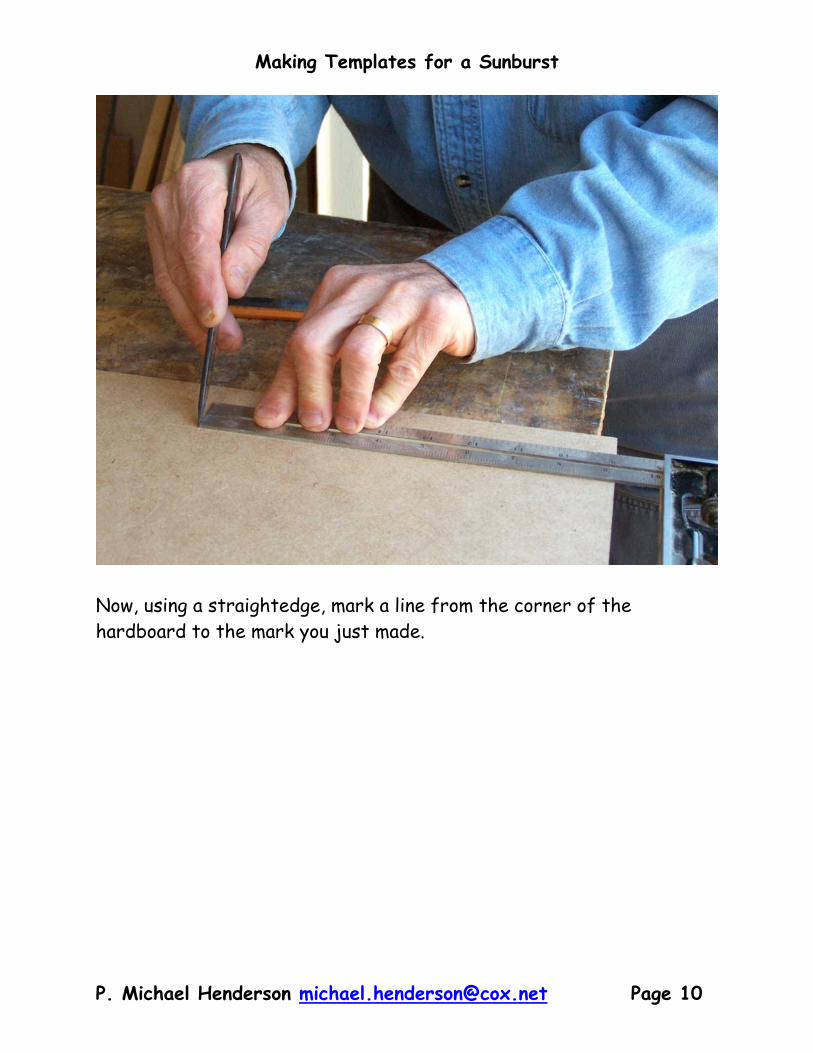
Now, using a straightedge, mark a line from the corner of the hardboard to the mark you just made.

Making Templates for a Sunburst
P. Michael Henderson [email protected] Page 11
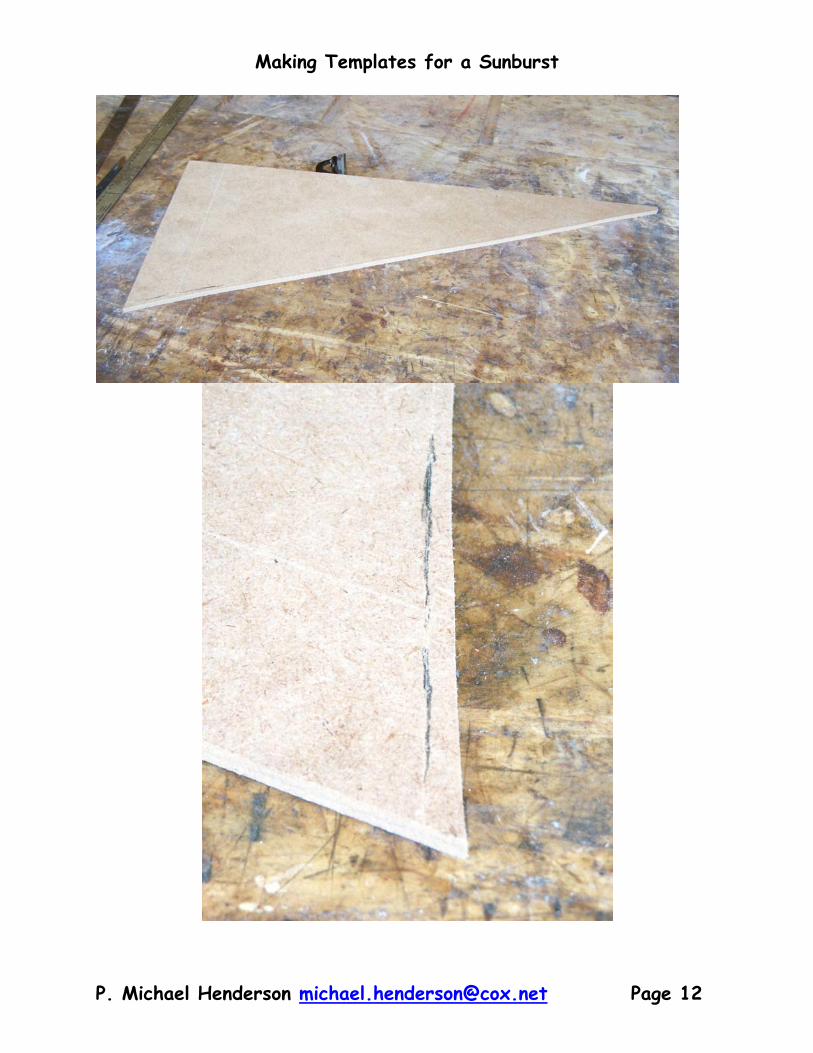
You now have your triangle marked out. It should be exactly what we drew earlier. The working edge (side 1) should be 22 inches in length and the opposite side (side 2) should be a bit less than 9 1/8 inches in length. This will give us an angle of 22 1/2 degrees. So how do we cut along the line? First, I cut the triangle from the rest of the board using a bandsaw. I make the cut about a quarter inch from the line.
Making Templates for a Sunburst
P. Michael Henderson [email protected] Page 13
The problem now is to cut along the line – straight and true. If you have a crosscut sled that’s large enough, you can put the piece on the sled and align it for cutting. My sled is too small so I have to resort to another technique. I pin the template to another piece of hardboard so that I can make the cut on my table saw. I use a 23 gauge pinner for this.
Making Templates for a Sunburst
P. Michael Henderson [email protected] Page 14
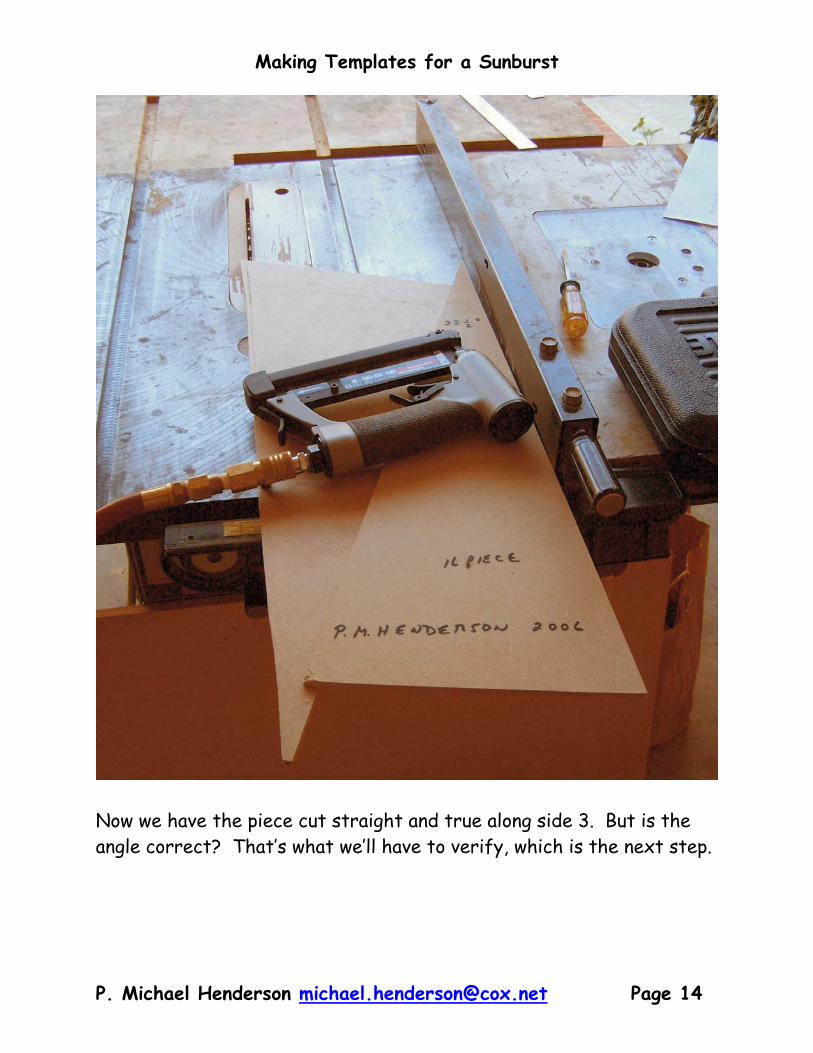
Now we have the piece cut straight and true along side 3. But is the angle correct? That’s what we’ll have to verify, which is the next step.
Making Templates for a Sunburst
P. Michael Henderson [email protected] Page 15
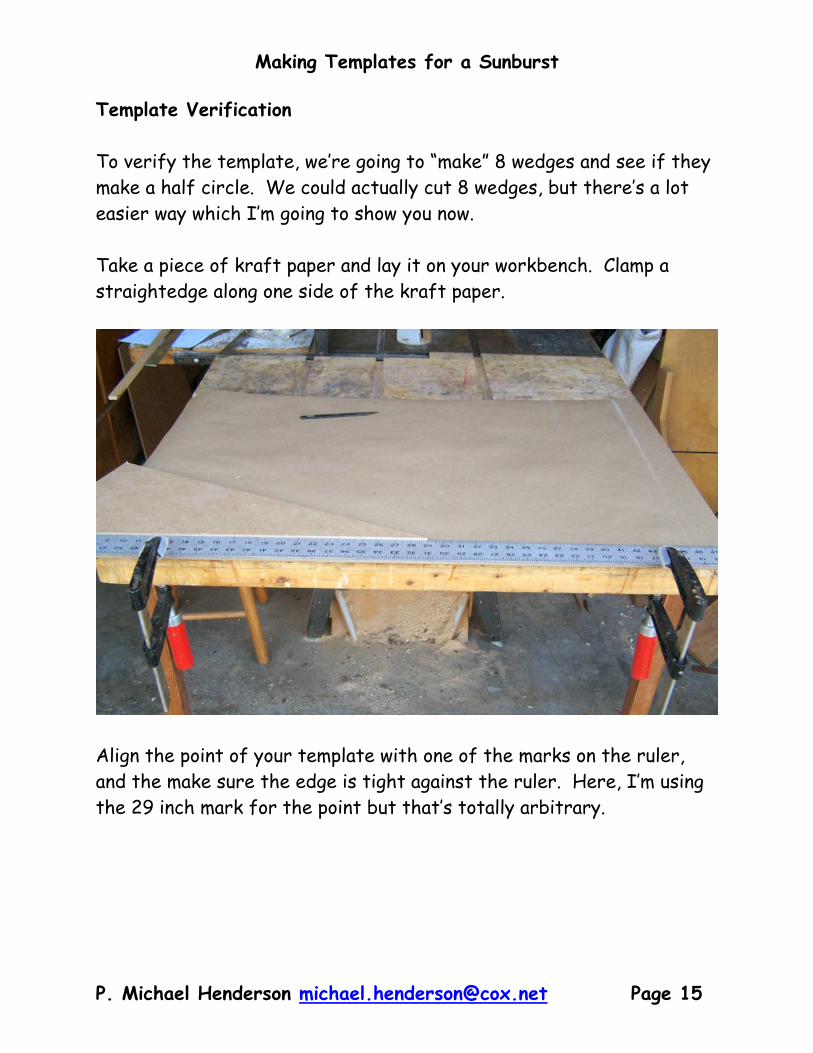
Template Verification To verify the template, we’re going to “make” 8 wedges and see if they make a half circle. We could actually cut 8 wedges, but there’s a lot easier way which I’m going to show you now. Take a piece of kraft paper and lay it on your workbench. Clamp a straightedge along one side of the kraft paper.
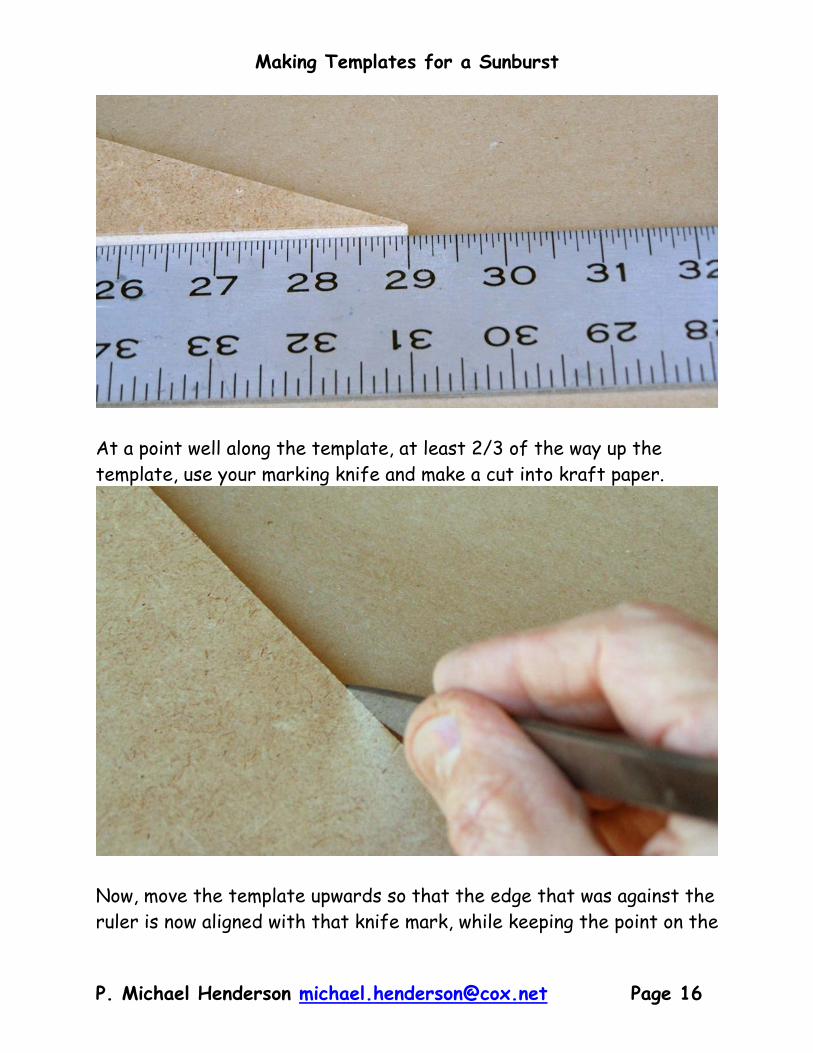
Align the point of your template with one of the marks on the ruler, and the make sure the edge is tight against the ruler. Here, I’m using the 29 inch mark for the point but that’s totally arbitrary.
Making Templates for a Sunburst
P. Michael Henderson [email protected] Page 16
At a point well along the template, at least 2/3 of the way up the template, use your marking knife and make a cut into kraft paper.
Now, move the template upwards so that the edge that was against the ruler is now aligned with that knife mark, while keeping the point on the
Making Templates for a Sunburst
P. Michael Henderson [email protected] Page 17
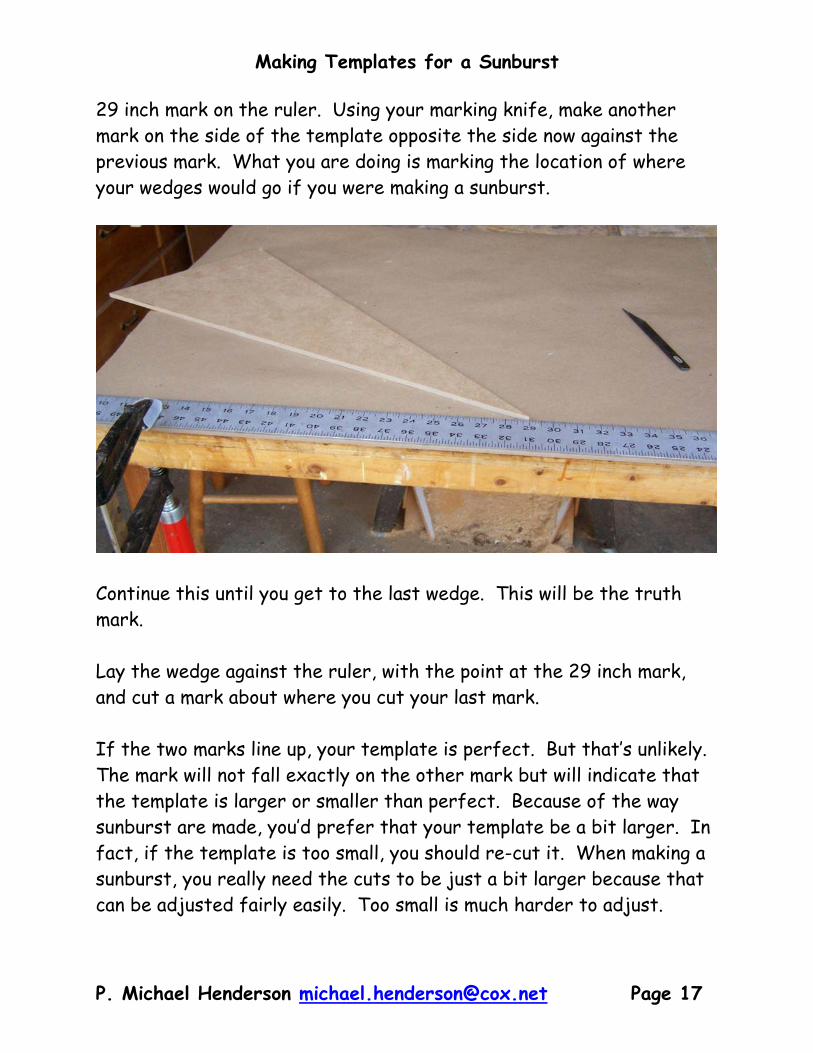
29 inch mark on the ruler. Using your marking knife, make another mark on the side of the template opposite the side now against the previous mark. What you are doing is marking the location of where your wedges would go if you were making a sunburst.
Continue this until you get to the last wedge. This will be the truth mark. Lay the wedge against the ruler, with the point at the 29 inch mark, and cut a mark about where you cut your last mark. If the two marks line up, your template is perfect. But that’s unlikely. The mark will not fall exactly on the other mark but will indicate that the template is larger or smaller than perfect. Because of the way sunburst are made, you’d prefer that your template be a bit larger. In fact, if the template is too small, you should re-cut it. When making a sunburst, you really need the cuts to be just a bit larger because that can be adjusted fairly easily. Too small is much harder to adjust.
Making Templates for a Sunburst
P. Michael Henderson [email protected] Page 18
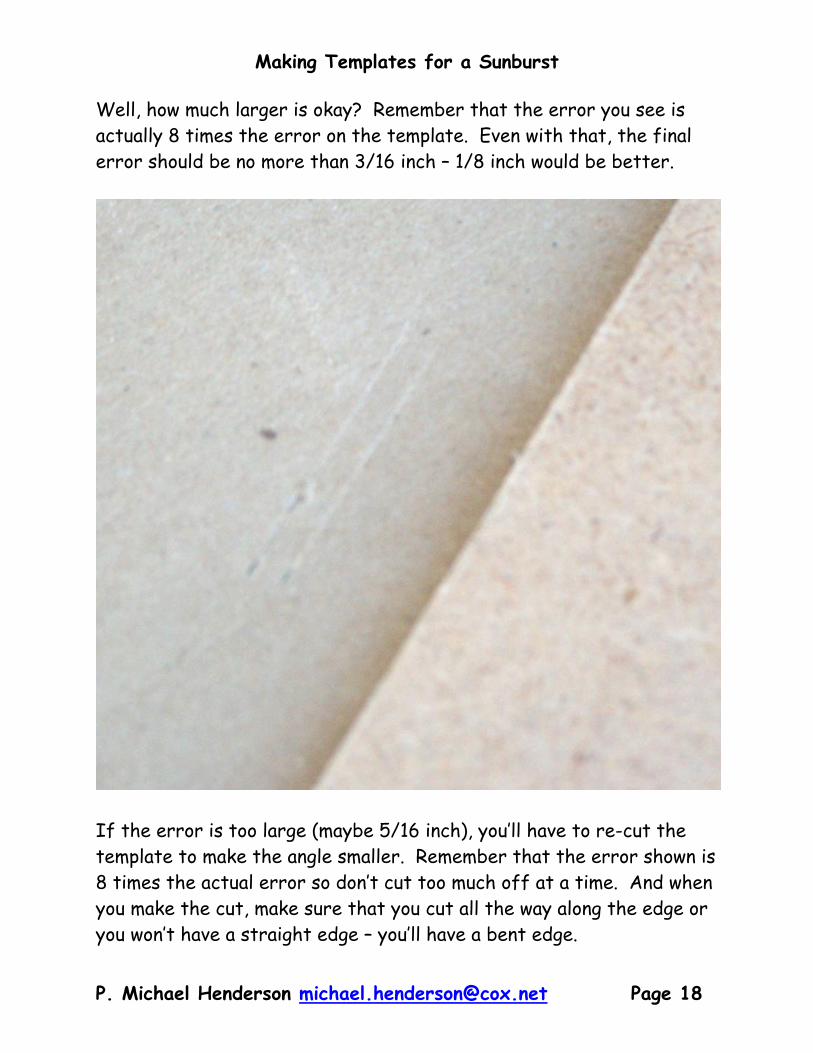
Well, how much larger is okay? Remember that the error you see is actually 8 times the error on the template. Even with that, the final error should be no more than 3/16 inch – 1/8 inch would be better.
If the error is too large (maybe 5/16 inch), you’ll have to re-cut the template to make the angle smaller. Remember that the error shown is 8 times the actual error so don’t cut too much off at a time. And when you make the cut, make sure that you cut all the way along the edge or you won’t have a straight edge – you’ll have a bent edge.
Making Templates for a Sunburst
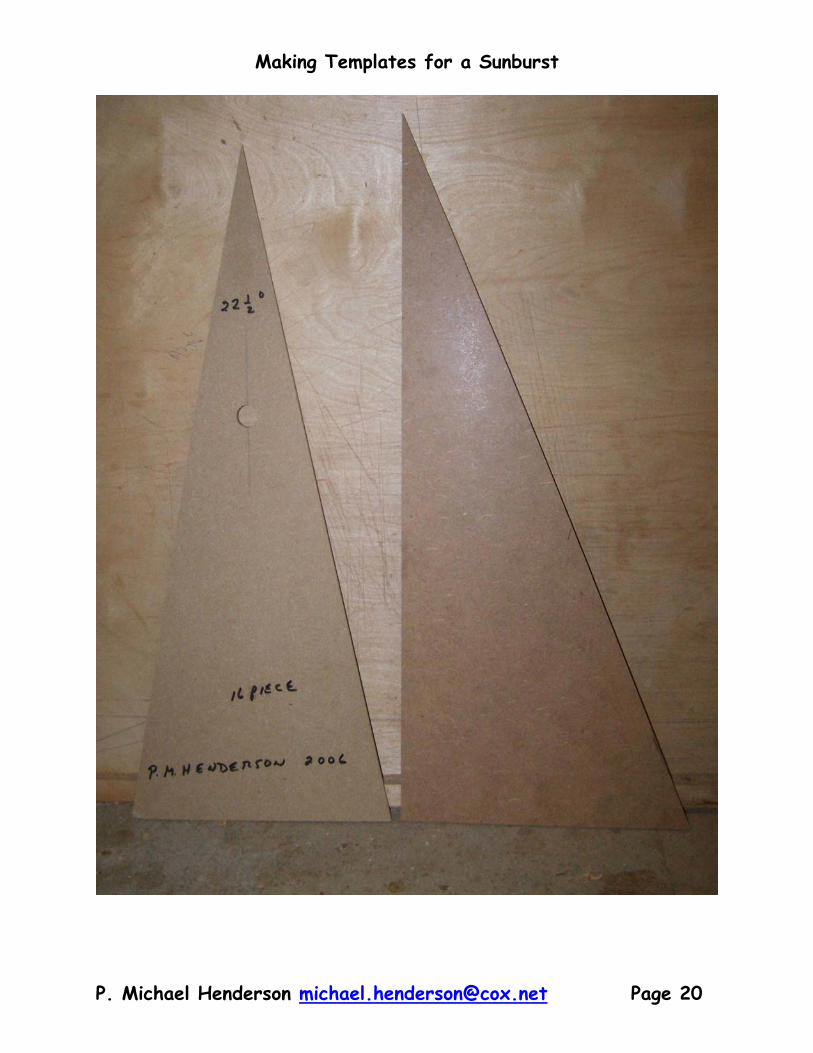
P. Michael Henderson [email protected] Page 19
After you re-cut the template, go through the verification process again until the error is within acceptable limits. Once you get your cumulative error down to about 3/16 inch or less, your template is essentially complete and verified. Congratulations! The only follow-up thing you might want to do is to “square” off the end so that the triangle is regular – no longer a right triangle. For example, in the picture below, the template on the left has been squared off, while the template I made in this tutorial, on the right, is still a right triangle. The last column in the spreadsheet gives the angle to cut the end of the template so that those two angles are equal. It’s also a good idea to drill a hole in the template so that you can hang it in your shop. That’ll keep it from getting lost or damaged. Write on the template what it’s for. That is, mark the template as a 16 piece match template. Adding your name and the date is always a good practice. Making a template for a 16 piece sunburst match is difficult but the 24 piece template is a real pain. The error you see when verifying it is 12 times the template error so you might cut yourself some slack and allow a slightly larger cumulative error when verifying it. Good luck!