Embed Size (px)
Citation preview
1
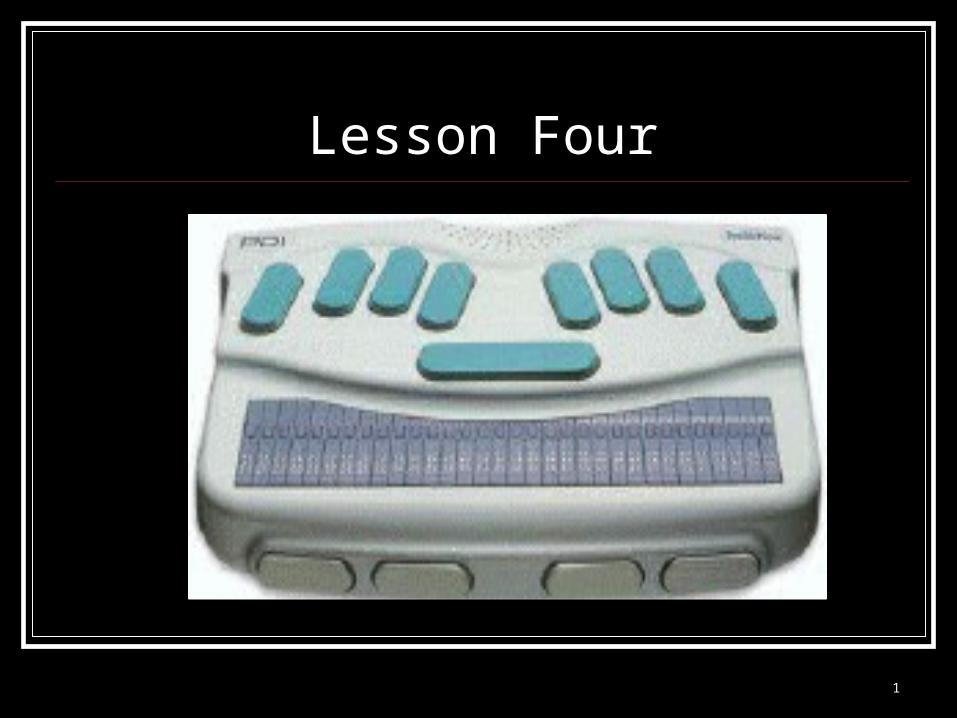
Lesson Four

2
Lesson Four
The Spelling Checker Searching for Text Menu shortcuts Printing a File Erasing a File
3
The Spelling Checker
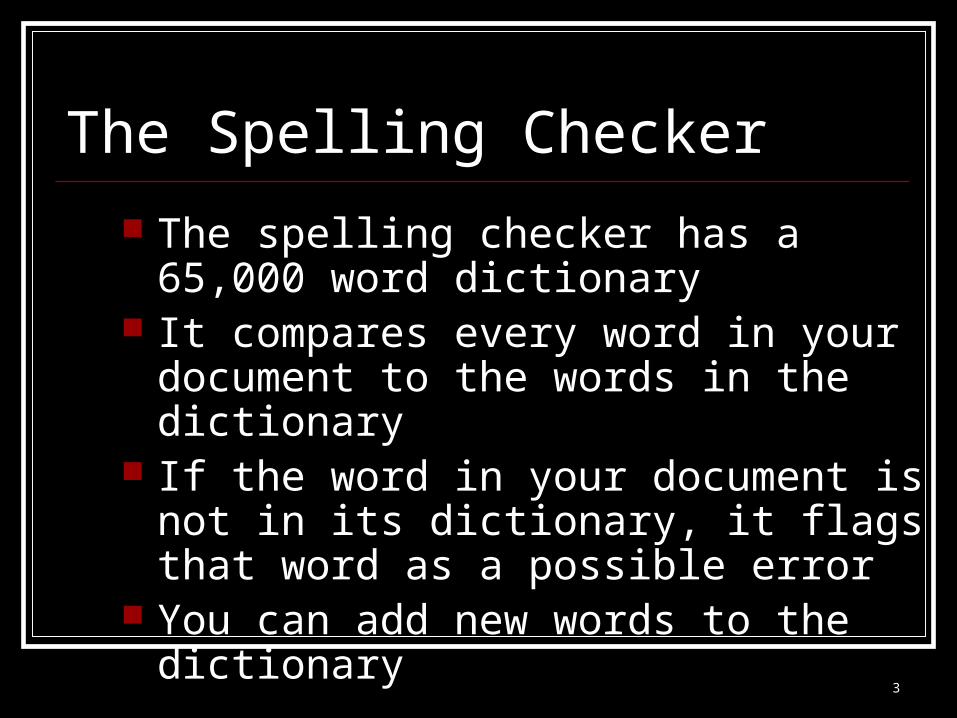
The spelling checker has a 65,000 word dictionary
It compares every word in your document to the words in the dictionary
If the word in your document is not in its dictionary, it flags that word as a possible error
You can add new words to the dictionary

4
The Spelling Checker
Skip just this occurrence of the word Ignore the word throughout the whole
document Add the word to the dictionary Correct the word Review suggestions
Once a word is flagged, you have Once a word is flagged, you have the following choices:the following choices:
5
The Spelling Checker
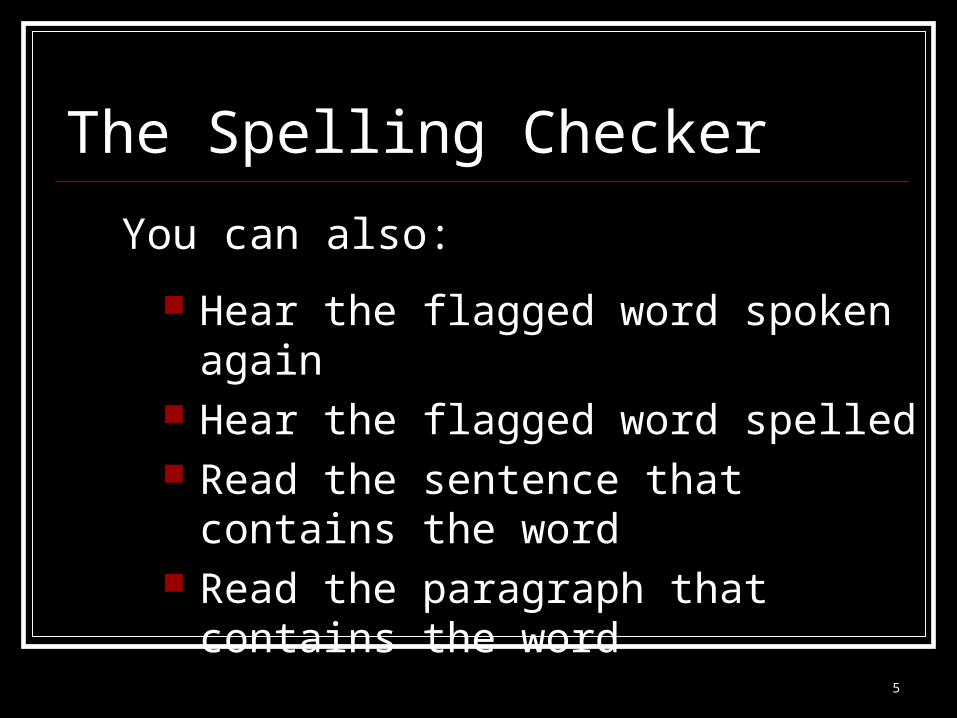
Hear the flagged word spoken again Hear the flagged word spelled Read the sentence that contains the
word Read the paragraph that contains the
word
You can also:You can also:

6
Using the Spelling Checker
Create a new document in the General folder and type a few paragraphs. (If you are a very good speller, you might want to make some spelling mistakes on purpose.)
Type the ch sign (dots 1,6) with the space

7
Spelling Checker Menu
The Braille Note will say “spelling checker menu”
At this point, you can use the space to explore the options or
Press Enter on Document Check The first flagged word will be
pronounced and you will be asked to select an option.
8
Spelling Checker Options
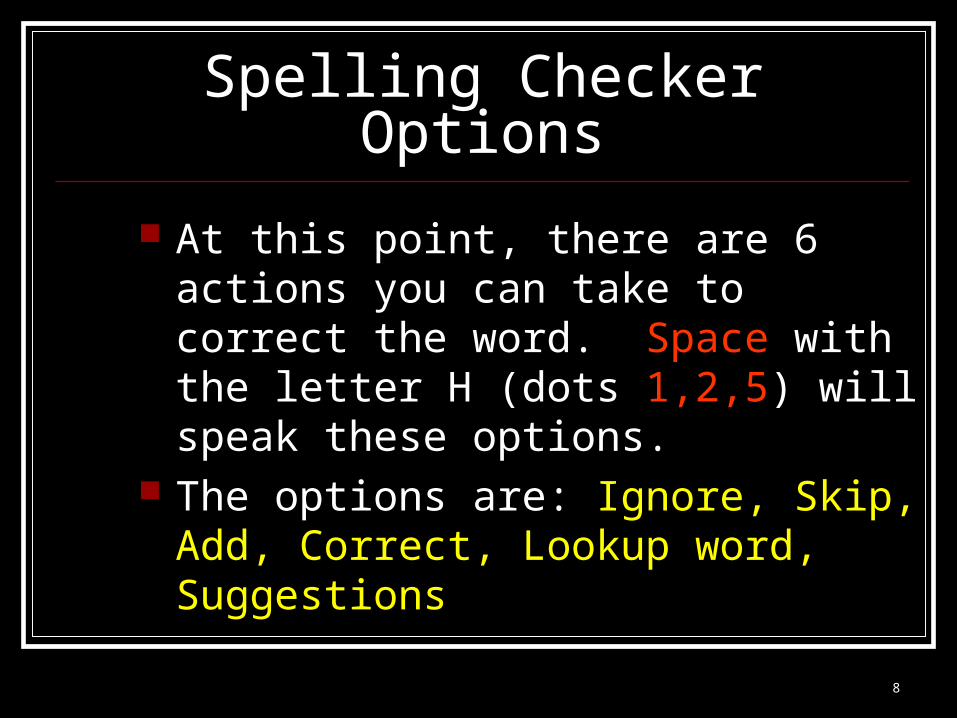
At this point, there are 6 actions you can take to correct the word. Space with the letter H (dots 1,2,5) will speak these options.
The options are: Ignore, Skip, Add, Correct, Lookup word, Suggestions

9
Spelling Checker Options
Ignore all - I (dots 2,5) Skip once – dot 5, space Add to dictionary – A (dot 1) Correct – C (dots 1,4) Lookup a word – L (dots 1,2,3) Suggestions – S (dots 2,3,4)

10
Reviewing the Word
To repeat the word, press 2,5 space To spell the word with contractions,
press 2,5, space again To spell the word letter by letter with the
contractions expanded, press 2,5, space again

11
Reviewing the Sentence or Paragraph
To review the sentence where the word occurs, press 1,4 space
To review the paragraph where the word occurs, press 2,3,5,6 space

12
Correcting a Word
If the word contains a typing error and you know how to spell it, choose C.
Braille Note says, “enter replacement” Type in the correct spelling and press Enter If the word is not in the dictionary, you will be
asked if you want to use it. Press the letter Y for yes.
13
Reviewing the Suggestions
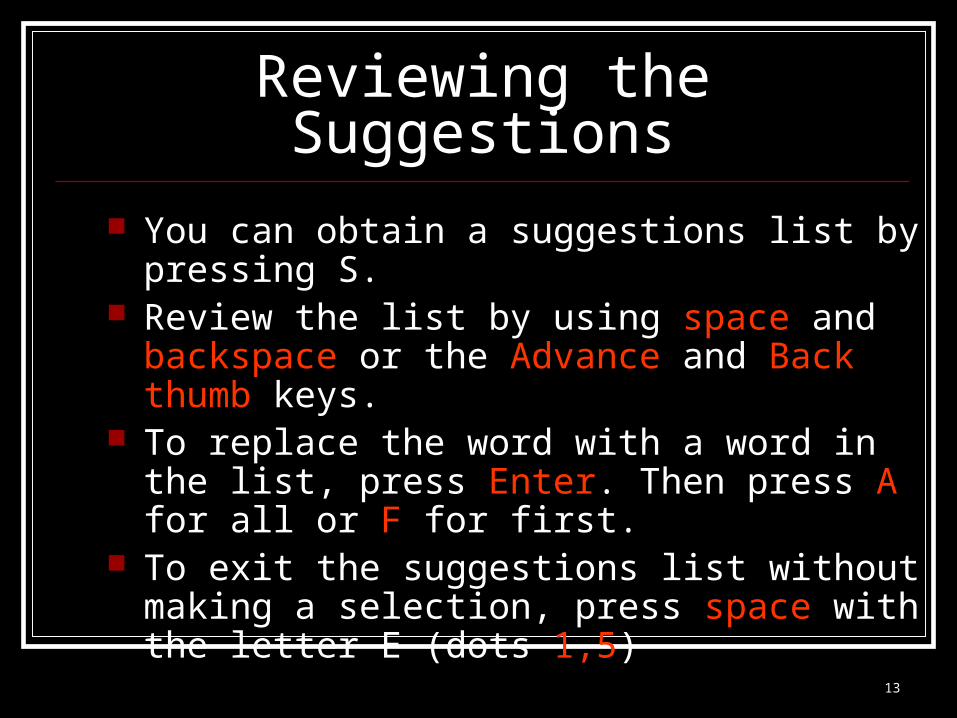
You can obtain a suggestions list by pressing S. Review the list by using space and backspace or
the Advance and Back thumb keys. To replace the word with a word in the list, press
Enter. Then press A for all or F for first. To exit the suggestions list without making a
selection, press space with the letter E (dots 1,5)

14
Spelling the Suggestion
Keep in mind that you can use the refreshable braille display to review the spelling of the suggested words.
If you want to hear the spelling of a suggestion, you can press space O (dots 1,3,5) then the letter S (dots 2,3,5)

15
Adding a Word
If the flagged word is a proper name, you may want to add it to the dictionary to save you time in the future
Press the letter A for “add”
16
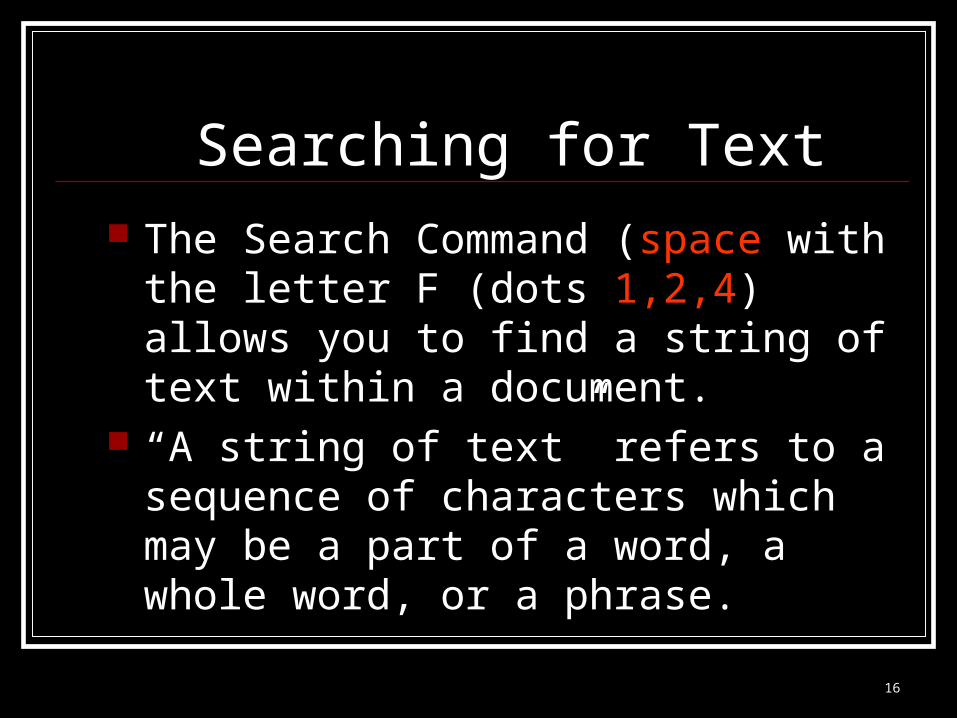
Searching for Text The Search Command (space with the
letter F (dots 1,2,4) allows you to find a string of text within a document.
“A string of text” refers to a sequence of characters which may be a part of a word, a whole word, or a phrase.

17
Searching for Text (continued)
If you are not already at the Main Menu, go there now.
Choose Word Processor Choose Open a document When prompted to “press enter for
general” press enter Choose the file named “Demonstration
Document”
18
Searching for Text (continued)
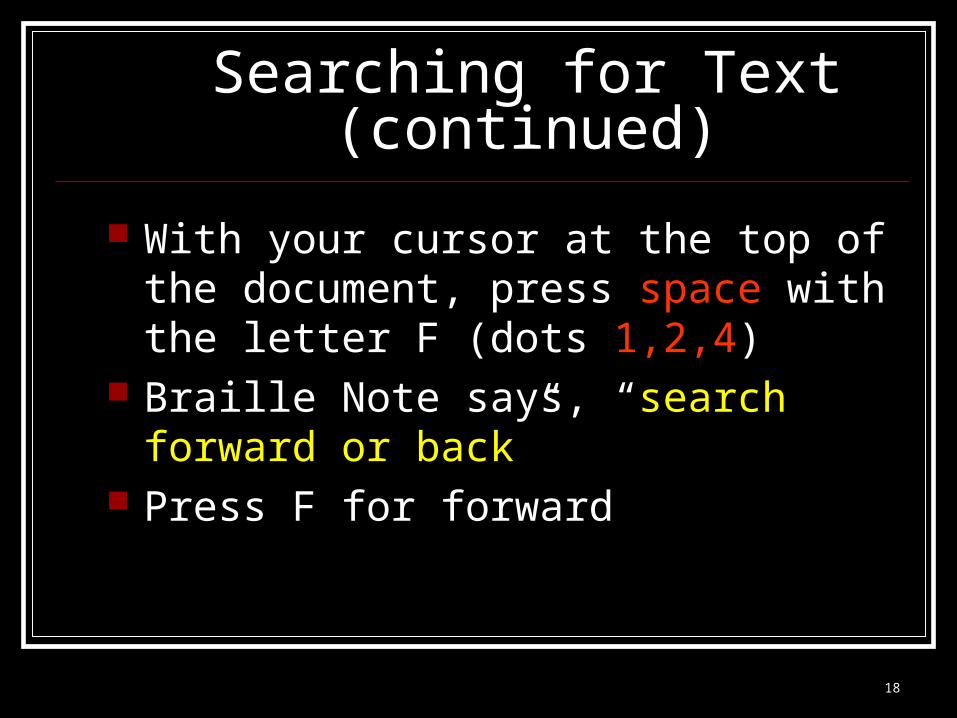
With your cursor at the top of the document, press space with the letter F (dots 1,2,4)
Braille Note says, “search forward or back” Press F for forward

19
Searching for Text (continued)
Braille Notes says, “find?” Type in the word factory Press enter If the text is found, the cursor jumps to the
first occurrence of the text you typed. Braille Note says, “found, factory”

20
Searching for Text (continued)
Read the current sentence by pressing space with dots 1,4
Search for the next occurrence of the word “factory” by pressing space with F, type F for forward
Braille Note remembers the last text string entered and says, “Press enter for factory”
If the text is found, the cursor jumps to the next occurrence of the text you typed. Braille Note says, “found, factory”

21
Search for Next Occurrence
An easier way to search for the next occurrence is by using the space with the letter N
Go to the top of the document Search for factory Read the current sentence Press space with N (dots 1,3,4,5) Read the current sentence

22
Menu Shortcuts From within a menu, you can press the first
letter of the item you want instead of using the spacebar and the enter key.
For example, pressing the letter W at the Main Menu jumps you directly to the Keyword Menu of the word processor

23
Menu Shortcuts (continued) From within a list, you can press the first
letter of the document to get to it quicker For example, to open a file when asked for
file name to open, press the space to get the list, then press the first letter of the file name.
24
Printing a File
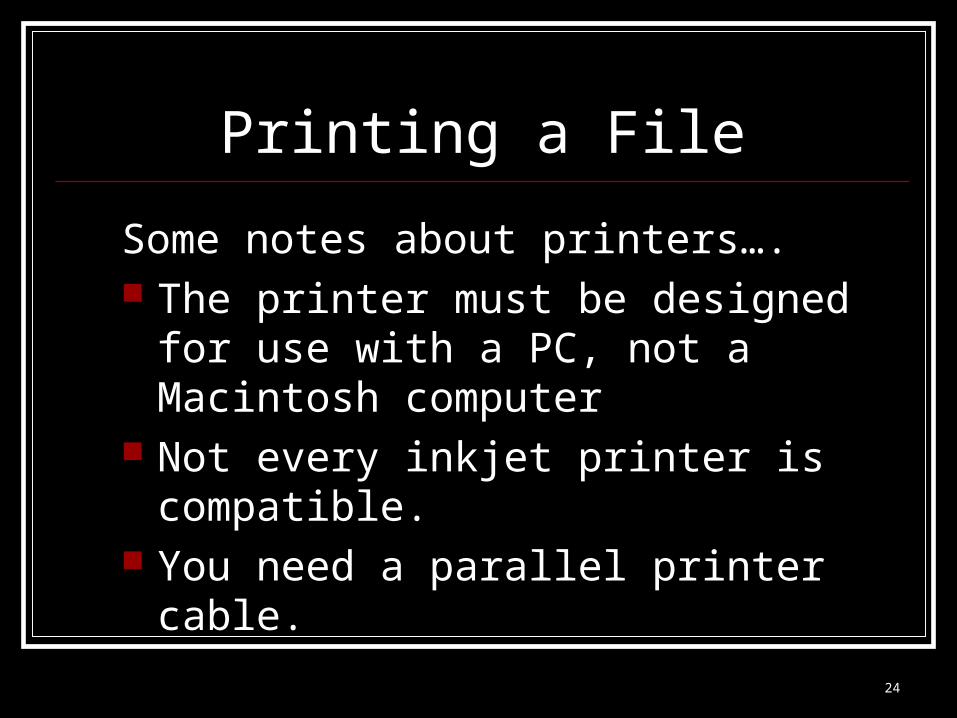
Some notes about printers…. The printer must be designed for use with
a PC, not a Macintosh computer Not every inkjet printer is compatible. You need a parallel printer cable.

25
Printing a File (continued)
With both devices off, connect the parallel printer cable to the back of the printer and to the back of the Braille Note
Make sure the printer has paper. Turn both devices on.

26
Printing a File (continued)
From Main Menu, choose Word Processor (W)
From Keyword Menu, choose Print (P) At the prompt, “print or setup printer?”
Press enter. At the prompt, “folder name? Press enter
for …” press enter if the name is correct. If not, press space.

27
Printing a File (continued)
Continue to press the space (or type the first letter of the folder) until you hear the folder you want. Then press enter.
At the prompt, “document to print? Press enter for…” press enter if correct, (or space if not. When you hear the correct name press enter.)

28
Printing a File (continued) The Braille Note will respond, “Printer
ready?” If you want to print the entire file, simply
press enter.

29
Printing Specific Pages It may be necessary to find out what page
your Braille Note cursor is on in order to print specific pages. The command to announce the current page is space with wh (dots 1,5,6)

30
Printing Specific Pages To print only specific pages type N at the Printer
Ready prompt. The Braille Note will respond, “Start page number?
Currently 1” Using the number sign first, type in the page
number you want to start with, then press enter The Braille Note will respond, “Finish page
number? Currently last page” Type in the page number you want to end with,
then press enter.
31
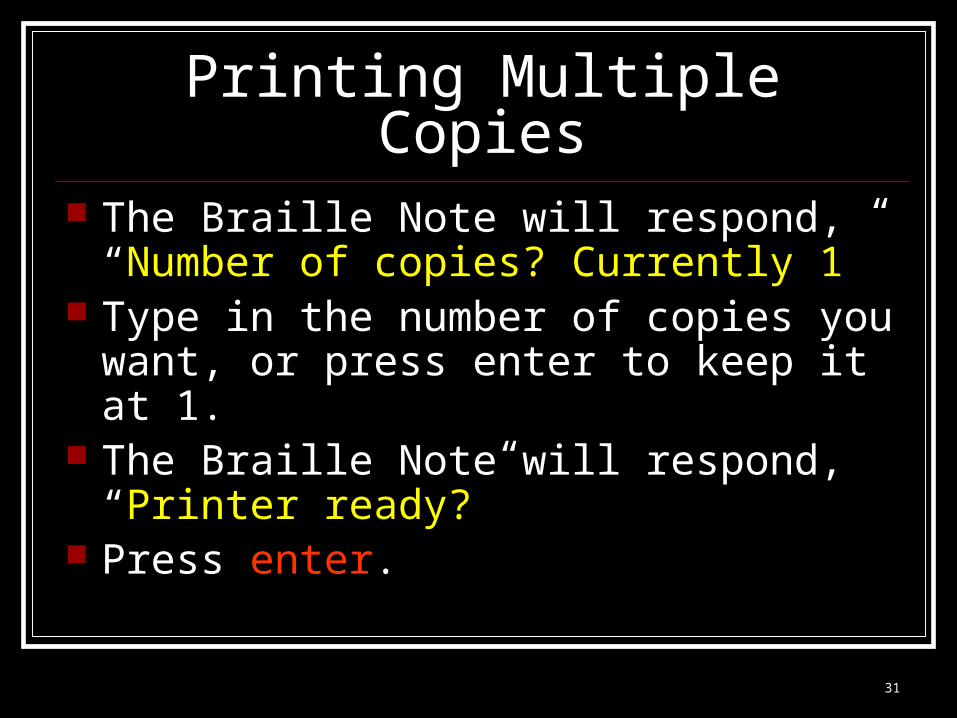
Printing Multiple Copies The Braille Note will respond, “Number of
copies? Currently 1” Type in the number of copies you want, or
press enter to keep it at 1. The Braille Note will respond, “Printer
ready?” Press enter.
32
Erasing a File
So far in this tutorial, all the files you have created and used are located on the drive named “flash disk” and stored in a folder named “general” Later on, you will learn to use the external disk drive and you will create and use other folders.
It is a good idea to erase files that you no longer need

33
Erasing a File (continued) Go to the Main Menu Space to File Manager and press Enter (or
press F) Space to Erase File and press Enter (or press
E) Braille Note says “press enter for Flask Disk” –
press Enter Braille Note says “folder name? Press enter for
General” press Enter

34
Erasing a File (continued)
Braille Note says “file name” – press space to get to the file name list
Press space until you hear the name of the file you want to erase (or press the first letter of the filename)
Press Enter

35
Erasing a File (continued)
Braille Note says “erase filename sure?”
Press the letter Y for yes This returns you to the File Manager
menu where you can continue to erase more files if you need to.