Embed Size (px)
Citation preview

me, you, & our two days…
(there’s a prize for the first person to see the glengarry glen ross reference...)
why sense?
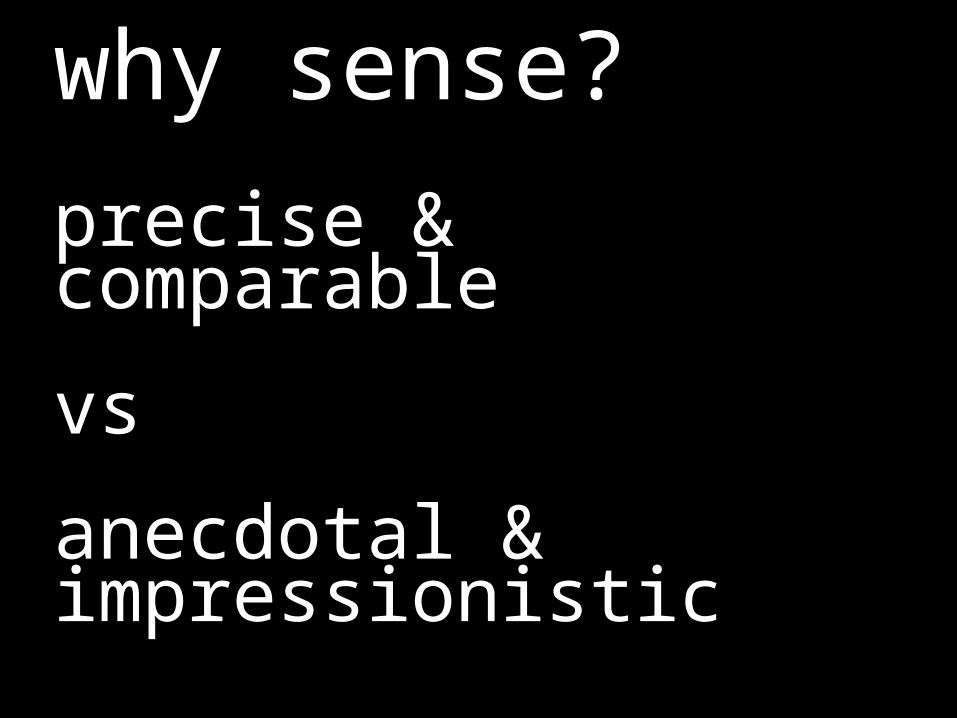
why sense?
precise & comparable
vs
anecdotal & impressionistic
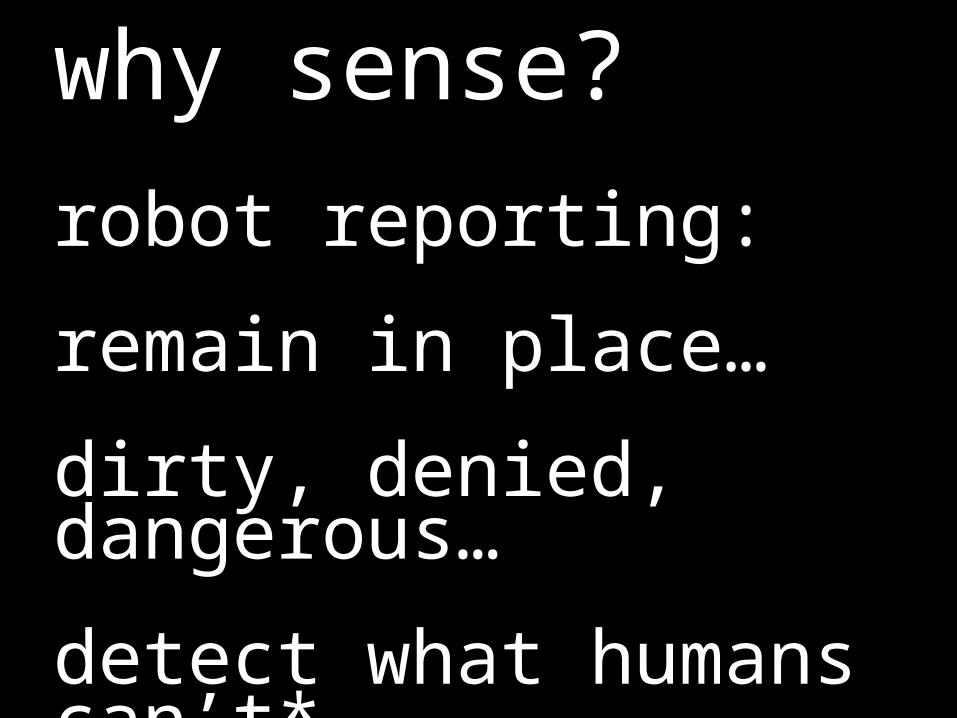
why sense?
robot reporting:
remain in place…
dirty, denied, dangerous…
detect what humans can’t*

why sense?
data in journalism
technical skills in newsrooms*
*mind the gap!

why sense?
sensors everywhere
technology boom
electronics ecosystem
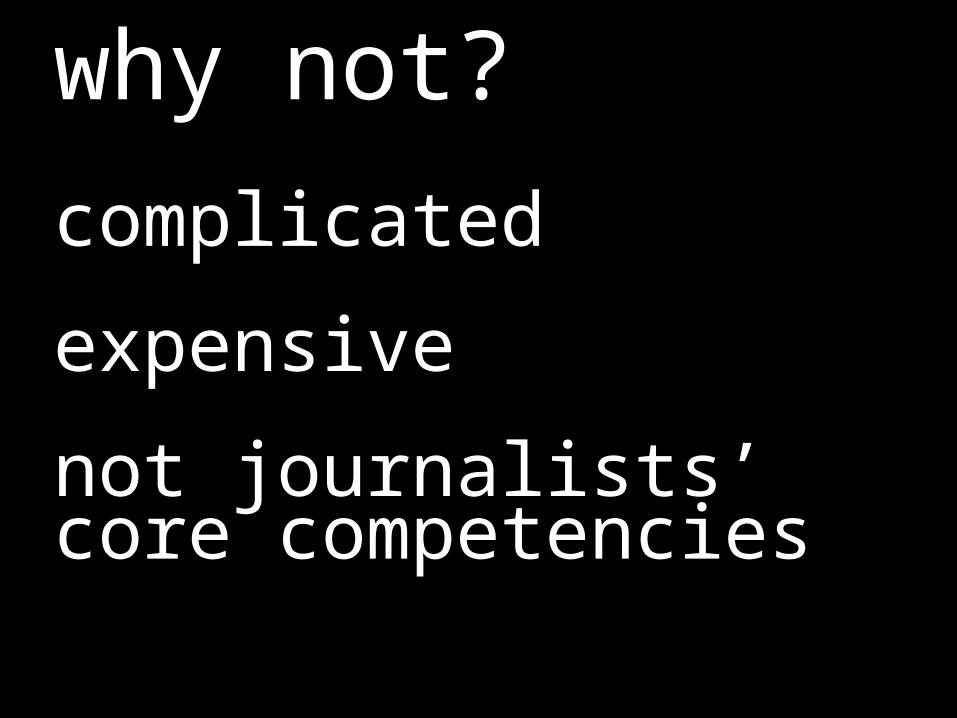
why not?
complicated
expensive
not journalists’ core competencies
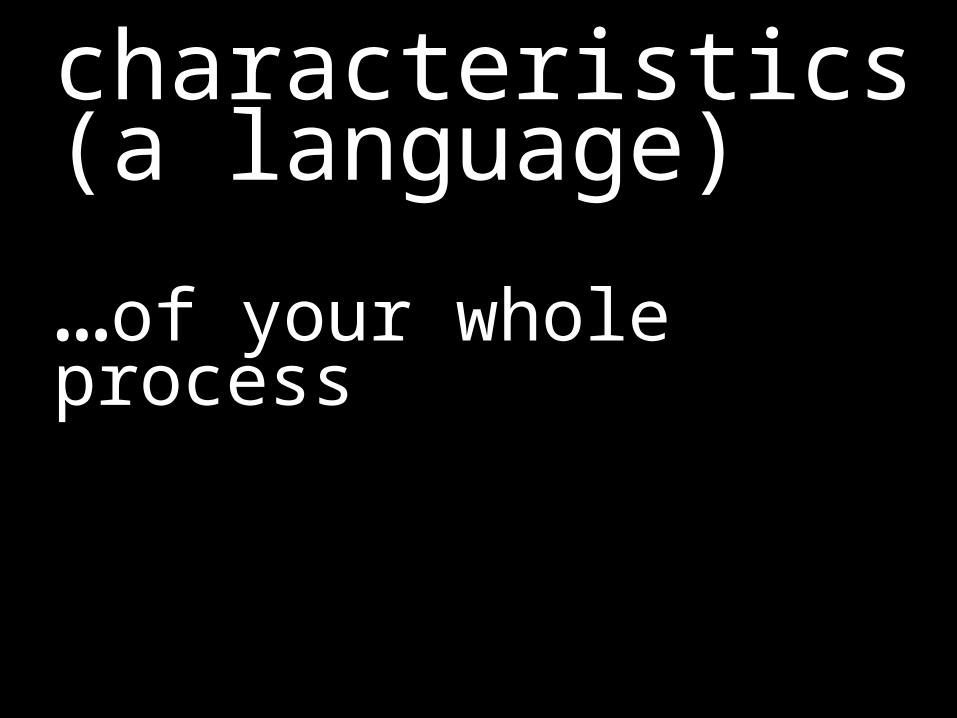
characteristics(a language)
…of your whole process
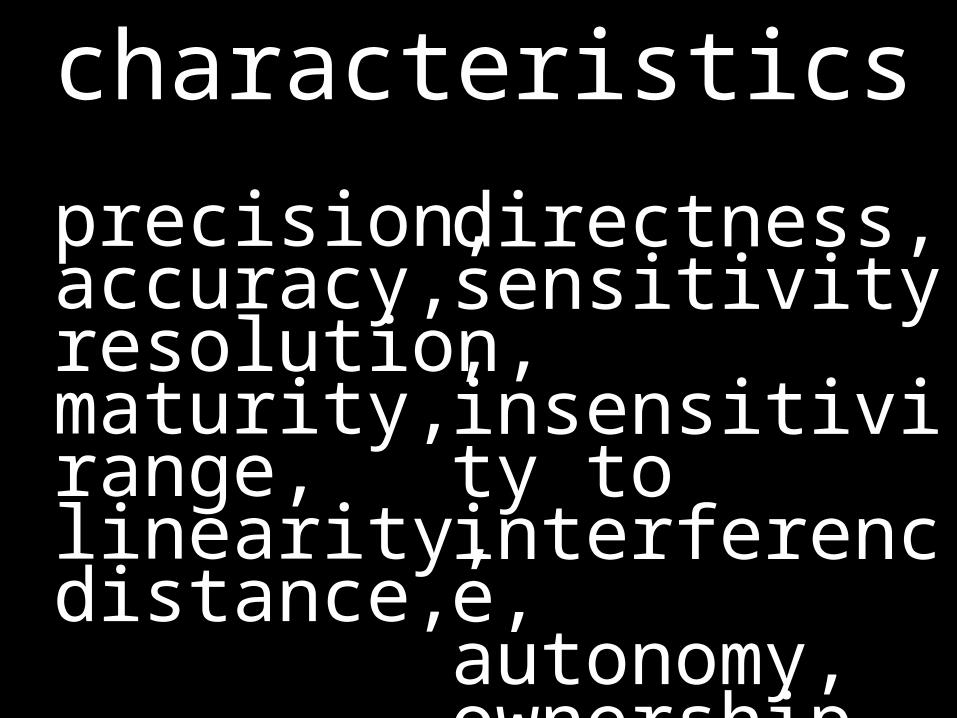
characteristics
precision,accuracy,resolution,maturity,range,linearity,distance,
directness,sensitivity,insensitivity to interference,autonomy,ownership…

sensing typology
mobile,wearable,diy communal,expert,in-place,custom journalist,hybrid…
*thanks Lily Bui. @dangerbui

forms of journalisminvestigative,accountability,illustrative,explanatory,participatory,profile,trend,breaking news, *neither complete
or mutually exclusive
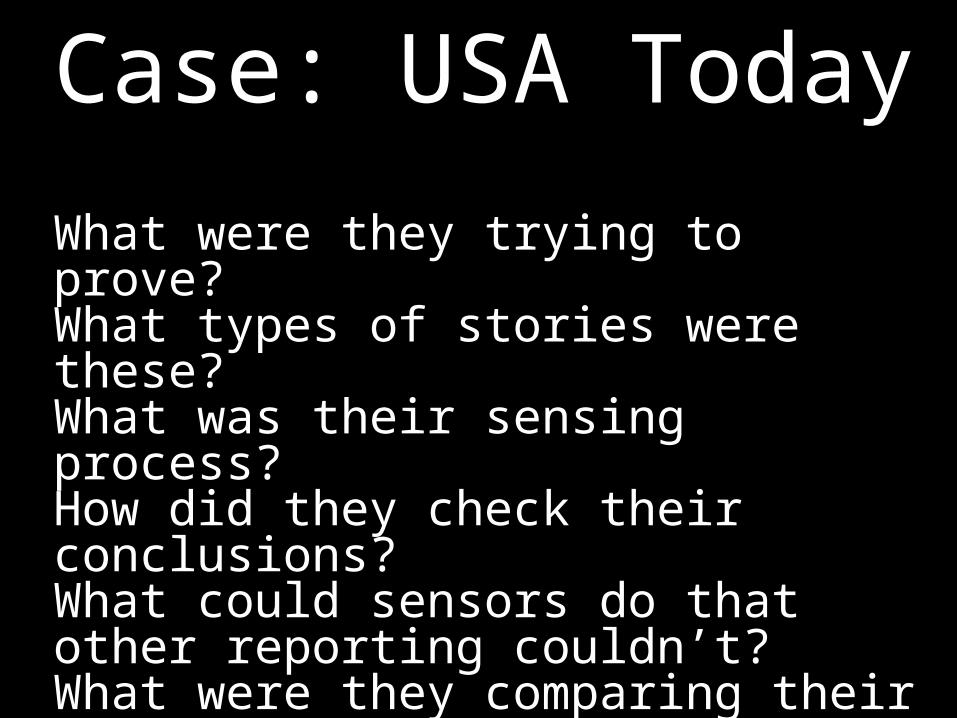
Case: USA Today
What were they trying to prove?What types of stories were these?What was their sensing process?How did they check their conclusions?What could sensors do that other reporting couldn’t?What were they comparing their data to?
Use our language from previous session.
Case: Public Lab
What were they trying to prove?What types of stories were these?What was their sensing process?How did they check their conclusions?What could sensors do that other reporting couldn’t?What were they comparing their data to?
Use our language from previous session.
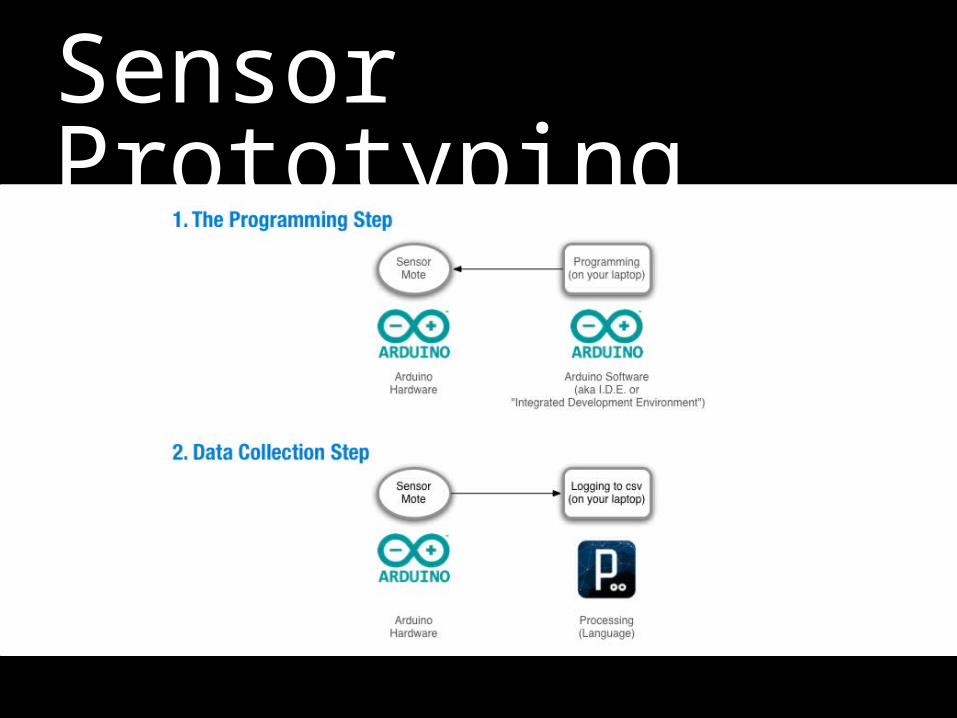
Sensor Prototyping
Sensor Prototyping
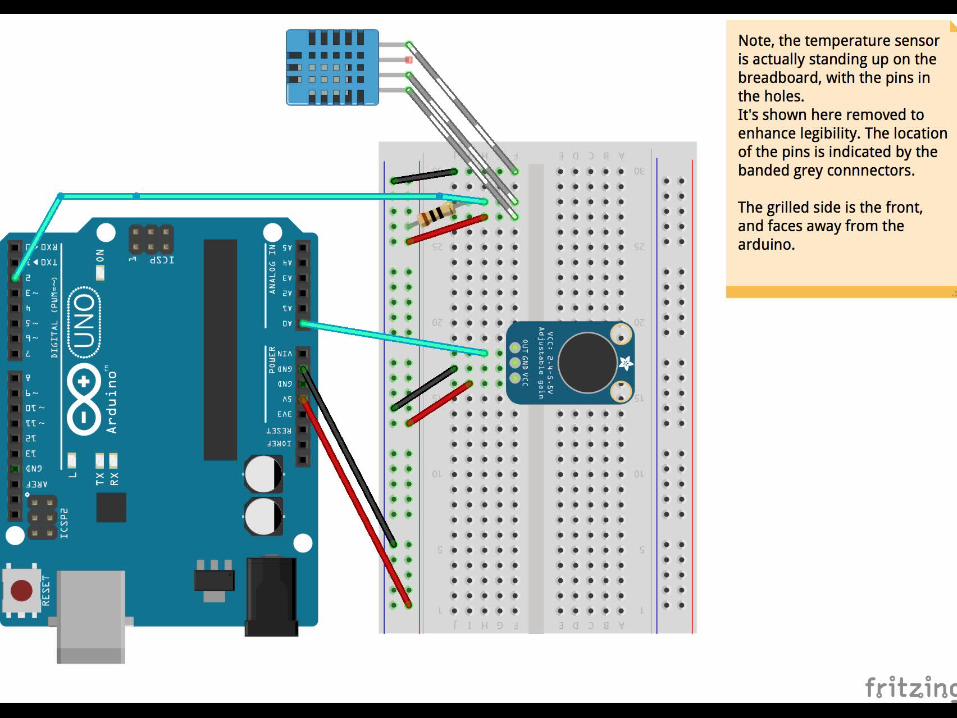
temperature & humidity
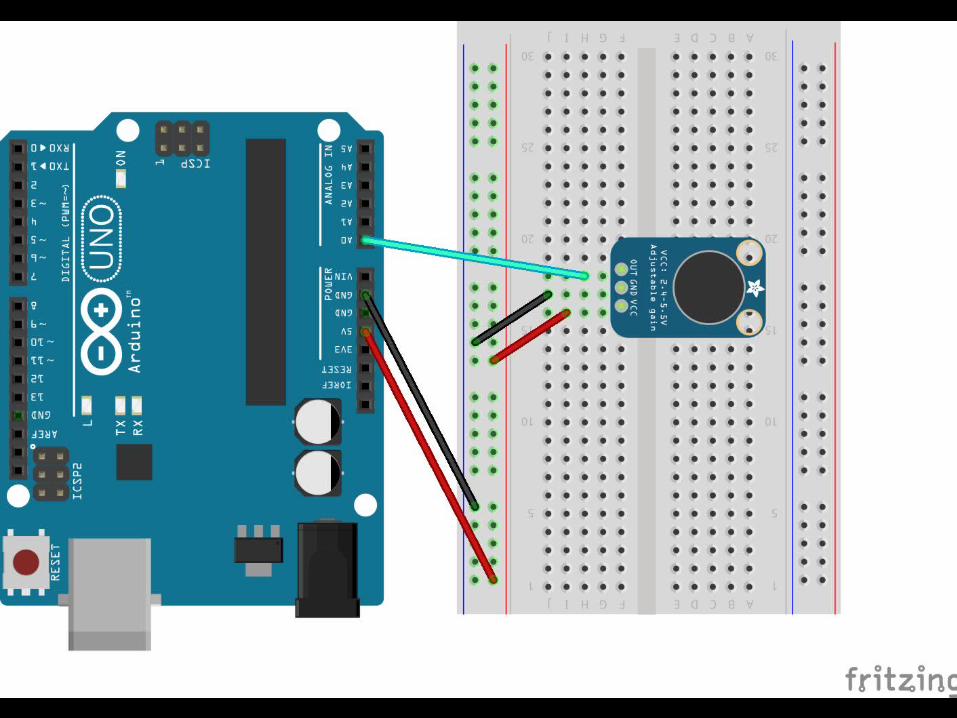
audio level
Sensor Prototyping
background on Arduino
Sensor Prototyping
Sensor Prototyping
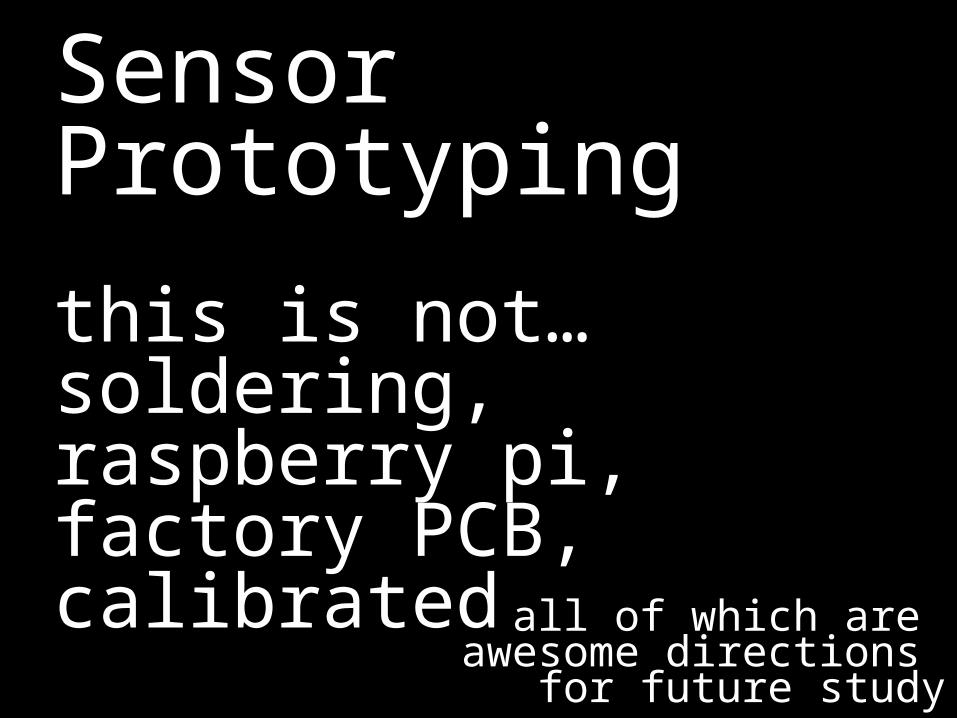
this is not…soldering, raspberry pi, factory PCB, calibrated
all of which are awesome directions
for future study
Electronics 100.5
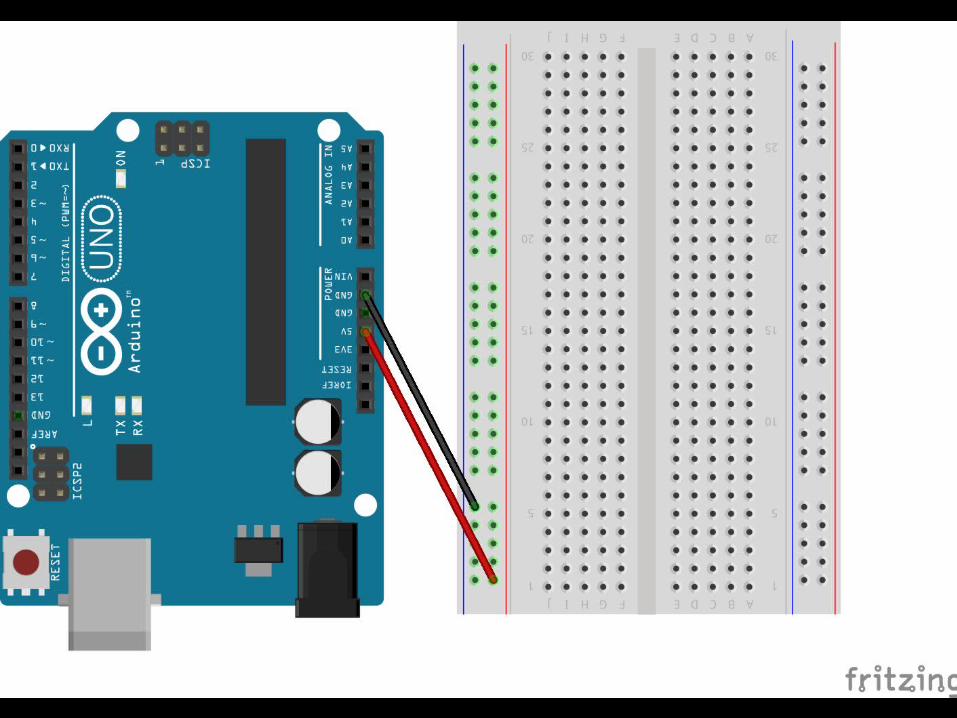
power,ground,signal.
(do go and learn more…)
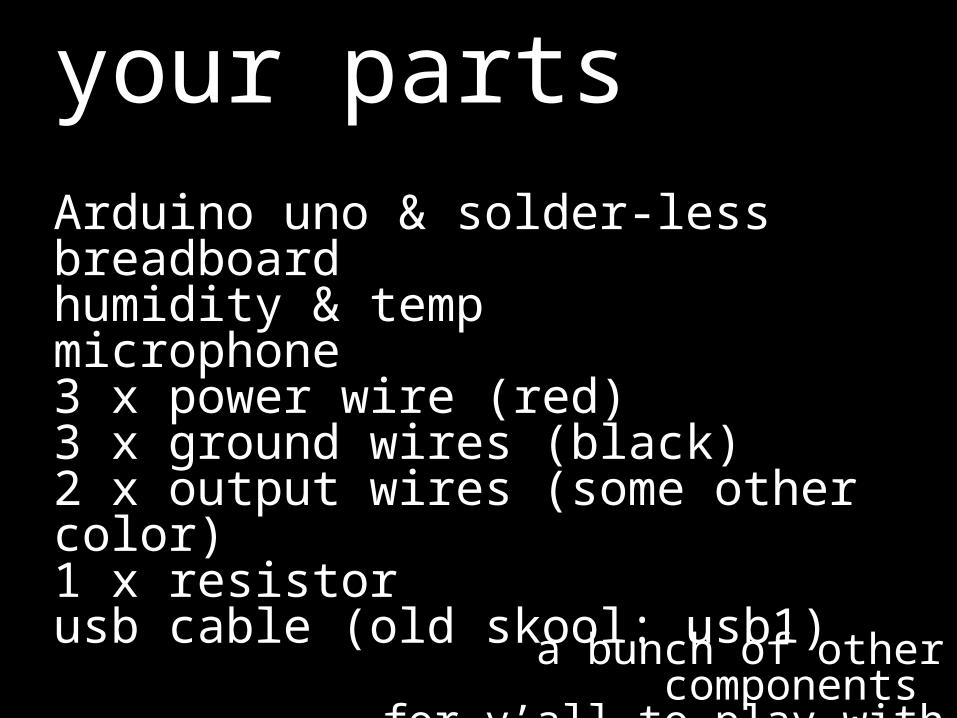
your partsArduino uno & solder-less breadboardhumidity & tempmicrophone3 x power wire (red)3 x ground wires (black)2 x output wires (some other color)1 x resistor usb cable (old skool: usb1)
a bunch of other components for y’all to play with later
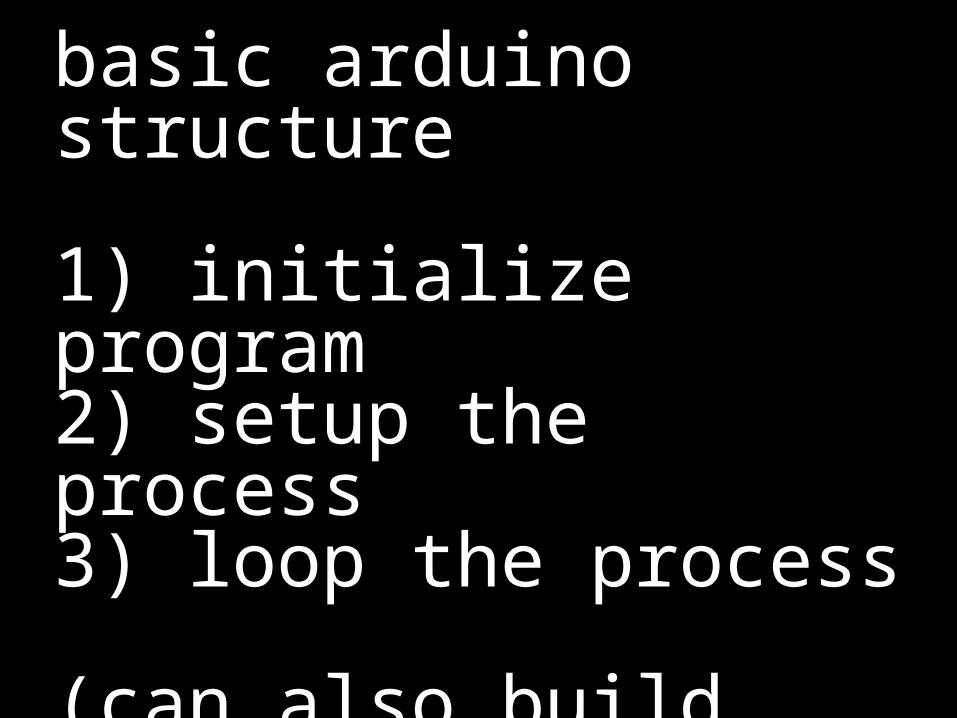
basic arduino structure
1) initialize program2) setup the process3) loop the process
(can also build functions)
http://bit.ly/UBCMote
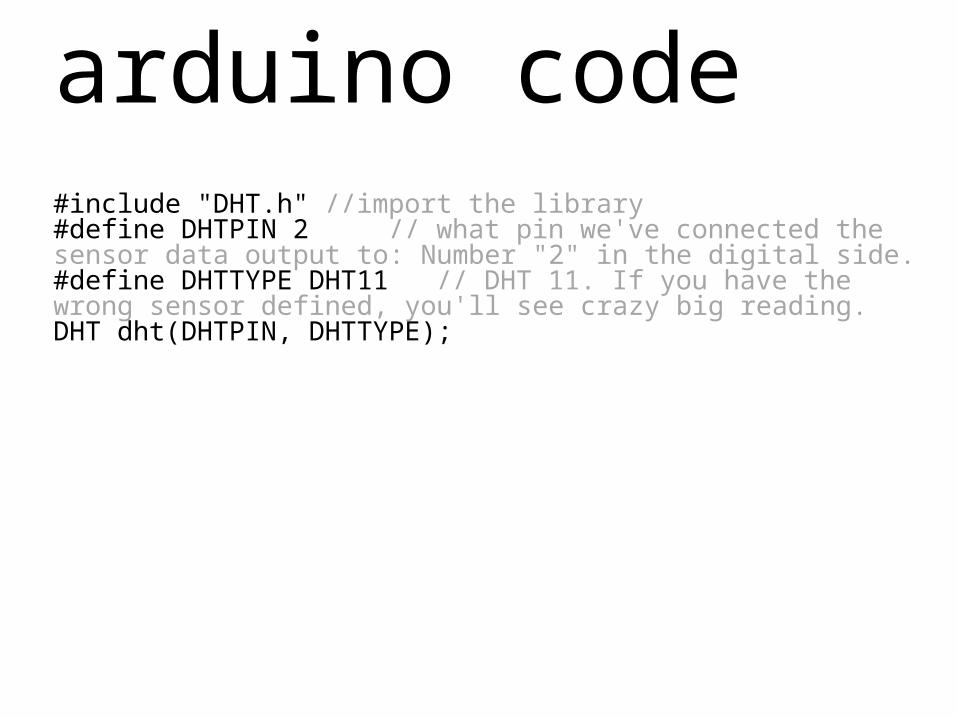
arduino code#include "DHT.h" //import the library#define DHTPIN 2 // what pin we've connected the sensor data output to: Number "2" in the digital side.#define DHTTYPE DHT11 // DHT 11. If you have the wrong sensor defined, you'll see crazy big reading.DHT dht(DHTPIN, DHTTYPE);
a bunch of other components for y’all to play with later
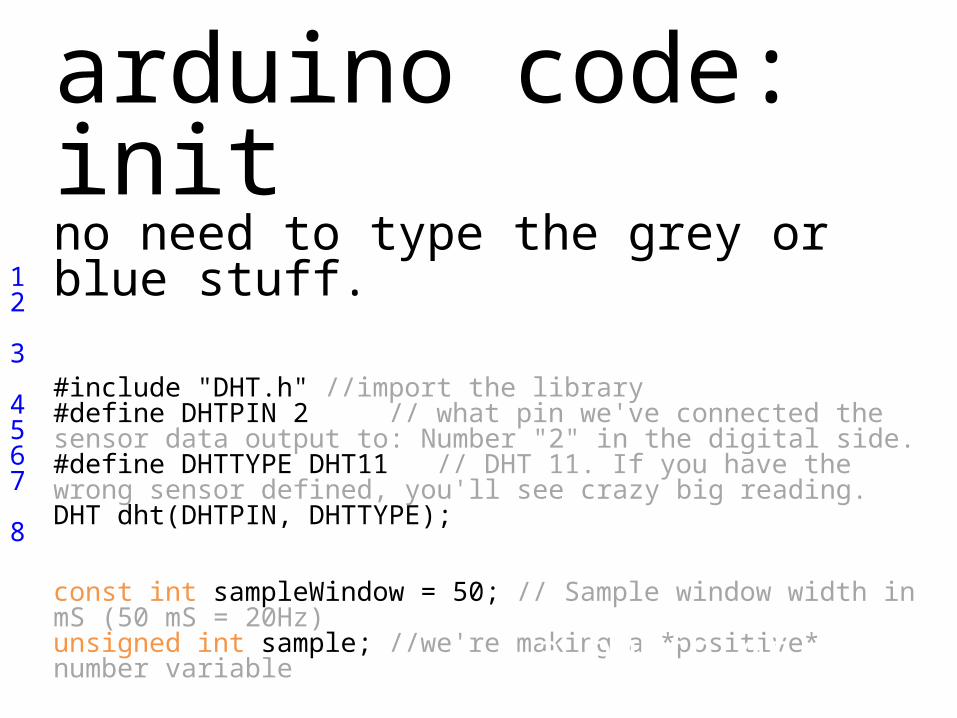
arduino code: initno need to type the grey or blue stuff.
#include "DHT.h" //import the library#define DHTPIN 2 // what pin we've connected the sensor data output to: Number "2" in the digital side.#define DHTTYPE DHT11 // DHT 11. If you have the wrong sensor defined, you'll see crazy big reading.DHT dht(DHTPIN, DHTTYPE);
const int sampleWindow = 50; // Sample window width in mS (50 mS = 20Hz)unsigned int sample; //we're making a *positive* number variable
a bunch of other components for y’all to play with later
12
3
4567
8
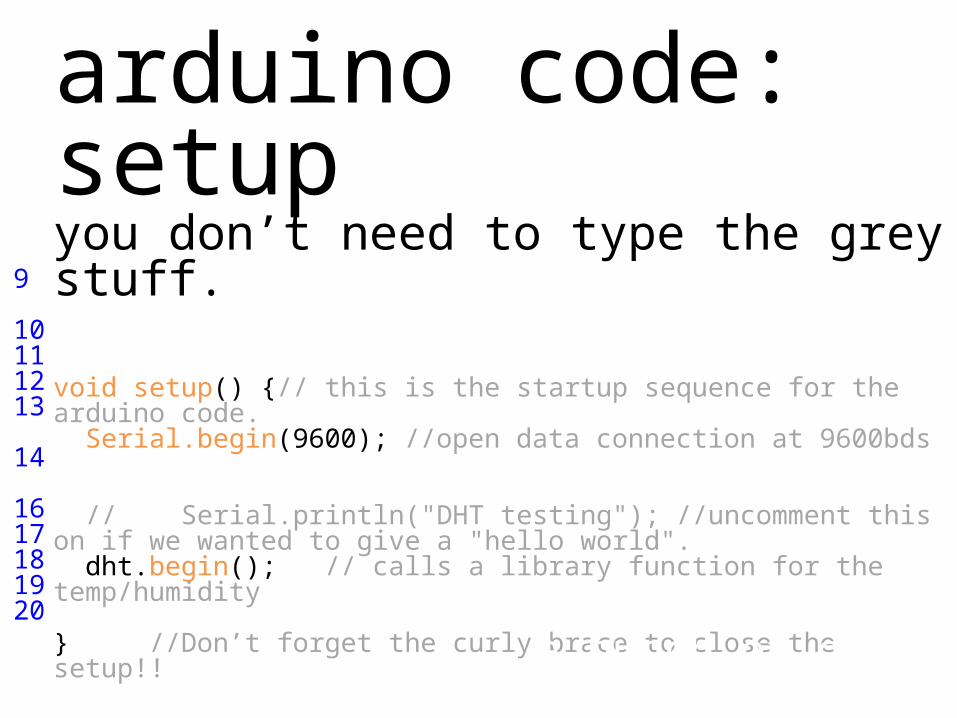
arduino code: setupyou don’t need to type the grey stuff.
void setup() {// this is the startup sequence for the arduino code. Serial.begin(9600); //open data connection at 9600bds
// Serial.println("DHT testing"); //uncomment this on if we wanted to give a "hello world". dht.begin(); // calls a library function for the temp/humidity
} //Don’t forget the curly brace to close the setup!!
a bunch of other components for y’all to play with later
9
10111213
14
1617181920
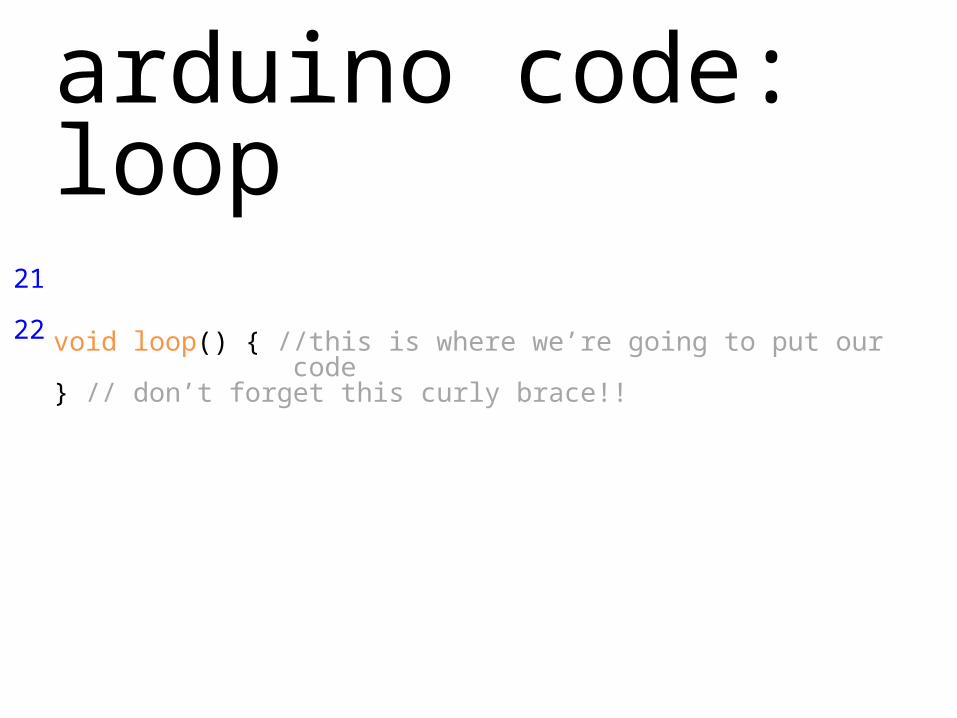
arduino code: loop
void loop() { //this is where we’re going to put our code
} // don’t forget this curly brace!!
a bunch of other components for y’all to play with later
21
22
arduino code: loop
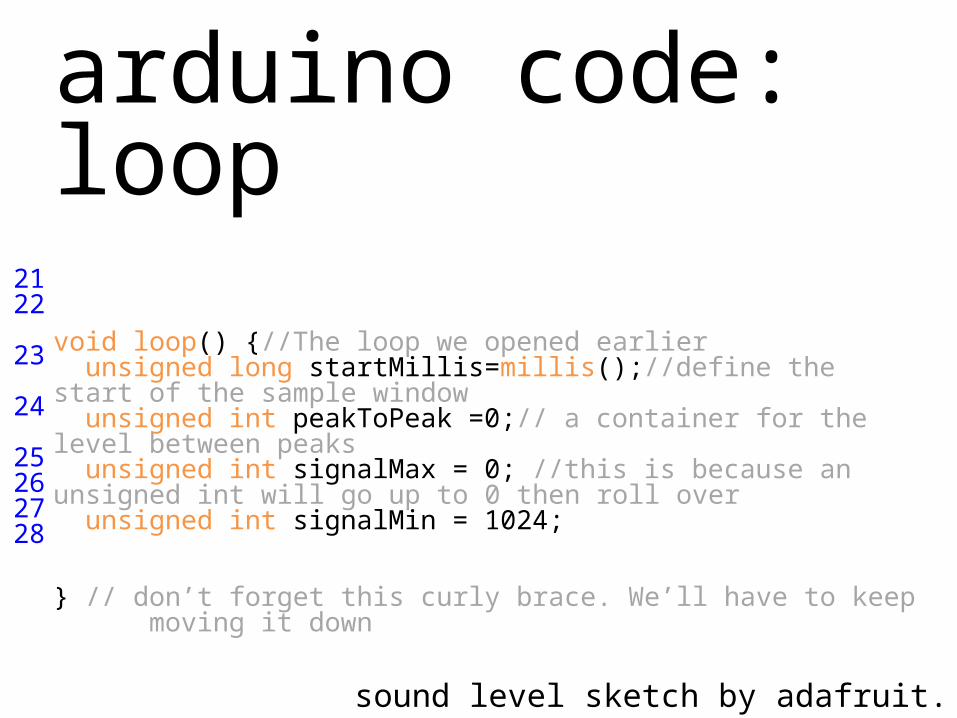
void loop() {//The loop we opened earlier unsigned long startMillis=millis();//define the start of the sample window unsigned int peakToPeak =0;// a container for the level between peaks unsigned int signalMax = 0; //this is because an unsigned int will go up to 0 then roll over unsigned int signalMin = 1024;
} // don’t forget this curly brace. We’ll have to keep moving it down
sound level sketch by adafruit.
2122
23
24
25262728
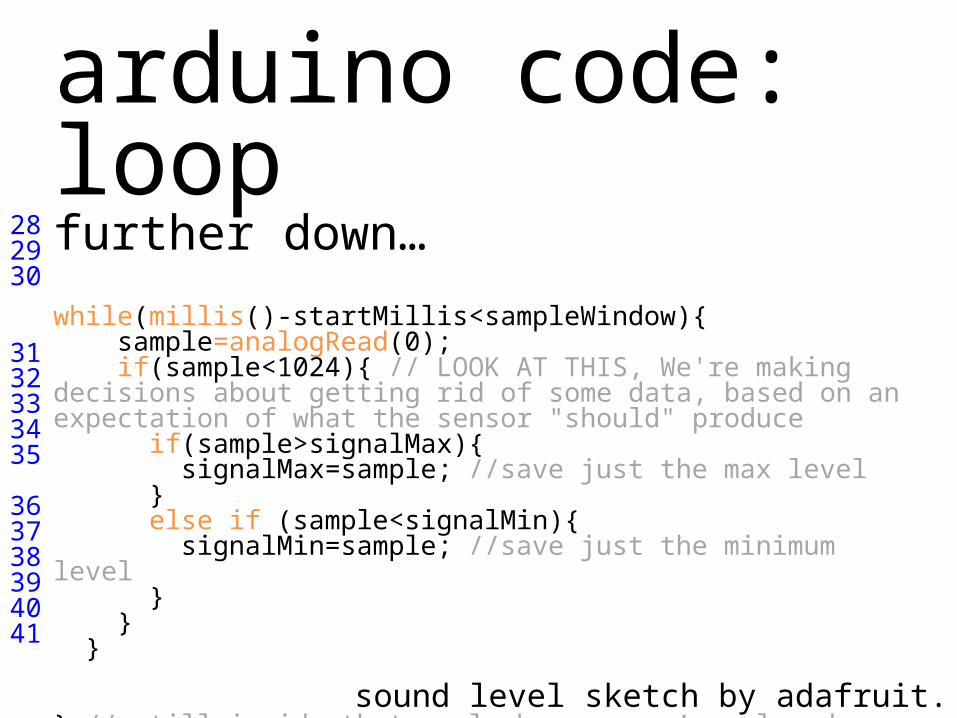
arduino code: loopfurther down… while(millis()-startMillis<sampleWindow){ sample=analogRead(0); if(sample<1024){ // LOOK AT THIS, We're making decisions about getting rid of some data, based on an expectation of what the sensor "should" produce if(sample>signalMax){ signalMax=sample; //save just the max level } else if (sample<signalMin){ signalMin=sample; //save just the minimum level } } }
} // still inside that curly brace, you’ve already typed
282930
3132333435
363738394041
sound level sketch by adafruit.
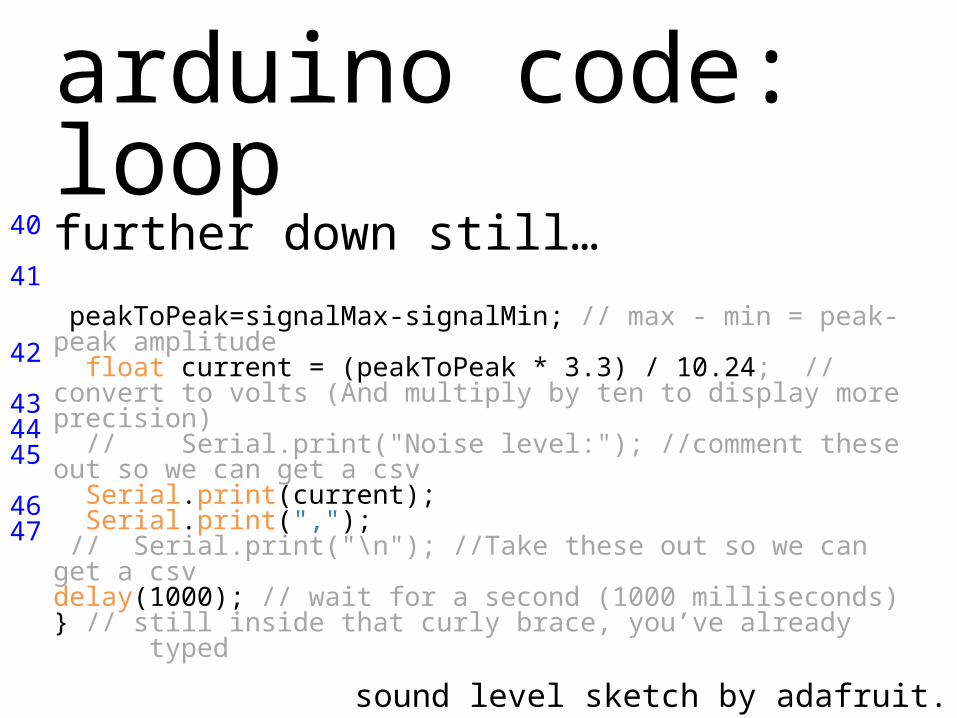
arduino code: loopfurther down still… peakToPeak=signalMax-signalMin; // max - min = peak-peak amplitude float current = (peakToPeak * 3.3) / 10.24; // convert to volts (And multiply by ten to display more precision) // Serial.print("Noise level:"); //comment these out so we can get a csv Serial.print(current); Serial.print(","); // Serial.print("\n"); //Take these out so we can get a csvdelay(1000); // wait for a second (1000 milliseconds)} // still inside that curly brace, you’ve already typed
40
41
42
434445
4647
sound level sketch by adafruit.
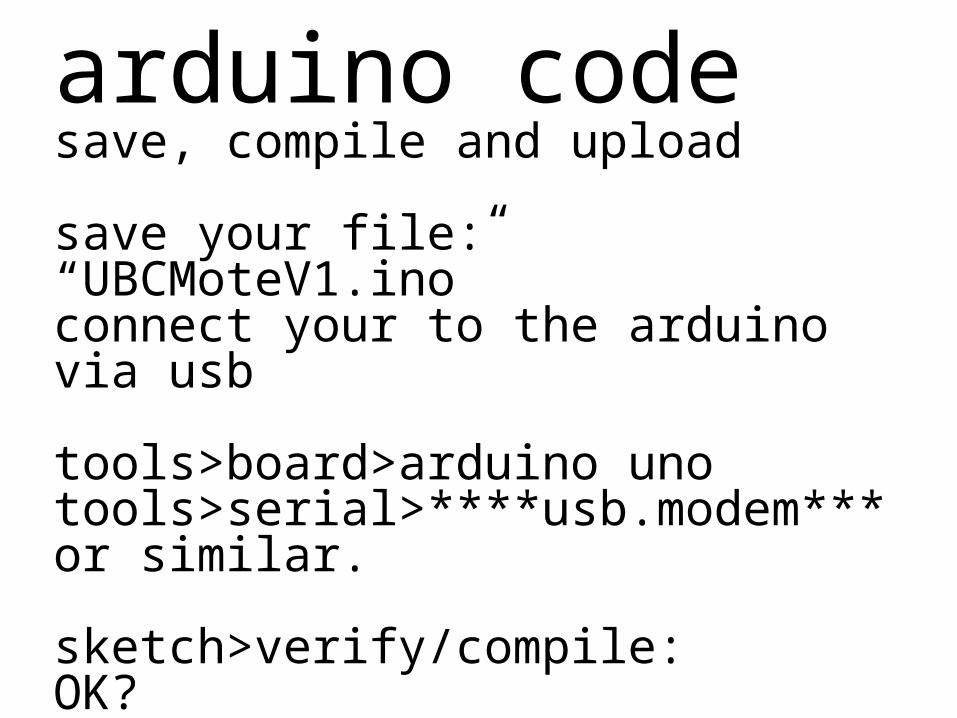
arduino codesave, compile and upload
save your file: “UBCMoteV1.ino”connect your to the arduino via usb
tools>board>arduino unotools>serial>****usb.modem*** or similar.
sketch>verify/compile: OK?file>upload: ta-da!!! (right?)
arduino code
ok then… let’s debug.
arduino codelet’s add in the temp and humidity.

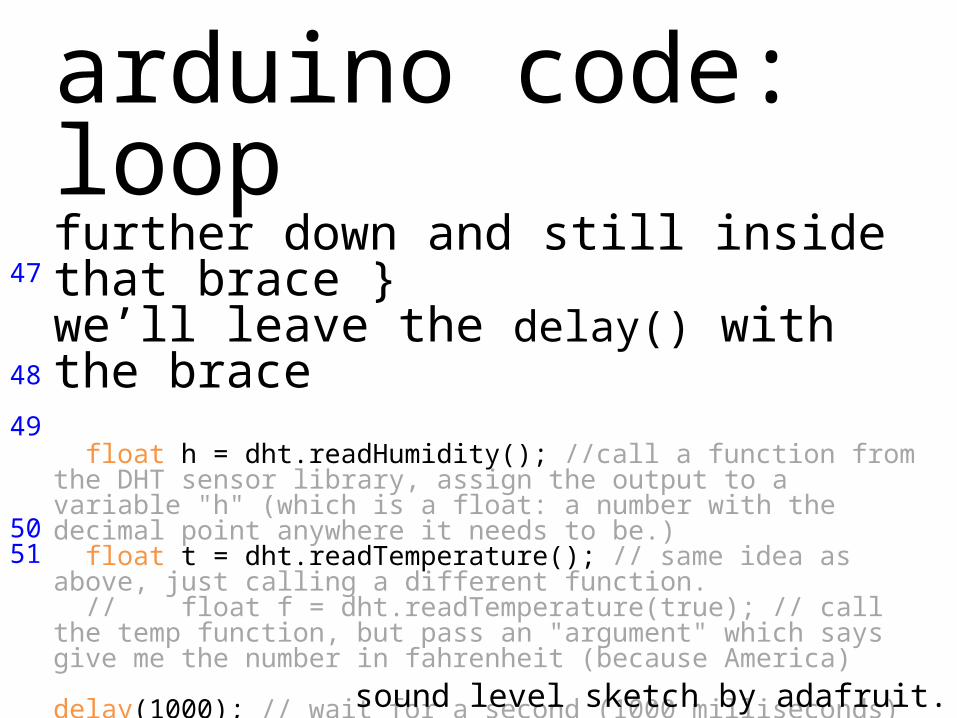
arduino code: loopfurther down and still inside that brace }we’ll leave the delay() with the brace float h = dht.readHumidity(); //call a function from the DHT sensor library, assign the output to a variable "h" (which is a float: a number with the decimal point anywhere it needs to be.) float t = dht.readTemperature(); // same idea as above, just calling a different function. // float f = dht.readTemperature(true); // call the temp function, but pass an "argument" which says give me the number in fahrenheit (because America)
delay(1000); // wait for a second (1000 milliseconds)} // our old friend, the last curly brace.
47
48
49
5051
sound level sketch by adafruit.
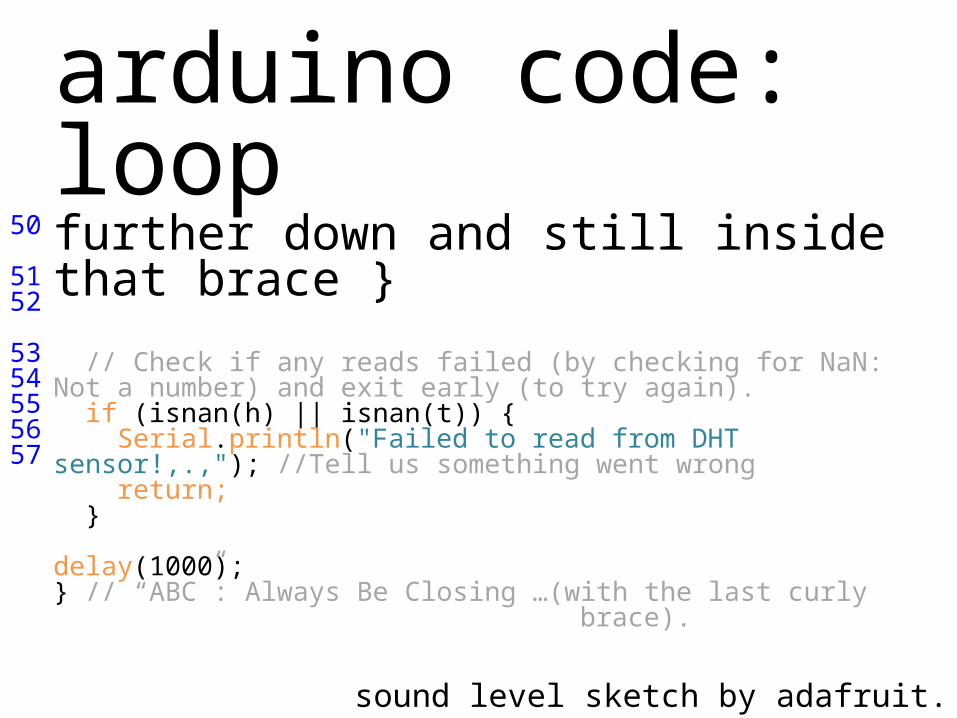
arduino code: loopfurther down and still inside that brace } // Check if any reads failed (by checking for NaN: Not a number) and exit early (to try again). if (isnan(h) || isnan(t)) { Serial.println("Failed to read from DHT sensor!,.,"); //Tell us something went wrong return; }
delay(1000); } // “ABC”: Always Be Closing …(with the last curly
brace).
50
5152
5354555657
sound level sketch by adafruit.
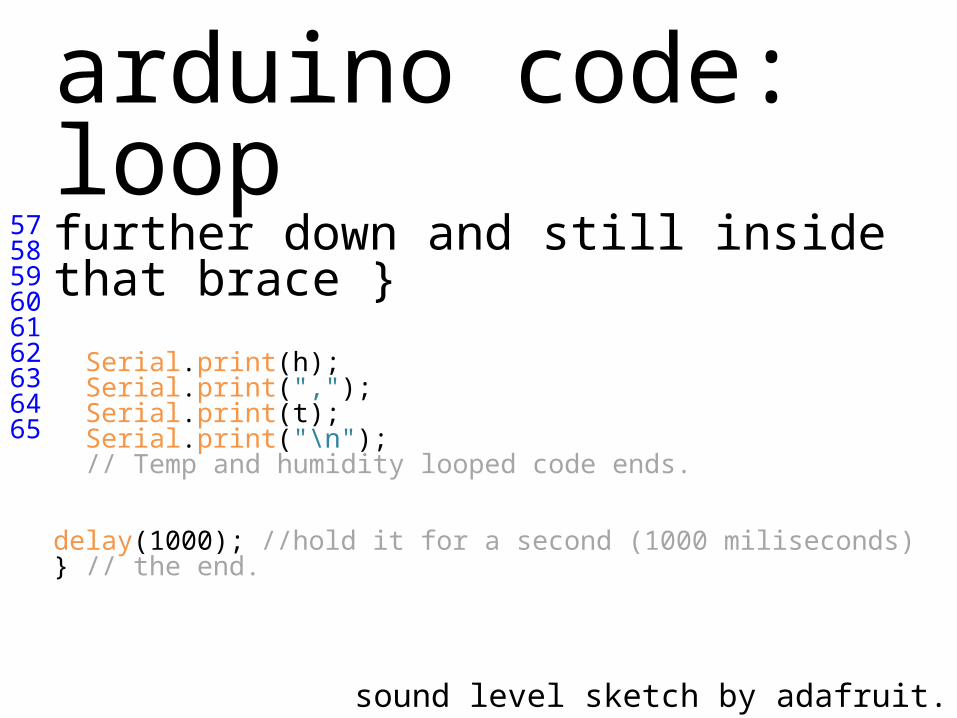
arduino code: loopfurther down and still inside that brace } Serial.print(h); Serial.print(","); Serial.print(t); Serial.print("\n"); // Temp and humidity looped code ends.
delay(1000); //hold it for a second (1000 miliseconds)} // the end.
575859606162636465
sound level sketch by adafruit.
add in Processing
for logging

Sensor Prototyping
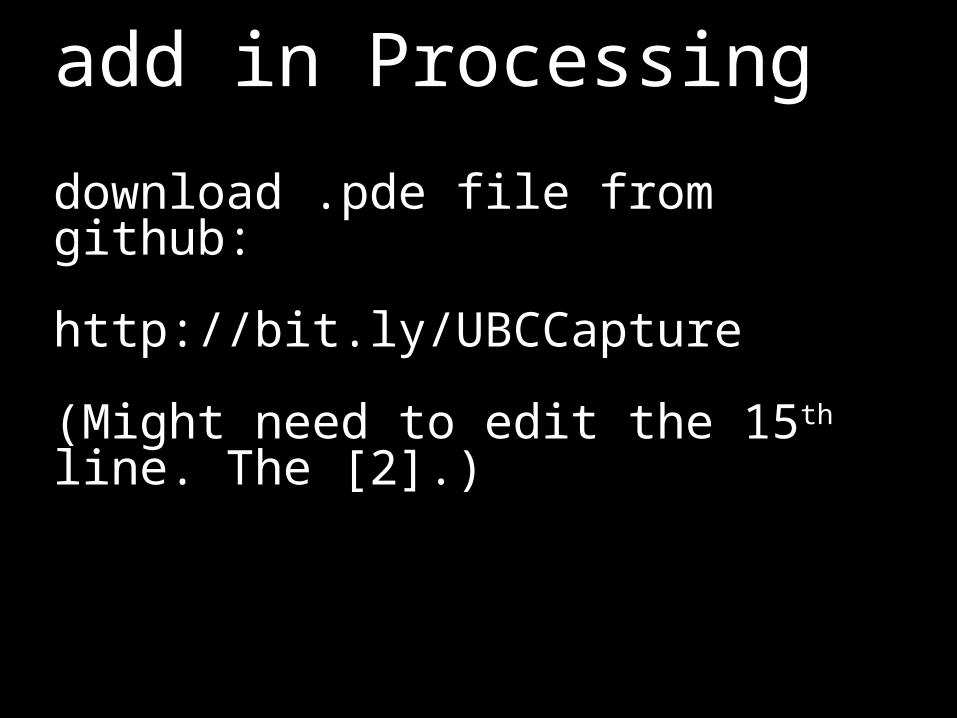
add in Processing
download .pde file from github:
http://bit.ly/UBCCapture
(Might need to edit the 15th line. The [2].)
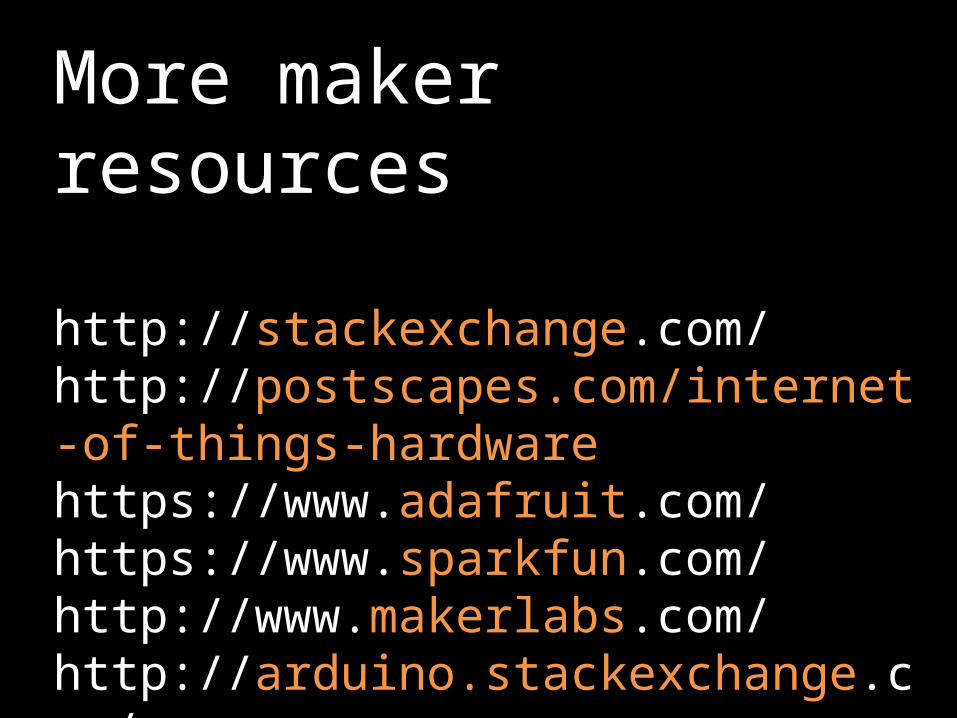
More maker resources
http://stackexchange.com/ http://postscapes.com/internet-of-things-hardware https://www.adafruit.com/ https://www.sparkfun.com/ http://www.makerlabs.com/ http://arduino.stackexchange.com/