Embed Size (px)
Citation preview
You have an OpenStack cloud, now what?Manchester OpenStack Meetup
D a t e : 1 9 t h J a n u a r y 2 0 1 6
2
/me
Kevin Jackson, age 37 ¾ I do OpenStack stuff at RackspaceWhen not doing OpenStack stuff for Rackspace, I spend my time in airportsI accidentally wrote a few OpenStack books
3
How to use OpenStack: Connec t ing to you r env i ronment Up load ing images Creat ing ne tworks Secur i ty Boot ing in s tances Access ing in s tances Creat ing and a t tach ing vo lumes Othe r s tuff Dr ink beer / ea t p i z za / make coffee

4
SET YOUR VIDEO TO RECORD NOW!

5
What is OpenStack?

6
So me s o f tw are t ha t ma kes y our l i f e eas i e r f o r manag in g an d op era t i ng
Compu teSt o rageN et wor k i n g
7
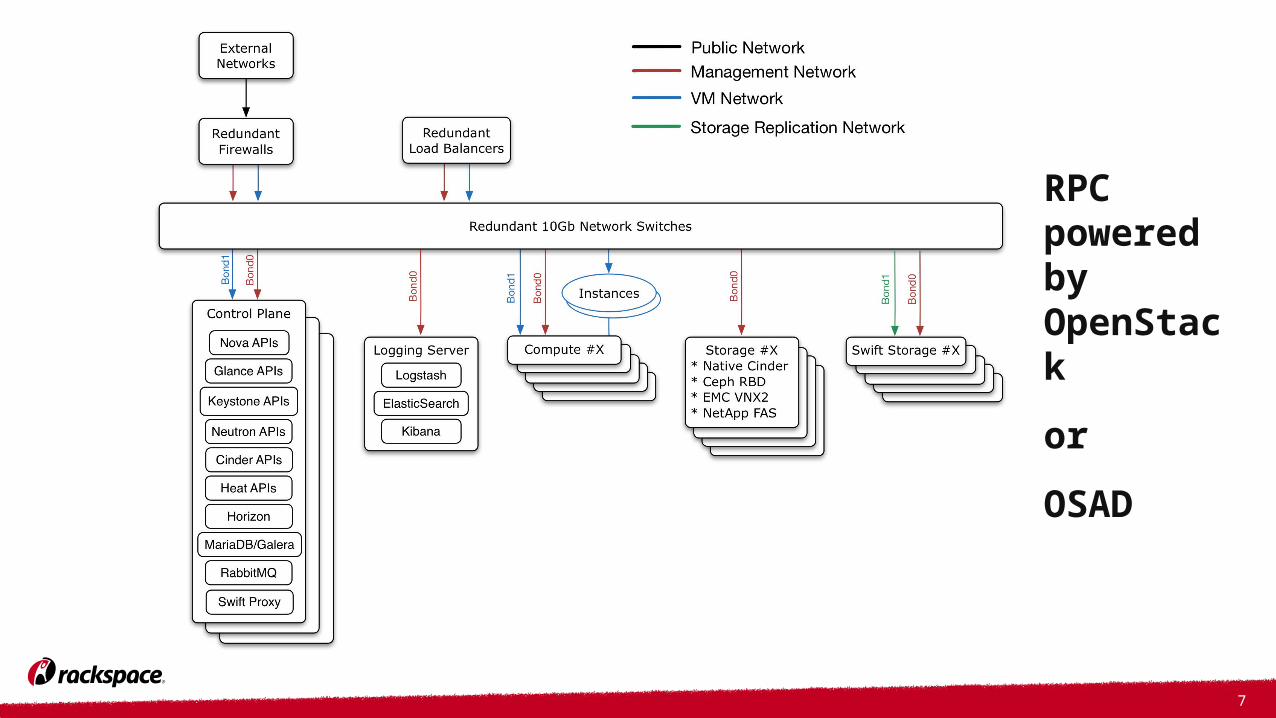
RPC powered by OpenStack orOSAD

8
OSAD?

9
OHAPPY!
10
https://github.com/openstack/openstack-ansible

11
The clients
12
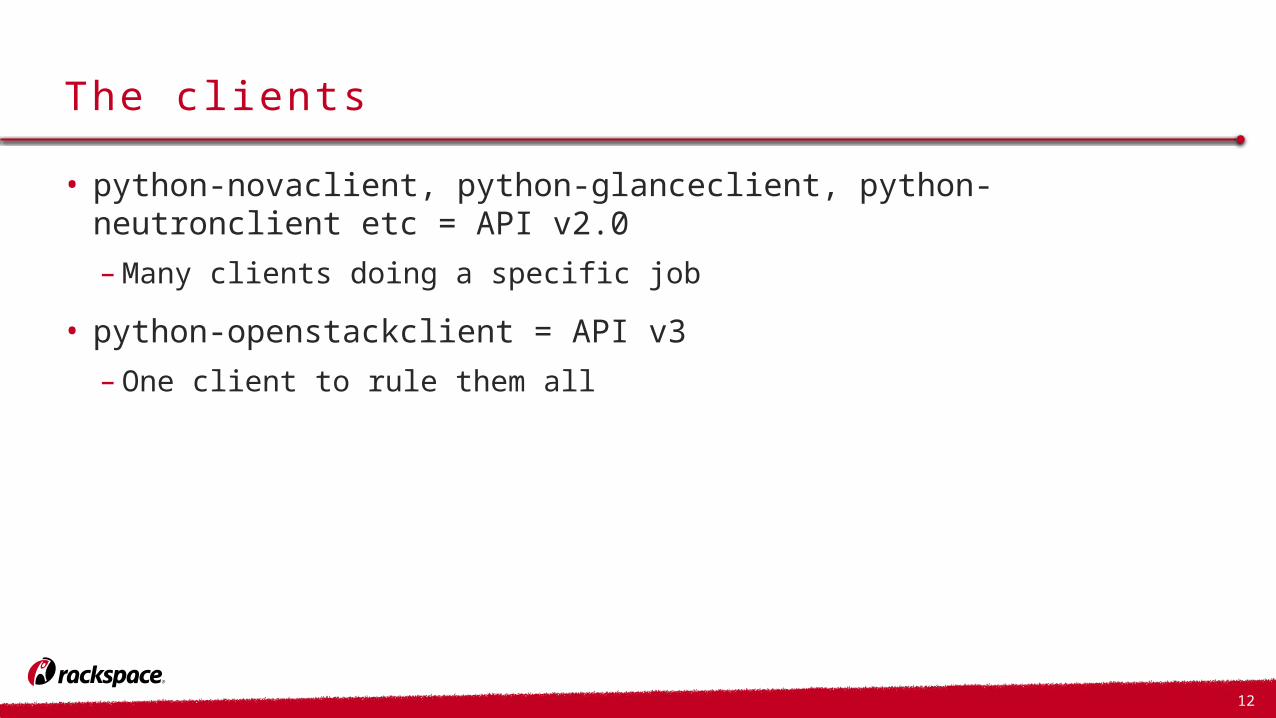
The clients• python-novaclient, python-glanceclient, python-neutronclient etc =
API v2.0–Many clients doing a specific job
• python-openstackclient = API v3–One client to rule them all
13
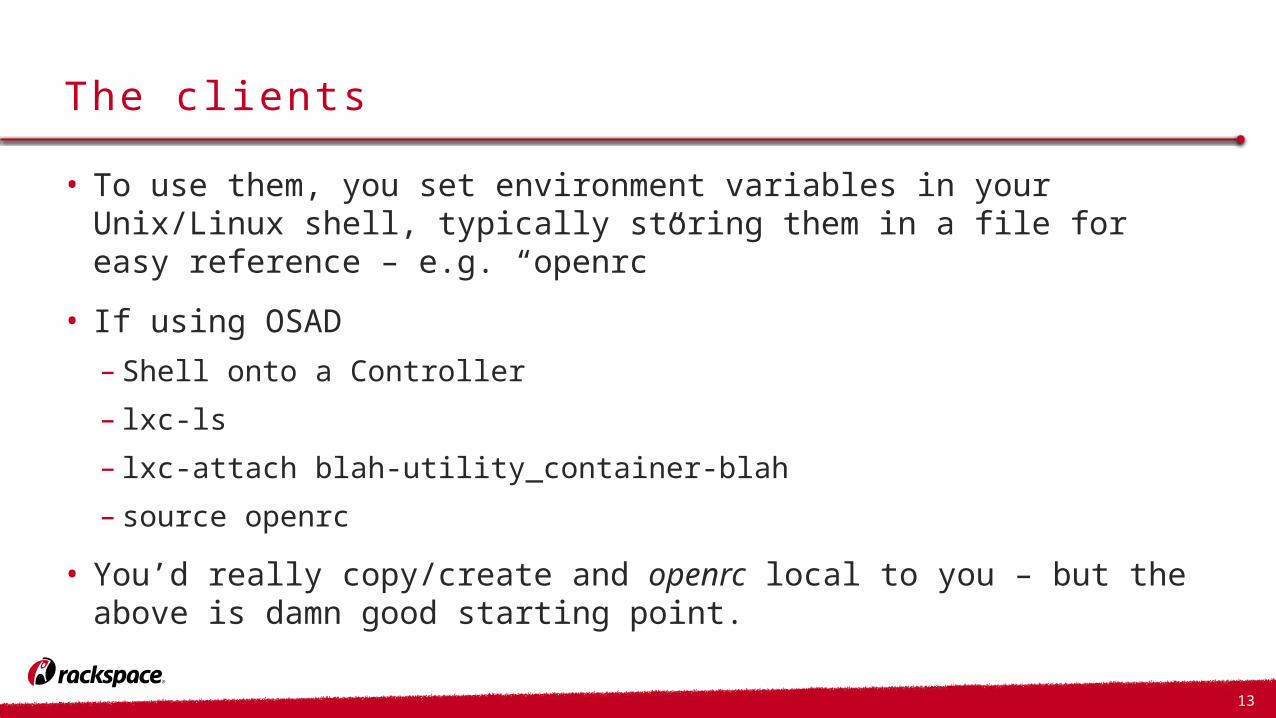
The clients• To use them, you set environment variables in your Unix/Linux shell,
typically storing them in a file for easy reference – e.g. “openrc”• If using OSAD– Shell onto a Controller– lxc-ls– lxc-attach blah-utility_container-blah– source openrc
• You’d really copy/create and openrc local to you – but the above is damn good starting point.
14
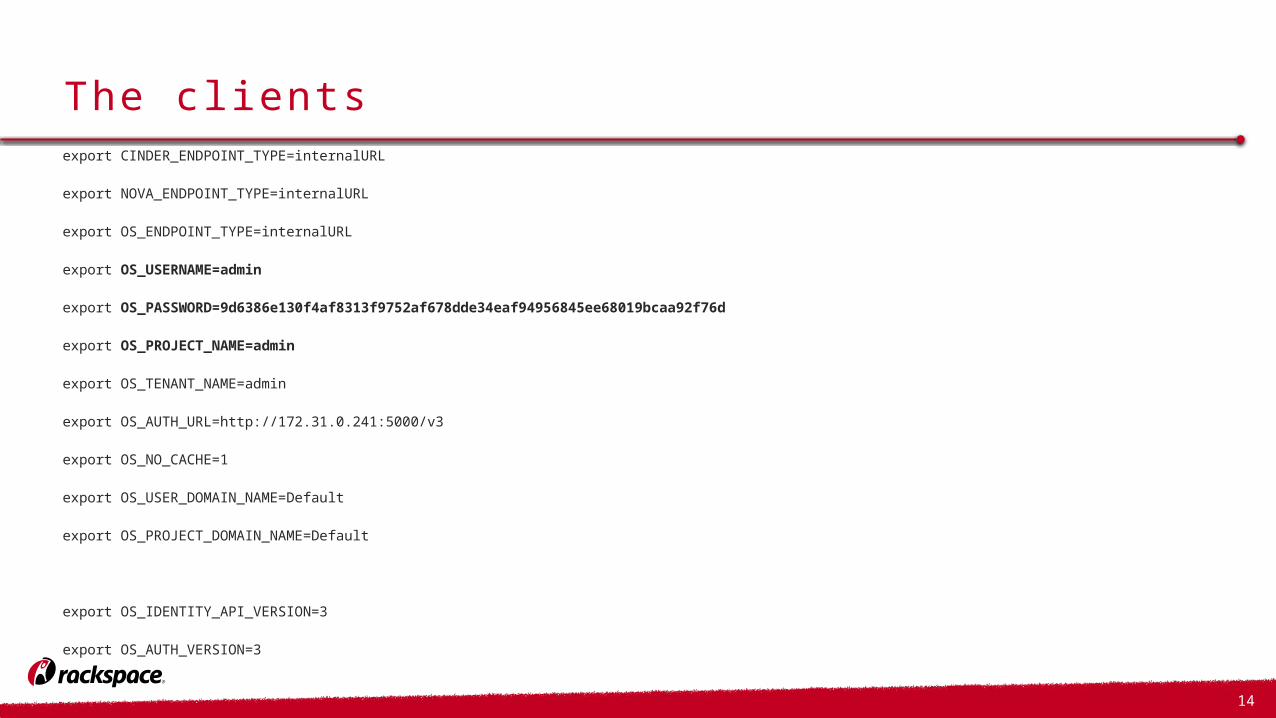
The clientsexport CINDER_ENDPOINT_TYPE=internalURL
export NOVA_ENDPOINT_TYPE=internalURL
export OS_ENDPOINT_TYPE=internalURL
export OS_USERNAME=admin
export OS_PASSWORD=9d6386e130f4af8313f9752af678dde34eaf94956845ee68019bcaa92f76d
export OS_PROJECT_NAME=admin
export OS_TENANT_NAME=admin
export OS_AUTH_URL=http://172.31.0.241:5000/v3
export OS_NO_CACHE=1
export OS_USER_DOMAIN_NAME=Default
export OS_PROJECT_DOMAIN_NAME=Default
export OS_IDENTITY_API_VERSION=3
export OS_AUTH_VERSION=3

15
Glance + Images
16
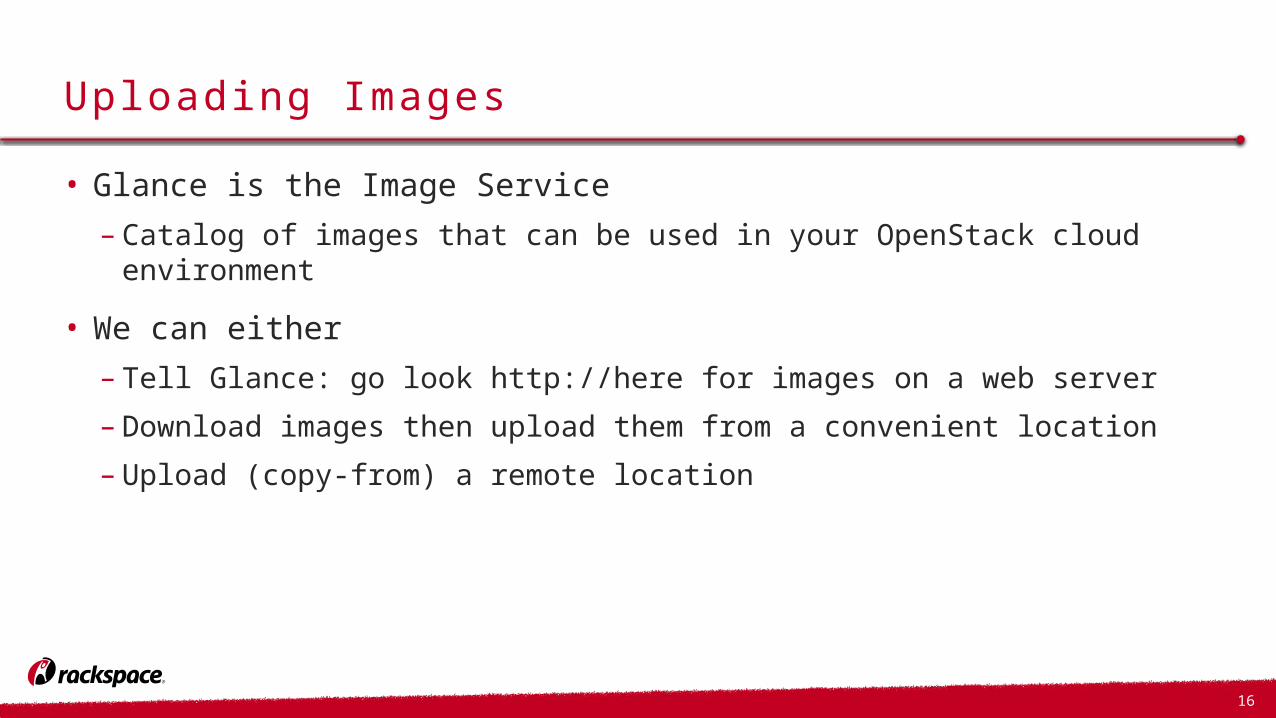
Uploading Images• Glance is the Image Service– Catalog of images that can be used in your OpenStack cloud environment
• We can either– Tell Glance: go look http://here for images on a web server–Download images then upload them from a convenient location– Upload (copy-from) a remote location
17
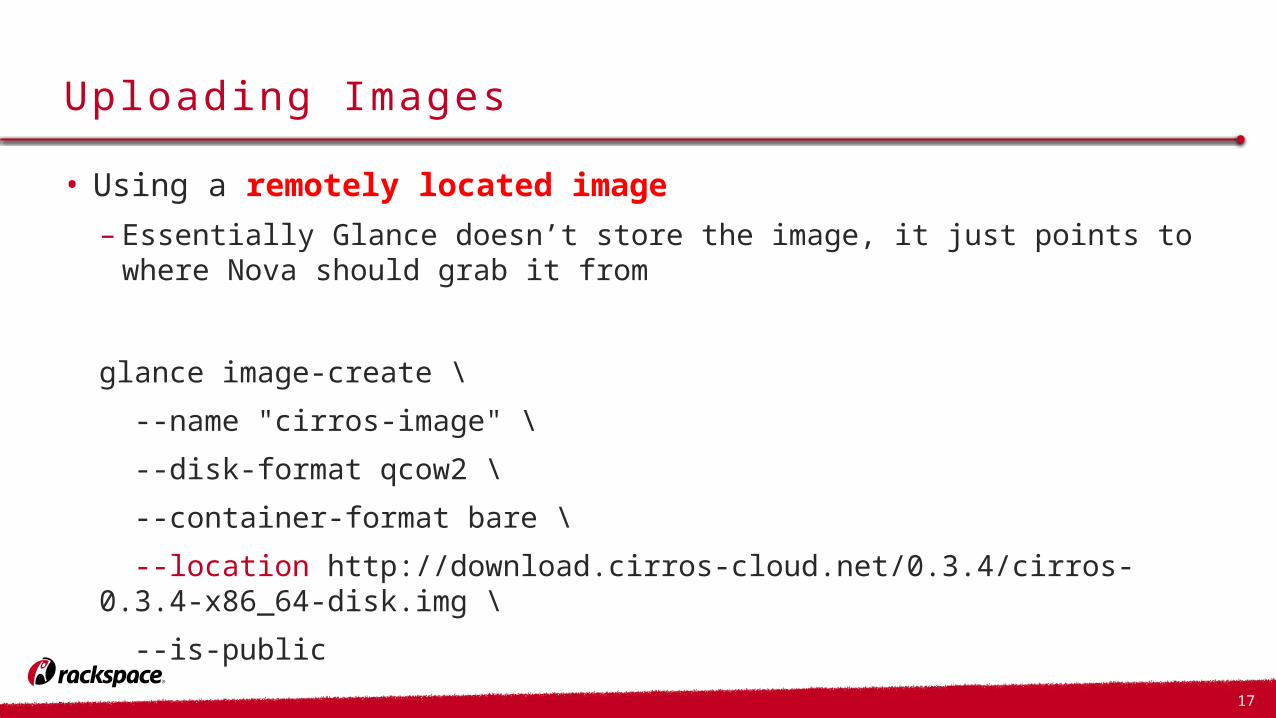
Uploading Images• Using a remotely located image– Essentially Glance doesn’t store the image, it just points to where Nova
should grab it from
glance image-create \
--name "cirros-image" \
--disk-format qcow2 \
--container-format bare \
--location http://download.cirros-cloud.net/0.3.4/cirros-0.3.4-x86_64-disk.img \
--is-public
18
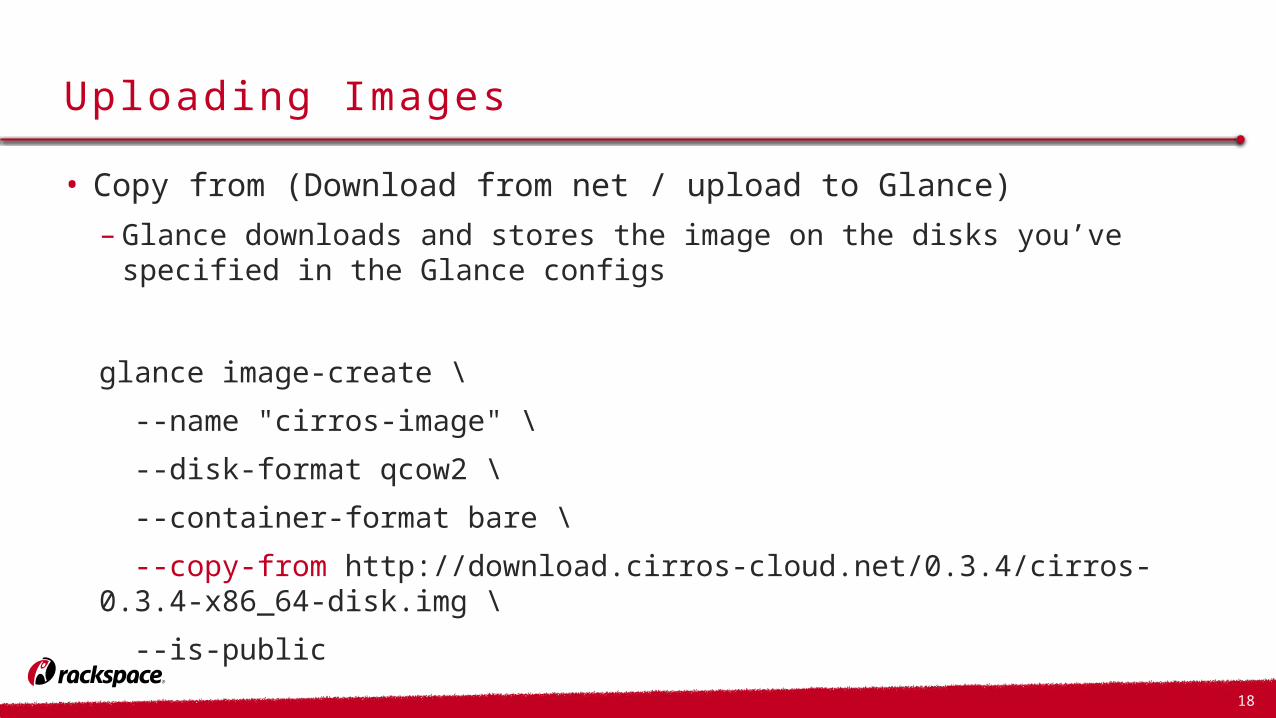
Uploading Images• Copy from (Download from net / upload to Glance)–Glance downloads and stores the image on the disks you’ve specified in
the Glance configs
glance image-create \
--name "cirros-image" \
--disk-format qcow2 \
--container-format bare \
--copy-from http://download.cirros-cloud.net/0.3.4/cirros-0.3.4-x86_64-disk.img \
--is-public
19
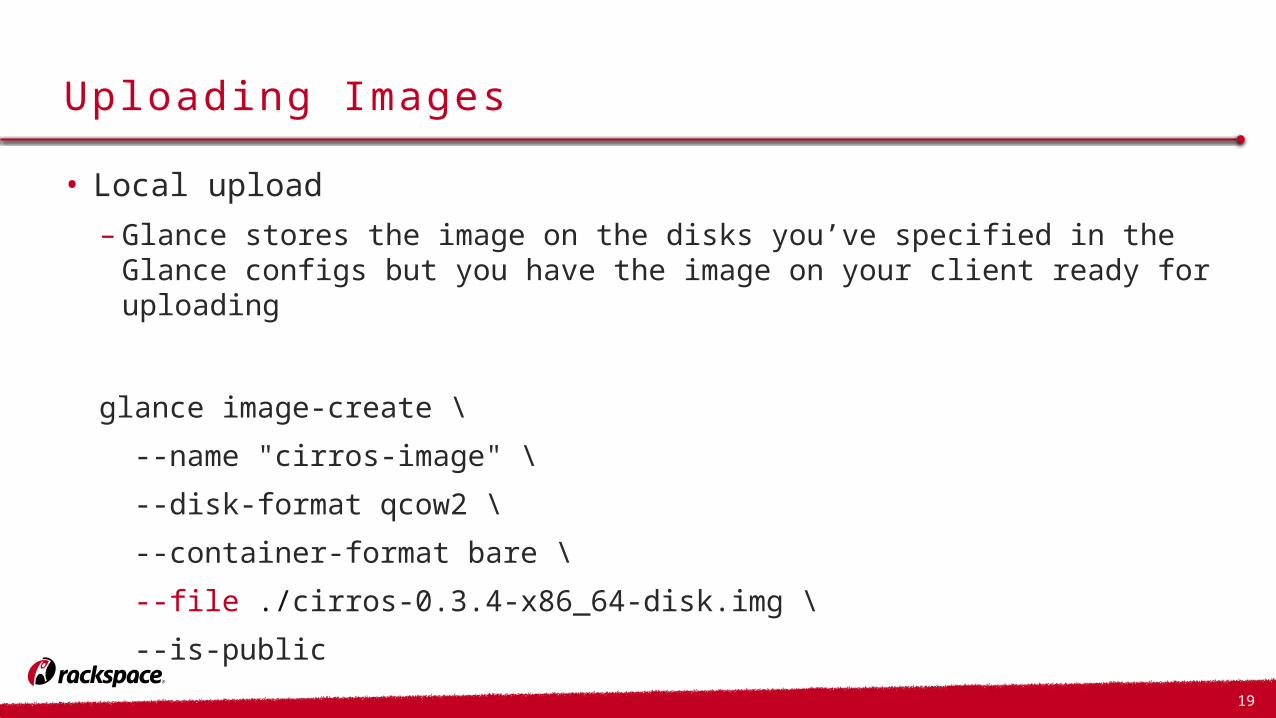
Uploading Images• Local upload–Glance stores the image on the disks you’ve specified in the Glance
configs but you have the image on your client ready for uploading
glance image-create \
--name "cirros-image" \
--disk-format qcow2 \
--container-format bare \
--file ./cirros-0.3.4-x86_64-disk.img \
--is-public

20
Networking
21
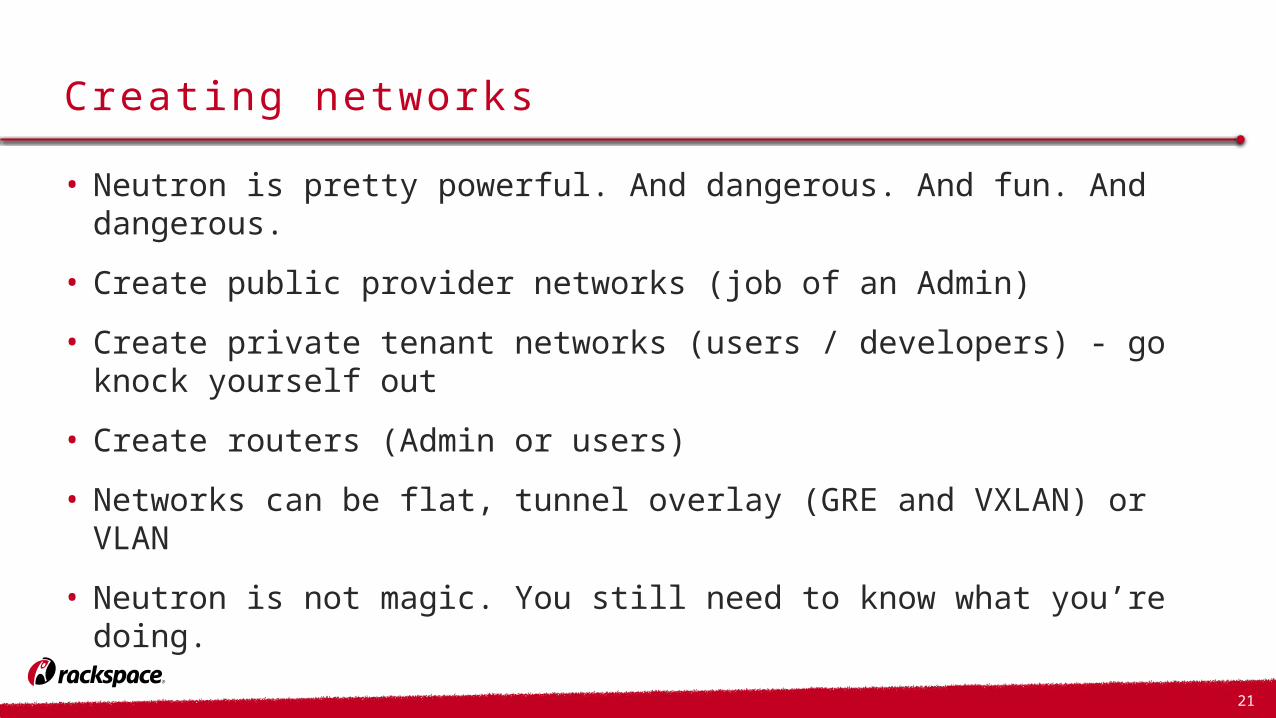
Creating networks• Neutron is pretty powerful. And dangerous. And fun. And dangerous.• Create public provider networks (job of an Admin)• Create private tenant networks (users / developers) - go knock
yourself out• Create routers (Admin or users)• Networks can be flat, tunnel overlay (GRE and VXLAN) or VLAN• Neutron is not magic. You still need to know what you’re doing.
22
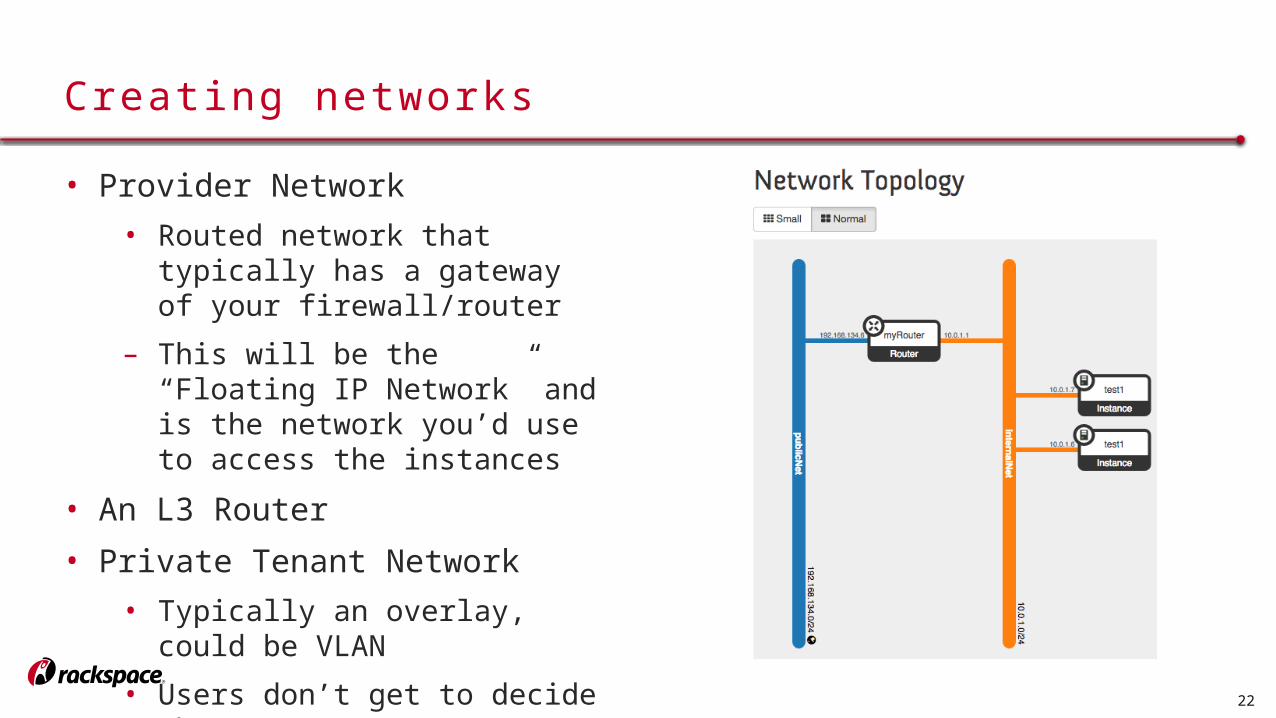
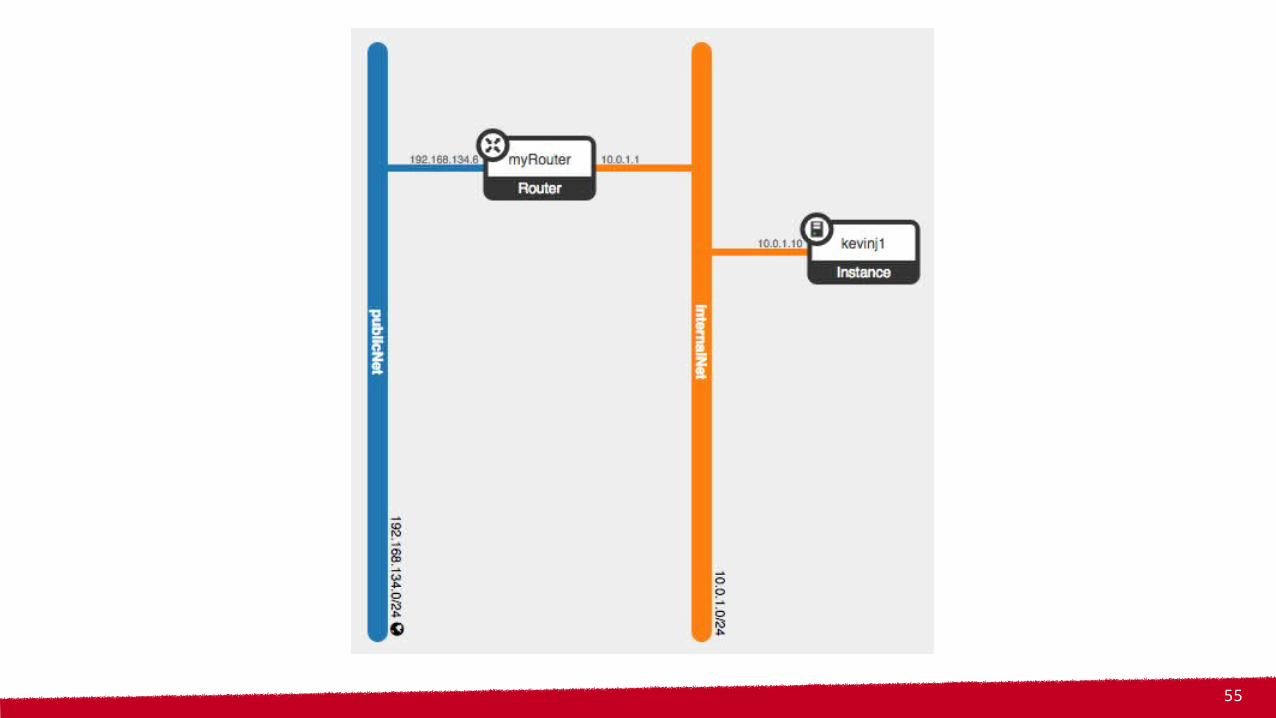
• Provider Network• Routed network that typically
has a gateway of your firewall/router
– This will be the “Floating IP Network” and is the network you’d use to access the instances
• An L3 Router• Private Tenant Network
• Typically an overlay, could be VLAN
• Users don’t get to decide the type
• Admin users do get this choice
Creating networks
23
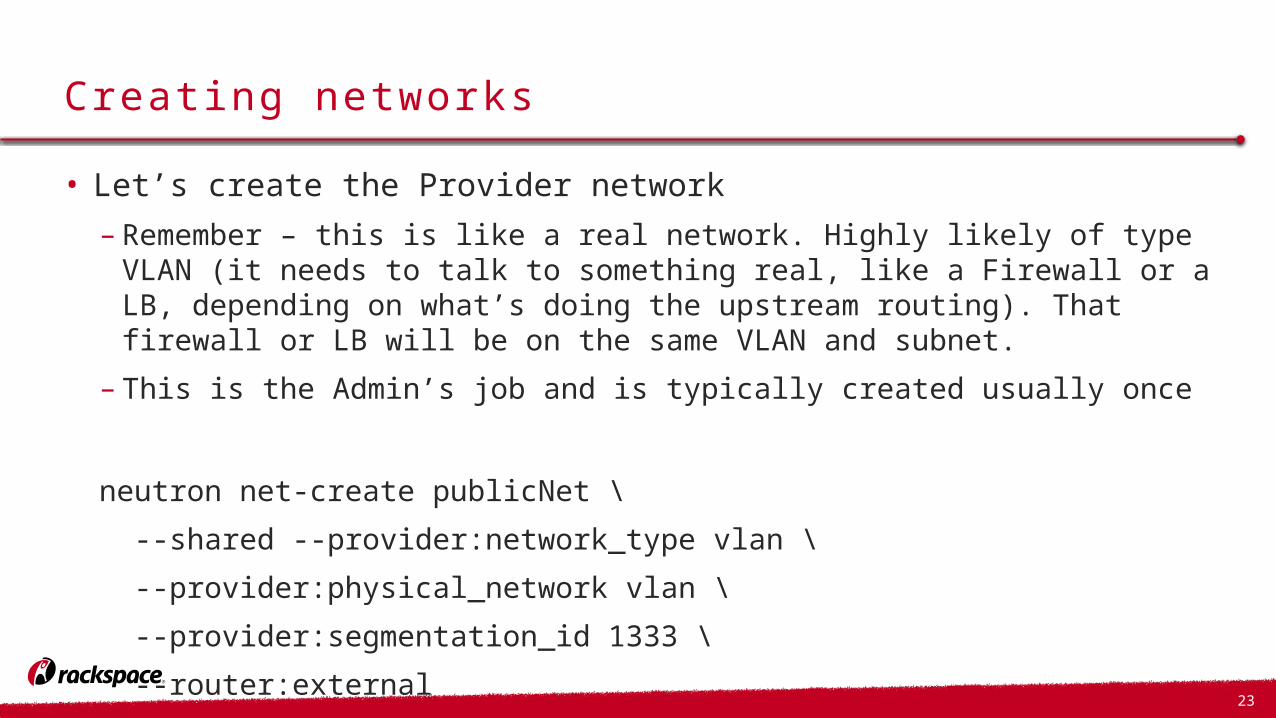
Creating networks• Let’s create the Provider network– Remember – this is like a real network. Highly likely of type VLAN (it
needs to talk to something real, like a Firewall or a LB, depending on what’s doing the upstream routing). That firewall or LB will be on the same VLAN and subnet.
– This is the Admin’s job and is typically created usually once
neutron net-create publicNet \
--shared --provider:network_type vlan \
--provider:physical_network vlan \
--provider:segmentation_id 1333 \
--router:external
24
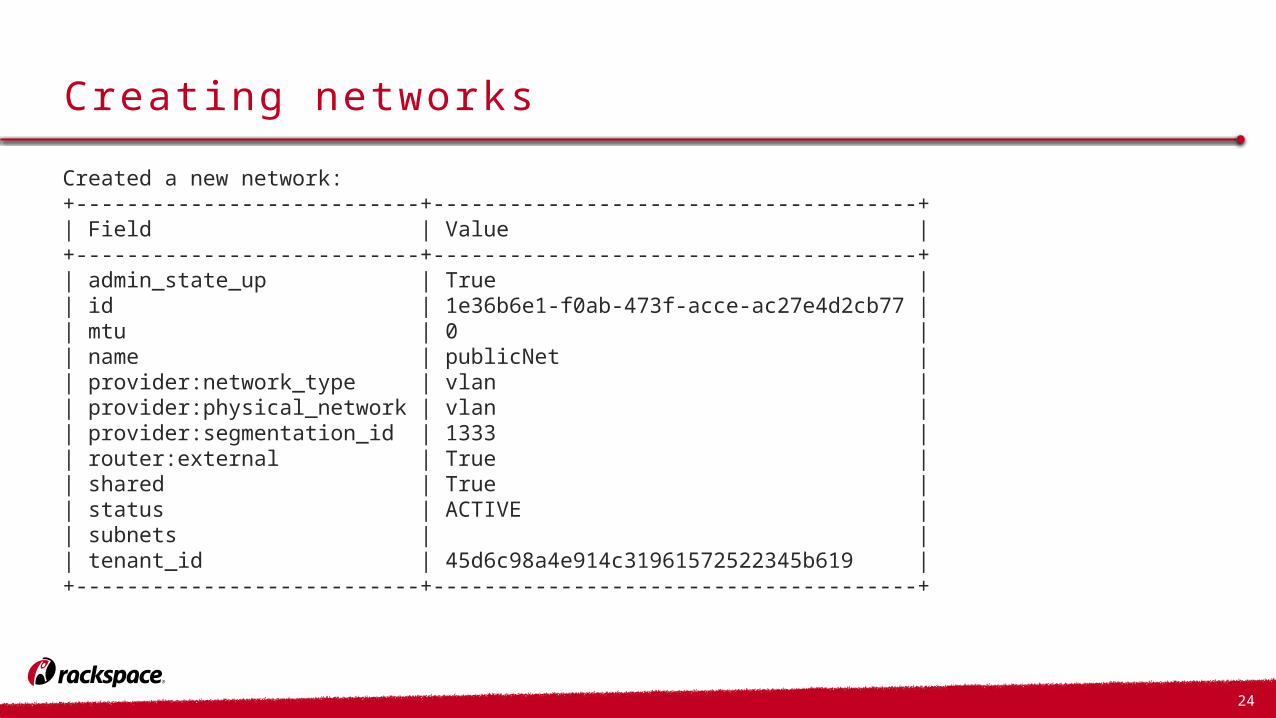
Creating networksCreated a new network:+---------------------------+--------------------------------------+| Field | Value |+---------------------------+--------------------------------------+| admin_state_up | True || id | 1e36b6e1-f0ab-473f-acce-ac27e4d2cb77 || mtu | 0 || name | publicNet || provider:network_type | vlan || provider:physical_network | vlan || provider:segmentation_id | 1333 || router:external | True || shared | True || status | ACTIVE || subnets | || tenant_id | 45d6c98a4e914c31961572522345b619 |+---------------------------+--------------------------------------+
25
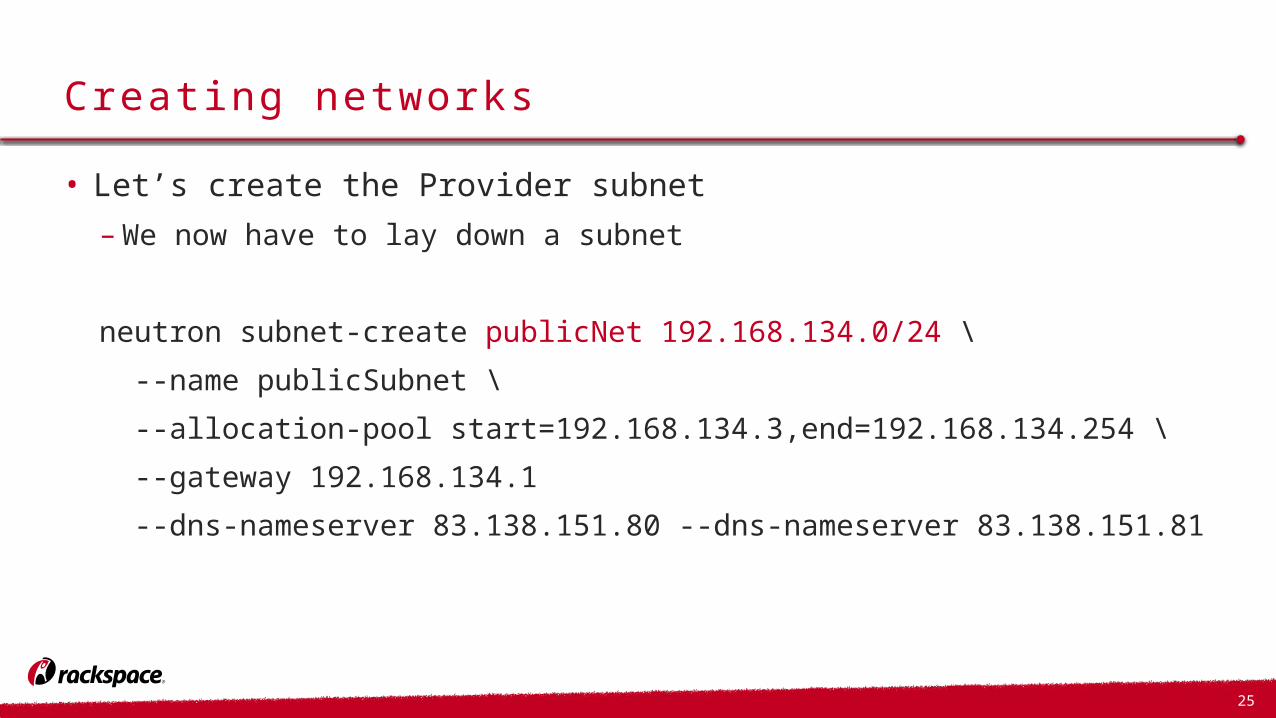
Creating networks• Let’s create the Provider subnet–We now have to lay down a subnet
neutron subnet-create publicNet 192.168.134.0/24 \
--name publicSubnet \
--allocation-pool start=192.168.134.3,end=192.168.134.254 \
--gateway 192.168.134.1
--dns-nameserver 83.138.151.80 --dns-nameserver 83.138.151.81
26
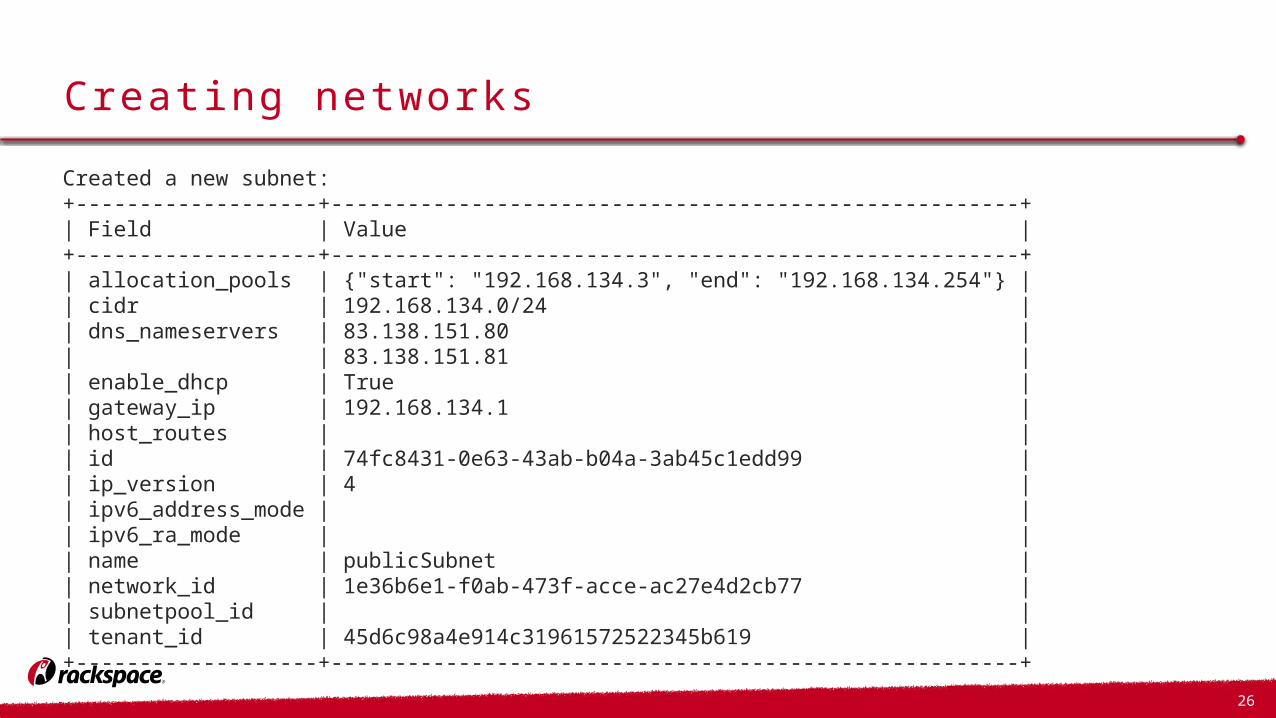
Creating networksCreated a new subnet:+-------------------+------------------------------------------------------+| Field | Value |+-------------------+------------------------------------------------------+| allocation_pools | {"start": "192.168.134.3", "end": "192.168.134.254"} || cidr | 192.168.134.0/24 || dns_nameservers | 83.138.151.80 || | 83.138.151.81 || enable_dhcp | True || gateway_ip | 192.168.134.1 || host_routes | || id | 74fc8431-0e63-43ab-b04a-3ab45c1edd99 || ip_version | 4 || ipv6_address_mode | || ipv6_ra_mode | || name | publicSubnet || network_id | 1e36b6e1-f0ab-473f-acce-ac27e4d2cb77 || subnetpool_id | || tenant_id | 45d6c98a4e914c31961572522345b619 |+-------------------+------------------------------------------------------+
27
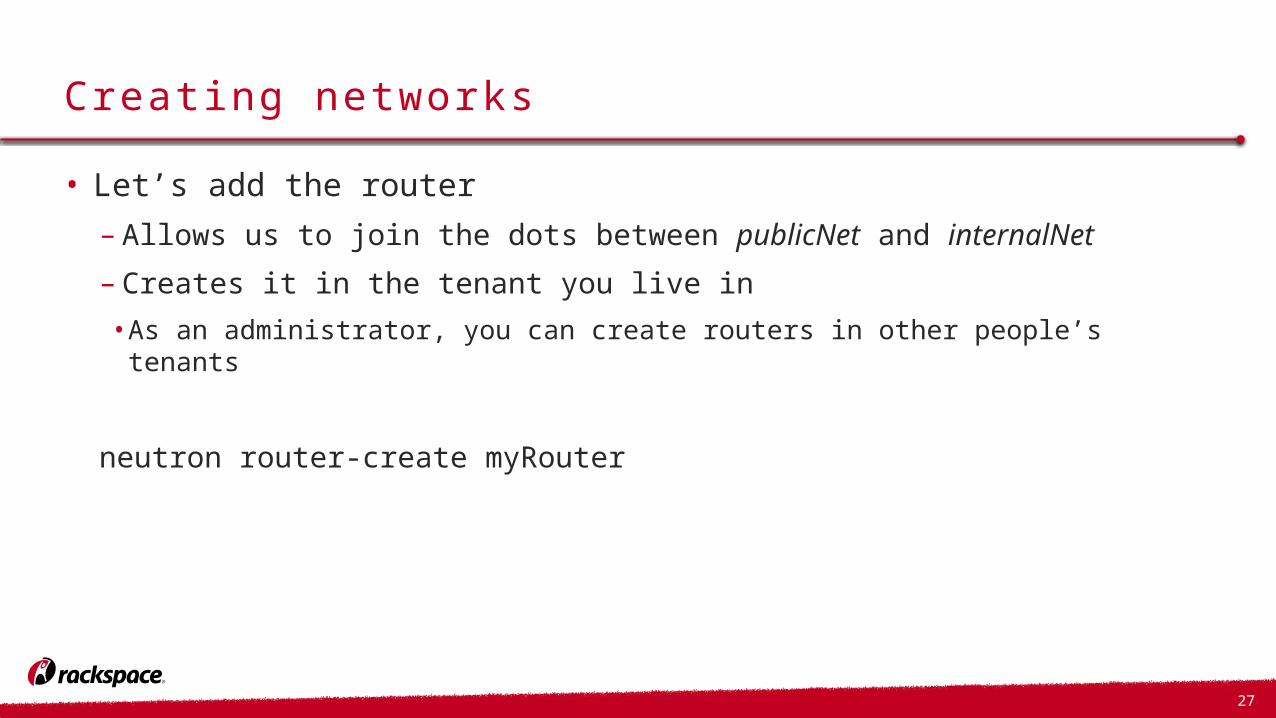
Creating networks• Let’s add the router– Allows us to join the dots between publicNet and internalNet– Creates it in the tenant you live in• As an administrator, you can create routers in other people’s tenants
neutron router-create myRouter
28
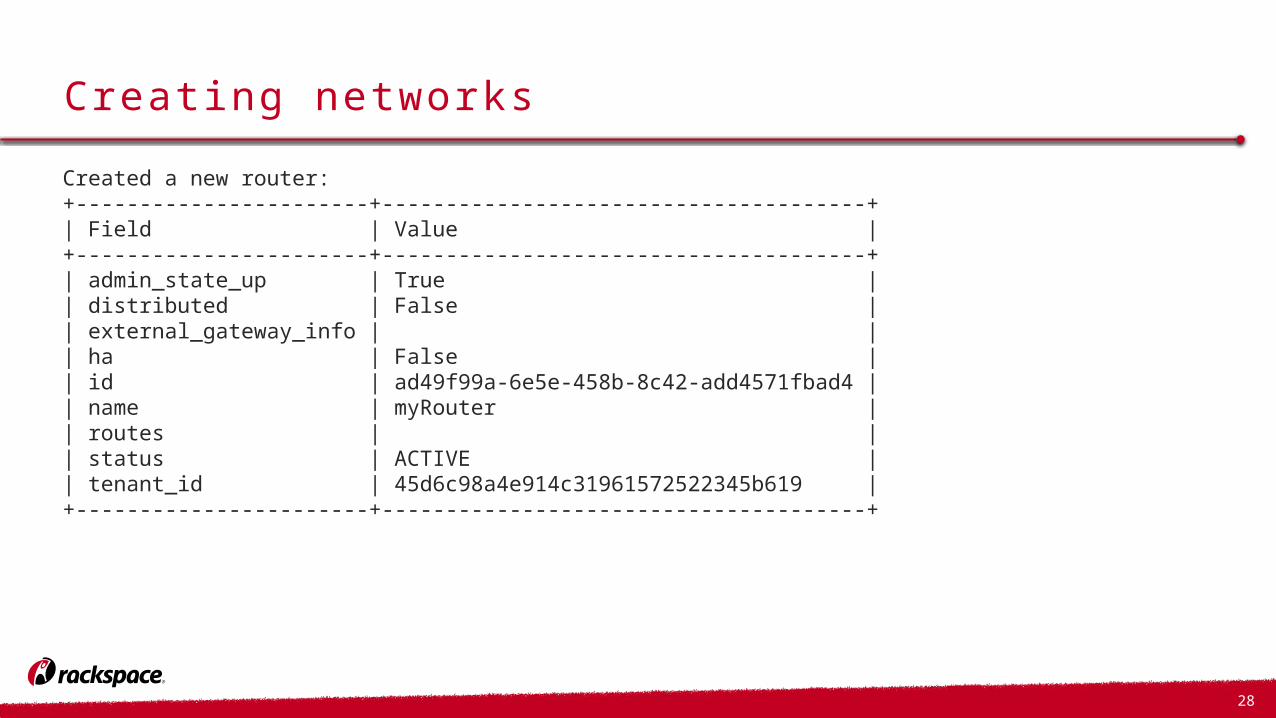
Creating networksCreated a new router:+-----------------------+--------------------------------------+| Field | Value |+-----------------------+--------------------------------------+| admin_state_up | True || distributed | False || external_gateway_info | || ha | False || id | ad49f99a-6e5e-458b-8c42-add4571fbad4 || name | myRouter || routes | || status | ACTIVE || tenant_id | 45d6c98a4e914c31961572522345b619 |+-----------------------+--------------------------------------+
29
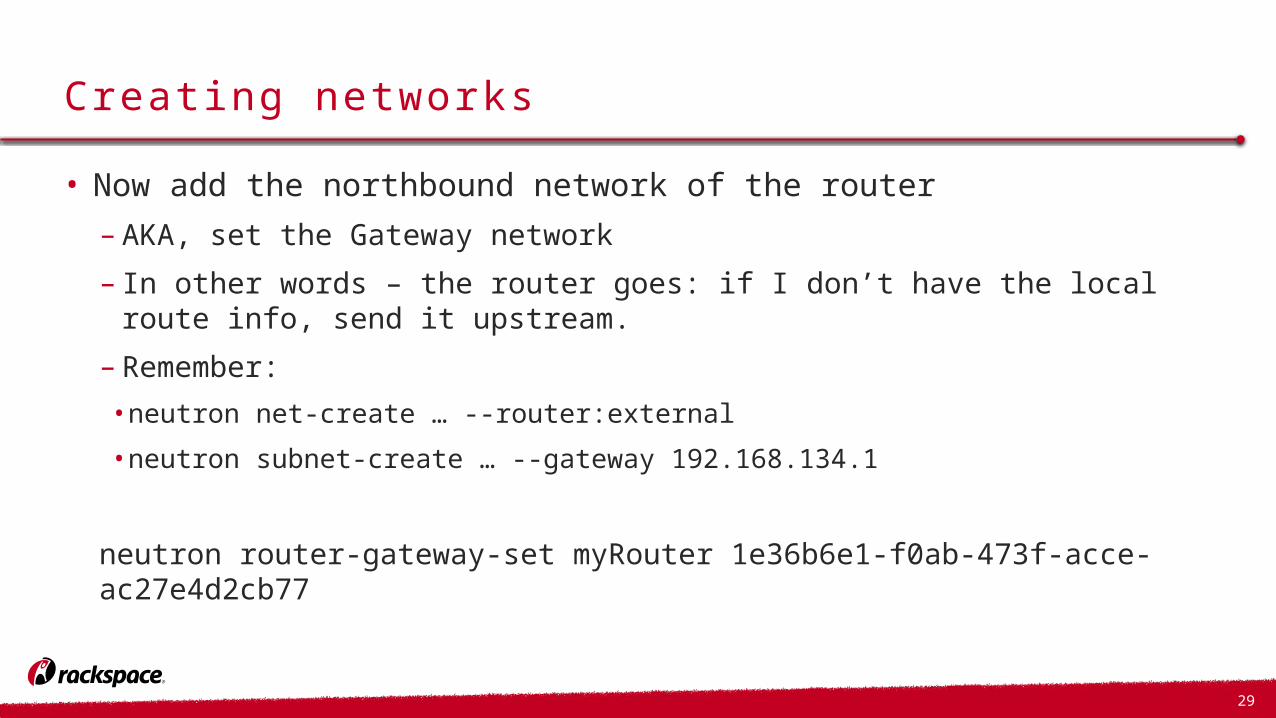
Creating networks• Now add the northbound network of the router– AKA, set the Gateway network– In other words – the router goes: if I don’t have the local route info, send
it upstream.– Remember: • neutron net-create … --router:external
• neutron subnet-create … --gateway 192.168.134.1
neutron router-gateway-set myRouter 1e36b6e1-f0ab-473f-acce-ac27e4d2cb77
30
Creating networks• Now let’s create a private network called internalNet
• User “shouldn’t care” what type it is – defined by the Administrator
neutron net-create internalNet
31
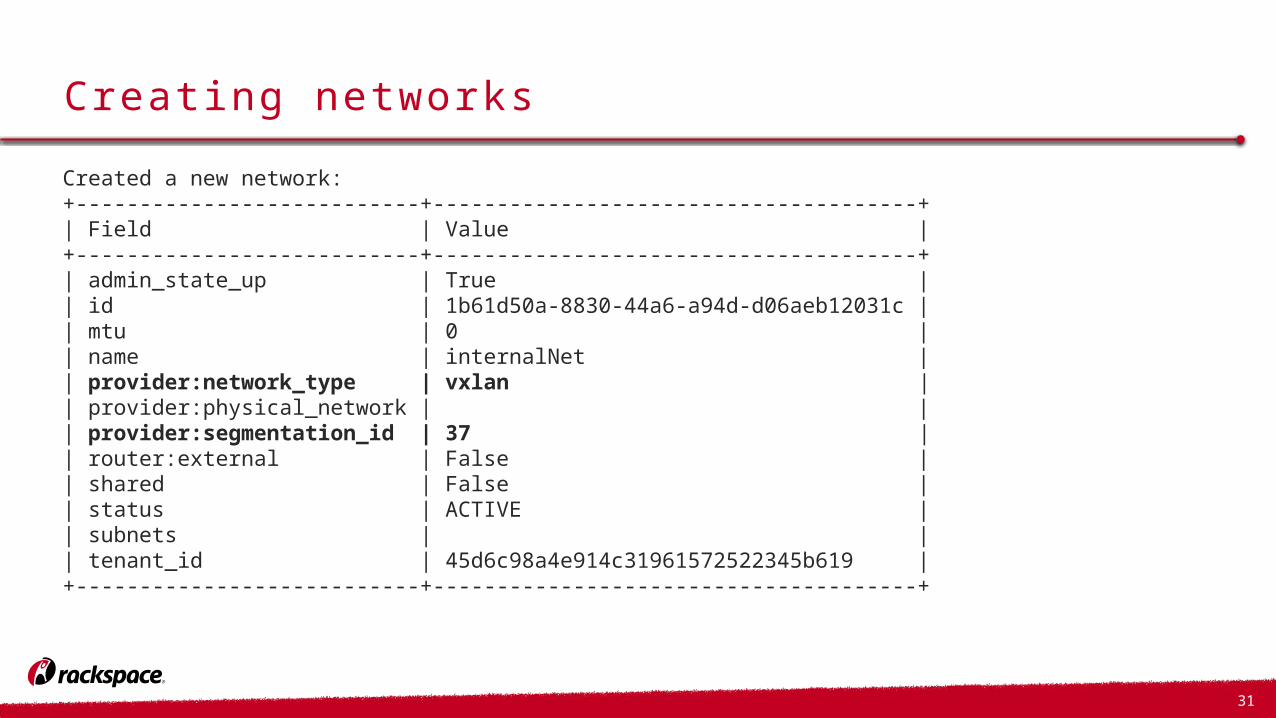
Creating networksCreated a new network:+---------------------------+--------------------------------------+| Field | Value |+---------------------------+--------------------------------------+| admin_state_up | True || id | 1b61d50a-8830-44a6-a94d-d06aeb12031c || mtu | 0 || name | internalNet || provider:network_type | vxlan || provider:physical_network | || provider:segmentation_id | 37 || router:external | False || shared | False || status | ACTIVE || subnets | || tenant_id | 45d6c98a4e914c31961572522345b619 |+---------------------------+--------------------------------------+
32
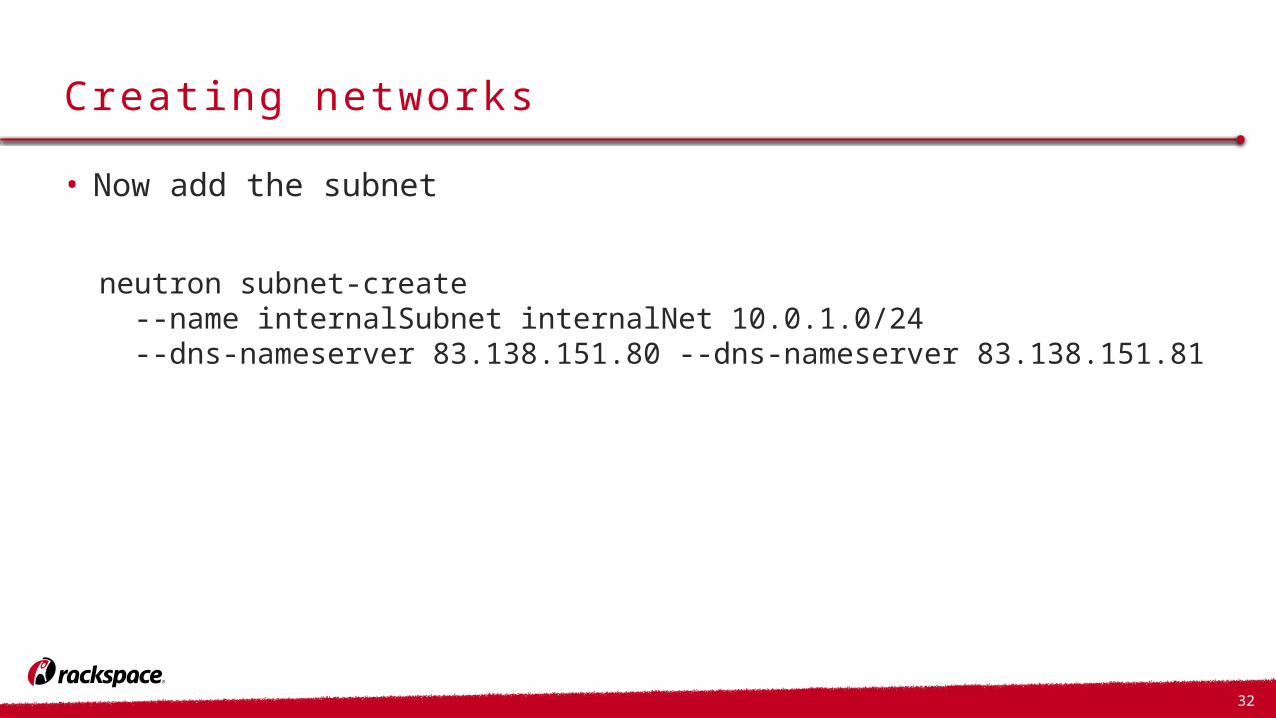
Creating networks• Now add the subnet
neutron subnet-create --name internalSubnet internalNet 10.0.1.0/24 --dns-nameserver 83.138.151.80 --dns-nameserver 83.138.151.81

33
Creating networksCreated a new subnet:+-------------------+--------------------------------------------+| Field | Value |+-------------------+--------------------------------------------+| allocation_pools | {"start": "10.0.1.2", "end": "10.0.1.254"} || cidr | 10.0.1.0/24 || dns_nameservers | 83.138.151.80 || | 83.138.151.81 || enable_dhcp | True || gateway_ip | 10.0.1.1 || host_routes | || id | 4b78a5f4-8b44-4a4c-857a-ac0764b3792f || ip_version | 4 || ipv6_address_mode | || ipv6_ra_mode | || name | internalSubnet || network_id | 1b61d50a-8830-44a6-a94d-d06aeb12031c || subnetpool_id | || tenant_id | 45d6c98a4e914c31961572522345b619 |+-------------------+--------------------------------------------+
34
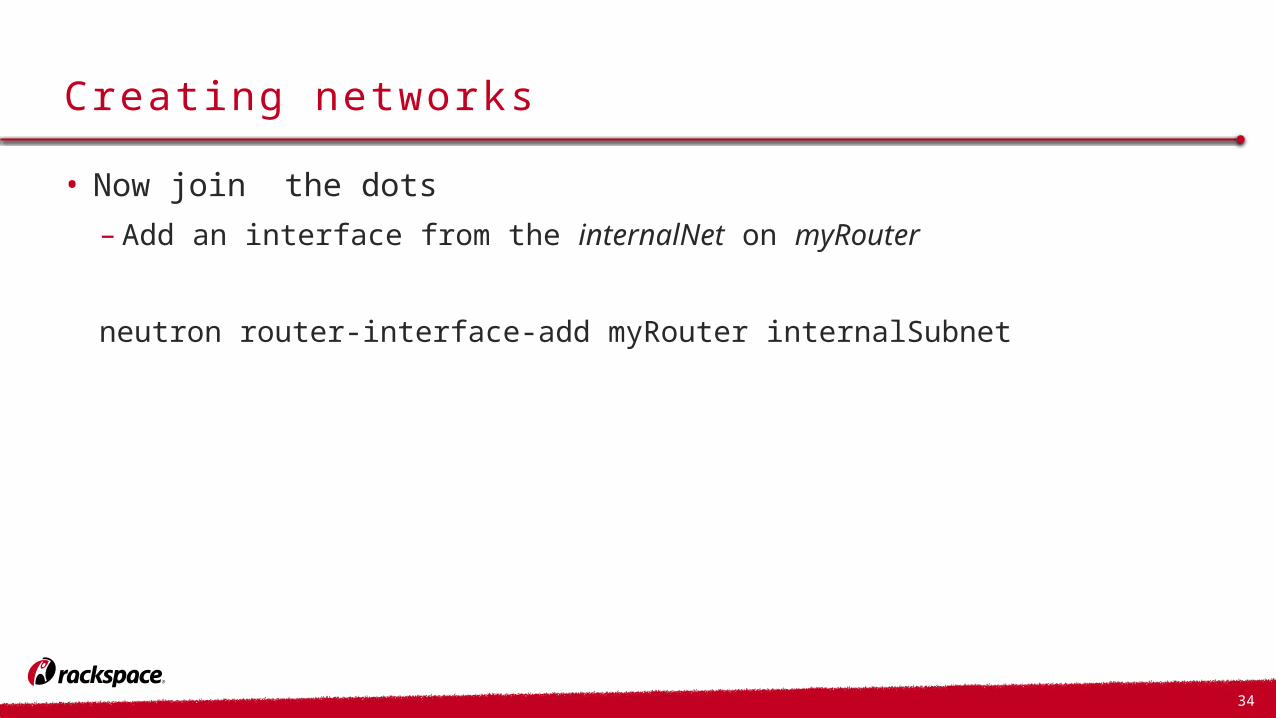
Creating networks• Now join the dots– Add an interface from the internalNet on myRouter
neutron router-interface-add myRouter internalSubnet
35
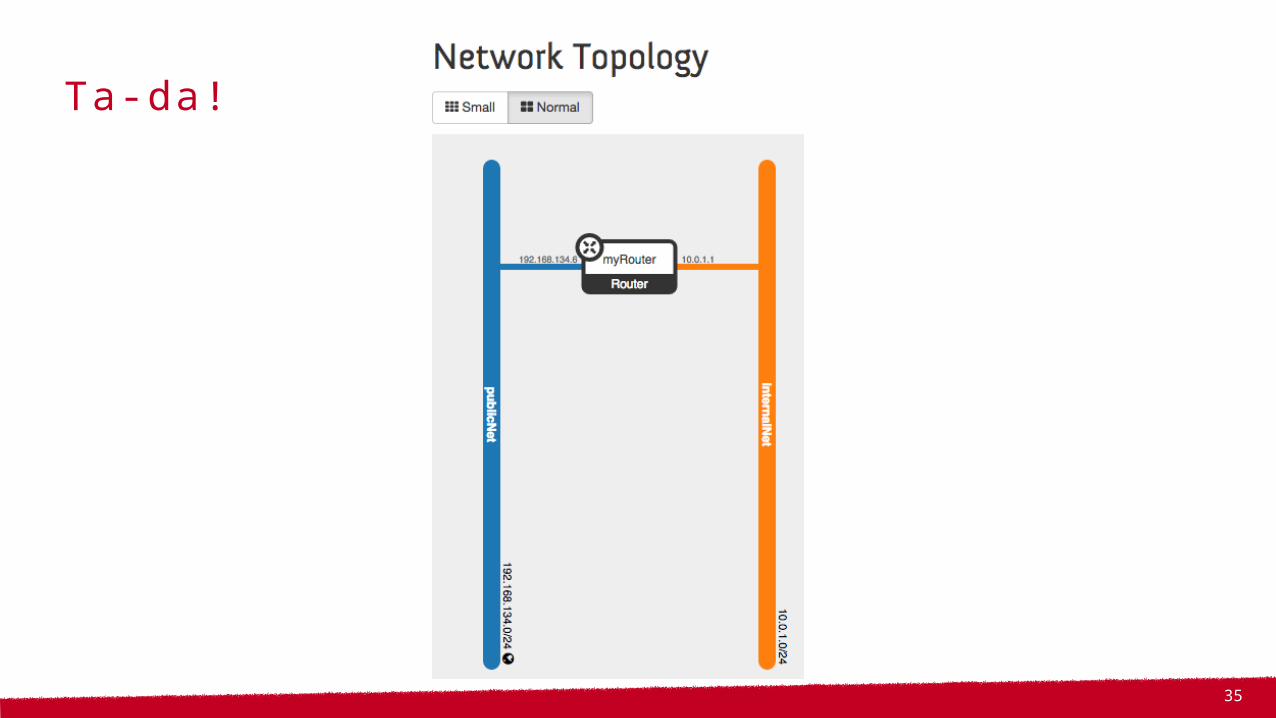
Ta-da!

36
Listing Network Info• List networks
neutron net-list
+--------------------------------------+-------------+-------------------------------------------------------+| id | name | subnets |+--------------------------------------+-------------+-------------------------------------------------------+| 1b61d50a-8830-44a6-a94d-d06aeb12031c | internalNet | 4b78a5f4-8b44-4a4c-857a-ac0764b3792f 10.0.1.0/24 || 1e36b6e1-f0ab-473f-acce-ac27e4d2cb77 | publicNet | 74fc8431-0e63-43ab-b04a-3ab45c1edd99 192.168.134.0/24 |+--------------------------------------+-------------+-------------------------------------------------------+
37
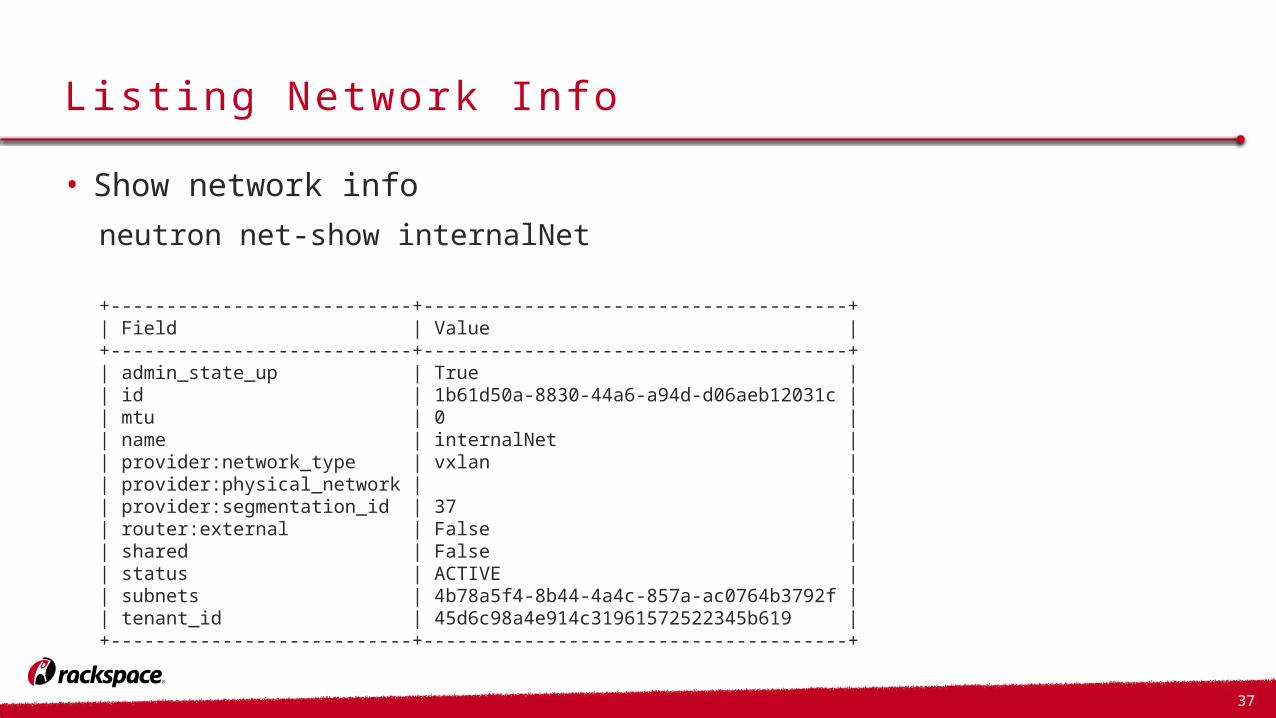
Listing Network Info• Show network info
neutron net-show internalNet
+---------------------------+--------------------------------------+| Field | Value |+---------------------------+--------------------------------------+| admin_state_up | True || id | 1b61d50a-8830-44a6-a94d-d06aeb12031c || mtu | 0 || name | internalNet || provider:network_type | vxlan || provider:physical_network | || provider:segmentation_id | 37 || router:external | False || shared | False | | status | ACTIVE || subnets | 4b78a5f4-8b44-4a4c-857a-ac0764b3792f || tenant_id | 45d6c98a4e914c31961572522345b619 |+---------------------------+--------------------------------------+

38
Access and Security

39
Access + Security• Generally 2 things– Security Groups– SSH Authorized Keys
40
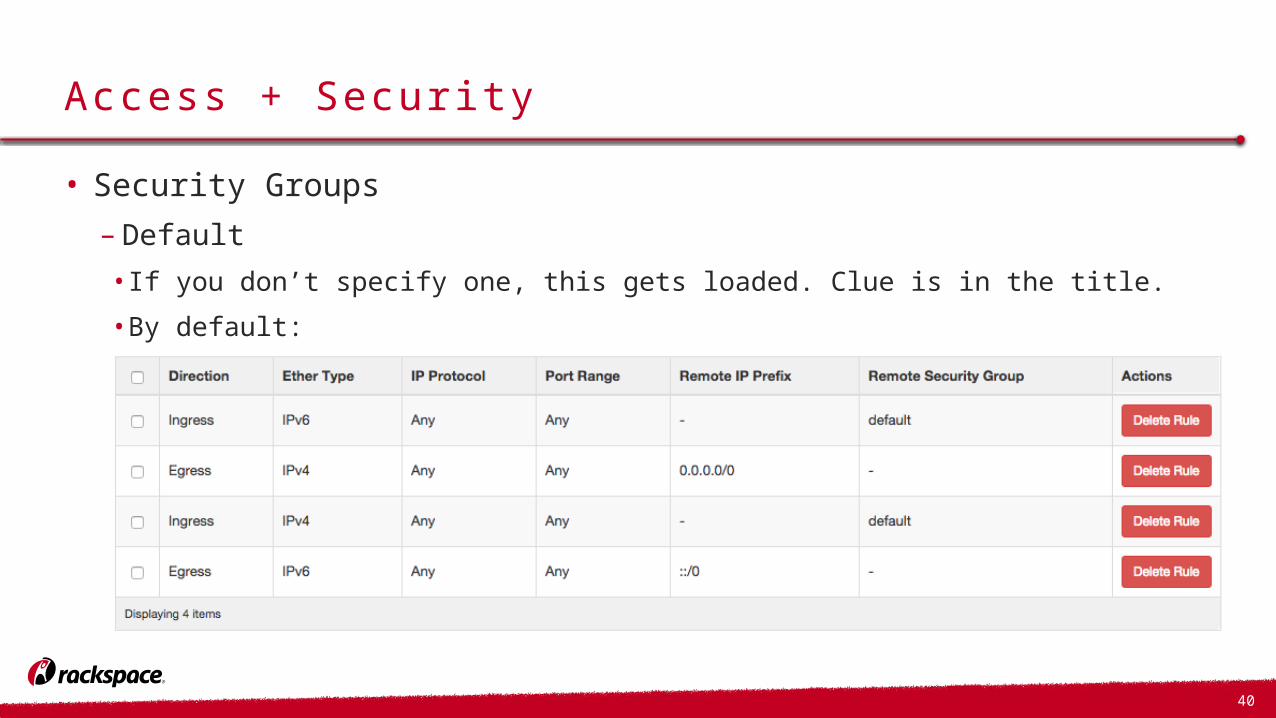
Access + Security• Security Groups–Default• If you don’t specify one, this gets loaded. Clue is in the title.• By default:

41
42
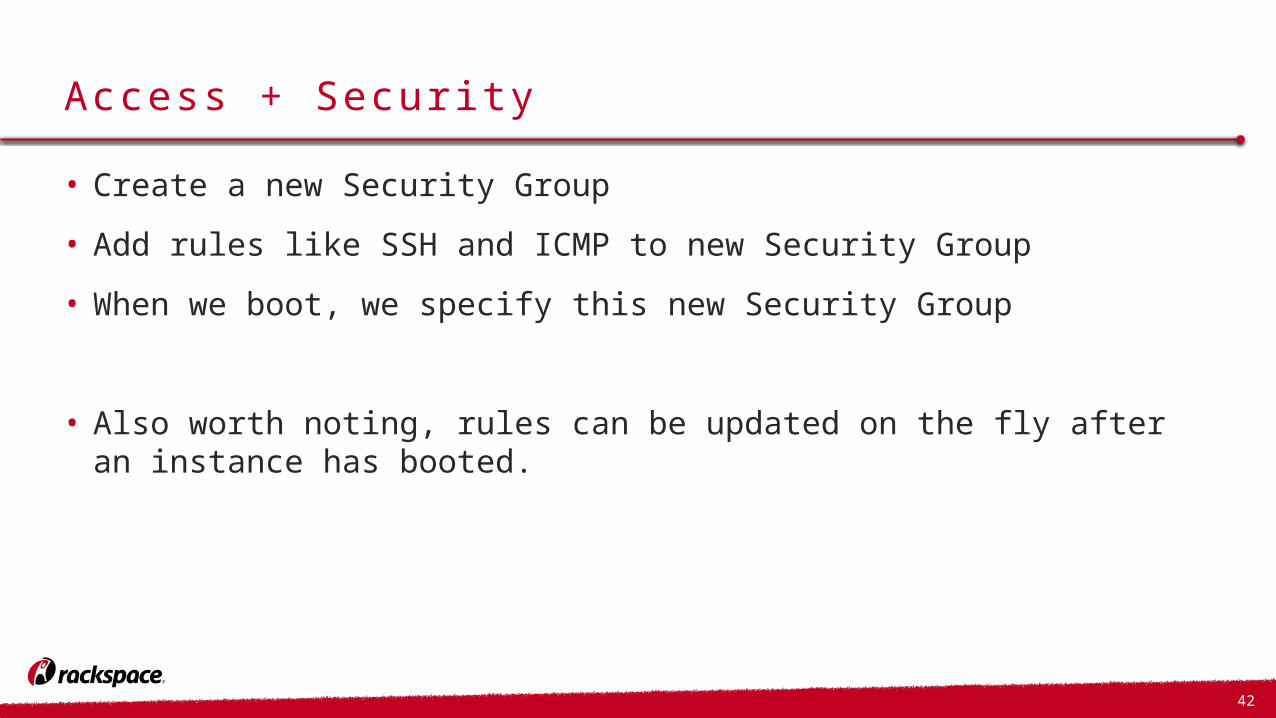
Access + Security• Create a new Security Group• Add rules like SSH and ICMP to new Security Group• When we boot, we specify this new Security Group
• Also worth noting, rules can be updated on the fly after an instance has booted.
43
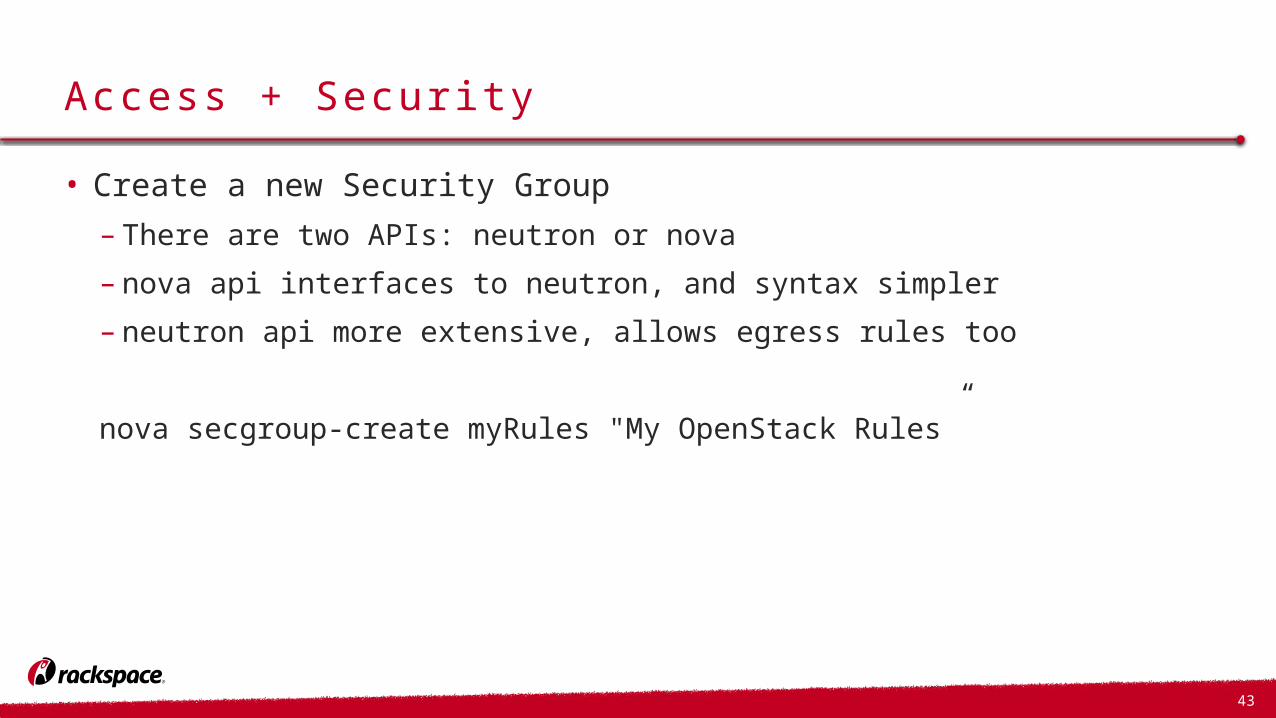
Access + Security• Create a new Security Group– There are two APIs: neutron or nova– nova api interfaces to neutron, and syntax simpler– neutron api more extensive, allows egress rules too
nova secgroup-create myRules "My OpenStack Rules”
44
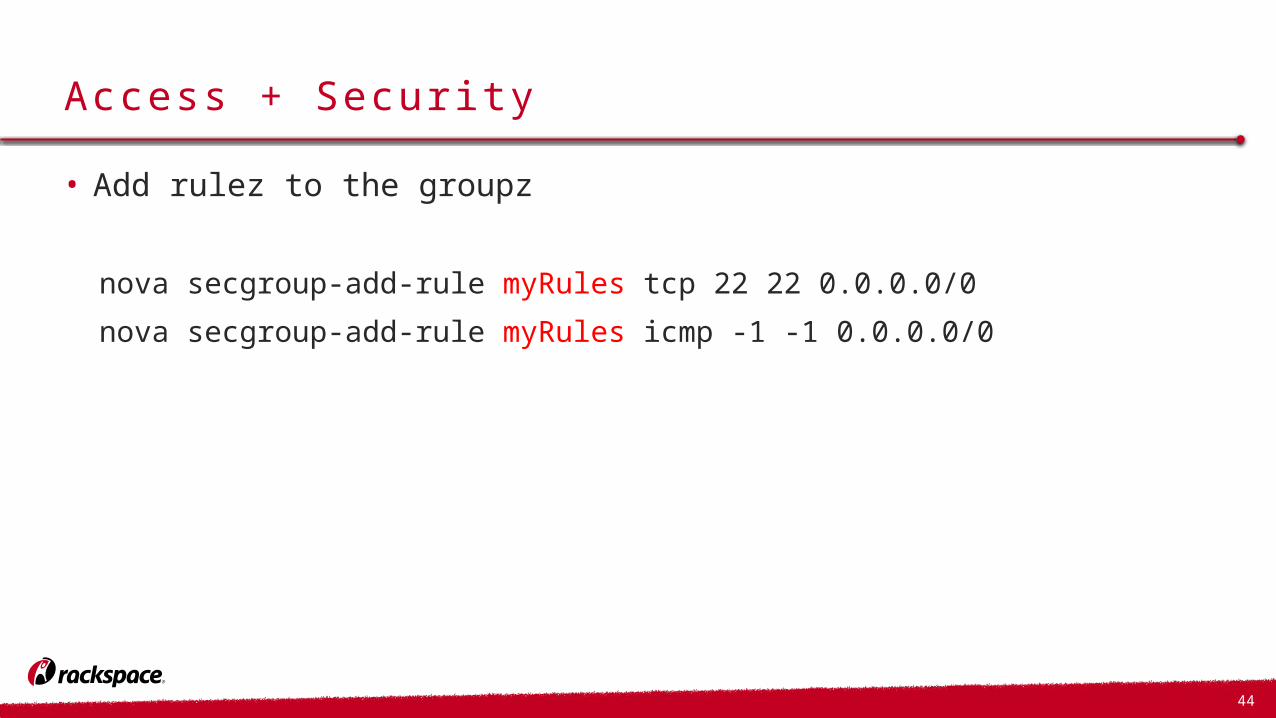
Access + Security• Add rulez to the groupz
nova secgroup-add-rule myRules tcp 22 22 0.0.0.0/0
nova secgroup-add-rule myRules icmp -1 -1 0.0.0.0/0

45
46
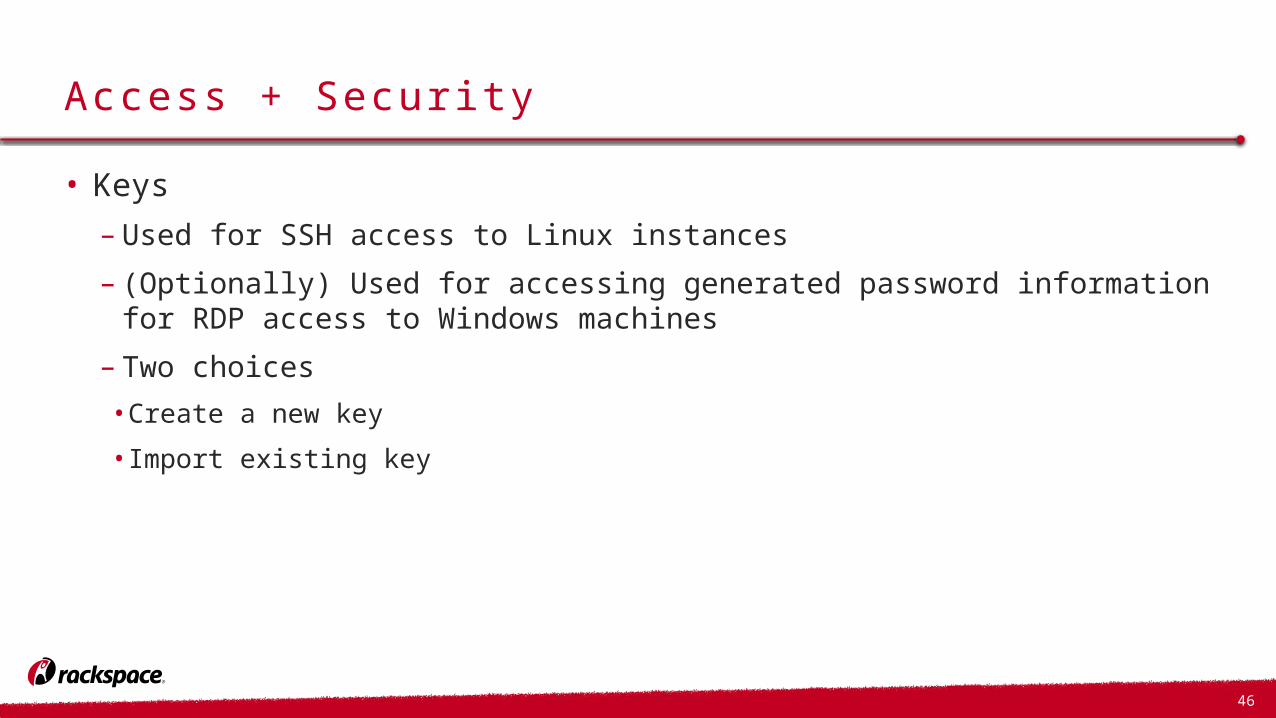
Access + Security• Keys– Used for SSH access to Linux instances– (Optionally) Used for accessing generated password information for RDP
access to Windows machines– Two choices• Create a new key• Import existing key
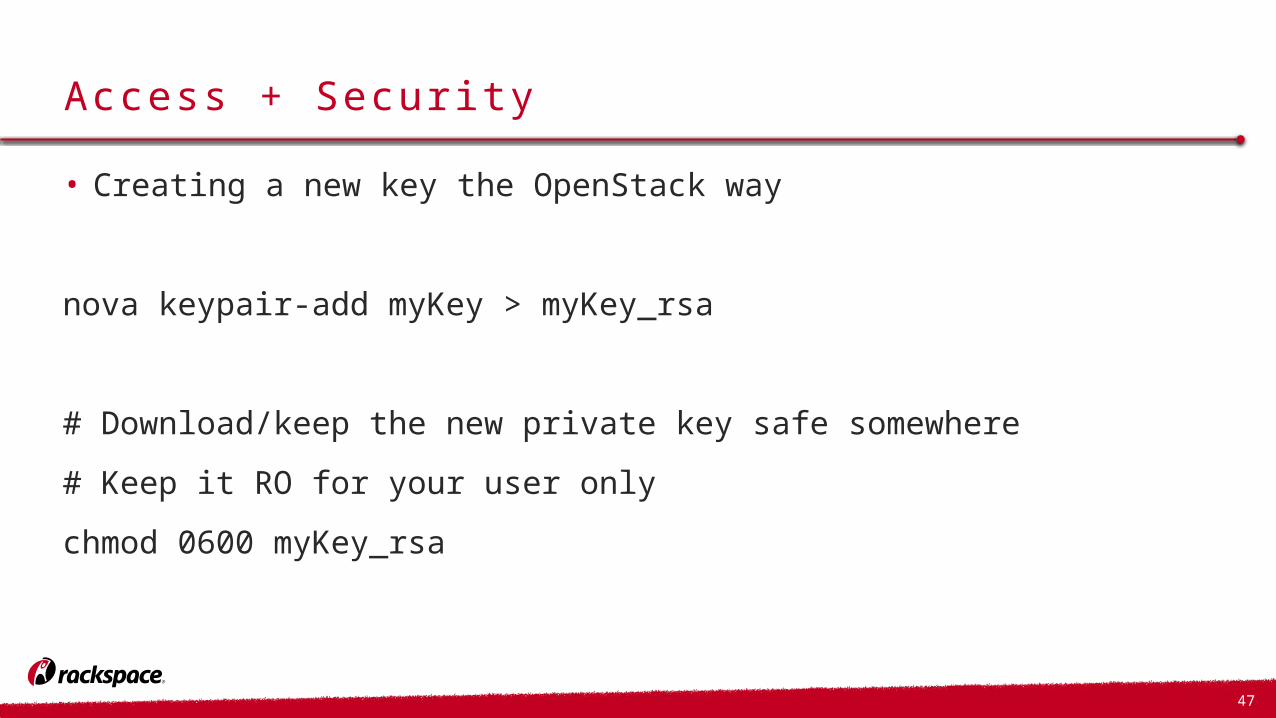
47
Access + Security• Creating a new key the OpenStack way
nova keypair-add myKey > myKey_rsa
# Download/keep the new private key safe somewhere
# Keep it RO for your user only
chmod 0600 myKey_rsa
48
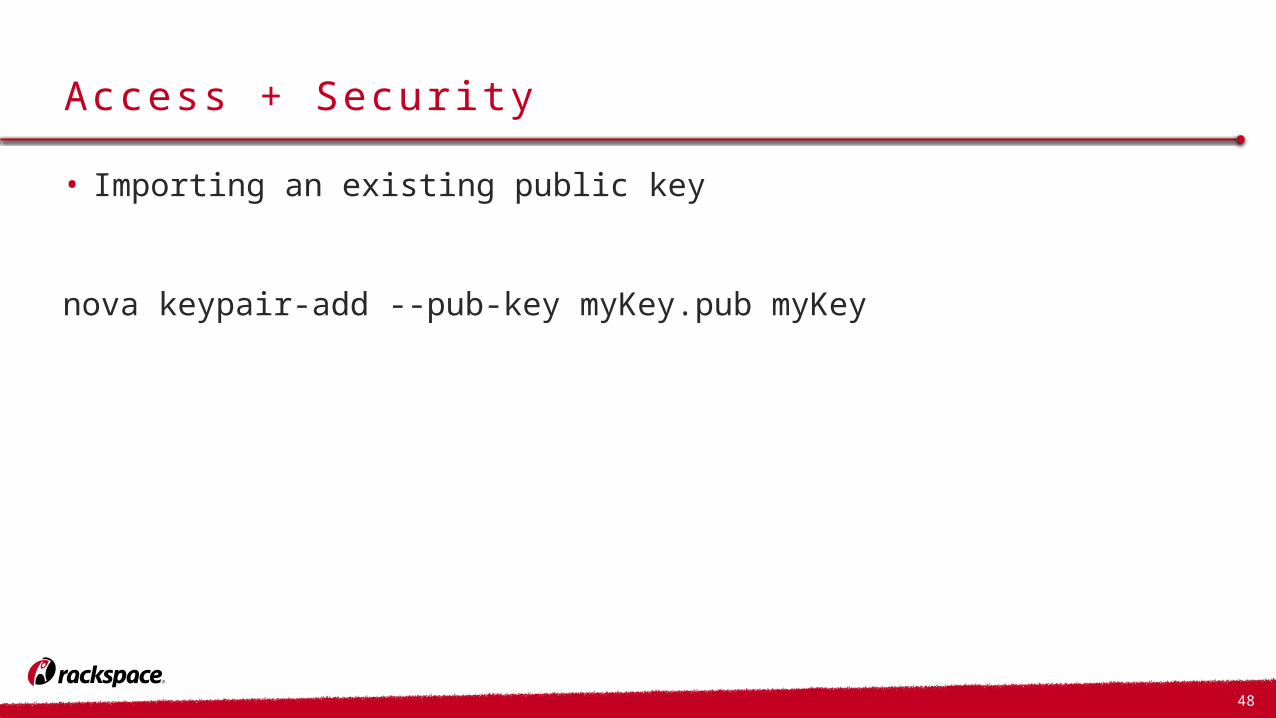
Access + Security• Importing an existing public key
nova keypair-add --pub-key myKey.pub myKey
49
Booting Instances
50
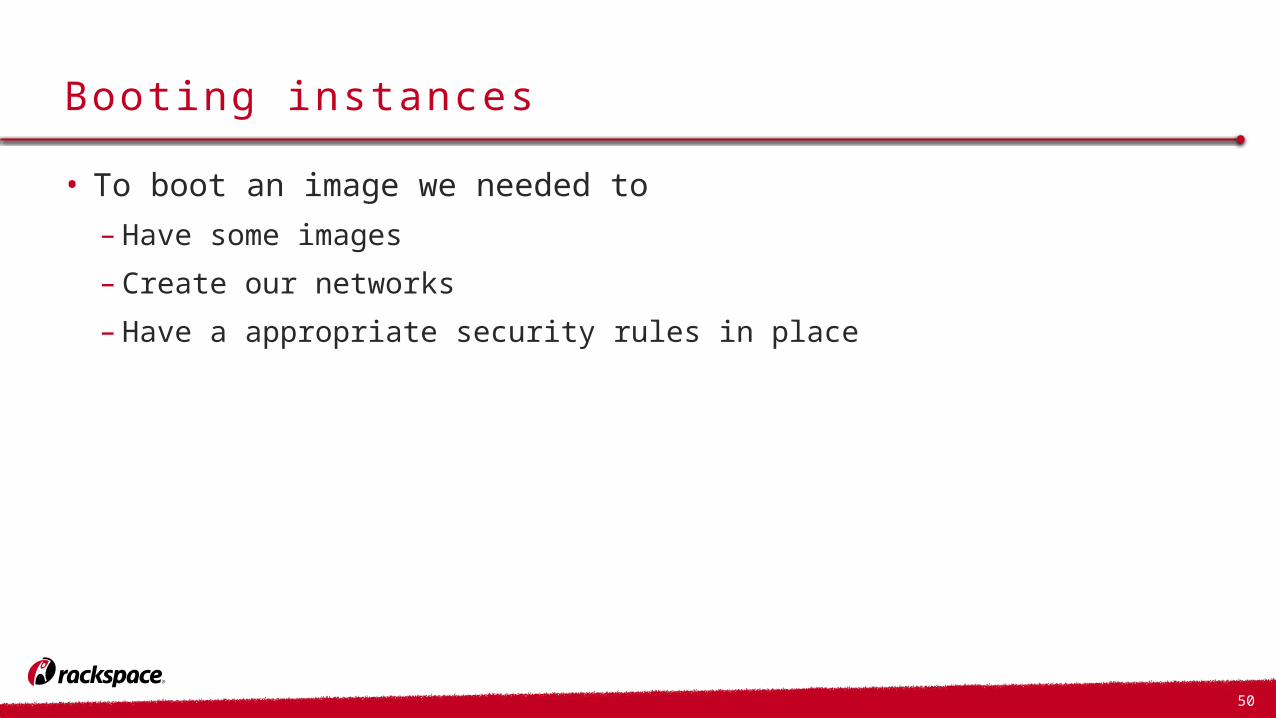
Booting instances• To boot an image we needed to–Have some images– Create our networks–Have a appropriate security rules in place
51
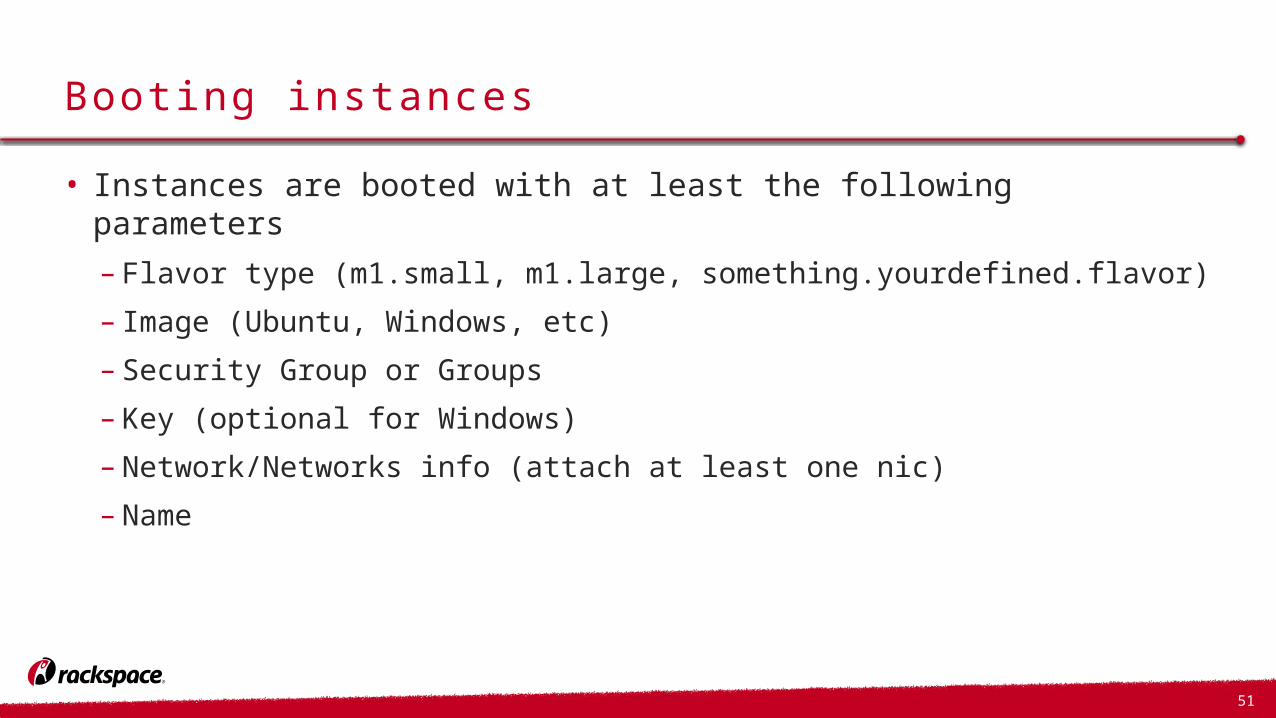
Booting instances• Instances are booted with at least the following parameters– Flavor type (m1.small, m1.large, something.yourdefined.flavor)– Image (Ubuntu, Windows, etc)– Security Group or Groups– Key (optional for Windows)– Network/Networks info (attach at least one nic)– Name

52
Booting instances• Instances are booted with at least the following parameters– Flavor type (m1.small, m1.large, something.yourdefined.flavor)– Image (Ubuntu, Windows, etc)– Security Group or Groups– Key (optional for Windows)– Network/Networks info (attach at least one nic)– Name
53
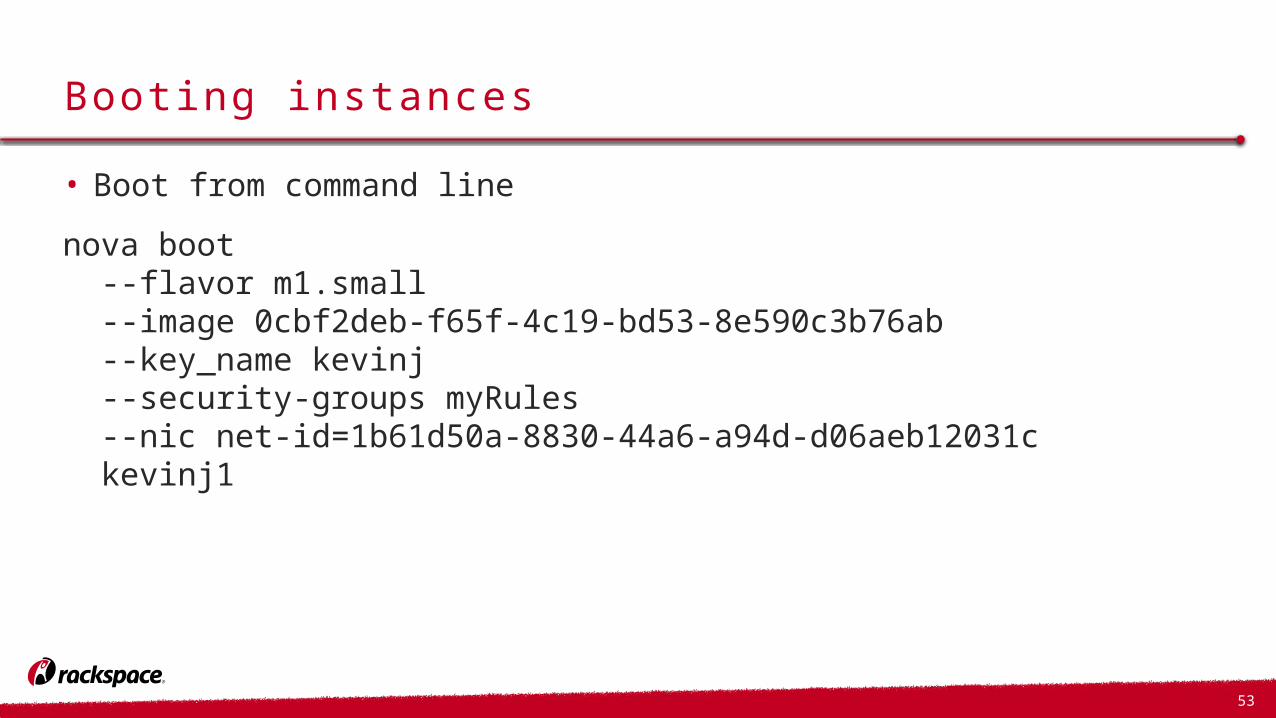
Booting instances • Boot from command linenova boot --flavor m1.small --image 0cbf2deb-f65f-4c19-bd53-8e590c3b76ab --key_name kevinj --security-groups myRules --nic net-id=1b61d50a-8830-44a6-a94d-d06aeb12031c kevinj1
54
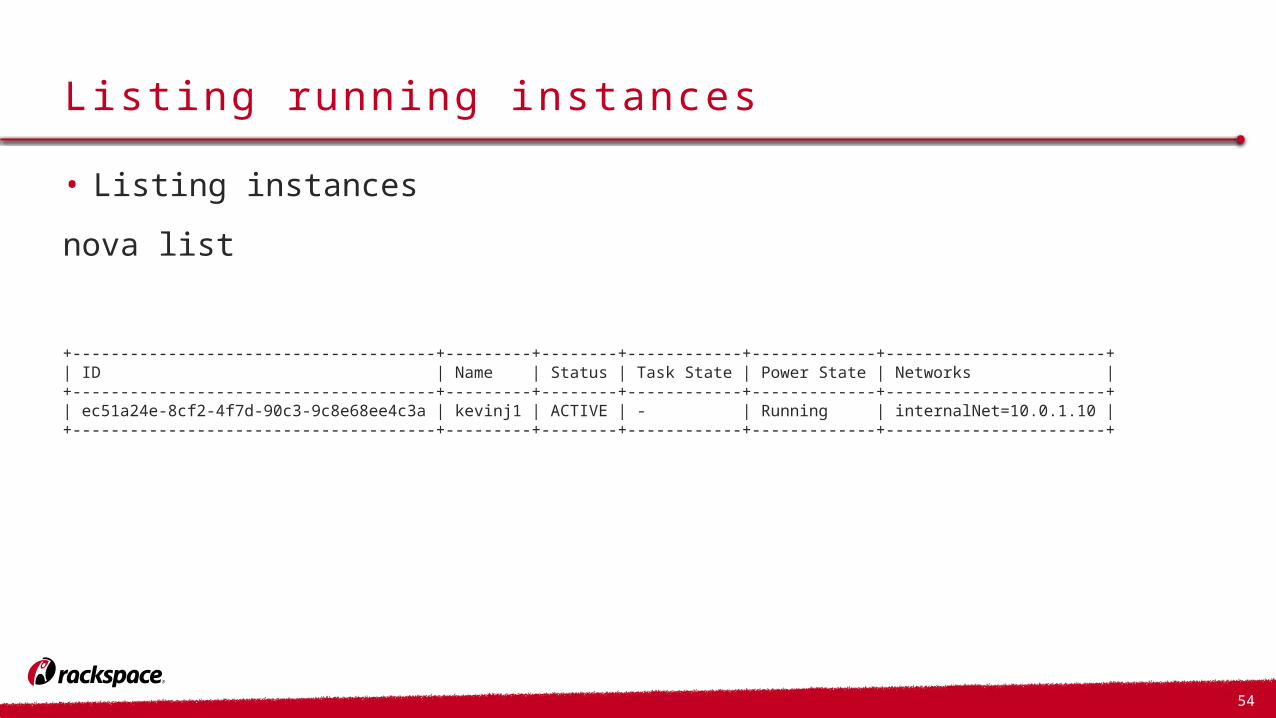
Listing running instances• Listing instancesnova list
+--------------------------------------+---------+--------+------------+-------------+-----------------------+| ID | Name | Status | Task State | Power State | Networks |+--------------------------------------+---------+--------+------------+-------------+-----------------------+| ec51a24e-8cf2-4f7d-90c3-9c8e68ee4c3a | kevinj1 | ACTIVE | - | Running | internalNet=10.0.1.10 |+--------------------------------------+---------+--------+------------+-------------+-----------------------+
55

56
Accessing instances
57
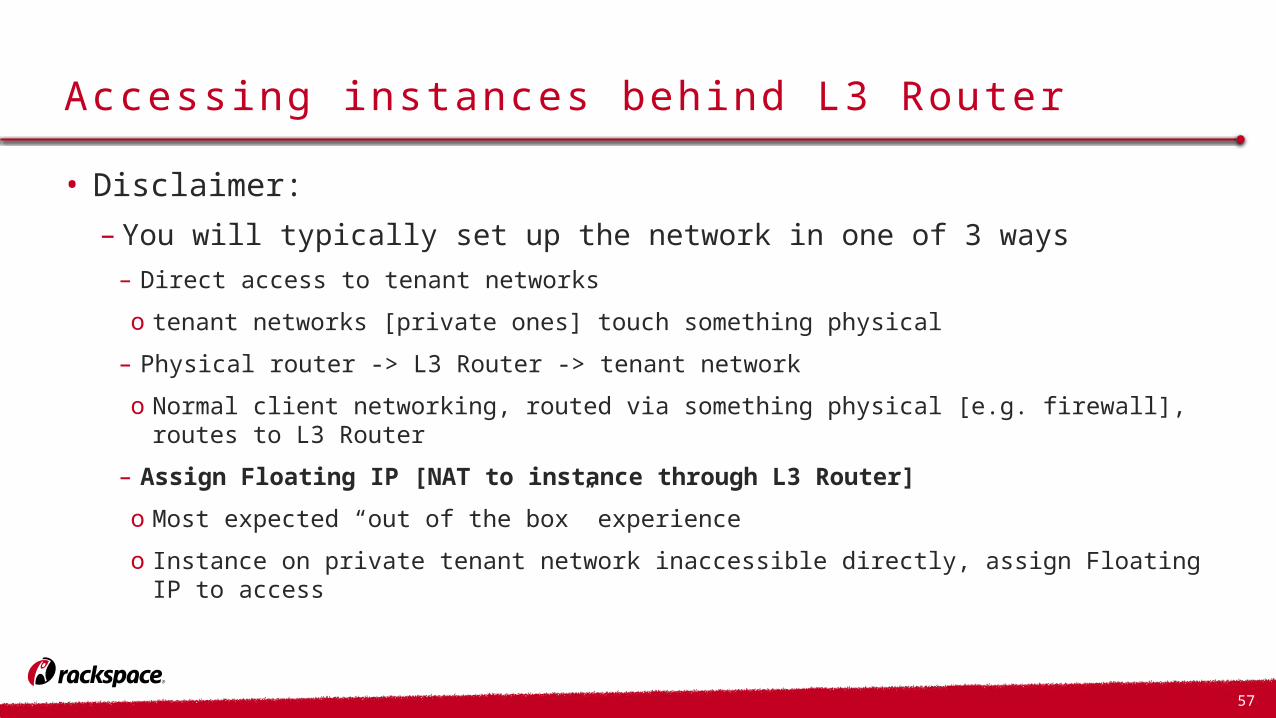
Accessing instances behind L3 Router• Disclaimer: – You will typically set up the network in one of 3 ways– Direct access to tenant networkso tenant networks [private ones] touch something physical – Physical router -> L3 Router -> tenant networko Normal client networking, routed via something physical [e.g. firewall], routes to L3
Router– Assign Floating IP [NAT to instance through L3 Router]o Most expected “out of the box” experienceo Instance on private tenant network inaccessible directly, assign Floating IP to access

58
VIRTUALPHYSICAL
59
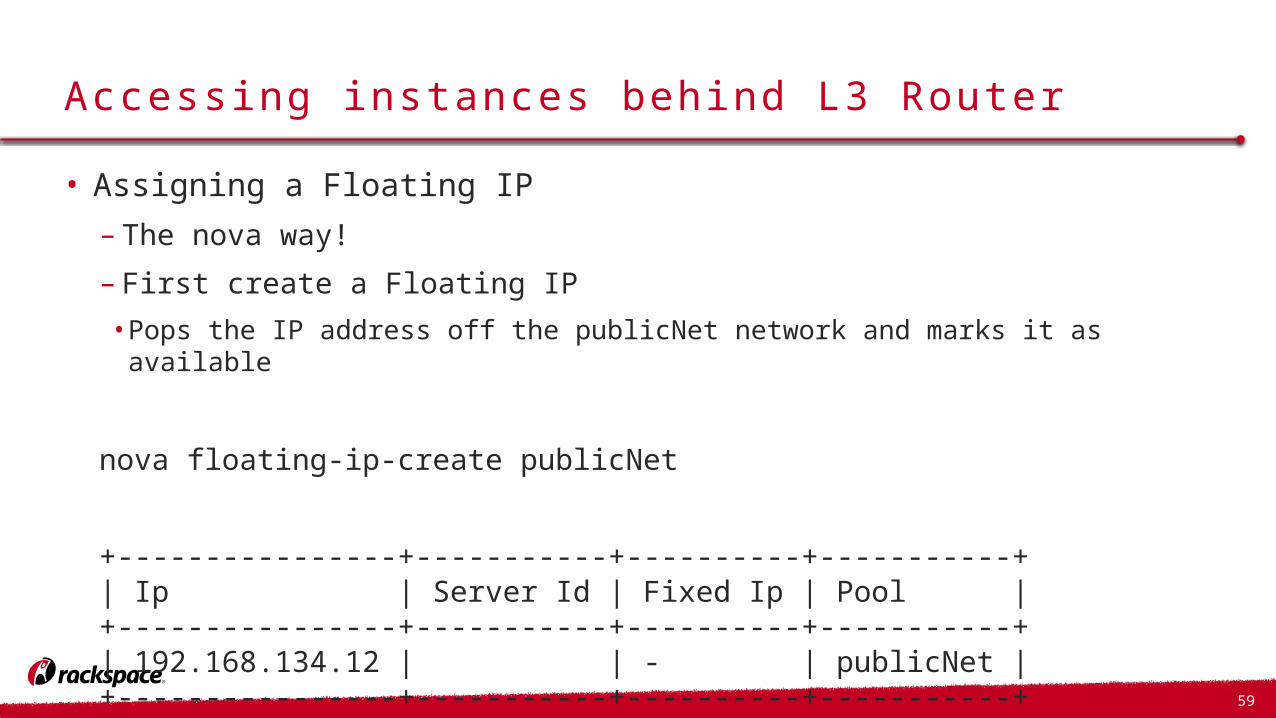
Accessing instances behind L3 Router• Assigning a Floating IP– The nova way!– First create a Floating IP• Pops the IP address off the publicNet network and marks it as available
nova floating-ip-create publicNet
+----------------+-----------+----------+-----------+| Ip | Server Id | Fixed Ip | Pool |+----------------+-----------+----------+-----------+| 192.168.134.12 | | - | publicNet |+----------------+-----------+----------+-----------+
60
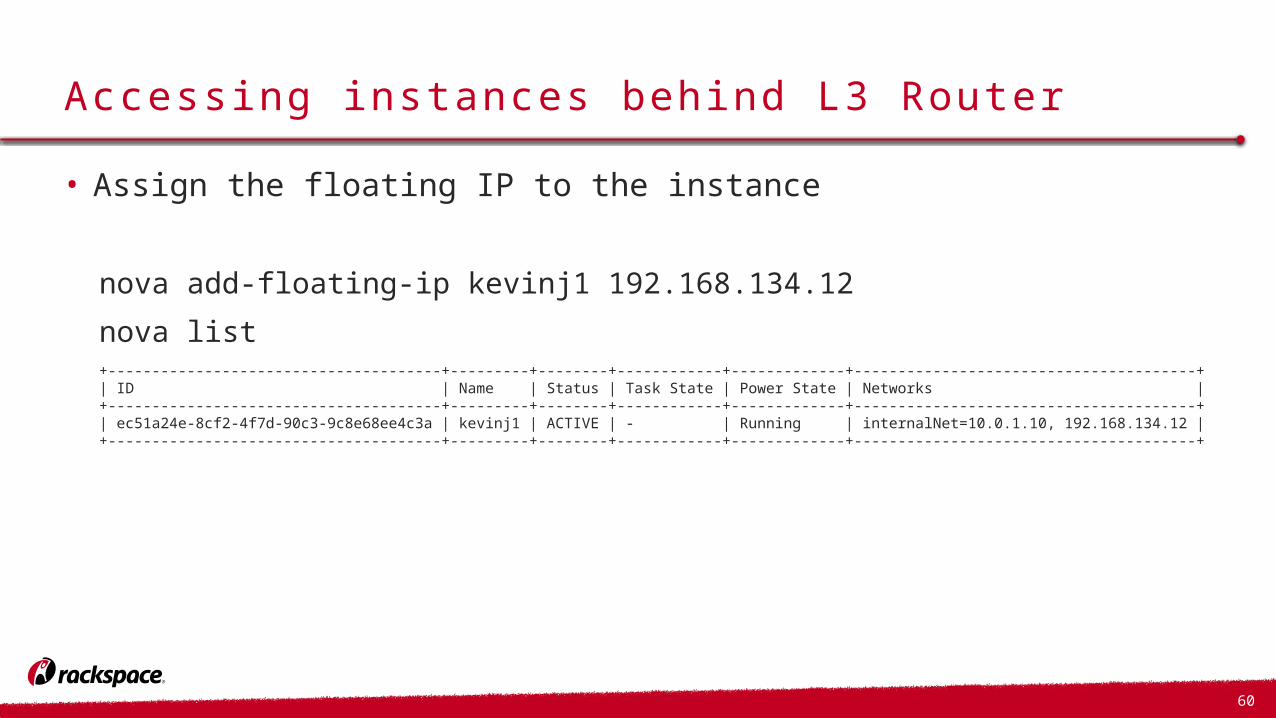
Accessing instances behind L3 Router• Assign the floating IP to the instance
nova add-floating-ip kevinj1 192.168.134.12
nova list+--------------------------------------+---------+--------+------------+-------------+---------------------------------------+| ID | Name | Status | Task State | Power State | Networks |+--------------------------------------+---------+--------+------------+-------------+---------------------------------------+| ec51a24e-8cf2-4f7d-90c3-9c8e68ee4c3a | kevinj1 | ACTIVE | - | Running | internalNet=10.0.1.10, 192.168.134.12 |+--------------------------------------+---------+--------+------------+-------------+---------------------------------------+

61
Accessing instances behind L3 Router• List what Floating Ips are available and which are in use
nova floating-ip-list+----------------+-----------+-----------+-----------+| Ip | Server Id | Fixed Ip | Pool |+----------------+-----------+-----------+-----------+| 192.168.134.12 | | 10.0.1.10 | publicNet || 192.168.134.7 | | - | publicNet || 192.168.134.11 | | - | publicNet || 192.168.134.8 | | - | publicNet || 192.168.134.13 | | - | publicNet |+----------------+-----------+-----------+-----------+
62
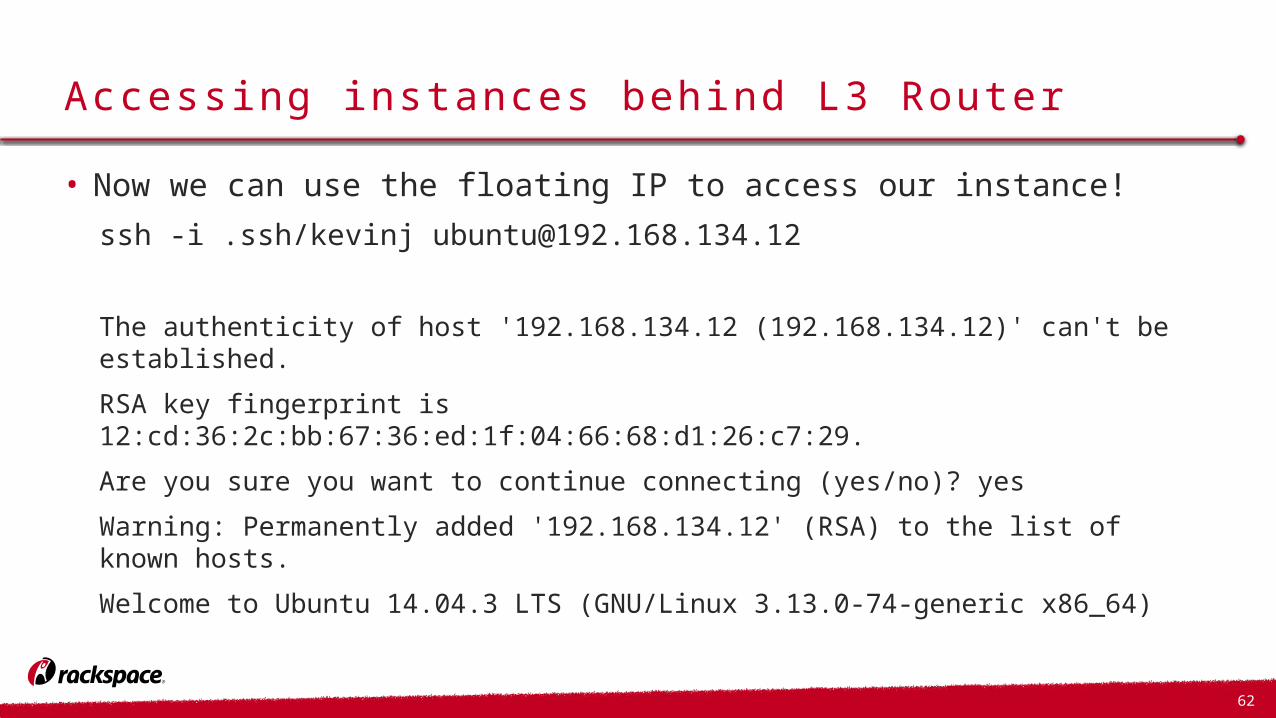
Accessing instances behind L3 Router• Now we can use the floating IP to access our instance!
ssh -i .ssh/kevinj [email protected]
The authenticity of host '192.168.134.12 (192.168.134.12)' can't be established.
RSA key fingerprint is 12:cd:36:2c:bb:67:36:ed:1f:04:66:68:d1:26:c7:29.
Are you sure you want to continue connecting (yes/no)? yes
Warning: Permanently added '192.168.134.12' (RSA) to the list of known hosts.
Welcome to Ubuntu 14.04.3 LTS (GNU/Linux 3.13.0-74-generic x86_64)

63
Cinder Block Storage
64
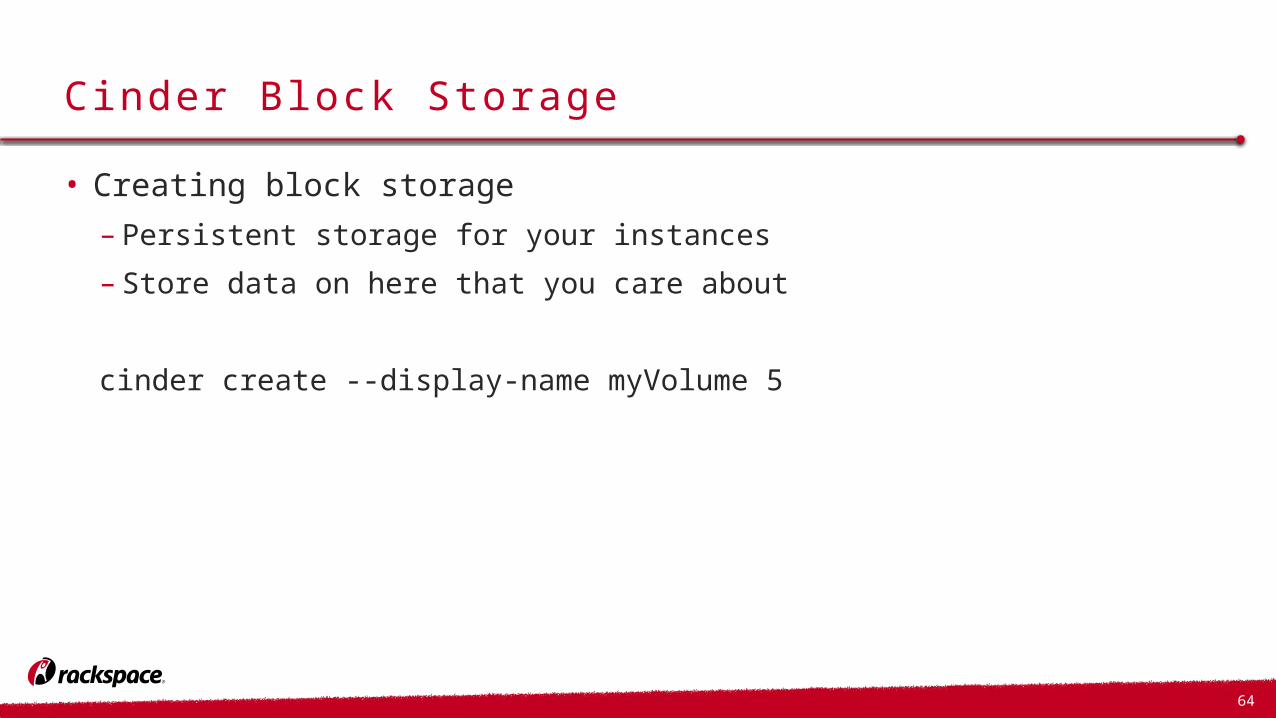
Cinder Block Storage• Creating block storage– Persistent storage for your instances– Store data on here that you care about
cinder create --display-name myVolume 5
65
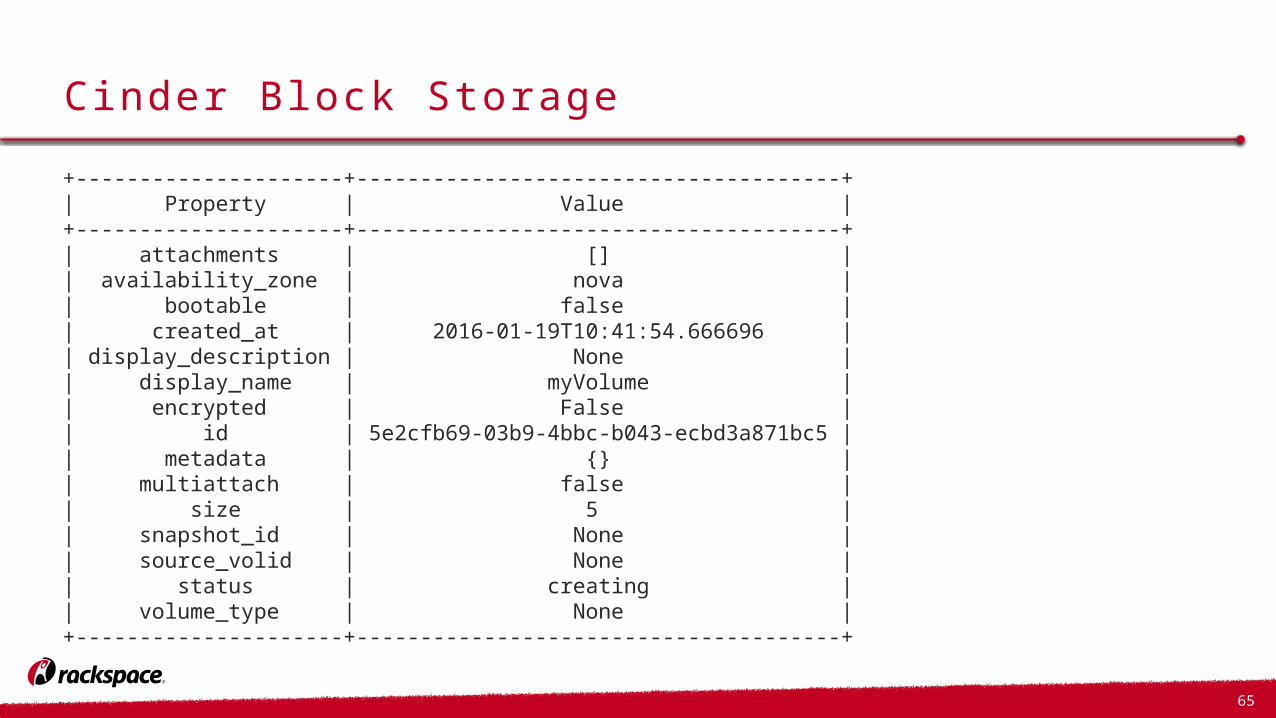
Cinder Block Storage+---------------------+--------------------------------------+| Property | Value |+---------------------+--------------------------------------+| attachments | [] || availability_zone | nova || bootable | false || created_at | 2016-01-19T10:41:54.666696 || display_description | None || display_name | myVolume || encrypted | False || id | 5e2cfb69-03b9-4bbc-b043-ecbd3a871bc5 || metadata | {} || multiattach | false || size | 5 || snapshot_id | None || source_volid | None || status | creating || volume_type | None |+---------------------+--------------------------------------+
66
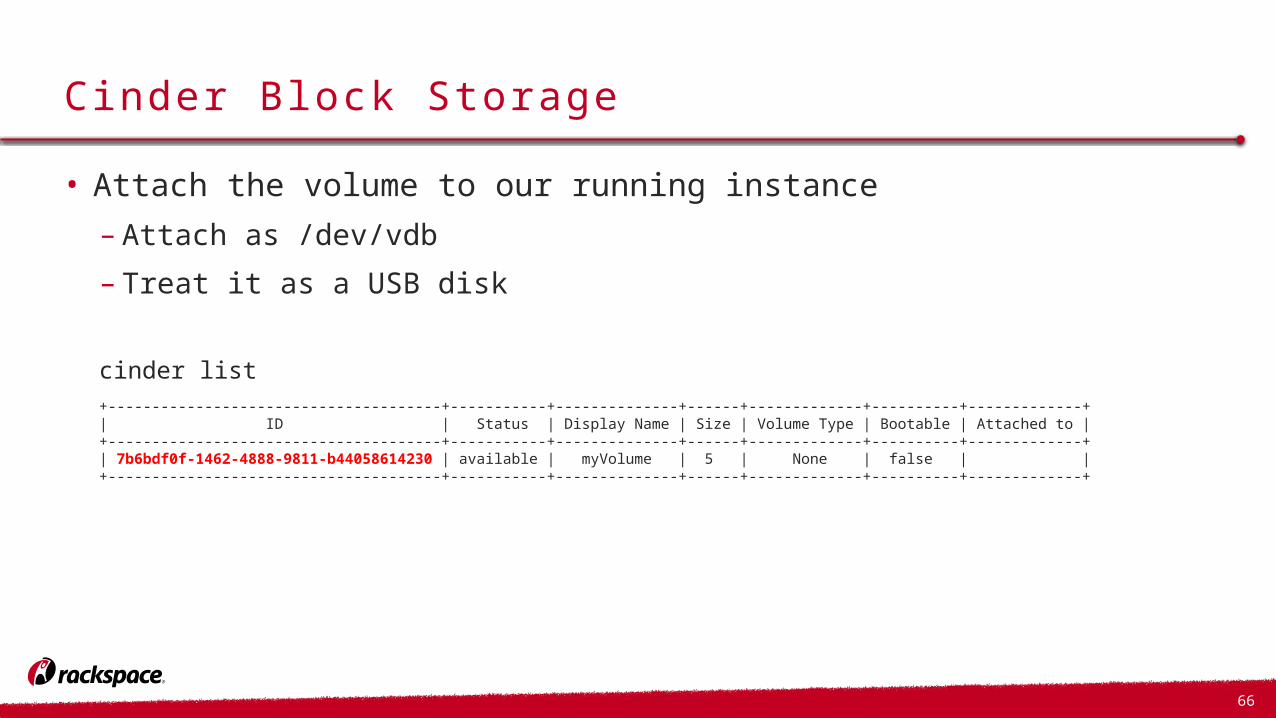
Cinder Block Storage• Attach the volume to our running instance– Attach as /dev/vdb– Treat it as a USB disk
cinder list+--------------------------------------+-----------+--------------+------+-------------+----------+-------------+| ID | Status | Display Name | Size | Volume Type | Bootable | Attached to |+--------------------------------------+-----------+--------------+------+-------------+----------+-------------+| 7b6bdf0f-1462-4888-9811-b44058614230 | available | myVolume | 5 | None | false | |+--------------------------------------+-----------+--------------+------+-------------+----------+-------------+
67
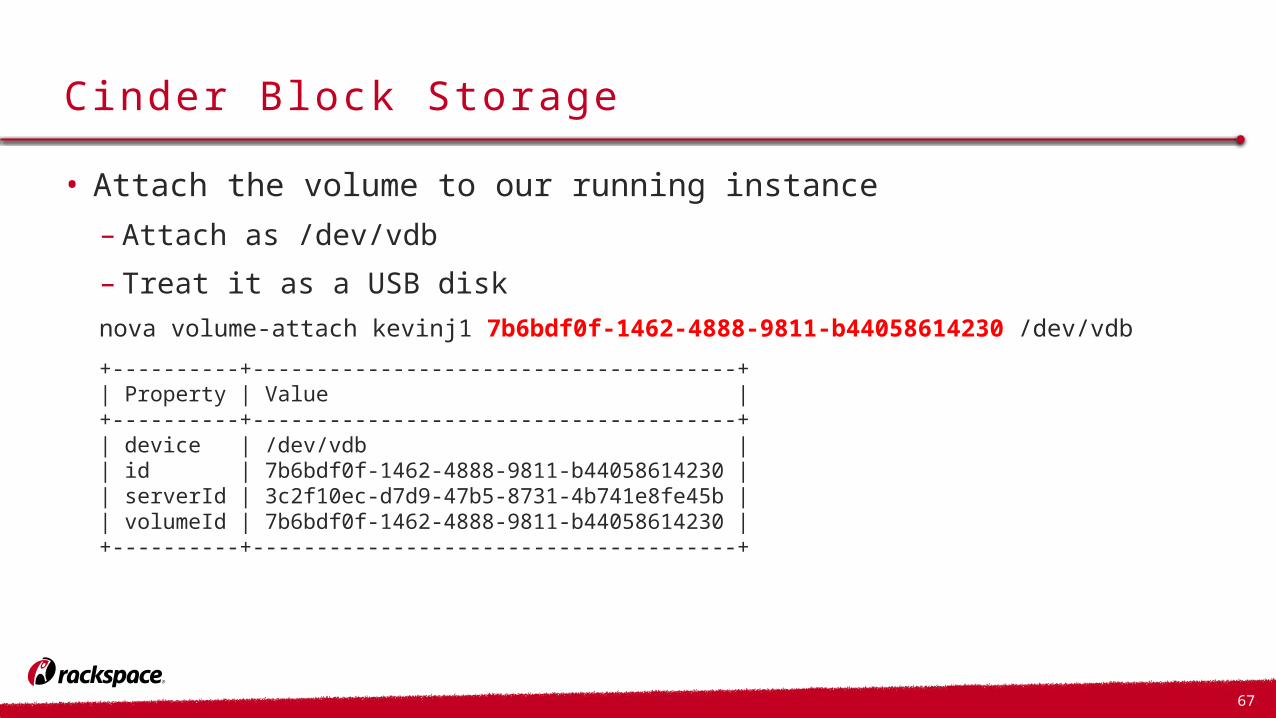
Cinder Block Storage• Attach the volume to our running instance– Attach as /dev/vdb– Treat it as a USB disknova volume-attach kevinj1 7b6bdf0f-1462-4888-9811-b44058614230 /dev/vdb+----------+--------------------------------------+| Property | Value |+----------+--------------------------------------+| device | /dev/vdb || id | 7b6bdf0f-1462-4888-9811-b44058614230 || serverId | 3c2f10ec-d7d9-47b5-8731-4b741e8fe45b || volumeId | 7b6bdf0f-1462-4888-9811-b44058614230 |+----------+--------------------------------------+
68
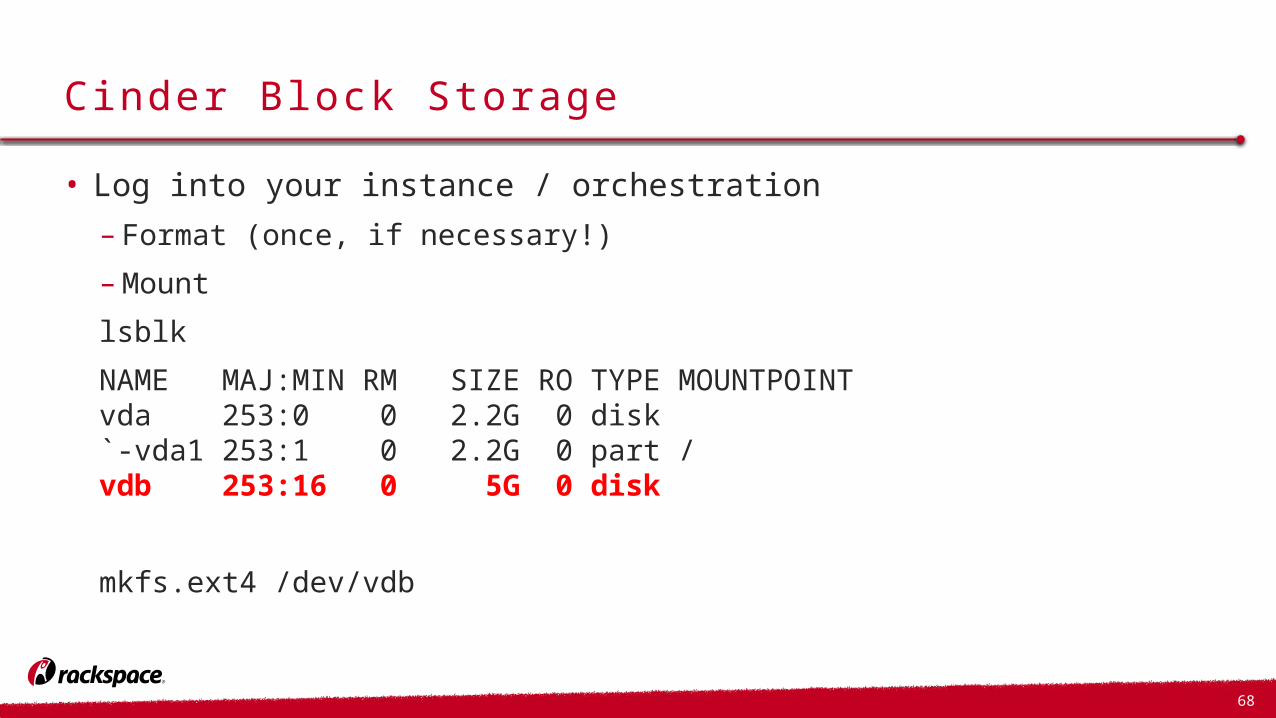
Cinder Block Storage• Log into your instance / orchestration– Format (once, if necessary!)–Mountlsblk
NAME MAJ:MIN RM SIZE RO TYPE MOUNTPOINTvda 253:0 0 2.2G 0 disk `-vda1 253:1 0 2.2G 0 part /vdb 253:16 0 5G 0 disk
mkfs.ext4 /dev/vdb
69
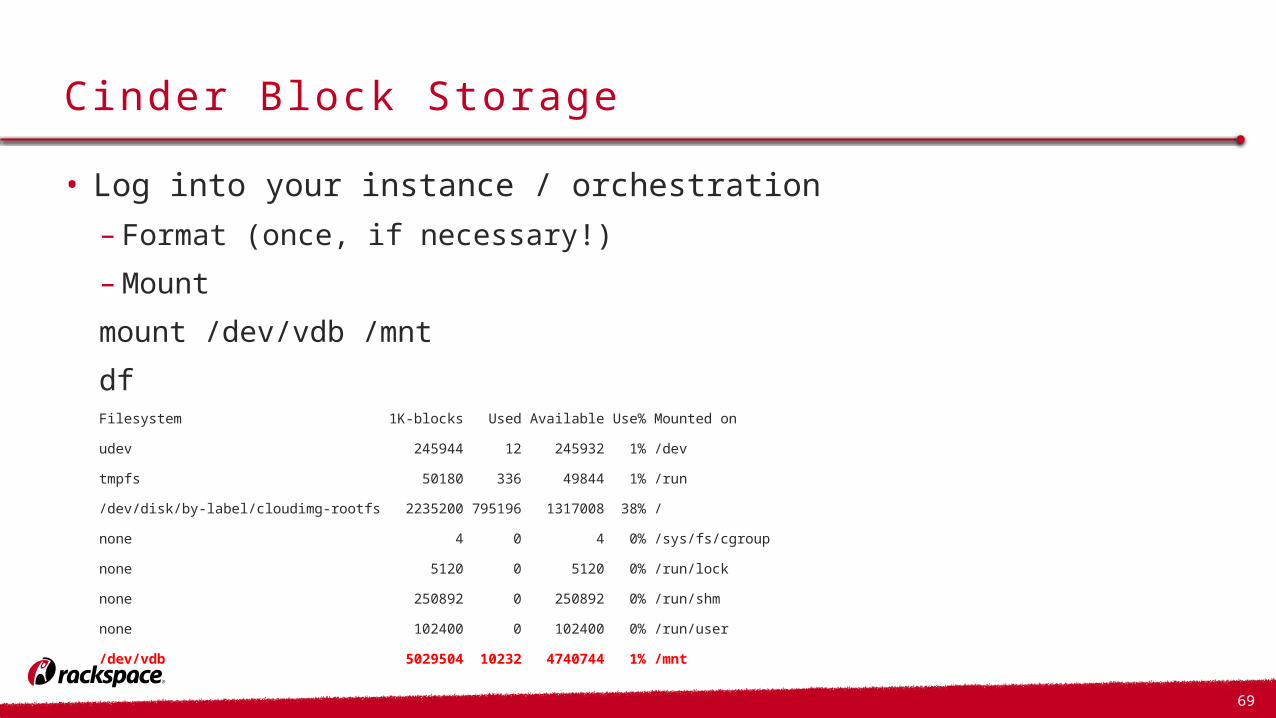
Cinder Block Storage• Log into your instance / orchestration– Format (once, if necessary!)–Mountmount /dev/vdb /mnt
dfFilesystem 1K-blocks Used Available Use% Mounted on
udev 245944 12 245932 1% /dev
tmpfs 50180 336 49844 1% /run
/dev/disk/by-label/cloudimg-rootfs 2235200 795196 1317008 38% /
none 4 0 4 0% /sys/fs/cgroup
none 5120 0 5120 0% /run/lock
none 250892 0 250892 0% /run/shm
none 102400 0 102400 0% /run/user
/dev/vdb 5029504 10232 4740744 1% /mnt

5 M I L L I N GT O N R OA D | H AY E S , U N I T E D K I N G D O M U B 3 4 A ZU K S A L E S : + 4 4 ( 0 ) 2 0 8 7 1 2 6 5 0 7 | U K SU P P O RT: 0 8 0 0 9 8 8 0 3 0 0 | W W W. RAC K SPAC E . C O. U K
© RACKSPACE LTD. | RACKSPACE® AND FANATICAL SUPPORT® ARE SERVICE MARKS OF RACKSPACE US, INC. REGISTERED IN THE UNITED STATES AND OTHER COUNTRIES. | WWW.RACKSPACE.COM
Thank youFollow on Twitter: @itarchitectkev
(Buy my book! – 30% Off @ Packt OSCCC3E)