Embed Size (px)
Citation preview
http://childseatinfo.ca/rear-facing-car-seats/
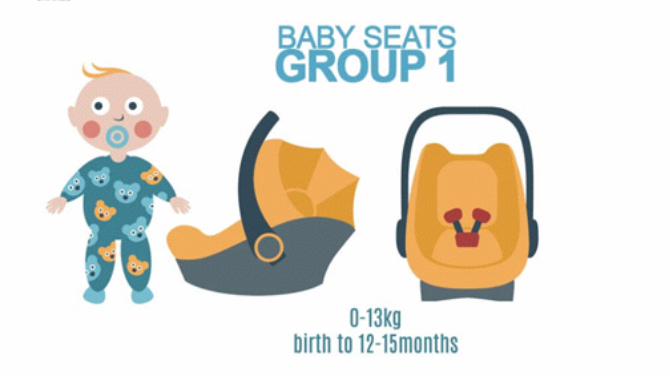
Newborn Babies have large heads and weak necks which can make them especially at risk for sudden stops and starts.
At this phase, car seats are angled backwards (typically at 45 degrees). Ultimately, A rear-facing car seat will support your baby’s neck in a sudden stop or crash.
https://www.hiwayfx.com
Installing & Acceptable Practices For Your Rear-Facing Seats
Always install the rear-facing car seat in the back seat of your car, and if possible, opposite a seat with an active air bag.
This way, your child is as far away as possible from the front seat air bags if they inflate during a crash.
Options For Rear Child Seat Installation
There may be more than one way to install your car seat in your car depending on your make, model, and year.
However, all three ways listed below are safe. Be sure to check both your:
car owner’s manual your car seat user guide for more information and optimal installation.
Option 1: UAS
If you can, use the Universal Anchorage System (UAS). Your car owner’s manual will illustrate where to find the anchors, and will detail limitations for their use.
In the majority of Canadian automobiles, this symbol:
rs_uassymbol
will show you where you can find your car’s UAS anchor bars. It will also show you where you are able to find connectors your car seat.
Option 2: Seat Belt Only
Use the seat belt only option if your seat belts or car seat are equipped with a built-in locking feature. Be sure to refer to your car owner’s manual and child seat user guide/manual for reference on proper installation and usage.
Option 3: Seat Belt + Locking Clip
Use the Seat Belt + lock clip option if your vehicles’s seat belts and car seat do not have a locking feature. To determine proper usage, please refer to your cars owners manual.
Proper Installation For A Rear-Facing Car Seat
Make sure the rear-facing car seat is at the correct angle
The vehicle must be parked on a level surface. To protect the child’s airway, make sure the rear-facing car seat is within the angle range indicated on the car seat or in the user guide.
Make Sure The Car Seat Doesn’t Move
In a crash or sudden stop, your child will be safer in a car seat that is tightly installed.
To ensure your seat is in fact tightly installed, hold both sides of the car seat, but only where the seat belt or UAS belt is threaded through the car seat. Firmly try to move it in every direction. It should not move more than 2.5 cm (1 inch) side to side or front to back.
Note, movement at the top of the car seat is normal.
Ensuring Your Child Is Buckled Properly In A Rear Facing Car Seat
When it comes to rear facing car seat safety, always make sure the harness is snug when you place your child in the car seat. Though it may look uncomfortable to the child, this will keep him or her as safe as possible in a crash or sudden stop.
To make sure you have your young one appropriately secured, take special note of each of the following:
The Head
Make sure there is proper space between the top of your child’s head and the uppermost portion of the car seat. Given the variance in car seat styles, make sure to check your car seat user guide to know how much space is required.
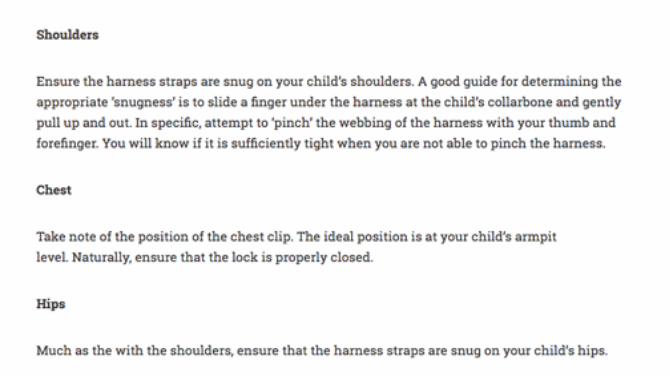
Shoulders
Ensure the harness straps are snug on your child’s shoulders. A good guide for determining the appropriate ‘snugness’ is to slide a finger under the harness at the child’s collarbone and gently pull up and out. In specific, attempt to ‘pinch’ the webbing of the harness with your thumb and forefinger. You will know if it is sufficiently tight when you are not able to pinch the harness.
Chest
Take note of the position of the chest clip. The ideal position is at your child’s armpit level. Naturally, ensure that the lock is properly closed.
Hips
Much as the with the shoulders, ensure that the harness straps are snug on your child’s hips.
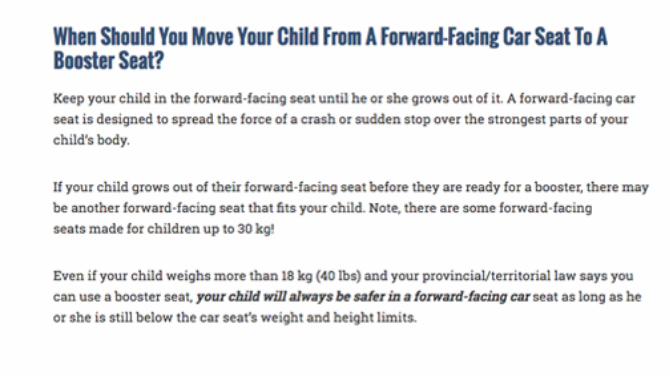
Forward-facing (front facing) car seats are designed for older children that have developed stronger back and neck muscles.
While many parents are excited to move their child into a forward facing sear, it is most safe to keep your child in a rear-facing seat as long as possible.
Installing & Acceptable Practice For Your Forward-Facing Seat
Like all child seats, always install a forward-facing seat in the back seat of your vehicle; you want to keep your sear as far away as possible from the front air bags if they inflate during a crash.
A forward-facing car seat is secured in two ways. First, it must be tightly installed with the UAS or vehicle seat belt running through the appropriate spot in the car seat, Second, the tether strap must be attached to your vehicle’s tether anchor in order to protect your child in a crash or sudden stop.
Refer to your car owner’s manual in addition to your car seat user guide to learn the appropriate way to install the child seat.
Step One: Attach UAS Or Seat Belt
Option 1: Universal Anchorage System (UAS)
Use the Universal Anchorage System (UAS). If installed, your car owner’s manual will show you where the anchors are located.
In regards to height and weight restrictions, vehicle and car seat manufacturers have guidelines that the UAS may be used for. It is important to consult your auto and car seat manufacturer instructions for more information on these limits.
In the absence of these instructions, install your seat using the vehicle belt and tether once your child reaches 18 kg (40 lbs).
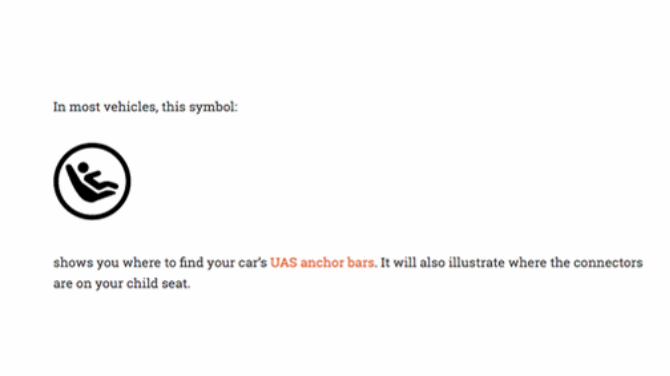
In most vehicles, this symbol:
rs_uassymbol
shows you where to find your car’s UAS anchor bars. It will also illustrate where the connectors are on your child seat.
Option 2: Seat Belt Only
Use the seat belt only option if your seat belts or car seat are equipped with a built-in locking feature. Be sure to refer to your car owner’s manual and child seat user guide/manual for reference on proper installation and usage.
Option 3: Seat Belt + Locking Clip
Use the Seat Belt + lock clip option if your vehicles’s seat belts and car seat do not have a locking feature. To determine proper usage, please refer to your cars owners manual.
TIP: Putting pressure in the car seat with either a knee or your hand prior to tightening the vehicle belt or UAS strap will make it easier to get a tight installation.
Step Two: Attach Tether
Note: Always use the tether strap with forward-facing car seats. Your vehicle owner’s manual will show you where to find the tether anchors.
Route the tether strap as per the vehicle manufacturer’s instructions, attaching the tether hook to the tether anchor. During this process, it is important not to not twist the tether strap (unless otherwise instructed).
Once you’ve attached the tether, ensure there is no remaining slack.
Checking For Proper Installation
Upon installation, grasp both sides of the car seat where the seat belt or UAS belt is threaded through the car seat. Here, make attempts to move the seat in varying directions. It is important that the sear more no more than 2.5cm in any direction.
Buckling Up Your Child
The Head
Make sure there is proper space between the top of your child’s head and the uppermost portion of the car seat. Given the variance in car seat styles, make sure to check your car seat user guide to know how much space is required.
Shoulders
Ensure the harness straps are snug on your child’s shoulders. A good guide for determining the appropriate ‘snugness’ is to slide a finger under the harness at the child’s collarbone and gently pull up and out. In specific, attempt to ‘pinch’ the webbing of the harness with your thumb and forefinger. You will know if it is sufficiently tight when you are not able to pinch the harness.
Chest
Take note of the position of the chest clip. The ideal position is at your child’s armpit level. Naturally, ensure that the lock is properly closed.
Harness
Your child’s shoulders are a reference point for the harness. Ensure these are at, or just above the shoulders.