Embed Size (px)
Citation preview
Improve your
Personal Branding
Through Sharing
I post a lot of walkthroughs and information to social media sites. I started doing this though for purely selfish reasons. Primarily they were:
To give customers a resource to see how I did what I showed them in demonstrations so that they didn’t get mad at me.
To give consultants a resource to see what I am showing customers in demonstrations so that they wouldn’t get mad at me.
And to show to lawyers to prove that I wasn’t just using smoke and mirrors during demonstrations, so that I don’t get deposed (again).
Along the way though I found that I was creating a small personal brand, and this has helped me a lot with everything that I do.
I have a simple system that I use that allows me to turn something that I find cool or interesting into something sharable, that also helps extend out my personal brand.
Systems don’t work for everyone, because everyone has their own personal style, but I thought I would pass this on just in case it works for someone else.
Capturing Your Initial Blog StoryboardThe first thing that I always to when I am planning to create a blog about something is to capture the storyboard of the process that I am going to blog about. This does not involve any writing, I am just capturing the flow of the visual process.
Using this as an initial starting point is good because if I come across any road blocks in the process where I cannot get something to work, then I have only lost an hour or so of my time, and I can cut my losses and file the storyboard away within the dumb ideas, or try again later folders. I was writing the blog at the same time, I could have invested a lot more time, and it’s emotionally harder to throw away the words.
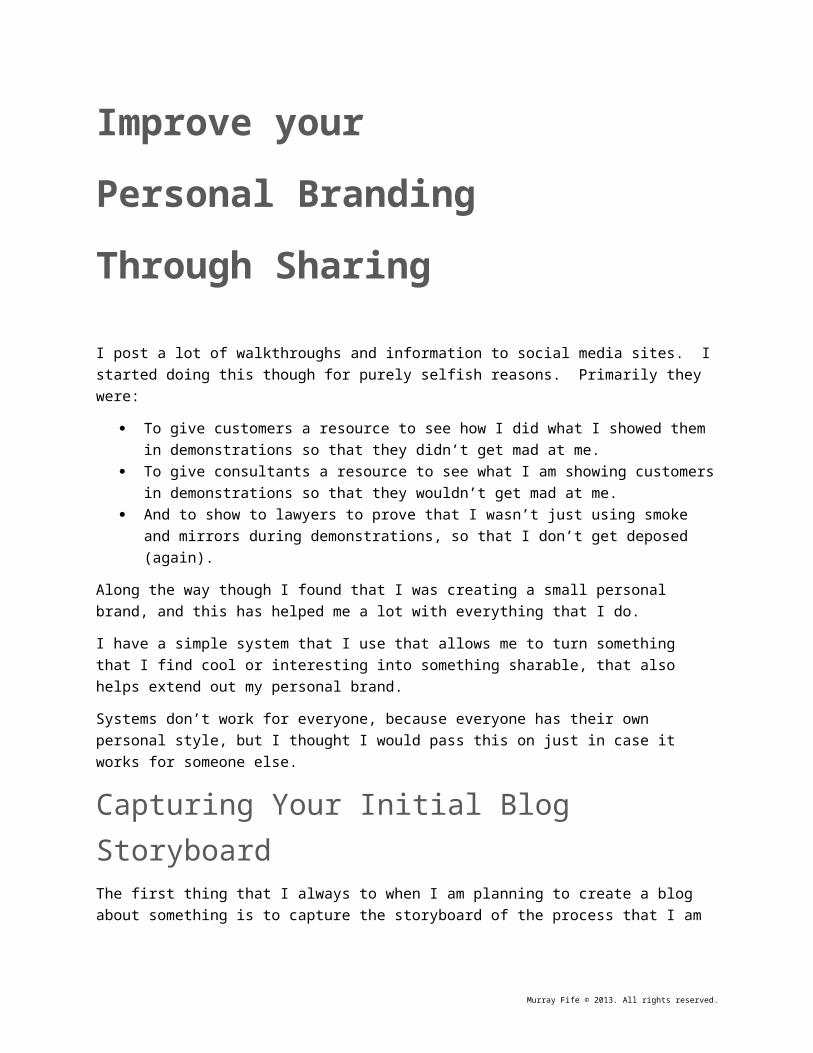
I use PowerPoint as my storyboarding tool. I use a simple template that just has the screen capture, a slide title and the blog narrative. I like using PowerPoint because it allows me to organize the slides after the fact, write working notes against the slides as I am capturing information, and it makes everything look consistent and clean through the slide layouts.
Murray Fife © 2013. All rights reserved.
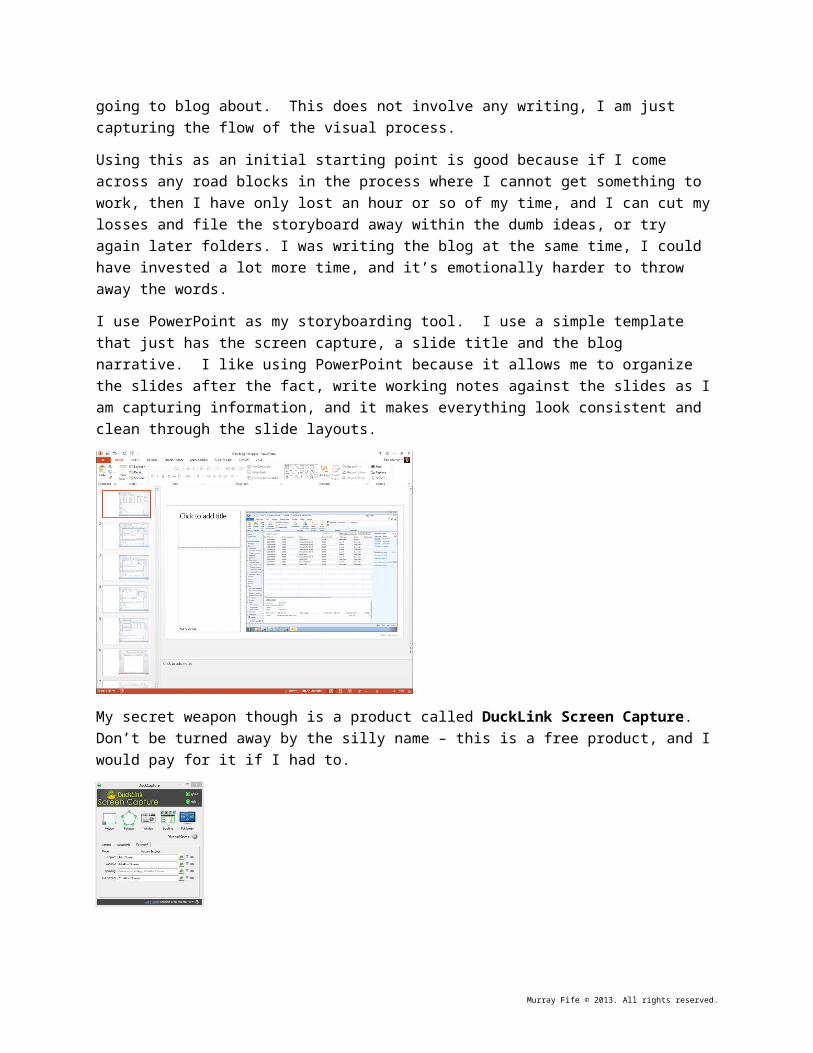
My secret weapon though is a product called DuckLink Screen Capture. Don’t be turned away by the silly name – this is a free product, and I would pay for it if I had to.
DuckLink is a simple screen capture tool that allows me through the normal screen capture hot keys to quickly grab screen captures, and scrolling windows of information. So all I do as I am working through an example is press CTRL-Print Screen and then paste it into a blank PPT slide and then move on. The capturing adds maybe a minute or so of extra work above and beyond what I would normally be doing.
Organizing Your Blog StoryboardAfter I have proved out the flow for my storyboard, I start working on organizing the flow. I still am not going to write any narratives, this just gives me a way to browse through the slides, delete any bad slides, move ideas around, and also group the screen shots into bite-sized flows that I can then work with.
First, I start off by creating sections in the PowerPoint slides, and then adding a section title. This allows me to have working titles for the sections, although later on these will probably change as I write the copy, and some may be merged together as well. Each one of the sections could be their own separate blog posts, or could be combined together into a larger blog post if I like.
Murray Fife © 2013. All rights reserved.
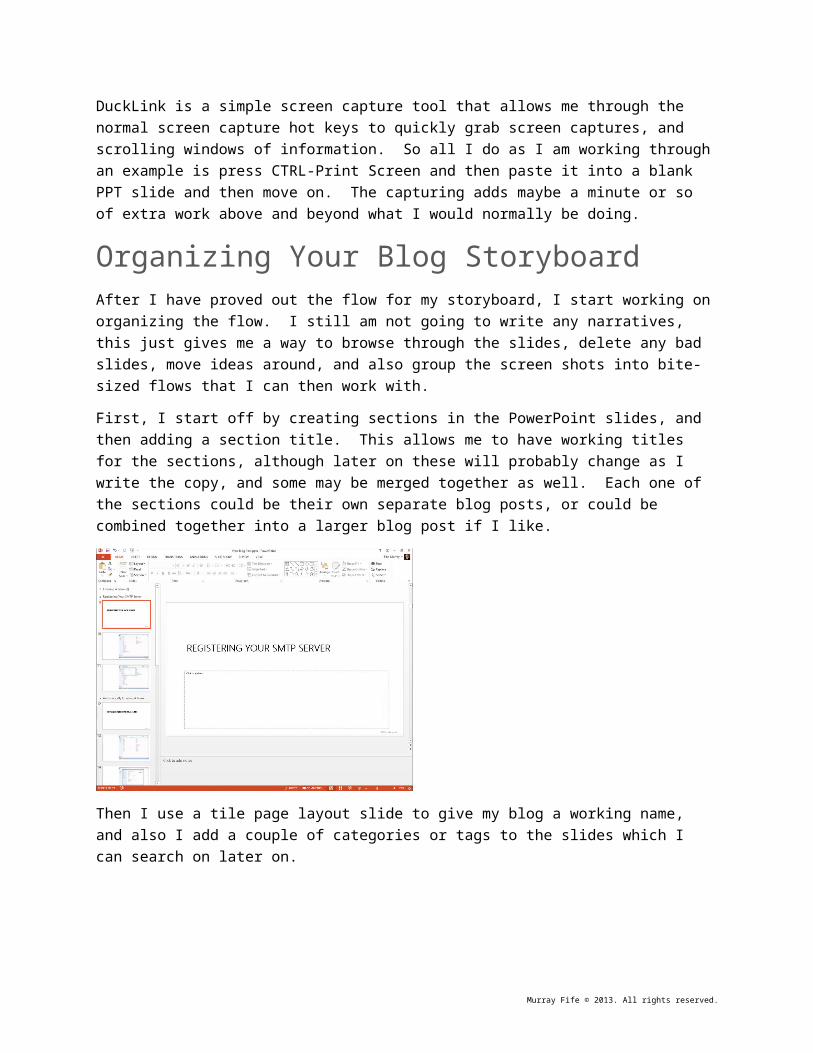
Then I use a tile page layout slide to give my blog a working name, and also I add a couple of categories or tags to the slides which I can search on later on.
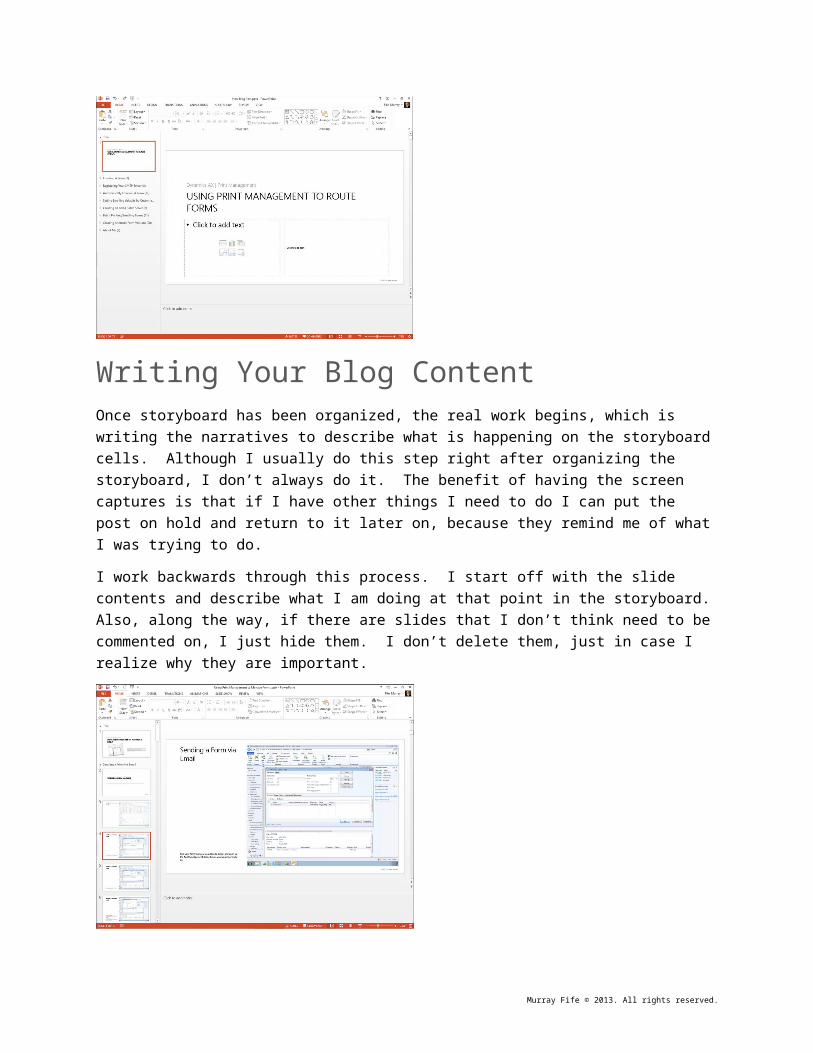
Writing Your Blog ContentOnce storyboard has been organized, the real work begins, which is writing the narratives to describe what is happening on the storyboard cells. Although I usually do this step right after organizing the storyboard, I don’t always do it. The benefit of having the screen captures is that if I have other things I need to do I can put the post on hold and return to it later on, because they remind me of what I was trying to do.
I work backwards through this process. I start off with the slide contents and describe what I am doing at that point in the storyboard. Also, along the way, if there are slides that I don’t think need to be commented on, I just hide them. I don’t delete them, just in case I realize why they are important.
Murray Fife © 2013. All rights reserved.
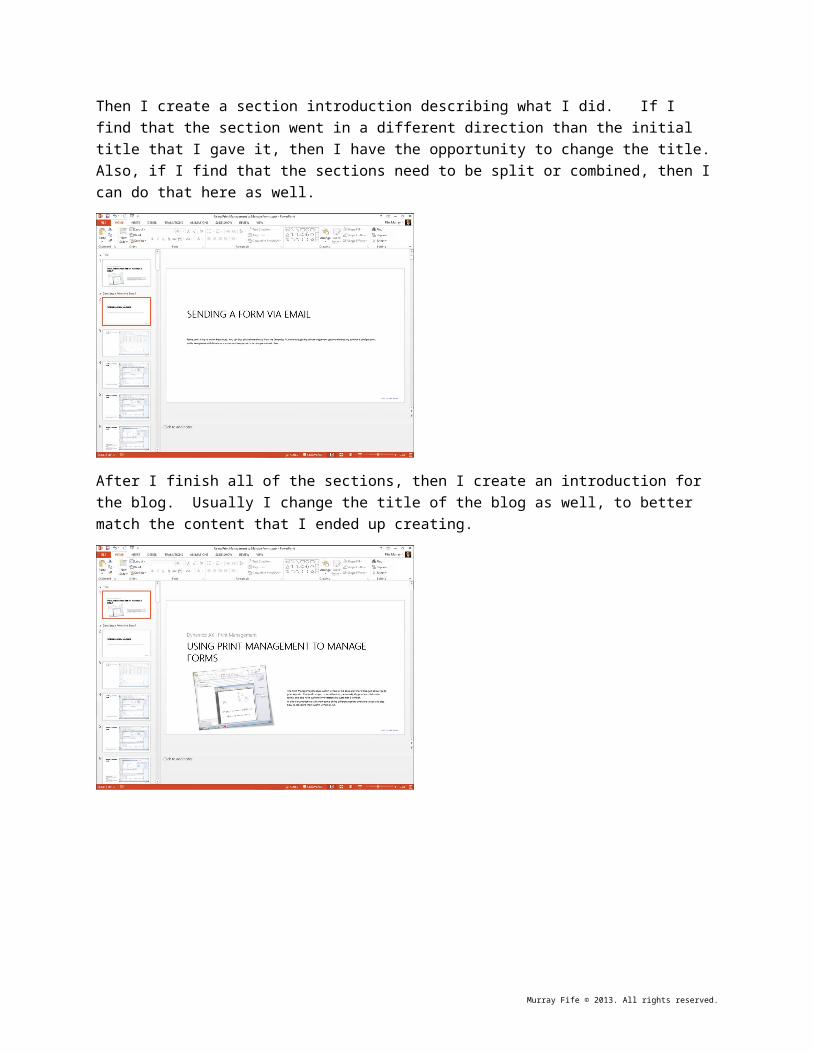
Then I create a section introduction describing what I did. If I find that the section went in a different direction than the initial title that I gave it, then I have the opportunity to change the title. Also, if I find that the sections need to be split or combined, then I can do that here as well.
After I finish all of the sections, then I create an introduction for the blog. Usually I change the title of the blog as well, to better match the content that I ended up creating.
Murray Fife © 2013. All rights reserved.
Publishing Your Storyboard to SlideShareAn ulterior motive to using PowerPoint as my initial blog is that I can start publishing the blog post through SlideShare right away, and get a lot of publicity to my personal brand.
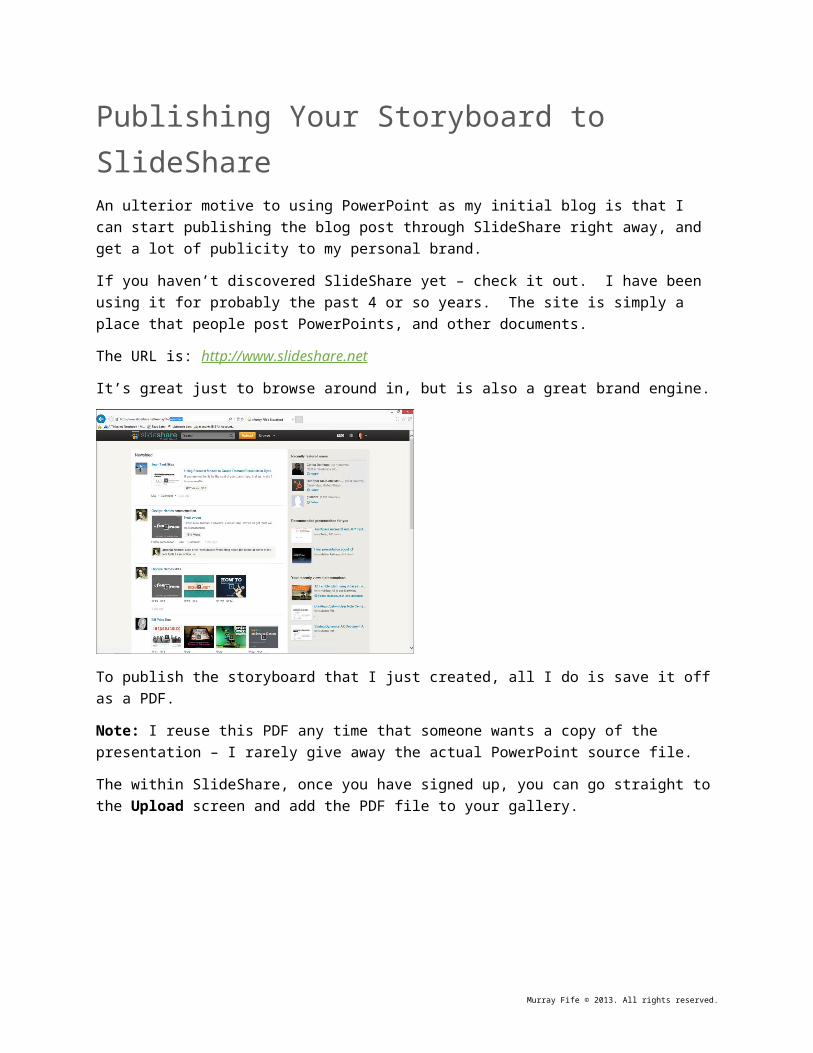
If you haven’t discovered SlideShare yet – check it out. I have been using it for probably the past 4 or so years. The site is simply a place that people post PowerPoints, and other documents.
The URL is: http://www.slideshare.net
It’s great just to browse around in, but is also a great brand engine.
To publish the storyboard that I just created, all I do is save it off as a PDF.
Note: I reuse this PDF any time that someone wants a copy of the presentation – I rarely give away the actual PowerPoint source file.
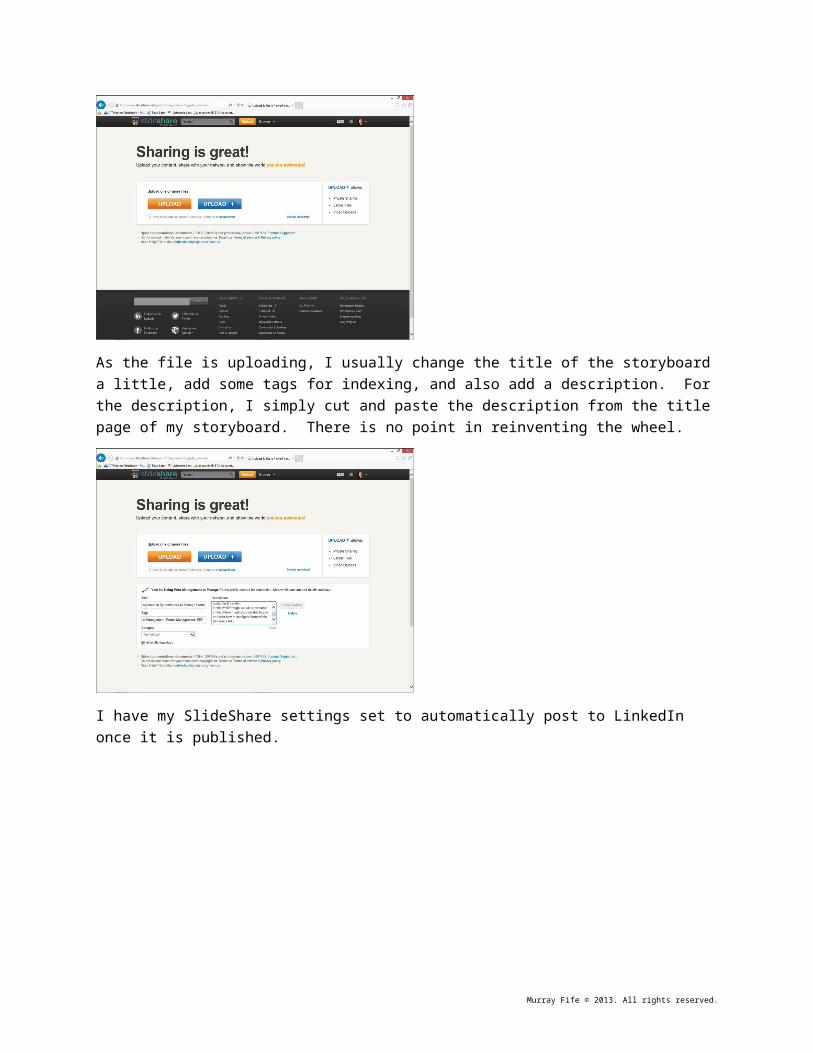
The within SlideShare, once you have signed up, you can go straight to the Upload screen and add the PDF file to your gallery.
Murray Fife © 2013. All rights reserved.
As the file is uploading, I usually change the title of the storyboard a little, add some tags for indexing, and also add a description. For the description, I simply cut and paste the description from the title page of my storyboard. There is no point in reinventing the wheel.
I have my SlideShare settings set to automatically post to LinkedIn once it is published.
Murray Fife © 2013. All rights reserved.
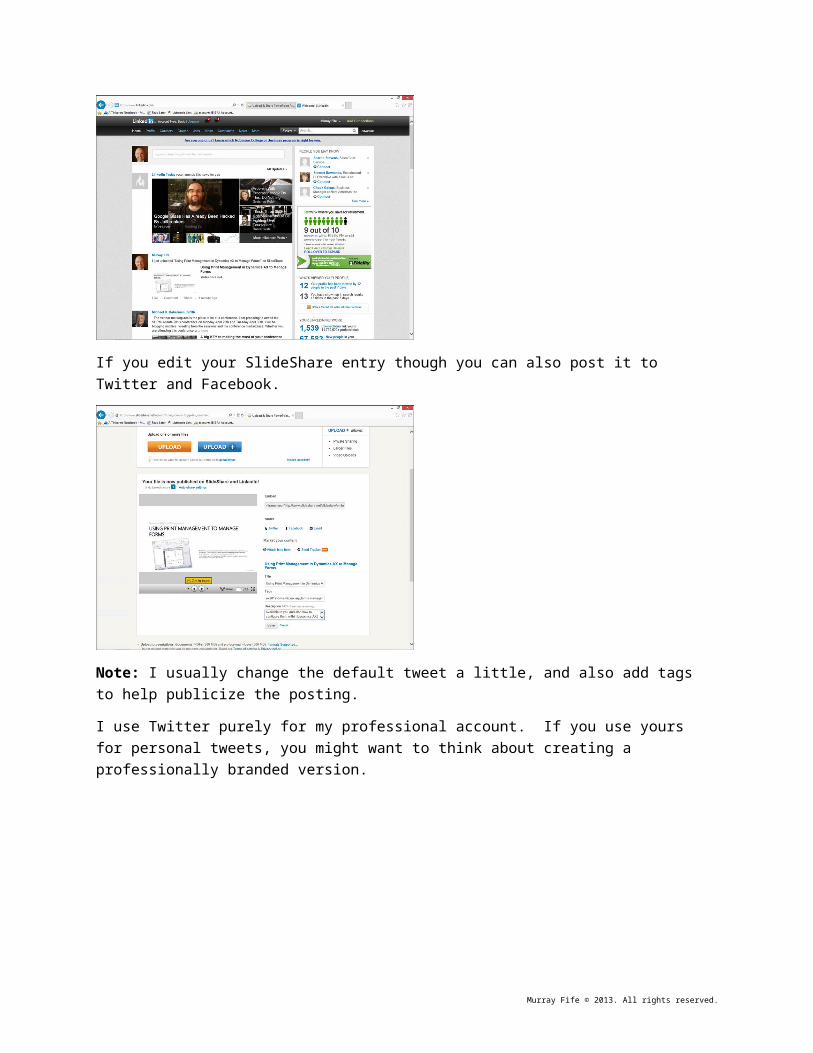
If you edit your SlideShare entry though you can also post it to Twitter and Facebook.
Note: I usually change the default tweet a little, and also add tags to help publicize the posting.
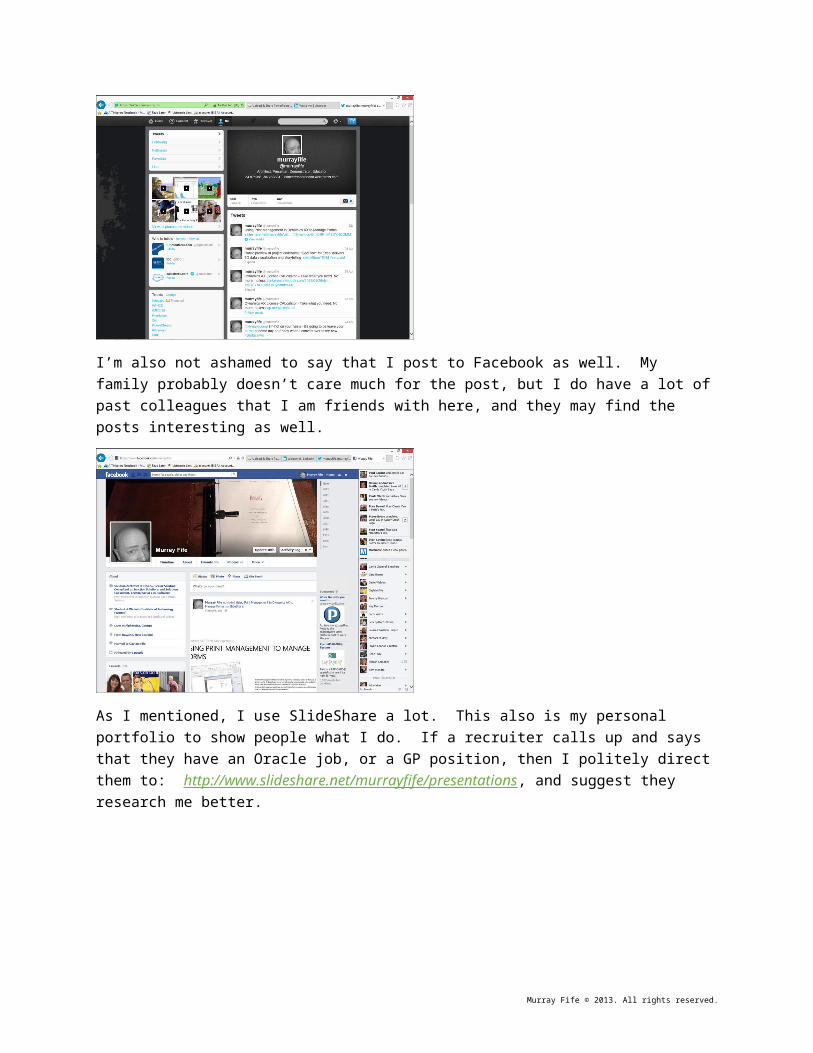
I use Twitter purely for my professional account. If you use yours for personal tweets, you might want to think about creating a professionally branded version.
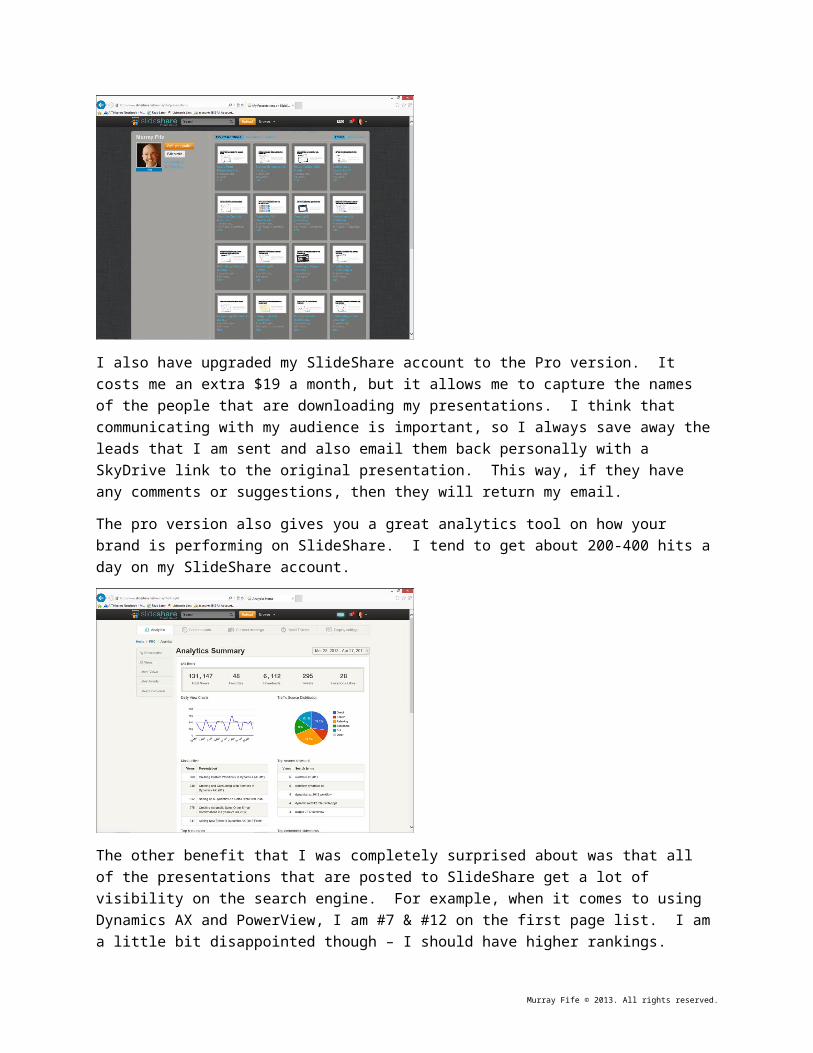
I’m also not ashamed to say that I post to Facebook as well. My family probably doesn’t care much for the post, but I do have a lot of past colleagues that I am friends with here, and they may find the posts interesting as well.
Murray Fife © 2013. All rights reserved.
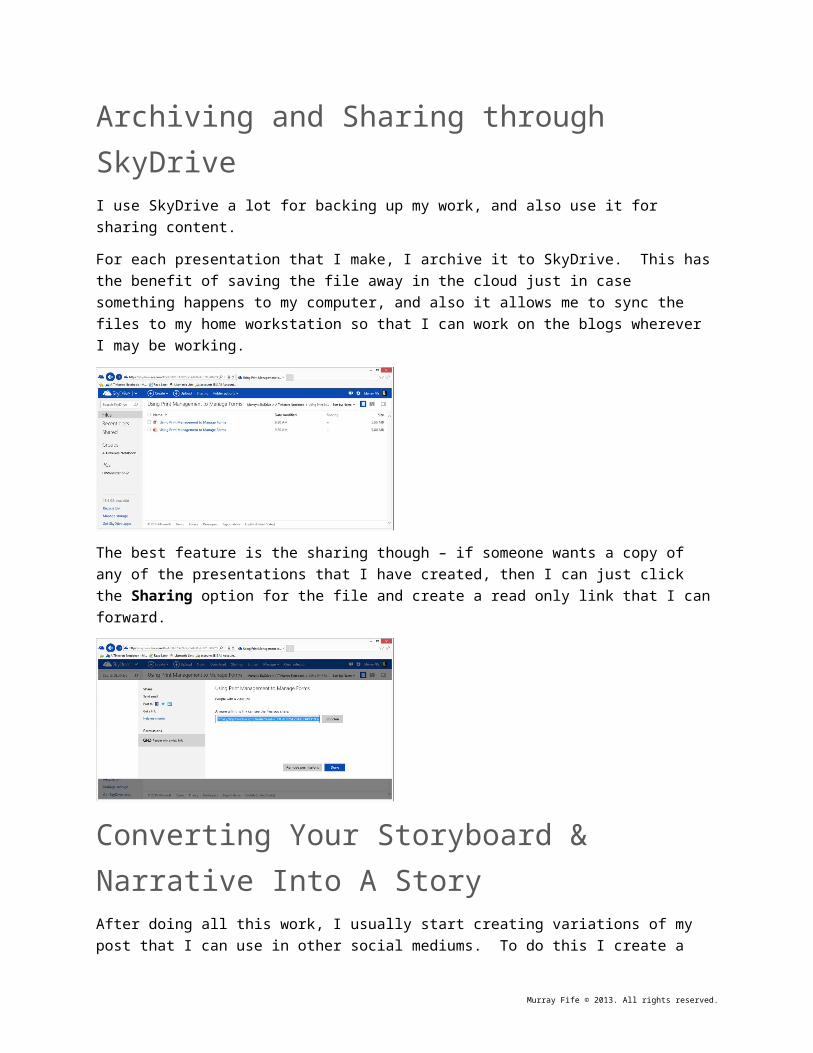
As I mentioned, I use SlideShare a lot. This also is my personal portfolio to show people what I do. If a recruiter calls up and says that they have an Oracle job, or a GP position, then I politely direct them to: http://www.slideshare.net/murrayfife/presentations, and suggest they research me better.
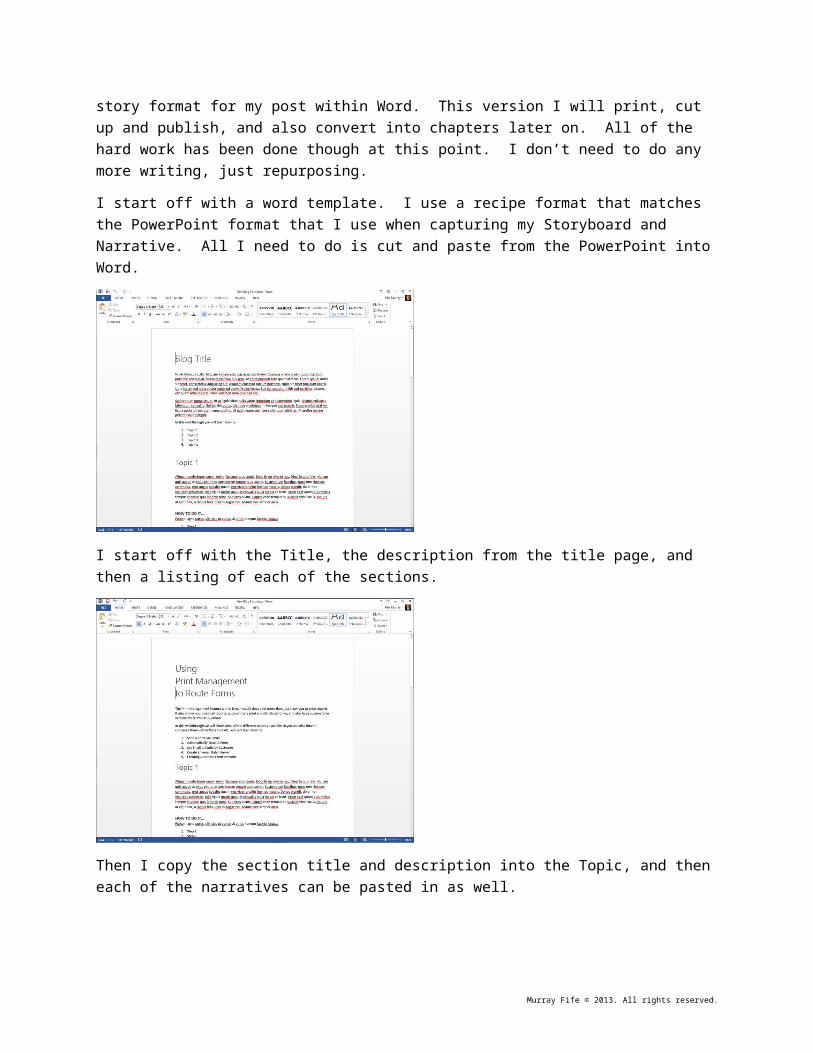
I also have upgraded my SlideShare account to the Pro version. It costs me an extra $19 a month, but it allows me to capture the names of the people that are downloading my presentations. I think that communicating with my audience is important, so I always save away the leads that I am sent and also email them back personally with a SkyDrive link to the original presentation. This way, if they have any comments or suggestions, then they will return my email.
The pro version also gives you a great analytics tool on how your brand is performing on SlideShare. I tend to get about 200-400 hits a day on my SlideShare account.
Murray Fife © 2013. All rights reserved.
The other benefit that I was completely surprised about was that all of the presentations that are posted to SlideShare get a lot of visibility on the search engine. For example, when it comes to using Dynamics AX and PowerView, I am #7 & #12 on the first page list. I am a little bit disappointed though – I should have higher rankings.
Archiving and Sharing through SkyDriveI use SkyDrive a lot for backing up my work, and also use it for sharing content.
For each presentation that I make, I archive it to SkyDrive. This has the benefit of saving the file away in the cloud just in case something happens to my computer, and also it allows me to sync the files to my home workstation so that I can work on the blogs wherever I may be working.
The best feature is the sharing though – if someone wants a copy of any of the presentations that I have created, then I can just click the Sharing option for the file and create a read only link that I can forward.
Murray Fife © 2013. All rights reserved.
Converting Your Storyboard & Narrative Into A StoryAfter doing all this work, I usually start creating variations of my post that I can use in other social mediums. To do this I create a story format for my post within Word. This version I will print, cut up and publish, and also convert into chapters later on. All of the hard work has been done though at this point. I don’t need to do any more writing, just repurposing.
I start off with a word template. I use a recipe format that matches the PowerPoint format that I use when capturing my Storyboard and Narrative. All I need to do is cut and paste from the PowerPoint into Word.
I start off with the Title, the description from the title page, and then a listing of each of the sections.
Murray Fife © 2013. All rights reserved.
Then I copy the section title and description into the Topic, and then each of the narratives can be pasted in as well.
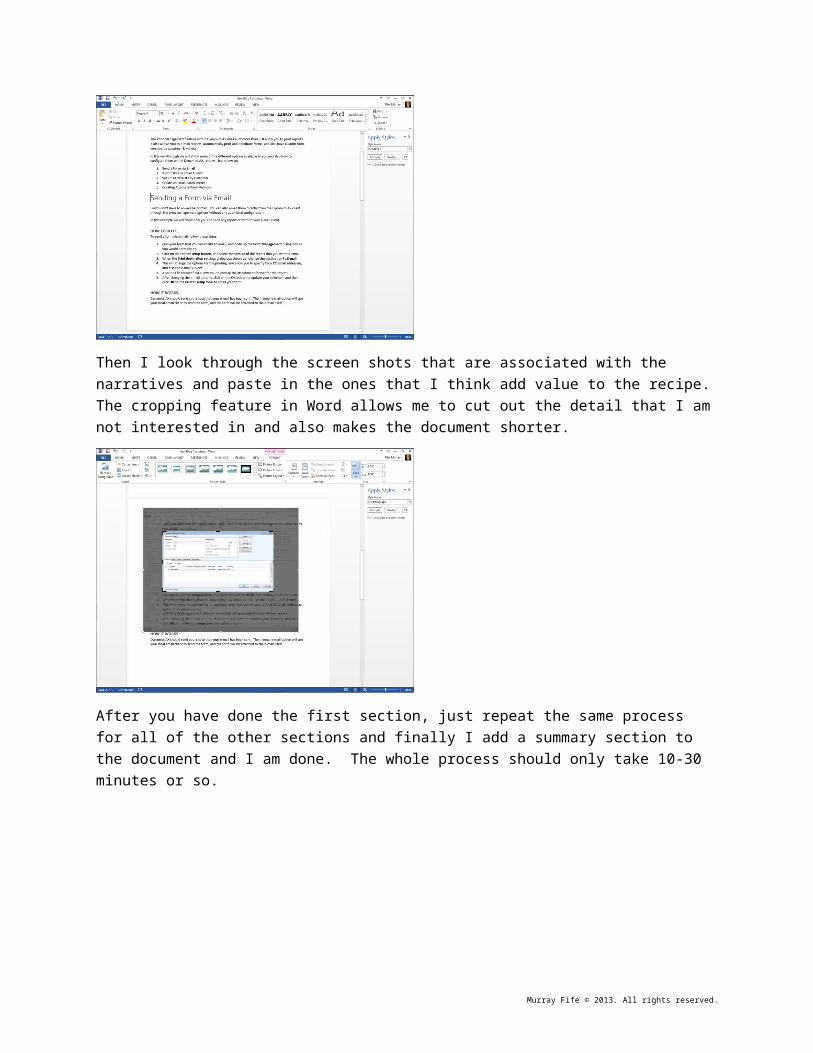
Then I look through the screen shots that are associated with the narratives and paste in the ones that I think add value to the recipe. The cropping feature in Word allows me to cut out the detail that I am not interested in and also makes the document shorter.
Murray Fife © 2013. All rights reserved.
After you have done the first section, just repeat the same process for all of the other sections and finally I add a summary section to the document and I am done. The whole process should only take 10-30 minutes or so.
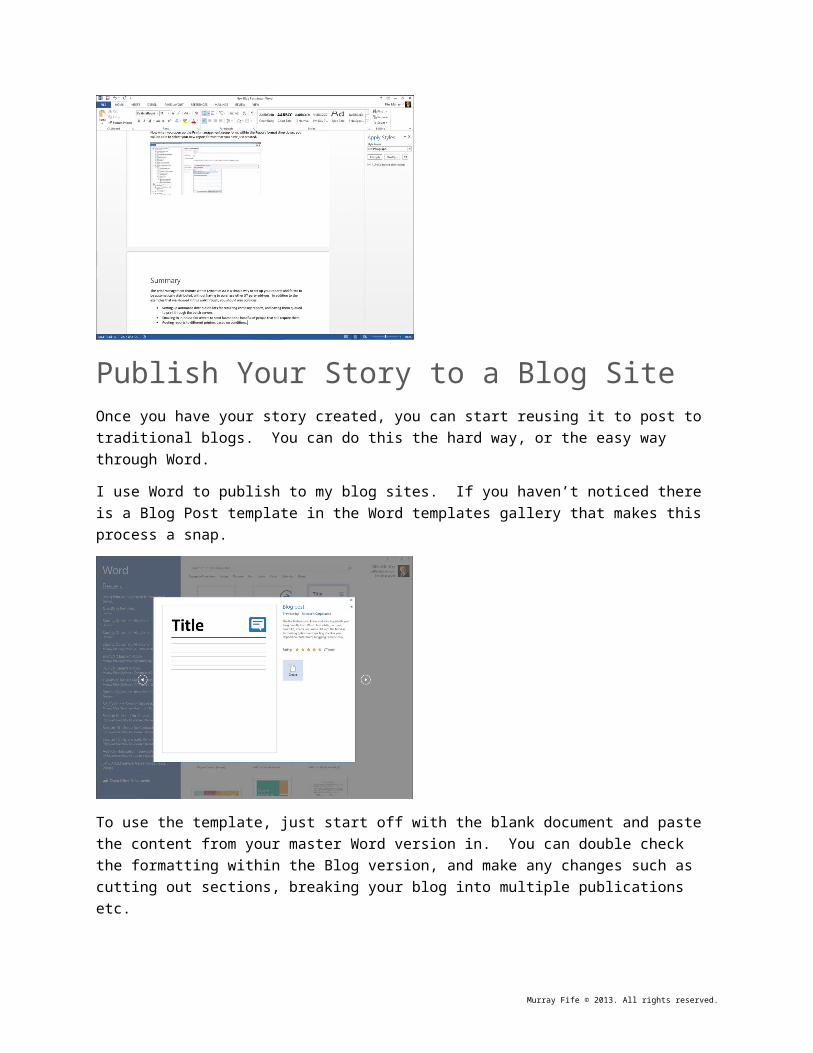
Publish Your Story to a Blog SiteOnce you have your story created, you can start reusing it to post to traditional blogs. You can do this the hard way, or the easy way through Word.
I use Word to publish to my blog sites. If you haven’t noticed there is a Blog Post template in the Word templates gallery that makes this process a snap.
Murray Fife © 2013. All rights reserved.
To use the template, just start off with the blank document and paste the content from your master Word version in. You can double check the formatting within the Blog version, and make any changes such as cutting out sections, breaking your blog into multiple publications etc.
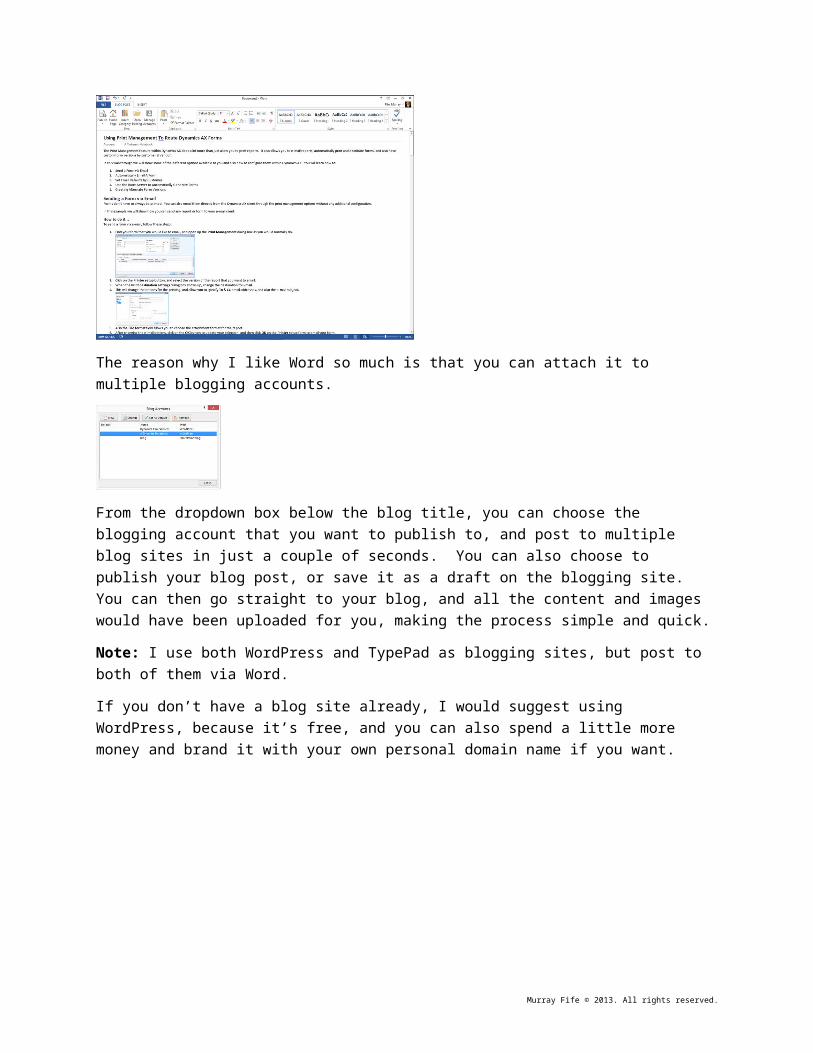
The reason why I like Word so much is that you can attach it to multiple blogging accounts.
From the dropdown box below the blog title, you can choose the blogging account that you want to publish to, and post to multiple blog sites in just a couple of seconds. You can also choose to publish your blog post, or save it as a draft on the blogging site. You can then go straight to your blog, and all the content and images would have been uploaded for you, making the process simple and quick.
Note: I use both WordPress and TypePad as blogging sites, but post to both of them via Word.
If you don’t have a blog site already, I would suggest using WordPress, because it’s free, and you can also spend a little more money and brand it with your own personal domain name if you want.
Murray Fife © 2013. All rights reserved.
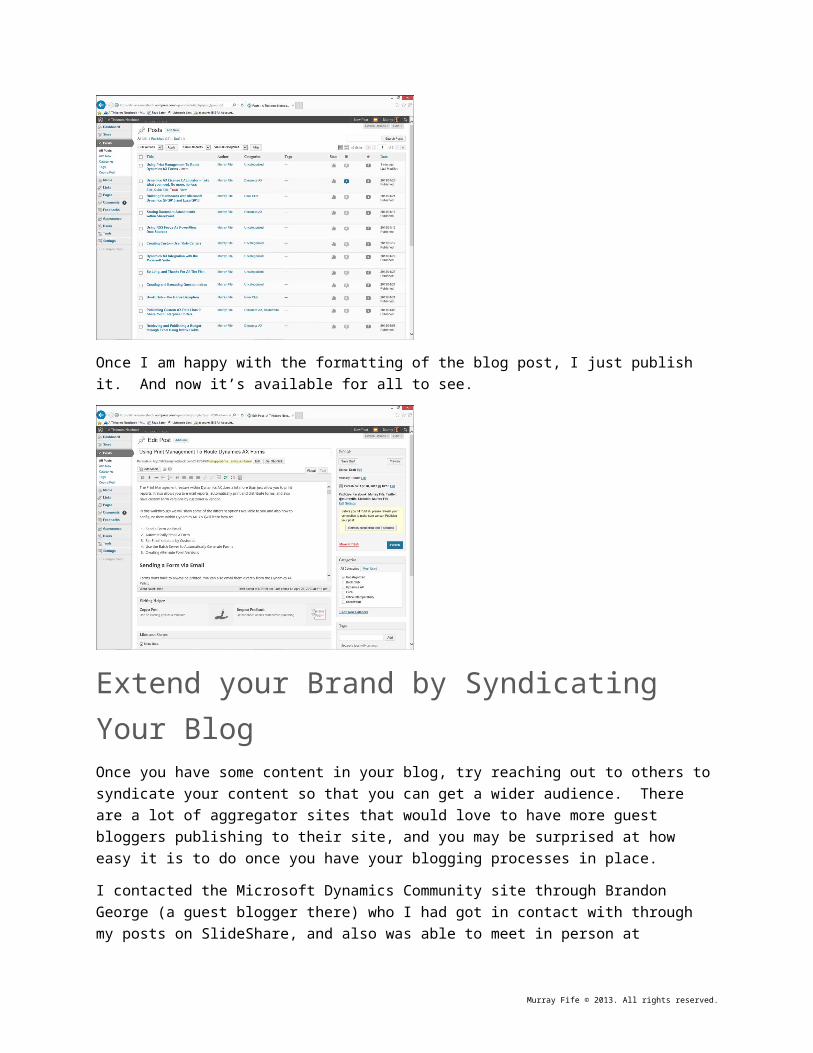
Once I am happy with the formatting of the blog post, I just publish it. And now it’s available for all to see.
Extend your Brand by Syndicating Your BlogOnce you have some content in your blog, try reaching out to others to syndicate your content so that you can get a wider audience. There are a lot of aggregator sites that would love to have more guest bloggers publishing to their site, and you may be surprised at how easy it is to do once you have your blogging processes in place.
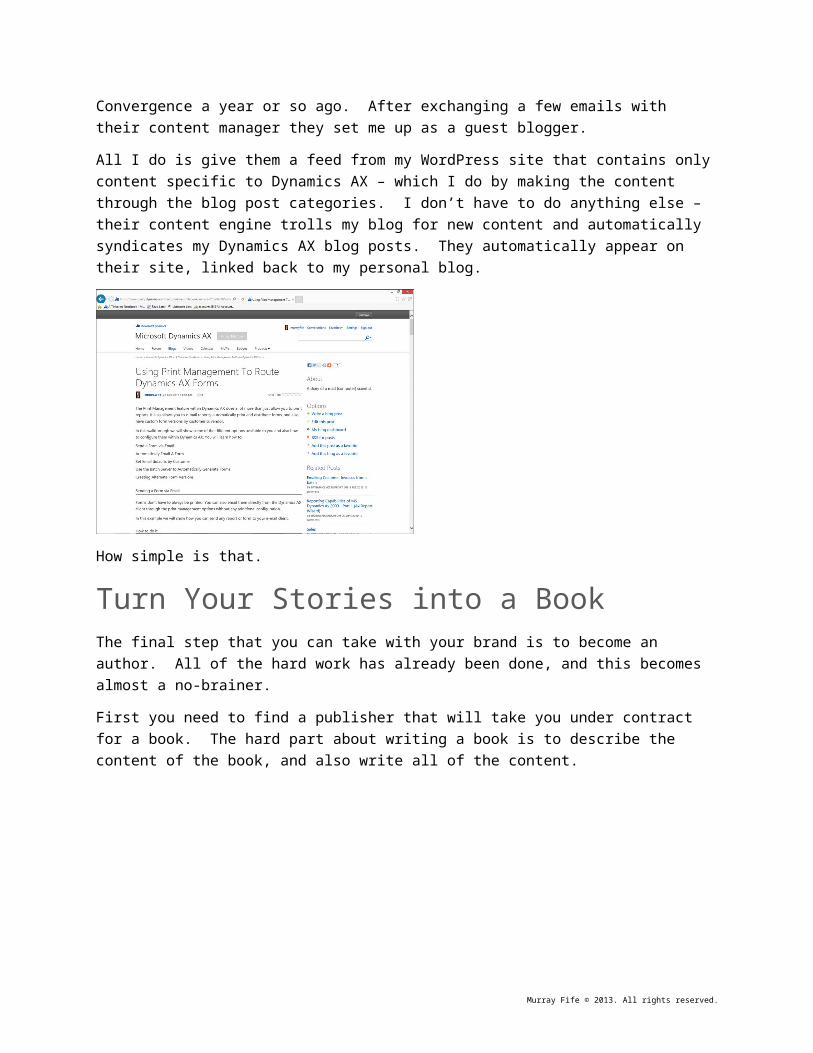
I contacted the Microsoft Dynamics Community site through Brandon George (a guest blogger there) who I had got in contact with through my posts on SlideShare, and also was able to meet in person at Convergence a year or so ago. After exchanging a few emails with their content manager they set me up as a guest blogger.
All I do is give them a feed from my WordPress site that contains only content specific to Dynamics AX – which I do by making the content through the blog post categories. I don’t have to do anything else –
Murray Fife © 2013. All rights reserved.
their content engine trolls my blog for new content and automatically syndicates my Dynamics AX blog posts. They automatically appear on their site, linked back to my personal blog.
How simple is that.
Turn Your Stories into a BookThe final step that you can take with your brand is to become an author. All of the hard work has already been done, and this becomes almost a no-brainer.
First you need to find a publisher that will take you under contract for a book. The hard part about writing a book is to describe the content of the book, and also write all of the content.
Starting from scratch is a daunting task, but if you have been creating content through blogs, stories, and storyboards, then almost all of the work has been done. It is just a matter of organizing the information into a set of chapters with the sections that will be covered. If the organization looks familiar, then there is a reason for that. All of the content up until this point has been designed to fit this mold.
Murray Fife © 2013. All rights reserved.
All you need to do is convert the Word copy that was created into the format that the publisher wants, and then send it in to them for editing.
SummaryWe all are learning new things every day that we may think that others know, but usually they don’t. So why not share it. Along the way, you may find that you become just a little famous.
Murray Fife © 2013. All rights reserved.
AboutMurray Fife
With over 18 years of ERP (Enterprise Resource Planning) Business Software experience, initially as a developer, then as an implementation consultant, and now as a technology consultant specializing in Microsoft Dynamics® AX solutions.
For the past 15 years Murray has been educating, training, presenting and demonstrating to C-Level executives on topics ranging from ERP software selection to business intelligence strategies.
EMAIL: [email protected]: +1 (404) 425-9616TWITTER: @murrayfifeBLOG: http://atinkerersnotebook.com/ SLIDESHARE: http://slideshare.net/murrayfife/presentationsLINKEDIN: http://www.linkedin.com/in/murrayfife
ORIGINAL:
© 2013 Murray Fife. All rights reserved.
The information herein is for informational purposes only and represents the current view of Murray Fife as of the date of this presentation. Because Murray Fife must respond to changing market conditions, it should not be interpreted to be a commitment on the part of Junction Solutions, and Murray Fife cannot guarantee the accuracy of any information provided after the date of this presentation.
MURRAY FIFE MAKES NO WARRANTIES, EXPRESS, IMPLIED OR STATUTORY, AS TO THE INFORMATION IN THIS PRESENTATION.
Murray Fife © 2013. All rights reserved.