Embed Size (px)
Citation preview
Linux For Embedded Systems For Arabs
Ahmed ElArabawy
Course 102: Understanding Linux
Lecture 26: FileSystems in Linux (Part 1)
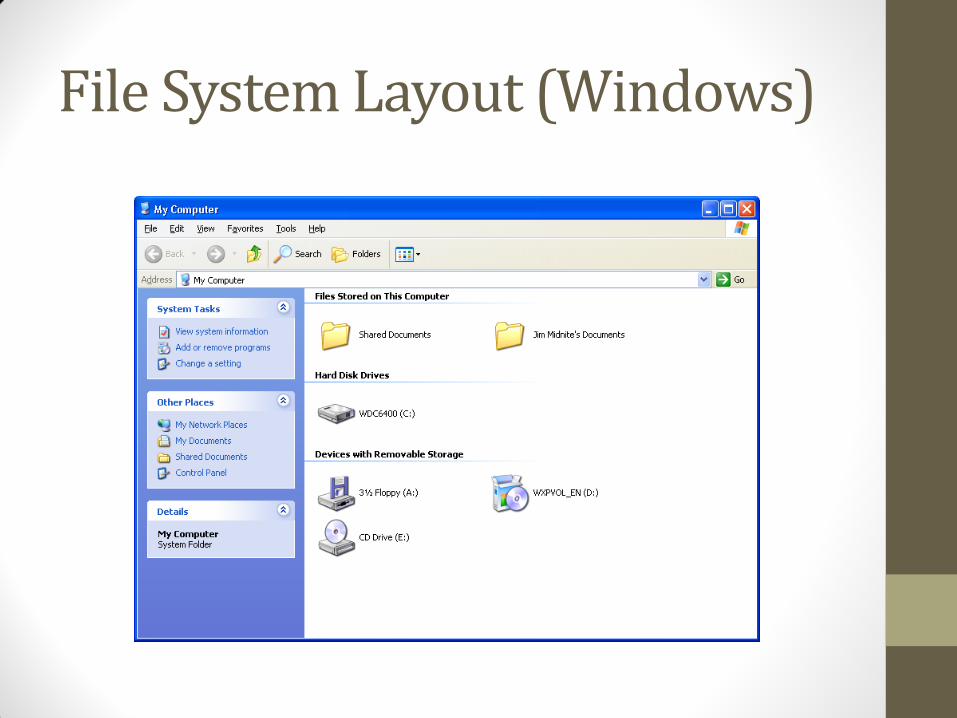
File System Layout (Windows)
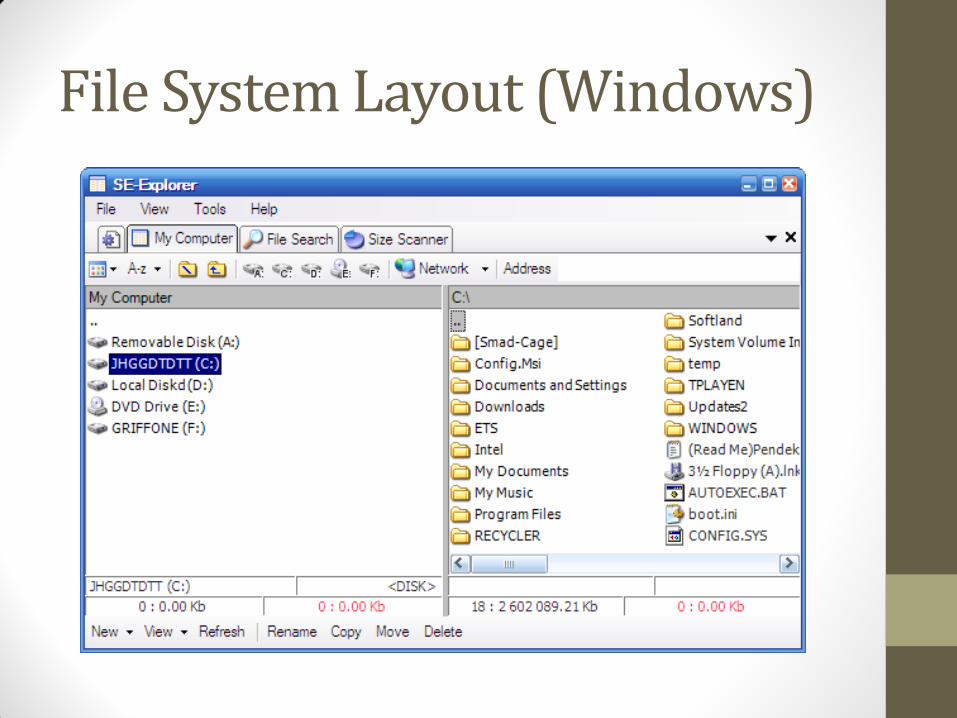
File System Layout (Windows)
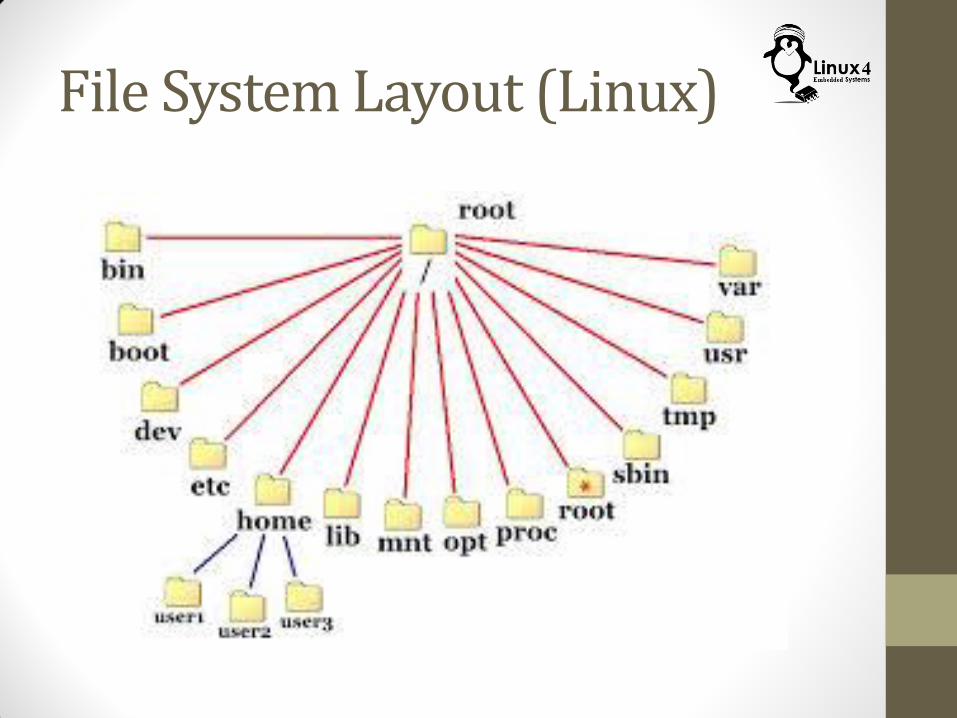
File System Layout (Linux)
Linux File Hierarchy A Review on Previous Knowledge • In Windows,
• Each partition of each storage device will have its own separate tree.. (C, D, E,…)
• Plugging a flash or a portable hard-disk results in a new tree
• Linux has a unified File Hierarchy
• This means that no matter how many storage devices we have, we will only have one file tree
• The file tree starts with the root (/)
• There is a standard on the high level of the structure of the File Hierarchy, this structure is mostly followed by most Linux Distributions
• This hierarchy may contain sub-trees from multiple storage devices of different natures • Hard Disk partitions
• Flash Drives
• CD/DVD Driver
• SD Card

So How Does Storage Happen…

Empty Storage Area
Partitioning
Build & Install File-Systems
Mount the Keys in the desired Place
Step 1: Get a Storage Device
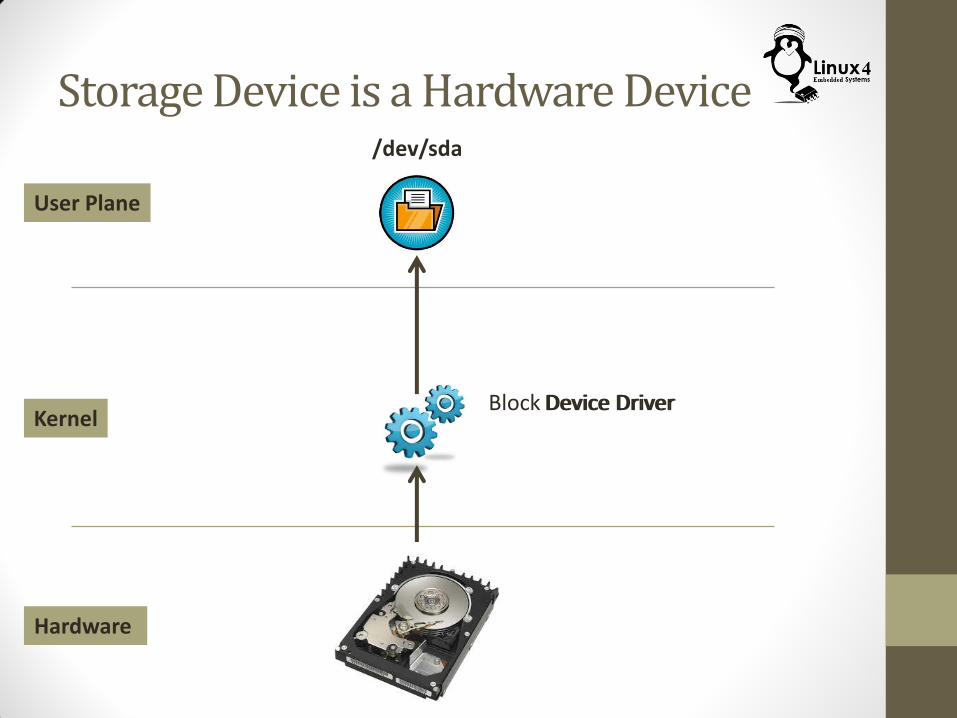
Storage Device is a Hardware Device
Hardware
Kernel
User Plane
/dev/sda
Device Driver Block Device Driver

Step 2: Partition the Storage Device
Manage Disk Partitions
• The Disk can then be segmented into one or more partitions • Each partition occupies physically a part of the disk storage area • Partitions are isolated from each other, and each one acts as if it is a
separate disk, and will have its own device file • Why do we need to have multiple partitions ?
• This enables us to have a different filesystem type in each partition which enable the following, • Some partitions will be read only, others will be writable • Some partitions will have the data compressed, others will have them
without compression • Some partitions will have their data encrypted, others will have their files
in clear text
• Isolation of data on different partitions, • Corruption of one partition does not affect other partitions • For example it is advised to have /var directory in a separate partition to
make sure that explosion of log file sizes and other spoolers does not affect the system operation
Partition Categories
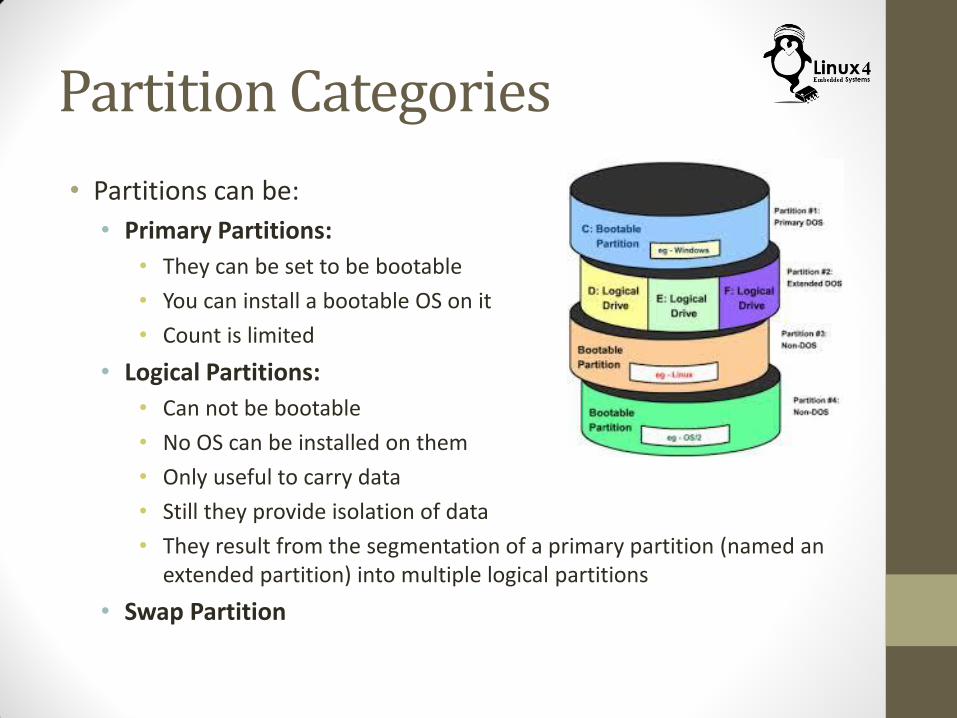
• Partitions can be:
• Primary Partitions:
• They can be set to be bootable
• You can install a bootable OS on it
• Count is limited
• Logical Partitions:
• Can not be bootable
• No OS can be installed on them
• Only useful to carry data
• Still they provide isolation of data
• They result from the segmentation of a primary partition (named an extended partition) into multiple logical partitions
• Swap Partition
SWAP Partition
• The SWAP partition is a partition that is only accessible by the system • The system use one or more swap partitions to extend its physical
memory • In case of high memory utilization, memory pages that is not accessed
frequently can be moved from the physical memory into the swap partition
• However, the access time for it is much higher than that of memory • User can not access this partition or put his own filesystem in it • It is recommended to have swap space double the amount of physical
memory in the system • An example on a system with 512 MB of RAM:
• 1st possibility: one swap partition of 1 GB • 2nd possibility: two swap partitions of 512 MB • 3rd possibility: with two hard disks: 1 partition of 512 MB on each disk. This
last option will give the best results when a lot of I/O is to be expected
• In general, using multiple swap partitions will speed up access time (specially if they are located at different physical storage devices)
Partition Table
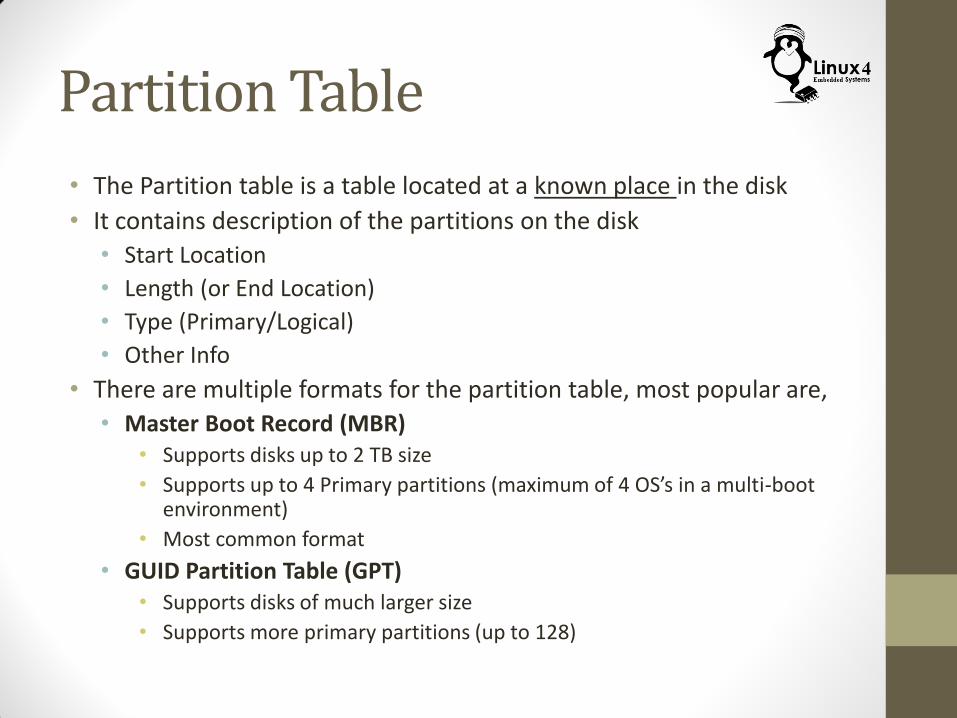
• The Partition table is a table located at a known place in the disk
• It contains description of the partitions on the disk
• Start Location
• Length (or End Location)
• Type (Primary/Logical)
• Other Info
• There are multiple formats for the partition table, most popular are,
• Master Boot Record (MBR) • Supports disks up to 2 TB size
• Supports up to 4 Primary partitions (maximum of 4 OS’s in a multi-boot environment)
• Most common format
• GUID Partition Table (GPT) • Supports disks of much larger size
• Supports more primary partitions (up to 128)

Partition Table Example (GPT)
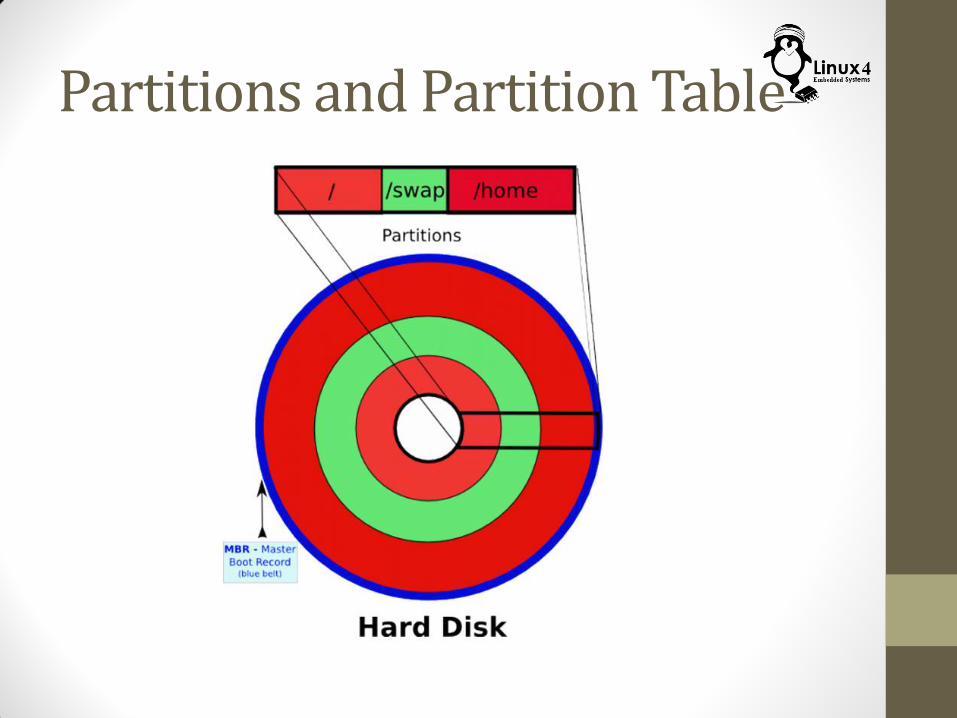
Partitions and Partition Table
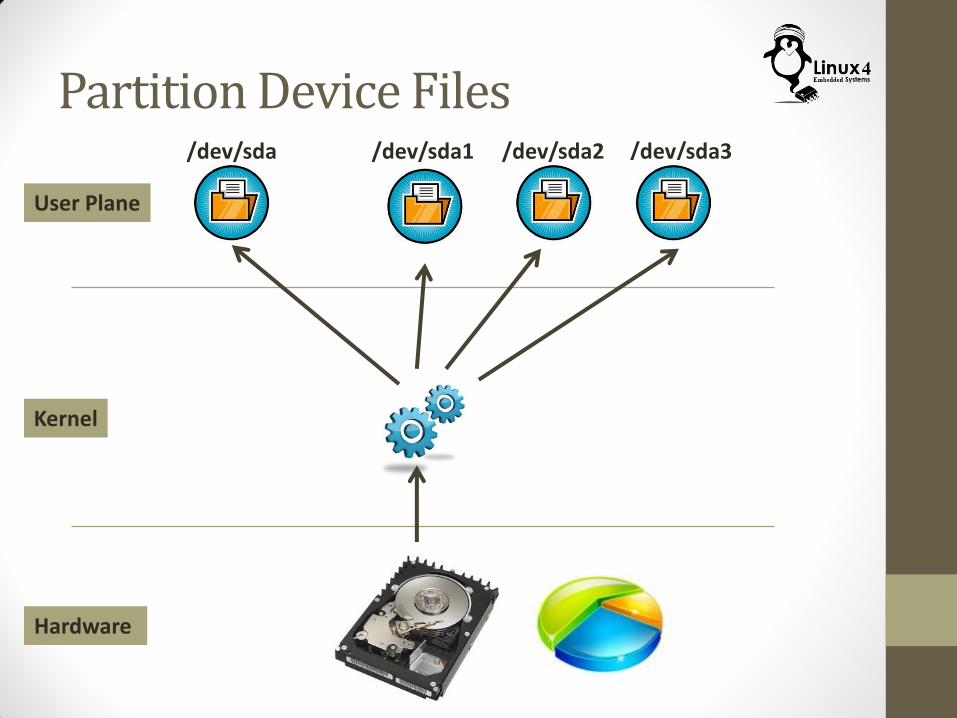
Partition Device Files
Hardware
Kernel
User Plane
/dev/sda /dev/sda1 /dev/sda2 /dev/sda3
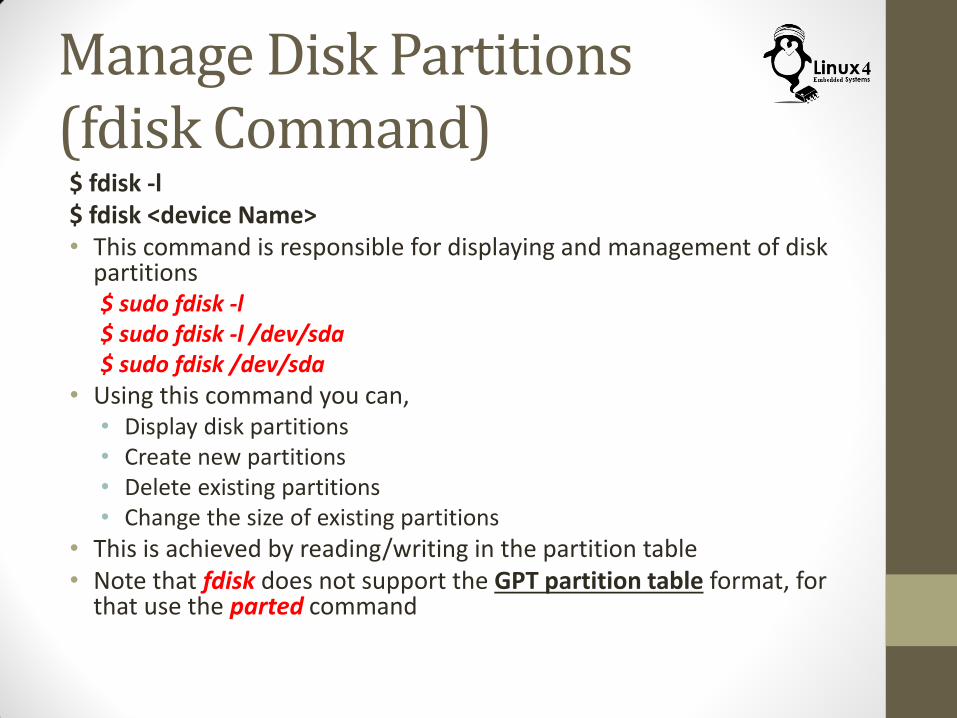
Manage Disk Partitions (fdisk Command) $ fdisk -l $ fdisk <device Name> • This command is responsible for displaying and management of disk
partitions $ sudo fdisk -l $ sudo fdisk -l /dev/sda $ sudo fdisk /dev/sda
• Using this command you can, • Display disk partitions • Create new partitions • Delete existing partitions • Change the size of existing partitions
• This is achieved by reading/writing in the partition table • Note that fdisk does not support the GPT partition table format, for
that use the parted command
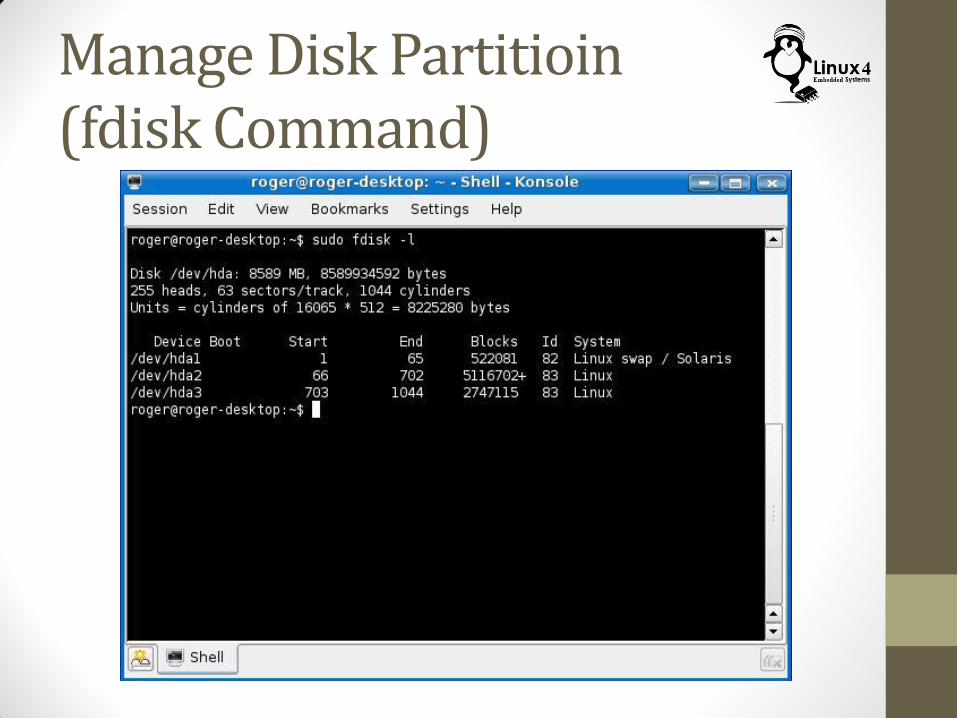
Manage Disk Partitioin (fdisk Command)
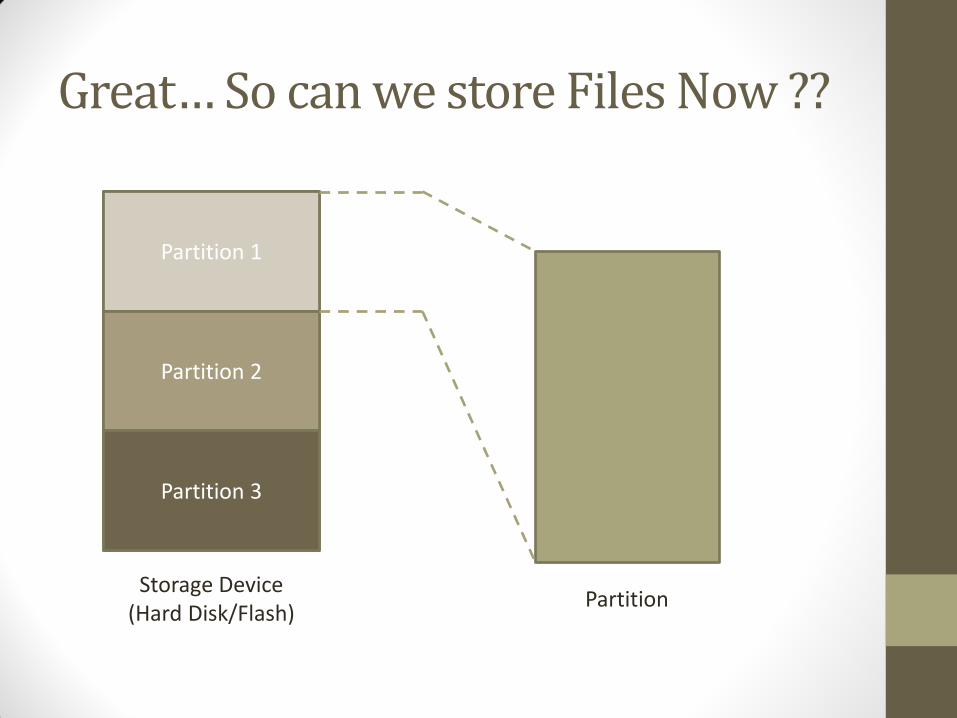
Great… So can we store Files Now ??
Storage Device (Hard Disk/Flash)
Partition 1
Partition 2
Partition 3
Partition
Step 3: Build & Install a File-System
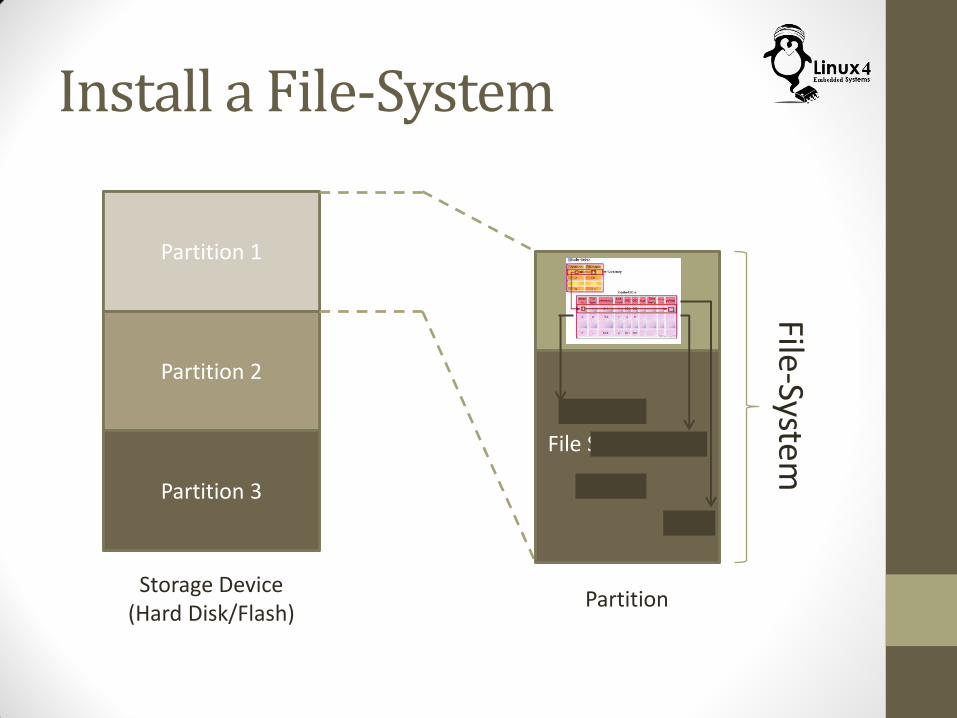
Install a File-System
Storage Device (Hard Disk/Flash)
Partition 1
Partition 2
Partition 3
Partition
File-System
File System Data
File System Meta-Data
File-System Types
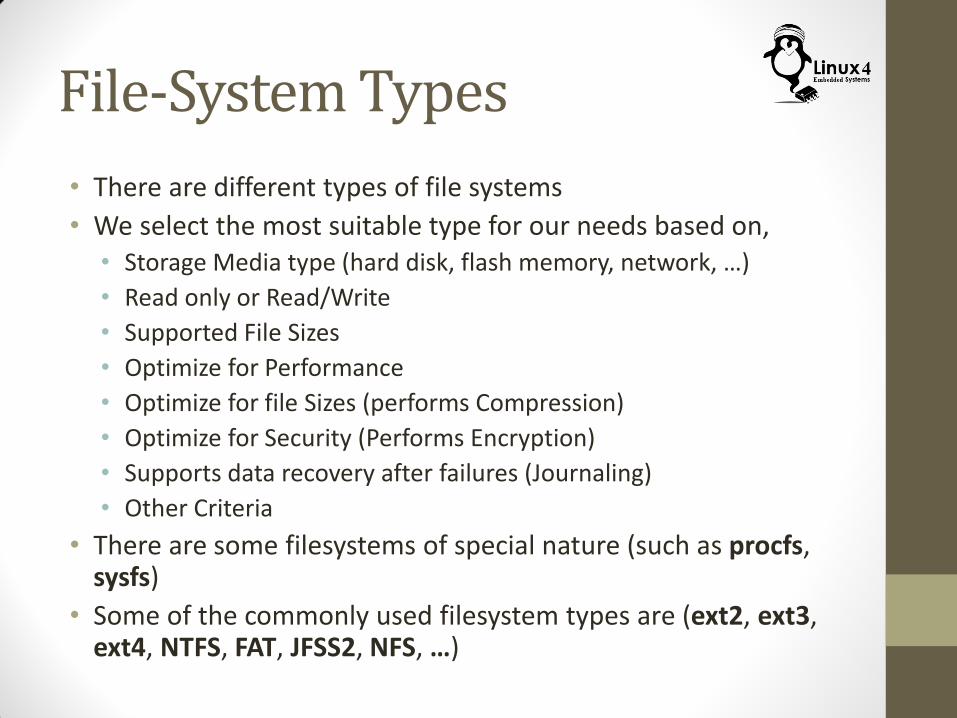
• There are different types of file systems
• We select the most suitable type for our needs based on, • Storage Media type (hard disk, flash memory, network, …)
• Read only or Read/Write
• Supported File Sizes
• Optimize for Performance
• Optimize for file Sizes (performs Compression)
• Optimize for Security (Performs Encryption)
• Supports data recovery after failures (Journaling)
• Other Criteria
• There are some filesystems of special nature (such as procfs, sysfs)
• Some of the commonly used filesystem types are (ext2, ext3, ext4, NTFS, FAT, JFSS2, NFS, …)
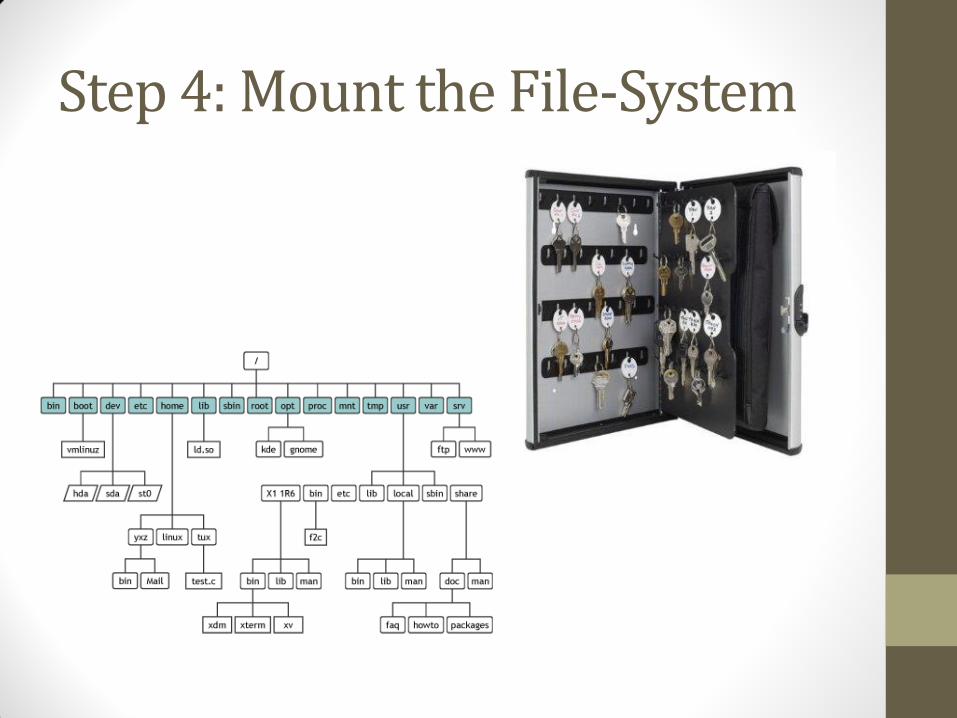
Step 4: Mount the File-System
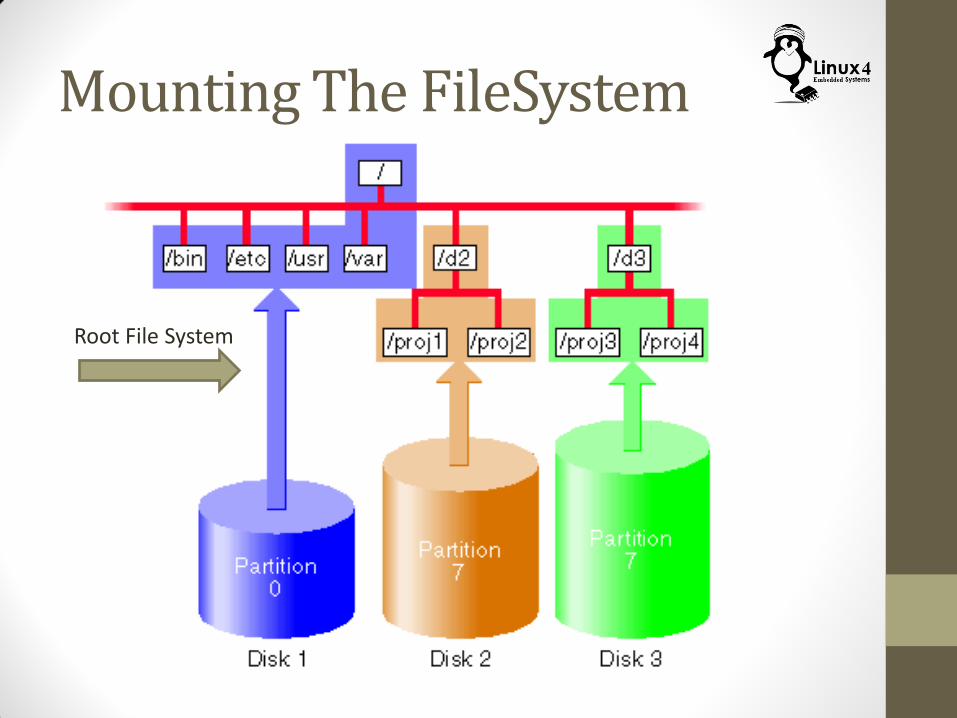
Mounting The FileSystem
Root File System
Root FileSystem
• The Root FileSystem is the filesystem that contains all the necessary files that is needed to start the system and make it operational
• It is mounted at startup of the kernel
• The mount point for the root filesystem is “/”
• This filesystem can not be un-mounted during operation
• Other Filesystems can be mounted and un-mounted after the root filesystem is mounted
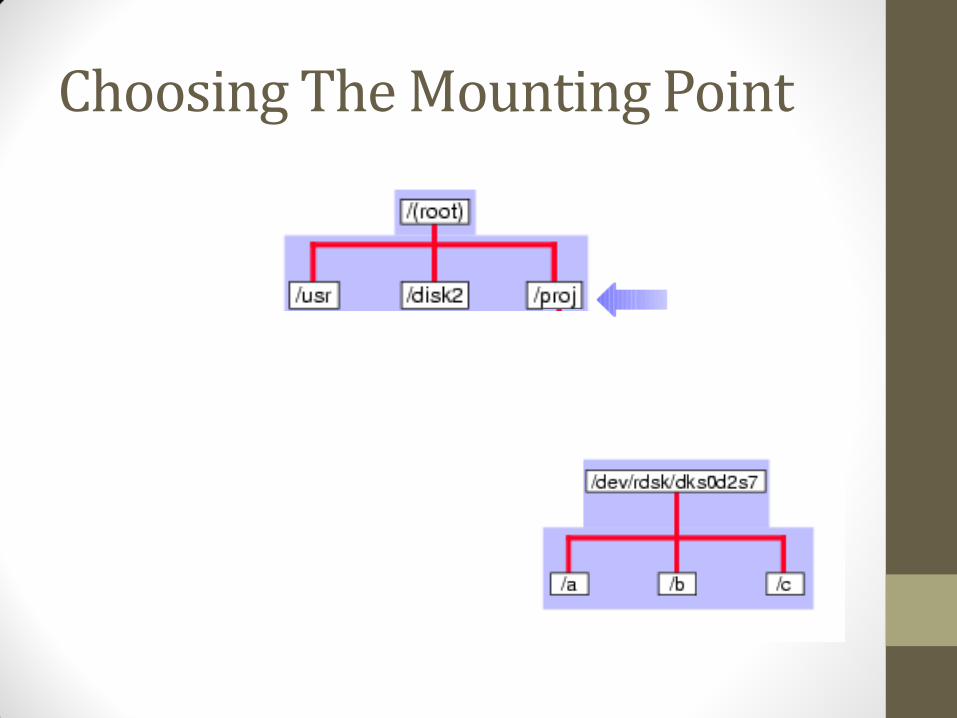
Choosing The Mounting Point
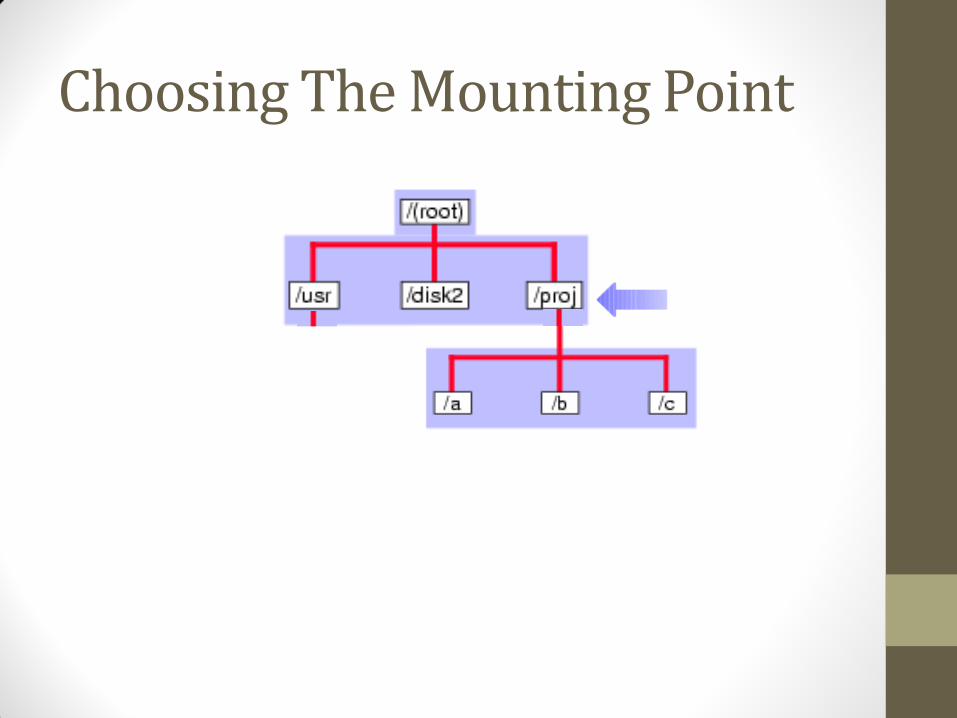
Choosing The Mounting Point
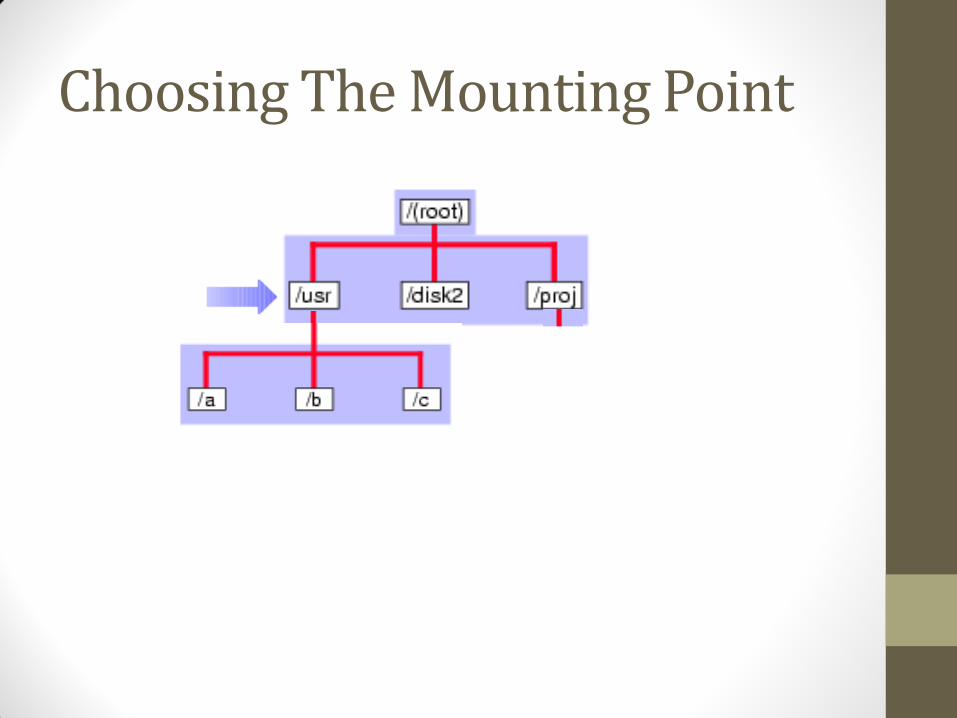
Choosing The Mounting Point
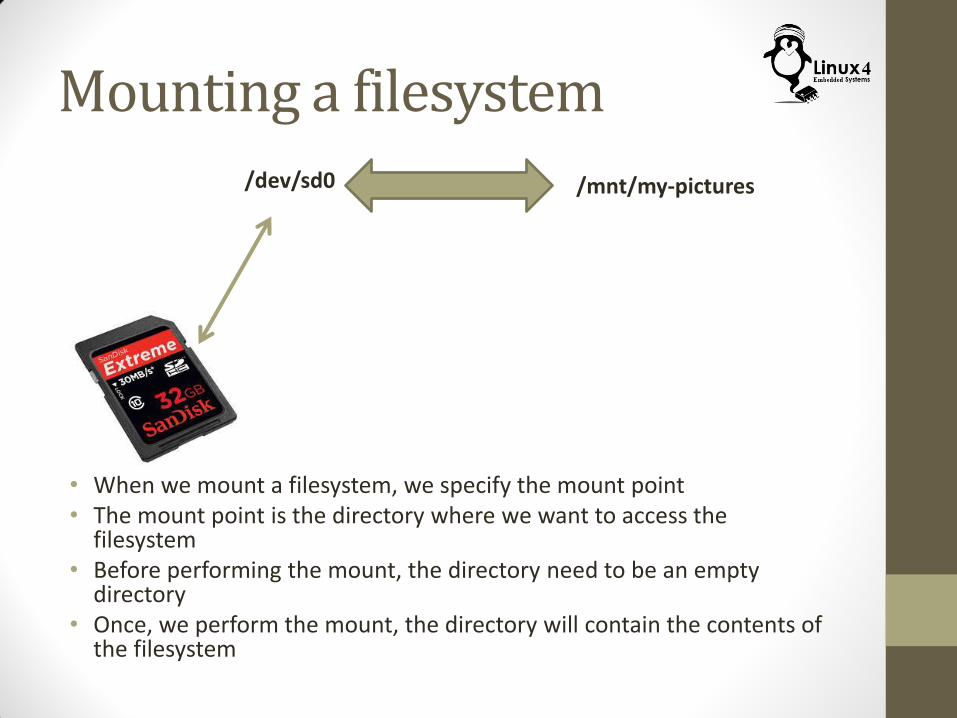
Mounting a filesystem
• When we mount a filesystem, we specify the mount point • The mount point is the directory where we want to access the
filesystem • Before performing the mount, the directory need to be an empty
directory • Once, we perform the mount, the directory will contain the contents of
the filesystem
/dev/sd0 /mnt/my-pictures
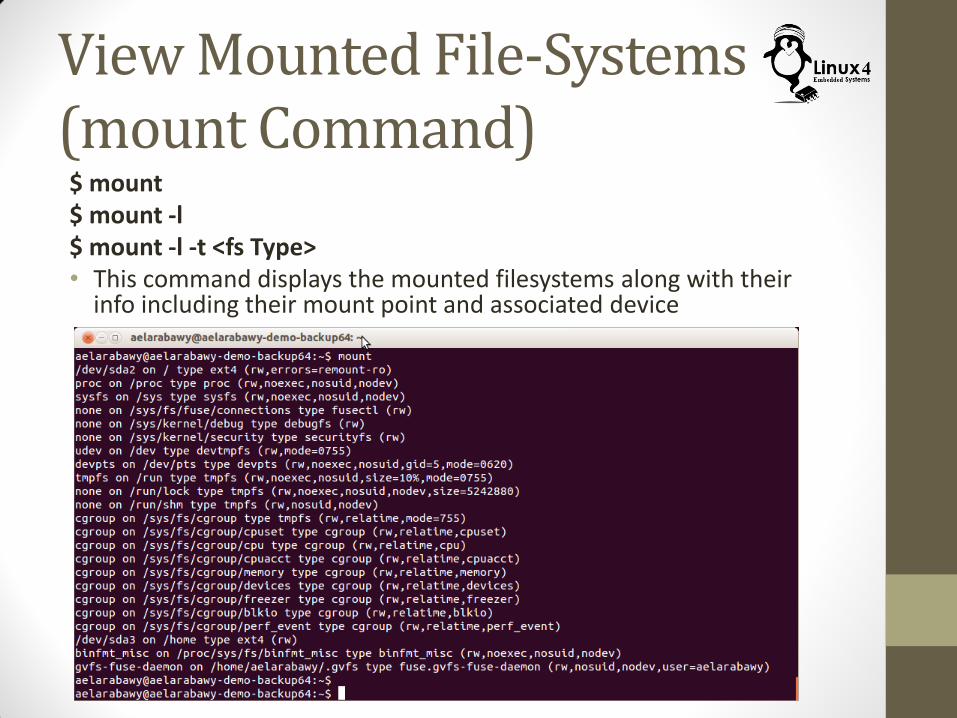
View Mounted File-Systems (mount Command) $ mount $ mount -l $ mount -l -t <fs Type> • This command displays the mounted filesystems along with their
info including their mount point and associated device
Mounting a File-Systems (mount Command) $ mount -t <fs Type> <device> <mount point>
• This command mounts the filesystem (of a certain type) for a certain block device file to a mounting point
• Examples:
$ sudo mount -t ext4 /dev/sda1 /home/aelarabawy/project/
$ sudo mount -t iso9660 -o ro /dev/sr0 /mnt

Mounting/Un-Mounting a filesystem
(umount Command) $ umount <device>
$ umount <mount point>
• This command unmounts the filesystem that was previously mounted. The filesystem can be identified by its,
• Associated device (example /dev/sd1)
• Associated mount point (example /mnt/SdCard)
/etc/fstab File
• The /etc/fstab file contains a list of filesystems along with their description
• Mount point
• Associated device
• Filesystem type
• This file can be utilized by the mount command,
• To mount a filesystem that is listed in /etc/fstab you don’t have to list all its info, it is enough to specify its device name or its mount point
$ sudo mount /dev/sd2
$ sudo mount /mnt/my-SD-Card
• The mount command will read the rest of the information from the /etc/fstab file
• To mount / unmount all filesystems listed in /etc/fstab
$ sudo mount -a
$ sudo umount -a