Embed Size (px)
Citation preview
Linux For Embedded Systems For Arabs
Ahmed ElArabawy
Course 102: Understanding Linux
Lecture 23: Searching for Files

Linux and Binary Files
$ ls
• When we issue a command, how does Linux find the binary to execute ?
• Linux uses the environment variable (PATH) which contains the list of directories to search
• Example:
PATH=/usr/bin:/bin:/usr/local/bin
• So can a user search for a binary file the same way Linux do ??
Searching for Binary Files (The which Command) $ which <binary file>
• If you are able to run a binary file and want to know where does this binary exist
$ which shutdown
• Note that this command searches for the binary using the $PATH environment variable
• This means if the $PATH does not have the folder of the binary, which will not be able to find it
• In other words, if you can not run the command, which will not be able to locate it

Simple Search (locate Command) $ locate <filename>
$ locate <part of the path or filename>
• The locate command searches for the required file based on a pre-prepared database of all files in the system along with their full path
• When performing a search using locate command, the database is searched for the passed string
• Hence, You can search based on any string, even if it is only a part of the file path
$ locate in/zi
This would result in,
/usr/bin/zip
/usr/bin/zipcloak
/usr/bin/zipsplit
Database for “locate”
• The database used by the locate command is created by the program updatedb
• This program runs in a cron job that periodically (such as once daily) updates the database
• Accordingly the database may have incorrect or incomplete info, • Newly created files may not be in the database for sometime
• Recently deleted files may still be in the database
• Recently moved files, may be in the database using its old location
• This means that these changes will be missed in the search
• If you want to update the index manually, $ sudo updatedb
Limitation of “locate” Command
• The locate command is a very useful command because:
• It is very simple
• You can search for a file based on its name, part of its name, part of its path, …etc
• It is very fast command (because it uses a pre-prepared database)
• However, it comes with some limitations,
• It can only search based on file name (or path name)
• It may not find new files
• It may result in wrong results since it does not use the current tree in its search (instead it uses an old snapshot of the tree)
• The locate command is useful for searching for system files or traditional Linux files but can not be used in a lot of other scenarios
A Smarter Search (find Command) • The find is a very rich command that can search on files using
different search filters, for example, • Search for a file based on its name
• Search for a file based on its size
• Search for a file based on its last modification date
• Search for a file based on its type (normal file, directory, symbolic link, ….)
• Search for a file based on other criteria
• A combination of all of those search criteria
• Limit the search scope to a certain directory (and its subdirectories)
• Skip Some subdirectories from the search scope
• This command also allows for performing an action on all the files that match the search criteria
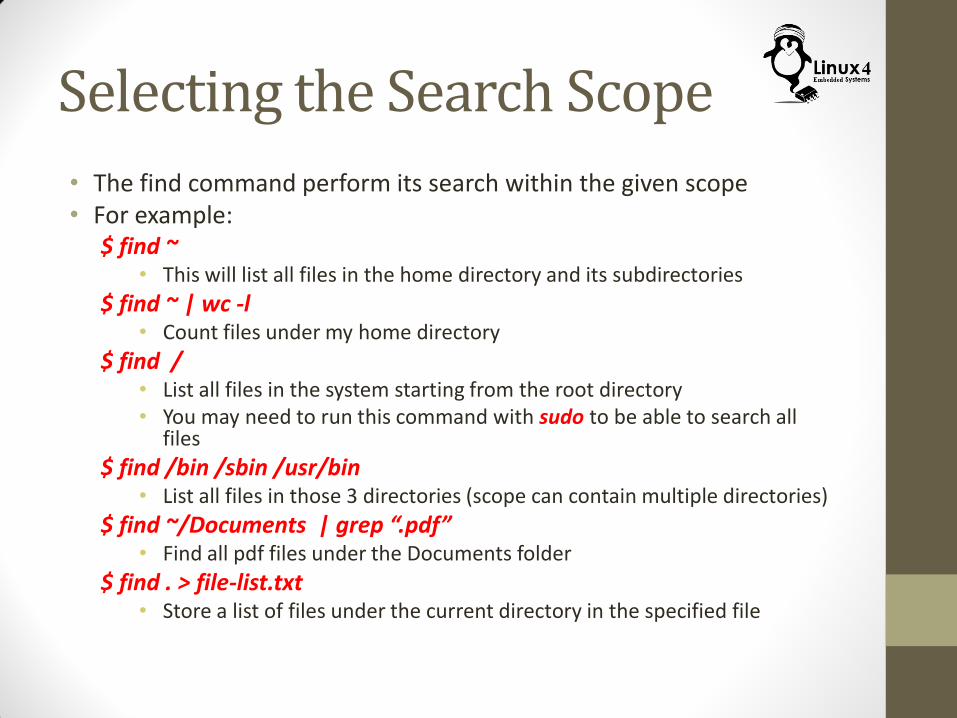
Selecting the Search Scope
• The find command perform its search within the given scope • For example:
$ find ~ • This will list all files in the home directory and its subdirectories
$ find ~ | wc -l • Count files under my home directory
$ find / • List all files in the system starting from the root directory • You may need to run this command with sudo to be able to search all
files
$ find /bin /sbin /usr/bin • List all files in those 3 directories (scope can contain multiple directories)
$ find ~/Documents | grep “.pdf” • Find all pdf files under the Documents folder
$ find . > file-list.txt • Store a list of files under the current directory in the specified file
Adding Filters to the Search
• So far, the find command finds all the files in the specified path, and lists them
• To limit the search to some files, we had to pipe the result to the grep command
• This gives a similar effect to the locate command (except that it is up to date)
• But we need more search options than searching by the filename or the path
• To do that, we need to add Search Filters to the find command
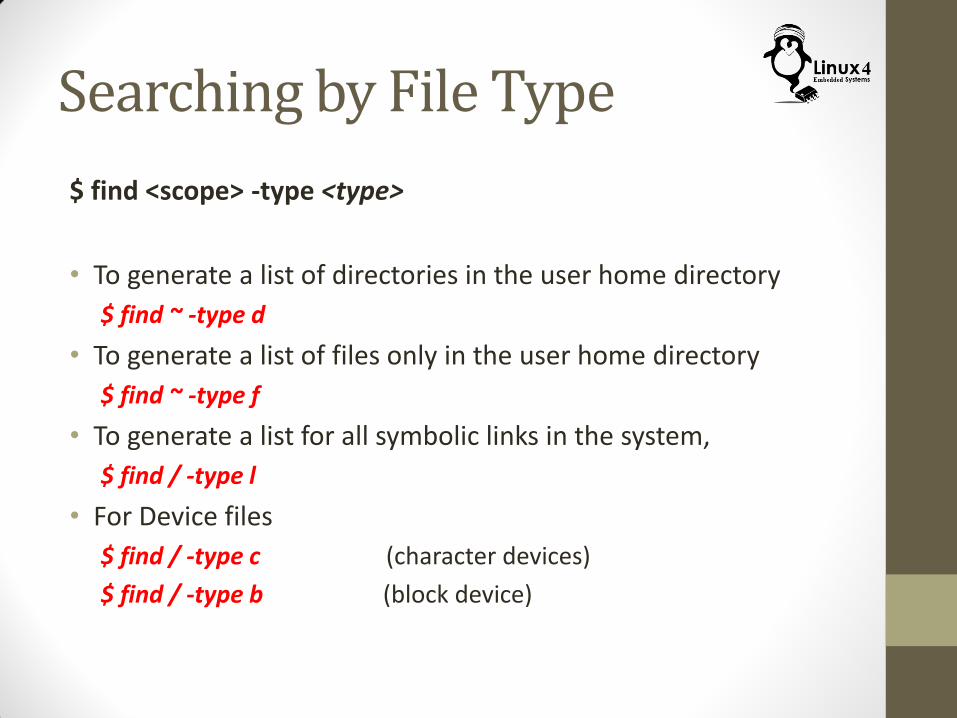
Searching by File Type
$ find <scope> -type <type>
• To generate a list of directories in the user home directory
$ find ~ -type d
• To generate a list of files only in the user home directory
$ find ~ -type f
• To generate a list for all symbolic links in the system,
$ find / -type l
• For Device files
$ find / -type c (character devices)
$ find / -type b (block device)

Searching by File Name
$ find <scope> -name <file name pattern>
$ find <scope> -iname <file name pattern>
• To search for a file by its name
$ find ~ -name my-file.txt
• You can use a pattern for the file name (or even a regular expression)
$ find ~ -name “*.xml”
$ find ~ -name \*\.xml
• For case insensitive search,
$ find / -iname “*.html”
$ find / -iname \*\.html
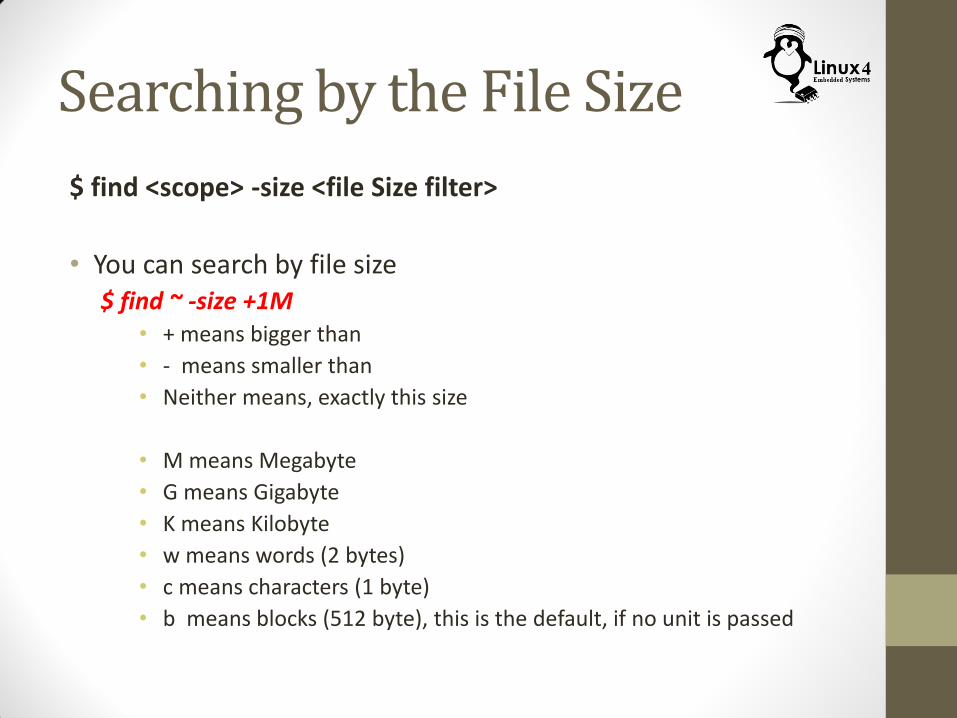
Searching by the File Size
$ find <scope> -size <file Size filter>
• You can search by file size $ find ~ -size +1M
• + means bigger than
• - means smaller than
• Neither means, exactly this size
• M means Megabyte
• G means Gigabyte
• K means Kilobyte
• w means words (2 bytes)
• c means characters (1 byte)
• b means blocks (512 byte), this is the default, if no unit is passed
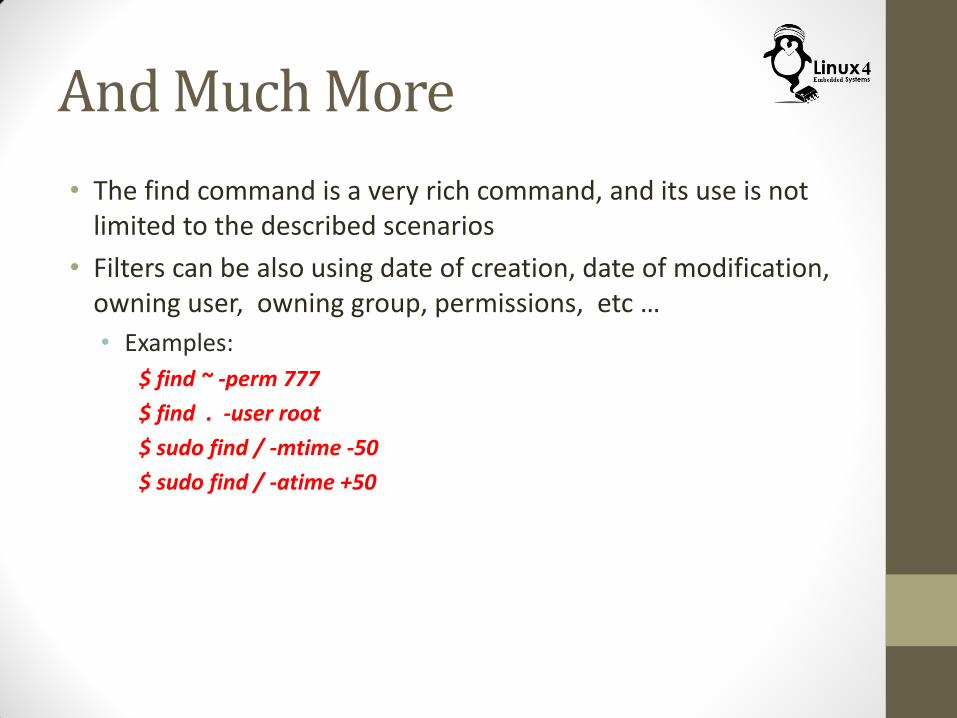
And Much More
• The find command is a very rich command, and its use is not limited to the described scenarios
• Filters can be also using date of creation, date of modification, owning user, owning group, permissions, etc …
• Examples:
$ find ~ -perm 777
$ find . -user root
$ sudo find / -mtime -50
$ sudo find / -atime +50
Mixing Search Criteria
• You can use multiple search filters to get a more sophisticated search criteria as follows,
• To have multiple conditions “ANDed” together, which means a match happens only if all the conditions are satisfied
• To have multiple conditions “ORed” together, which means a match happens if any of the conditions is satisfied
• You can have any of the conditions reversed
• You can have a more complicated search expressions using parentheses
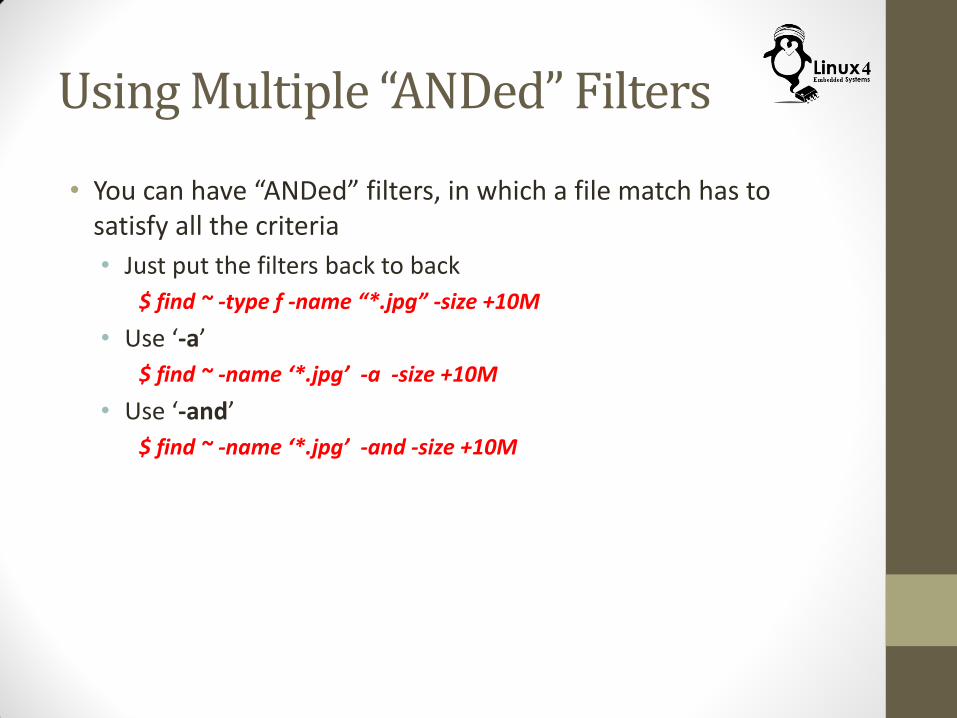
Using Multiple “ANDed” Filters
• You can have “ANDed” filters, in which a file match has to satisfy all the criteria
• Just put the filters back to back
$ find ~ -type f -name “*.jpg” -size +10M
• Use ‘-a’
$ find ~ -name ‘*.jpg’ -a -size +10M
• Use ‘-and’
$ find ~ -name ‘*.jpg’ -and -size +10M
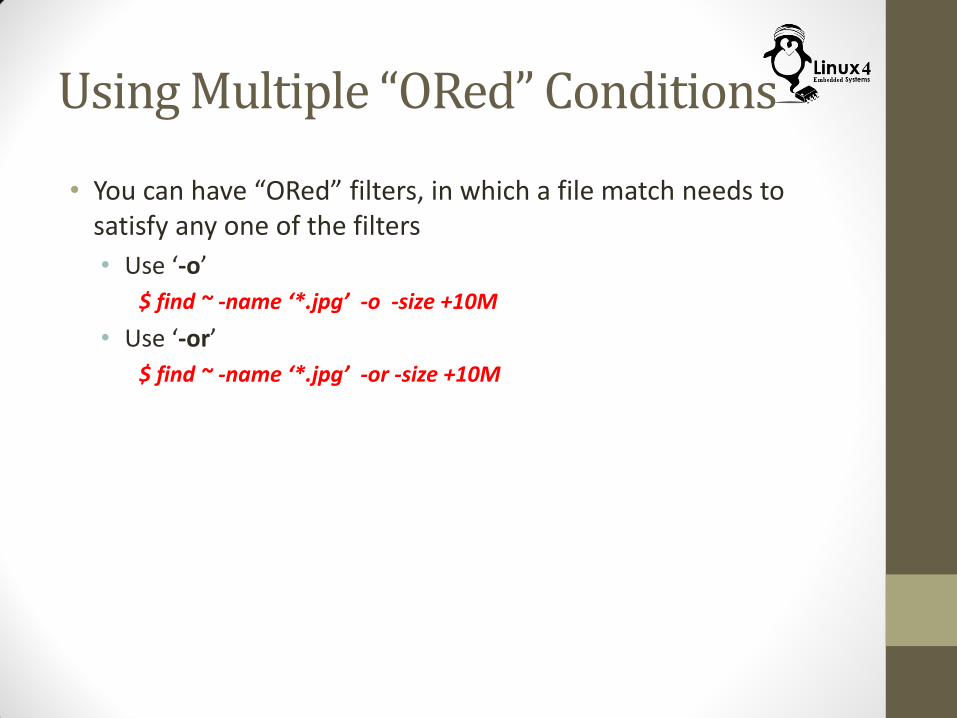
Using Multiple “ORed” Conditions
• You can have “ORed” filters, in which a file match needs to satisfy any one of the filters
• Use ‘-o’
$ find ~ -name ‘*.jpg’ -o -size +10M
• Use ‘-or’
$ find ~ -name ‘*.jpg’ -or -size +10M
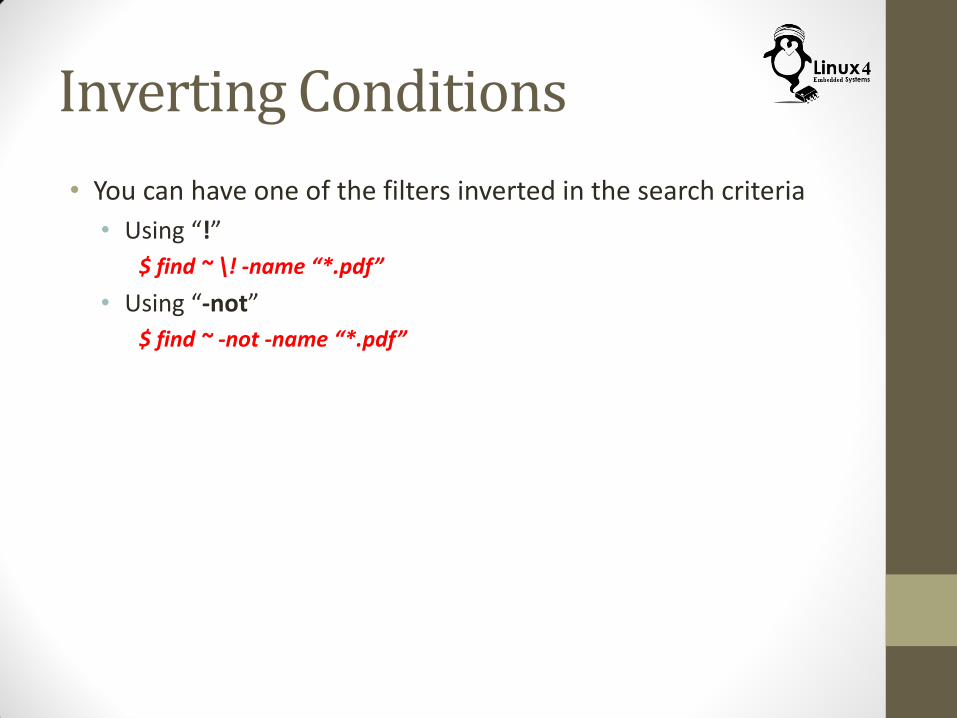
Inverting Conditions
• You can have one of the filters inverted in the search criteria
• Using “!”
$ find ~ \! -name “*.pdf”
• Using “-not”
$ find ~ -not -name “*.pdf”
Mix & Match
• You can mix and match any of the filters described so far to get a more sophisticated filter expression
• The use of parentheses “( )” becomes necessary as the expression gets more complicated
• Keep in mind that the parentheses need to be escaped
• Use \( expression \)
• Example:
$ find ~ \( -name tmp -o -name \*.txt \)
$ find ~ \( -name tmp -o \( -not -user root\) \)
Find & Perform Action
• The default action for the find command is to print the list of files matching the search criteria (file name with full path)
• However, you can set another action to apply on those files that meet the search criteria
• Print the names with path (Default action)
$ find ~ -type d -print
• Delete the files
$ find ~ -name “*.pdf” -delete
• Perform a detailed list of the files
$ find ~ -size +10M -ls
• Quit the search on the first match. This can be used if the purpose of the search is jut to find if any file meets this criteria
$ find ~ -size +100M -quit
Skipping Files (The -prune Action) • The find command performs its search recursively in all sub-
directories
• In case we need to skip some search results, we can use a search filter with the -prune action with the other search filters
• Example:
$ find ~ -type l -prune -o -name "*.txt" -print
$ find . -path ./misc -prune -o -name '*.txt' -print
$ find . -type d \( -path dir1 -o -path dir2 -o -path dir3 \) -prune -o -print
User Defined Actions (The -exec Action) • So far, we have worked with some defined actions for the find
command
• What if we want to do another thing with the outcome with our search?
• We will need to pass the outcome of the search as an argument to our command
• This can be achieved using the -exec option
• With this option, • The find command first gets the list of files that meet the search
criteria
• Then it will pass these files (one at a time) as an argument to the command
• The find command starts a child shell for each argument, and runs the command inside it
User Defined Actions (The -exec Action) • Example:
$ find ~ -name “*.BAK” -exec rm {} ‘;’
• Note, the use of {} and ; • The {} is a place holder of where to place the file name in the
command
• The ; is an indication to the end of the command
• The ; needs to be quoted or escaped to avoid interpretation by the shell
• Note that the {} can be used multiple times in the command,
$ find ~ -name “*.java” -exec cp {} {}.old \;
Prompting the User (The –ok Action) • The -exec action performs the specified command on the list
of files resulting from the search performed by the find command
• However, this all happen without user intervention
• Any mistake in setting the search filters may result in actions on the wrong set of files
• One way to mitigate that is to try first with the -print or -ls action to verify the outcome of the search, then apply the command with the other more dangerous command
• Another way, is to ask the find command to prompt the user for a yes/no answer before the action is performed on any of the files
• This is done via using -ok instead of the -exec action $ find ~ -name “*.java” -ok mv {} {}.old ‘;’
Speeding up Execution
• The find command may result in a long list of files
• The way we discussed -exec and -ok actions result in running the command on each entry separately
• Each time the command is executed on one of the files resulted from the search, a child shell is started, and the command is executed inside it
• This may result in a lot of processing
• Some Commands accept multiple arguments, so, it will be much more efficient to pass all the search outcome to the command and run it only one time instead of running the command for each search resulted file
• This can be achieved by replacing the ; with a + $ find ~ -name “*.java” -exec rm {} ‘+’ (note that quoting + is optional)
Working with Regular Expressions (The -regex and --regex Options) $ find <scope> -regex <Regular Expression>
$ find <scope> -regextype posix-egrep <Extended Regular Expression>
$ locate -r <Regular Expression>
$ locate --regex <Extended Regular Expression>
• Both the locate and find commands can work with regular expressions
• For the find Command,
$ find ~ -regex ‘.*[^-_./0-9a-zA-Z].*’
• For the locate Command,
$ locate --regex ‘bin.(bz|gz|zip)’