Embed Size (px)
Citation preview


Whilst constructing my contentspage, I only came across a fewerrors and issues. Thus, here arethe steps used to complete mycontents page (included is thephoto manipulation steps forimages added to the my finalcontents page):

Step #1:
I created this background by simply cropping out the edges of a scanned A4 piece of lined paper, this gives a nice effect connoting the organization of the contents page.
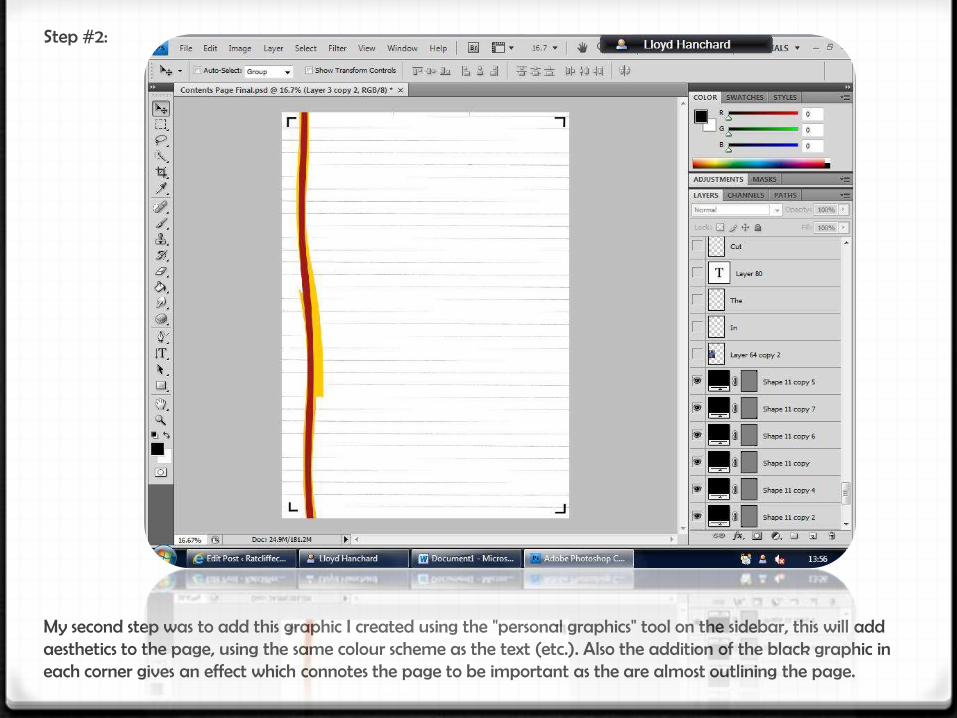
Step #2:
My second step was to add this graphic I created using the "personal graphics" tool on the sidebar, this will add aesthetics to the page, using the same colour scheme as the text (etc.). Also the addition of the black graphic in each corner gives an effect which connotes the page to be important as the are almost outlining the page.

Step #3:
In this step I show the addition of the title of the contents page, "In The Cut" gives a good connotation that the featured articles on the page have made it into "the final edition" or "final cut". Also I used the "paintbucket" tool to bold out the text, giving a better boldness and appearance of the title (this tool was used in bolding multiple texts throughout the page)...

Step #4:
In this step, I incorporated the addition of a subheading under the text "in the cut". I added the "contents page" text in between the title to ensure that the reader knows that this page is infact the contents page.

Step #5:
Within this step, I added the link to the "Base-Chase" magazine website (also with the addition of the contents page "in the cut" to the end of the website. However I also added an advertisement for twitter using a constructed twitter logo, this advertises the magazine over a website, creating more publicity for the magazine.

Step #6:
In this step I added some graphics using the "rectangle" tool, therefore not only creating a border for the edge of the page, however I will also use the border to surround the edges of one of the images I will place onto the page (left side).
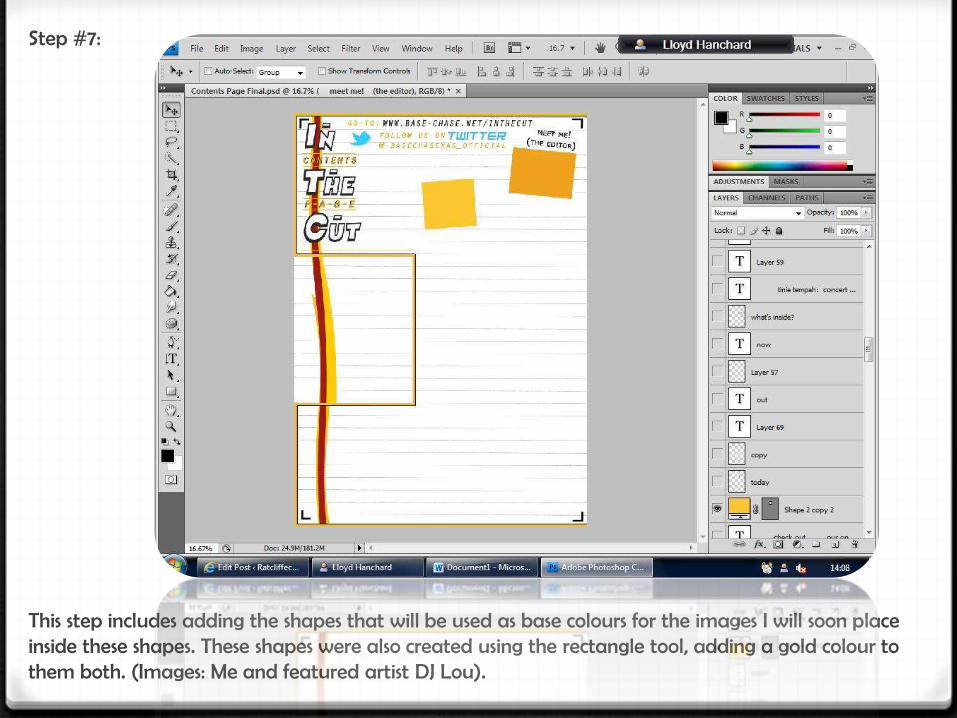
Step #7:
This step includes adding the shapes that will be used as base colours for the images I will soon place inside these shapes. These shapes were also created using the rectangle tool, adding a gold colour to them both. (Images: Me and featured artist DJ Lou).

Step #8:
In this step, this shows the addition of the cover lines representing not only the album that will be featured on the contents page, however they will also surround the image of me, featuring a special article "meet the editor".

Step #9:
After adding those cover lines, I began to add the main contents articles that will be featured in the magazine, and also the title for these articles "what's inside?". The variation in black and gold was used to create a contrast between font colour, bringing the variation in articles forward, and also creating aesthetic appearance for the contents page itself.

Step #10:
In this step, I added all images; including the image of myself (editor), two images of DJ Lou, and one image representing the featured album cover of GRAM "In Good Time", the two images of myself and the album cover were left unedited as the two images of DJ Lou are of the appropriate size to be manipulated.
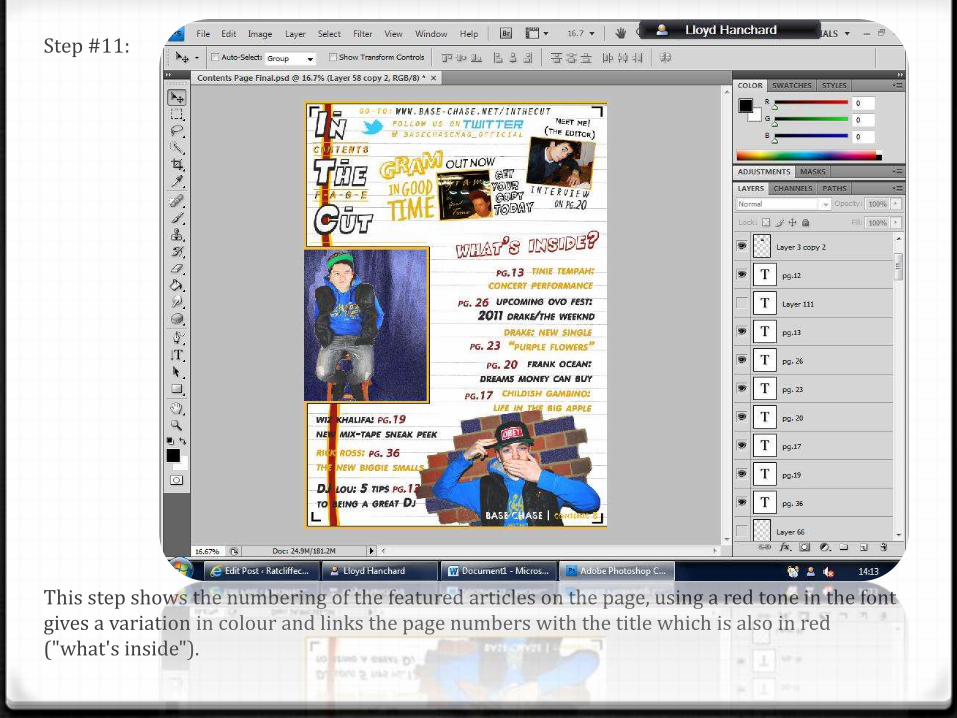
Step #11:
This step shows the numbering of the featured articles on the page, using a red tone in the font gives a variation in colour and links the page numbers with the title which is also in red ("what's inside").

Step #12:
After adding the line "exclusive" along the side of the image of DJ Lou, and the complementary lines around both the contents page heading, "what's inside" and also around all featured articles this leaves me with my final contents page (shown below/full-size):

Final
Contents
Page