Embed Size (px)
Citation preview

Developers

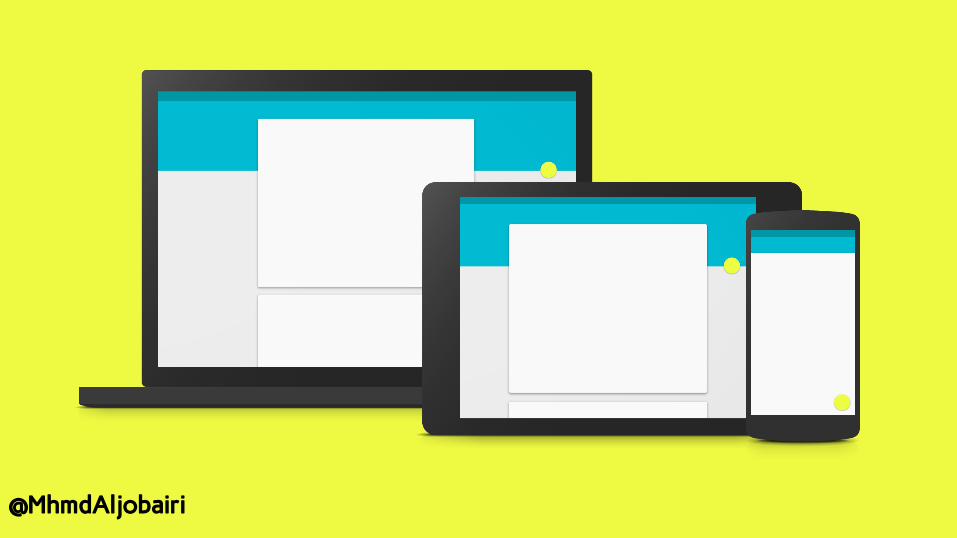
AMMxDROID Material Design & Implementation
@MhmdAljobairi

Mohammad AljobairiWorks at PcNetSoft
Android01.MESenior Android DeveloperGoogle Developer Group LeaderAmman Droid Lab Founder
@MhmdAljobairi
@MhmdAljobairi
@MhmdAljobairi

RecyclerView
The RecyclerView widget is a more advanced and flexible version of ListView. This widget is a container for displaying large data sets that can be scrolled very efficiently by maintaining a limited number of views. Use the RecyclerView widget when you have data collections whose elements change at runtime based on user action or network events.
@MhmdAljobairi

<!-- A RecyclerView with some commonly used
attributes -->
<android.support.v7.widget.RecyclerView
android:id="@+id/my_recycler_view"
android:scrollbars="vertical"
android:layout_width="match_parent"
android:layout_height="match_parent"/>
@Override
protected void onCreate(Bundle savedInstanceState) {
super.onCreate(savedInstanceState);
setContentView(R.layout.my_activity);
RecyclerView mRecyclerView = (RecyclerView) findViewById(R.id.my_recycler_view);
// use this setting to improve performance if you know that changes
// in content do not change the layout size of the RecyclerView
mRecyclerView.setHasFixedSize(true);
// use a linear layout manager
RecyclerView.LayoutManager mLayoutManager = new LinearLayoutManager(this);
mRecyclerView.setLayoutManager(mLayoutManager);
// specify an adapter (see also next example)
RecyclerView.Adapter mAdapter = new MyAdapter(myDataset);
mRecyclerView.setAdapter(mAdapter);
}@MhmdAljobairi

Cards
Usage
● Cards are a convenient means of displaying content composed of different types of objects
● A card collection is a coplanar layout of cards.● Each of these cards contains a unique data set● a checklist with an action, a note with an action, a
note with a photo.
@MhmdAljobairi

<LinearLayout xmlns:android="http://schemas.android.com/apk/res/android"
xmlns:tools="http://schemas.android.com/tools"
xmlns:card_view="http://schemas.android.com/apk/res-auto"
... >
<android.support.v7.widget.CardView
xmlns:card_view="http://schemas.android.com/apk/res-auto"
android:id="@+id/card_view"
android:layout_gravity="center"
android:layout_width="200dp"
android:layout_height="200dp"
card_view:cardCornerRadius="4dp">
<TextView
android:id="@+id/info_text"
android:layout_width="match_parent"
android:layout_height="match_parent" />
</android.support.v7.widget.CardView>
</LinearLayout>

Z valueThe Z value for a view has two components, elevation and translation. The elevation is the static component, and the translation is used for animations:
Z = elevation + translationZTo set the elevation of a view:
● In a layout definition, use the android:elevation attribute.● In the code of an activity, use the View.setElevation method.
@MhmdAljobairi

Consider this view, defined with a background drawable:
<TextView
android:id="@+id/myview"
...
android:elevation="2dp"
android:background="@drawable/myrect" />
The background drawable is defined as a rectangle with rounded corners:<!-- res/drawable/myrect.xml -->
<shape xmlns:android="http://schemas.android.com/apk/res/android"
android:shape="rectangle">
<solid android:color="#42000000" />
<corners android:radius="5dp" />
</shape>
@MhmdAljobairi

Theme.MaterialAPI v21 and above
@MhmdAljobairi
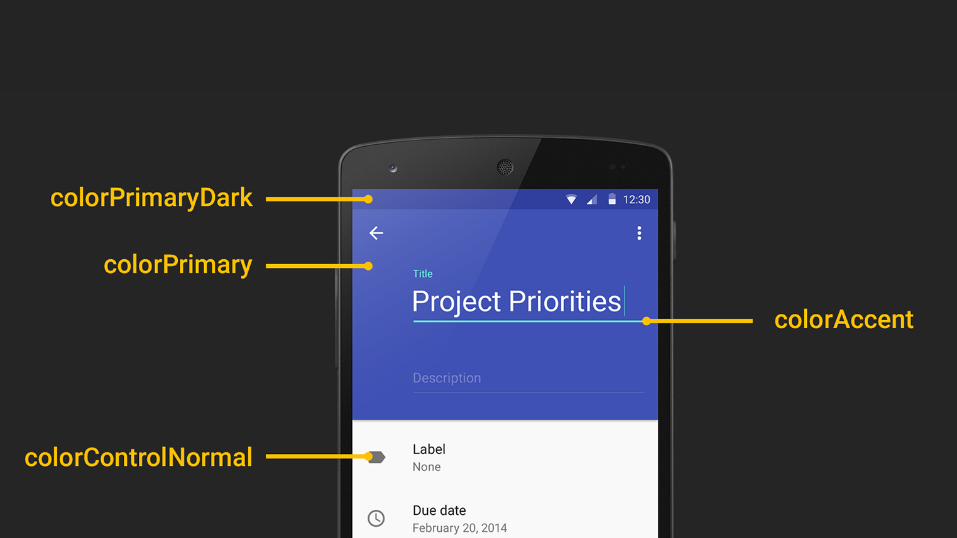

Theme.MaterialAPI v21 and above
<resources> <!-- inherit from the material theme --> <style name="AppTheme" parent="android:Theme.Material.Light.DarkActionBar"> <item name="android:colorPrimary">@color/primary</item> <item name="android:colorPrimaryDark">@color/primary_dark</item> <item name="android:colorAccent">@color/accent</item> </style></resources>
@MhmdAljobairi

dependencies {
compile "com.android.support:appcompat-v7:21.0.+"
}

Theme.AppCompatAPI v7 and above
<resources> <!-- inherit from the material theme --> <style name="AppTheme" parent="Theme.AppCompat.Light.DarkActionBar"> <item name="colorPrimary">@color/primary</item> <item name="colorPrimaryDark">@color/primary_dark</item> <item name="colorAccent">@color/accent</item> </style></resources>
@MhmdAljobairi

<style name="AppTheme" parent="android:Theme.Material.Light.DarkActionBar">
<item name="android:windowContentTranstions">true</item>
</style>
For your activity
requestWindowFeature(Window.FEATURE_CONTENT_TRANSITIONS);
@MhmdAljobairi

<ImageView
...
android:transitionName="@string/transiton_album_cover"/>
@MhmdAljobairi

@MhmdAljobairi


Setupdependencies {
...
compile "com.android.support:appcompat-v7:21.0.+"
}

<android.support.v7.widget.Toolbar
android:layout_height="wrap_content"
android:layout_width="match_parent"
android:minHeight="?attr/actionBarSize"
app:theme="@style/ThemeOverlay.AppCompat.ActionBar" />
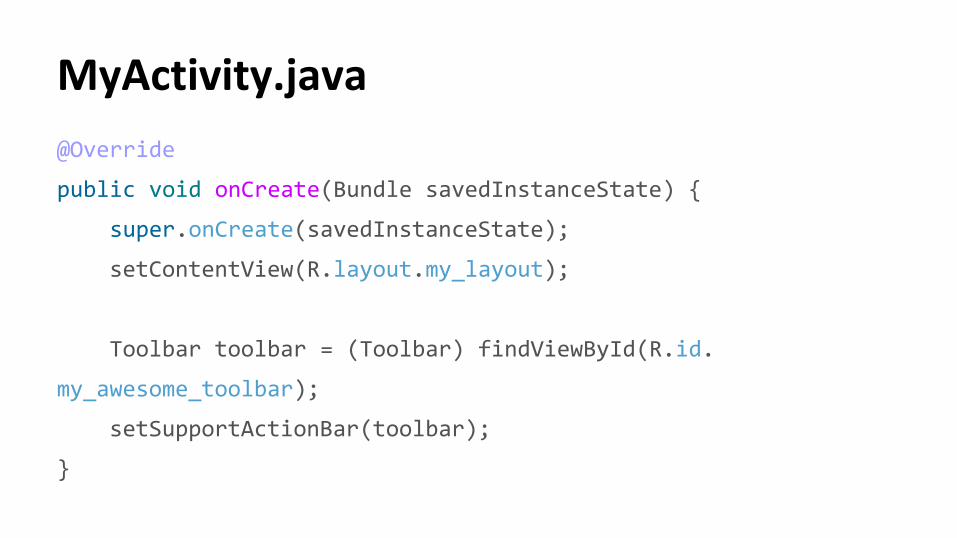
@Override
public void onCreate(Bundle savedInstanceState) {
super.onCreate(savedInstanceState);
setContentView(R.layout.my_layout);
Toolbar toolbar = (Toolbar) findViewById(R.id.
my_awesome_toolbar);
setSupportActionBar(toolbar);
}

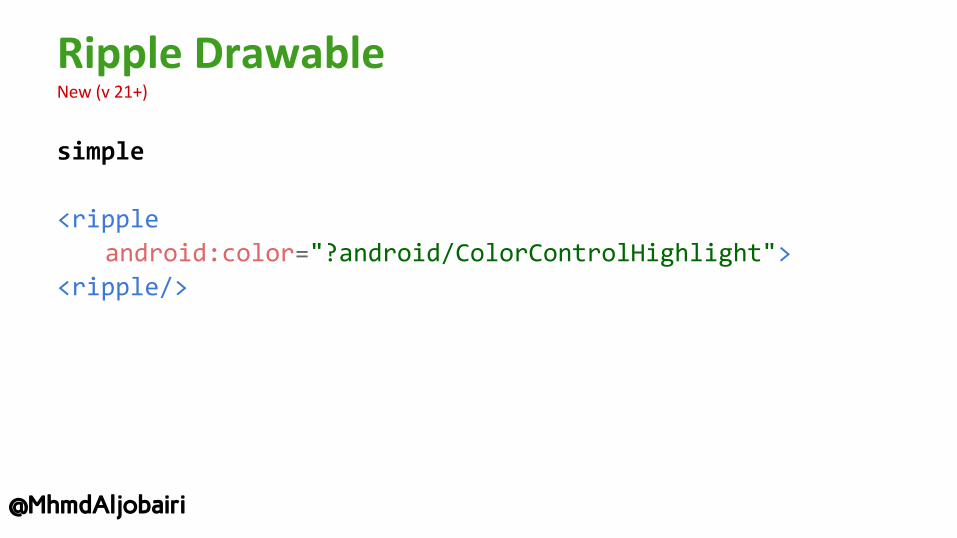
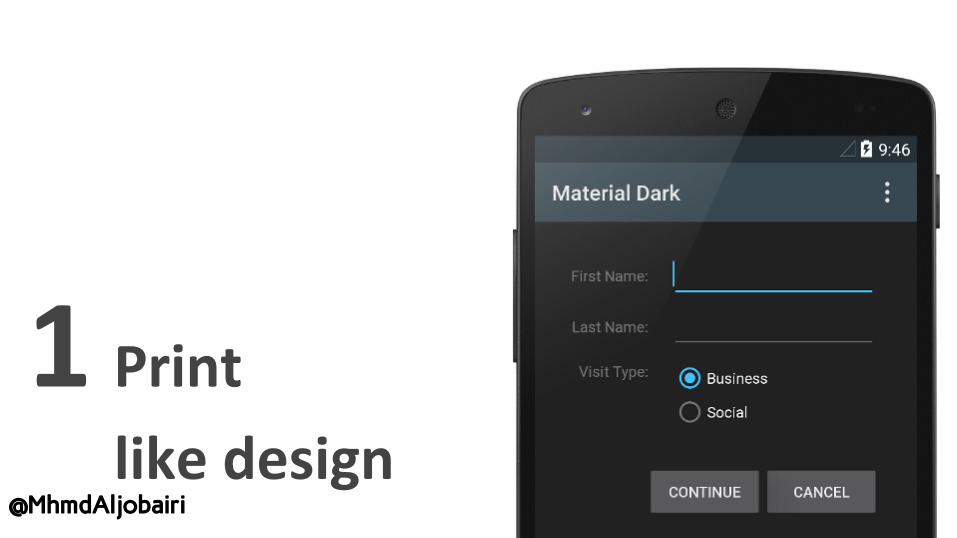
simple
<ripple android:color="?android/ColorControlHighlight">
<ripple/>
@MhmdAljobairi

Bound to another drawable
<ripple android:color="?android/ColorControlHighlight"> <item <shape android:shape="rectangle"> <solid android:color=""?android:colorAccent" /> <shape/> <item/> <ripple/>
@MhmdAljobairi

Bound to invisible mask
<ripple android:color="#ffff0000"> <item android:id="@android:id/mask" <shape android:shape="rectangle"> <solid android:color="@android:color/white" /> <shape/> <item/> <ripple/>
@MhmdAljobairi

View myView = findViewById(R.id.my_view);
// get the center for the clipping circle
int cx = (myView.getLeft() + myView.getRight()) / 2;
int cy = (myView.getTop() + myView.getBottom()) / 2;
// get the final radius for the clipping circle
int finalRadius = Math.max(myView.getWidth(), myView.getHeight());
// create the animator for this view (the start radius is zero)
Animator anim =
ViewAnimationUtils.createCircularReveal(myView, cx, cy, 0, finalRadius);
myView.setVisibility(View.VISIBLE);
anim.start();


●●●●●●●
●●●
@MhmdAljobairi

Mohammad AljobairiAndroid01.ME@MhmdAljobairi
Thanks You !