Embed Size (px)
Citation preview
Get Started with IBM Digital Workplace Hub
Create your first XCC Landing Pages
2
Introduction
Add Your First Widget
Configure Your Widget
Add More Widgets
Apply Your Corporate Identity
Next Steps
Table of Content
3
Introduction
44
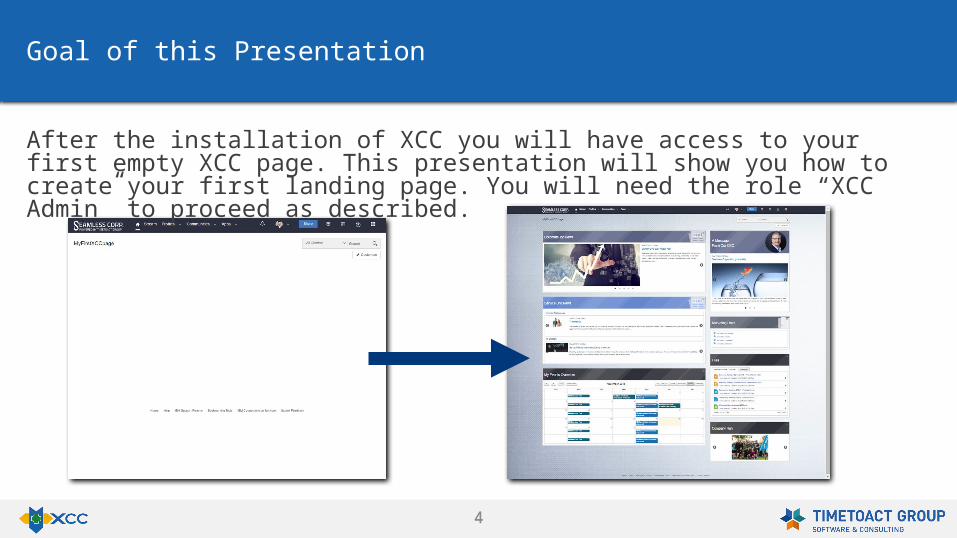
Goal of this Presentation
After the installation of XCC you will have access to your first empty XCC page. This presentation will show you how to create your first landing page. You will need the role “XCC Admin” to proceed as described.
5
This presentation will reference documents for further study. These documents are also part of your installation package.
Full XCC user documentation on how to use XCC and its features (http://www.slideshare.net/timetoact/xcc-120-documentation)
Technical documentation on installing and configuring XCC (http://www.slideshare.net/timetoact/technical-users-guide-for-xcc-12)
Documents for Further Study
6
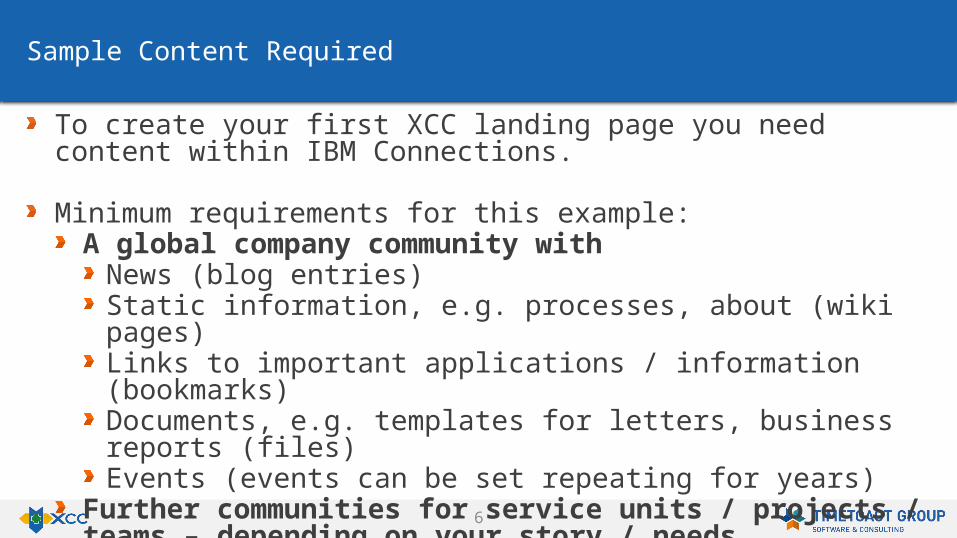
To create your first XCC landing page you need content within IBM Connections.
Minimum requirements for this example: A global company community with
News (blog entries) Static information, e.g. processes, about (wiki pages)Links to important applications / information (bookmarks)Documents, e.g. templates for letters, business reports (files)Events (events can be set repeating for years)
Further communities for service units / projects / teams – depending on your story / needs
Sample Content Required
7
Add Your First Widget
88
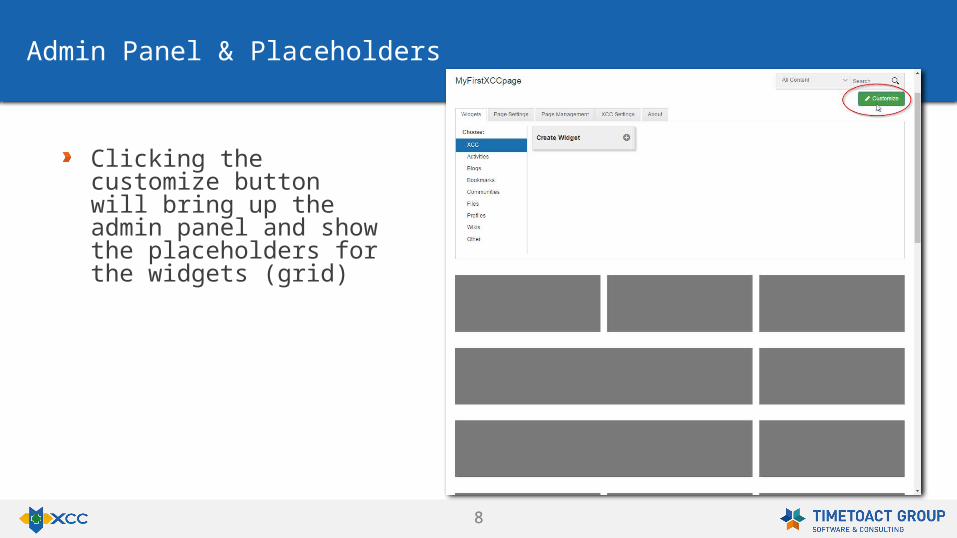
Admin Panel & Placeholders
Clicking the customize button will bring up the admin panel and show the placeholders for the widgets (grid)
99
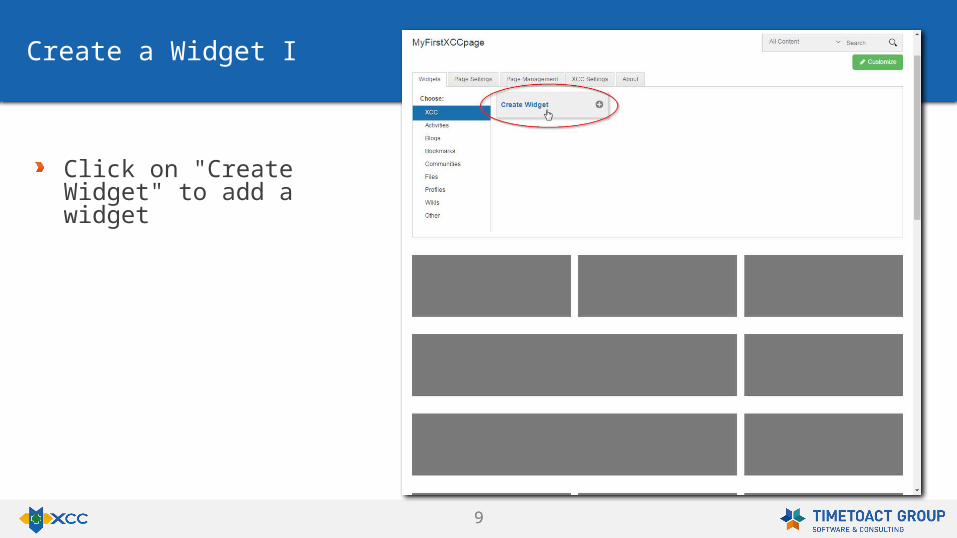
Create a Widget I
Click on "Create Widget" to add a widget
1010
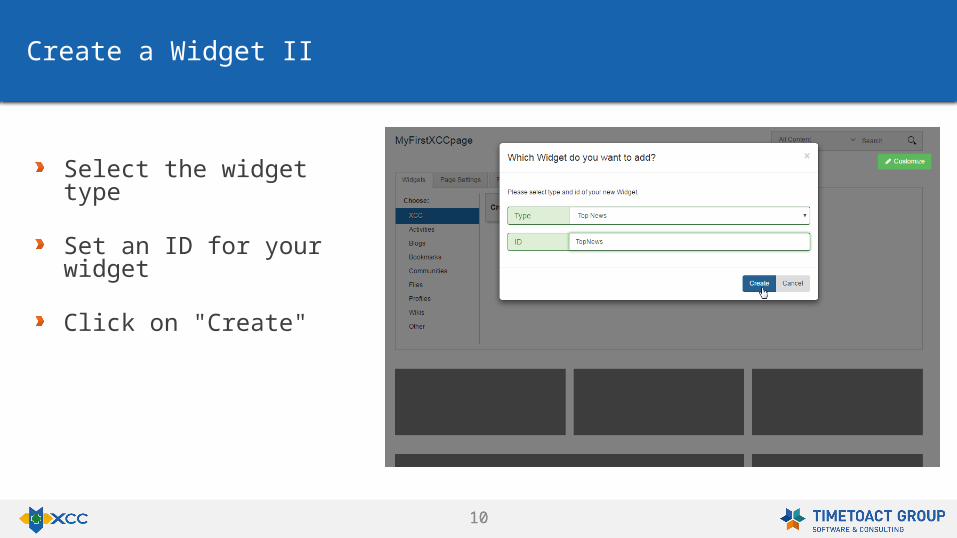
Create a Widget II
Select the widget type
Set an ID for your widget
Click on "Create"
1111
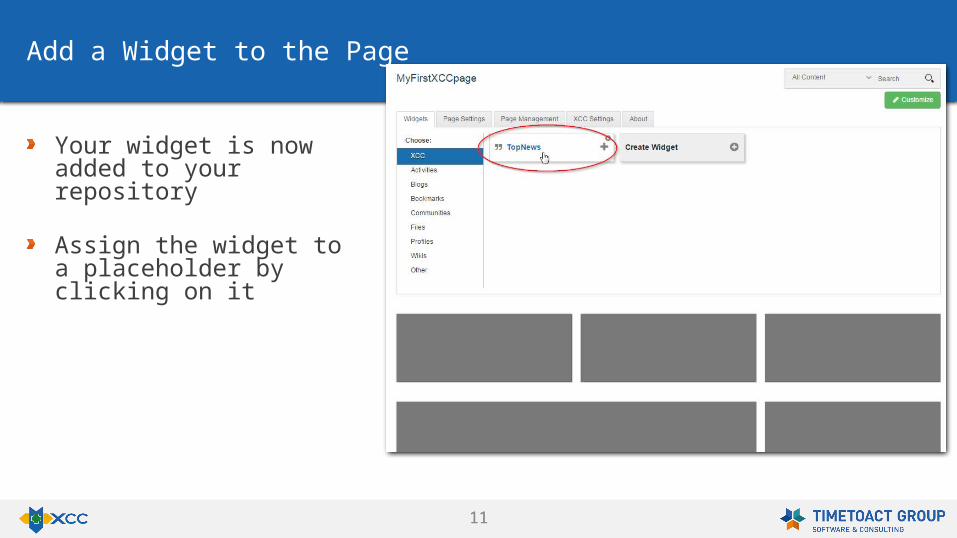
Add a Widget to the Page
Your widget is now added to your repository
Assign the widget to a placeholder by clicking on it
12
Configure Your First Widget

1313
Open the Widget Editor
Your first widget is now placed in the grid
Click on the button in the top right corner of the widget to open the widget editor
1414
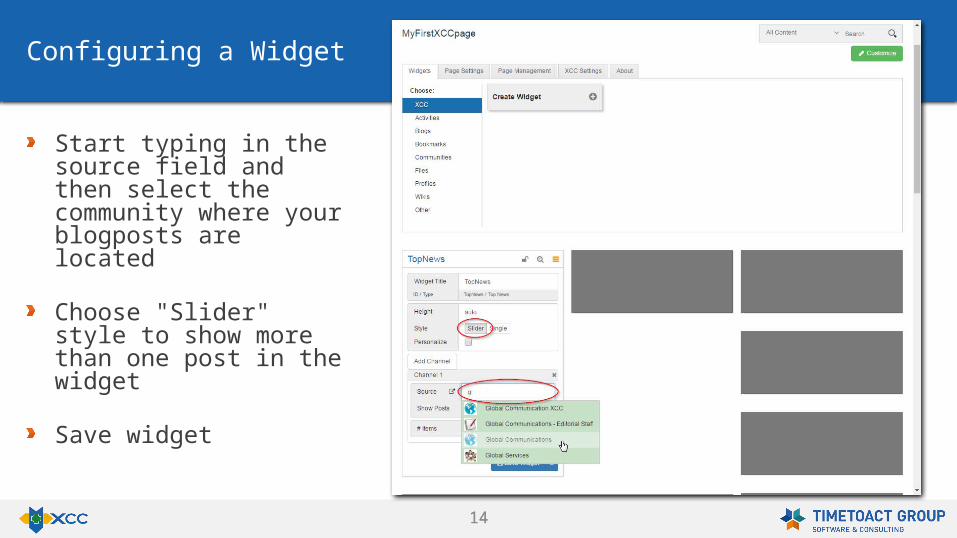
Configuring a Widget
Start typing in the source field and then select the community where your blogposts are located
Choose "Slider" style to show more than one post in the widget
Save widget
15
Add More Widgets

1616
Add a News Channel Widget
Your first widget is configured
Add the next widget to your grid, using the same procedure as shown before for the widget type News Channel
Add the News Channel widget and open its widget editor
1717
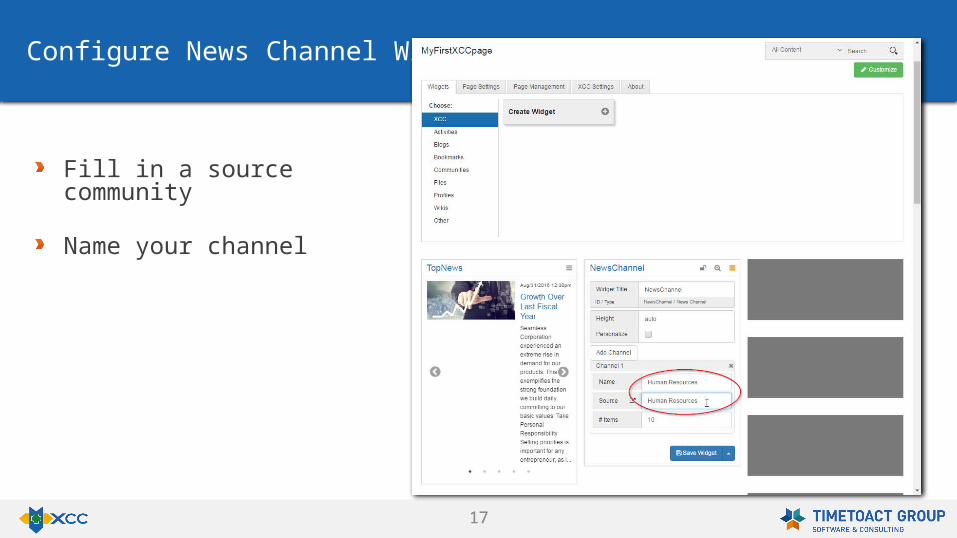
Configure News Channel Widget I
Fill in a source community
Name your channel
1818
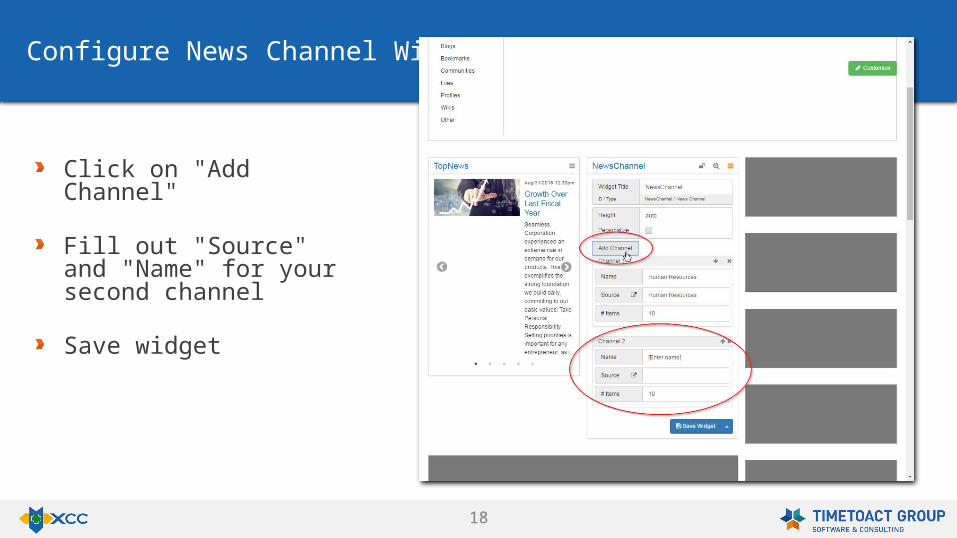
Configure News Channel Widget II
Click on "Add Channel"
Fill out "Source" and "Name" for your second channel
Save widget
1919
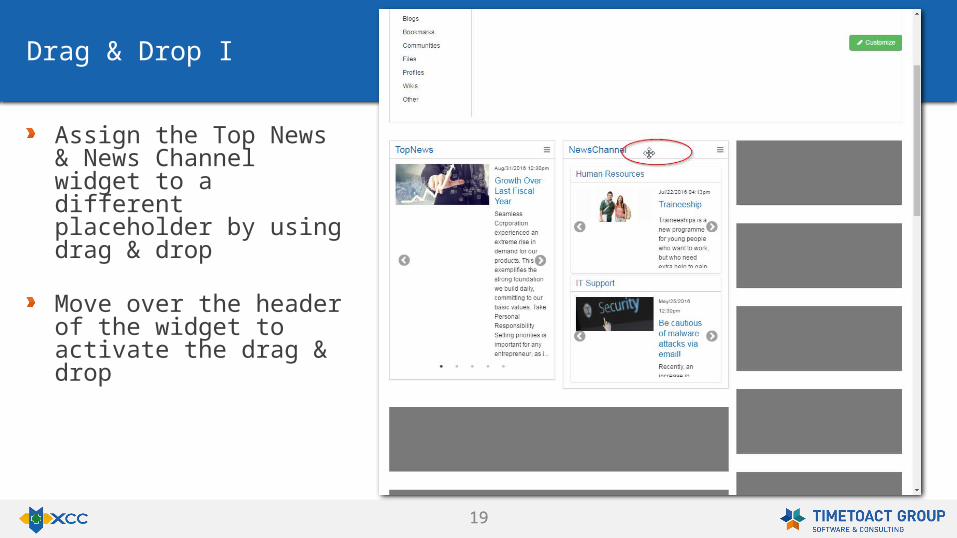
Drag & Drop I
Assign the Top News & News Channel widget to a different placeholder by using drag & drop
Move over the header of the widget to activate the drag & drop
2020
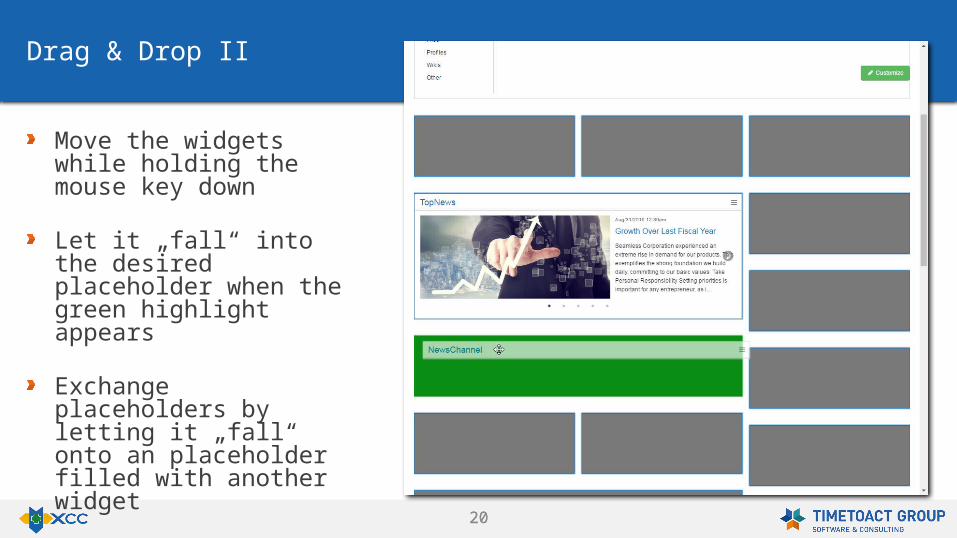
Drag & Drop II
Move the widgets while holding the mouse key down
Let it „fall“ into the desired placeholder when the green highlight appears
Exchange placeholders by letting it „fall“ onto an placeholder filled with another widget
2121
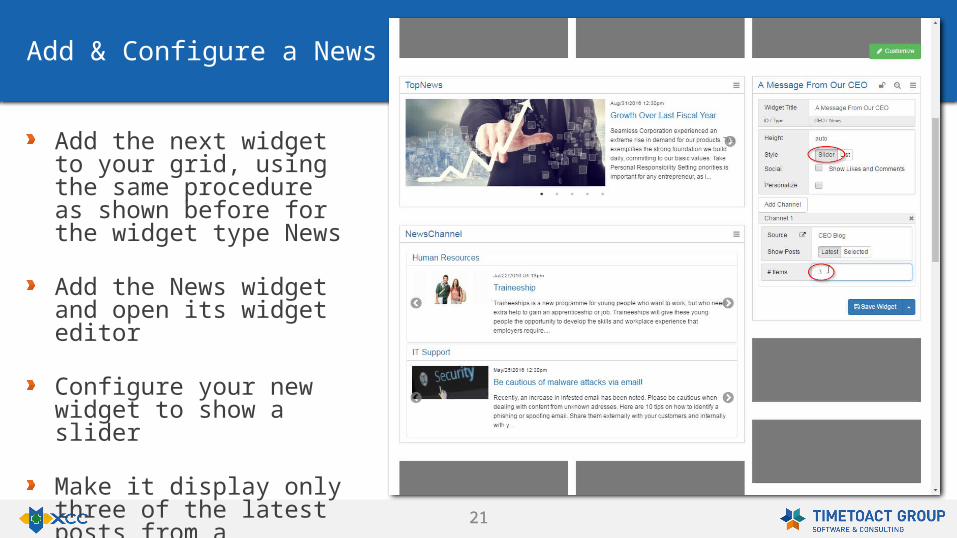
Add & Configure a News Widget
Add the next widget to your grid, using the same procedure as shown before for the widget type News
Add the News widget and open its widget editor
Configure your new widget to show a slider
Make it display only three of the latest posts from a community blog
2222
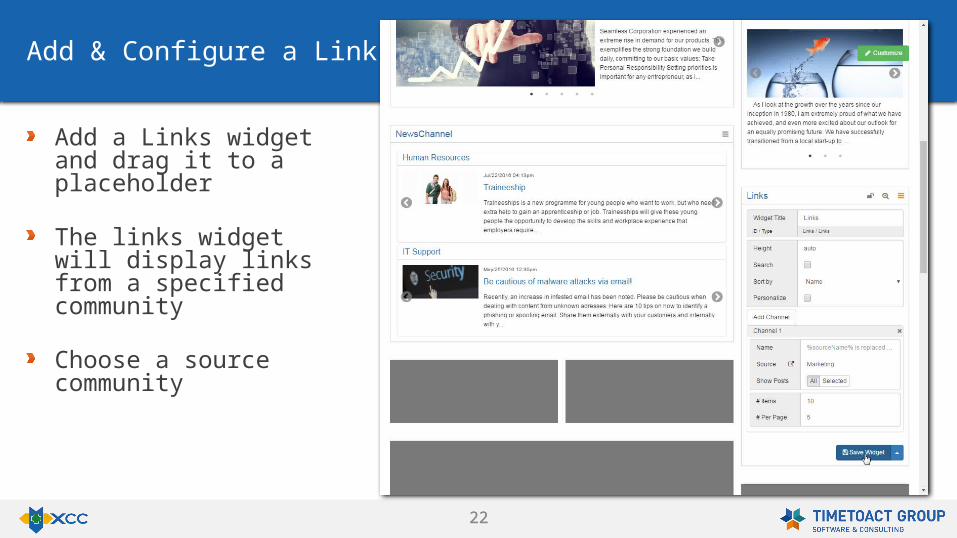
Add & Configure a Links Widget
Add a Links widget and drag it to a placeholder
The links widget will display links from a specified community
Choose a source community
2323
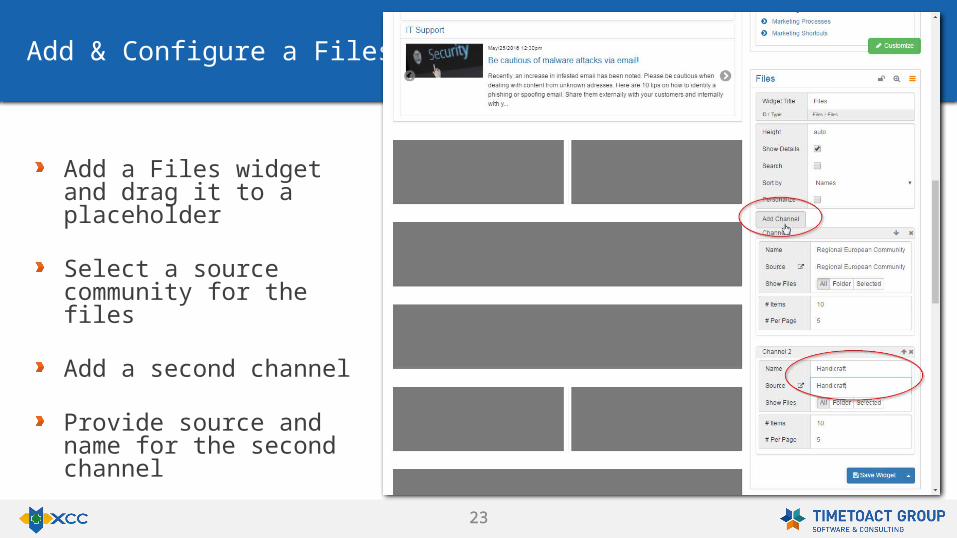
Add & Configure a Files Widget
Add a Files widget and drag it to a placeholder
Select a source community for the files
Add a second channel
Provide source and name for the second channel
2424
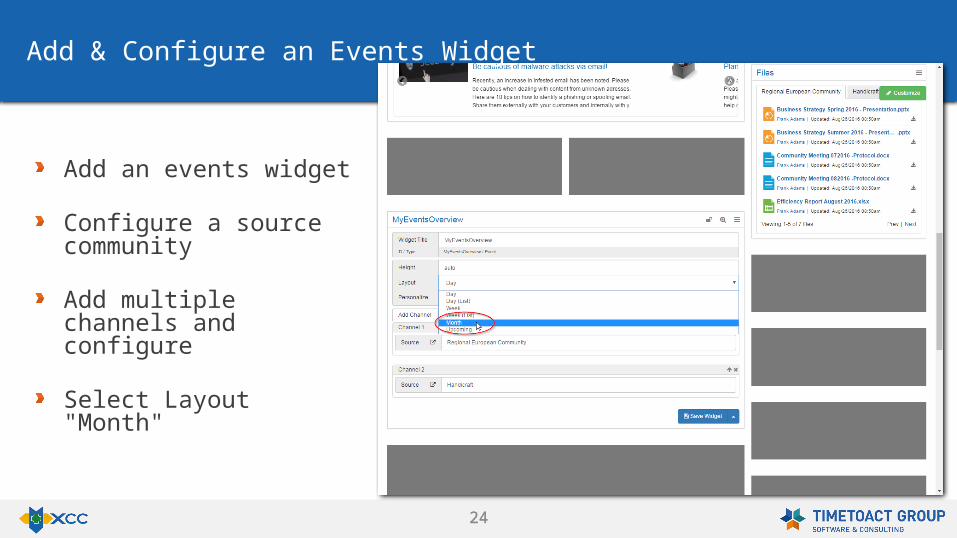
Add & Configure an Events Widget
Add an events widget
Configure a source community
Add multiple channels and configure
Select Layout "Month"
2525
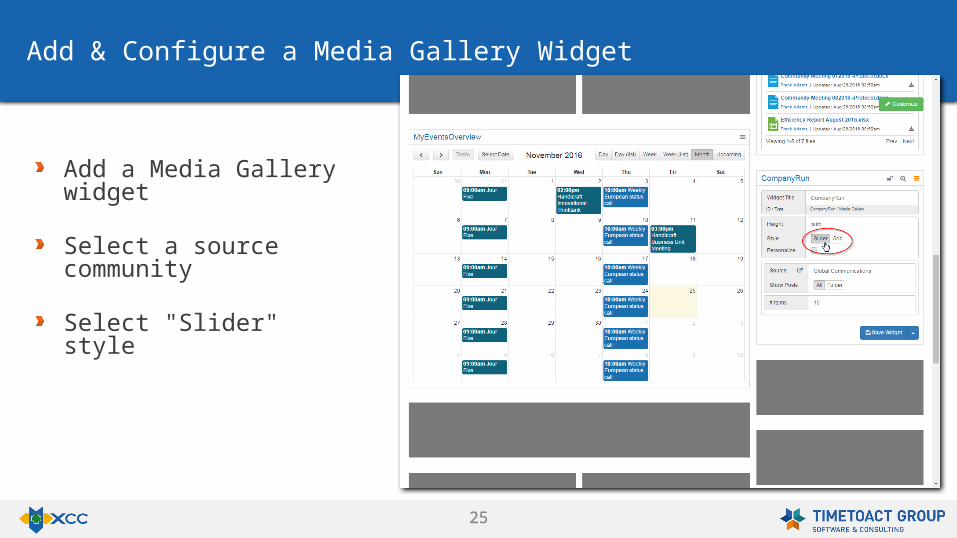
Add & Configure a Media Gallery Widget
Add a Media Gallery widget
Select a source community
Select "Slider" style
2626
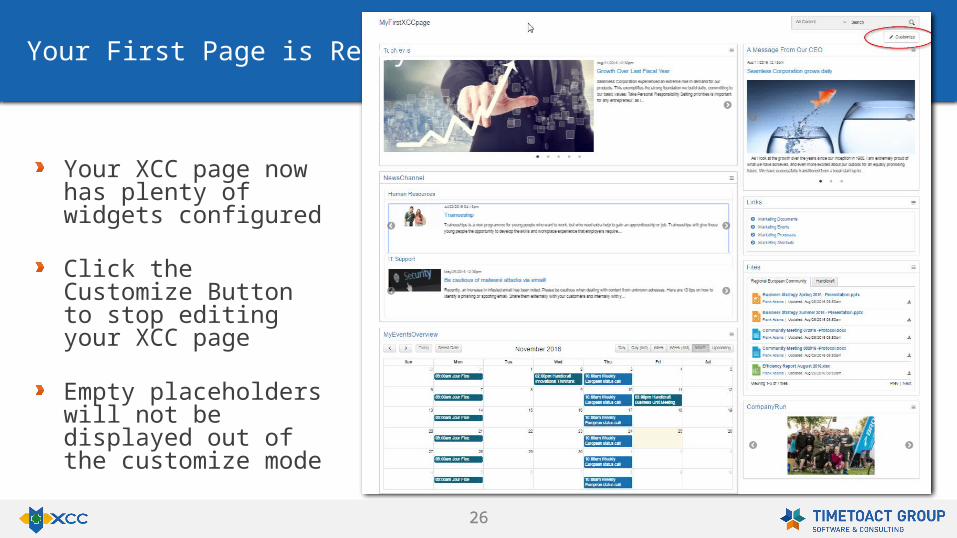
Your XCC page now has plenty of widgets configured
Click the Customize Button to stop editing your XCC page
Empty placeholders will not be displayed out of the customize mode
Your First Page is Ready
27
Apply your Corporate Identity
2828
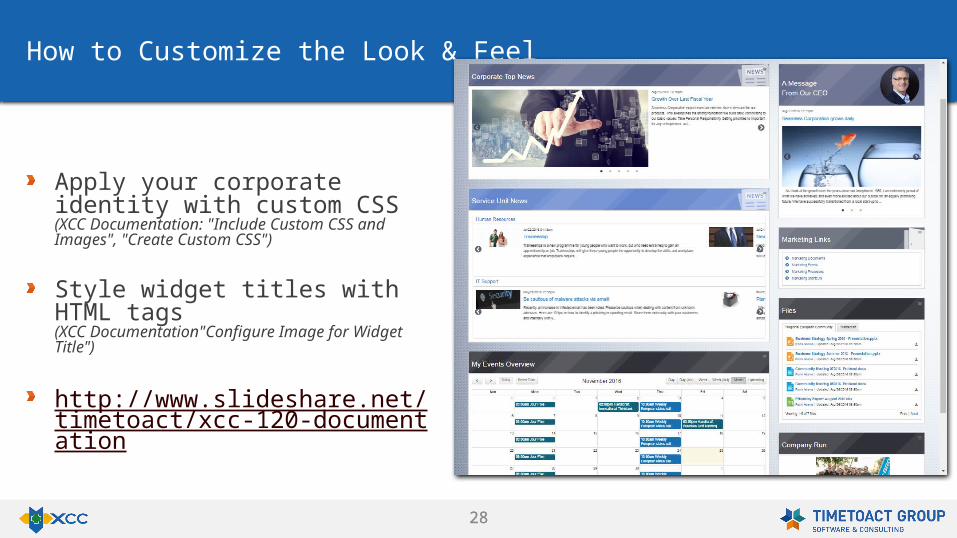
How to Customize the Look & Feel
Apply your corporate identity with custom CSS (XCC Documentation: "Include Custom CSS and Images", "Create Custom CSS")
Style widget titles with HTML tags (XCC Documentation"Configure Image for Widget Title")
http://www.slideshare.net/timetoact/xcc-120-documentation
29
Next Steps
3030
Further Options to Extend Your First Landing Page
Personalize widget content for individual members or groups(XCC Documentation: " XCC-Personalization")
Add a Navigation to XCC (XCC Documentation: "Integration of the Navigation")
http://www.slideshare.net/timetoact/xcc-120-documentation