Embed Size (px)
Citation preview
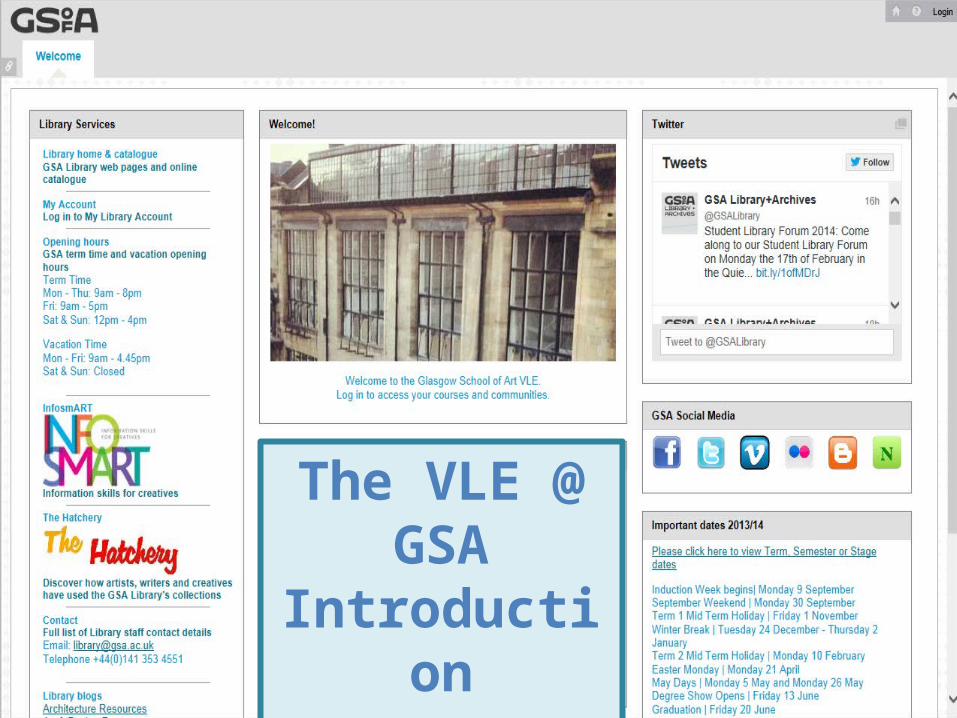
The VLE @ GSAIntroduction

Session overview
• Introduction - accessing content and the global navigation menu
• Courses and Communities – Customisation• Design Principles• Enrolments - checking users and creating
groups• Communication Tools
Introduction
Accessing content and using the global navigation
menu.
Global Navigation Menu
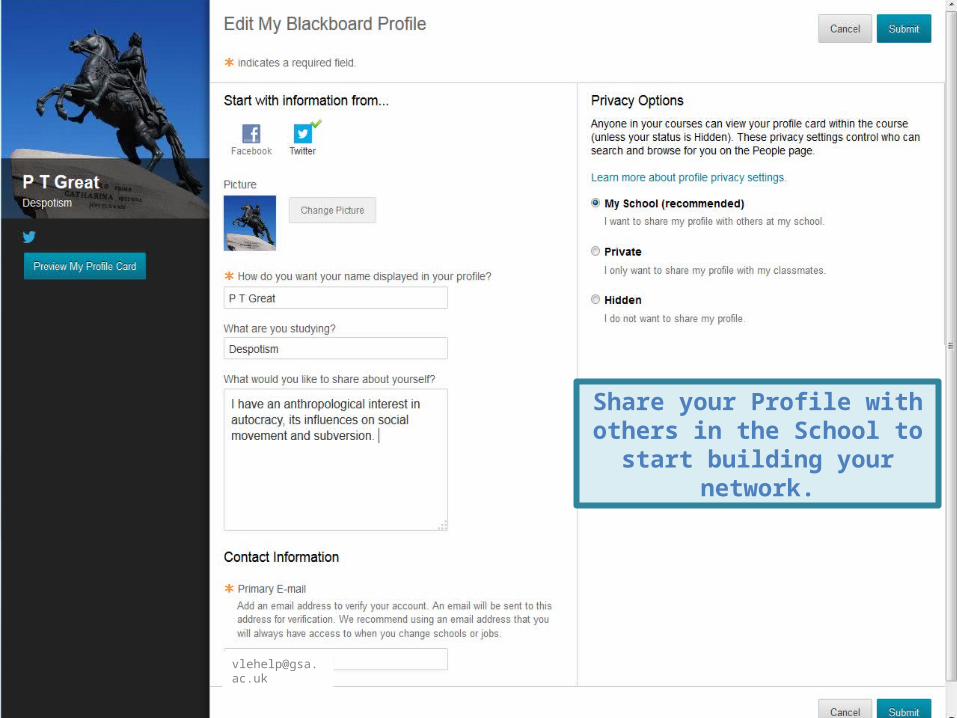
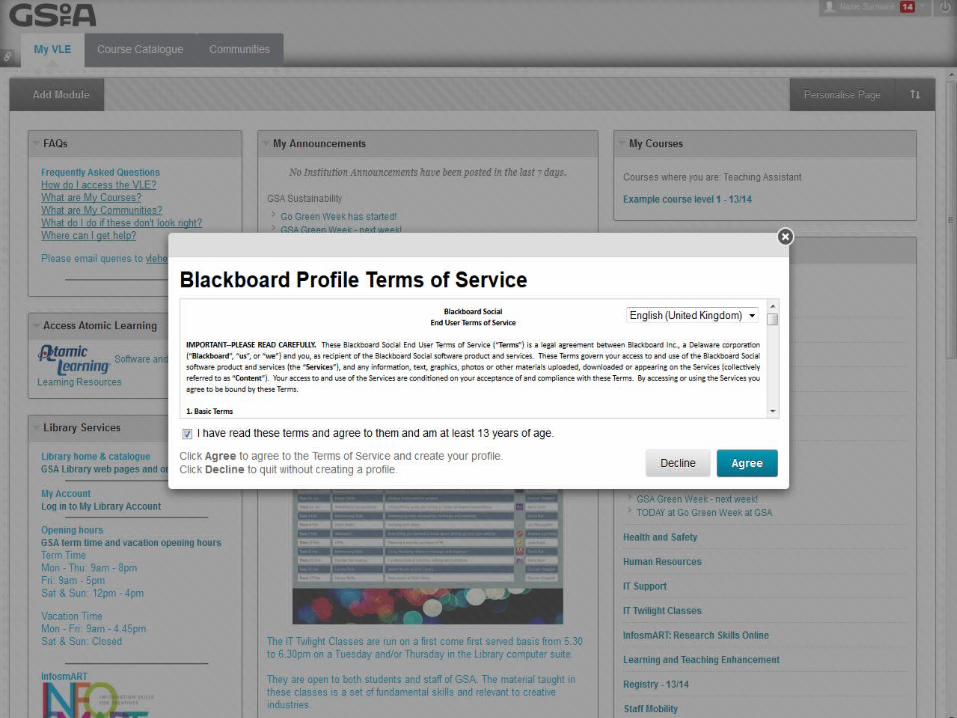
Set up a Profile
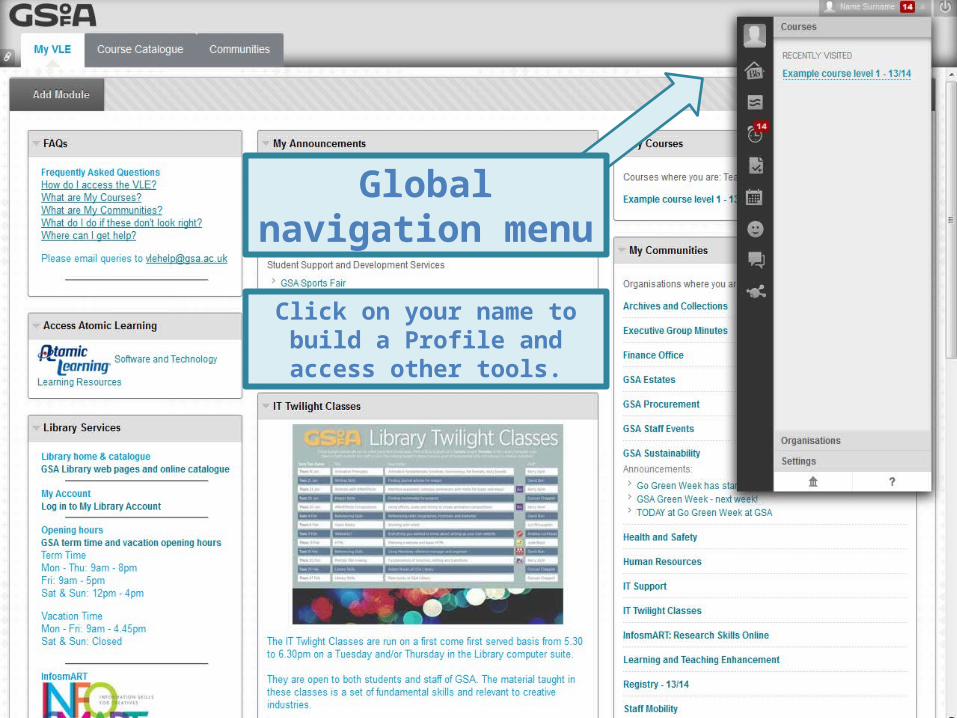
Global navigation menu
Click on your name to build a Profile and access other tools.
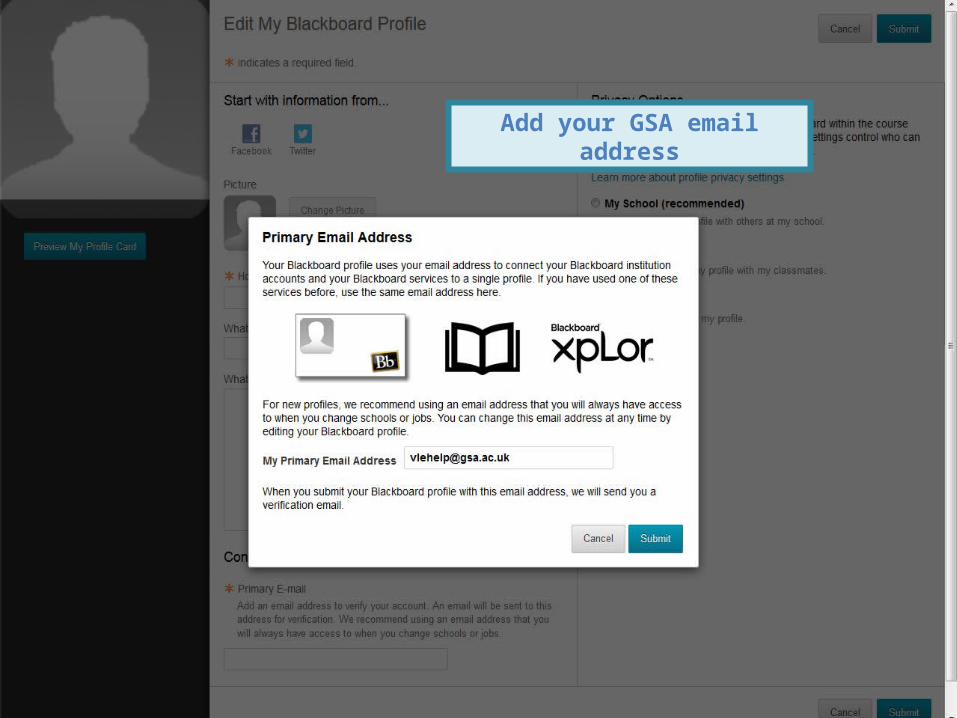
Add your GSA email address
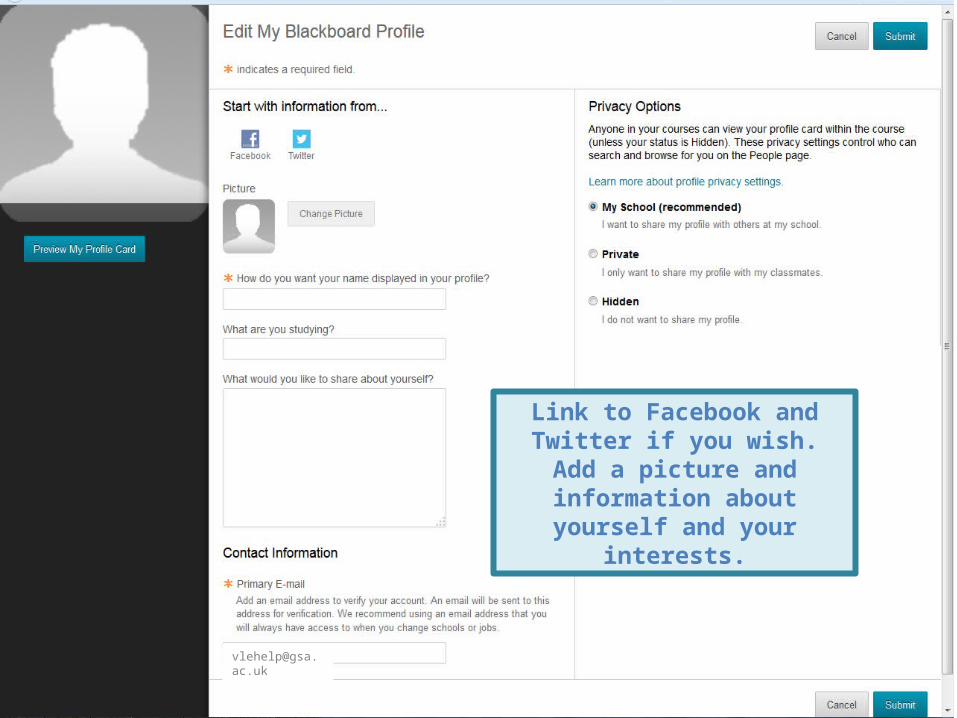
Link to Facebook and Twitter if you wish. Add a picture and
information about yourself and your interests.
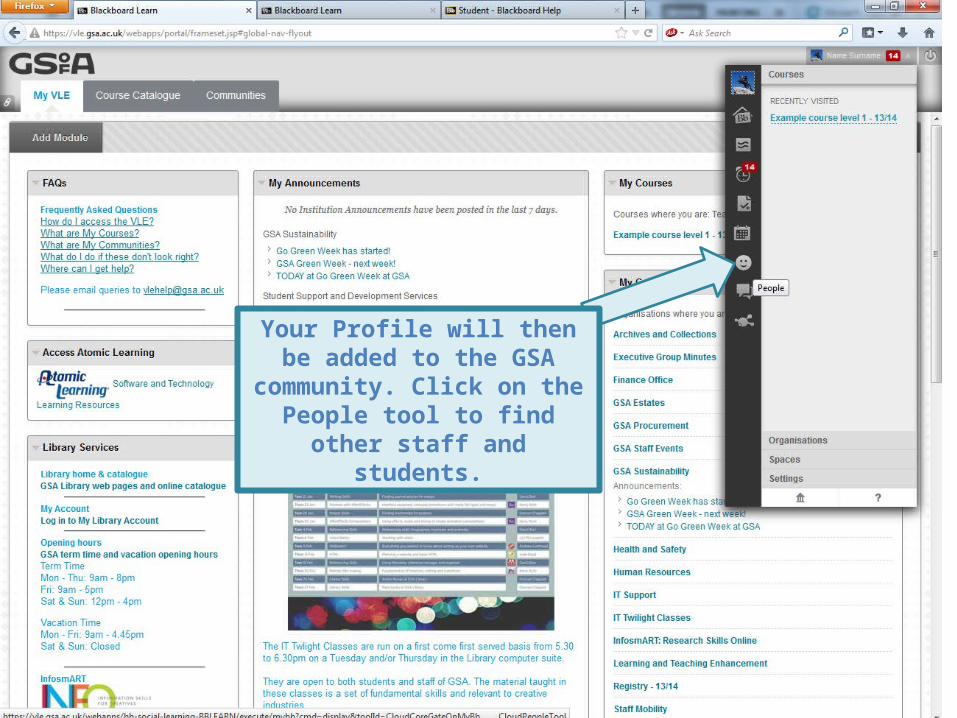
Your Profile will then be added to the GSA community. Click on the
People tool to find other staff and students.

View other Profiles according to course or community. Follow or
Message other people.
Courses and Communities
Customising your course.
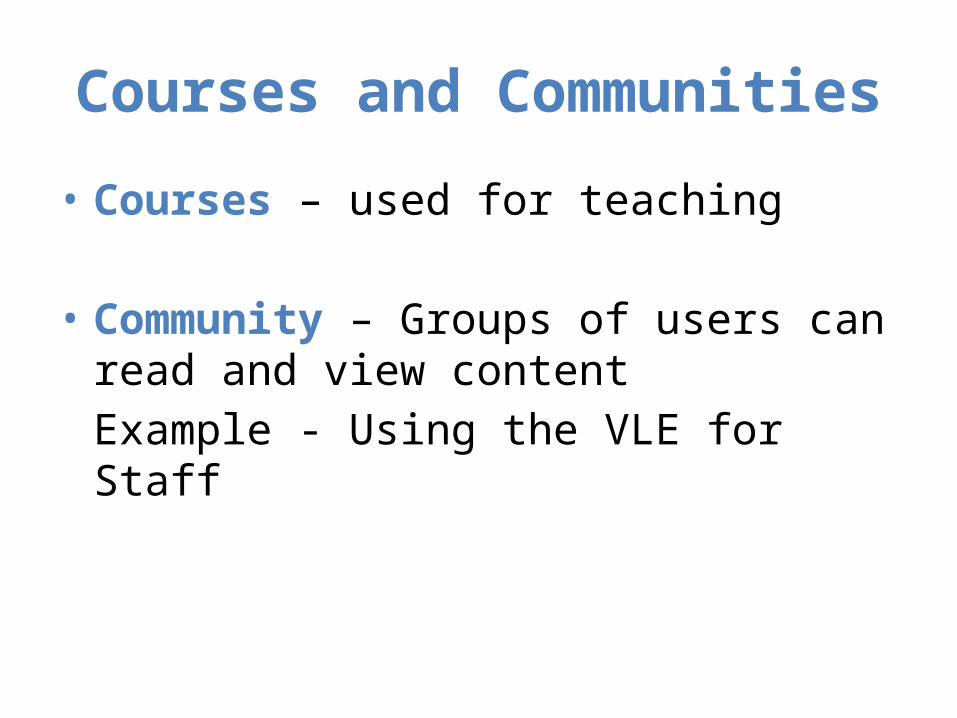
Courses and Communities
• Courses – used for teaching
• Community – Groups of users can read and view contentExample - Using the VLE for Staff
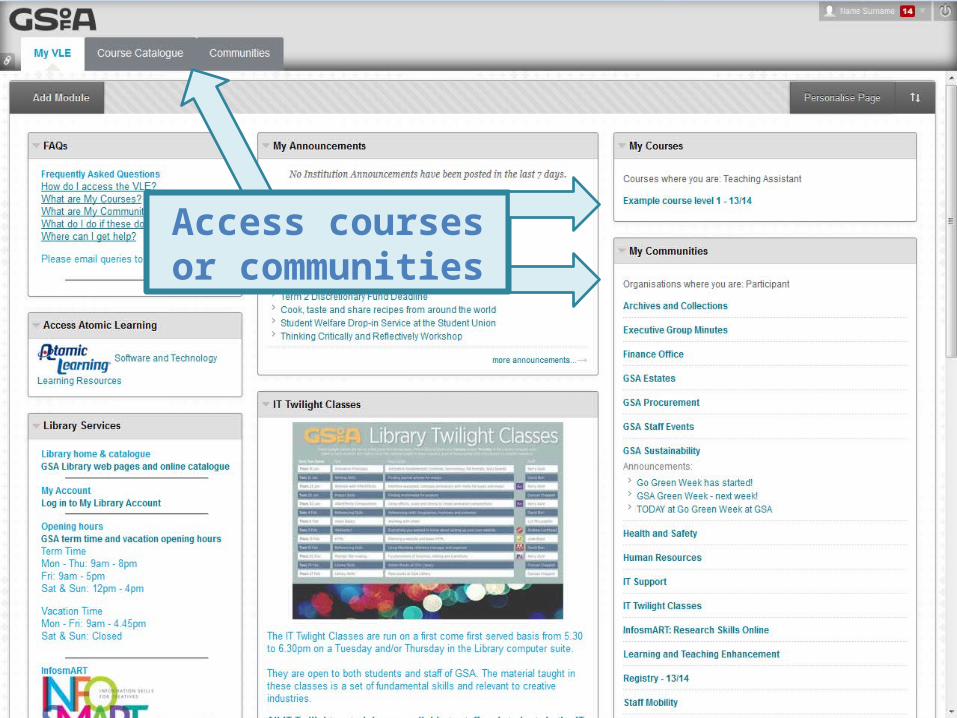
Access courses or communities
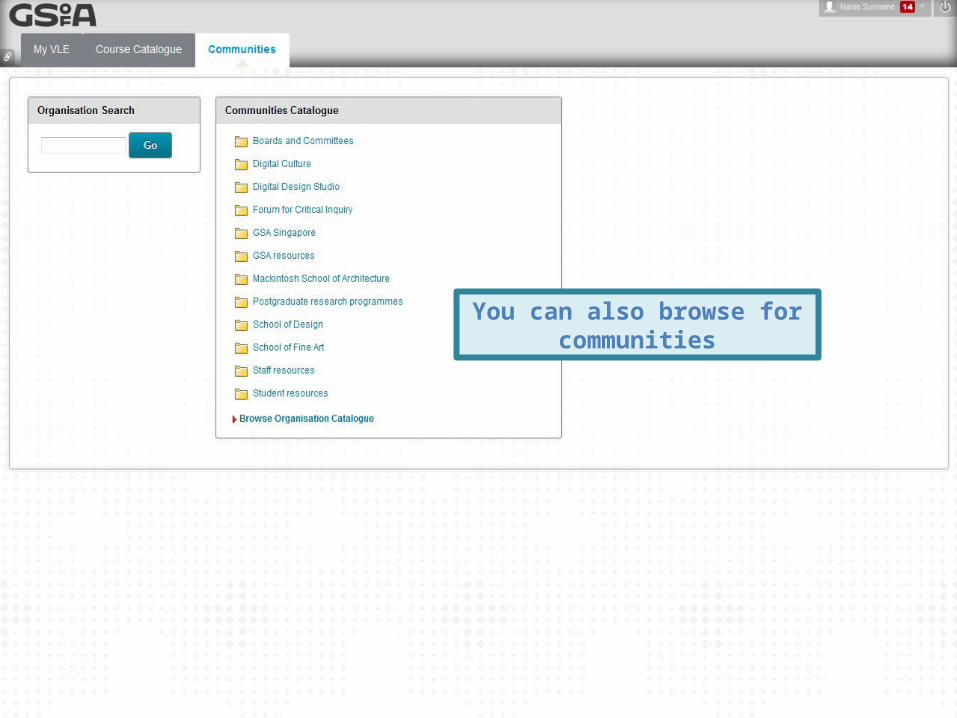
You can also browse for communities
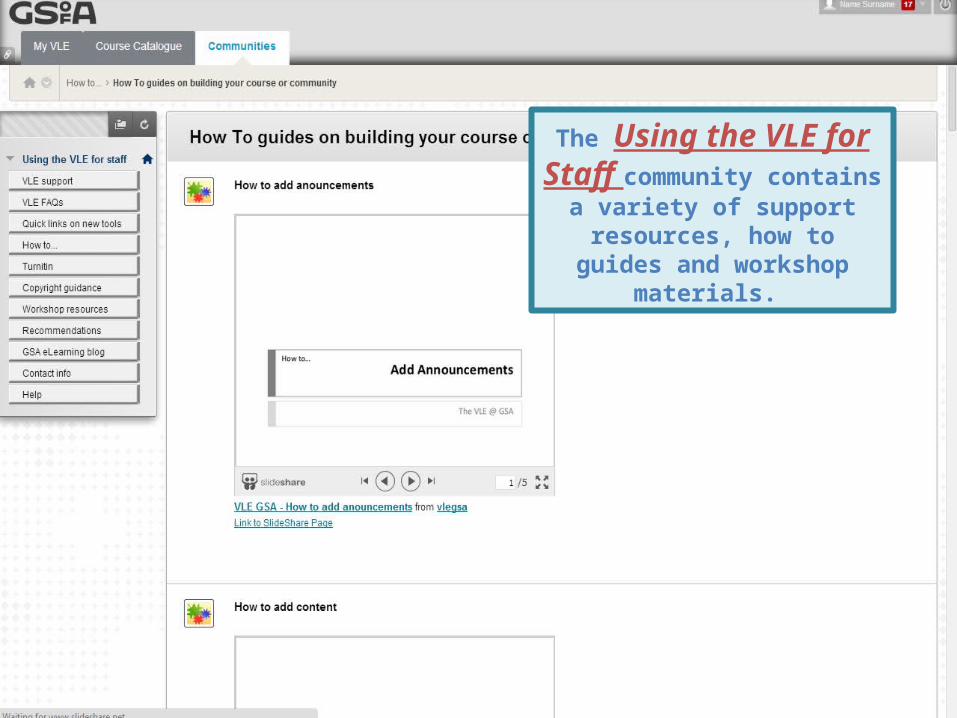
The Using the VLE for Staff community contains a variety of
support resources, how to guides and workshop materials.

Design Principles
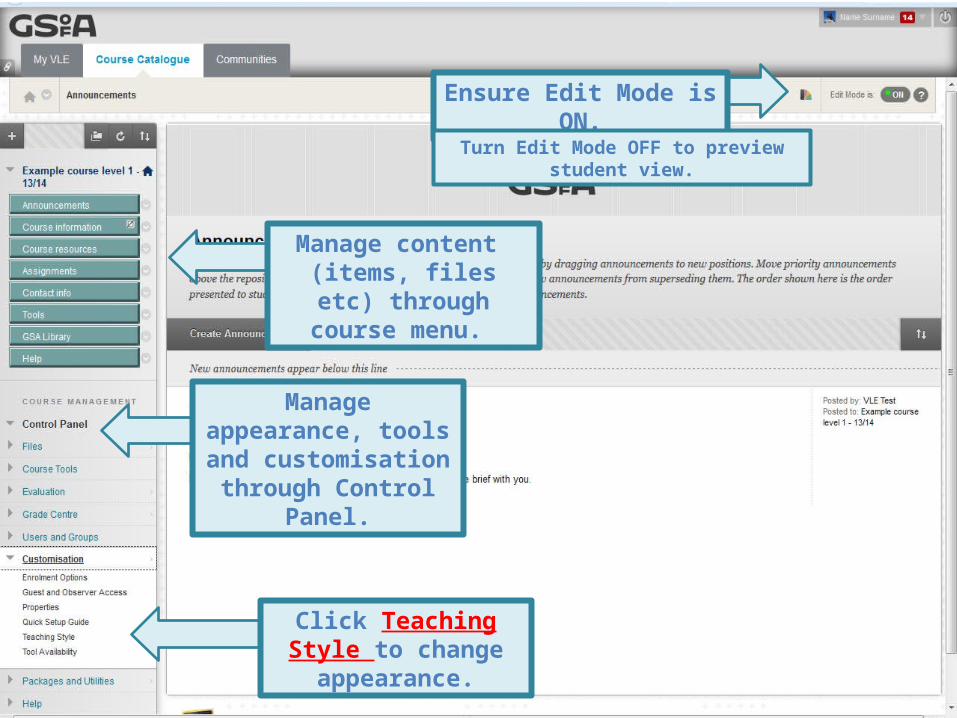
Manage content (items, files etc) through course
menu.
Manage appearance, tools and customisation through Control Panel.
Click Teaching Style to change appearance.
Ensure Edit Mode is ON.
Turn Edit Mode OFF to preview student view.
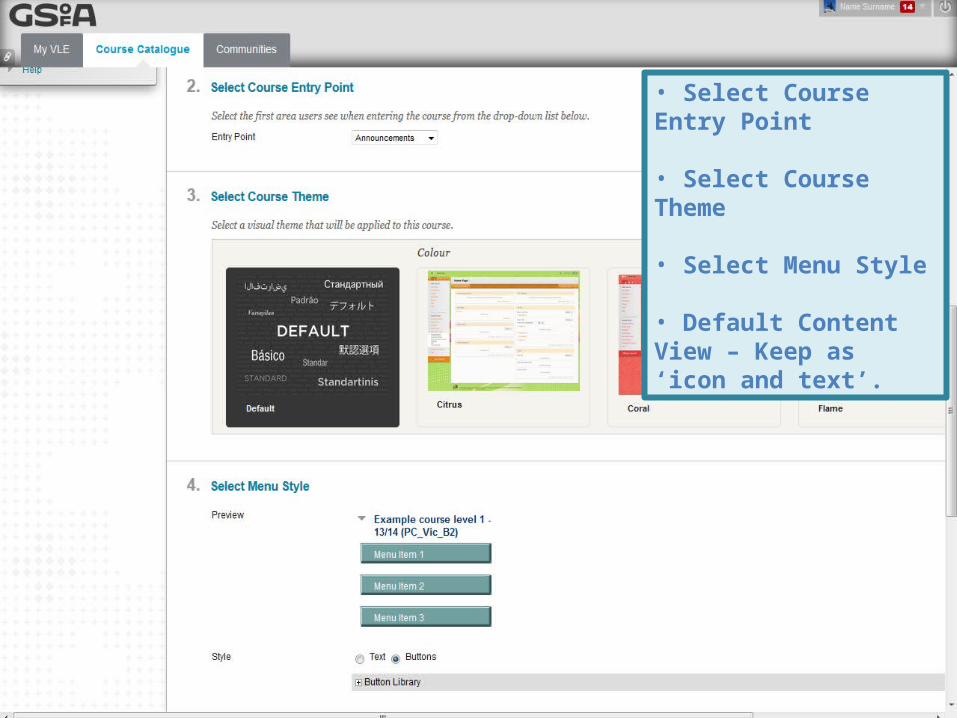
• Select Course Entry Point
• Select Course Theme
• Select Menu Style
• Default Content View – Keep as ‘icon and text’.

Keep menu items simple. Click + to add a new item.
Consistency across courses is a major usability issue. Where possible, please
consider the context of your course.
Content Area.
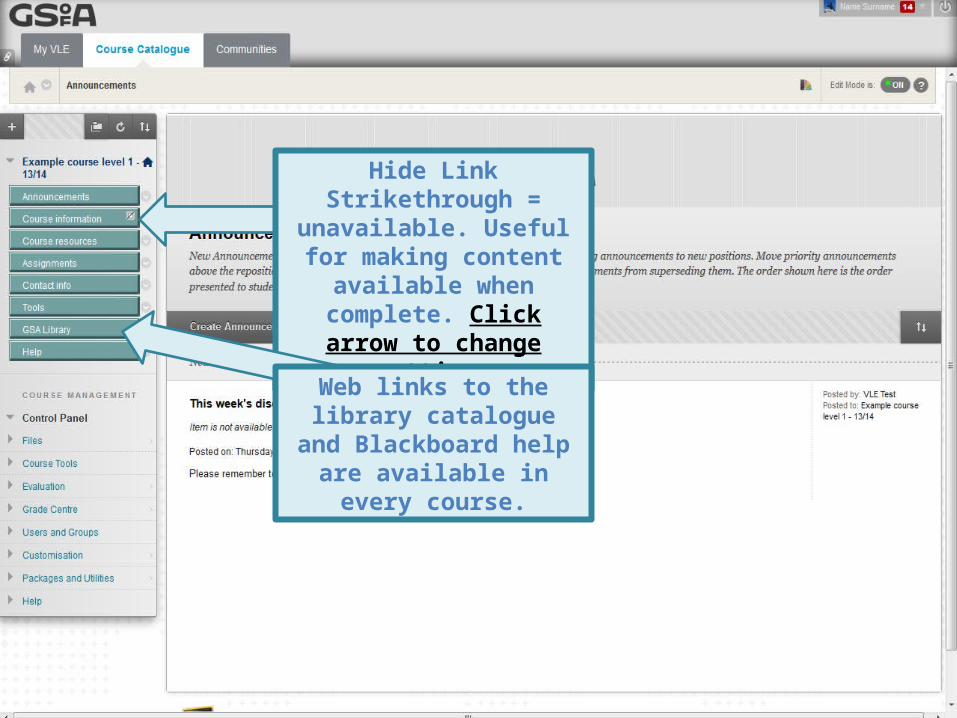
Hide LinkStrikethrough = unavailable.
Useful for making content available when complete.
Click arrow to change setting.
Web links to the library catalogue and Blackboard help are available in every
course.
Adding content.
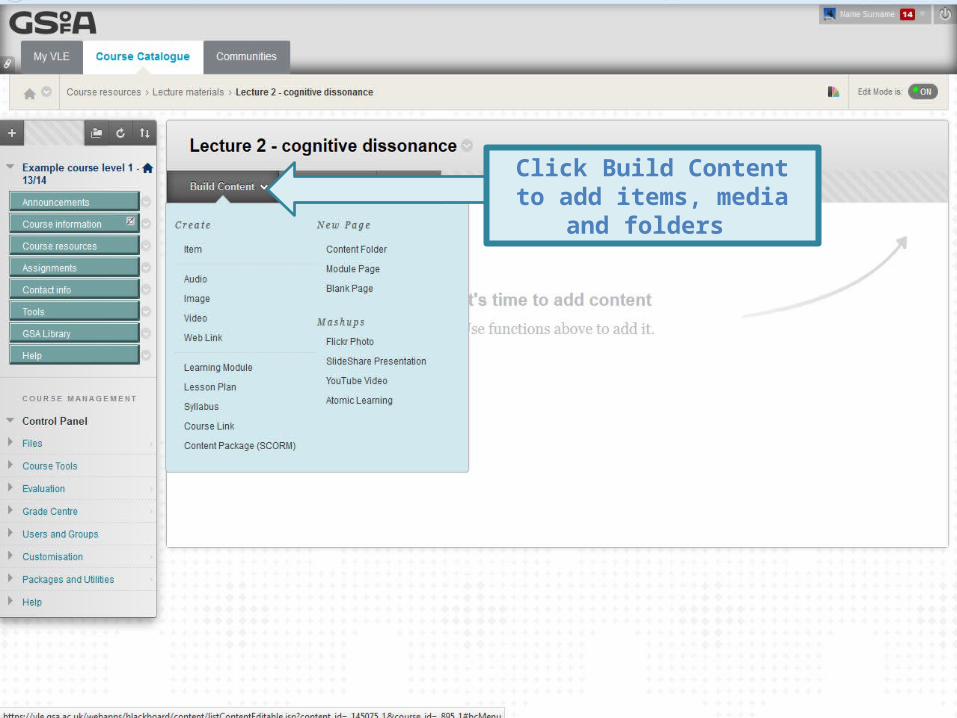
Click Build Content to add items, media and folders
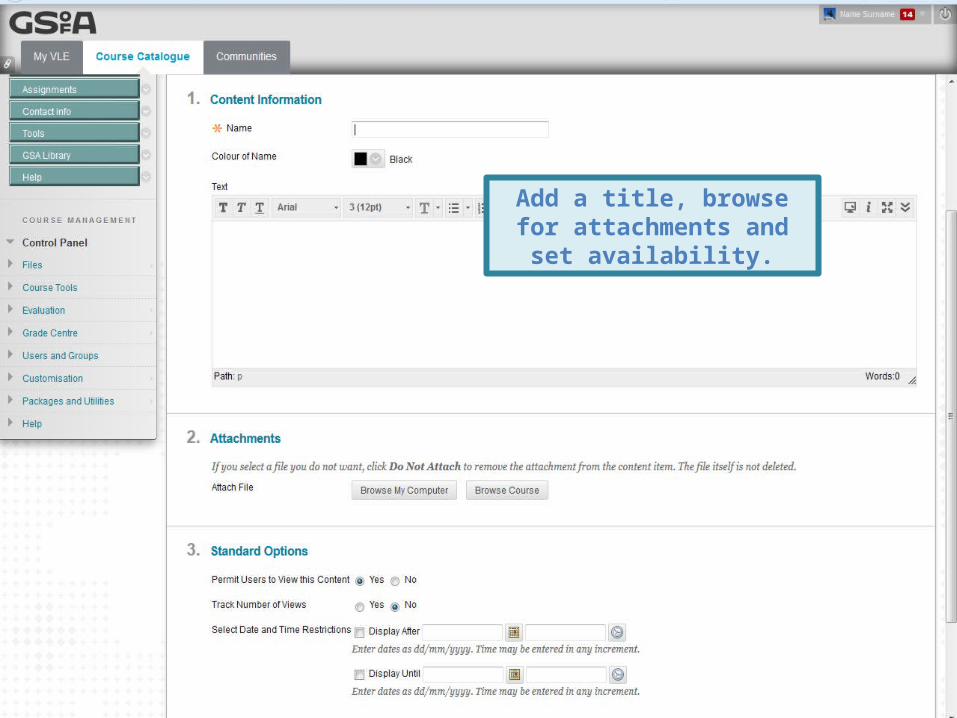
Add a title, browse for attachments and set
availability.
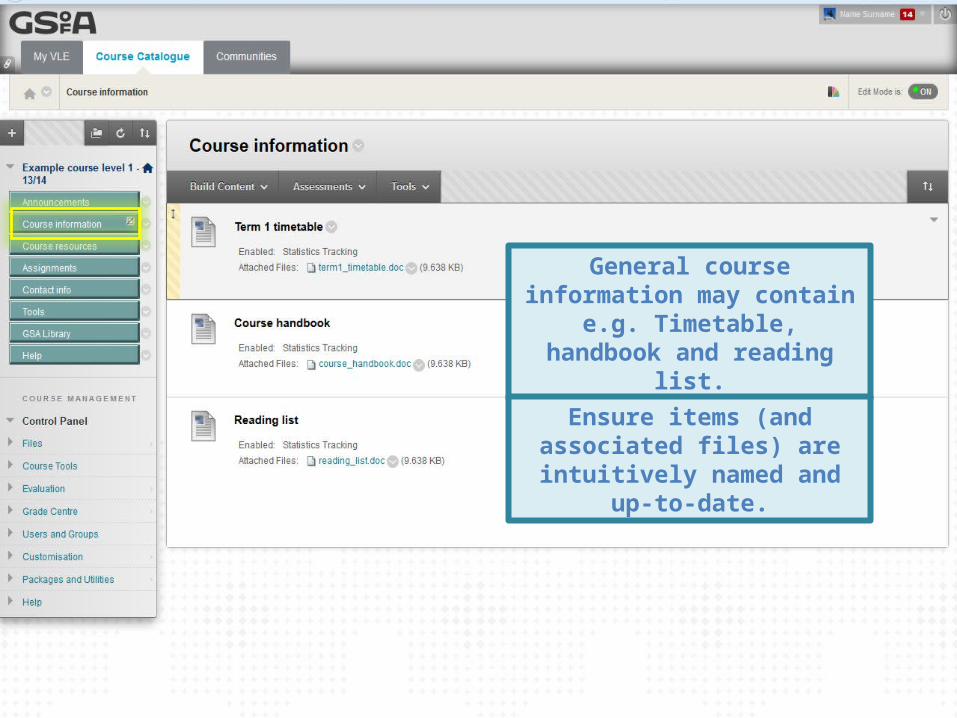
General course information may contain e.g. Timetable, handbook
and reading list.
Ensure items (and associated files) are intuitively named and up-to-
date.
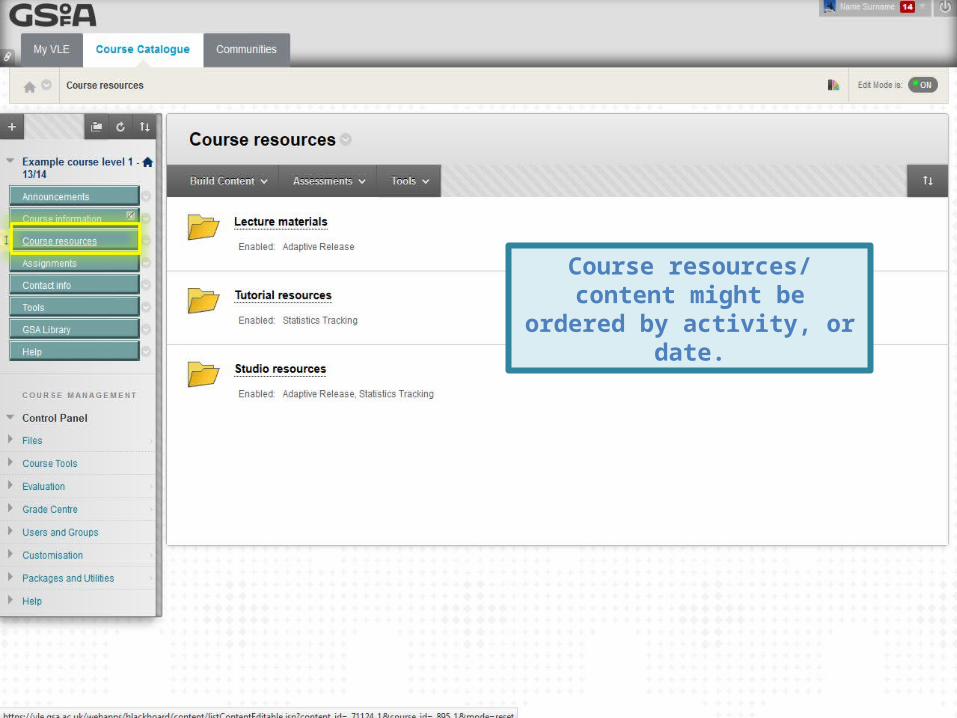
Course resources/ content might be ordered by activity, or date.
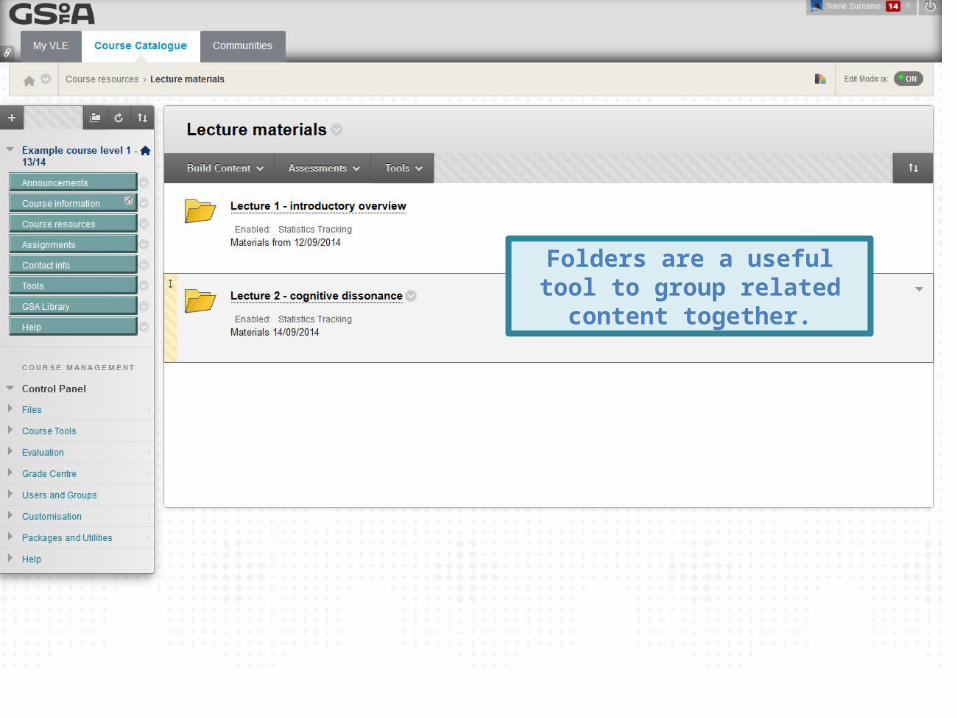
Folders are a useful tool to group related content together.
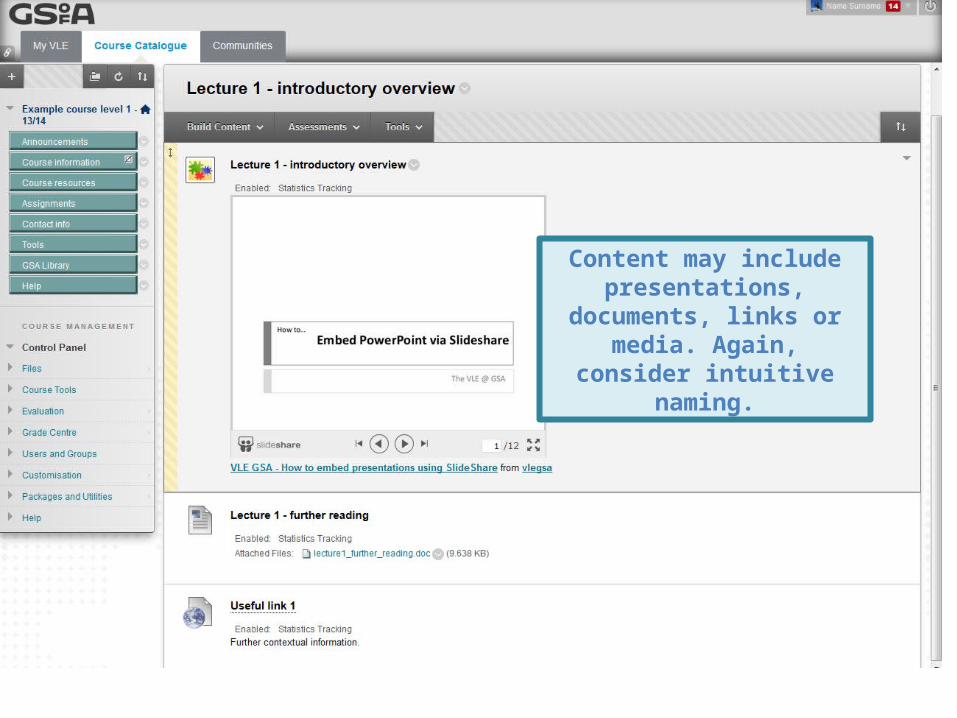
Content may include presentations, documents,
links or media. Again, consider intuitive naming.
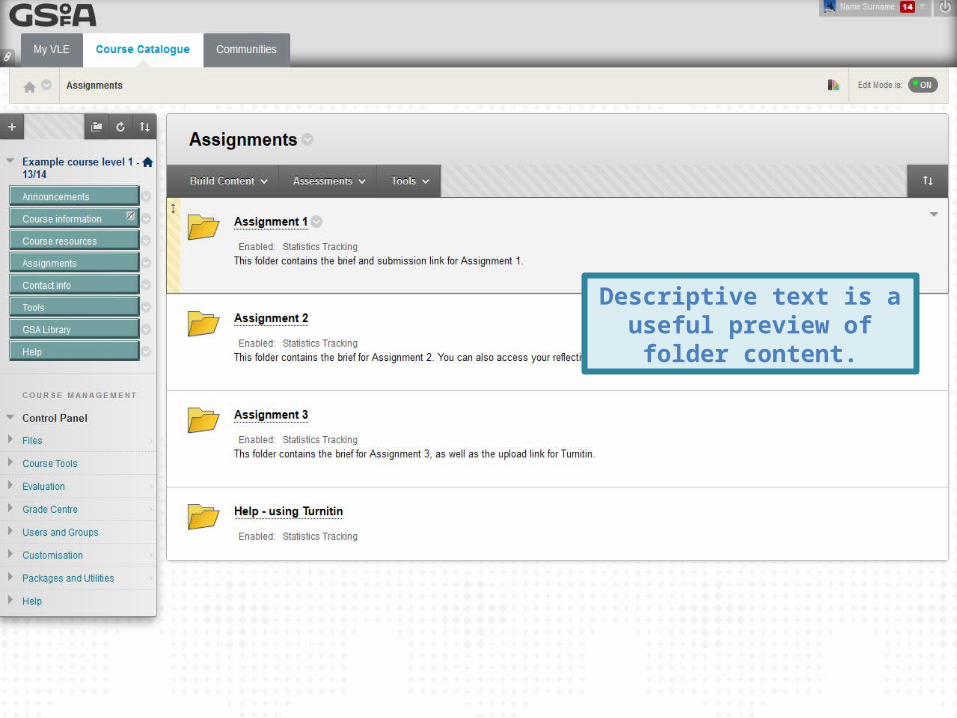
Descriptive text is a useful preview of folder content.
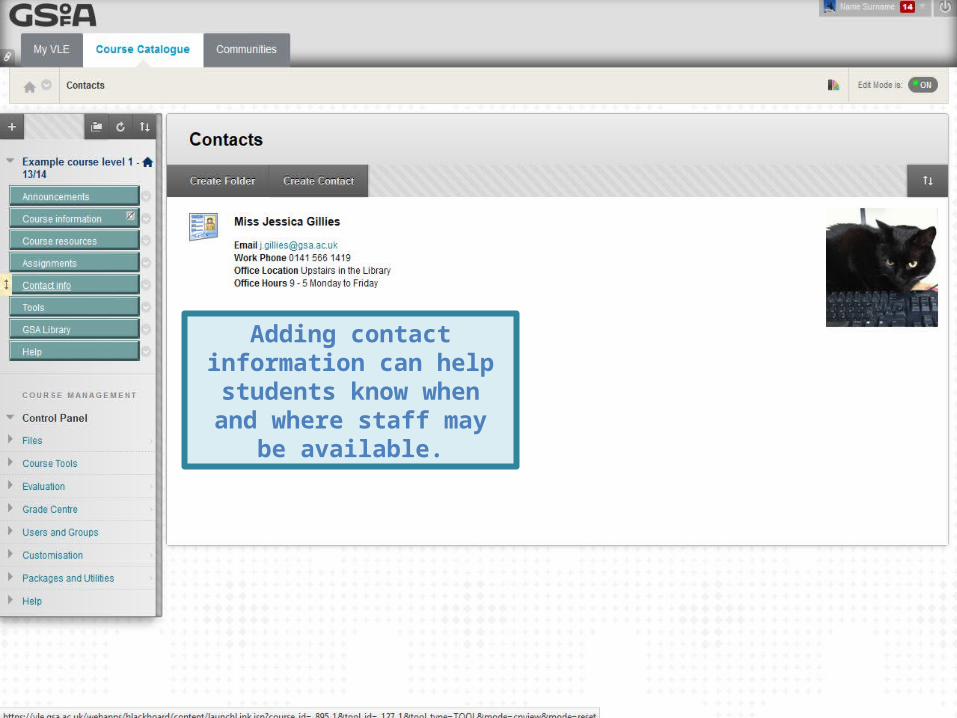
Adding contact information can help students know when and where staff may be available.
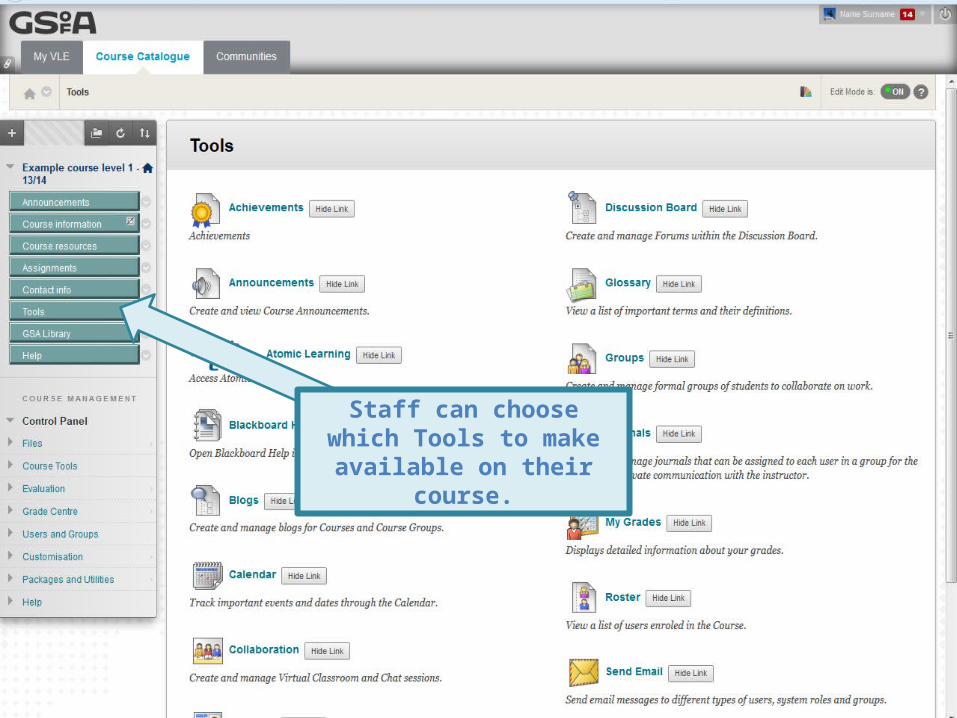
Staff can choose which Tools to make available on their course.
Enrolments
Checking users and creating groups.
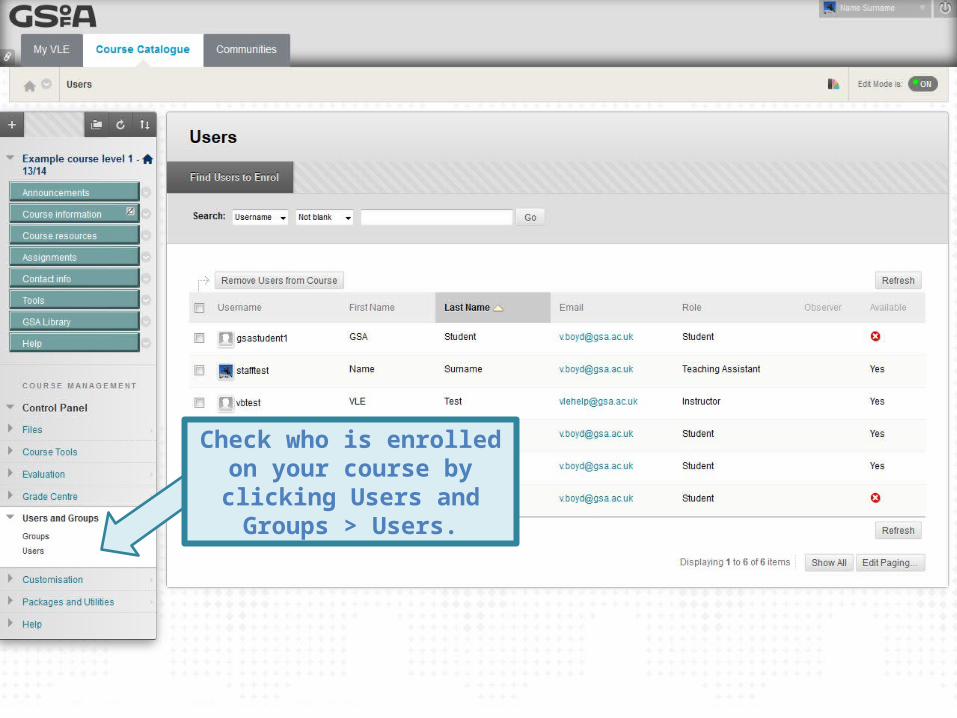
Check who is enrolled on your course by clicking Users and
Groups > Users.
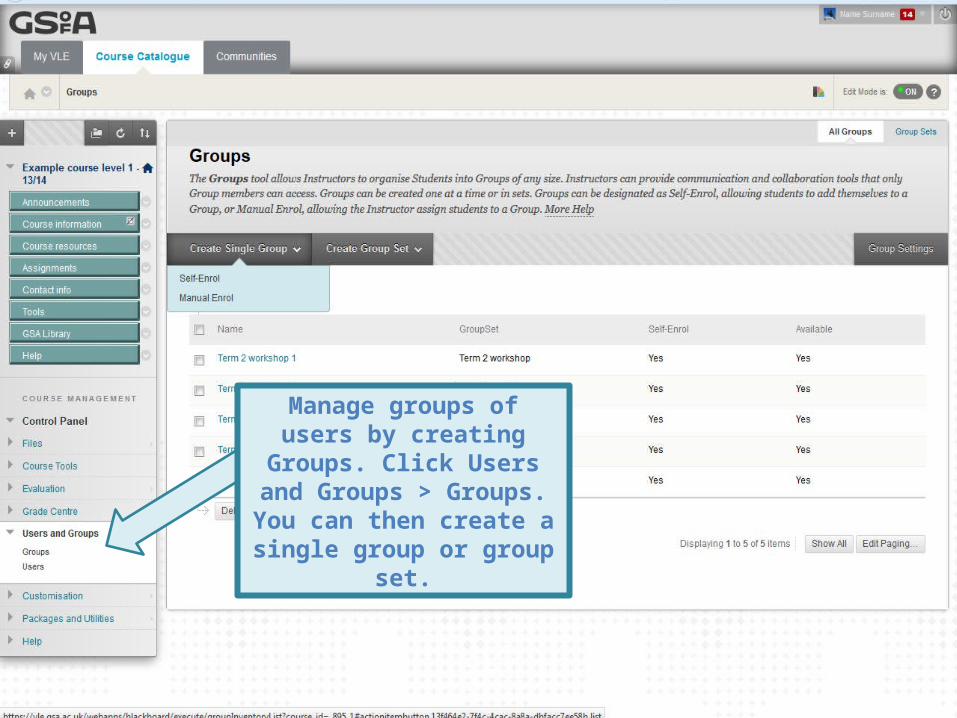
Manage groups of users by creating Groups. Click Users
and Groups > Groups. You can then create a single group or
group set.
Communication Tools
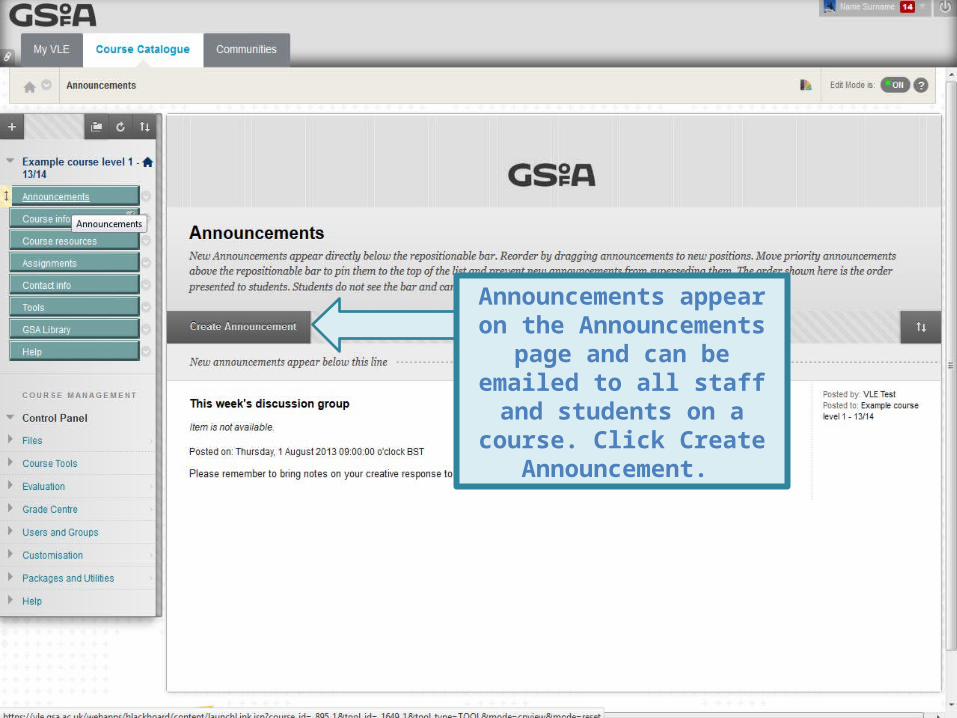
Announcements appear on the Announcements page and can
be emailed to all staff and students on a course. Click
Create Announcement.
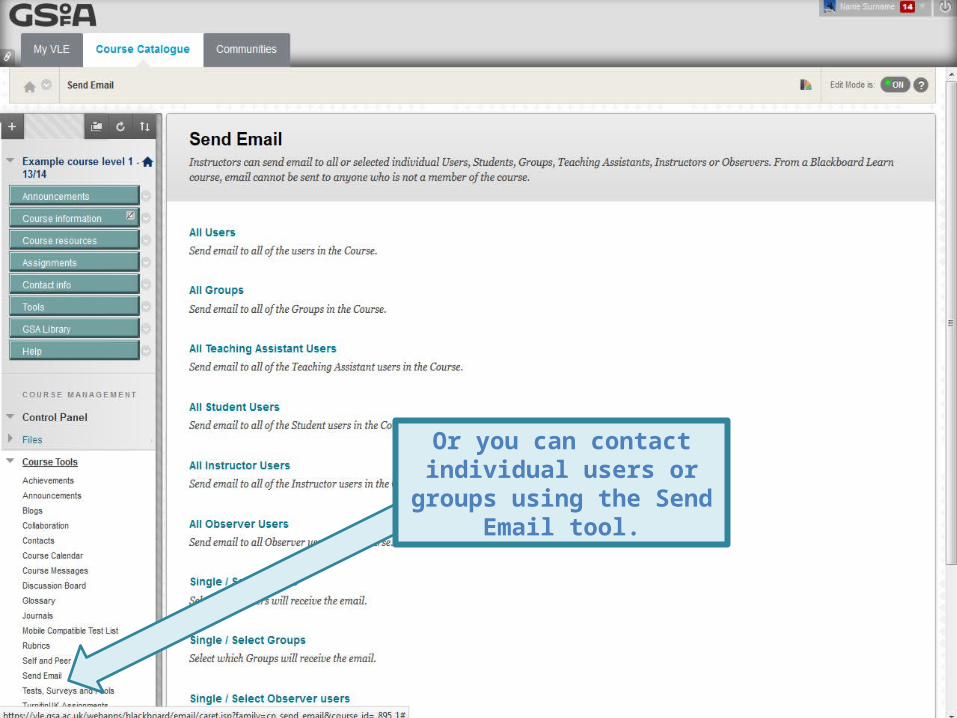
Or you can contact individual users or groups using the Send
Email tool.
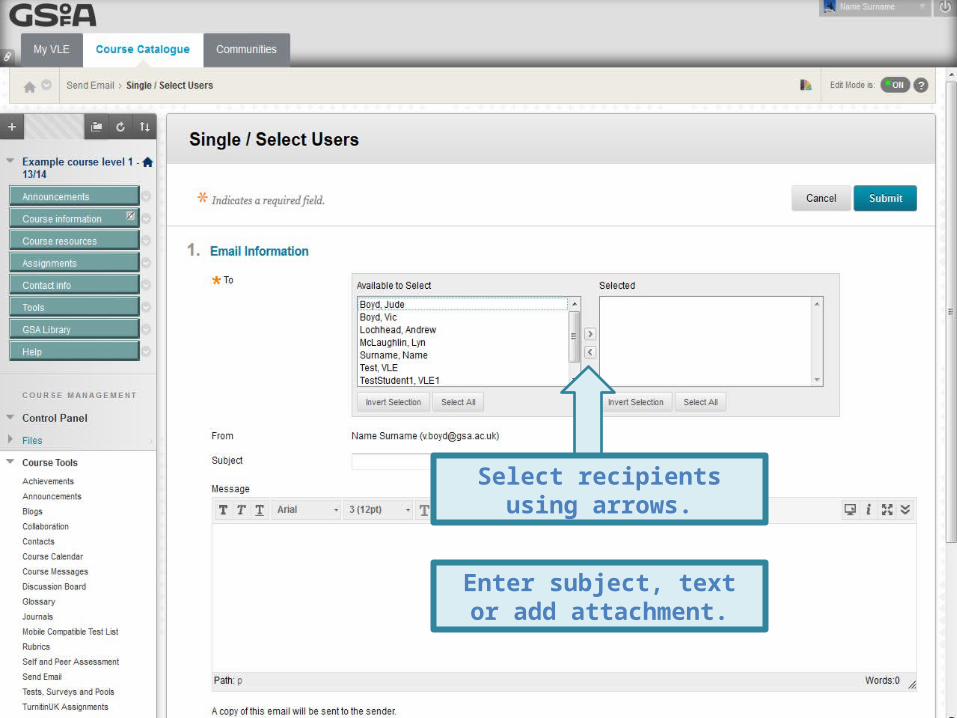
Select recipients using arrows.
Enter subject, text or add attachment.