Embed Size (px)
Citation preview
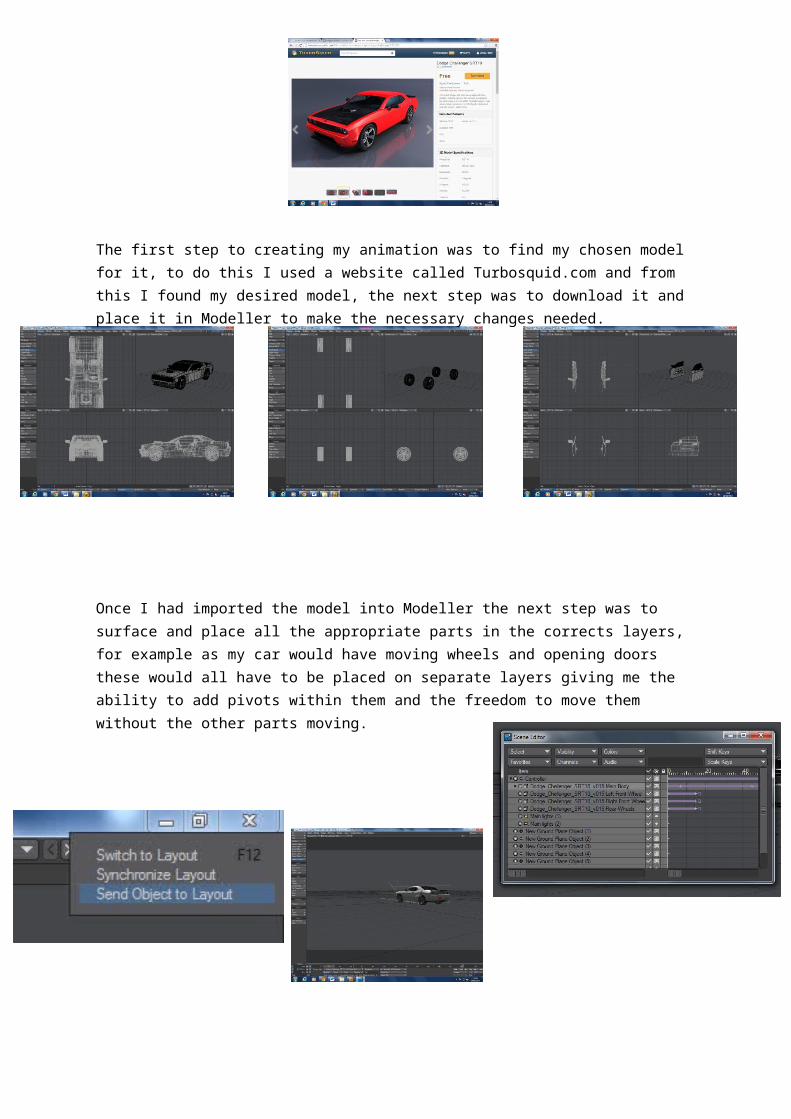
The first step to creating my animation was to find my chosen model for it, to do this I used a website called Turbosquid.com and from this I found my desired model, the next step was to download it and place it in Modeller to make the necessary changes needed.
Once I had imported the model into Modeller the next step was to surface and place all the appropriate parts in the corrects layers, for example as my car would have moving wheels and opening doors these would all have to be placed on separate layers giving me the ability to add pivots within them and the freedom to move them without the other parts moving.
After completing all the necessary modeller changes that I needed to do I then imported the finished model into Layout so I could begin my animation. Once I had imported it I used the scene editor to ensure all my parts were parented to the correct layer so I wouldn’t have parts moving when I didn’t want them to.
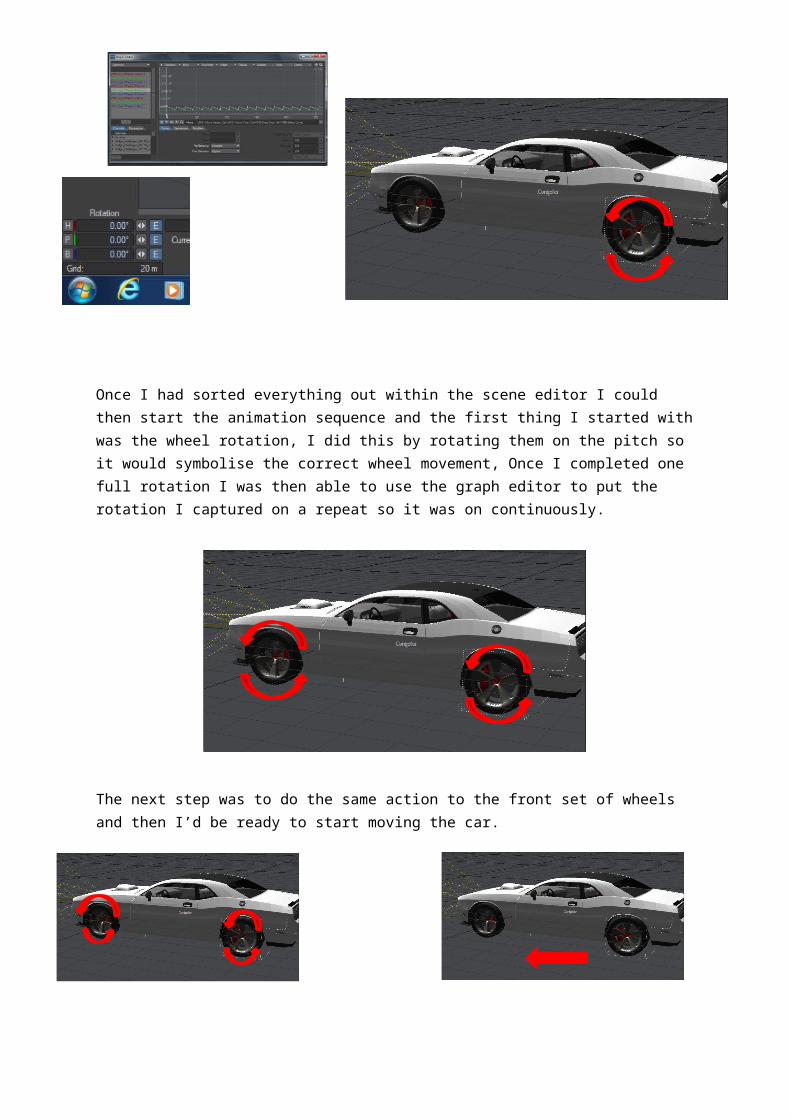
Once I had sorted everything out within the scene editor I could then start the animation sequence and the first thing I started with was the wheel rotation, I did this by rotating them on the pitch so it would symbolise the correct wheel movement, Once I completed one full rotation I was then able to use the graph editor to put the rotation I captured on a repeat so it was on continuously.
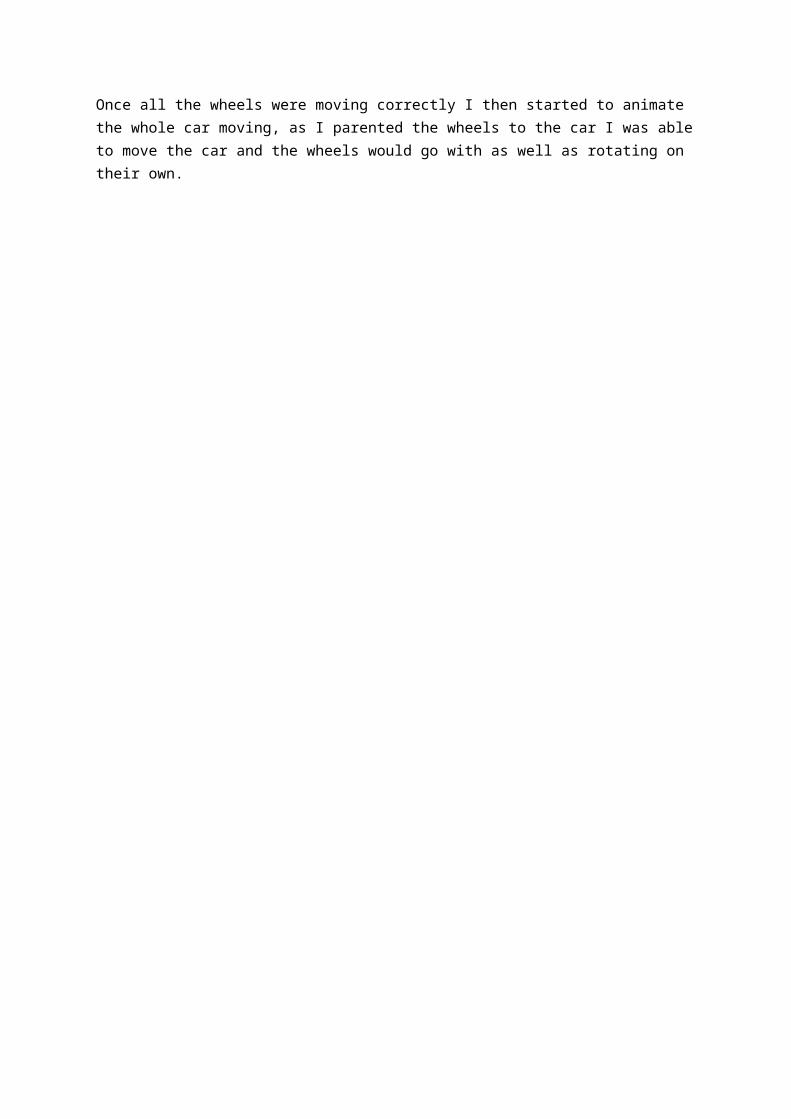
The next step was to do the same action to the front set of wheels and then I’d be ready to start moving the car.
Once all the wheels were moving correctly I then started to animate the whole car moving, as I parented the wheels to the car I was able to move the car and the wheels would go with as well as rotating on their own.
After I had all my movements complete within the animation I was then able to adding more complex things such as creating headlamps and diming the main light to make it look like the car was driving within the night as well as adding an extra shot where the camera acts like a first person controller exiting the car.
Once I was ready to render I made sure all the camera settings were correct within my animation and the save destination was big enough to hold all of the files, I saved the files as Photoshop Stills so if the program was to crash I was able to start from the last still not having to start all over again.
Once my render was complete I was then able to take all of the stills, import them in to Adobe Premiere and export them out as a full video.