Embed Size (px)
Citation preview
Q6. What Have You Learnt About Technologies From
The Process Of Constructing This Product?
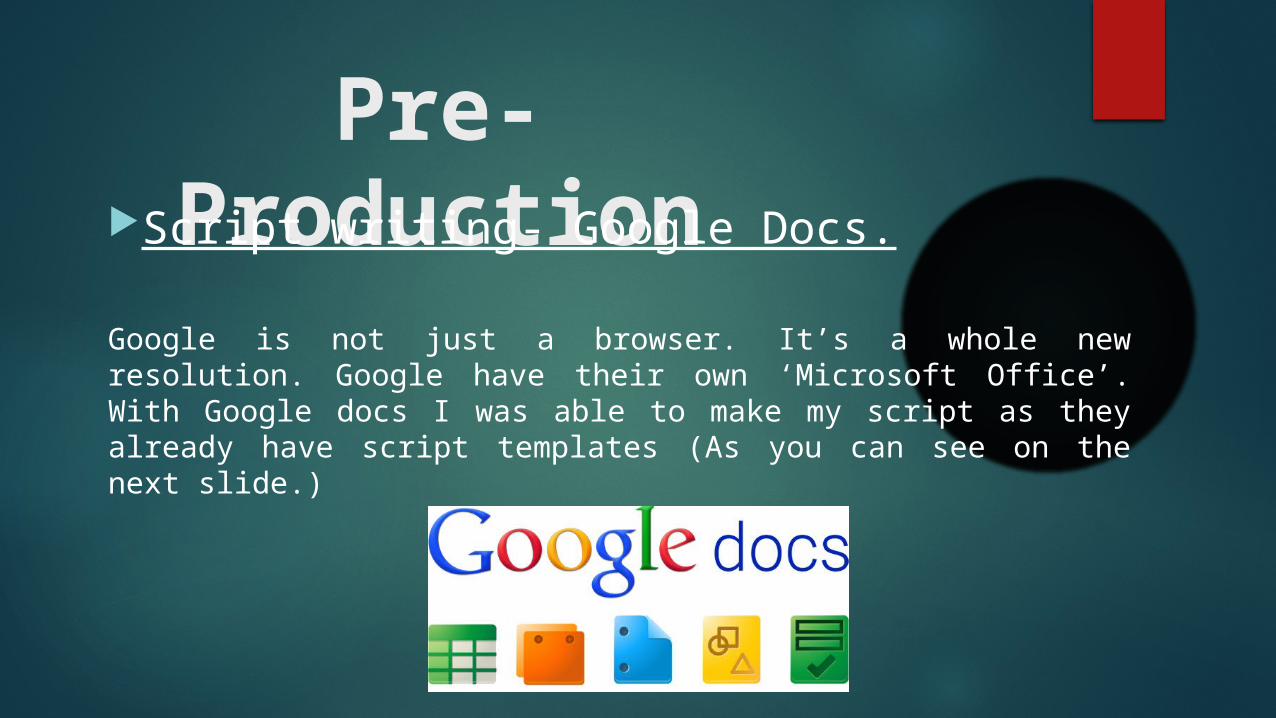
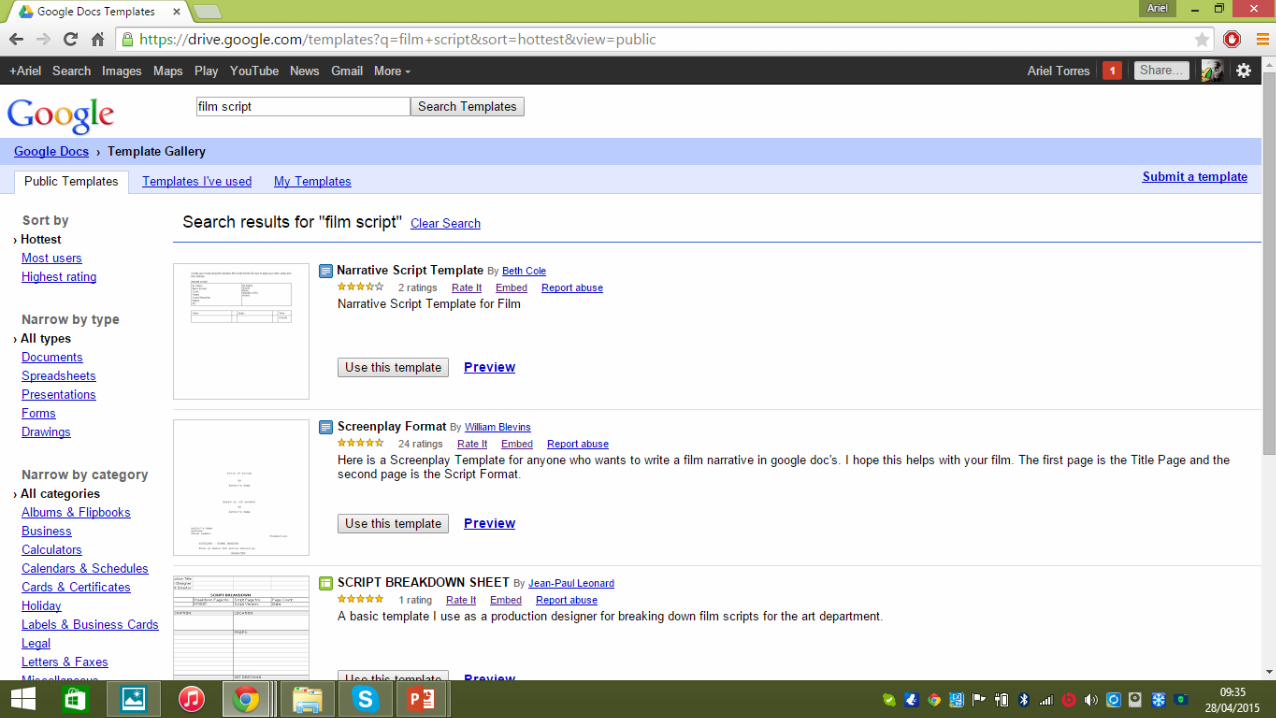
Pre-ProductionScript writing- Google Docs.
Google is not just a browser. It’s a whole new resolution. Google have their own ‘Microsoft Office’. With Google docs I was able to make my script as they already have script templates (As you can see on the next slide.)
Blog- Blogger by Google
Once again Google helped me out on this. By using their application blogger, I was able to post and organise my pre-production preparation. Including casting, story plot and so on.
There is a few things blogger could improve to allow post to be better organised and presented, however it is a free of charge blog so I had to find other ways of fixing those little issues.
I love great presentation specially when it comes to the layout and how pictures are positioned in a blog. Blogger doesn’t meet my standards of how pictures should be presented. You can’t place pictures next to each other so to over come this I found a website which makes collages. This new technology is great! It allowed me to make my pictures better presented in the context of the blog. I used a website called BeFunky. Its got a photo editor and a collage maker.
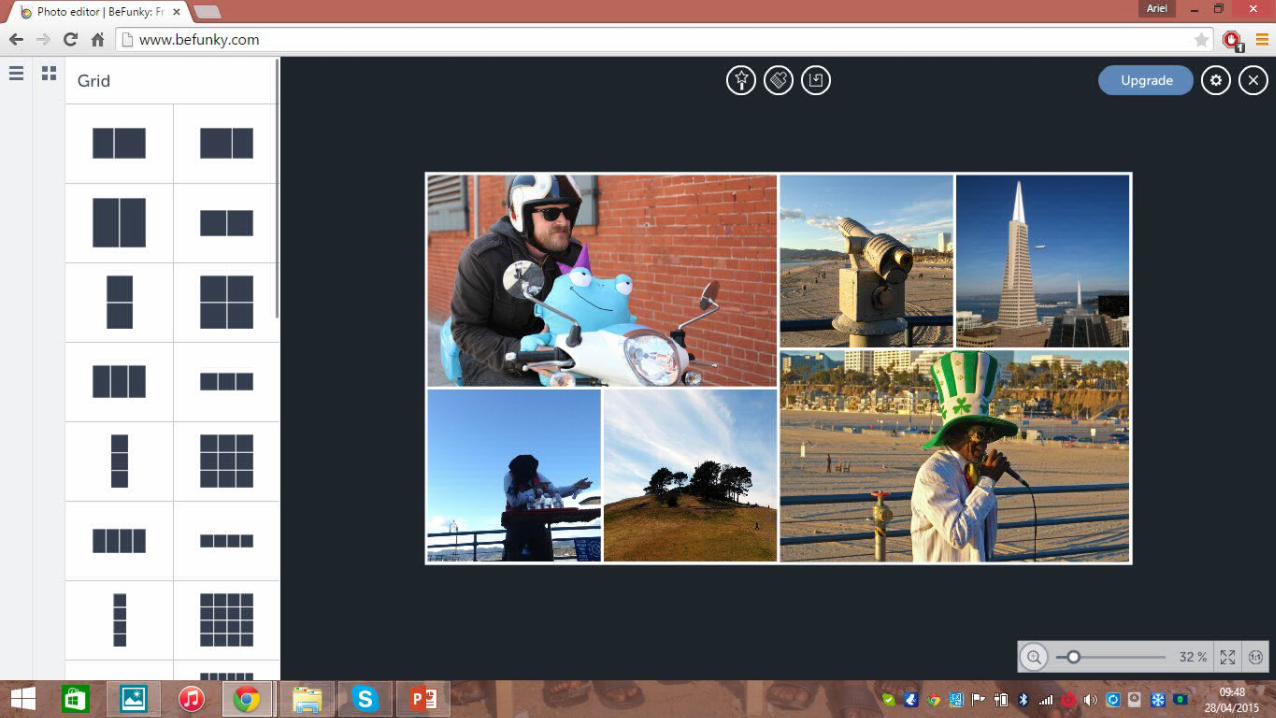
www.befunky.com helped me present my casting blog really well, I was able organised little portfolio collages of my selection of actors as you can see.


SOUTHCOAST ENT. PICTURES institution animation
For my companies animation I used Blender. Blender is a professional free and open-source 3D computer graphics software product used for creating animated films, visual effects, art, 3D printed models, interactive 3D applications and video games.
For this little project in creating a high quality 3D animation for the company I worked with my brother who is a very talented technology guy.
Working with him helped me learn how to make a simple text 3D and how to move the camera in blender to give it that sweep dolly shot of my animation.
I learnt that it’s not a simple process and that a lot of detail needs to be taken into consideration such as controlling the speed of the camera so it’s a smooth run and the effect of lighting on the animation to increase the 3D effect.
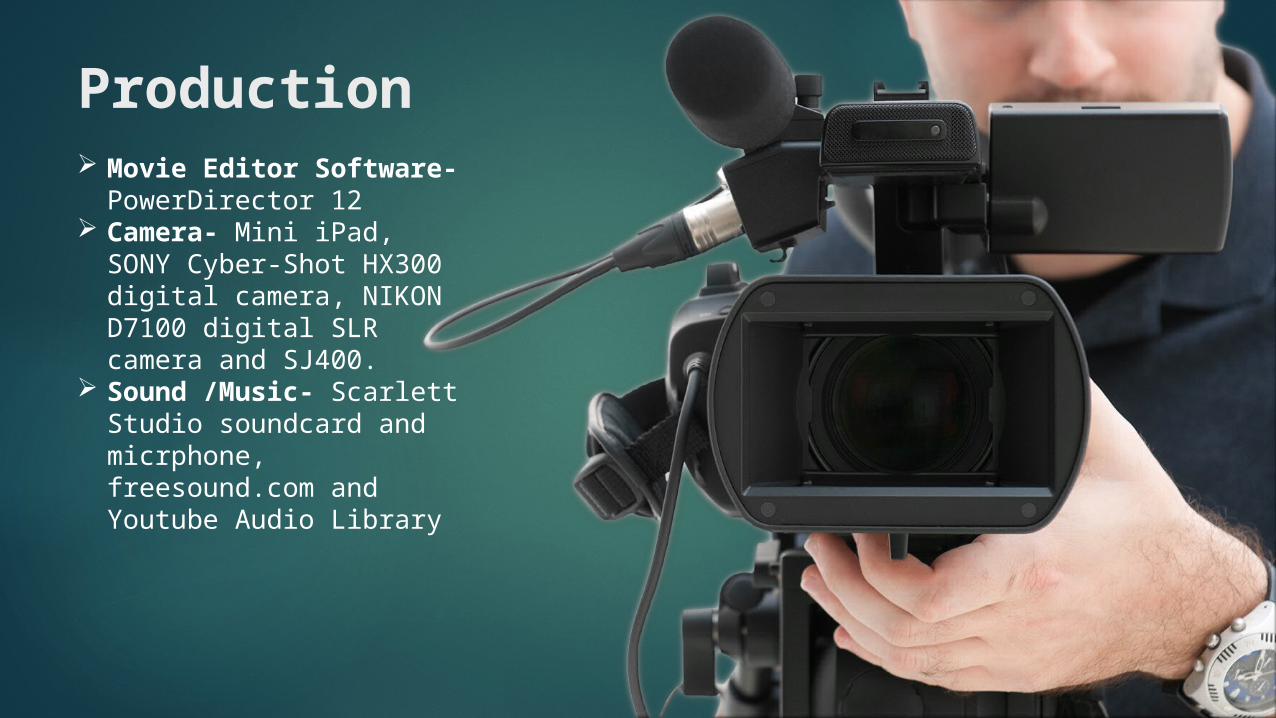
Production Movie Editor Software-
PowerDirector 12 Camera- Mini iPad, SONY
Cyber-Shot HX300 digital camera, NIKON D7100 digital SLR camera and SJ400.
Sound /Music- Scarlett Studio soundcard and micrphone, freesound.com and Youtube Audio Library
Movie Editor Software
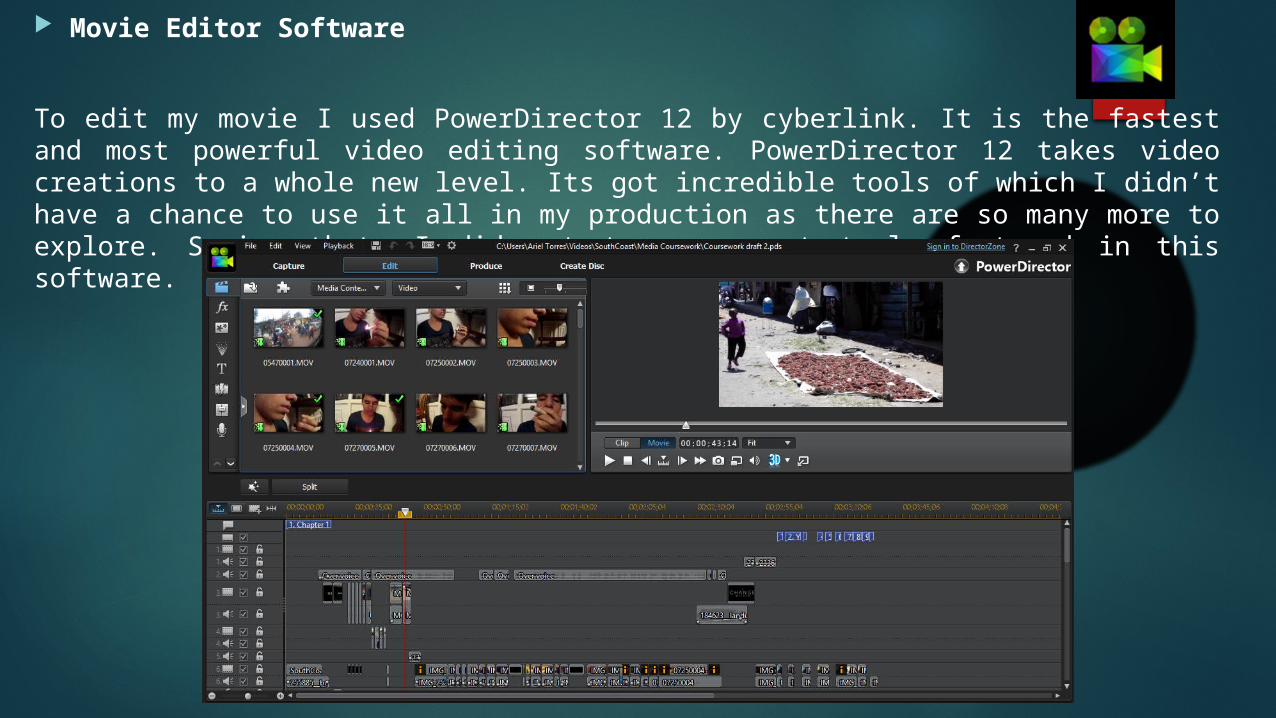
To edit my movie I used PowerDirector 12 by cyberlink. It is the fastest and most powerful video editing software. PowerDirector 12 takes video creations to a whole new level. Its got incredible tools of which I didn’t have a chance to use it all in my production as there are so many more to explore. Saying that, I did get to use great tools featured in this software.
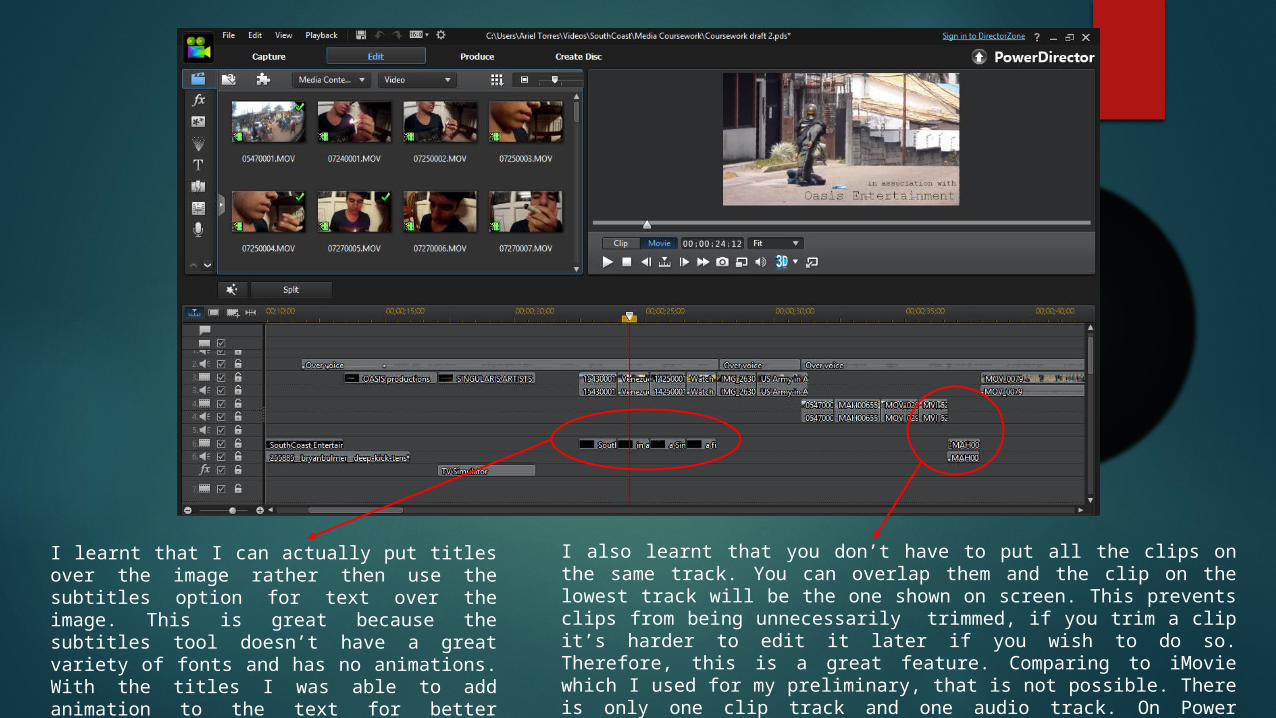
I learnt that I can actually put titles over the image rather then use the subtitles option for text over the image. This is great because the subtitles tool doesn’t have a great variety of fonts and has no animations. With the titles I was able to add animation to the text for better executed credits over my image.
I also learnt that you don’t have to put all the clips on the same track. You can overlap them and the clip on the lowest track will be the one shown on screen. This prevents clips from being unnecessarily trimmed, if you trim a clip it’s harder to edit it later if you wish to do so. Therefore, this is a great feature. Comparing to iMovie which I used for my preliminary, that is not possible. There is only one clip track and one audio track. On Power Director you have multiple audio tracks, clip tracks and FX tracks.
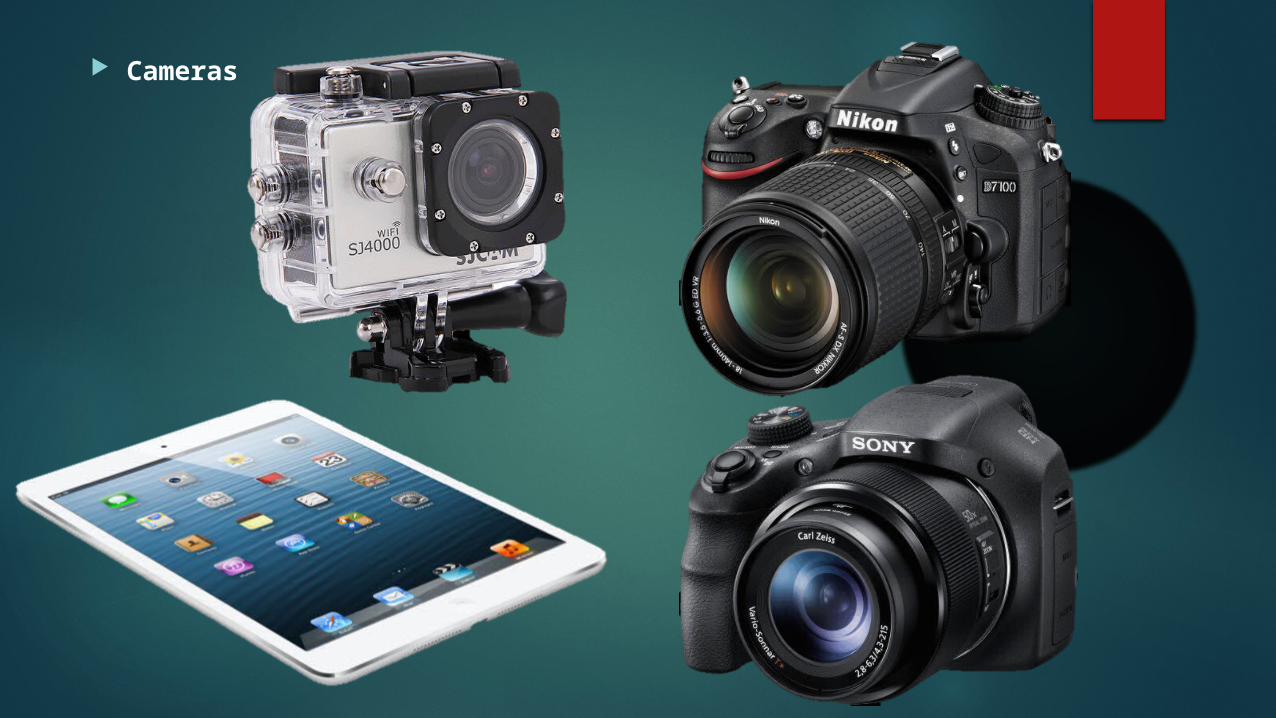
Cameras
Sound
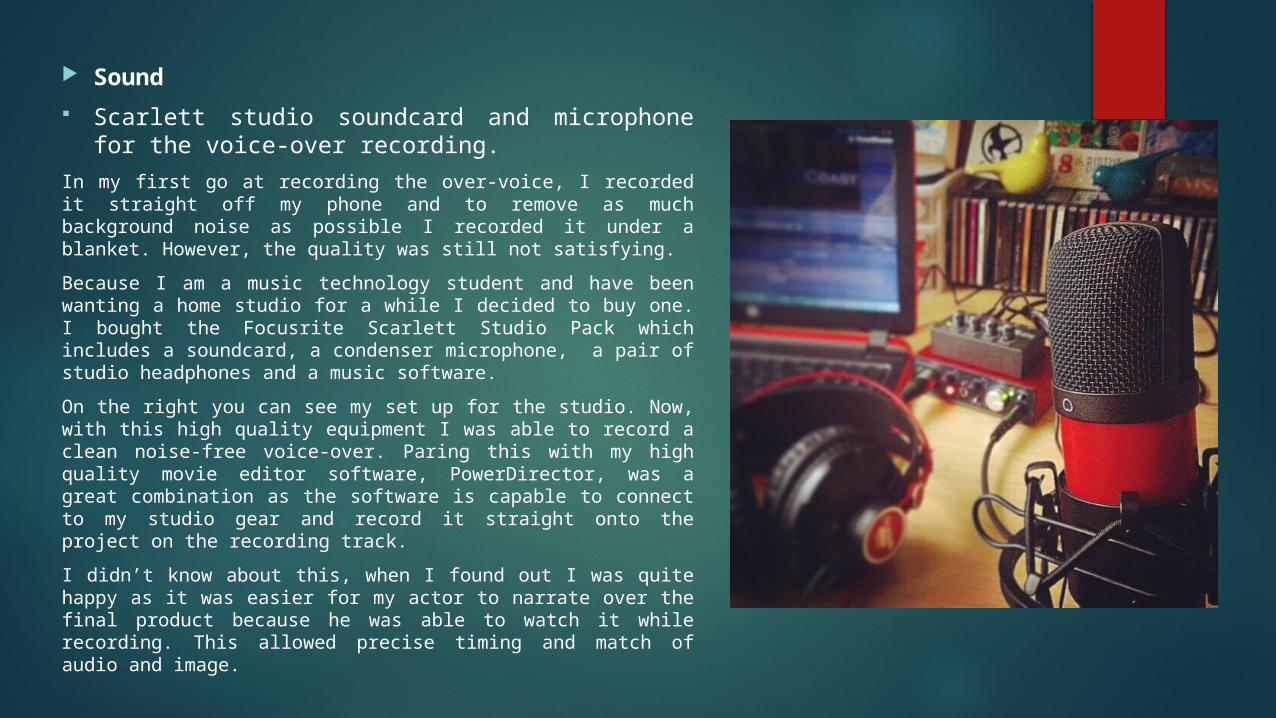
Scarlett studio soundcard and microphone for the voice-over recording.
In my first go at recording the over-voice, I recorded it straight off my phone and to remove as much background noise as possible I recorded it under a blanket. However, the quality was still not satisfying.
Because I am a music technology student and have been wanting a home studio for a while I decided to buy one. I bought the Focusrite Scarlett Studio Pack which includes a soundcard, a condenser microphone, a pair of studio headphones and a music software.
On the right you can see my set up for the studio. Now, with this high quality equipment I was able to record a clean noise-free voice-over. Paring this with my high quality movie editor software, PowerDirector, was a great combination as the software is capable to connect to my studio gear and record it straight onto the project on the recording track.
I didn’t know about this, when I found out I was quite happy as it was easier for my actor to narrate over the final product because he was able to watch it while recording. This allowed precise timing and match of audio and image.
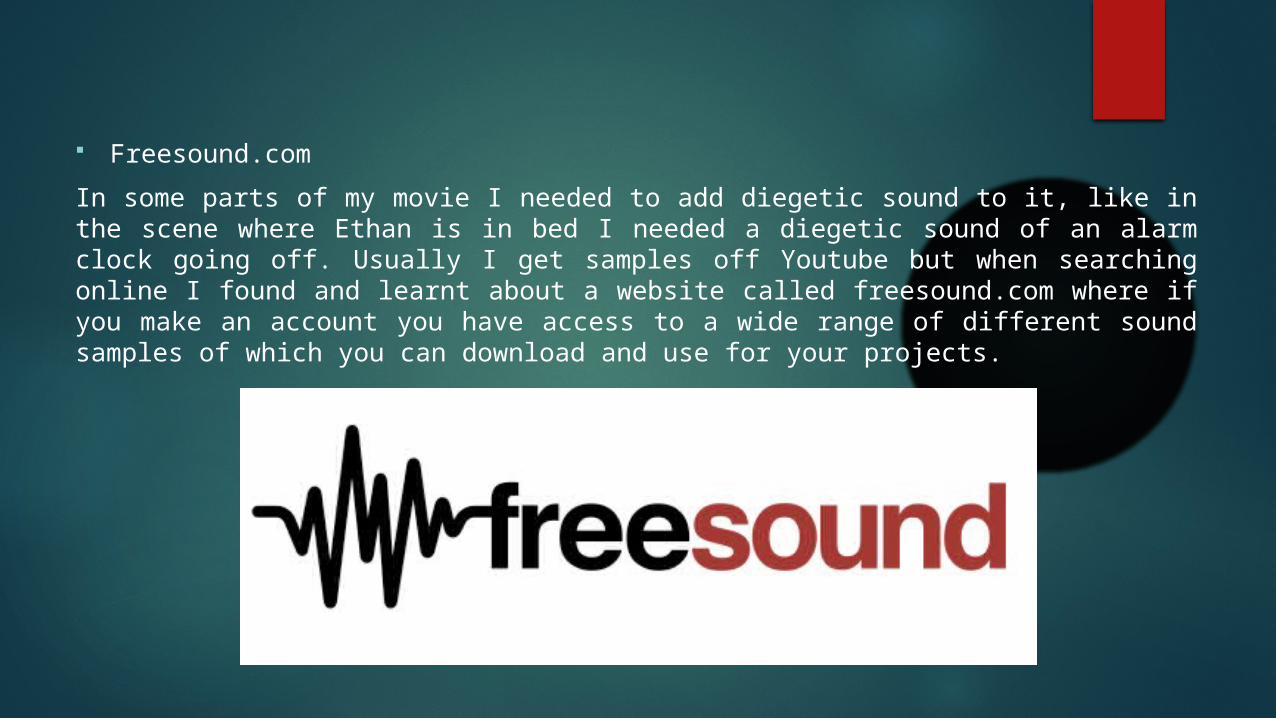
Freesound.com
In some parts of my movie I needed to add diegetic sound to it, like in the scene where Ethan is in bed I needed a diegetic sound of an alarm clock going off. Usually I get samples off Youtube but when searching online I found and learnt about a website called freesound.com where if you make an account you have access to a wide range of different sound samples of which you can download and use for your projects.
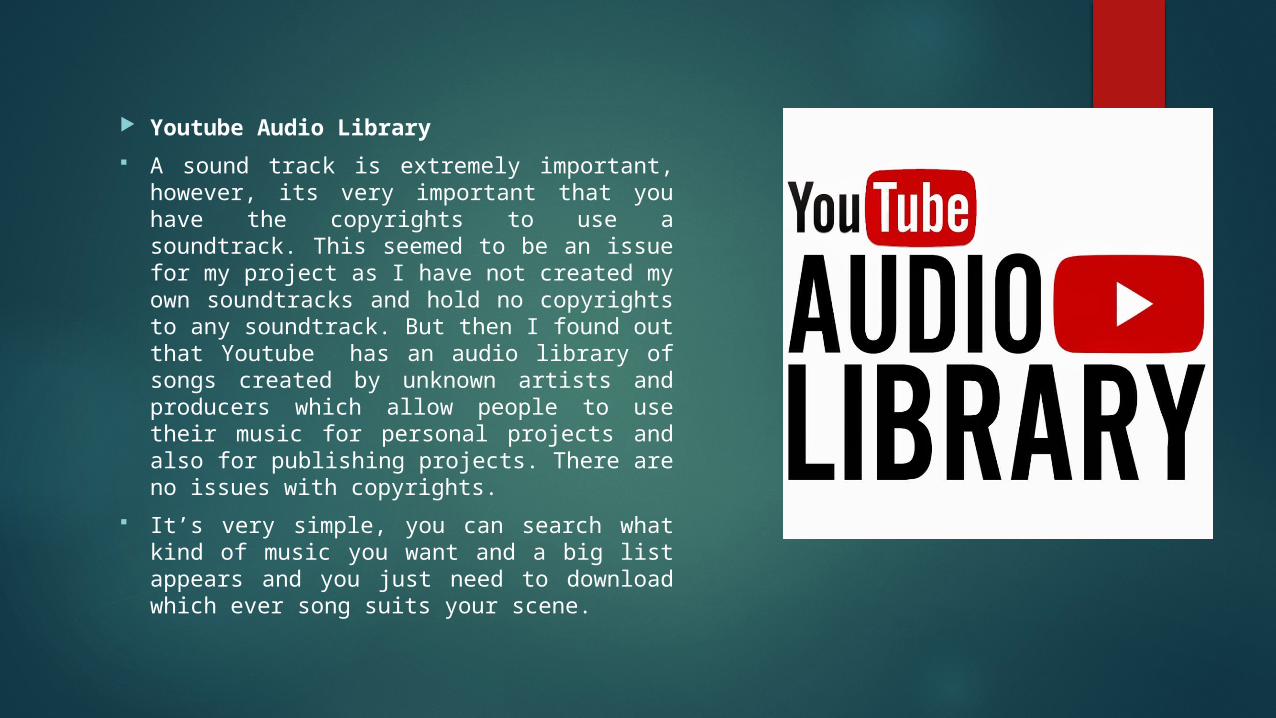
Youtube Audio Library
A sound track is extremely important, however, its very important that you have the copyrights to use a soundtrack. This seemed to be an issue for my project as I have not created my own soundtracks and hold no copyrights to any soundtrack. But then I found out that Youtube has an audio library of songs created by unknown artists and producers which allow people to use their music for personal projects and also for publishing projects. There are no issues with copyrights.
It’s very simple, you can search what kind of music you want and a big list appears and you just need to download which ever song suits your scene.

Conclusion…Well! I have learnt a lot about technology through the production of this product. Many things I already knew from previous projects of mine but I definitely got to explore a bit further with this bigger project.