Embed Size (px)
Citation preview
IoT Exercises (IDAS Gei)(Basic – UL2.0 IoT-Agent)
Contact twitter
@carlosralliContact email
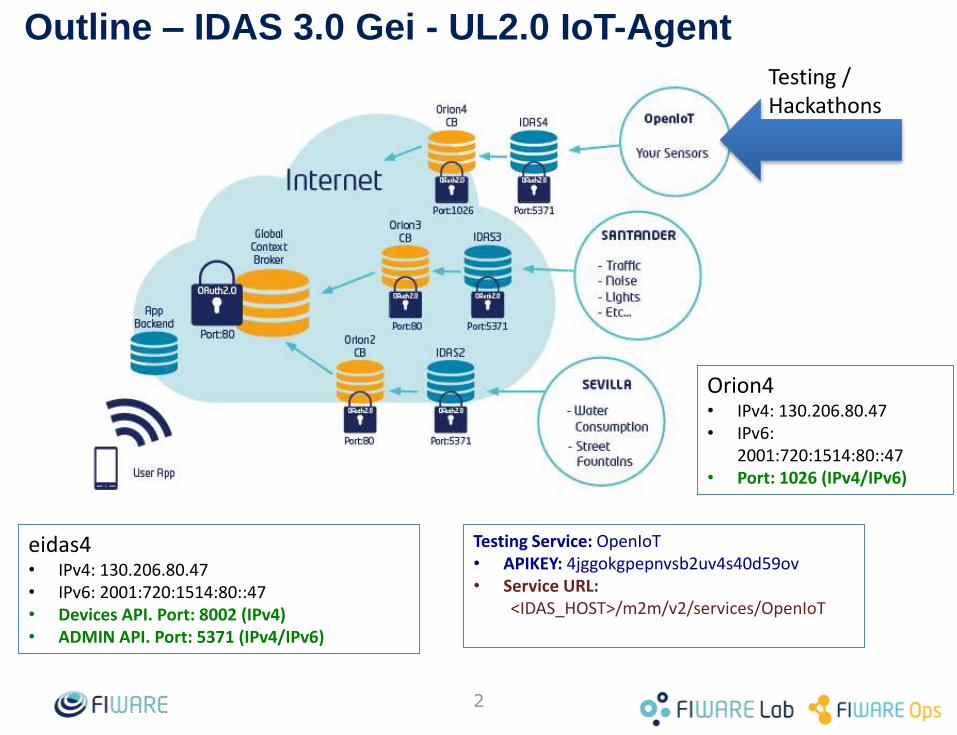
Outline – IDAS 3.0 Gei - UL2.0 IoT-Agent
2
Testing /Hackathons
eidas4• IPv4: 130.206.80.47 • IPv6: 2001:720:1514:80::47• Devices API. Port: 8002 (IPv4)• ADMIN API. Port: 5371 (IPv4/IPv6)
Testing Service: OpenIoT• APIKEY: 4jggokgpepnvsb2uv4s40d59ov• Service URL:
<IDAS_HOST>/m2m/v2/services/OpenIoT
Orion4• IPv4: 130.206.80.47 • IPv6:
2001:720:1514:80::47• Port: 1026 (IPv4/IPv6)
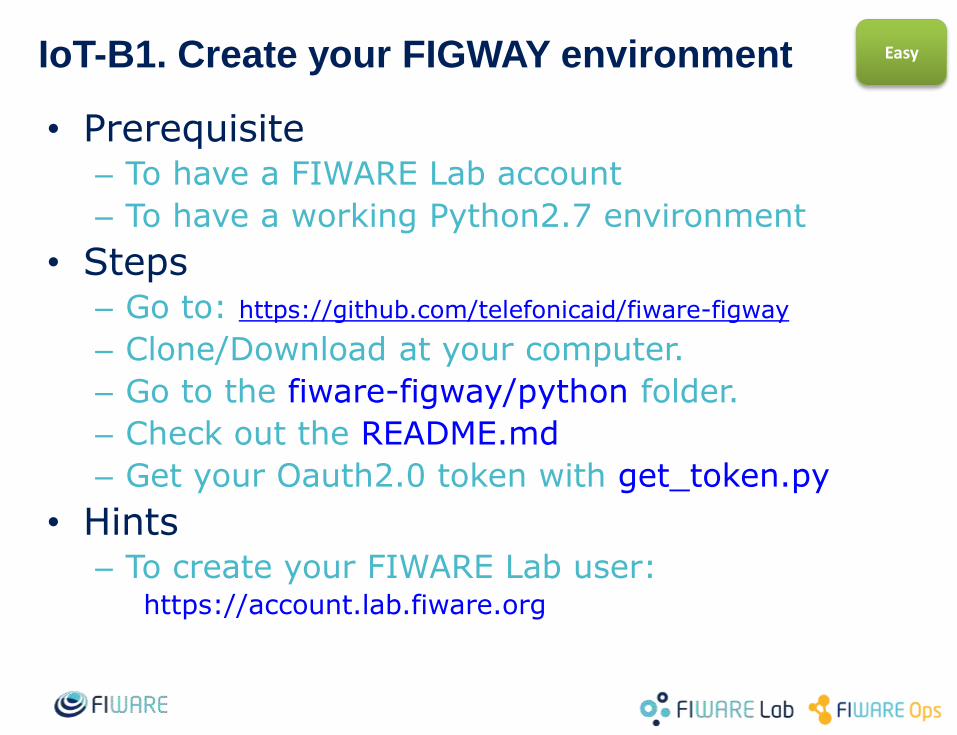
IoT-B1. Create your FIGWAY environment
• Prerequisite– To have a FIWARE Lab account
– To have a working Python2.7 environment
• Steps– Go to: https://github.com/telefonicaid/fiware-figway
– Clone/Download at your computer.
– Go to the fiware-figway/python folder.
– Check out the README.md
– Get your Oauth2.0 token with get_token.py
• Hints– To create your FIWARE Lab user:
https://account.lab.fiware.org
Easy
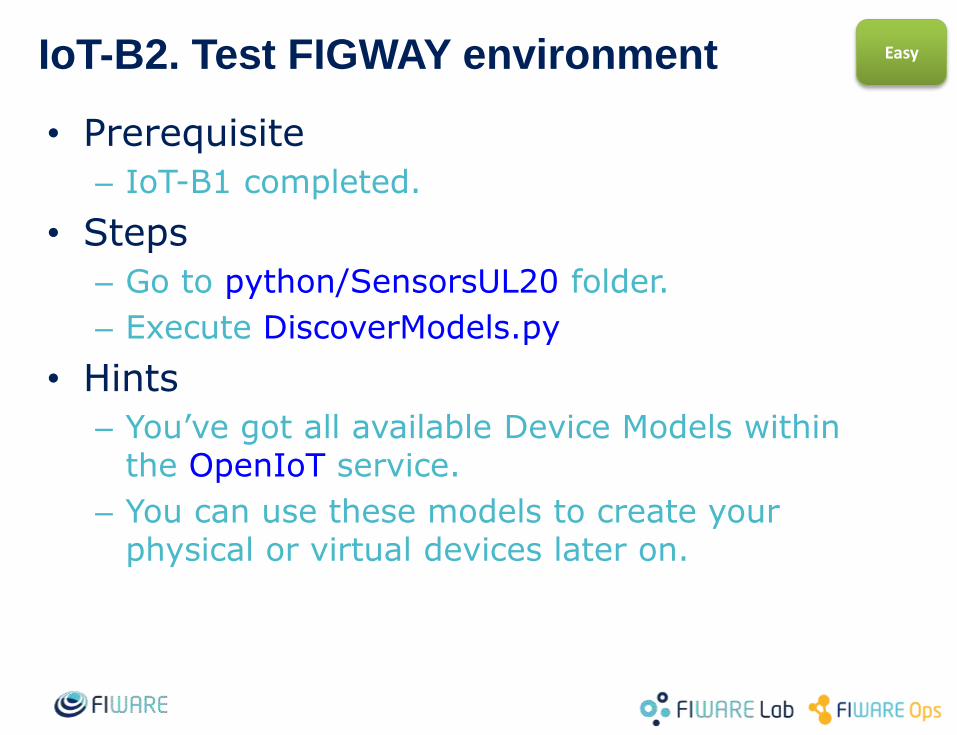
IoT-B2. Test FIGWAY environment
• Prerequisite
– IoT-B1 completed.
• Steps
– Go to python/SensorsUL20 folder.
– Execute DiscoverModels.py
• Hints
– You’ve got all available Device Models within the OpenIoT service.
– You can use these models to create your physical or virtual devices later on.
Easy
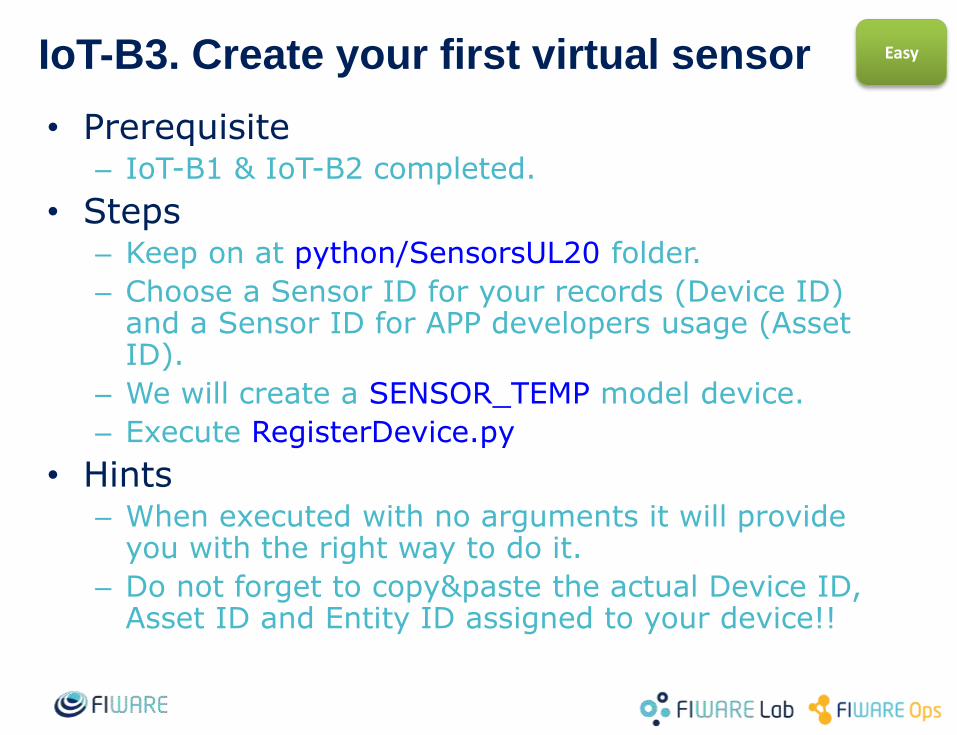
IoT-B3. Create your first virtual sensor
• Prerequisite– IoT-B1 & IoT-B2 completed.
• Steps– Keep on at python/SensorsUL20 folder.
– Choose a Sensor ID for your records (Device ID) and a Sensor ID for APP developers usage (Asset ID).
– We will create a SENSOR_TEMP model device.
– Execute RegisterDevice.py
• Hints– When executed with no arguments it will provide
you with the right way to do it.
– Do not forget to copy&paste the actual Device ID, Asset ID and Entity ID assigned to your device!!
Easy
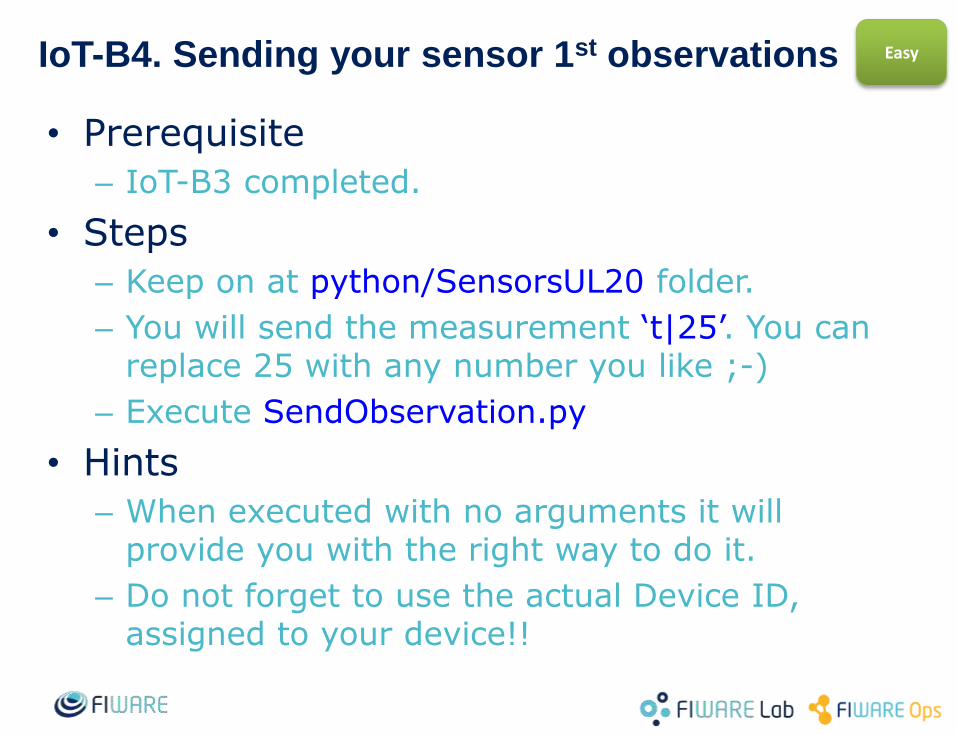
IoT-B4. Sending your sensor 1st observations
• Prerequisite
– IoT-B3 completed.
• Steps
– Keep on at python/SensorsUL20 folder.
– You will send the measurement ‘t|25’. You can replace 25 with any number you like ;-)
– Execute SendObservation.py
• Hints
– When executed with no arguments it will provide you with the right way to do it.
– Do not forget to use the actual Device ID, assigned to your device!!
Easy
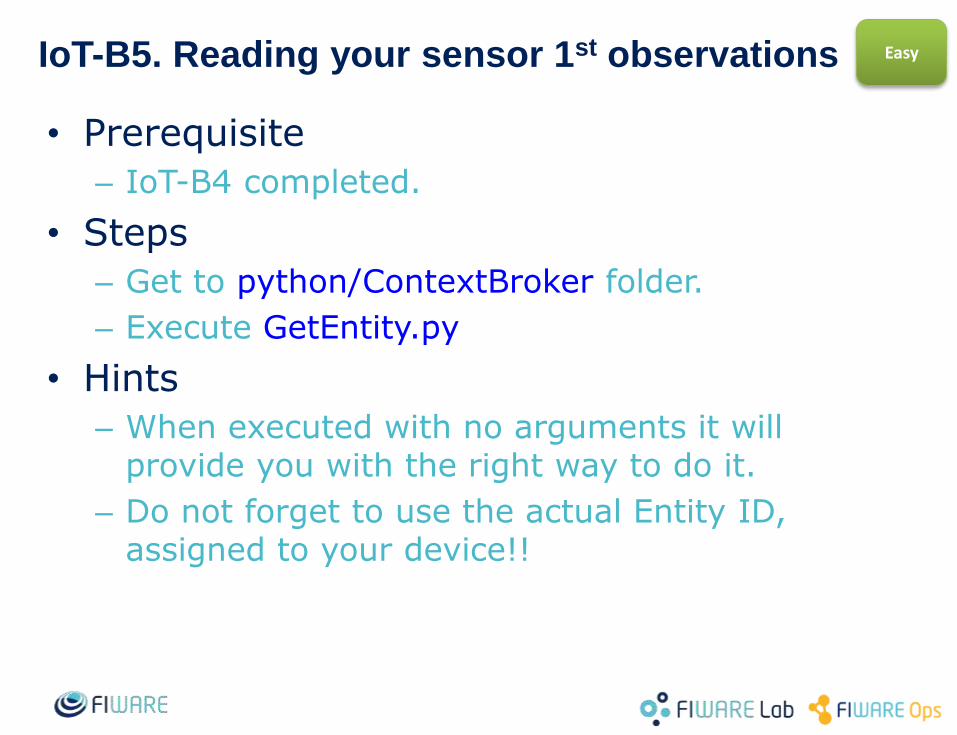
IoT-B5. Reading your sensor 1st observations
• Prerequisite
– IoT-B4 completed.
• Steps
– Get to python/ContextBroker folder.
– Execute GetEntity.py
• Hints
– When executed with no arguments it will provide you with the right way to do it.
– Do not forget to use the actual Entity ID, assigned to your device!!
Easy
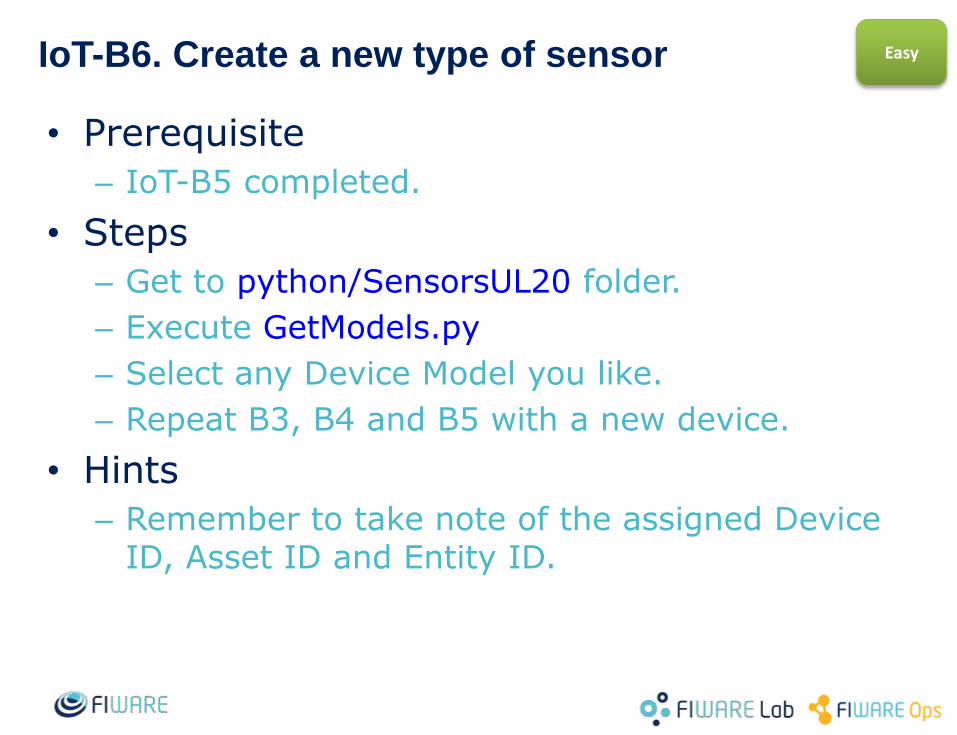
IoT-B6. Create a new type of sensor
• Prerequisite
– IoT-B5 completed.
• Steps
– Get to python/SensorsUL20 folder.
– Execute GetModels.py
– Select any Device Model you like.
– Repeat B3, B4 and B5 with a new device.
• Hints
– Remember to take note of the assigned Device ID, Asset ID and Entity ID.
Easy
IoT-B7. Create a new model of Devices
• Prerequisite– IoT-B5 completed.
• Steps– Get to python/SensorsUL20/models folder.
– Edit SENSOR_MOV and create a new model file for a new device type (e.g. ultrasound measurement meter)
– Execute CreateModel.py
– Repeat B3, B4 and B5 with the new device model.
• Hints– Remember to take note of the assigned Device
ID, Asset ID and Entity ID.
Medium
IoT-B8. Create your 1st Actuator
• Prerequisite
– IoT-B5 completed.
• Steps
– Get to python/SensorsUL20 folder.
– Repeat B3, B4 and B5 with the device model “SWITCH”.
• Hints
– Take note of the assigned Device ID, Asset ID and Entity ID.
Medium
IoT-B9. Send & Get commands to your Actuator
• Prerequisite– IoT-B5 completed.
• Steps– Get to python/SensorsUL20 folder.
– Execute SendCommand.py (no arguments to get on-line help for that).• Example: SendCommand.py 3F:2A:1A:lamp3-Madrid
RawCommand Command 'Set 95-10-23’
– Check the command status (queued now in the platform) with DebugCommand.py
– Get the command from the actuator with GetPoolingCommands.py
• Hints– Take note of the assigned Device ID, Asset ID and
Entity ID.
Medium

IoT-B10. Connect a Physical Device to
FIWARE
• Prerequisite– IoT-B5 completed.– You need a physical Device and a Gateway able to run
Python2.7 (it can be the same device or a RaspberryPI …)
• Steps– Create a model if needed for your device type (IoT-B?).
• If it is a sensor use SENSOR_MOV as a template, if it is an actuator use SWITCH model as template. See SENSOR_ZWAVE_4IN1 to check how multiple capabilities (observations) can be included in the same model.
– Follow B3, B4 and B5 to use your sensor manually or B8 and B9 if it is an actuator.
– Create python scripts to handle your device observations and call SendObservation.py to send them to the platform.
• Hints– You can improve this exercise by creating an APP ontop of
the Orion ContextBroker or a visualization portal with CartoDB or similar (check out the ContextBrokerexercises).
Hard
Thanks!Thanks!


![Exercises basics.ppt [Kompatibilitätsmodus]susi.theochem.tuwien.ac.at/events/ws2017/notes/tutorial-Basic... · Exercises: In the following you find some suggestions for exercises,](https://img.pdfslide.us/doc/110x75/605a5e97c1a84c6efe003e2f/exercises-kompatibilittsmodussusitheochemtuwienacateventsws2017notestutorial-basic.jpg)