Embed Size (px)
DESCRIPTION
A complete HTML (beginner's ) tour
Citation preview

CREATING WEB PAGES USING HTML

By : CHARU GUPTA

INDEX
1. Introduction to HTML2. Importance of HTML3. Understanding HTML elements4. Overall structure of an HTML
document5. Creating list & inserting images6. Hyperlinks & anchors7. Conclusion
3

Introduction to HTML
• HTML= HyperText Markup Language• HYPERTEXT – An ordinary text that has some ‘extra’
features such as formatting, images, multimedia etc.• MARKUP- process of adding ‘extra’ features to
ordinary text.• LANGUAGE- Means it has its own syntax, slang and
rules for proper communication.
4

Short History
• Initially SGML (Standard Generalised Mark-up Language) – A high level language was used by Department of Defense (DoD).
• Later HTML developed as a subset of SGML.• Advantages of HTML:
-- simple-- Best suited for internet transmission.-- lets you create page that can be read on web.
5

Tools for Web Publishing
• The most basic element of any HTML page is ASCII text.
• HTML pages, while they include the .htm or .html file extensions, are simply ASCII text files.
• HTML Editor- Any program that generates ASCII text files.
• e.g.: A word processor or Microsoft word.
6

Importance of HTML
• 1. Used to display any type of document on the host computer.
• 2. A versatile language and can be used on any platform.
• 3. Used to make the text look attractive.• 4. Can link one document with another.
7

Steps to Creating anHTML Document
• Open a text editor.• Create your HTML document
• Head - not displayed with body• Body
• Save the HTML (extension of .htm or .html)• Display your HTML document in WWW browser
window (Open File rather than Open Location).• Check your work and modify as necessary.• Place it on the Web.
8

NOTE:-
• If we create an HTML page in a word processor THEN we use the Save As command to save it as an ASCII text file.
• For checking on the appearance of the web page we have created we need a web browser.
• A web browser should have the ability to load, locate pages from the hard drive.
9

Introduction to HTML
• A web page is made up of elements, each of which is defined by an HTML code or tag.
• Document Tags:- The tags that are required for every HTML page we create.
• HTML document has two distinct parts:1. A Head2. A Body
• Between these two tags, we enter the rest of text and graphics.
10

Understanding Tags
• The HTML tags include < and > symbol on either side of the tag’s command.
• If the symbols are not used then the browser will assume the commands as text.
• HTML elements can be categorized as :Container elementsEmpty elements
11

HOW TAGS WORK??
• The first part of the tag <tag name> turns the tag on.• The ending part of the tag, </tag name>, contains
the "/" slash character.• This "/" slash tells a WWW browser to stop tagging
the text. Many HTML tags are paired this way. Think of the tag as a container.
• If you forget the backslash, a WWW browser will continue the tag for the rest of the text in your document,producing undesirable results.
12

HTML Element
• A container element.• Identifies the document as an HTML document.• The <HTML> element delimits the beginning and
end of HTML document.• Contains only the <HEAD> and <BODY> elements.• Eg. <HTML>
::</HTML>
13
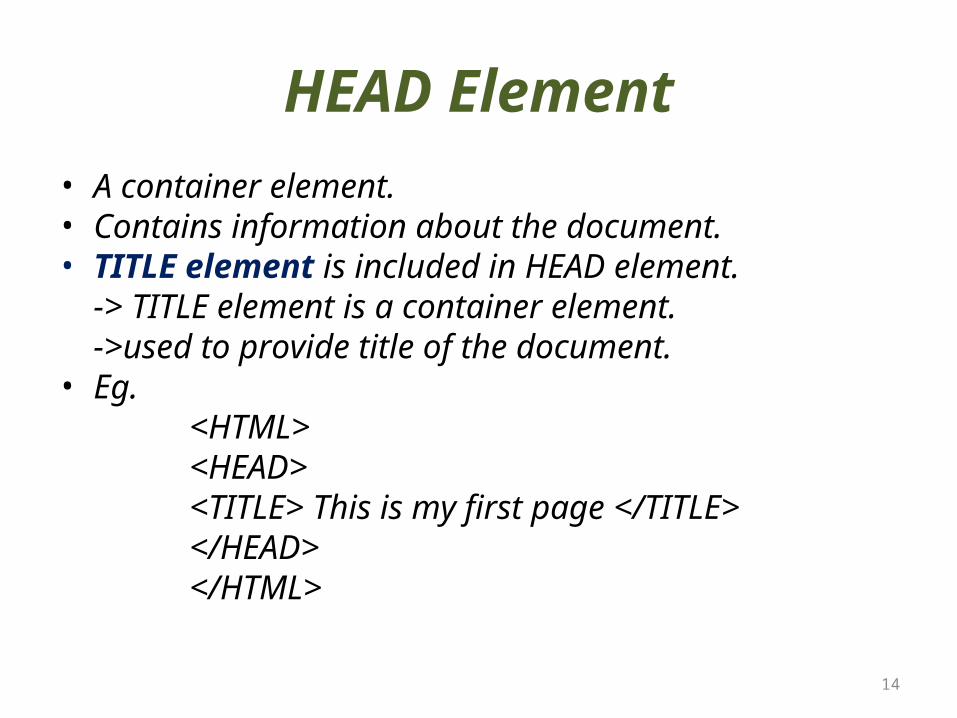
HEAD Element• A container element.• Contains information about the document.• TITLE element is included in HEAD element.
-> TITLE element is a container element.->used to provide title of the document.
• Eg.<HTML><HEAD><TITLE> This is my first page </TITLE></HEAD></HTML>
14

BODY Element
• A container element.• The BODY element contains all the text and images
that make up the page. It also contains HTML elements that provide the control and formatting of the page.
• Eg: <BODY>-------
-------</BODY>
15
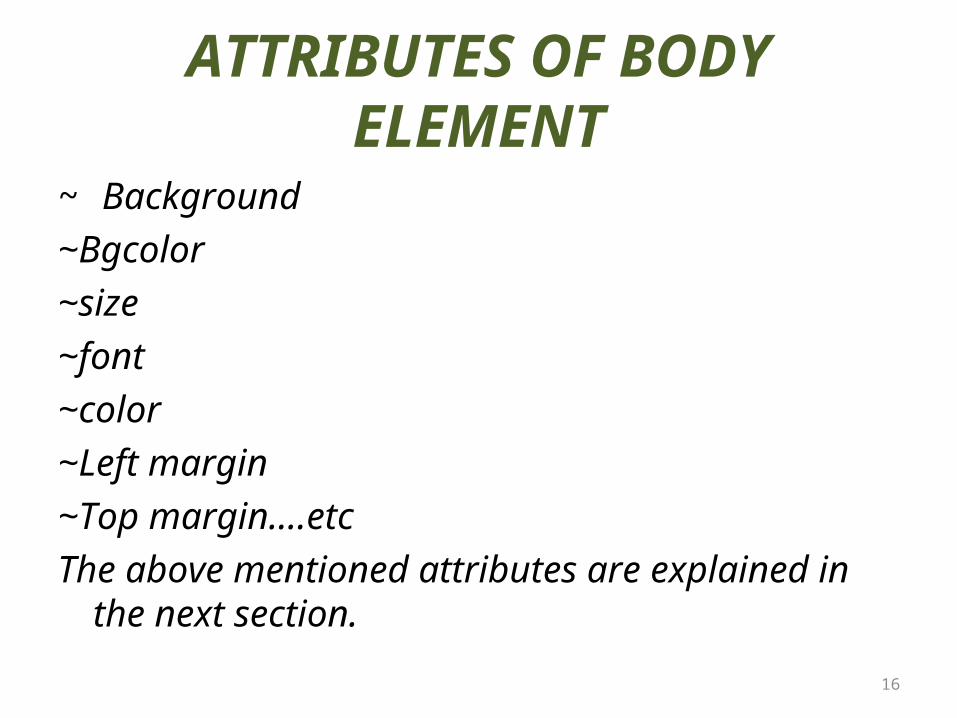
ATTRIBUTES OF BODY ELEMENT
~ Background~Bgcolor~size~font~color~Left margin~Top margin….etcThe above mentioned attributes are explained in the
next section.
16

SYNTAX 1. Background:
<BODY BACKGROUND =“figure.jpg”> ------- </BODY>
2. Bgcolor: <BODY BGCOLOR=“RED”> -------- </BODY>
3. Leftmargin:<BODY LEFTMARGIN= VALUE>--------------</BODY> Where, value is in pixels.
17

Conti…• 4. Topmargin: <BODY TOPMARGIN=VALUE> --------
</BODY>• 5.Size:
<FONT SIZE = VALUE>Where, Default value=3 Valid range= 1-7 6. Color: This attribute changes the colour of the text that will appear on screen.Eg. <BODY> <FONT SIZE=“5” COLOR=“RED”> </FONT> </BODY>
18

WORKING IT OUT

BGCOLOR
<HTML> <HEAD> <TITLE> WELCOME TO OUR SITE </TITLE> </HEAD> <BODY BGCOLOR ="SILVER"> <H1> MY FIRST HTML CODE </H1> </BODY> </HTML>
20

21
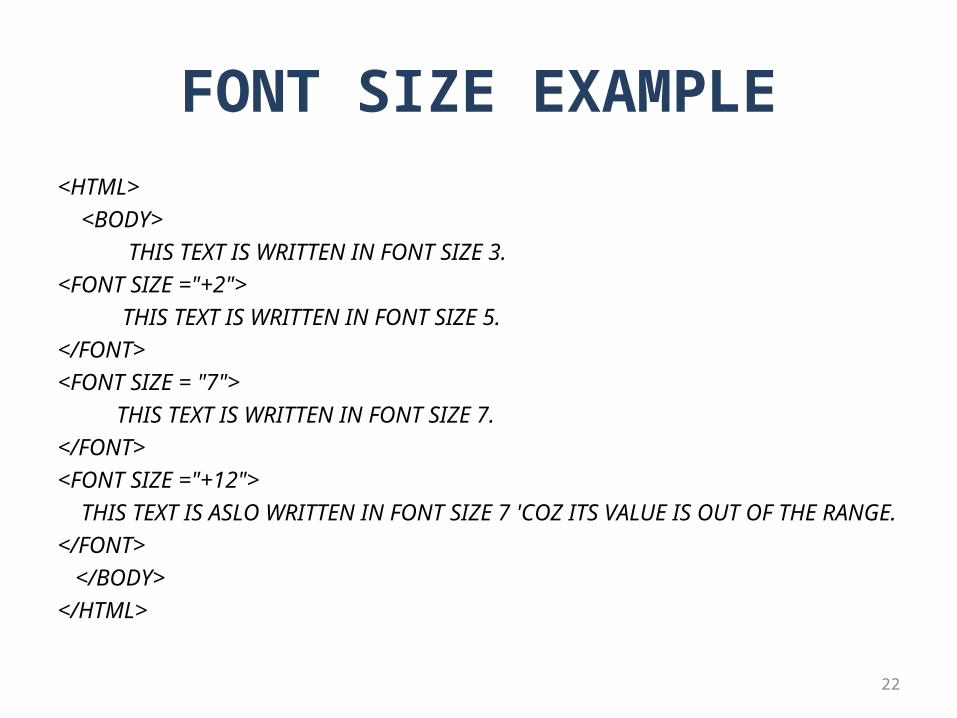
FONT SIZE EXAMPLE<HTML> <BODY> THIS TEXT IS WRITTEN IN FONT SIZE 3.<FONT SIZE ="+2"> THIS TEXT IS WRITTEN IN FONT SIZE 5.</FONT><FONT SIZE = "7"> THIS TEXT IS WRITTEN IN FONT SIZE 7.</FONT><FONT SIZE ="+12"> THIS TEXT IS ASLO WRITTEN IN FONT SIZE 7 'COZ ITS VALUE IS OUT OF THE RANGE.</FONT> </BODY></HTML>
22

23

COLOR TESTING<HTML> <HEAD> <TITLE> COLOR TESTING </TITLE> </HEAD> <BODY> <FONT SIZE="5" COLOR="RED"> THIS TEXT IS WRITTEN IN FONT SIZE 5 AND IN RED COLOR. </FONT> </BODY></HTML>
24

25

LEFT MARGIN
<HTML> <HEAD> <TITLE> TESTING THE LEFT MARGIN </TITLE> </HEAD> <BODY LEFT MARGIN = “45"> LET US SET LEFT MARGIN. </BODY> </HTML>
The above example will give an output, where the text between the <BODY> element will be indented 45 pixels from the left hand side of the page.
26

27
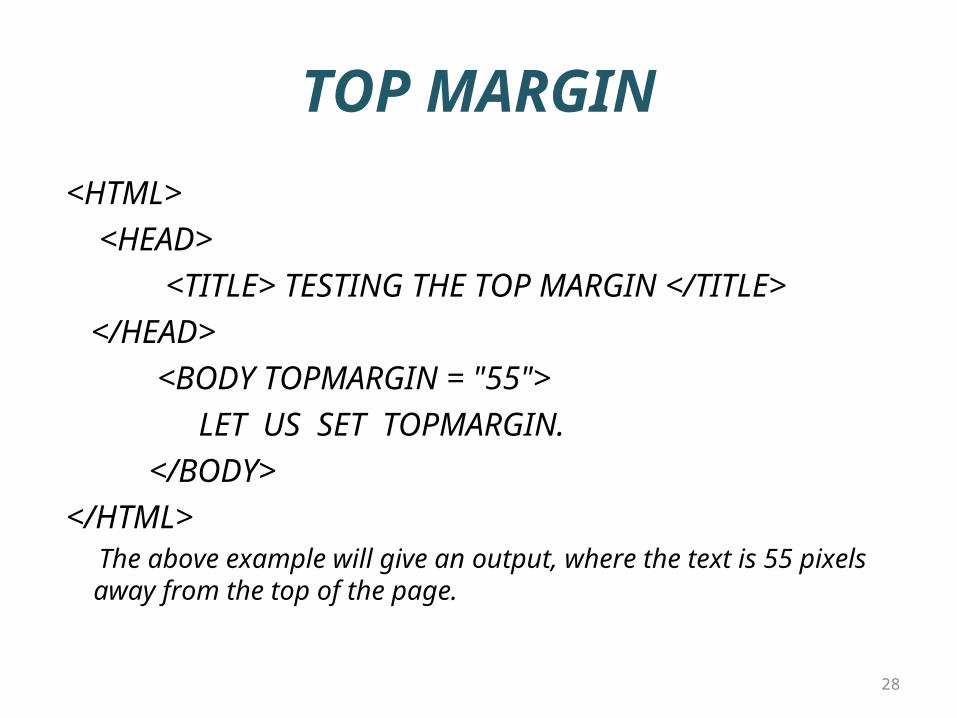
TOP MARGIN
<HTML> <HEAD> <TITLE> TESTING THE TOP MARGIN </TITLE> </HEAD> <BODY TOPMARGIN = "55"> LET US SET TOPMARGIN. </BODY> </HTML> The above example will give an output, where the text is 55 pixels away
from the top of the page.
28

29

HEADING Element
HTML defines six levels of heading. The heading element is written as:
<Hn>………………………</Hn>Where n - level of heading and can take values from 1 to 6.
H1 -- most prominent heading ,while H6 --least prominent heading.Headings are usually displayed in bolder and larger font than the normal text.
NOTE: (From the example next)- An extra line is generally inserted above and below the heading.
30

HTML CODE
<HTML> <BODY> <H1> HEADING ONE</H1> <H2>HEADING TWO</H2> <H3>HEADING THREE</H3> <H4>HEADING 4 </H4> <H5> HEADING FIVE</H5> <H6>HEADING SIX</H6> </BODY></HTML>
31

32

PARAGRAPH Element
• The PARAGRAPH Element <P> indicates a paragraph.• This element is used to insert a line break with extra space in
the beginning.• The paragraph can be aligned by using the ALIGN attribute.• The ALIGN = LEFT/CENTER/RIGHT attribute can be added to
the <H1> through to <H6> elements.• SYNTAX:
<P> ……………………………..</P>
33

HTML CODE
<HTML> <BODY> <P> THIS IS FIRST PARAGRAPH </P>
<P ALIGN="CENTER"> THIS IS SECOND PARAGRAPH WHICH IS CENTER ALIGNED
</P><P ALIGN ="RIGHT"> THIS IS THIRD PARAGRAPH WHICH
IS RIGHT ALIGNED </P>
</BODY></HTML>
34

35

STYLE TAGS
1. B (BOLD) Syntax: <B> ---------- </B>2. I (ITALIC) Syntax: <I> ----------- </I>3. SUB (Subscript) Syntax: <SUB> ---------- </SUB>4. SUP (Super script)
Syntax: <SUP> ---------- </SUP>
36

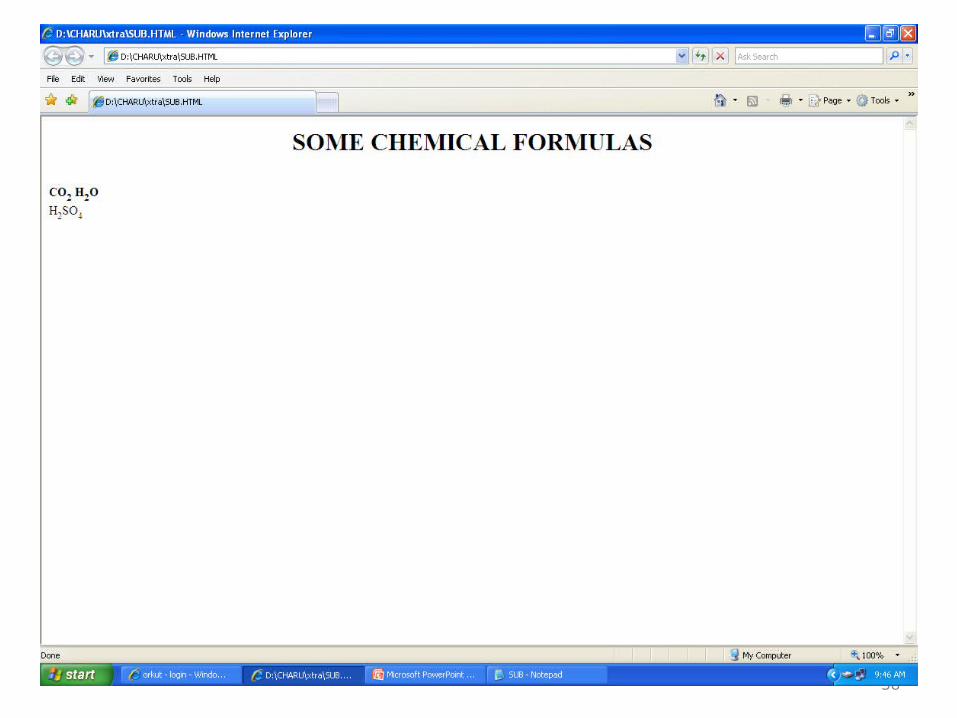
HTML code for BOLD & SUBSCRIPT
<HTML><BODY>
<H1 ALIGN="CENTER"><B> SOME CHEMICAL FORMULAS</B></H1> <BR>
<B>CO<SUB>2</SUB></B><B>H<SUB>2</SUB>O<BR></B>H<SUB>2</SUB>SO<SUB>4</SUB>
<BODY><HTML>
37
38

HTML code for ITALIC & SUP
<HTML> <BODY><H1 ALIGN="CENTER"><B> <I>SOME MATHEMATICAL
FORMULAS</I></B></H1> <BR> (A+B) <SUP>2</SUP>=A<SUP>2</SUP> + B<SUP>2</SUP> +
2AB<BR>(A-B) <SUP>2</SUP>=A<SUP>2</SUP> + B<SUP>2</SUP> - 2AB </BODY></HTML>
39

40

Overall structure of an HTML document
<html><head><title>The Title of the Document</title></head><body bgcolor="white">...</body></html>
41

CREATING LIST AND INSERTING IMAGES

Making Lists
• HTML supports several types of list elements that should be included within the BODY element of the document.
• The tag used to indicate an item is LI.• <LI> tag is an empty element.• List can be of two types:Ordered listUnordered list
43
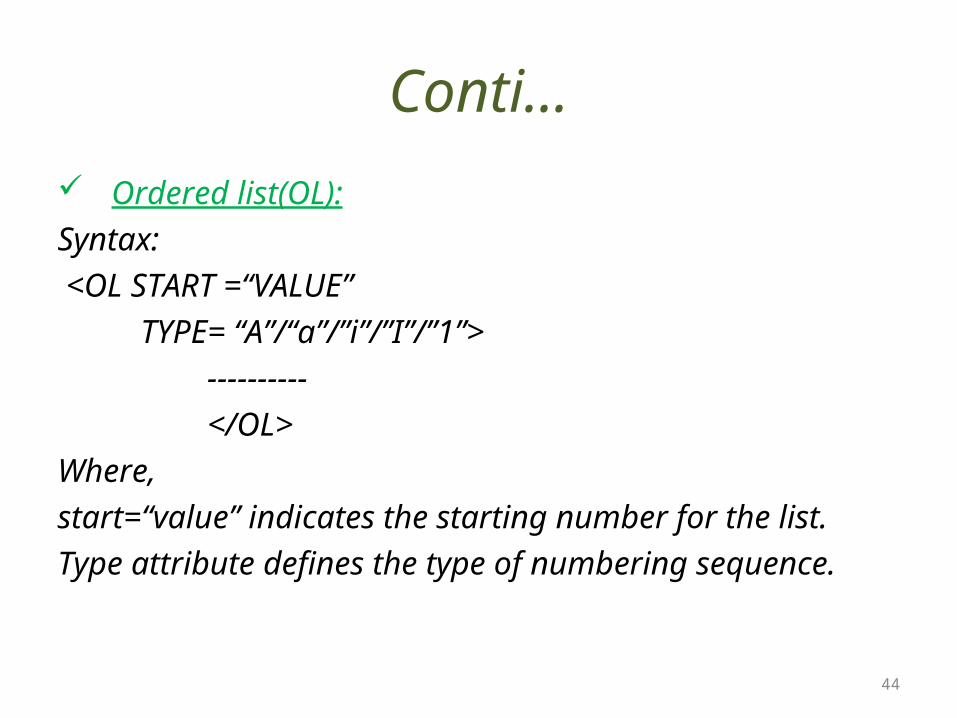
Conti… Ordered list(OL):Syntax: <OL START =“VALUE” TYPE= “A”/“a”/”i”/”I”/”1”>
----------</OL>
Where, start=“value” indicates the starting number for the list.Type attribute defines the type of numbering sequence.
44

Conti… Unordered list(UL):• Syntax:
<UL TYPE = “CIRCLE”/”DISC”/”SQUARE”>--------</UL>
TYPE attribute can be one of the following:~ CIRCLE: Specifies a bullet.~ DISC: Specifies a solid round bullet.~ SQUARE: Specifies a square bullet.
45
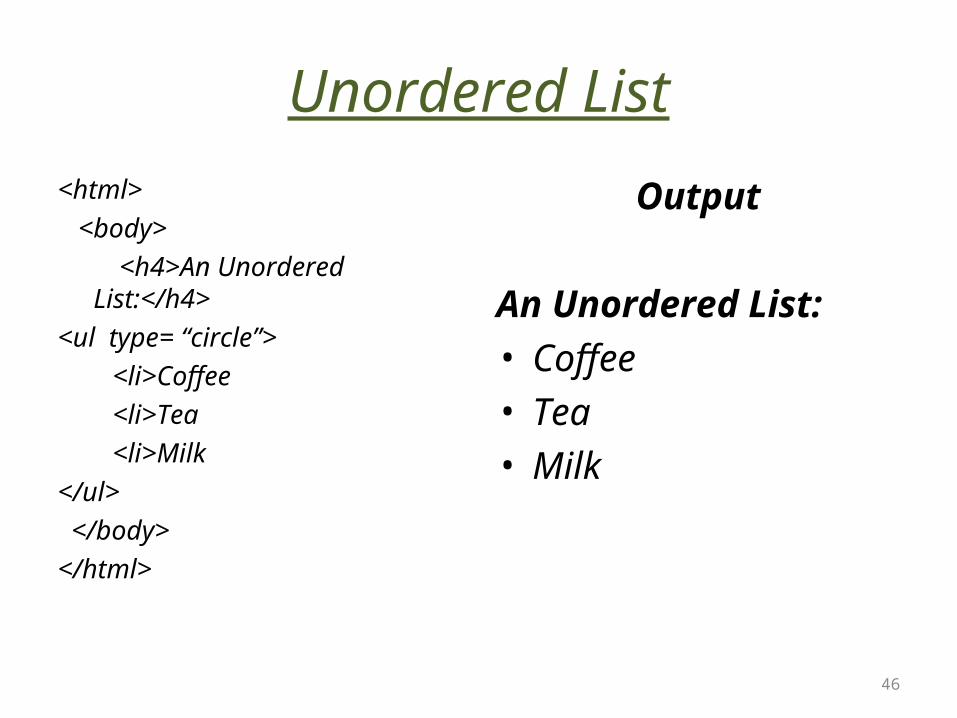
Unordered List<html> <body> <h4>An Unordered List:</h4><ul type= “circle”> <li>Coffee <li>Tea <li>Milk</ul> </body></html>
Output
An Unordered List:• Coffee • Tea • Milk
46

47

Ordered List<html> <body><h4>An Ordered List:</h4>
<ol start=“1” type= “1”> <li>Coffee <li>Tea <li>Milk</ol>
</body></html>
Output
An Ordered List:1.Coffee 2.Tea 3.Milk
48

49

INSERTING IMAGES IMG Element:• The IMG tag specifies an image to be displayed in an HTML document.• It is an empty element.• Syntax:
<IMGSRC = IMAGE_URLALIGN= ALIGNMENTBORDER= BORDER WIDTH_VALUEHEIGHT= HEIGHT_VALUEWIDTH= WIDTH_VALUEALT = TEXT>
50

DESCRIPTION• SRC: The value is the URL of the image to be displayed.Eg; <IMG SRC = “CLOUDS.GIF”>• ALIGN: Used to determine the vertical alignment of the text adjacent to
the image.By default navigator uses BOTTOM.
Eg: <IMG SRC = “CLOUDS.GIF” ALIGN = “LEFT”><IMG SRC = “CLOUDS.GIF” ALIGN = “RIGHT”><IMG SRC = “CLOUDS.GIF” ALIGN = “BOTTOM”><IMG SRC = “CLOUDS.GIF” ALIGN = “TOP”>
• BORDER: Specifies the width of a border around the image. The value must be a positive integer.
Eg: <IMG SRC = CLODS.GIF” BORDER = “3”>
51

CONTI…• HEIGHT: Specifies the height of an image either in the form of an integer
or as a percentage of the height of the window.Eg: <IMG SRC =“ CLOUDS.GIF” BORDER =“3” HEIGHT = 20%>• WIDTH : Specifies the width of an image either in the form of an integer or
as a percentage of the width of the window.Eg: <IMG SRC= “SKY.GIF” BORDER= “3” HEIGHT= 20% WIDTH= 50%>• ALT : Used to give alternate text that will be displayed in place of the
image.USAGE: This is required when the user needs to stop the display of images
while retrieving a document in order to make the retrieval faster or when the browser does not support graphics.
Eg: <IMG SRC=“SKY.GIF” ALT= “CLOUDS IN THE SKY”>
52

EXAMPLE
<html> <body> <img border="0"
src="/images/google.jpg" width="304"
height="228“ >
</body></html>
53

54

HYPERLINKS AND ANCHORS

INTRODUCTION ANCHOR ELEMENT : The Anchor element <A> marks the text as a hypertext link, that the
user can click to display an anchor as a document. The <A> or anchor tag is used for creating hypertext links. This tag is a
container tag and requires </A> to mark the end of the text, images. Syntax:
<A HREF =“URL” > TEXT DESCRIBING LINK </A>DESC: If the above statement is displayed in a browser, the words
TEXT DESCRIBING LINK would appear underlined and in another color to indicate that clicking that text starts the execution of the hypertext link.
56

CONTI…• HREF The HREF attribute make the text enclosed between the opening <A> and
closing </A> anchor elements as hypertext. If the user selects this hypertext the control moves to the document
specified by the value of the attribute.Eg: <A HREF = “SHAPE.HTM”> CLICK HERE </A>In the above example selecting the hypertext CLICK HERE takes the reader to
the document named SHAPE.HTM• SELECTION LINKS : Create links to other parts of the same document in
which link appears. This requires two instances of the anchor tag- one that serves as a
hypertext link and another that acts as a reference point for that link.
57
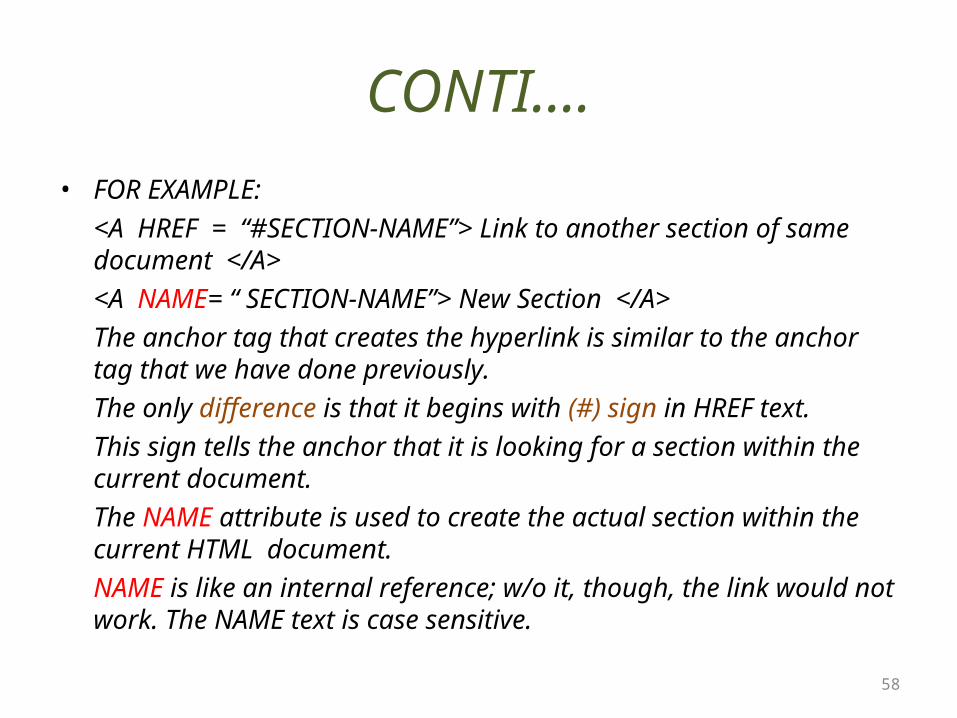
CONTI….• FOR EXAMPLE:
<A HREF = “#SECTION-NAME”> Link to another section of same document </A><A NAME= “ SECTION-NAME”> New Section </A>The anchor tag that creates the hyperlink is similar to the anchor tag that we have done previously.The only difference is that it begins with (#) sign in HREF text.This sign tells the anchor that it is looking for a section within the current document.The NAME attribute is used to create the actual section within the current HTML document.NAME is like an internal reference; w/o it, though, the link would not work. The NAME text is case sensitive.
58

HYPERTEXT LINK EXAMPLE

Source Document
<html> <head> <title>Source Document</title> </head><body><a href="target.html#danger"> Better look here </a></body></html
60

Target Document
<html> <head> <title>Target Document</title> </head> <body>....….<a name="danger"> </a><h2> Chapter 17: Dangerous Shell Commands</h2>Never execute a shell command that inadvertently changesall vowels to the character 'x'. </body></html
61

62
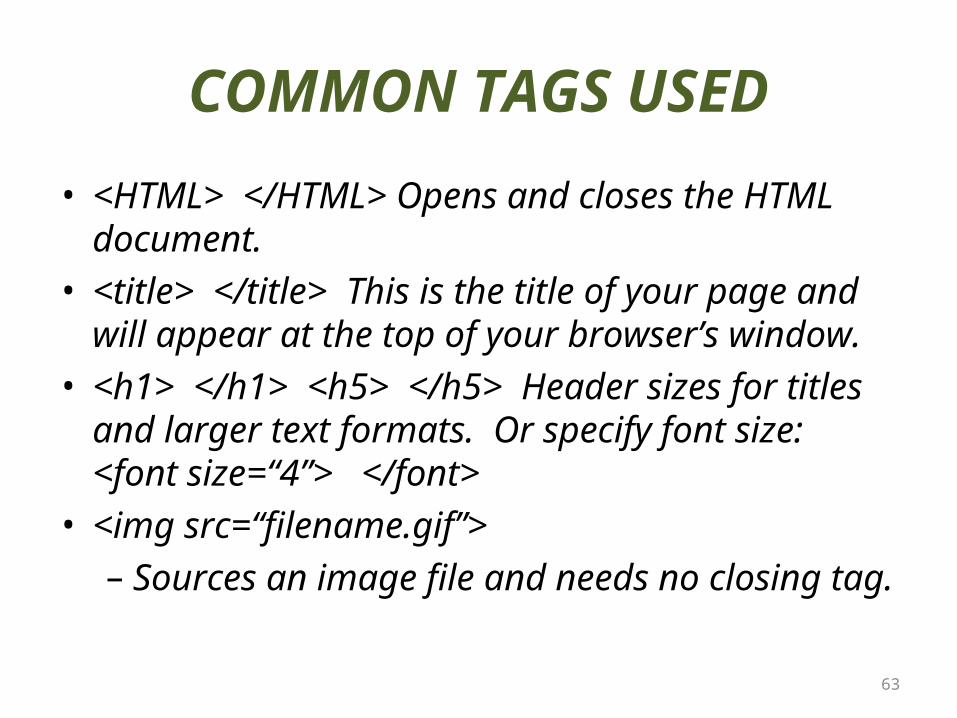
COMMON TAGS USED
• <HTML> </HTML> Opens and closes the HTML document.
• <title> </title> This is the title of your page and will appear at the top of your browser’s window.
• <h1> </h1> <h5> </h5> Header sizes for titles and larger text formats. Or specify font size: <font size=“4”> </font>
• <img src=“filename.gif”> – Sources an image file and needs no closing tag.
63

COMMON TAGS USED
• <a href=“filename.html”> Place URL </a> – Links text or images to the designated file.
• <b> text </b> Bold text.• <i> text </i> Italic text.• <u> text </u> Underline text.• <br> (no closing) Line break.• <hr> (no closing) Horizontal line.
64

POINTS TO REMEMBER There are two kinds of HTML elements used to construct an
HTML document. These are container and empty elements. An HTML document should start with a container HTML tag
and end with a closing HTML tag. The HTML tags are not case sensitive. The image to be copied should have an extension GIF or JPEG. The items in a list will be displayed in a bulleted form if TYPE
attribute is not given.
65

POINTS TO REMEMBER There are five ways in which we can number the list. The IMG tag specifies an image to be displayed in a HTML
document. The extension of the image file should be either GIF or JPEG. The image can be aligned as- left, right, top, bottom margin. An Anchor element may not enclose another Anchor element. An image can also be used as an hyperlink.
66

67


![[Basic HTML/CSS] 2. html - list tags](https://img.pdfslide.us/doc/110x75/58ce75c41a28abdc578b67d9/basic-htmlcss-2-html-list-tags.jpg)


![[Basic HTML/CSS] 3. html - table tags](https://img.pdfslide.us/doc/110x75/58ed3bb51a28ab7a278b4589/basic-htmlcss-3-html-table-tags.jpg)