Embed Size (px)
Citation preview
WHY WRITE FOR YOUR TEACHER WHEN YOU CAN PUBLISH FOR THE WORLD?
@RossCoops31todaysmeet.com/blastiu
Welcome…
Please download the following apps to your iPad:
1. Book Creator(If you do not want to pay $4.99, the free version is fine.)
2. iMovie
Please bookmark the following websites on your computer:
1. Kidblog.org 2. ThingLink.com
tinyurl.com/blastiuslides

What does a Kidblog look like?
Room 304 Students
Room 304 Math Class
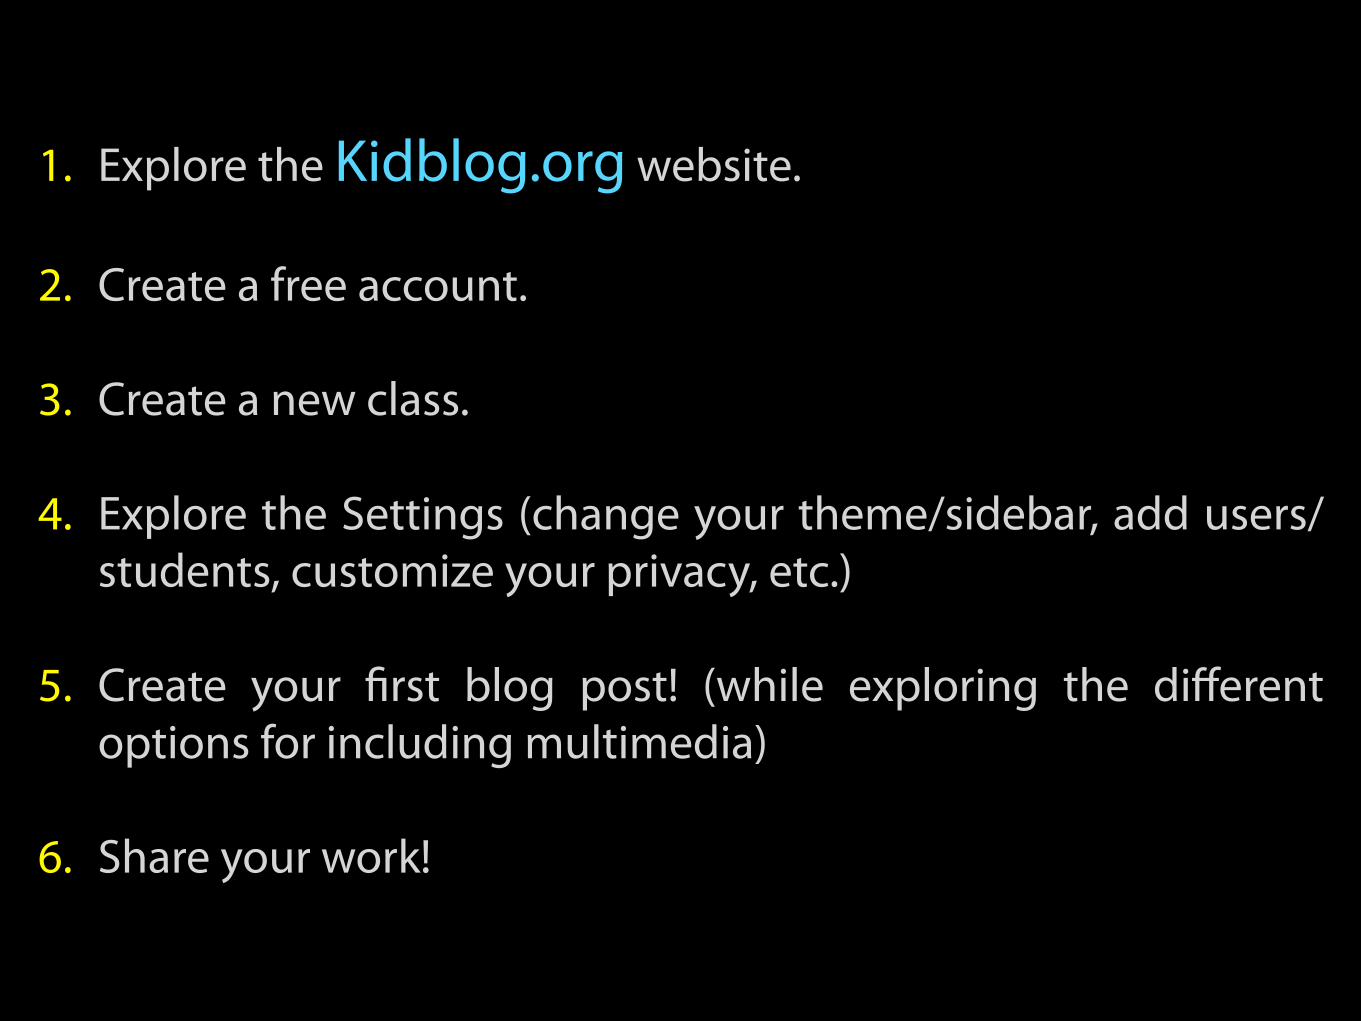
1. Explore the Kidblog.org website.
2. Create a free account.
3. Create a new class.
4. Explore the Settings (change your theme/sidebar, add users/students, customize your privacy, etc.)
5. Create your first blog post! (while exploring the different options for including multimedia)
6. Share your work!

What are some the unique ways in which your students could use Kidblog?
todaysmeet.com/blastiu


1. Open the Book Creator app and spend about 5-10 minutes reviewing the Getting Started book.
2. The directions for the activity have been uploaded to Google Drive as an eBook. From your iPad, open Safari and go to tinyurl.com/blastiubook. Download the book and open it in Book Creator.
What does a finished book look like?
Monitoring Comprehension

WHY WRITE FOR YOUR TEACHER WHEN YOU CAN PUBLISH FOR THE WORLD?
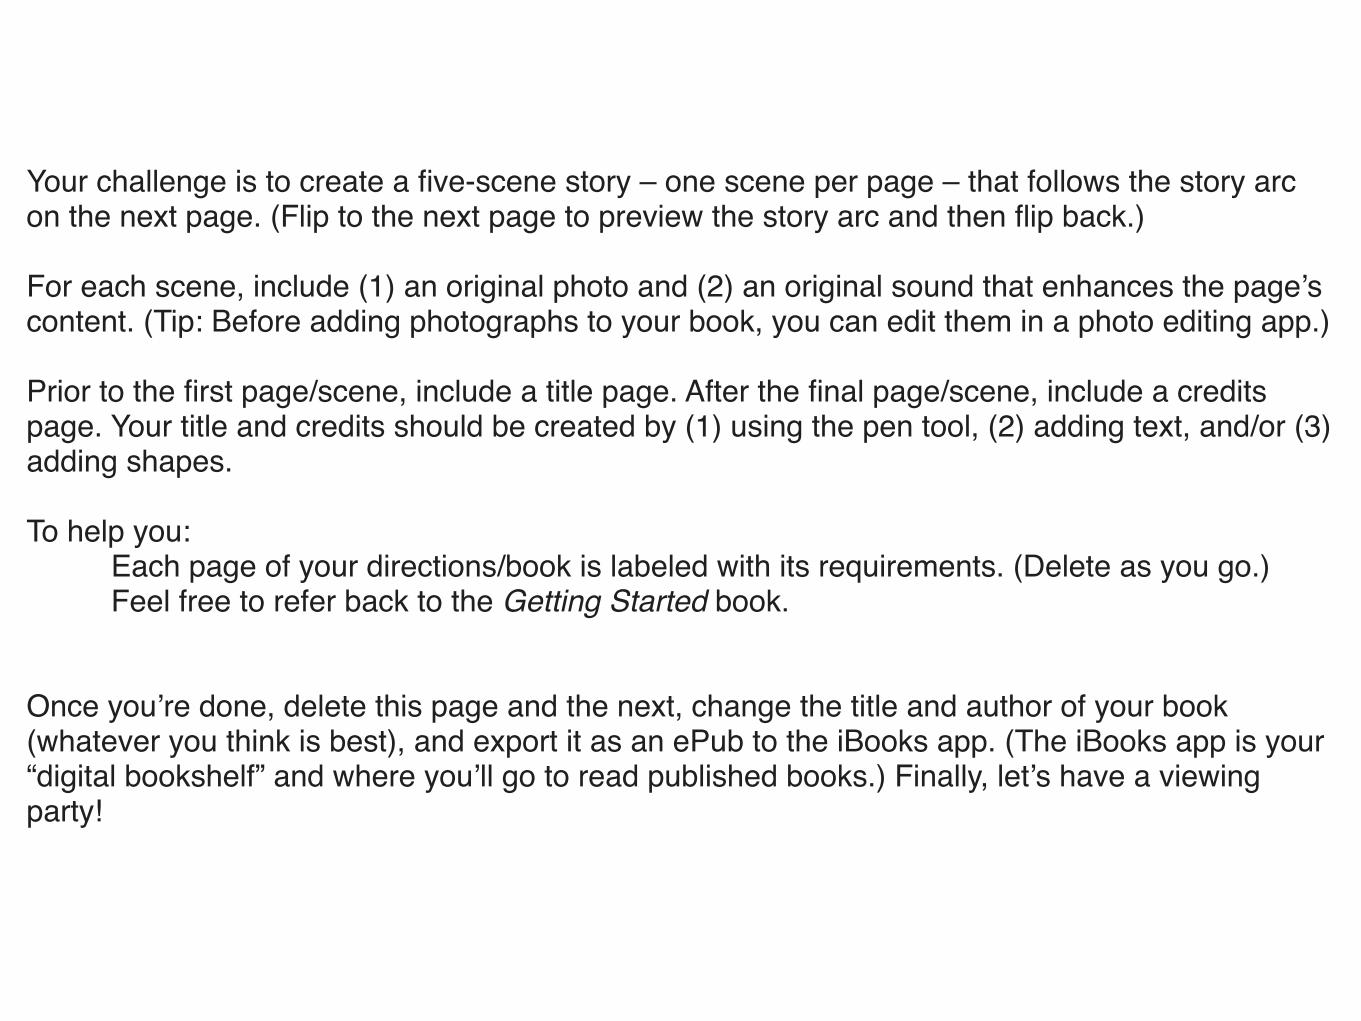
Your challenge is to create a five-scene story – one scene per page – that follows the story arc on the next page. (Flip to the next page to preview the story arc and then flip back.)
For each scene, include (1) an original photo and (2) an original sound that enhances the page’s content. (Tip: Before adding photographs to your book, you can edit them in a photo editing app.)
Prior to the first page/scene, include a title page. After the final page/scene, include a credits page. Your title and credits should be created by (1) using the pen tool, (2) adding text, and/or (3) adding shapes.
To help you: Each page of your directions/book is labeled with its requirements. (Delete as you go.) Feel free to refer back to the Getting Started book.
Once you’re done, delete this page and the next, change the title and author of your book (whatever you think is best), and export it as an ePub to the iBooks app. (The iBooks app is your “digital bookshelf” and where you’ll go to read published books.) Finally, let’s have a viewing party!
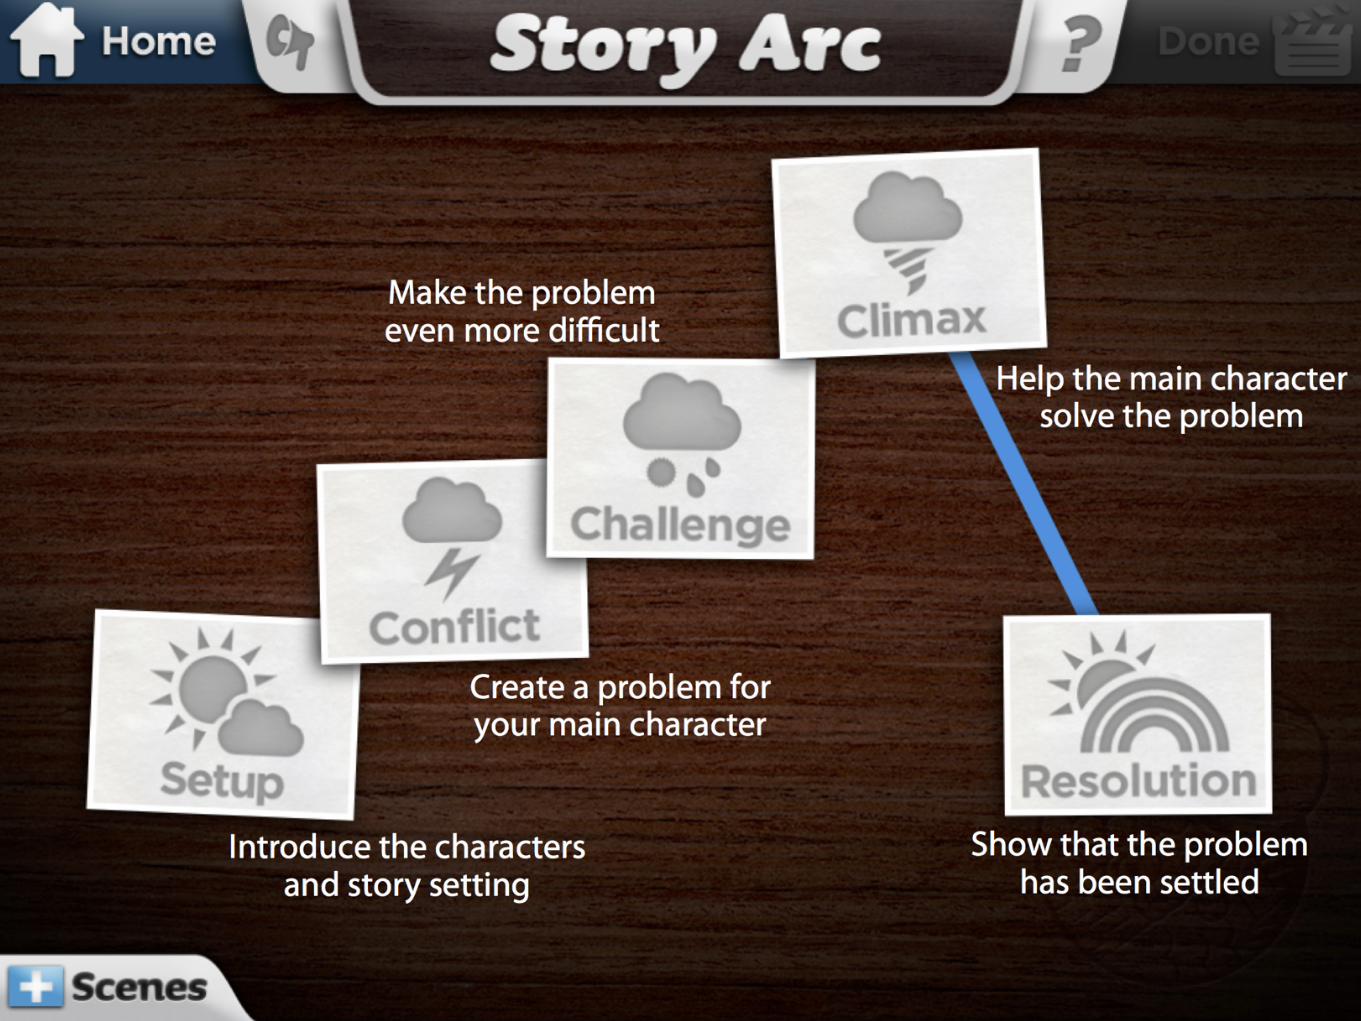
Title: Use the pen tool, add text, and/or add shapes
Setup: Introduce the characters and story setting
Include (1) an original photo and (2) an original sound that enhances the page's content.
Conflict: Create a problem for your main character
Include (1) an original photo and (2) an original sound that enhances the page's content.
Challenge: Make the problem even more difficult
Include (1) an original photo and (2) an original sound that enhances the page's content.
Climax: Help the main character solve the problem
Include (1) an original photo and (2) an original sound that enhances the page's content.
Resolution: Show that the problem has been settled
Include (1) an original photo and (2) an original sound that enhances the page's content.
Credits: Use the pen tool, add text, and/or add shapes

How can we publish our books?
Apple FAQ
The Giant Panda
How can it app smash with iMovie?
redjumper.net/blog

todaysmeet.com/blastiu
How do you envision your students using Book Creator? How could your students publish their work?


The Door Scene
: Step OneThe Door Scene

Challenge:
Form production teams of no more than five people. (Three is ideal.) Using a video camera, interpret and shoot the following scripted scenario:
• A person is about to open a door. The person hears a sound and becomes mildly concerned.
• The person finds the door locked and searches for his or her keys. • The person hears the sound again and becomes visibly
apprehensive. • As the filmmaker, your goal is to build tension and growing panic,
using any visual element or device that you can think of. • The film closes with the person finally opening the door and
getting to the other side safely. Here, you want to communicate to the audience the character’s feeling of relief and safety.
: Step OneThe Door Scene
The Door Scene: Step One
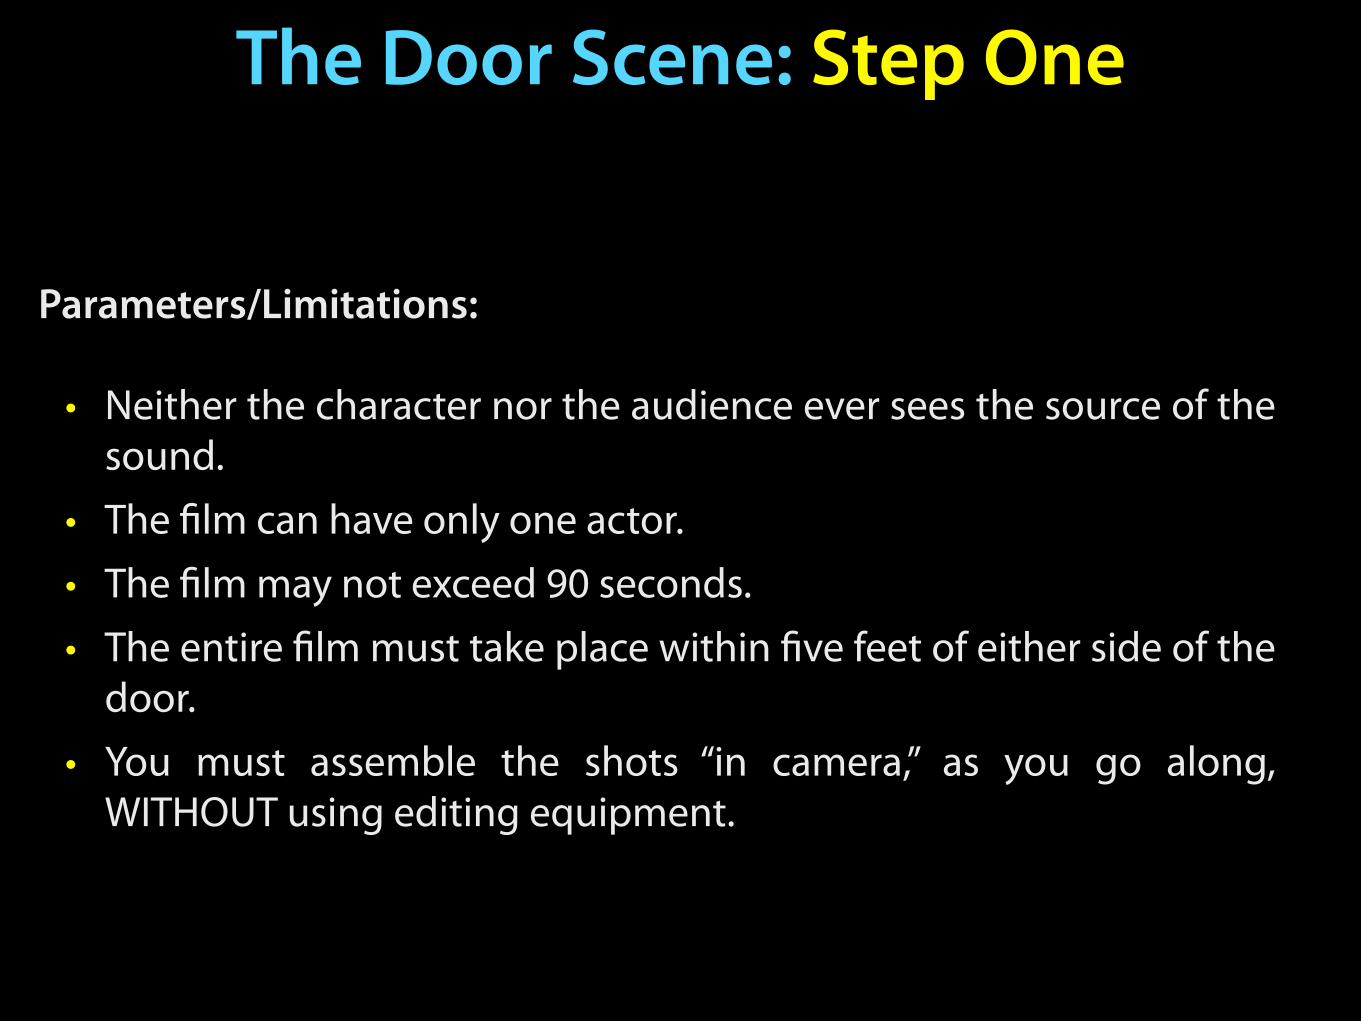
Parameters/Limitations:
• Neither the character nor the audience ever sees the source of the sound.
• The film can have only one actor. • The film may not exceed 90 seconds. • The entire film must take place within five feet of either side of the
door. • You must assemble the shots “in camera,” as you go along,
WITHOUT using editing equipment.
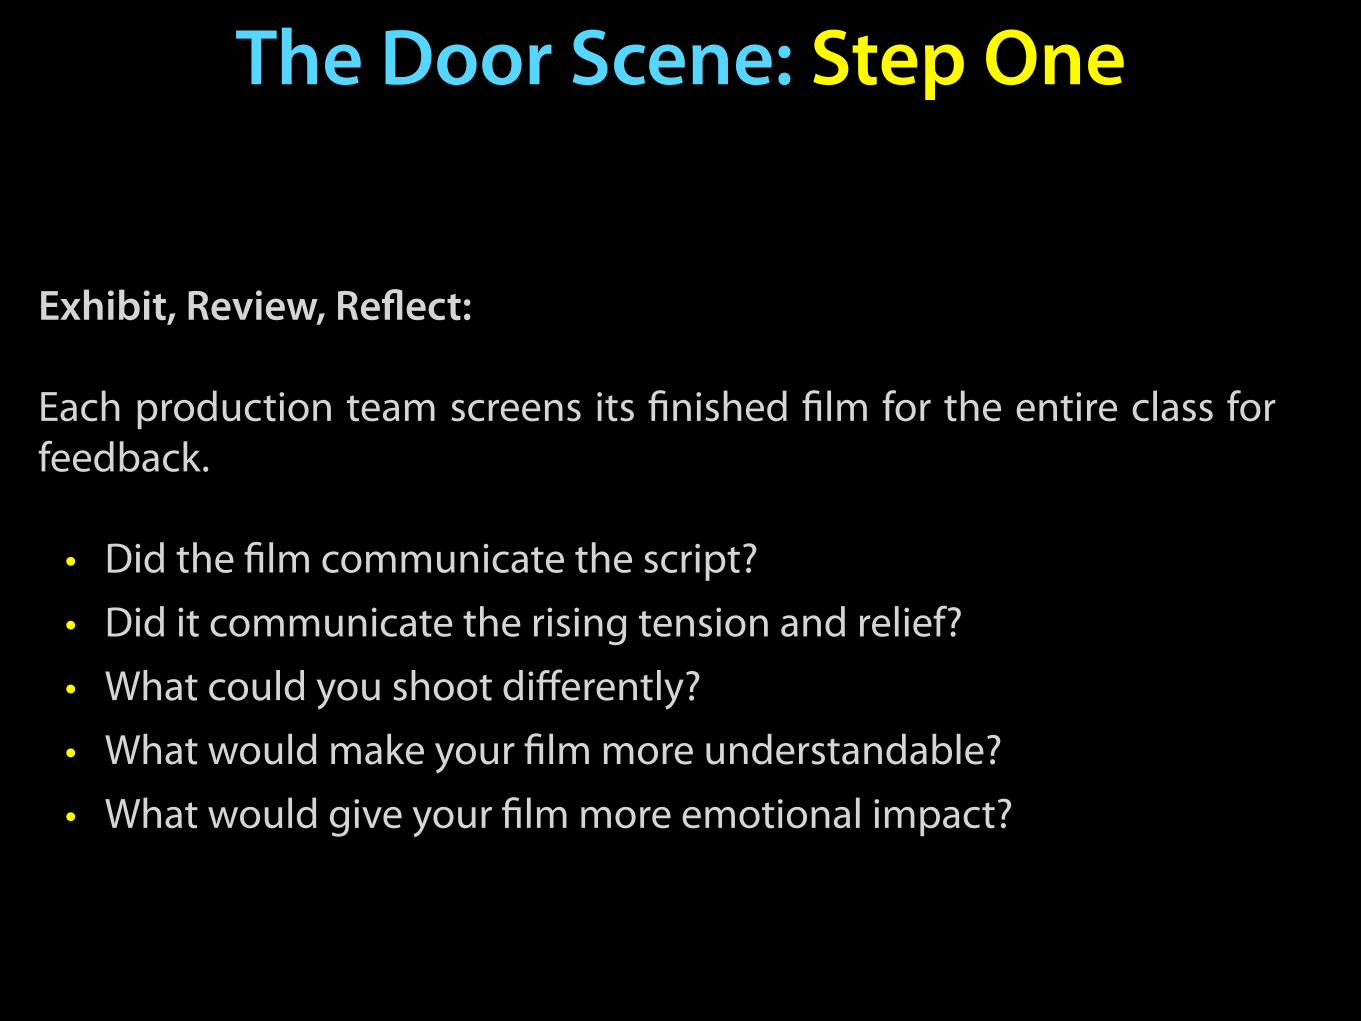
Exhibit:
Each production team screens its 1inished 1ilm for the entire class for feedback
Did the 1ilm communicate the script? Did it communicate the rising tension and relief? What could you shoot differently? What would make your 1ilm more understandable? What would give your 1ilm more emotional impact?
Exhibit, Review, Reflect:
Each production team screens its finished film for the entire class for feedback.
• Did the film communicate the script? • Did it communicate the rising tension and relief? • What could you shoot differently? • What would make your film more understandable? • What would give your film more emotional impact?
Step OneThe Door Scene:
Exhibit:
Each production team screens its 1inished 1ilm for the entire class for feedback
Did the 1ilm communicate the script? Did it communicate the rising tension and relief? What could you shoot differently? What would make your 1ilm more understandable? What would give your 1ilm more emotional impact?
The Door Scene: Step Two
Exhibit:
Each production team screens its 1inished 1ilm for the entire class for feedback
Did the 1ilm communicate the script? Did it communicate the rising tension and relief? What could you shoot differently? What would make your 1ilm more understandable? What would give your 1ilm more emotional impact?
Challenge, 1 of 2:
• Storyboard a script scenario for the Door Scene in a manner you feel will be the most visually effective.
• However, when you create your storyboard, think of a creative, entertaining or surprising new ending for the scenario.
• The entire film must follow the original script until the character opens the door. From that point on, you are on your own!
• Every detail must be included in your storyboard. It must be so visually clear that a stranger, unfamiliar with the scenario, could take your storyboard and shoot the film exactly as you visualized it when creating your storyboard.
• You may write descriptions for each storyboard panel to help with your screen direction. However, as much as you can, try to communicate the information visually. Use your written descriptions to scaffold your visuals, not replace them.
The Door Scene: Step Two
Exhibit:
Each production team screens its 1inished 1ilm for the entire class for feedback
Did the 1ilm communicate the script? Did it communicate the rising tension and relief? What could you shoot differently? What would make your 1ilm more understandable? What would give your 1ilm more emotional impact?
The Door Scene: Step Two
Challenge, 2 of 2:
Turn in your team’s storyboards to your teacher. Each team films another team’s storyboard, exactly as you understand it. As you film, take notes on what is confusing and why you interpreted the storyboard the way you did.
Exhibit:
Each production team screens its 1inished 1ilm for the entire class for feedback
Did the 1ilm communicate the script? Did it communicate the rising tension and relief? What could you shoot differently? What would make your 1ilm more understandable? What would give your 1ilm more emotional impact?
The Door Scene: Step Two
Parameters/Limitations:
• You may not communicate with the team who created the storyboards you are filming.
• You must shoot exactly what the storyboard you have received communicates to you.
• You may not try to improve the storyboard or add your own ideas. • Import your video into a digital video editing system. Trim away
the unwanted material, and assemble the sequence of shots in the order of your storyboards. Add transitions, music, titles, and effects.
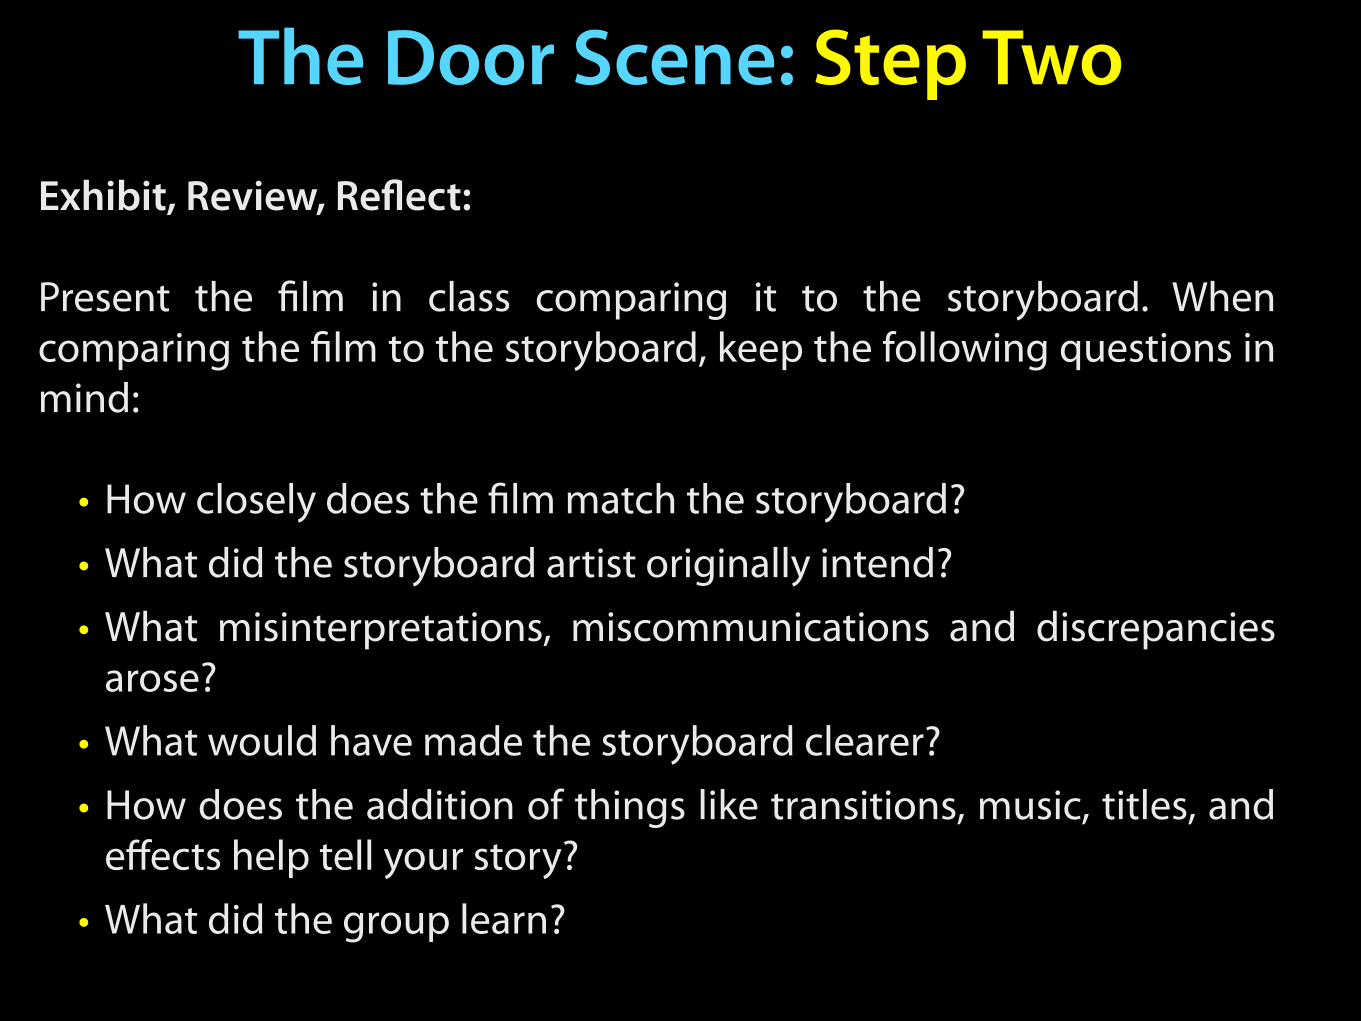
Exhibit:
Each production team screens its 1inished 1ilm for the entire class for feedback
Did the 1ilm communicate the script? Did it communicate the rising tension and relief? What could you shoot differently? What would make your 1ilm more understandable? What would give your 1ilm more emotional impact?
The Door Scene: Step TwoExhibit, Review, Reflect:
Present the film in class comparing it to the storyboard. When comparing the film to the storyboard, keep the following questions in mind:
• How closely does the film match the storyboard? • What did the storyboard artist originally intend? • What misinterpretations, miscommunications and discrepancies
arose? • What would have made the storyboard clearer? • How does the addition of things like transitions, music, titles, and
effects help tell your story? • What did the group learn?
The End

todaysmeet.com/blastiu
How do you envision your students using iMovie? How could your students publish their work?


1. Create a free account.
2. Explore the ThingLink.com website. (publishing ThingLinks, Settings, how to add students, etc.)
3. Create your first ThingLink!
4. Share your work!

todaysmeet.com/blastiu
How do you envision your students using ThingLink? How could your students publish their work?
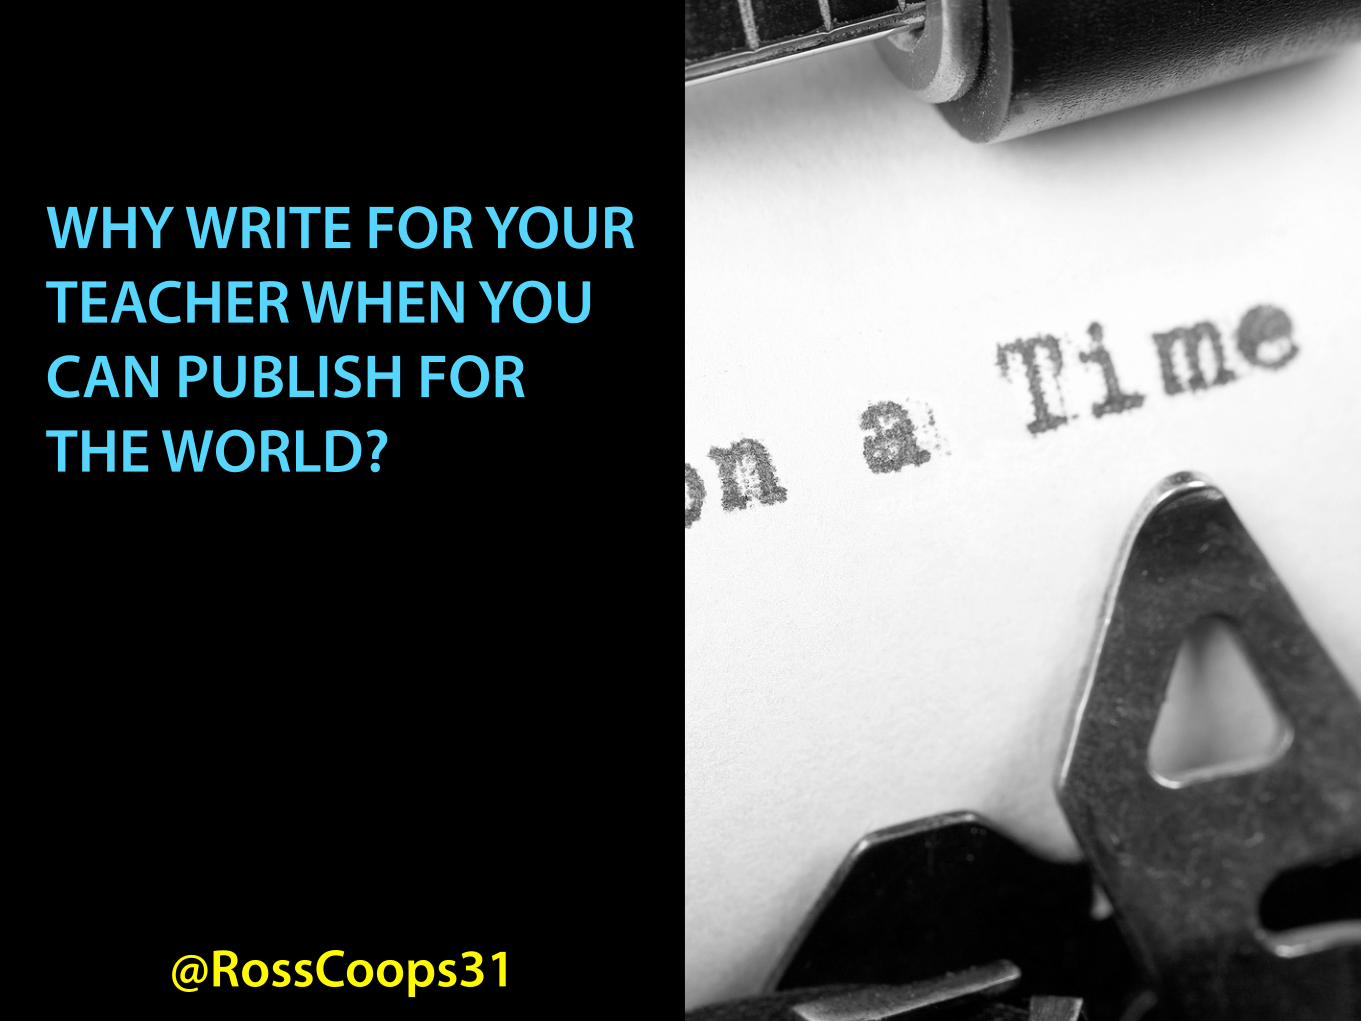
WHY WRITE FOR YOUR TEACHER WHEN YOU CAN PUBLISH FOR THE WORLD?
@RossCoops31