Embed Size (px)
Citation preview

The Ceramic Tutor6 Thirty minute training sessions.
Decorating techniques used in the commercial ceramic industries
# 5 Clay-lifting
.Working with wet clay to create a design

The Ceramic Tutor
# 5 Clay-lifting
Welcome to the 5th session of the Ceramic Tutor. During this session participants will be trained in the application of ‘clay lifting’, working with wet clay to create a design. Participants will work with a variety of tools to gain the skill involved to grasp this technique.
At the end of the session there is a short 10 minutetest/questionnaire and evaluation sheet for participants to fill in.
2
For more details & information on this training session or othersEmail: [email protected]

The Ceramic Tutor
# 5 Clay-lifting 3
Essential clay lifting tools
Tools of the Trade
Cleaning tools

The Ceramic Tutor
# 5 Clay-lifting 4
Clean green ware (unfired clay)with a damp sponge. Place the item on a turntable.
You will require, container of water, Sponge and turntable.
Step 1
The Ceramic Tutor
# 5 Clay-lifting 5
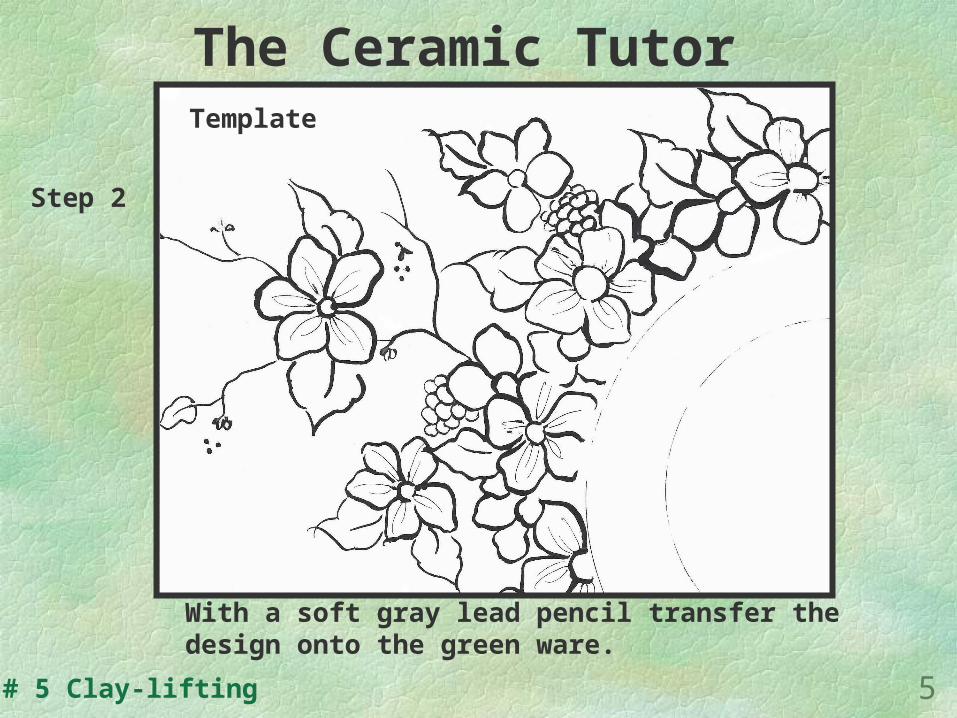
With a soft gray lead pencil transfer the design onto the green ware.
Step 2
Template

The Ceramic Tutor
# 5 Clay-lifting 6
Using a scalpel cut 5mm into the clay and around the design.
Step 3
Avoid cutting too deep or through to the other side.

The Ceramic Tutor
# 5 Clay-lifting 7
Lifting the design
Using a damp Bristol brush, gently lift the petals outwards and towards yourself. Re-shape gently with the damp brush.
Step 4
The Ceramic Tutor
# 5 Clay-lifting 8
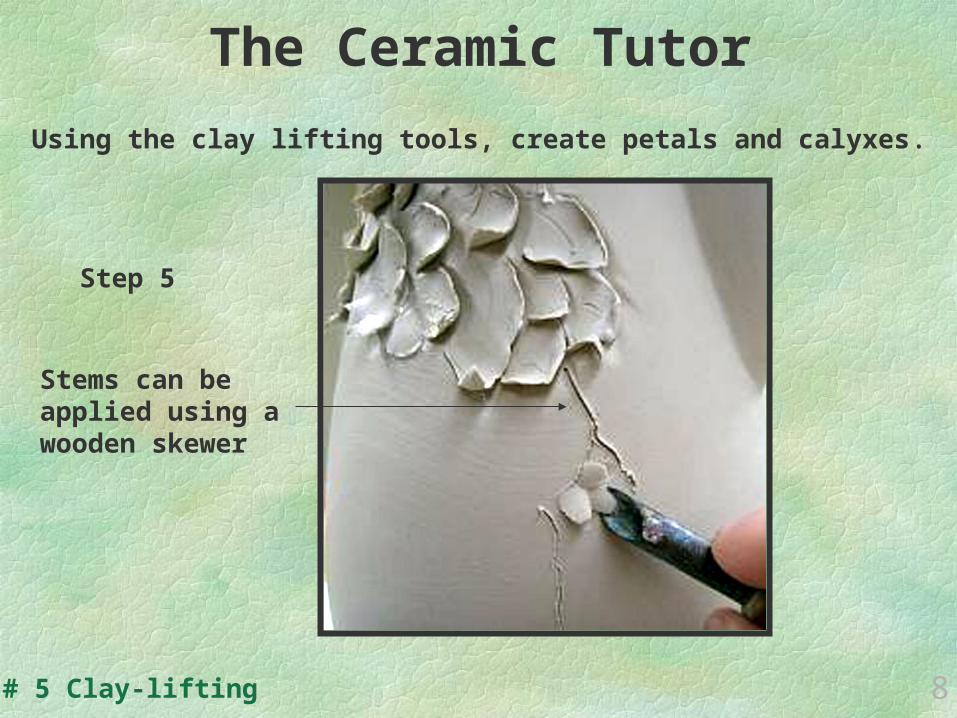
Using the clay lifting tools, create petals and calyxes.
Step 5
Stems can be applied using a wooden skewer

The Ceramic Tutor
# 5 Clay-lifting 9
Detail of the the clay lifting

The Ceramic Tutor
# 5 Clay-lifting 10
Finally clean away any loose particles and any rough edges around the clay lifted areas. Allow the item to dry at room temperature, this may take up to a week or more.
The clay lifted piece can be decorated before a ‘bisque’ firing. Airbrushing is the most common decorating technique used due to its fragile state. (Session # 6)
Air gun withpre-mixed ‘colour’ Attached bottle.
Step 6
Step 7

The Ceramic Tutor
# 5 Clay-lifting 11
After drying and decorating,the item is placed into a ‘kiln’. A heating chamber that fires the green ware to maturity or ‘bisque’.
Kilns operate on either gas or electricity. Most kilns are computerized and carry safety devices.
Step 8
Product and firing services are available from most ceramic studios – check the Yellow Pages for your nearestSupplier.

The Ceramic Tutor
# 5 Clay-lifting 12
After the initial first ‘bisque’ firing, items are glazed and re-fired in a glaze firing. This will give the item a glossy or matt finish and will render it water proof.
Step 9

The Ceramic Tutor
# 5 Clay-lifting 13
Any final touches can be appliedafter the glaze firing. These mayinclude chalks or stain work. Items are then sprayed with a light cover of varnish forprotection.
Brushwork
Detailing
Step 10

The Ceramic Tutor
# 5 Clay-lifting 14
Finished Clay lifted Urns and Ginger Jars
End session # 5