Embed Size (px)
Citation preview
Chapter 9
Administering a Database System
Microsoft
Access 2013

• Convert a database to and from earlier versions of Access
• Use the Table Analyzer, Performance Analyzer, and Documenter
• Create custom categories and groups in the Navigation Pane
• Use table, database, and field properties
• Create indexes
• Enable and use automatic error checking
Administering a Database System 2
Objectives

• Create custom data type parts
• Create a database for a template
• Create a custom template
• Encrypt a database and set a password
• Lock a database and split a database
• Create a custom web app
• Create custom views for a web app
Administering a Database System 3
Objectives

Administering a Database System 4
Project – Administering
a Database System

• Learn how to convert a database
• Use tools to analyze and document a database
• Customize the Navigation Pane
• Use custom properties and create indexes
• Create a custom data part
• Create a custom template
• Encrypt, lock, and split a database
• Learn how to create a custom web app
• Learn how to create custom view in a web appAdministering a Database System 5
Roadmap

Administering a Database System 6
Converting Databases

• Display the DATABASE TOOLS tab
• Tap or click the Analyze Table button (DATABASE TOOLS tab | Analyze group) to display the Table Analyzer Wizard dialog box
• Tap or click the Next button to display the next Table Analyzer Wizard screen
• Tap or click the Next button to display the next Table Analyzer Wizard screen
Administering a Database System 7
Using the Table Analyzer

• Select the desired table to analyze
• Tap or click the Next button
• Be sure the ‘Yes, let the wizard decide’ option button is selected
• Tap or click the Next button to run the analysis
Administering a Database System 8
Using the Table Analyzer

Administering a Database System 9
Using the Table Analyzer
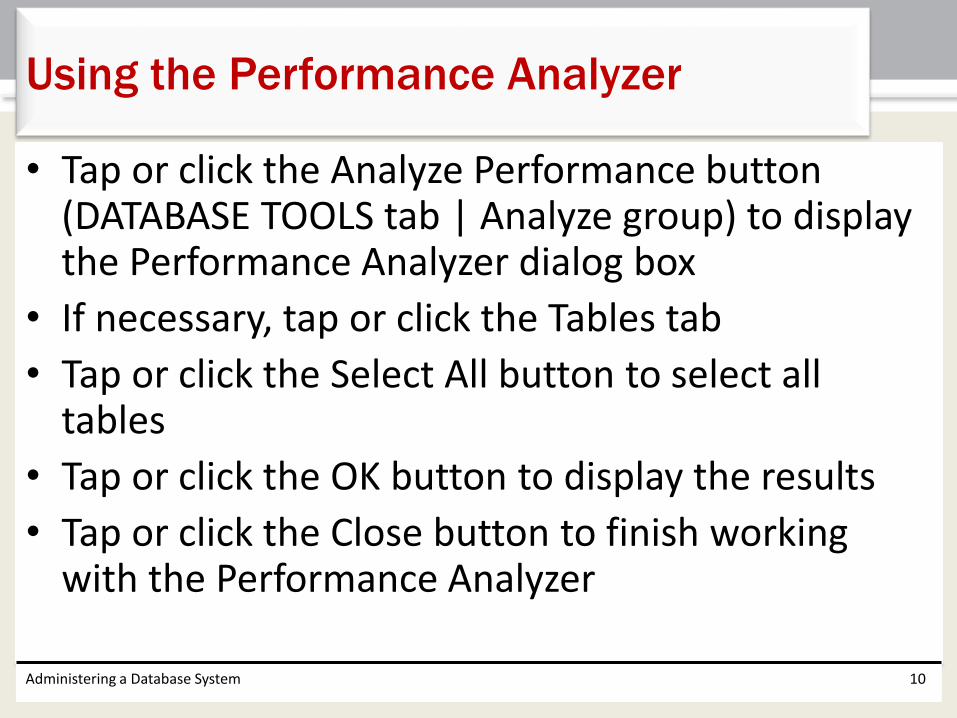
• Tap or click the Analyze Performance button (DATABASE TOOLS tab | Analyze group) to display the Performance Analyzer dialog box
• If necessary, tap or click the Tables tab
• Tap or click the Select All button to select all tables
• Tap or click the OK button to display the results
• Tap or click the Close button to finish working with the Performance Analyzer
Administering a Database System 10
Using the Performance Analyzer

Administering a Database System 11
Using the Performance Analyzer

• Tap or click the Database Documenter button (DATABASE TOOLS tab | Analyze group) to display the Documenter dialog box.
• If necessary, tap or click the Tables tab and then tap or click the check box for the desired table
• Tap or click the OK button to produce a preview of the documentation
• Tap or click the Close Print Preview button to close the preview of the documentation
Administering a Database System 12
Using the Database Documenter

Administering a Database System 13
Using the Database Documenter

• Press and hold or right-click the Navigation Pane title bar to display a shortcut menu
• Tap or click the Navigation Options command on the shortcut menu to display the Navigation Options dialog box
• Tap or click the Add Item button to add a new category
• Type the desired category name
• Tap or click the Add Group button to add a group and then type the desired group name
• Repeat the previous step for each group you wish to add
• Tap or click the OK button to create the new category and groups
Administering a Database System 14
Creating Custom Categories and Groups

Administering a Database System 15
Creating Custom Categories and Groups

• Tap or click the Navigation Pane arrow to produce the Navigation Pane menu
• Tap or click the desired category to display the groups within the category
• Press and hold or right-click the desired item to display a shortcut menu
• Point to the ‘Add to group’ command on the shortcut menu to display the list of available groups
• Tap or click the desired group name to add the selected item to the group
Administering a Database System 16
Adding Items to Groups

Administering a Database System 17
Adding Items to Groups

• Open the desired table in Design view
• Tap or click the Property Sheet button (TABLE TOOLS DESIGN tab | Show/ Hide group) to display the table’s property sheet
• Tap or click the Validation Rule property and type the desired validation rule– [Hours Spent]<=[Total Hours]
• Tap or click the Validation Text property and type the desired validation text
Administering a Database System 18
Creating a Validation Rule for a Table

Administering a Database System 19
Creating a Validation Rule for a Table

• Tap or click FILE on the ribbon to open the Backstage view
• Ensure the Info tab is selected
• Tap or click the ‘View and edit database properties’ link
• Tap or click the Custom tab
• Tap or click the desired property in the Name list
• Select the desired type
• Ensure that the Type is Text
• Type the desired value in the Value box
• Tap or click the Add button
• Tap or click the OK button
Administering a Database System 20
Creating Custom Properties

Administering a Database System 21
Creating Custom Properties

Administering a Database System 22
Custom Input Masks

• Open the desired table in Design view and select the field for which you want to create an input mask
• Tap or click the Input Mask property and then type the desired value
Administering a Database System 23
Creating a Custom Input Mask

Administering a Database System 24
Creating a Custom Input Mask

• Tap or click the row selector for the desired field
• Tap or click the Allow Zero Length property and then tap or click the arrow that appears to display a menu
• Tap or click No in the menu to change the value of the Allow Zero Length property from Yes to No
Administering a Database System 25
Allowing Zero Length

Administering a Database System 26
Allowing Zero Length

• Select the desired field
• Tap or click the Indexed property box in the Field Properties pane to select the property
• Tap or click the down arrow that appears to display the Indexed list
• Tap or click the Yes (Duplicates OK) item in the list to specify that duplicates are to be allowed
Administering a Database System 27
Creating a Single-Field Index

Administering a Database System 28
Creating a Single-Field Index

• Tap or click the Indexes button (TABLE TOOLS DESIGN tab | Show/Hide group)
• Tap or click the first available blank row to enter the name of the new index
• Type the desired index name, and then press the TAB key• Tap or click the arrow in the Field Name column, and then select
the first field for the index• Press the TAB key three times to move to the Field Name
column on the following row• Select the second field for the index• Tap or click the Close button to close the window• Tap or click the Save button on the Quick Access Toolbar to save
your change
Administering a Database System 29
Creating a Multiple-Field Index

Administering a Database System 30
Creating a Multiple-Field Index

Administering a Database System 31
Automatic Error Checking

• Tap or click FILE on the ribbon and then tap or click the Options button to display the Access Options dialog box
• Tap or click Object Designers to display the options for creating and modifying objects
• Scroll down so that the Error checking section appears
• Ensure the ‘Enable error checking’ check box is checked
• Tap or click the OK button to close the Access Options dialog box
Administering a Database System 32
Enabling Error Checking

Administering a Database System 33
Enabling Error Checking

• Select the column headings from which to create the custom data part
• Tap or click the More Fields button (TABLE TOOLS FIELDS tab | Add & Delete group) to display the More Fields gallery
• Tap or click ‘Save Selection as New Data Type’ to display the Create New Data Type from Fields dialog box
• Enter the name for the custom data type
• Enter the desired description
Administering a Database System 34
Creating Custom Data Parts

• Tap or click the Category arrow to display a list of available categories
• Tap or click Quick Start to indicate the new data type will be added to the Quick Start category
• Tap or click the OK button to save the data type
• When Access indicates that your template (that is, your Quick Start field) has been saved, tap or click the OK button
Administering a Database System 35
Creating Custom Data Parts

Administering a Database System 36
Creating Custom Data Parts

• Select the desired table from which you want to create the form
• Tap or click the More Forms button (CREATE tab | Forms group) to display the More Forms menu
• Tap or click Datasheet to create a datasheet form for the selected table
• Tap or click the Save button on the Quick Access Toolbar and then type the desired form name
• Save the datasheet form
Administering a Database System 37
Creating Datasheet Forms

Administering a Database System 38
Creating Datasheet Forms

• Display the CREATE tab and then tap or click the Navigation button (CREATE tab | Forms group) to show the menu of available navigation forms
• Tap or click Horizontal Tabs in the menu to create a form with a navigation control in which the tabs are arranged in a single row, horizontally
• If a field list appears, tap or click the ‘Add Existing Fields’ button (FORM LAYOUT TOOLS DESIGN tab | Tools group) to remove the field list
• Save the navigation form using the desired name• Tap or click the form title twice, once to select it and the second
time to produce an insertion point• Erase the current title and then type the desired form title• Drag the desired forms to the desired locations
Administering a Database System 39
Creating a Navigation Form

Administering a Database System 40
Creating a Navigation Form

• Tap or click FILE on the ribbon to display the Backstage view
• Tap or click the Options button
• Tap or click Current Database to select the options for the current database
• Tap or click the Display Form arrow to display the list of available forms
• Tap or click the name of the form to automatically be displayed whenever the database is opened
Administering a Database System 41
Selecting a Startup Form
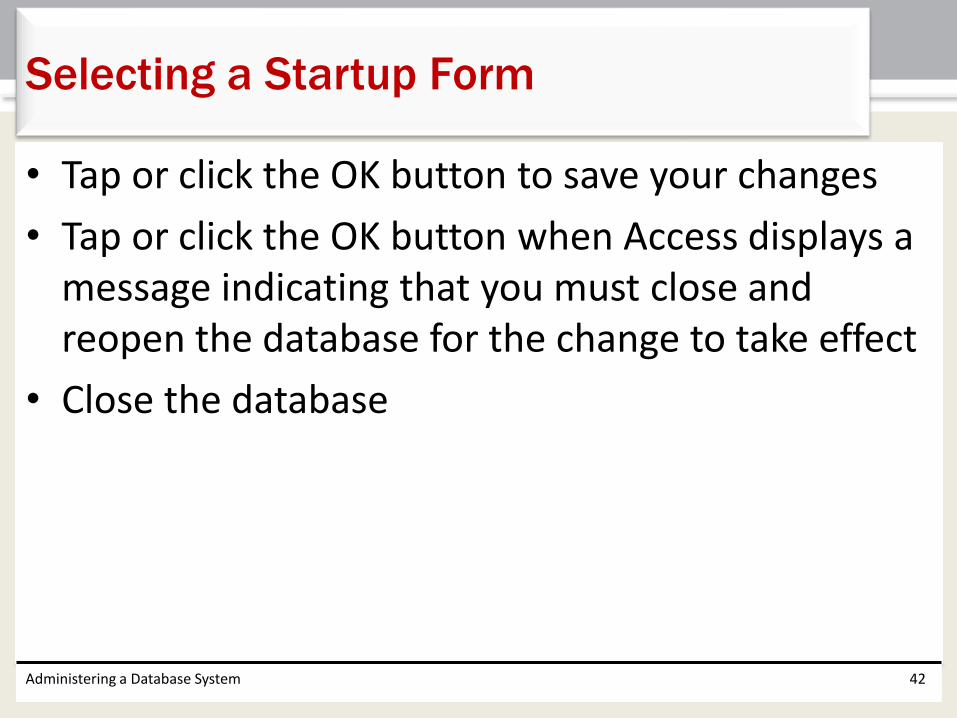
• Tap or click the OK button to save your changes
• Tap or click the OK button when Access displays a message indicating that you must close and reopen the database for the change to take effect
• Close the database
Administering a Database System 42
Selecting a Startup Form

Administering a Database System 43
Selecting a Startup Form

• Open the Backstage view
• Tap or click the Save As tab
• Tap or click the Template button in the Save Database As area to indicate you are creating a template
• Tap or click the Save As button to display the Create New Template from This Database dialog box
• Type the desired template name
• Type the desired template description
Administering a Database System 44
Creating a Template
and Application Part

• Tap or click the Application Part check box to indicate that you also want to create an application part
• Tap or click the ‘Include Data in Template’ check box to indicate you want to include the data in the database as part of the template
• Tap or click the OK button to create the template
• When Access indicates that the template has been successfully saved, tap or click the OK button
Administering a Database System 45
Creating a Template
and Application Part

Administering a Database System 46
Creating a Template
and Application Part

• Tap or click FILE on the ribbon to open the Backstage view, if necessary
• Ensure that the New tab is selected• Tap or click the PERSONAL link to display the
templates you have created• Tap or click the desired template• Type the desired database name and then navigate to
the location of the database to be opened• Tap or click the Create button to create the database
from the template• Close the database
Administering a Database System 47
Using the Template

Administering a Database System 48
Using the Template

• Create or open the database for which you want to use the application part
• Display the CREATE tab and then tap or click the Application Parts button (CREATE tab | Templates group)
• Tap or click the application part to be added.
• If Access indicates that open objects must be closed, tap or click the Yes button
Administering a Database System 49
Using the Application Part

• If necessary, close any open databases• Tap or click Open in the Backstage view to display the
Open dialog box• Tap or click Computer, then tap or click Browse• Navigate to the location of the database to be
opened• Tap or click the name of the database to be opened• Tap or click the Open arrow to display the Open
button menu• Tap or click Open Exclusive to open the database in
exclusive mode
Administering a Database System 50
Opening a Database in Exclusive Mode

Administering a Database System 51
Opening a Database in Exclusive Mode

• Tap or click FILE on the ribbon to open the Backstage view and ensure the Info tab is selected
• Tap or click the ‘Encrypt with Password’ button to display the Set Database Password dialog box
• Type the desired password in the Password text box in the Set Database Password dialog box
• Press the TAB key and then type the password again in the Verify text box
• Tap or click the OK button to encrypt the database and set the password
• If you get a message indicating that row level locking will be ignored, tap or click the OK button
• Close the databaseAdministering a Database System 52
Encrypting a Database with a Password

Administering a Database System 53
Encrypting a Database with a Password

• Open the database to be decrypted in exclusive mode, entering your password when requested
• Open the Backstage view and ensure the Info tab is selected
• Tap or click the Decrypt Database button to display the Unset Database Password dialog box
• Type the password in the Password dialog box
• Tap or click the OK button to remove the password and decrypt the database
• Close the database
Administering a Database System 54
Decrypting the Database and Removing
the Password

Administering a Database System 55
Decrypting the Database and Removing
the Password

• With the database open, tap or click FILE on the ribbon to open the Backstage view
• Tap or click the Save As tab
• Tap or click Make ACCDE in the Advanced area
• Tap or click the Save As button
• In the Save As dialog box, indicate a location and name for the ACCDE file
• Tap or click the Save button in the Save As dialog box to create the file
Administering a Database System 56
Creating a Locked Database
(ACCDE File)

Administering a Database System 57
Record Locking

• Open the database to be split• Display the DATABASE TOOLS tab• Tap or click the Access Database button (DATABASE TOOLS tab |
Move Data group) to display the Database Splitter dialog box• Tap or click the Split Database button to display the Create Back-
end Database dialog box• Either accept the file name Access suggests or change it to the
one you want• Select a location for the back-end database• Tap or click the Split button to split the database• Tap or click the OK button to close the dialog box reporting that
the split was successful
Administering a Database System 58
Splitting the Database

Administering a Database System 59
Splitting the Database

• Tap or click either ‘Custom web app’ to create a web app of your own design or one of the web app templates to create a web app matching the template
• Enter a descriptive name for the web app• If you see a list of available locations for the web app,
you can select one of the locations. If not, or if none of the available locations is appropriate, enter the URL that points to your SharePoint site
• Tap or click the Create button to create the web app.• If requested, enter the User ID and password for your
SharePoint site and click the Sign In button to finish creating the web app on your SharePoint site
Administering a Database System 60
Creating a Web App

Administering a Database System 61
Creating a Web App

• Tap or click the icon for the type of data to import.
• Browse to the location of the data to import and select the file to import
• Tap or click the OK button
• Select the tables to import. If you want to import all the tables in the data source, tap or click the Select All button
• Tap or click the OK button to import the data
Administering a Database System 62
Creating Tables by Importing Data

• Enter the type of object for which you will be storing data (for example, Customers), and tap or click the Search button
• When Access presents a list of options, tap or click the option that best fits your needs
Administering a Database System 63
Creating Tables from Templates

• Tap or click the ‘add a new blank table’ link to create the table and display the table in Design view
Administering a Database System 64
Creating Blank Tables

• Tap or click the table whose view you want to edit
• Tap or click the view to edit
• Tap or click the Edit button
• When finished editing, tap or click the Close button for the view you are editing
• Tap or click the Yes button to save your changes. Tap or click the No button if you do not want to save your changes
Administering a Database System 65
Editing Views

Administering a Database System 66
Editing Views

• Tap or click the table containing the data you want to view or update
• Tap or click the Settings/Action button
• Tap or click View Data on the Settings/Action menu
Administering a Database System 67
Viewing Data

Administering a Database System 68
Viewing Data

• Tap or click the table whose design you want to view or update
• Tap or click the Settings/Action button
• Tap or click Edit Table on the Settings/Action menu
Administering a Database System 69
Changing the Design of a Table

Administering a Database System 70
Changing the Design of a Table

• Tap or click the ‘Add New View’ button
• Enter a name for the view
• Tap or click the View Type arrow to display the menu of available view types
• Tap or click the desired view type
• Tap or click the Record Source arrow to display a list of the available tables and queries
• Tap or click the desired table or query
• Tap or click the ‘Add New View’ button to create the new view
Administering a Database System 71
Creating an Additional View

Administering a Database System 72
Creating an Additional View

• To create a table, tap or click the Table button (HOME tab | Create group), and then indicate whether you will create the table using a template, create a blank table, or import a table from an existing data source
• To create another type of object, tap or click the Advanced button (HOME tab | Create group) to display the Advanced menu, and then select the type of object to create
Administering a Database System 73
Creating Additional Objects

Administering a Database System 74
Creating Additional Objects

• Click the Launch App button (HOME tab | View group) to run the app
Administering a Database System 75
Running an App from Access

• Tap or click the table to be updated• Tap or click either the List link to select List view or the Datasheet link to
select Datasheet view• To add a record in Datasheet view, tap or click the Add button, enter the
contents of the record, and press the tab key after entering the final field. To add in List view, tap or click the Add button, enter the contents of the record, and tap or click the Save button
• To delete a record in either view, select the record to be deleted, click the Delete button, and then confirm the deletion
• To edit a record in Datasheet view, tap or click the field to be changed and make the necessary change. As soon as you leave the record, the change will automatically be saved. To edit a record in List view, select the record to be edited, tap or click the Edit button, make the change, and then tap or click the Save button
Administering a Database System 76
Updating Data Using a Web App

Administering a Database System 77
Updating Data Using a Web App

• Type the URL for your SharePoint site and press enter
• When requested, type your user name and password
• Tap or click the OK button to display the contents of your SharePoint site
• Tap or click the desired web app to run the app
Administering a Database System 78
Running a Web App from a Browser

• Tap or click the Settings button
• Tap or click the ‘Customize in Access’ command
Administering a Database System 79
Customizing a Web App

• Tap or click the table for which you want to add the view and then tap or click the ‘Add New View’ button to display the ADD NEW VIEW box
• Enter a name for the view, select Summary as the view type, and select the table that will be the record source
• Tap or click the ‘Add New View’ button (ADD NEW VIEW dialog box) to create the view
• Tap or click the Edit button to edit the view.• Tap or click the box on the left side of the view and then tap
or click the Data button to display the DATA box• Enter the Group By field, sort order, whether you want a
count displayed, the header for the calculation, the field for the calculation, and the calculation type (average or sum)
Administering a Database System 80
Creating a Summary View

• Close the DATA box, tap or click the box on the right, and then tap or click its Data button
• Enter up to four fields to be displayed. You can optionally enter captions for any of the fields.
• Enter the popup view
• Enter the sort order
• Close the view and tap or click the Yes button when asked if you want to save your changes
Administering a Database System 81
Creating a Summary View

Administering a Database System 82
Creating a Summary View

• Convert a database to and from earlier versions of Access
• Use the Table Analyzer, Performance Analyzer, and Documenter
• Create custom categories and groups in the Navigation Pane
• Use table, database, and field properties
• Create indexes
• Enable and use automatic error checking
Administering a Database System 83
Chapter Summary

• Create custom data type parts
• Create a database for a template
• Create a custom template
• Encrypt a database and set a password
• Lock a database and split a database
• Create a custom web app
• Create custom views for a web app
Administering a Database System 84
Chapter Summary

Chapter 9 Complete
Microsoft
Access 2013