1
Working with Web Graphics
– About Web Graphics. File Formats. Image Resolution, Image Size
– Creating Web Graphics. Getting Started, Paint Shop Pro 5
2
About Web Graphics,
File Formats
. We must work with COLORs,
. There are millions of COLORs produced by the mixture of main colors (R,G,B)
. Web pages are LOADED over the telephone lines,
. Download bandwidth is very very important, things must be easy to load.
There are many ways to manage COLORs.
How ???1. Differentiate COLOR Balancing,
If you differentiate COLOR Balancing, different File Formats will occur;• Gif • JPeg
3
About Web Graphics,
Image Resolution, Image Size
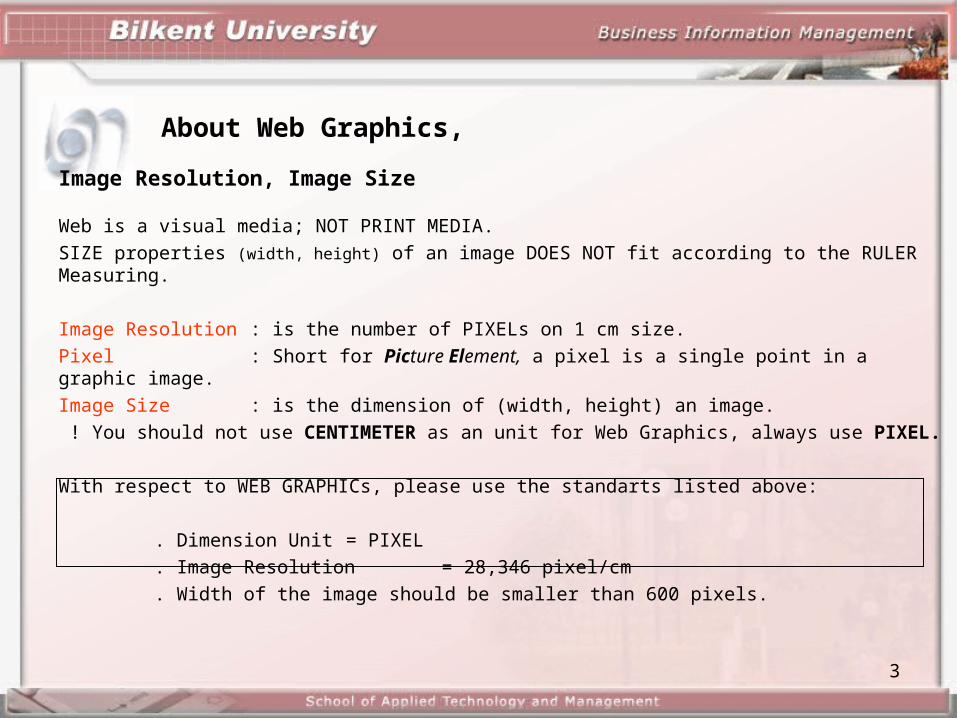
Web is a visual media; NOT PRINT MEDIA.SIZE properties (width, height) of an image DOES NOT fit according to the RULER Measuring.
Image Resolution : is the number of PIXELs on 1 cm size.Pixel : Short for Picture Element, a pixel is a single point in a graphic image. Image Size : is the dimension of (width, height) an image. ! You should not use CENTIMETER as an unit for Web Graphics, always use PIXEL.
With respect to WEB GRAPHICs, please use the standarts listed above:
. Dimension Unit = PIXEL
. Image Resolution = 28,346 pixel/cm
. Width of the image should be smaller than 600 pixels.
4
About Web Graphics,
Image Resolution, Image Size
1 c
m
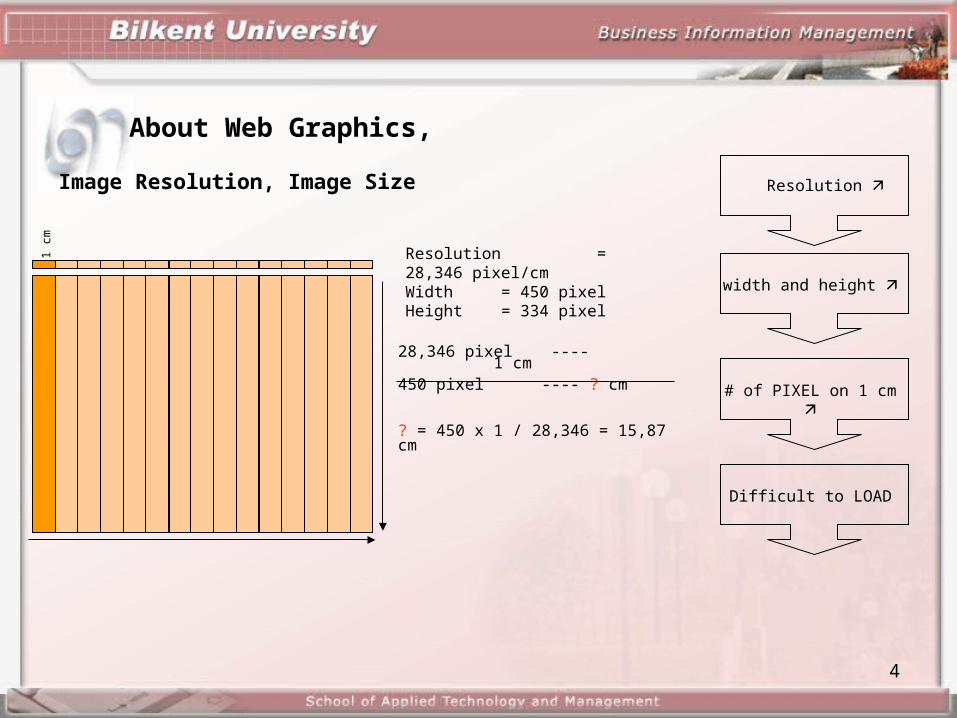
28,346 pixel ---- 1 cm450 pixel ---- ? cm
? = 450 x 1 / 28,346 = 15,87 cm
Resolution
# of PIXEL on 1 cm
width and height
Difficult to LOAD
Resolution = 28,346 pixel/cmWidth = 450 pixelHeight = 334 pixel
5
Paint Shop Pro 5
Getting Started
PSP 5;is very simple, and able to do almost everything with respect to Professional Programs.
. Create new images in .jpeg, .gif, .png and many other formats.
. Create transparent images in .gif format.
. Edit the all properties of an image. (size, resolution, color, etc.)
. Built up many layers on one work.
. Apply many effects on a layer.
. Capture and save a screen shot view on your computer.
. and many many other things with images ....
Detailed information about PSP 5 at http://www.jasc.com
Run the Program : START > PROGRAMS > Paint Shop Pro 5 > Paint Shop Pro 5
and, begin to enjoy yourself ...
6
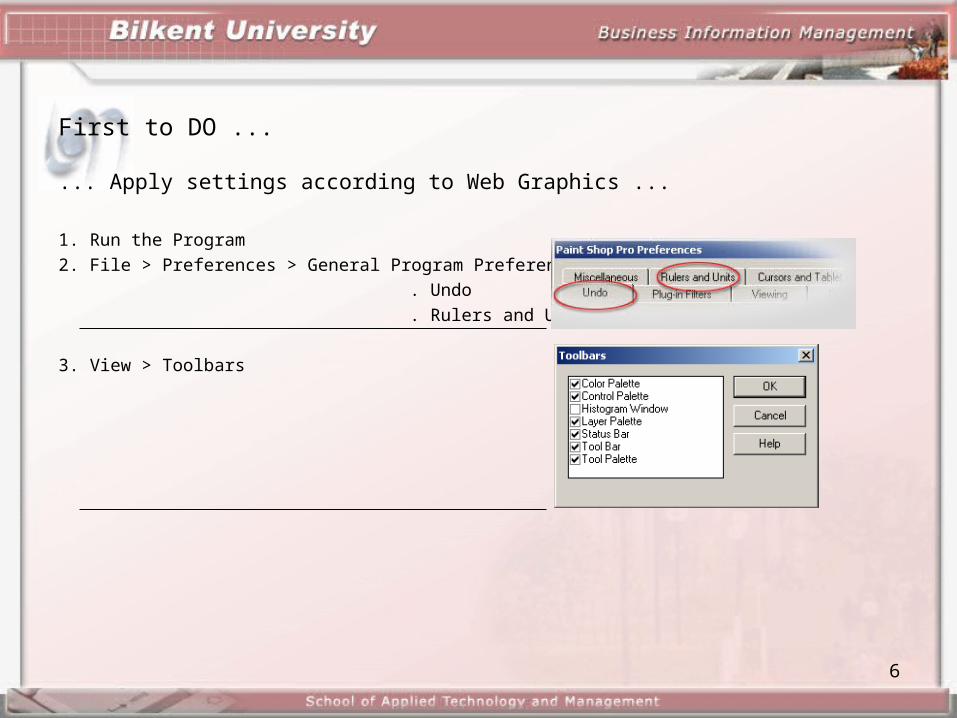
First to DO ...
... Apply settings according to Web Graphics ...
1. Run the Program2. File > Preferences > General Program Preferences
. Undo
. Rulers and Units
3. View > Toolbars
7
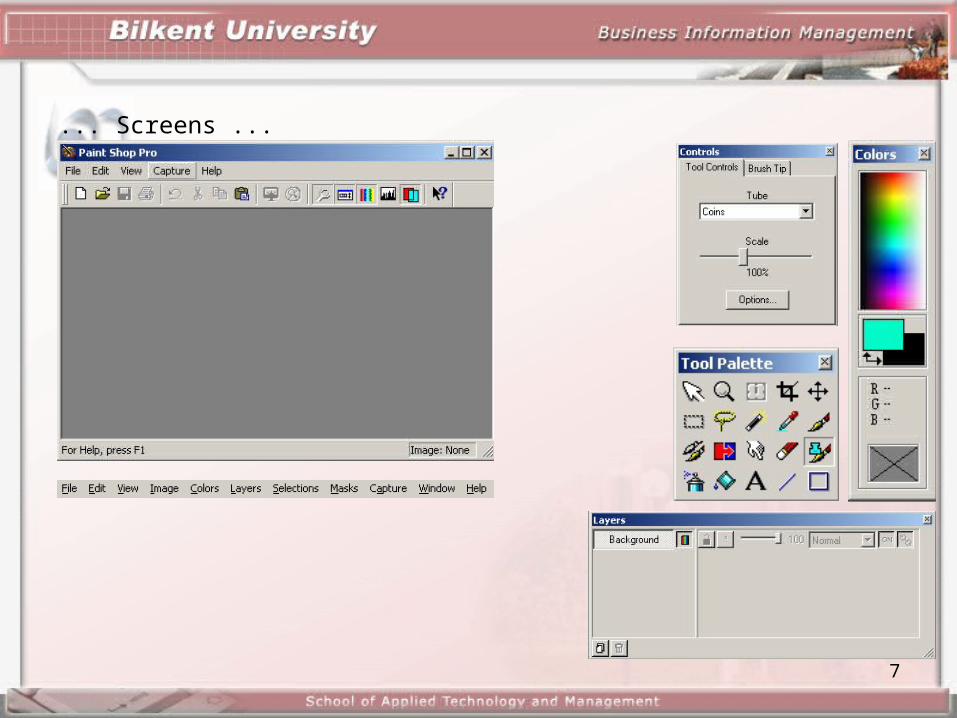
... Screens ...
jıo
8
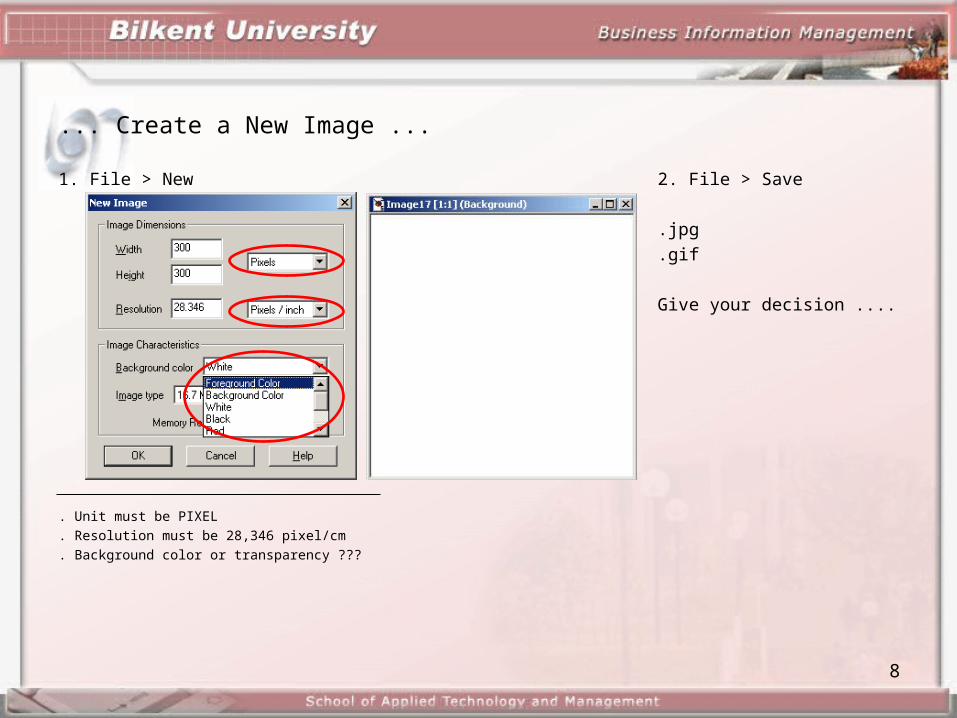
... Create a New Image ...
1. File > New
. Unit must be PIXEL
. Resolution must be 28,346 pixel/cm
. Background color or transparency ???
2. File > Save
.jpg
.gif
Give your decision ....
9
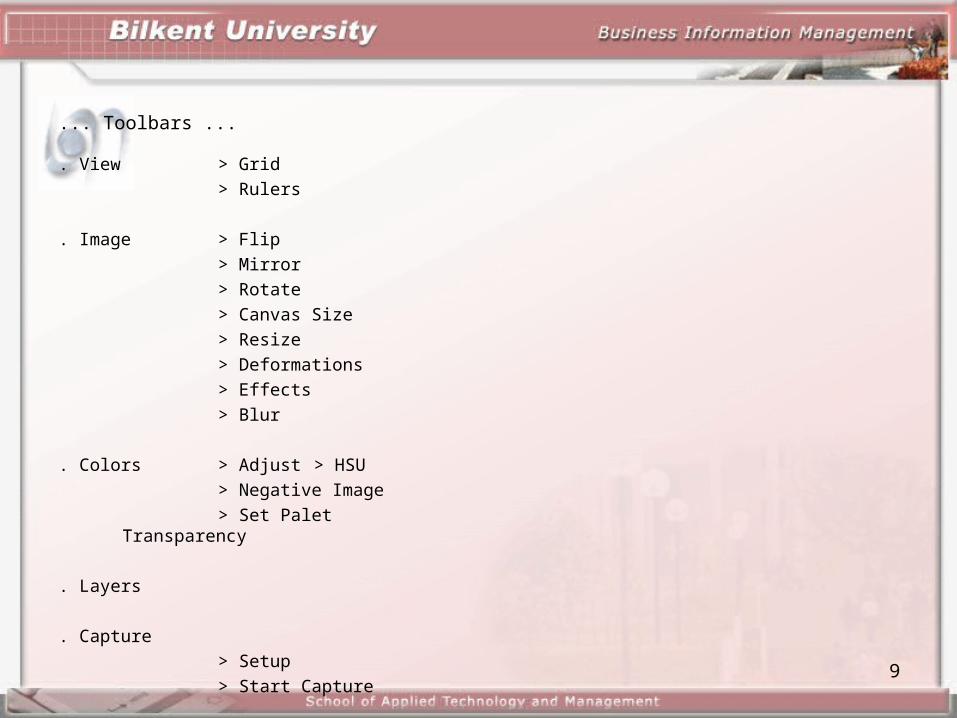
... Toolbars ...
. View > Grid> Rulers
. Image > Flip> Mirror> Rotate> Canvas Size> Resize> Deformations> Effects> Blur
. Colors > Adjust > HSU> Negative Image> Set Palet Transparency
. Layers
. Capture> Setup> Start Capture
10
Ruler and Grid
• Paint Shop Pro includes a ruler and a grid to help you align your
artwork and arrange image elements symmetrically.
• The grid/ruler can be set at any size, and the grid can be
configured to display inches, centimeters, and pixels.
• Set the options in the Rulers > Units > General Preferences dialog
box.
• To display the grid/ruler, choose Grid/Ruler from the View menu.
11
Flip and Mirror
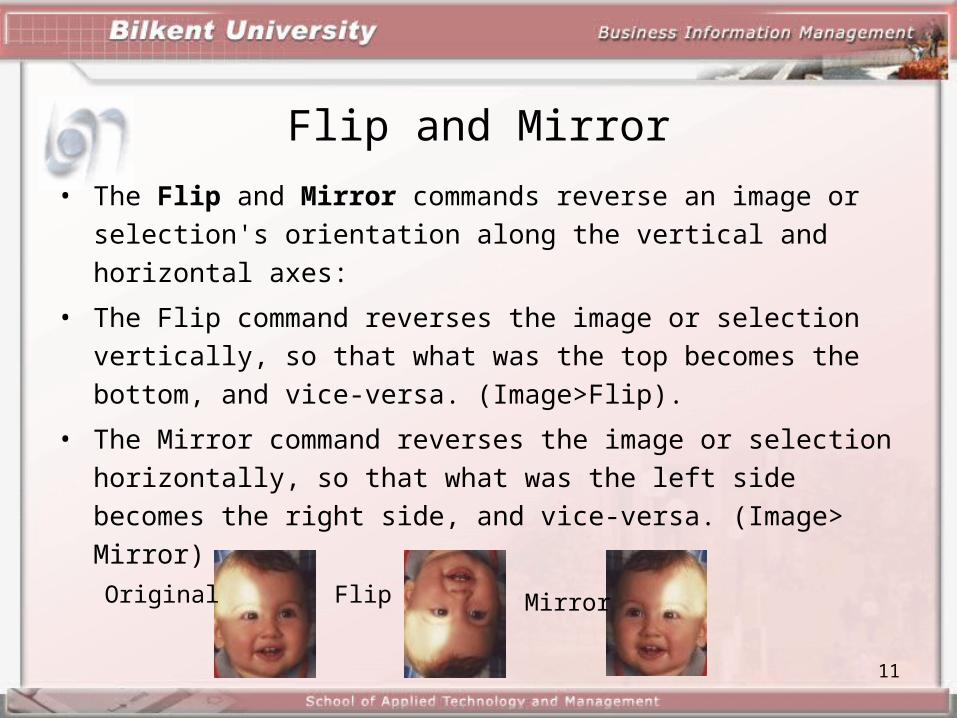
• The Flip and Mirror commands reverse an image or selection's orientation along the vertical and horizontal axes:
• The Flip command reverses the image or selection vertically, so that what was the top becomes the bottom, and vice-versa. (Image>Flip).
• The Mirror command reverses the image or selection horizontally, so that what was the left side becomes the right side, and vice-versa. (Image> Mirror)
Original Flip Mirror
12
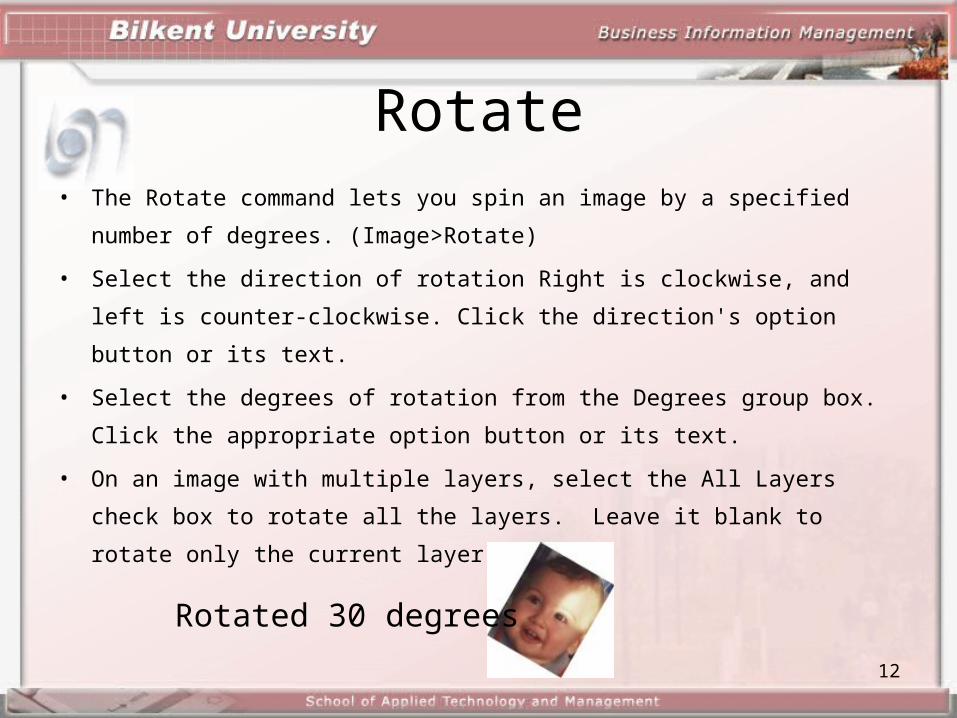
Rotate• The Rotate command lets you spin an image by a specified
number of degrees. (Image>Rotate)
• Select the direction of rotation Right is clockwise, and left is
counter-clockwise. Click the direction's option button or its text.
• Select the degrees of rotation from the Degrees group box. Click
the appropriate option button or its text.
• On an image with multiple layers, select the All Layers check box
to rotate all the layers. Leave it blank to rotate only the current
layer
Rotated 30 degrees
13
Canvas Size
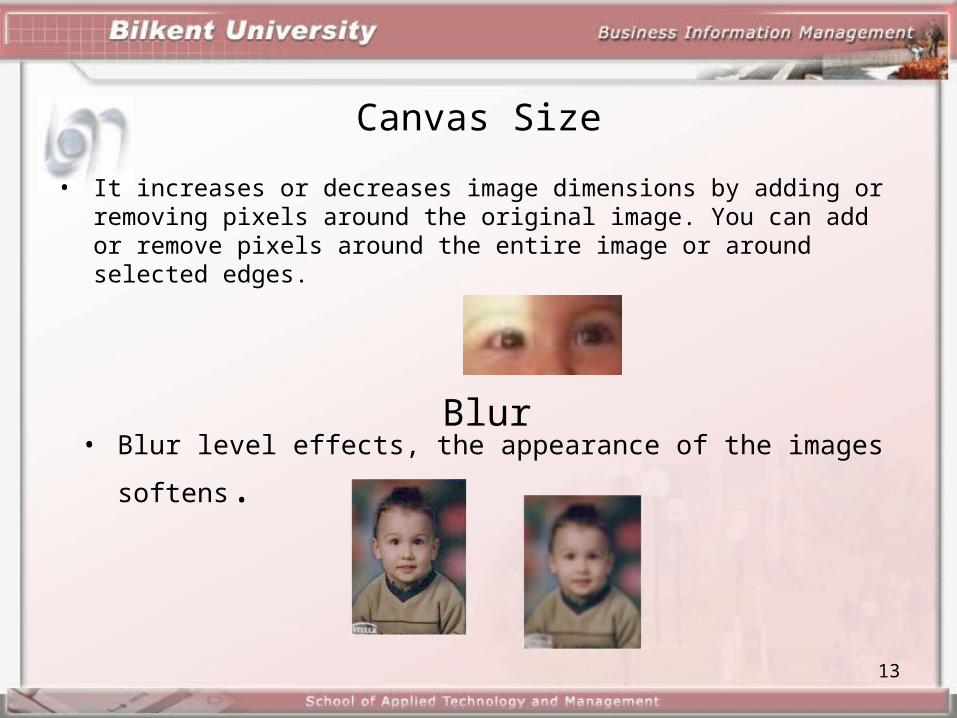
• It increases or decreases image dimensions by adding or removing pixels around the original image. You can add or remove pixels around the entire image or around selected edges.
• Blur level effects, the appearance of the images softens.Blur
14
Resize
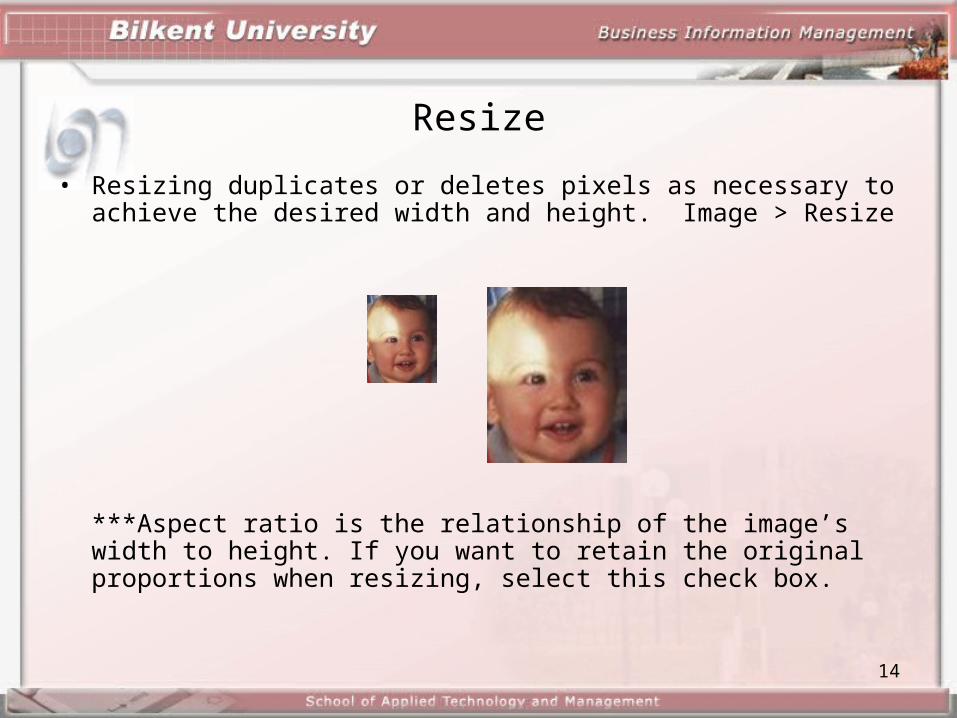
• Resizing duplicates or deletes pixels as necessary to achieve the desired width and height. Image > Resize
***Aspect ratio is the relationship of the image’s width to height. If you want to retain the original proportions when resizing, select this check box.
15
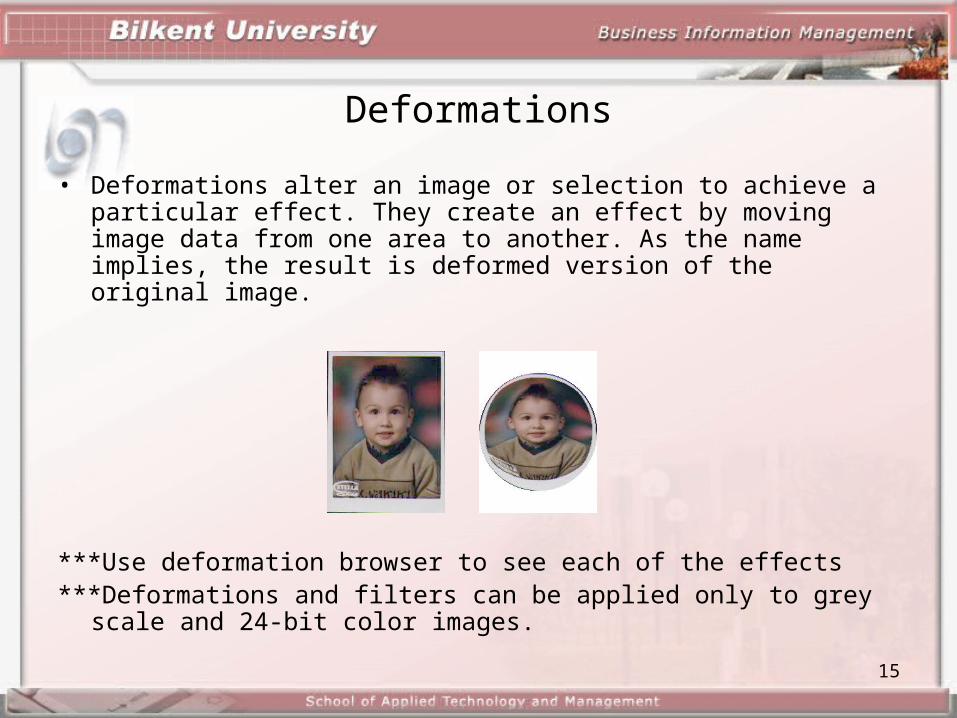
Deformations
• Deformations alter an image or selection to achieve a particular effect. They create an effect by moving image data from one area to another. As the name implies, the result is deformed version of the original image.
***Use deformation browser to see each of the effects***Deformations and filters can be applied only to grey scale
and 24-bit color images.
16
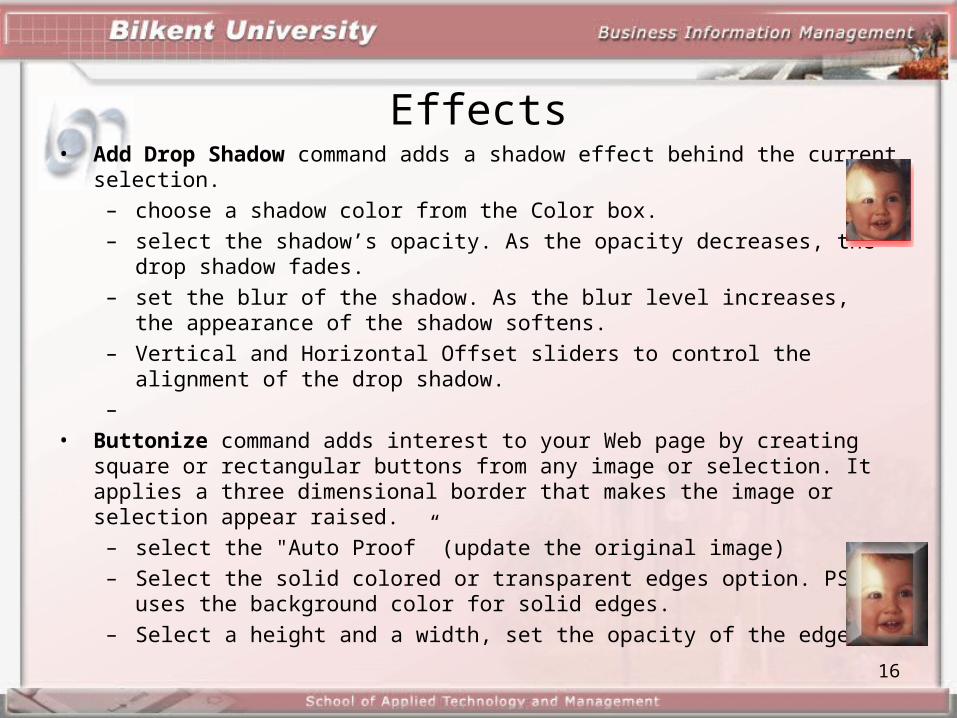
Effects• Add Drop Shadow command adds a shadow effect behind the current
selection. – choose a shadow color from the Color box. – select the shadow’s opacity. As the opacity decreases, the drop
shadow fades.– set the blur of the shadow. As the blur level increases, the appearance
of the shadow softens.– Vertical and Horizontal Offset sliders to control the alignment of the
drop shadow.–
• Buttonize command adds interest to your Web page by creating square or rectangular buttons from any image or selection. It applies a three dimensional border that makes the image or selection appear raised. – select the "Auto Proof” (update the original image) – Select the solid colored or transparent edges option. PSP uses the
background color for solid edges.– Select a height and a width, set the opacity of the edges.
17
• Chisel command adds a three-dimensional border around a selection or layer to make it appear as though it were cut out of stone.
• Cutout command creates the illusion that part of the image has been removed, allowing you to see through the image to a lower level. You can apply this effect only to a layer that contains a selection or is not a background layer.
– Select the "Auto Proof" check box. (updates the original image)– In the Attributes panel, select the "Fill the interior with color" check box – choose an interior color from the and a shadow color. Your color choices are
the same as for the interior.– Set the opacity of the shadow by dragging the Opacity slider.– et the blur of the shadow by dragging the Blur slider. As you increase the Blur
level, S shadow widens and its edges soften.– The Vertical and Horizontal Offset sliders control the alignment of the interior and
outline
18
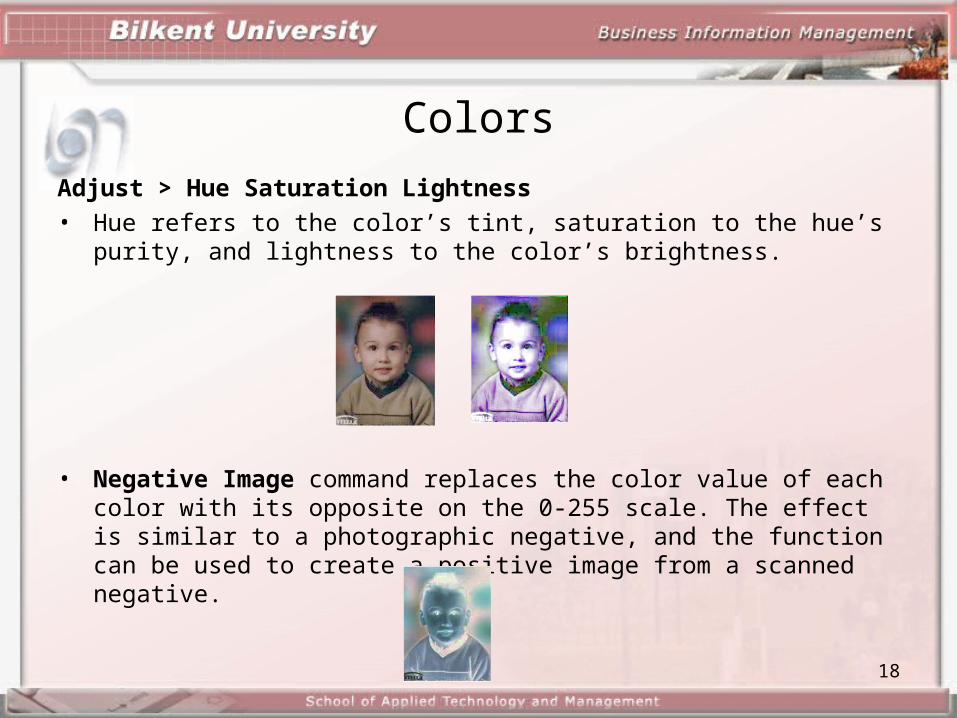
Colors
Adjust > Hue Saturation Lightness• Hue refers to the color’s tint, saturation to the hue’s purity, and
lightness to the color’s brightness.
• Negative Image command replaces the color value of each color with its opposite on the 0-255 scale. The effect is similar to a photographic negative, and the function can be used to create a positive image from a scanned negative.
19
Set Palet Transparency• Determine the color you want to make transparent by doing one of the
following:
– Selecting the color as the background color.
– Locating the color’s palette number from the image palette.
• Choose Set Palette Transparency from the Colors menu. The Set Palette Transparency dialog box opens.
• Set the transparency by selecting the appropriate option:– To undo the transparency of a color, select No transparency.
– To assign the background color, select Set transparency value to the current background color.
– To assign a color by palette number, select the number from the palette entry box.
• To view the new selection in the image, click the Proof button. Paint Shop Pro removes the color from the image. A transparent color remains visible in the image until you choose the View Palette Transparency command.
Recommended