Power BI Premium
Presented by –
<Shannon Pereira, Software Engineer>
Agenda
• Premium Capacity Nodes
• How to Purchase Capacity Nodes
• Types of Embedding
• Steps for Embedding
• How to publish your solution with a Premium Node
• Q & A
Premium Advantages
1. Dedicated Premium Capacity
2. More Storage(100 TB Space)
3. Larger Data Set(10 GB)
4. More Frequent Data Set Refresh
5. Embedding Services
6. Readers
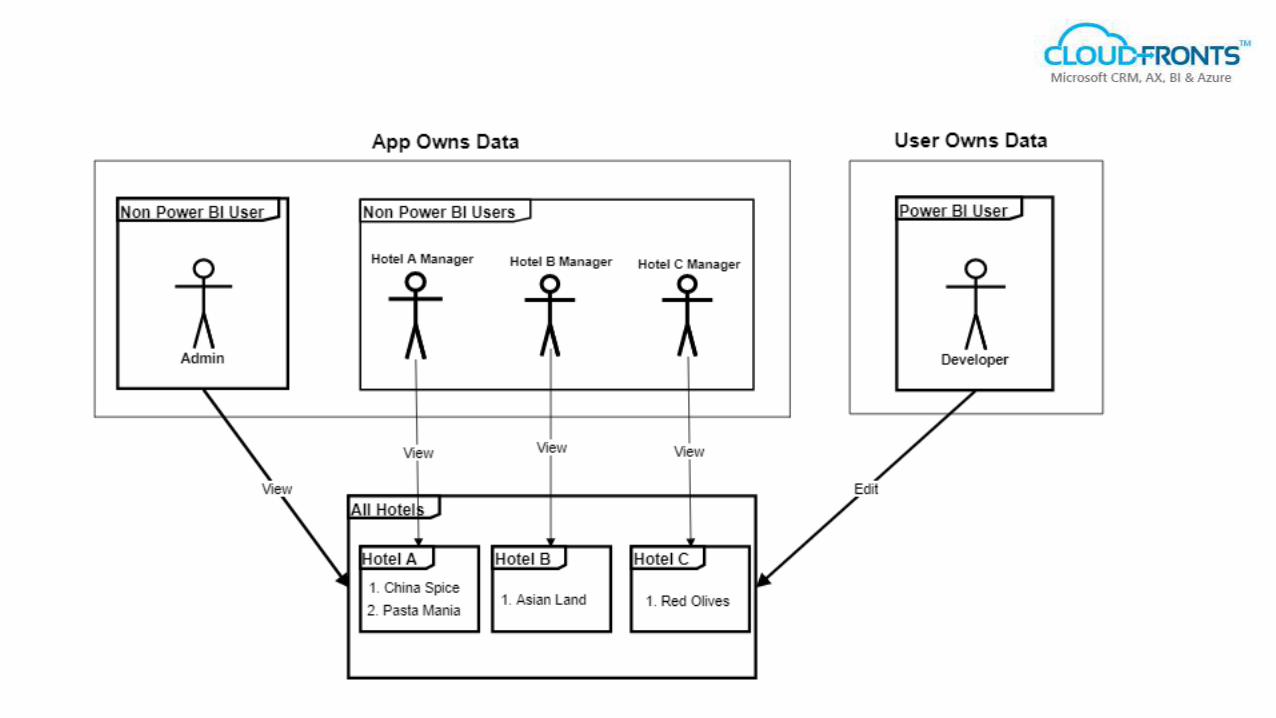
Types of Embedding
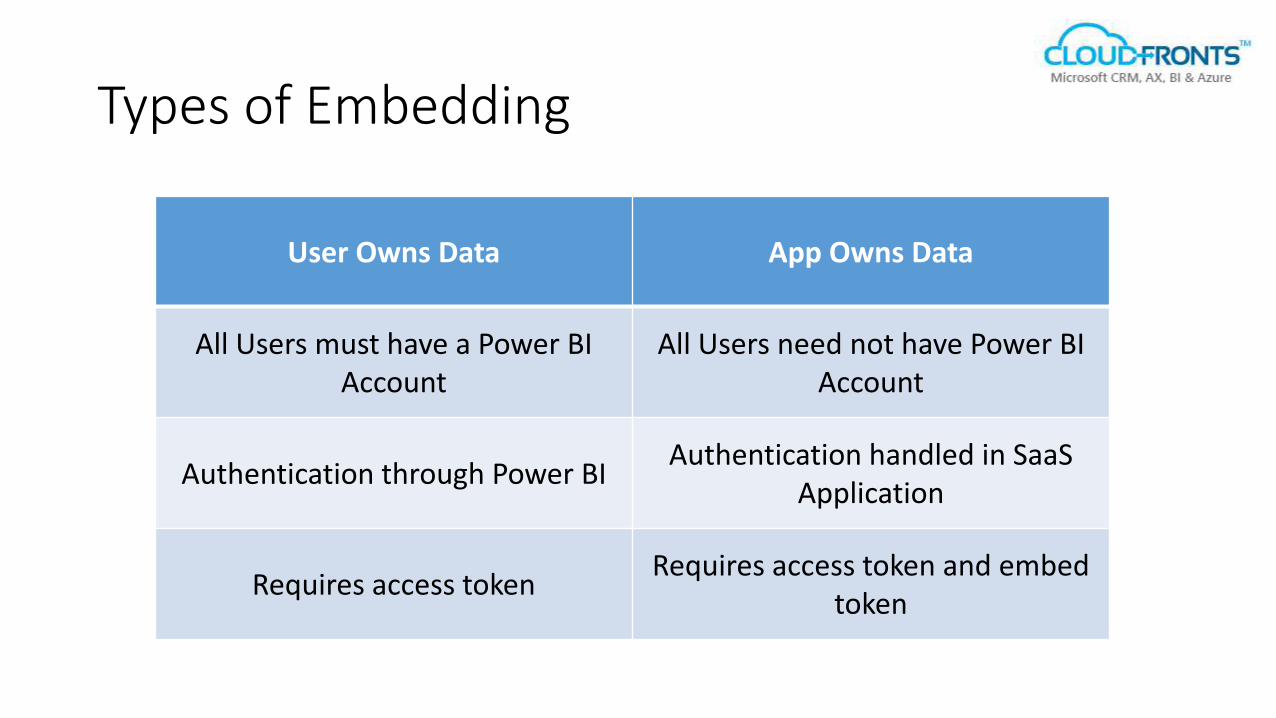
User Owns Data App Owns Data
All Users must have a Power BI Account
All Users need not have Power BI Account
Authentication through Power BIAuthentication handled in SaaS
Application
Requires access tokenRequires access token and embed
token

1. Cost Calculator2. App Registration
Steps for embedding
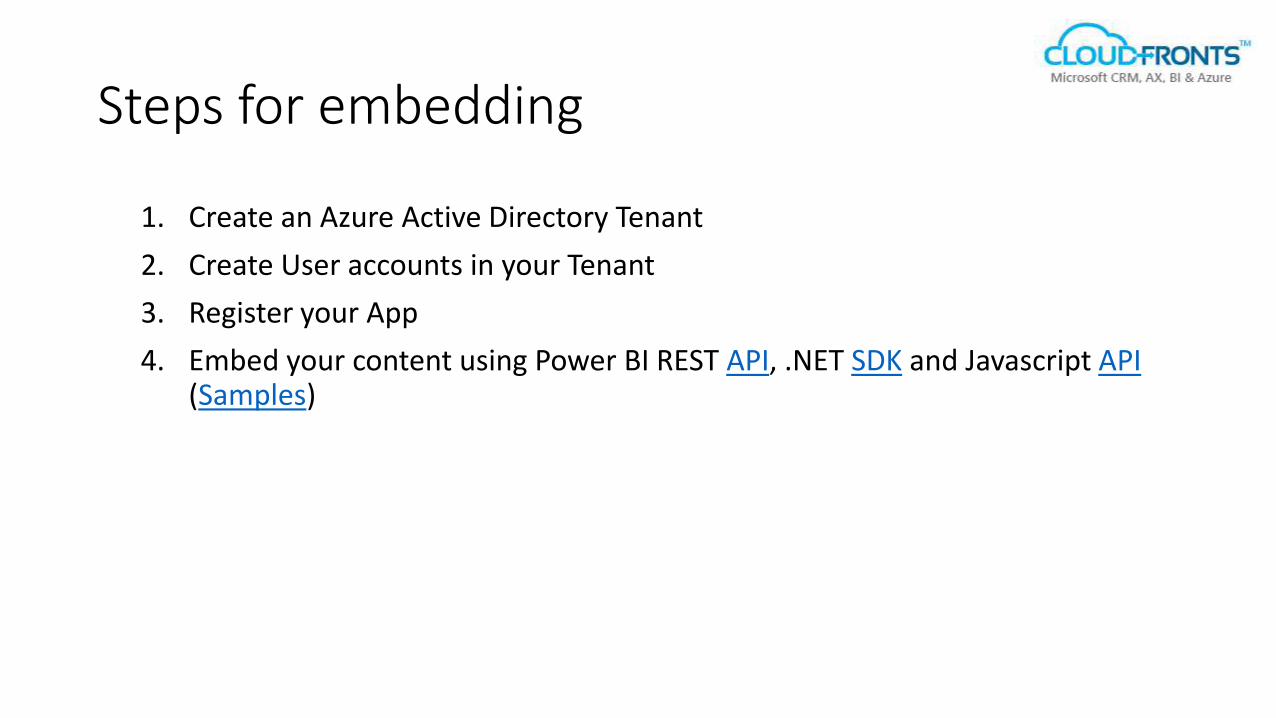
1. Create an Azure Active Directory Tenant
2. Create User accounts in your Tenant
3. Register your App
4. Embed your content using Power BI REST API, .NET SDK and Javascript API(Samples)
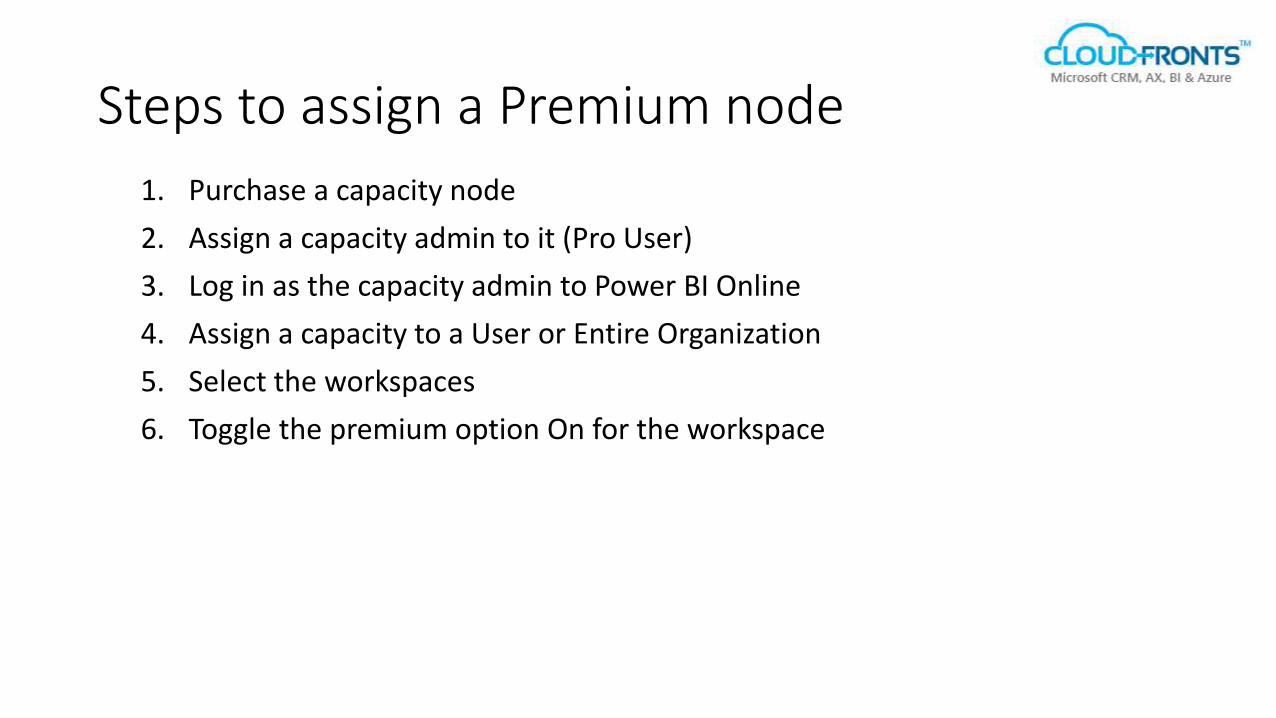
Steps to assign a Premium node
1. Purchase a capacity node
2. Assign a capacity admin to it (Pro User)
3. Log in as the capacity admin to Power BI Online
4. Assign a capacity to a User or Entire Organization
5. Select the workspaces
6. Toggle the premium option On for the workspace
Q & A
https://www.linkedin.com/company/cloudfronts
https://twitter.com/cloudfronts
https://www.youtube.com/user/cloudfronts

Thank You!
Recommended