October 22, 2009 1
PowerPoint Seminar
October 22, 2009Abby Wiertzema
http://www.oswego.edu/~wiertzem
2
Topics – Part 1 Definitions Notes, Backups, and Printing Simple Customization – Color Schemes & Design
Templates Activity 1 Simple Slide Graphics, Sounds, & Animations Activity 2 Colors & Image Management Activity 3 Break
October 22, 2009

3
Topics – Part 2 Advanced Slide Design – Master Slide View,
Custom Design Template Activity 4 Advanced Slide Design – Sounds, Movies, &
Animations Activity 5 Copy Slides Package for CD and Impatica Tips & Tricks Internet Resources
October 22, 2009

4
Definitions A pane is a window within an Office application that
provides commonly used commands.
A PowerPoint background is an image file, often a JPEG (.jpg), that you insert on the background of your slides.
A PowerPoint design template is a POT file (.pot) that includes a background, font specifications, images (such as a logo), and perhaps some text.
Definitions from: http://www.ellenfinkelstein.com/portfolio.htm
October 22, 2009

5
Multiple Ways to use Common Commands
Using a Menu Using keystrokes
Open Go to , Open Ctrl-O
Save Go to , Save or File, Save As Ctrl-S
Print Go to , Print Ctrl-P
Cut Go to Home tab, (Cut) Ctrl-X
Copy Go to Home tab, (Copy) Ctrl-C
Paste Go to Home tab, (Paste) Ctrl-V
Undo Go to Quick Launch, (Undo) Ctrl-Z
Redo Add to Quick Launch, (Redo) Ctrl-Y
October 22, 2009
6
, PowerpointOptions
Popular – Name and Initials Save – Allow fast saves, Autosave interval, Save
location Advanced – <When selecting,select entire word>
October 22, 2009
7
Using Notes
Use the Notes pane to record notes and other information about your slides. These can be printed so you have them while making your presentation.
The Notes pane is located under the slide pane.
All common text-editing functions are available in Notes.
October 22, 2009
8
Backups
Take backups frequently in case you make a change you cannot undo (e.g. running a macro, modifying
the Slide Master). Set the AutoRecover function using
Powerpoint Options, Save tab. If you are going to make a change that you are
unsure of, SAVE the file. Then make the change. If it does not do what you want, then CANCEL and go to your saved version.
October 22, 2009

9
Printing
Select , Print “Slides” prints one slide per page “Handouts” prints 1,2,3,4,6, or 9 slides per page “Notes” prints the slide on top and your notes to
use as a presentation aid Select just the slides to print
singly separated by commas – 6,4,8,2 Hyphenated – 3-5, 9-12
October 22, 2009
10
Slide Layout
Select from the Home tab, New Slide or Layout Title slide Title and content Title only Blank Title and table
October 22, 2009
11
Simple Customization - Color Schemes (1 of 2)
A PowerPoint color scheme is a palette of eight colors which you can apply to pre-defined parts (e.g. the background) of a slide, similar to a style in Microsoft Word. If you choose a different scheme or change one of the colors in the palette, all objects defined as using that scheme or color will automatically be reset to reflect the change. http://www.its.rdg.ac.uk/documents/training/powerpoint/colour/
This changes the scheme only in open presentation
October 22, 2009

12
Simple Customization - Color Schemes (2 of 2)
To change the background color : Go to Design tab, Colors Select a theme Select <Create new Theme Colors> Use Dropdown box
75% of presentations use midnight blue (color of the sky)
October 22, 2009

13
Simple Customization – Design Templates
A Design Template is a file that contains styles (type/size of bullets & fonts, background design, and slide master)
Select Design tab, <arrow to right of themes> To change the whole presentation, click one of the
designs Right-click on theme to :
Apply to Selected Slides Apply to all slides
Templates can be downloaded from the Internet
October 22, 2009

14
Activity 1
Create a new PowerPoint presentation with a Title slide and one “Title and Text” slide
Give the presentation a title and the date on page 1. Type 3 bullet items on page 2. From the Design tab, select a different design for all
slides Change the “Title Text” scheme color to Oswego
green Change the Background to pale yellow Save the presentation to your Desktop
October 22, 2009
15
Simple Slide Graphics
Select Insert tab Select Picture to add images from:
From file From scanner or camera
Select Clip Art for images Select Word Art to add some visual interest Use mover tools to change the size & location of the
graphic by grabbing one of the 8 circles or use green circle to rotate
October 22, 2009
16
Simple Slide Sounds
Use files, Clip Organizer, a CD, or a recorded message
Fair Use only allows 30 seconds of commercial music
PowerPoint will only Play sounds that Windows Media Player recognizes (.mid, .mp3, .wav)
Select Insert tab, Movies or Sounds, then your source
A sound icon will appear on the slide
October 22, 2009

17
Simple Slide Animation & Transition
Select Animation tab (Powerpoint XP/2003) There are predetermined sequences
that apply to the entire slide.
A transition is a display effect that changes how you move from one slide to another. Only one transition per slide.
To select the same transition for all slides in the presentation, select Slide Transition from the Task Pane. Select your transition, then click on the <Apply to All Slides> button.
October 22, 2009
18
Activity 2 Use the presentation you saved earlier. Insert a SUNY logo to page 2. Move it to an
appropriate location. Size it to fit. Add a Bomb sound Apply a Design Template Select a Transition scheme and set the speed to
Slow SUNY Oswego logos:
http://www.oswego.edu/administration/publications/idguide.html
October 22, 2009
19
Understanding Colors
Know your audience “Balance between professionalism and
attractiveness” Use the color wheel to help make a strong
impact on the audience “Use complementary colors for dynamic effect” “Use analogous colors for harmonious and unified
feeling”
http://office.microsoft.com/en-us/assistance/HA010120721033.aspx
October 22, 2009

20
Font Sizes Arial 12 point
Arial 16 point
Arial 20 point
Arial 24 point
Arial 32 point
Arial 40 point
Times 12 point
Times 16 point
Times 20 point
Times 24 point
Times 32 point
Times 40 point
October 22, 2009

21
Image Management
“More Pixels=More Quality
But…
More Pixels=Bigger Files”
Shrinking the size of the image will not loose quality just file size.
October 22, 2009
22
Formatting Images (Windows)
Use Microsoft Office Picture Manager Start-All Programs-Microsoft Office-Microsoft
Office Tools-Microsoft Office Picture Manager OR Paint.NET (open source)
Start-All Programs-Paint.NET Important image properties
File size Image size
October 22, 2009
23
Formatting Images (Mac)
Use iPhoto to format images Macintosh HD- Applications- iPhoto File-Import to Library
Important image properties File size Image size
Can view image size by selecting the photo then press command+I
http://www.apple.com/ilife/tutorials/iphoto/
October 22, 2009
24
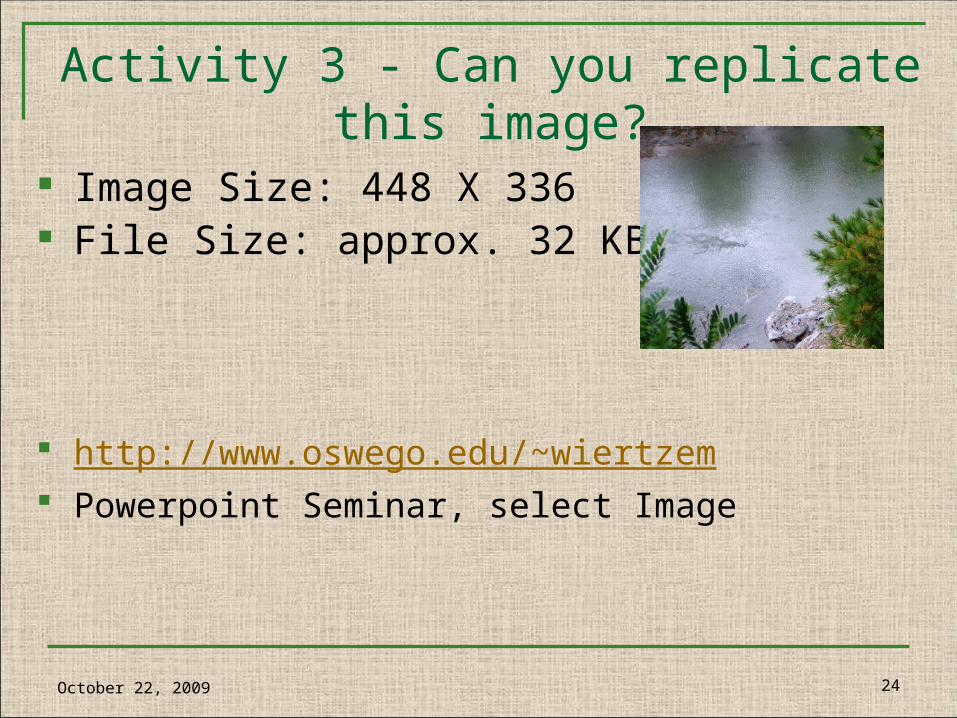
Activity 3 - Can you replicate this image?
Image Size: 448 X 336 File Size: approx. 32 KB
http://www.oswego.edu/~wiertzem Powerpoint Seminar, select Image
October 22, 2009
25
Break
October 22, 2009

26
Advanced Slide Design – Master Slide View
Master is a slide that contains everything that appears by default on all slides in the presentation: background image, header/footer details, text formats, size/placement of placeholders
Use View tab, Slide Master (XP version)Two views: Title Slide and Title & Text (2007) Multiple views Can modify each element on the slide Any changes are immediately effective and apply to
the entire presentation
October 22, 2009

27
Advanced Slide Design – Using Downloaded Templates
File extension is .pot You must save it to the default folder for
templates. This is the folder that PowerPoint defaults to when you select Design Template as the file type in the Save As dialog box. If you saved the .pot file to a different folder, PowerPoint will not find it.
Close and reopen PowerPoint. Then you will see the downloaded template in the list.
October 22, 2009

28
Advanced Slide Design – Creating your own Template
Open a new presentation Start with a blank template Start with a template from PowerPoint or one you have
downloaded Select View, Master, Slide Master Rearrange/modify as you wish File, Save as, .pot file – DO NOT change the folder
Microsoft selects
October 22, 2009

29
Activity 4 - Create your own Master From Slide Design, click on “Design Templates on
MS Office”. Pick a template. Download it. It should open automatically. Open Slide Master. Make a background change. Change the font. Add the picture from Activity 3. Make similar changes to the Title & Text slide. Exit Slide Master. Save as a Design Template. Close Powerpoint and reopen. The new design
template will appear in the list.
October 22, 2009

30
Advanced Slide Design – Inserting Sounds
Use Insert tab, Sounds Move the sound icon out of the way, but on the slide Options to play the sound:
Set it to automatically play when the slide displays Start on mouse click Play as an animation sequence Start with a time delay
October 22, 2009
31
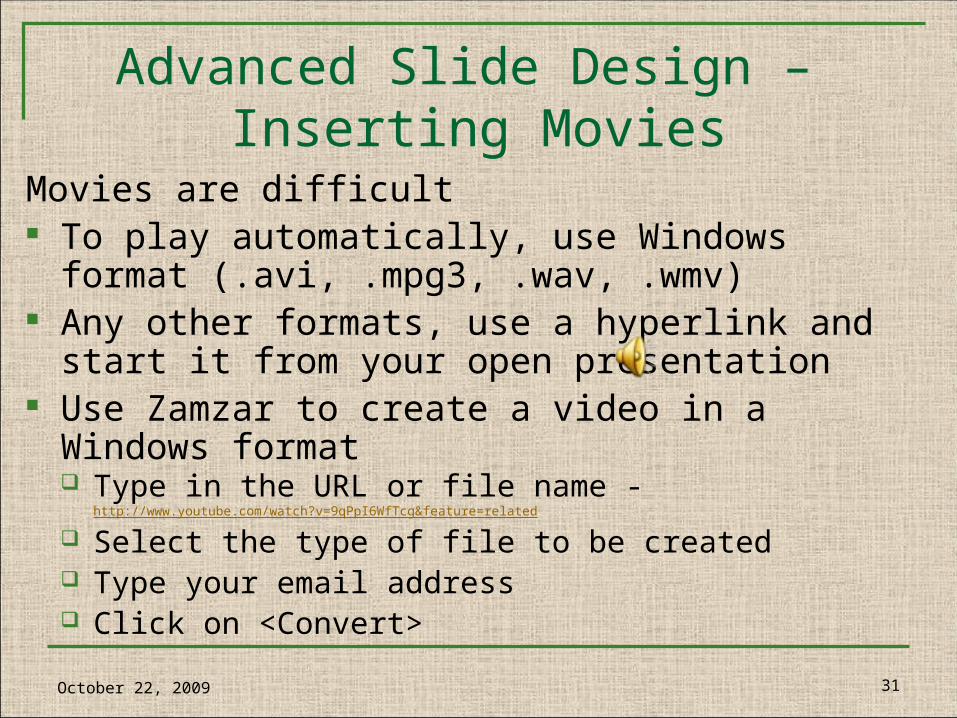
Advanced Slide Design – Inserting Movies
Movies are difficult To play automatically, use Windows format
(.avi, .mpg3, .wav, .wmv) Any other formats, use a hyperlink and start it from
your open presentation Use Zamzar to create a video in a Windows format
Type in the URL or file name - http://www.youtube.com/watch?v=9qPpI6WfTcg&feature=related
Select the type of file to be created Type your email address Click on <Convert>
October 22, 2009

32
Advanced Slide Design – Using Animation
Select Custom Animation from Animations tab for special effects or animating individual elements
Highlight the element to be animated Use the drop-down arrow, Effect Options
to modify the effect Can have sound associated with each
animation
October 22, 2009
33
Activity 5 – Animate your Presentation
Add an organizational chart. Fill in the blanks. Add a Animation scheme to the Org Chart. In a new slide, add a graphic. Add text using
Word Art. Add bulleted text. Animate each element individually (custom) on
the graphics slide. Add sound if desired. Add a Transition scheme to the whole
presentation.
October 22, 2009
34
Copying slides from other presentations
Select Home tab, New Slide, Reuse slides <Browse> to find the second presentation. To keep the design elements of the copied slides,
click on the <Keep source formatting> button. Otherwise, the inserted slides will have the design
elements of your current presentation. Select <Insert All> or use the SHIFT/CTRL keys to
highlight the desired slides. When you have selected all the slides, click on <Insert>.
Use the Slide Sorter to re-arrange the inserted slides.
October 22, 2009

35
Package for CD
Select , Prepare, Package for CD Office versions prior to XP were called Pack
and Go Packages all files used in the presentation
(sound, graphics, video) and creates a CD Include the PowerPoint Viewer (Options) just
in case PowerPoint is not installed where you are playing it
October 22, 2009
36
Impatica
Site-wide license for all faculty and staff Allows you to present your PowerPoint
presentation as a compacted, unmodifiable show
Reduces size to about 30% of original Excellent for SLN students who are using
slow Internet connections
Call the Help Desk x3456 for installation
October 22, 2009

37
Tips & Tricks Use the Notes field Using headers and footers
Go to Insert tab, Header and footer Allows you to add the date/time, a slide number, and
special notation to either the header or footer Use a font size of 24 point or larger Use pleasing color combinations Use a light background for overheads and a dark
background for on-screen presentations. Use the Slide Master to make design changes that
apply to all slides, such as a logo
October 22, 2009
38
Tips & Tricks Macs – Use Slide Show, View Presenter Tools for
options Slide show in a mini-window
Use CTRL-SlideShow to display the slide show in a small window
Blank the screen Press “B” for a black screen or “W” for a white screen
Start automatically in Slide Show Save as a .pps (.ppsx) file or rename to .pps (.ppsx)
Change the Default design template Use Slide Master to change a design template; save as .pot In Slide Design, right-click and select “Use in all new
presentations:”
October 22, 2009

39
Internet Resources Microsoft Office Web site
http://office.microsoft.com/en-us/templates/default.aspx MS Office Templates for Presentations & Backgrounds
http://office.microsoft.com/en-us/templates/ Free Backgrounds - Read EULA
http://www.websiteestates.com/education/templatesindex.html http://www.brainybetty.com/ http://www.maniactive.com/powerpoi.htm http://powerbacks.com/index_us.html
Free, open source imaging and drawing programs Paint.NET - http://www.getpaint.net/index.html Inkscape - http://www.inkscape.org/
October 22, 2009

40
Internet Resources (continued) Free PowerPoint Templates
http://www.graphicsland.com/powerpoint-templates.htm http://www.inzones.com/free-templates.htm http://www.indezine.com/powerpoint/templates/index.html http://www.soniacoleman.com/templates.htm http://www.websiteestates.com/
Free Animations http://www.freebackgrounds.com/free_gifs.htm http://www.flamingtext.com/
Free Clipart http://www,fundraw.com http://www.dailyclipart.net http://www.openclipart.org
October 22, 2009
41
Downloading from the Web Read EULA (End User License Agreement) Be sure to give credit in your presentation.
Copyright Basics by the U.S. Copyright Officehttp://www.loc.gov/copyright/circs/circ1.html
Fair Use Guidelines For Educational Multimedia by Georgia Harper; prepared by the Educational Multimedia Fair Use Guidelines Development Committee, 7/17/1996http://www.utsystem.edu/OGC/IntellectualProperty/ccmcguid.htm http://www.utsystem.edu/OGC/IntellectualProperty/copypol2.htm
October 22, 2009
Recommended