Introduction to Web Services
Examples
• Using a Web Service• Creating a new Web Service

Step by Step – using a web service1.1. Inside Visual Studio .NET Choose File > Inside Visual Studio .NET Choose File >
New > Project.New > Project.2.2. Choose Visual C# Projects (or Visual Basic Choose Visual C# Projects (or Visual Basic
Projects if you prefer this language).Projects if you prefer this language).
3. Choose 3. Choose ASP.NET ASP.NET Web Web Application Application as your as your templatetemplate

Step by Step – using a web service
• Inside the Location text box enter the name of your project after the prefix :http://localhost/YourProjectName
• Press OK.• This makes The Internet Information
Services installed on your computer create a new directory on the default path: C:\Inetpub\wwwroot\FirstExample

Step by Step – using a web service
• You can open IIS by typing compmgmt.msc \s in the run command and then choosing Services And Application > Internet Information Services.
• Inside this node you can choose Web Sites node and then Default Web Site to see all the web sites on your computer.

Step by Step – using a web service

Step by Step – using a web service
• In the new project you opened in VS.NET Move to the Solution Explorer.
• Right Click on the References folder and Choose Add Web References.
• This Opens the Add Web Reference Dialog Box.
Step by Step – using a web service
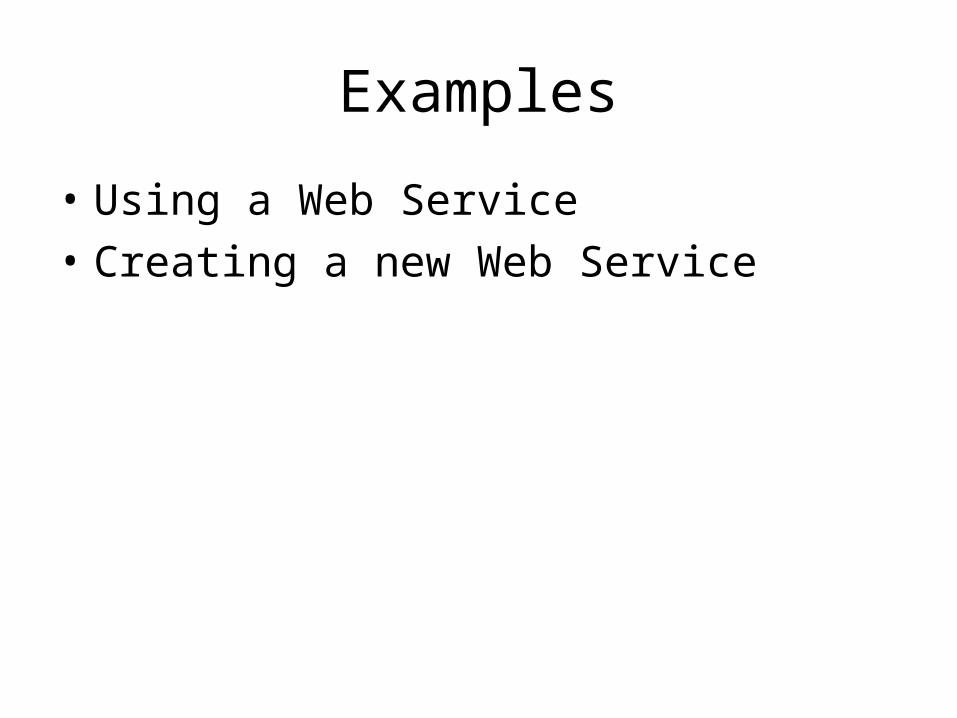
• Type the Web Service URL and Press Go.• It takes a couple of seconds to find the Web
services and finally all it’s methods appear in the list box.
• The Web Reference name is shown in the Dialog Box.
• Press Add Reference to complete the process.

Step by Step – using a web service

Step by Step – using a web service
• Add a new Web Form.

Step by Step – using a web service
• Add the following Controls to the Web Form

Step by Step – using a web service
• Double Click on the button and insert this code to it’s OnClick event handler.
Step by Step – using a web service
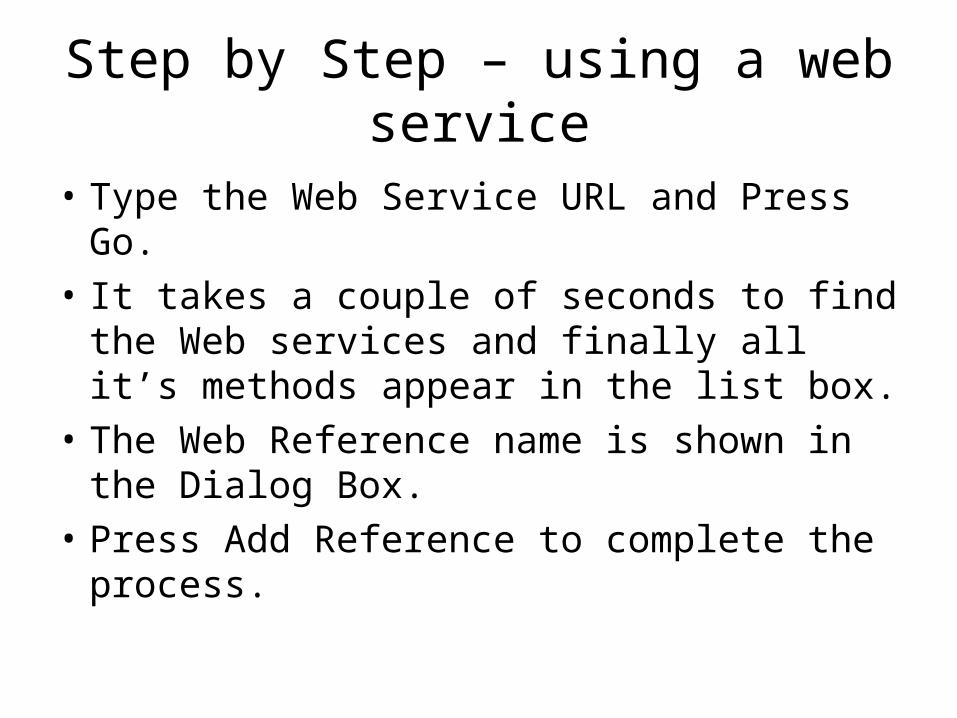
1. Set the Web Form as the Start Page.
2. Build and Run the Program.
3. Try to use the Web Application.

Step By Step – Creating a Web Service
• In this Step I will create a new Web Service and write a Simple Program that uses it.
• The program will perform various operations on an array.
• The client program will be a simple dialog box that activates those opeartions.

Step By Step – Creating a Web Service
• Create a new Visual C# project with the name RemoteArray. The following screen appears.

Step By Step – Creating a Web Service
• To see the code Press on the following hyperlink.
Step By Step – Creating a Web Service
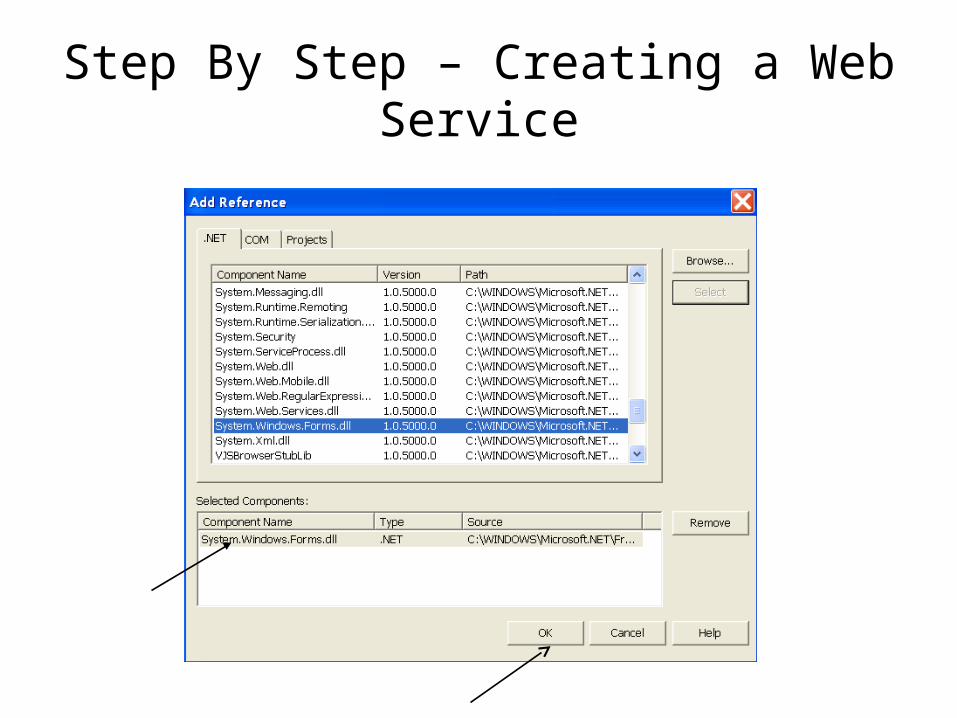
• Right Click on the References folder and choose add Reference.
• Insert the System.Windows.Forms.dll option in to this folder.

Step By Step – Creating a Web Service
Step By Step – Creating a Web Service

Step By Step – Creating a Web Service
• Insert the following code to the .asmx file you’ve created.

Step By Step – Creating a Web Service

Step By Step – Creating a Web Service

Step By Step – Creating a Web Service
• Press Ctrl +F5 to Run the Web service.
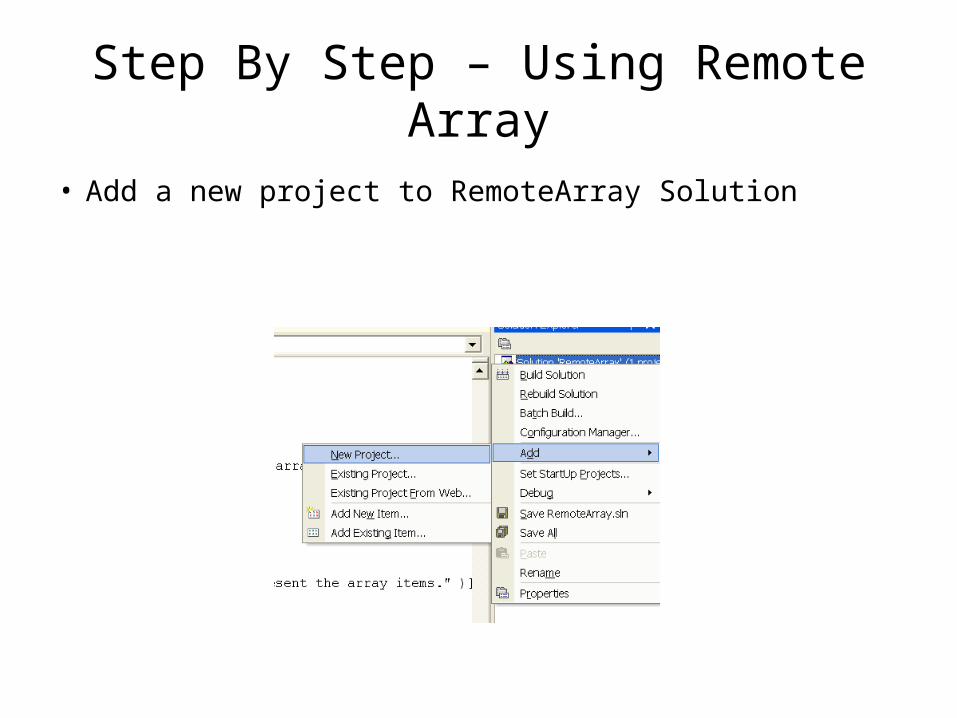
Step By Step – Using Remote Array
• Add a new project to RemoteArray Solution

Step By Step – Using Remote Array
• Choose Windows Application from the templates.
• Add a web reference for the Remote Array Web Service.
• Remember that it’s inside an asmx file.

Step By Step – Using Remote Array

Step By Step – Using Remote Array
• Add the following elements to the Form

Step By Step – Using Remote Array
• Create a private RemoteArray object and a private int array object to the Form.
• Insert this code after the Initialize component part.

Step By Step – Using Remote Array
• Insert the following code to controls handler
Step By Step – Using Remote Array
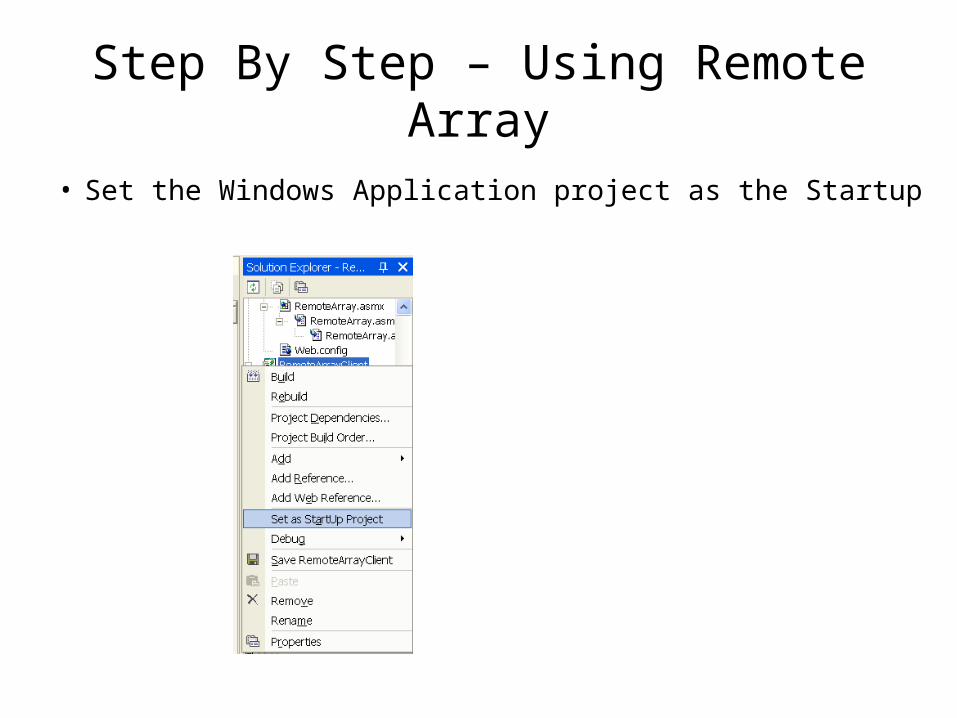
• Set the Windows Application project as the Startup

Step By Step – Using Remote Array
• Compile and run the application.• This is an example that an XML Web
application can be used over Windows and not only with ASP.NET
Recommended