H
H
How T
How T
To Ap
To Ap
pply
pply
Rib
Rib
Knit
Knit

How To Apply Rib Knit
Rib Knit is a very popular sewing notion used on jacket sleeves, necklines, and wherever a bit of gathering or snugness is desired.
In this project, we will learn how to apply rib knit as a neckline treatment. MATERIALS: Project onto which you intend to apply the rib knit. Rib Knit a length shorter than the opening where it will be attached. The length of rib knit will vary depending on the application. The width of the rib knit will also vary. For this project: use a 15” hole and 13” length of 3” rib knit. The finished piece will be about 1”.
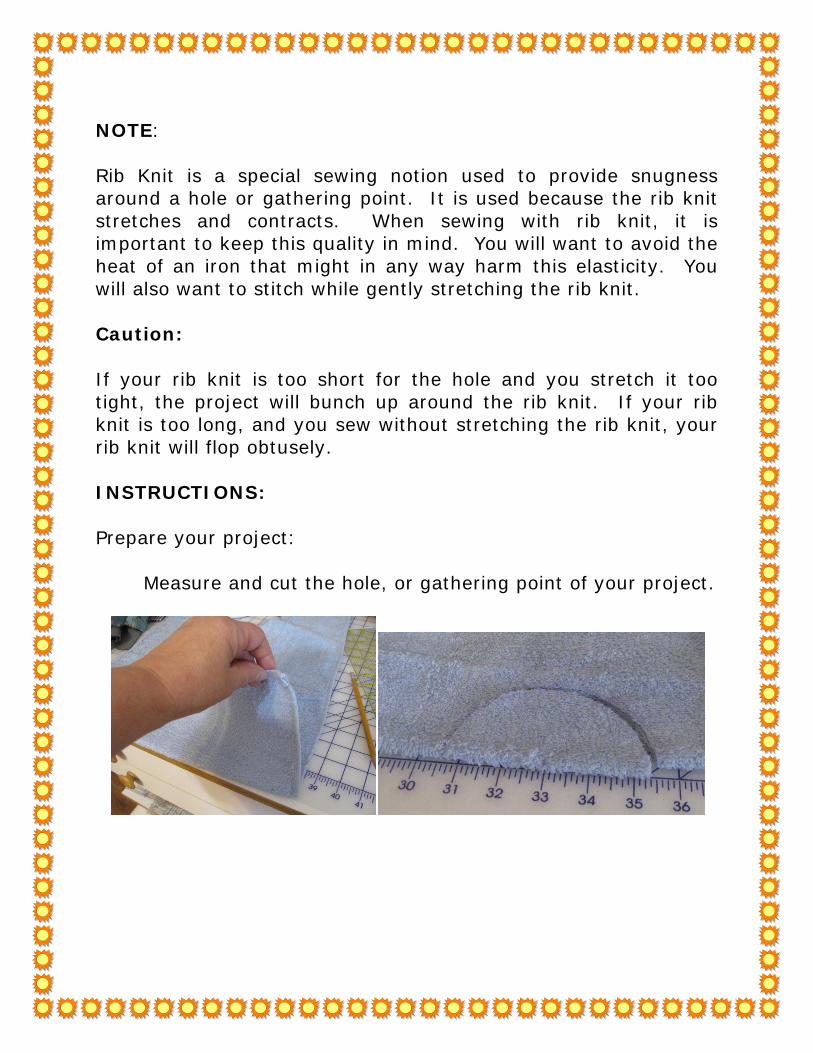
NOTE: Rib Knit is a special sewing notion used to provide snugness around a hole or gathering point. It is used because the rib knit stretches and contracts. When sewing with rib knit, it is important to keep this quality in mind. You will want to avoid the heat of an iron that might in any way harm this elasticity. You will also want to stitch while gently stretching the rib knit. Caution: If your rib knit is too short for the hole and you stretch it too tight, the project will bunch up around the rib knit. If your rib knit is too long, and you sew without stretching the rib knit, your rib knit will flop obtusely. INSTRUCTIONS: Prepare your project: Measure and cut the hole, or gathering point of your project.
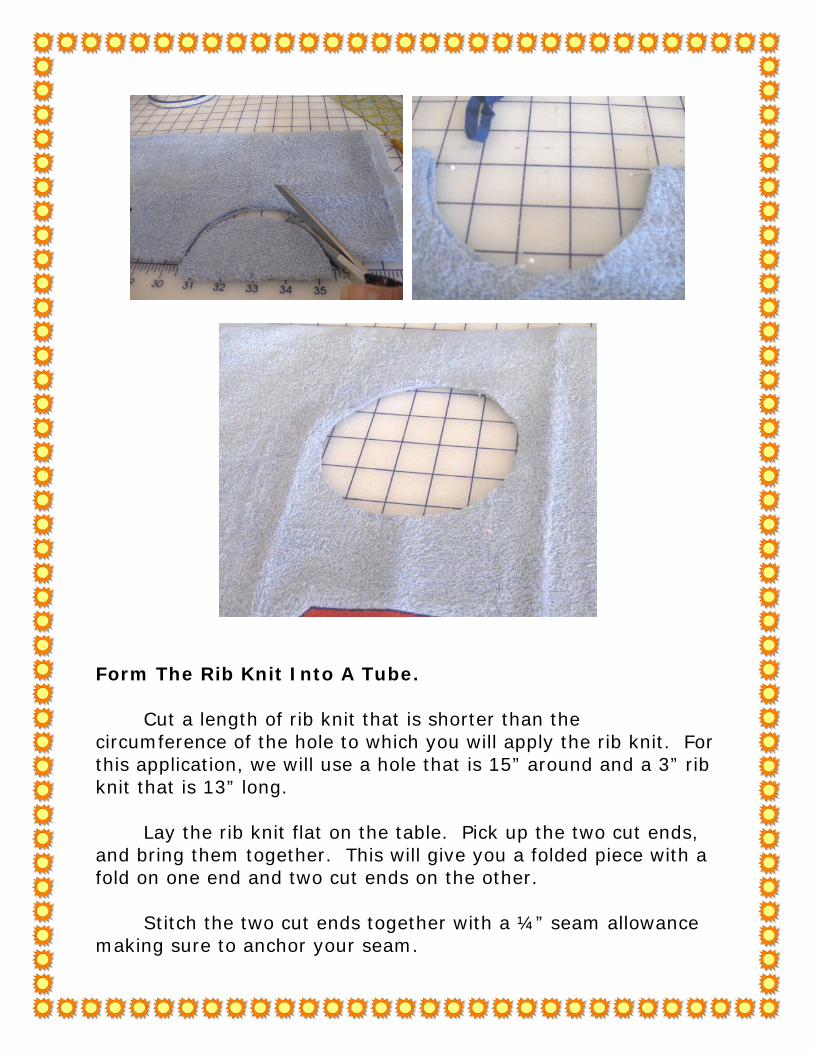
Form The Rib Knit Into A Tube. Cut a length of rib knit that is shorter than the circumference of the hole to which you will apply the rib knit. For this application, we will use a hole that is 15” around and a 3” rib knit that is 13” long. Lay the rib knit flat on the table. Pick up the two cut ends, and bring them together. This will give you a folded piece with a fold on one end and two cut ends on the other. Stitch the two cut ends together with a ¼” seam allowance making sure to anchor your seam.
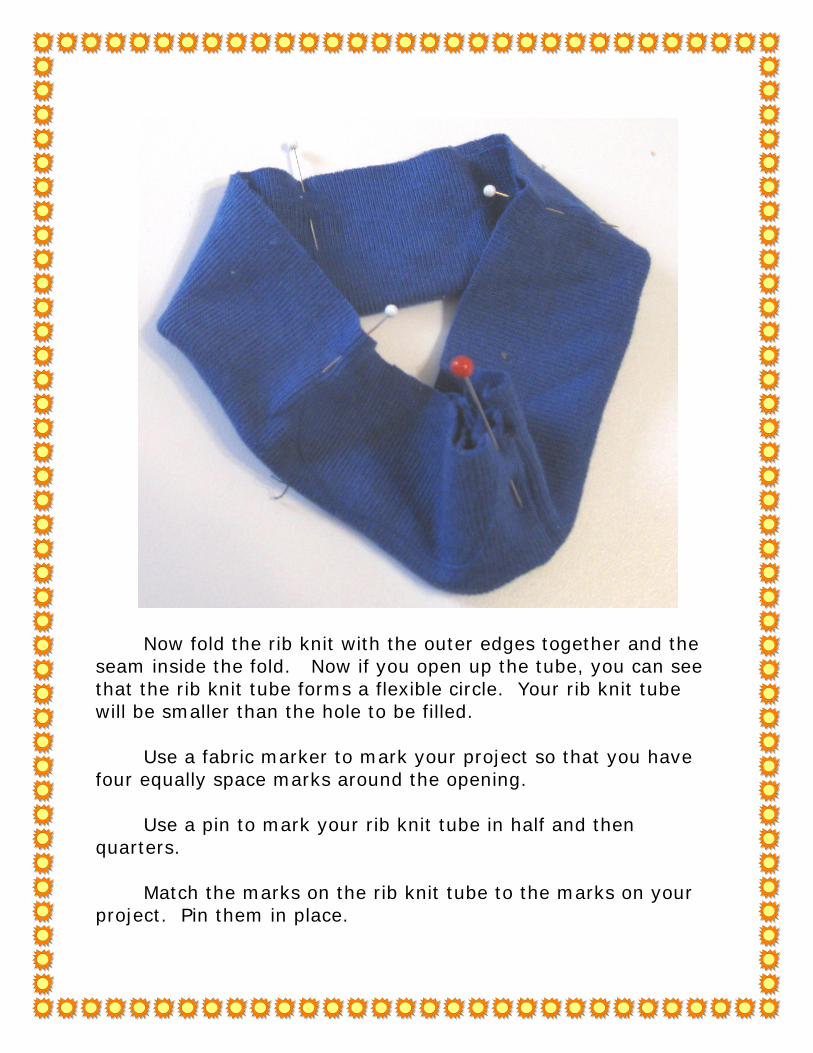
Now fold the rib knit with the outer edges together and the seam inside the fold. Now if you open up the tube, you can see that the rib knit tube forms a flexible circle. Your rib knit tube will be smaller than the hole to be filled. Use a fabric marker to mark your project so that you have four equally space marks around the opening. Use a pin to mark your rib knit tube in half and then quarters. Match the marks on the rib knit tube to the marks on your project. Pin them in place.
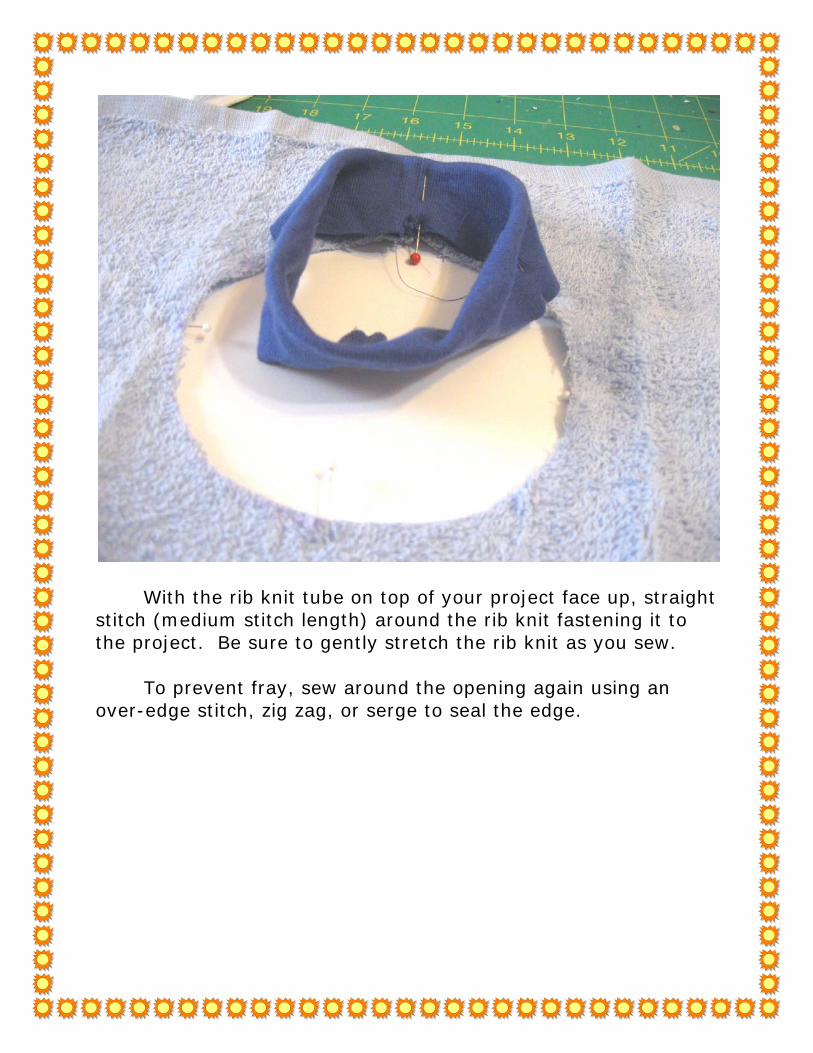
With the rib knit tube on top of your project face up, straight stitch (medium stitch length) around the rib knit fastening it to the project. Be sure to gently stretch the rib knit as you sew. To prevent fray, sew around the opening again using an over-edge stitch, zig zag, or serge to seal the edge.
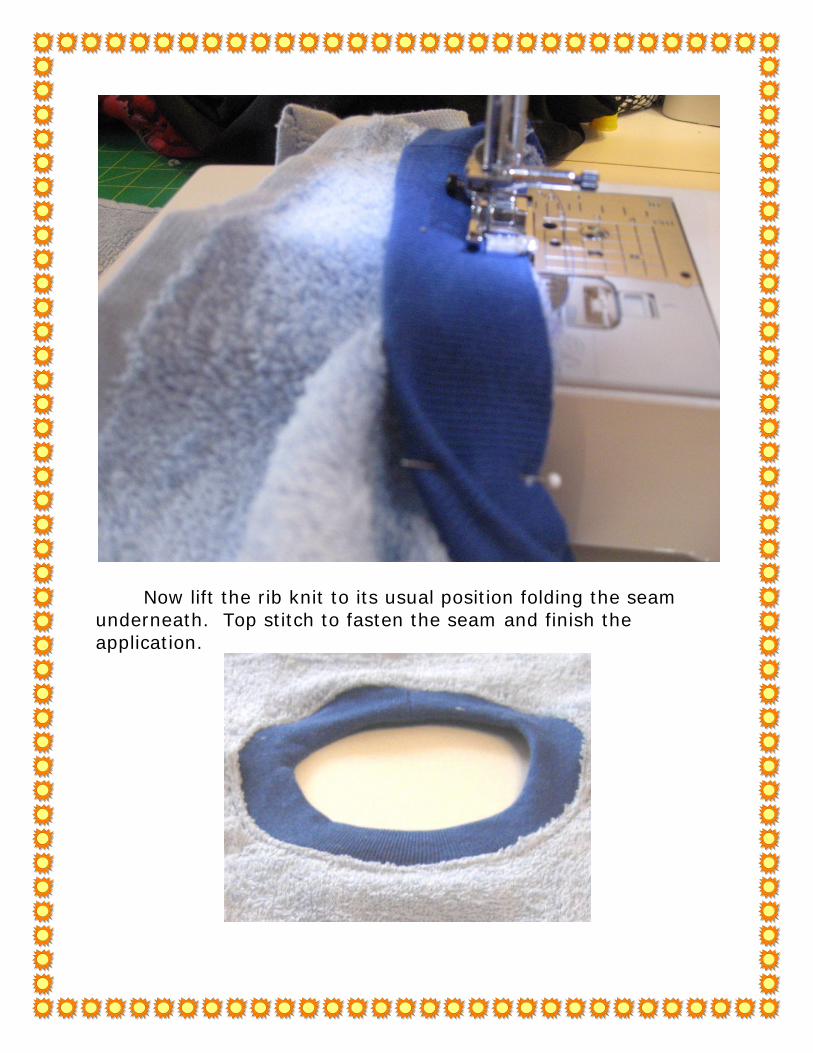
Now lift the rib knit to its usual position folding the seam underneath. Top stitch to fasten the seam and finish the application.
Recommended