F O O T B A L L T O
A M S T E R D A M G U I D E
R U N N I N G W I T H U S A N D P R O S T A T E C A N C E R U K
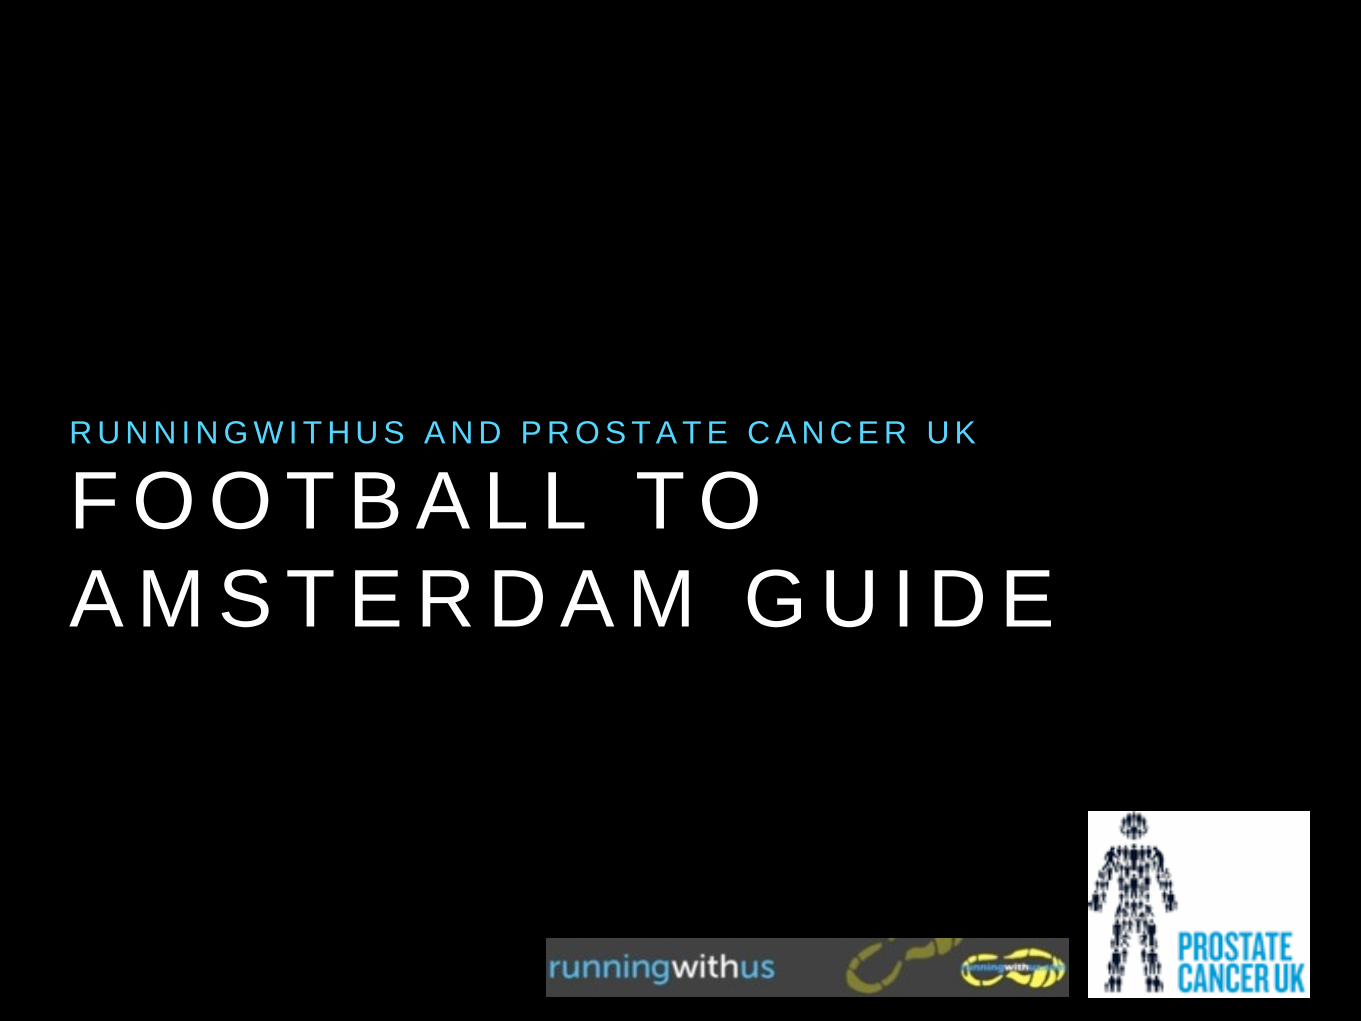
RunningwithUs exists to provide the best
endurance sports coaching, personal
training and fitness consultancy in the UK.
Established by GB running coach Nick
Anderson and actress Phoebe Thomas we
have supported hundreds of runners,
cyclists, triathletes, charities and
businesses to achieve their goals. Our team
includes London’s top personal trainer and
young endurance sport coach, Tom Craggs
and GB distance runner Lucy MacAlister.
This guide is designed to give Prostate
Cancer UK cyclists an overview of the key
elements of training, nutrition and
conditioning to help train for and complete
the Football to Amsterdam Challenge.
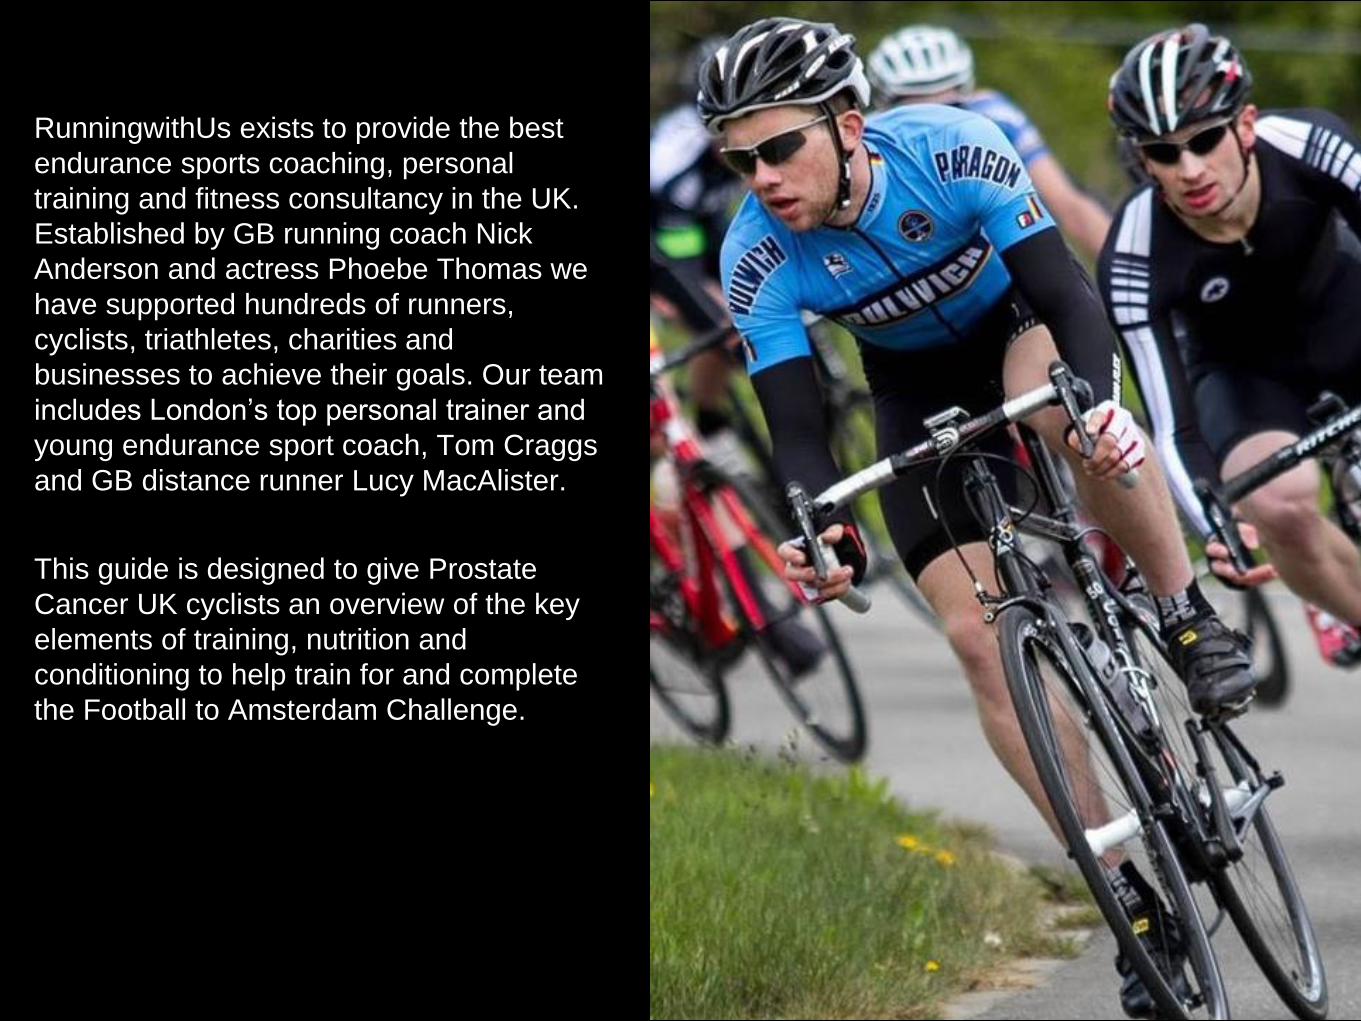
F O O T B A L L T O A M S T E R D A M
C H A L L E N G E

T H E F O O T B A L L T O A M S T E R D A M C H A L L E N G E
- W H A T T O E X P E C T
Represent your club, complete an amazing challenge, meet new friends and raise money for a fantastic cause. The Football to
Amsterdam Challenge is a totally unique challenge. Taking place over 2 days, you’ll ride from either London or Yorkshire and
cover the 145 miles to Amsterdam.
The Schedule Friday 3rd June 2016 - Sunday 5th June
London-Amsterdam: Leaving from the Olympic Park, Stratford you’ll ride out into the Essex Countryside, stopping to meet up with
Colchester United FC for lunch before completing the day at Harwich. On day two you start at the Hook of Holland riding through
the beautiful Dutch countryside before finishing at Ajax FC before enjoying a meal and a night out in Amsterdam. On Sunday we
head to Brussels by coach before catching the Eurostar Home.
Yorkshire-Amsterdam: You’ll leave on Friday from Oakwell Stadium, Barnsley and head through the Yorkshire hills to Hull. After
catching the ferry to Rotterdam you’ll start day two on fast, flat roads and make your way to Ajax FC, Amsterdam to meeting up
with your London-Amsterdam Team mates.
The Ride - Whether you choose to ride London-Amsterdam or Yorkshire-Amsterdam you’ll be covering 145 miles spread over two
days. Whislt two long back to back days of cycling is a challenge that needs to be respected and trained for its totally achieveable
with focus, training enthusiasm. The Yorkshire-Amsterdam route represents a slightly tougher challenge as you’ll tackle some hills
between Barsnley and Hull, but both options have a flat and fast day two.
The Training - Prostate Cancer UK have beginner and improver training plans designed specifically for the London-Amsterdam
Challenge. RunningwithUs are here to support your with training advice or questions - you can email questions directly to
[email protected] or tweet @runningwithus.
F O O T B A L L T O A M S T E R D A M - T H E R I D E
The Ride in Numbers - 2 days, 145 miles, 2 different routes covering 73 miles and 71 miles on Yorkshire-
Amsterdam and 83 and 61 miles London-Amsterdam.
The Route
London-Amsterdam: You’ll start in the Olympic Stadium in Stratford, heading out into the Essex Countryside you’ll
make your way to Colchester where you will have lunch and refreshments at Colchester United FC before pushing
on to the ferry at Harwich. Leaving the Hook of Holland on day two it’s all flat riding heading through the beautiful
Dutch countryside to Ajax FC in Amsterdam. Your ride will finish with 6 miles through the city itself and around the
canals that make it so famous.
Yrokshire-Amsteram: Starting at Barnsley FC’s Oakwell Stadium day one sees you head out for 73 miles through the
Dearne Valley tackling some challenging hills along the way, before crossing the Humber Bridge, finishing at your
ferry in Hull. Day 2 starts in Rotterdam and a chance to easy those hills out of the legs with 71 miles of flat, fast
riding through the Dutch countryside, finishing at Ajax FC in Amsterdam and a 6 mile ride around the famous canals
of the city.
Profile - The London-Amsterdam route is mostly flat throughout with only a few small inclines to repare for. However
it is likely you’ll face heacwinds and whilst we generally see great weather for this ride we can’t guarantee it! The
Yorkshire to Amsterdam route is a little more challenging, particularly on day one where you will face several
manageable, but testing climbs.
Flat doesn’t mean easy! - Just because big chunks of the ride take place on flat roads, you can expect small
inclines and headwinds that mean you’ll need to get some good training into your legs to feel confidence and strong.
Back to back long days take some getting used to as well. If you are organised, and get on to your training early you
can be totally confident you will recover well after day 1 to feel great on those final miles into Amsterdam.
B E G I N N E R S T O P
T I P S

T I P O N E - H A V E A R O U T I N E .
Y O U R B O D Y L I K E S
C O N S I S T E N C Y A N D
P A T T E R N S . R E G U L A R
C O N S I S T E N T T R A I N I N G
W I L L Y I E L D B E T T E R
R E S U L T S T H A N P E A K S
A N D T R O U G H S !
T I P T W O - P L A N I T O U T . C H E C K
O U T O U R T R A I N I N G
P L A N S O R L O O K
O N L I N E F O R S U P P O R T
F R O M A C O A C H .
V A R I E T Y I N Y O U R
T R A I N I N G A N D
P R O G R E S S I N G A T A
S U S T A I N E D , S E N S I B L E
P A C E I S V I T A L .
T I P T H R E E -
R I N G - F E N C E Y O U R
T R A I N I N G . O N C E Y O U
H A V E D E C I D E D O N
Y O U R P L A N A N D
R O U T I N E G E T T H E
S E S S I O N S I N T O Y O U R
D I A R Y A T T I M E S A N D
O N D A Y S Y O U K N O W
A R E G O I N G T O W O R K
A R O U N D W O R K A N D
H O M E L I F E - D O N ’ T
S E T Y O U R S E L F U P T O
F A I L !
T I P F O U R -
T R A I N T O T I M E , N O T
M I L E S . Y O U C A N F I N D
Y O U R S E L F C L O C K I N G
U P M I L E S R A T H E R T H A N
T R A I N I N G S E N S I B L Y .
C Y C L E T O T I M E &
E F F O R T . G I V E E V E R Y
R I D E A P U R P O S E ! S O M E
S H O U L D B E E A S Y T O
A L L O W Y O U T O
R E C O V E R O R B U I L D
E N D U R A N C E , S O M E
H A R D E R B U I L D I N G A
S T R O N G H E A R T & P A C E .
T I P S E V E N -
S E T A C H I E V A B L E
T A R G E T S . T R A I N I N G
P L A N S C O N T A I N
W E E K S O F T R A I N I N G .
S E T S O M E T A R G E T S
T H A T A R E R E A L I S T I C
W I T H I N T H I S J O U R N E Y
T O R A C E D A Y .
T A R G E T S W I L L
M O T I V A T E Y O U A N D
H E L P Y O U C H E C K
Y O U R P R O G R E S S .
M A Y B E I T C O U L D B E A
B E S T T I M E F O R A
S H O R T E R S P O R T I V E
O R Y O U R F A V O U R I T E
L O C A L R O U T E U S I N G
S T R A V A .
T I P S I X -
L I S T E N T O Y O U R
B O D Y . Y O U H A V E A
P L A N N O W , B U T D O N ’ T
B E A S L A V E T O I T .
Y O U R B O D Y I S A N
A M A Z I N G M A C H I N E , I F
Y O U F E E L T I R E D A N D
S O R E C O N S I D E R
T R A I N I N G A T A L I G H T
I N T E N S I T Y F O R T H A T
D A Y , S T R E T C H I N G ,
E A T I N G W E L L O R
G E T T I N G S O M E
M A S S A G E . R E S T
A L L O W S Y O U R B O D Y
T O H E A L A N D
R E C O V E R .
T I P F I V E -
D O N ’ T J U S T
R I D E . C R O S S T R A I N I N G
S U C H A S R U N N I N G ,
S W I M M I N G A N D G Y M
W O R K C A N P L A Y A
V I T A L R O L E I N
B U I L D I N G Y O U R
F I T N E S S W I T H L E S S
I N J U R Y R I S K .
T I P E I G H T -
S T R E N G T H A N D
C O N D I T I O N I N G ,
I N C L U D I N G T H E
E X E R C I S E S I N T H I S
G U I D E W I L L A D D
V A R I E T Y T O Y O U R
T R A I N I N G A N D H E L P
Y O U R E M A I N I N J U R Y
F R E E .
T I P N I N E -
T R E A T N U T R I T I O N A N D
S L E E P S E R I O U S L Y .
Y O U R B O D Y N E E D S
R E S T A N D F U E L I N
O R D E R T O T R A I N A N D
I M P R O V E . C L E V E R
A T H L E T E S
S L E E P W E L L & H A V E A
D I E T R I C H I N P R O T E I N &
M I C R O N U T R I E N T S
S U P P O R T E D B Y H I G H
Q U A L I T Y
C A R B O H Y D R A T E .
S N A C K I N G & E A T I N G
B E T W E E N M E A L S A N D
S E S S I O N S H E L P S T O
F U E L T R A I N I N G
C O R R E C T L Y & P R O M O T E
A C T I V E R E C O V E R Y .
T I P T E N -
K E E P I T S O C I A L .
T R A I N I N G W I T H O T H E R
P E O P L E - B O T H W I T H
Y O U R C Y C L I N G B U T
A L S O C R O S S T R A I N I N G
A N D C O N D I T I O N I N G
H E L P S K E E P Y O U
F O C U S E D , H A V E M O R E
F U N A N D T R A I N M O R E
C O N S I S T E N T L Y .
S U R R O U N D Y O U R S E L F
W I T H P O S I T I V E , L I K E -
M I N D E D P E O P L E .
1 0 T I P S T O G E T Y O U S T A R T E D …
G E T T I N G K I T T E D O U T
T H E B I K E T H E H E L M E T
C L O T H E S O T H E R K I T Y O U ’ L L N E E D
A base layer, short-sleeved jersey and bib-shorts
with padding, paired with arm and knee warmers,
gilet, and lightweight packable rain jacket should
see you through poor weather but also consider
gloves and overshoes and replace your short-
sleeved jersey with a long-sleeved equivalent or soft
shell. For all other garments, choose mid-weight
sweat wicking technical fabrics. Cycling specific
shoes with hard soles and cleats that ‘clip in’ can
dramatically increase the efficiency of your power
transference. If you decide to purchase these then
practise using them before going on the open road.
Helmets are compulsory for sportive events and
should be the first thing you buy at the start of your
training. Helmets are designed to draw the air
across the head when you are travelling at speed;
allowing you to stay cool and comfortable. Fit is
everything with the helmet, so measuring your
head circumference before purchase is
recommended. Most modern helmets can be
tailored to fit your head size, often with just a one
handed adjustment of a dial.
Bikes come in all shapes and sizes. Don’t feel as if
you need to spend thousands on the latest carbon
fibre road bike if you don’t wish to, your fitness and
training is more important, but getting a bike you
feel comfortable on, that is well fitted is crucial.
Road bikes are obviously most suited to long
sportives or quick road courses and triathlons.
Within this you can get more ‘aggressive’ racing
bikes with drop handle bars and aerodynamic
riding position, through to more comfortable,
touring style bikes with flat bars…try before you
buy, and ask the experts.
Punctures are far and away the ‘mechanical’ you’re
most likely to suffer, so carry an inner tube or
(ideally) two, tyre levers, and a pump. A multi-tool
fitted with a selection of Allen keys, and sometimes
a flat-bladed screwdriver, Torx bit, and chain link
extractor is another essential piece of on-the-go
maintenance equipment, and easily stowed in a
jersey pocket or saddle bag. Finally, and
depending on your level of mechanical proficiency,
a spare chain link and gear cable are worth space
in your mobile tool kit. Make sure your bike is fitted
with a cage and water bottle.
B I K E F I T T I N G - T H E B A S I C S
When your bike is well fitted you’ll feel a part of one machine. A poorly set up bike will make you less efficient and increase your injury
risk. Consider a professional bike fitting. Whilst these can be expensive they can make a huge difference to your enjoyment of your
riding. Here though are a few pointers;
Seat Height - A simple method to determine a good saddle height is to work out your inseam measurement and then put the saddle at
109% of this measurement when taken from the pedal axel to the top of the saddle’s height.
Seat position - How far forward or back your saddle is will change the pressure/angle of your knee joint. If you have small feet then
push your saddle well forward, this will ease the strain on your knees.
Pedal Adjustments - Ideally you should pedal with the balls of your feet. If you are not using clip in cleats consider toe clips to help
secure your foot in the correct position.
Handlebars - Do you like to ride crouched over, head down and bum up? Or perhaps upright on the saddle, nice and tall? Your
choice of position affects your choice of handlebar, even your choice of bike. If you ride leaning forward placing weight on your hands,
then the handlebars should be narrower than or the same width as your shoulders and the stem by which the handlebars are attached
to the front forks should not be so long so as to risk pitching you over the bars when braking hard. If you plan to ride sitting upright or
leaning very slightly forward then it is simply a matter of deciding where you can comfortably place your hands. There are a range of
adjustable stems available, and you may have one fitted to your bike.
Other points to note - There are five pressure points; two hands, two feet and a bum on the saddle. Relief can be achieved by
spreading the load appropriately between these points. Lowering the bars shifts some weight to the hands. Pedalling a bit harder shifts
some weight to the feet. Wear gloves or mitts. Wear cycling shorts with a chamois (padded underneath). Don’t over-tighten shoes or
toe-straps.
T O O L S
Look to undertake a basic cycle maintenance course or view some tutorials online. Knowing how to change an inner-tube or adjust your
breaks and gears should be essential knowledge for all cyclists. In order to do this you’ll need to get yourself kitted out with spare inner
tubes, tyre levers, a basic multi-tool and hex key and a pump, consider also carrying a puncture repair kit.
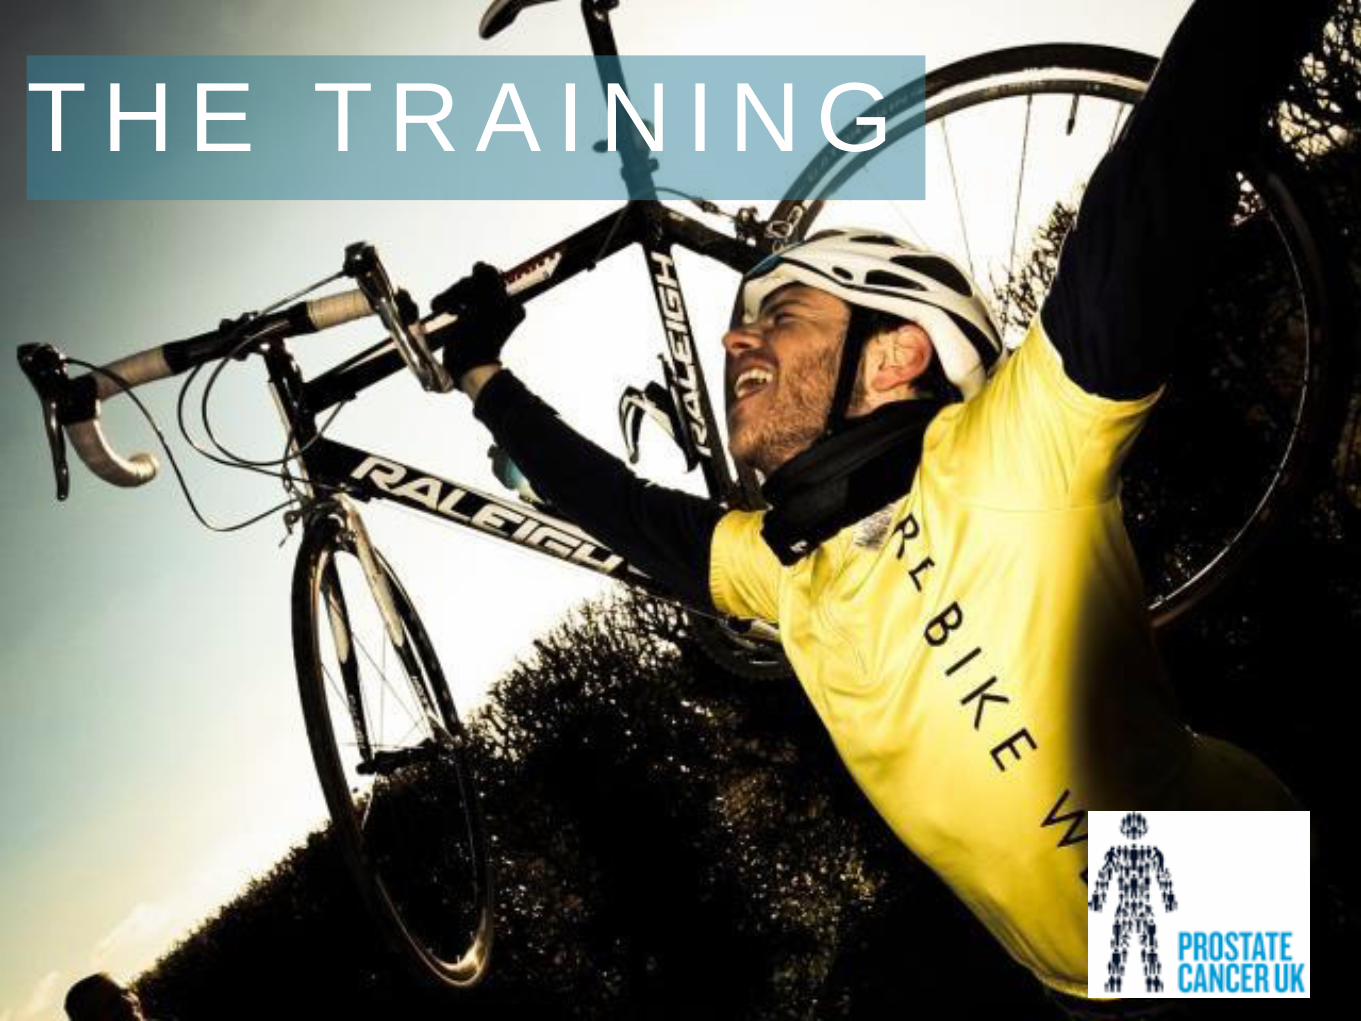
T H E T R A I N I N G
T H E L O N G R I D E
6/10 effort focusing on building your time on the bike and developing your aerobic capacity. Start off riding at 65% of
MHR (conversational pace). These rides improve your muscular endurance and condition your body to burn fat as its
primary fuel source. They also prepare you physically and mentally for the task ahead. The challenge includes 145
miles spread over two long days so ‘time in the saddle’ is going to be absolutely critical in your training. You don’t
need to cover the full distance before the ride itself, depending your experience you’ll cover between 65% and 85%
of the total distance in your longest ride. T H R E S H O L D R I D E S
The golden zone of training for endurance sports anaerobic threshold training should form a key element to your
weekly training mix. Ridden at a ‘controlled discomfort’, of about 80–85% of your MHR, you’ll only be capable of
uttering 4 words or so to your training partners. Tempo/threshold rides or intervals improve your lactate threshold,
your riding efficiency and aerobic capacity (your body’s ability to utilise oxygen). All this helps to improve your
endurance performance. The Football to Amsterdam Challenge has long stretches of flat, straight roads - getting
plenty of ‘threshold’ effort rides in will allow you to lock into a good strong pace in the ride itself on these sections.
H I L L S
The Yorkshire-Amsterdam ride includes some challenging hills on day 1 and whilst day 2 and the whole of the
London-Amsteram route is flat this doesn’t mean you won’t benefit form including hills into your training. Hill training
provides fantastic aerobic fitness and strength gains. Different types of hill session develop your fitness in different
ways. Including lots of climbs at ‘threshold’ effort in rides of 90+ minutes can be an excellent way of developing your
anaerobic threshold. Shorter, harder, faster climbing between 45 seconds and 5 minutes can be used to develop
power and strength - the training plans will give you an overview of what to include. It is possible you will experience
riding in head and cross winds during the ride. Whilst you can’t always replcate this in training including hills into
your longer rides can be a good way of approximating this increase in effort.
S P I N C L A S S E S
R E C O V E R Y , E A S Y O R S T E A D Y R I D E S
These sessions are your opportunity to practise your bike handling as well as getting in an additional aerobic
session. Recovery rides are your easiest efforts of the week (alongside warming up and cool down). The goal is to
work at 5-6/10 and finish with your body feeling better than when you started. Generally easy rides or efforts around
interval sessions should be 6-7/10 in terms of effort, focusing on technique, consistency and remaining able to fully
communicate. Carrying out some of this riding before breakfast helps to teach your body to metabolise stored fats
as an energy source - very important for long races and sportives.
Spin classes can be a useful addition to your training. Keep in mind that most (other than some very road cycling
specific classes) will be aiming to work you hard between threshold and interval effort - therefore a spin class will
have an effect on your fatigue levels. Consider replacing a hard ride if needed.
Intervals help to boost speed and involve riding timed efforts with a controlled recovery. The effort level is around
85–100% of MHR, depending on the duration of the event you are training for and the length and volume of intervals
used. Typical examples might be 10 x 2 minutes @ 9/10 effort with 60 secs recovery, 5 x 4 minutes of sustained
hard riding in a big gear with 90 secs recovery, or short bursts of between 20 and 40 secs at maximum intensity.
I N T E R V A L S
R E S T
To help your body cope with the workload, rest is going to be as important a part of your training schedule as the
cycling. Listen to your body and take heed of any warning signs. If you feel fatigued even before you’ve got on the
bike, find yourself thinking up excuses not to ride or start suffering a series of minor injuries; you probably need
more time off. Taking enough rest allows physical and mental recovery and gives your body the time to adapt to
your workload. Remember: on rest days, that is exactly what you should be doing!
C A D E N C E
Cadence refers to the speed at quickly you turn the pedals. It is important as it relates to the relative
biomechanics efficiency of your cycling action. Many cycle computers and GPS devices allow you
to monitor this. There is no golden rule for optimal cadence, its about finding a rhythm that works for
you, adapting to your fitness, your terrain and your experience. A reasonable place to start though
would be to aim for 90 revolutions per minute.
P O W E R
G E A R I N G
Your gears are your friends. Use them to control your cadence and power by being aware of your
terrain, fatigue level, environmental conditions etc to control your effort. Try to maintain a relatively
consistent cadence using your gears rather than fluctuation through big surges of effort.
O T H E R C O N S I D E R A T I O N S
Around the actual rides themselves here are a few other considerations to throw into the training
mix;
Power, measured in watts, is a crucial factor in cycling performance. Simply put power is the force
you apply through your pedals x by your cadence. It’s not necessary for most cyclists to buy
themselves an expensive power meter to monitor this but it is worth being aware of. In a long ride,
just as in a marathon, if you go off too hard, applying too much force and muscular conduction you
are liable to see your muscles fatigue too quickly and burn too much stored glycogen. Practice
riding in a big gear in training occasionally, at a lower cadence to feel that burn!
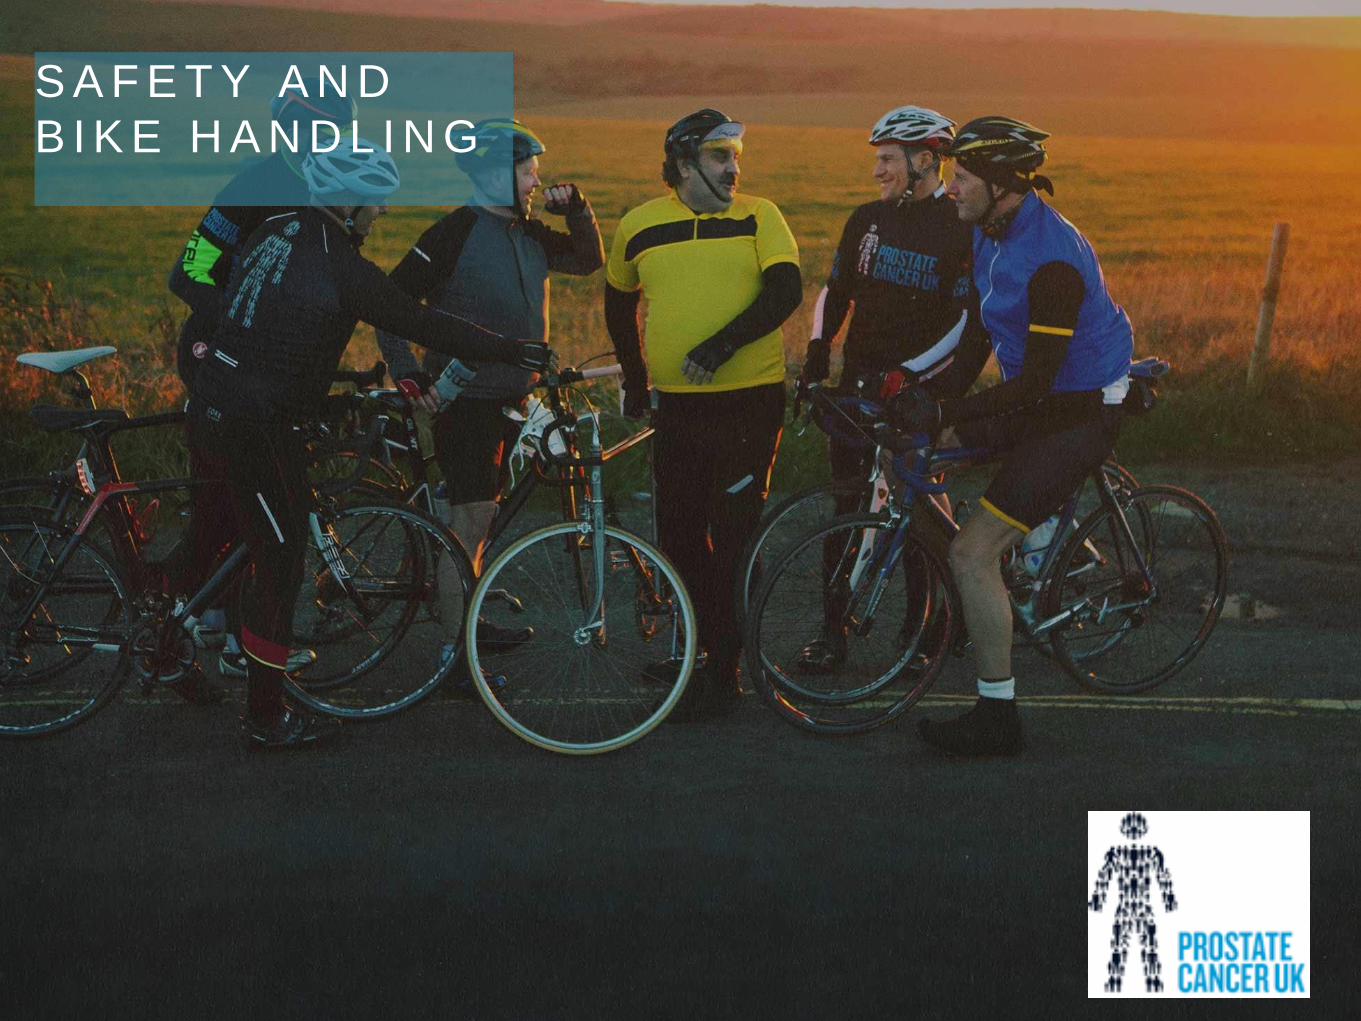
S A F E T Y A N D
B I K E H A N D L I N G
B A S I C S O F B I K E H A N D I N G
Starting;
1. Engage both brakes.
2. Position one pedal in the 2 o’clock power position.
3. Put all your weight on this pedal; then release the brakes.
4. Stand up on the pedal and simultaneously ease yourself back onto the saddle.
5. Keep your grip on the handlebars firm but relaxed so you will not wobble.
6. As you gain speed, shift to higher gears.
Stopping;
1. Free one foot if you use toe clips, straps or clipless pedals.
2. To slow, apply both brakes evenly. Your front brake actually accounts for 70% of your braking power.
3. As you slow, shift down a few gears to make it easier to start up again.
4. Just as you come to a complete stop, turn the handlebars slightly away from the side you step down. The bike will
lean slightly to this side, making it easier to step down.
5. Step down off the seat and put one foot down. You will find that one side is more natural than the other. Putting your
foot down sends a clear message that you are stopping to other cyclists and motorists.
6. As you are stopped, reposition your pedal into the power position so that you are ready to start again.
When in motion;
1. Use small adjustments of the handlebars and leaning your bike to correct your line.
2. Look up and ahead rather than staring at your front tire.
3. Do not weave in and out of parked cars as you ride along. Hold your line and ride with authority - DO NOT UNDERTAKE.
Scan and signal;
1. Relax or remove the hand on the side you are scanning to avoid turning the handlebars as you scan.
2. Slightly tighten your grip on the other hand for balance and control.
3. Briefly turn your head to look over your shoulder to scan behind you. You may need to do this a few times.
4. Let others know what you plan to do before you do it. Hand signals are a vital communication tool. Always signal your
intent when turning, changing lanes and changing position within the lane. Make your signals definite, bold and clear.
G R O U P R I D I N G
Appreciate that riding in a group or close to other cyclists brings unique dangers but also advantages. We would strongly suggest
looking at joining a local cycling club or group to experience good group riding etiquette and safety. Here are just some of the
basics;
* Stay consistent and smooth - try to avoid making dramatic movements or sudden changes in course.
* Communicate clearly both verbally and visually with hand signals.
* Look forward and maintain your focus on what is coming up, without getting too distracted by other riders around you.
* If you notice a danger such as a pothole or a car, communicate this to others in the group.
* Share the lead - don’t just sit in draft for miles on end - take your turn at the front of the group.
D E S C E N D I N G
F I N A L T I P S
* Consider joining British Cycling and getting insured.
* Make yourself seen with high visibility clothing.
* Always wear a helmet and gloves.
* Practise using cleated shoes before you head onto the open roads.
* Consider a local cycle proficiency group or training.
* Read the highway code and understand your position related to pedestrians, other cyclists and motorists.
* Never cycle through red lights or on pavements where their use is solely for pedestrians.
* Avoid undertaking and always be aware that lorries, buses and many cars have a huge blind spot when turning, particularly
turning left - many cyclist deaths occur because of this.
* Be sensible about the speed at which you can remain safe and in control.
* Avoid sharp braking - stay smooth, relaxed and anticipate what is ahead.
* Keep your centre of mass low on the bike and don’t lean your body into the corners - the bike leans a little, not you.
* Be aware cars will come at you around corners. NEVER sacrifice safety for speed - take blind corners slowly.
* Slow in advance of corners, not half way around.
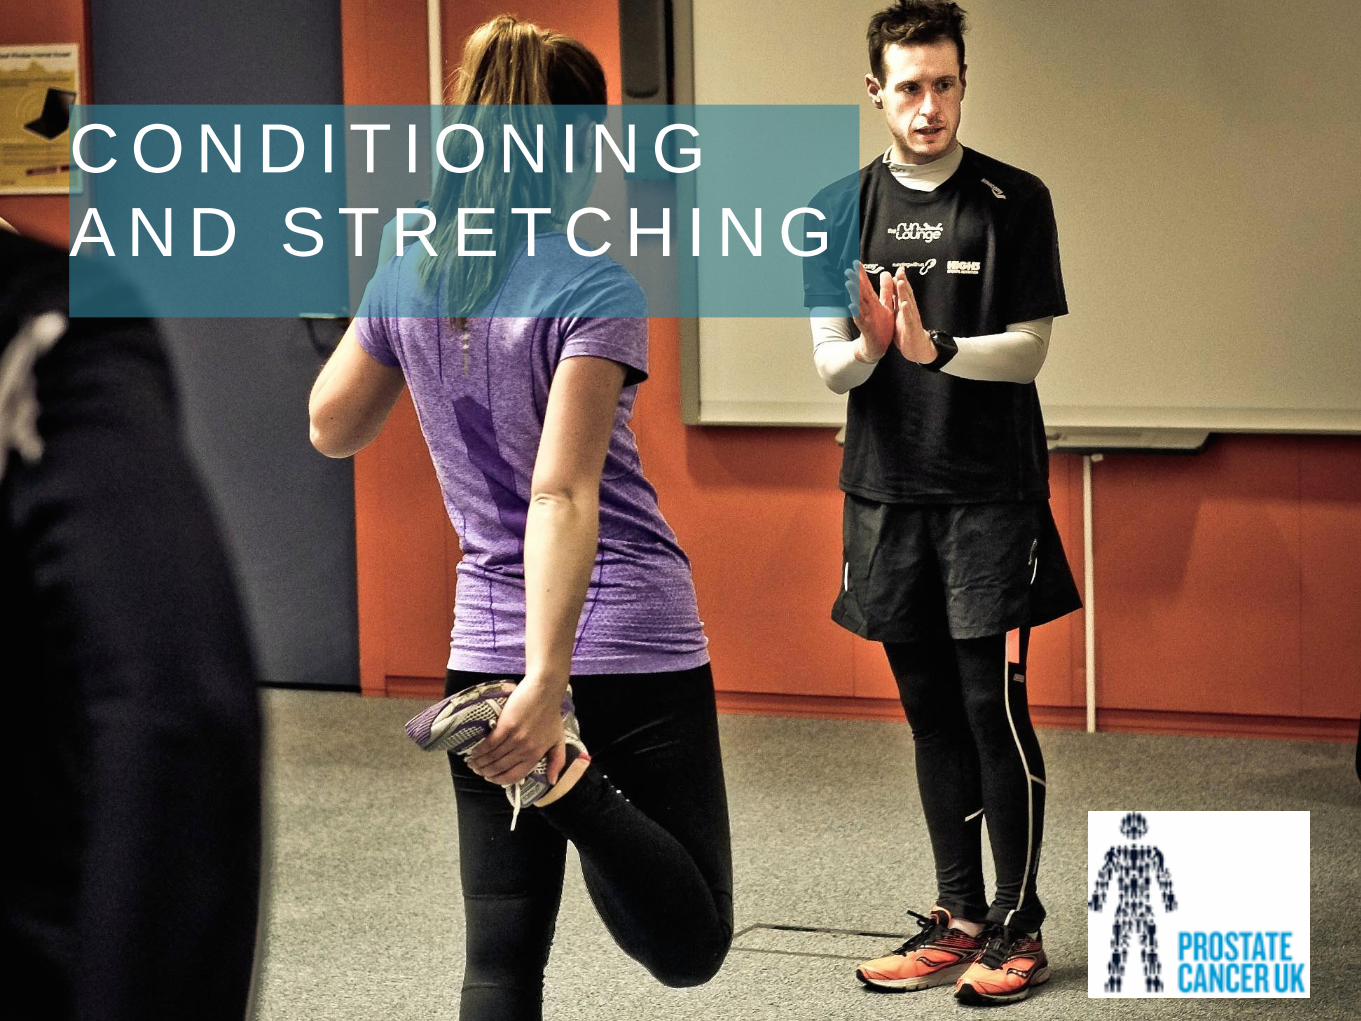
C O N D I T I O N I N G
A N D S T R E T C H I N G
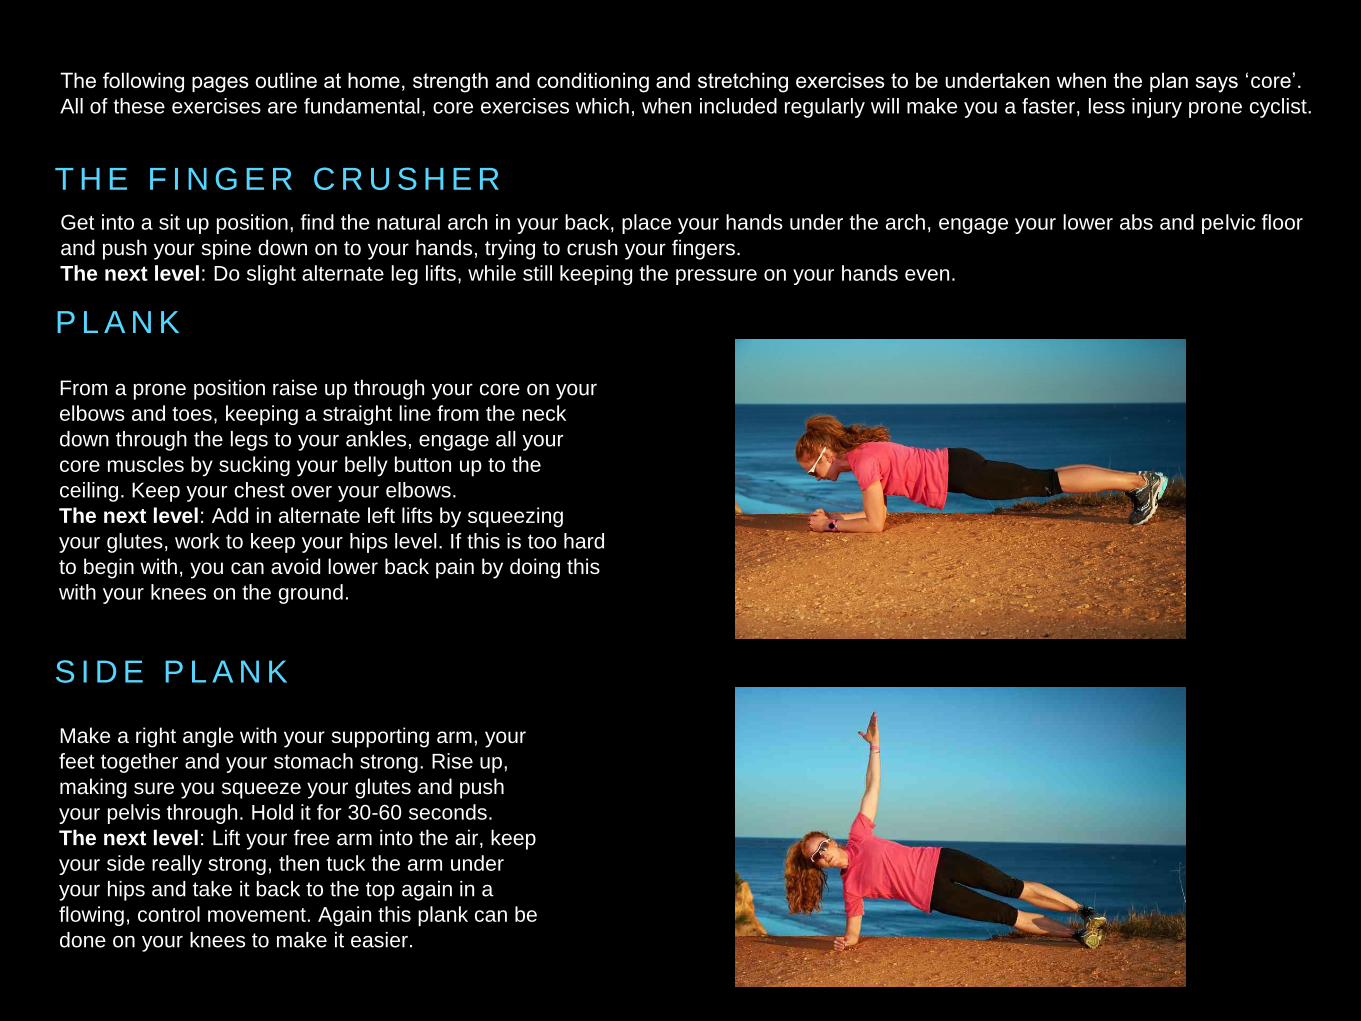
P L A N K
T H E F I N G E R C R U S H E R
Get into a sit up position, find the natural arch in your back, place your hands under the arch, engage your lower abs and pelvic floor
and push your spine down on to your hands, trying to crush your fingers.
The next level: Do slight alternate leg lifts, while still keeping the pressure on your hands even.
S I D E P L A N K
From a prone position raise up through your core on your
elbows and toes, keeping a straight line from the neck
down through the legs to your ankles, engage all your
core muscles by sucking your belly button up to the
ceiling. Keep your chest over your elbows.
The next level: Add in alternate left lifts by squeezing
your glutes, work to keep your hips level. If this is too hard
to begin with, you can avoid lower back pain by doing this
with your knees on the ground.
Make a right angle with your supporting arm, your
feet together and your stomach strong. Rise up,
making sure you squeeze your glutes and push
your pelvis through. Hold it for 30-60 seconds.
The next level: Lift your free arm into the air, keep
your side really strong, then tuck the arm under
your hips and take it back to the top again in a
flowing, control movement. Again this plank can be
done on your knees to make it easier.
The following pages outline at home, strength and conditioning and stretching exercises to be undertaken when the plan says ‘core’.
All of these exercises are fundamental, core exercises which, when included regularly will make you a faster, less injury prone cyclist.

T H E B R I D G E
P R E S S U P
From the sit up position, keep your stomach strong,
engage your glutes and roll up into a bridge. Keep your
hips high by squeezing your glute muscles. Keep you hips
high and level throughout.
The next level: Make this tougher by crossing your
arms over your chest or including alternate leg lifts
ensuring your hips remain in the same position.
Press-ups are a key exercise to improve stability
and posture on the bike. Place your hands
shoulder and a half’s width apart, get into the plank
position, lower your chest to the floor and push
back up, not just pushing through your chest and
arms, but also
through your core.
The next level: Narrow your hands in a diamond
shape under your chest before carrying out the
same movement. If this is too hard carry out the
same movement on your knees.
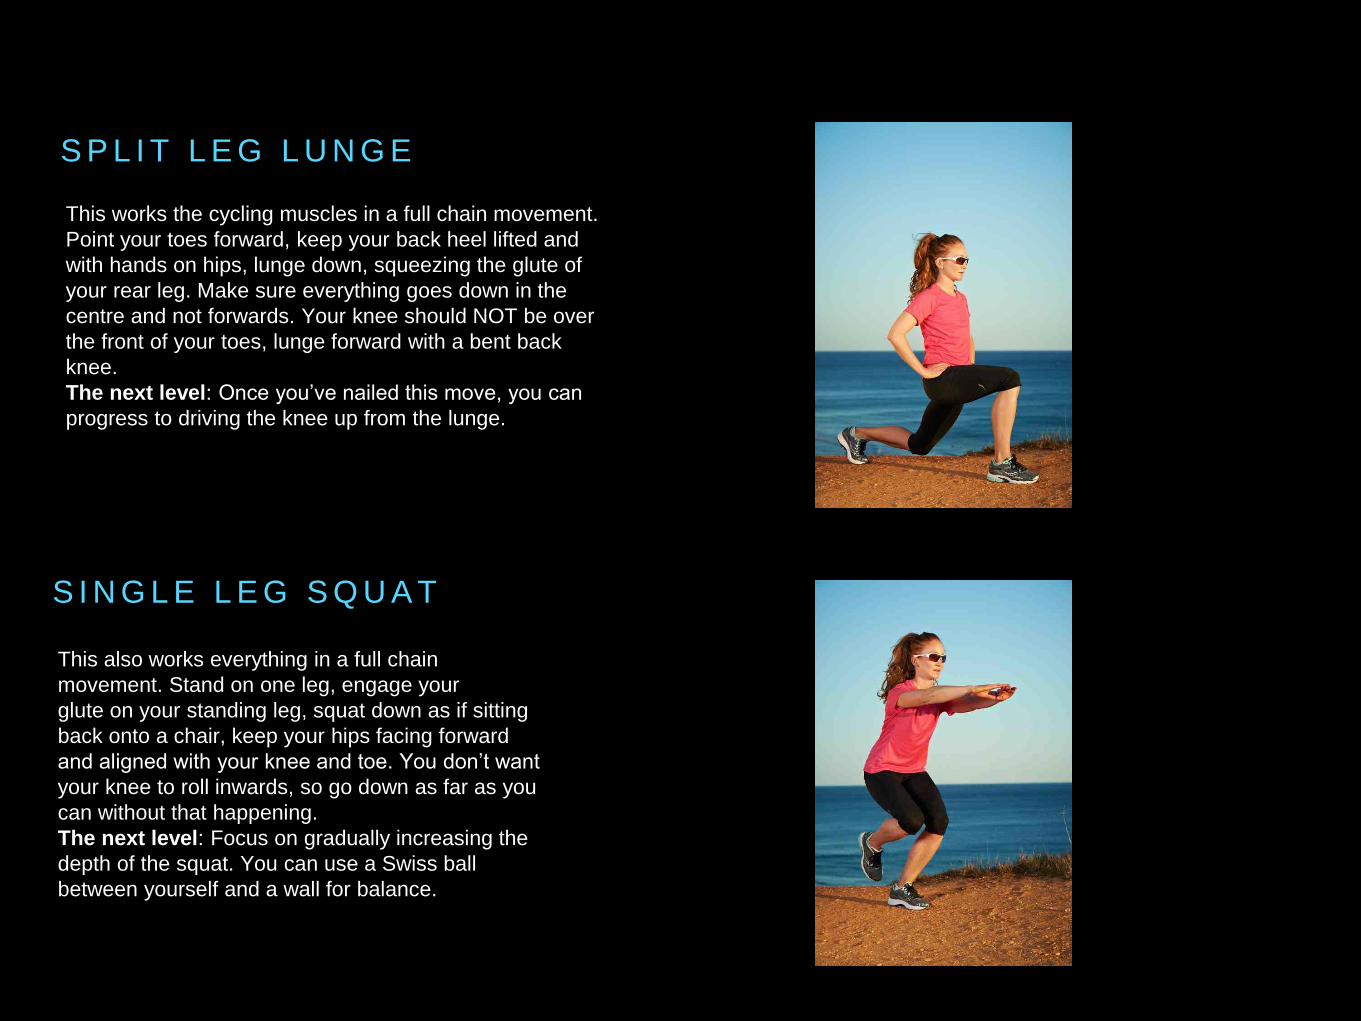
S P L I T L E G L U N G E
S I N G L E L E G S Q U A T
This works the cycling muscles in a full chain movement.
Point your toes forward, keep your back heel lifted and
with hands on hips, lunge down, squeezing the glute of
your rear leg. Make sure everything goes down in the
centre and not forwards. Your knee should NOT be over
the front of your toes, lunge forward with a bent back
knee.
The next level: Once you’ve nailed this move, you can
progress to driving the knee up from the lunge.
This also works everything in a full chain
movement. Stand on one leg, engage your
glute on your standing leg, squat down as if sitting
back onto a chair, keep your hips facing forward
and aligned with your knee and toe. You don’t want
your knee to roll inwards, so go down as far as you
can without that happening.
The next level: Focus on gradually increasing the
depth of the squat. You can use a Swiss ball
between yourself and a wall for balance.
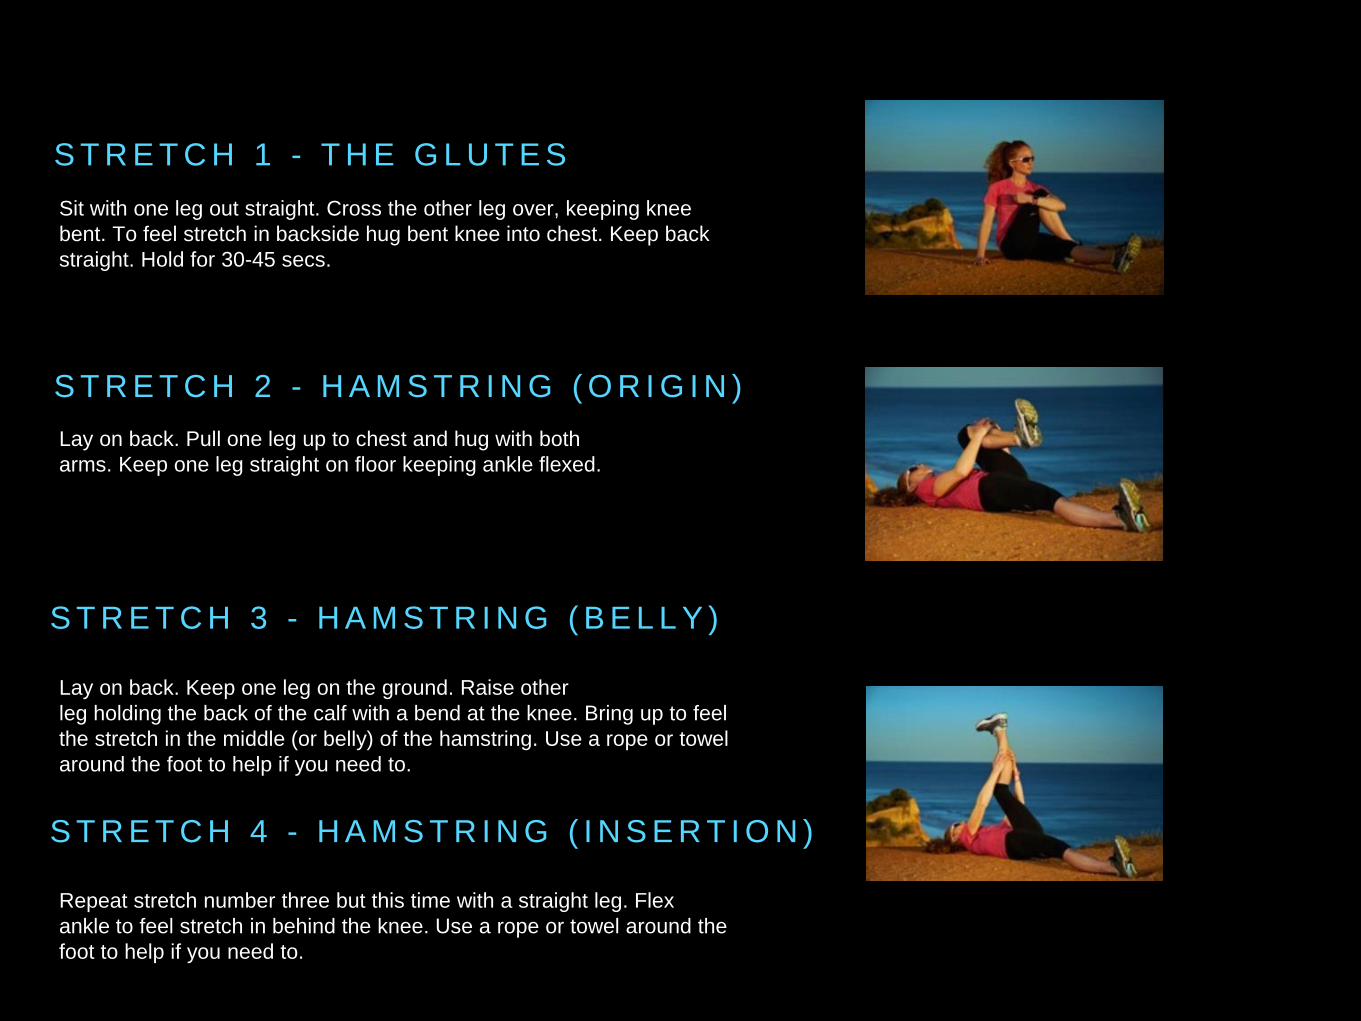
S T R E T C H 1 - T H E G L U T E S
S T R E T C H 2 - H A M S T R I N G ( O R I G I N )
Sit with one leg out straight. Cross the other leg over, keeping knee
bent. To feel stretch in backside hug bent knee into chest. Keep back
straight. Hold for 30-45 secs.
Lay on back. Pull one leg up to chest and hug with both
arms. Keep one leg straight on floor keeping ankle flexed.
S T R E T C H 3 - H A M S T R I N G ( B E L L Y )
Lay on back. Keep one leg on the ground. Raise other
leg holding the back of the calf with a bend at the knee. Bring up to feel
the stretch in the middle (or belly) of the hamstring. Use a rope or towel
around the foot to help if you need to.
S T R E T C H 4 - H A M S T R I N G ( I N S E R T I O N )
Repeat stretch number three but this time with a straight leg. Flex
ankle to feel stretch in behind the knee. Use a rope or towel around the
foot to help if you need to.
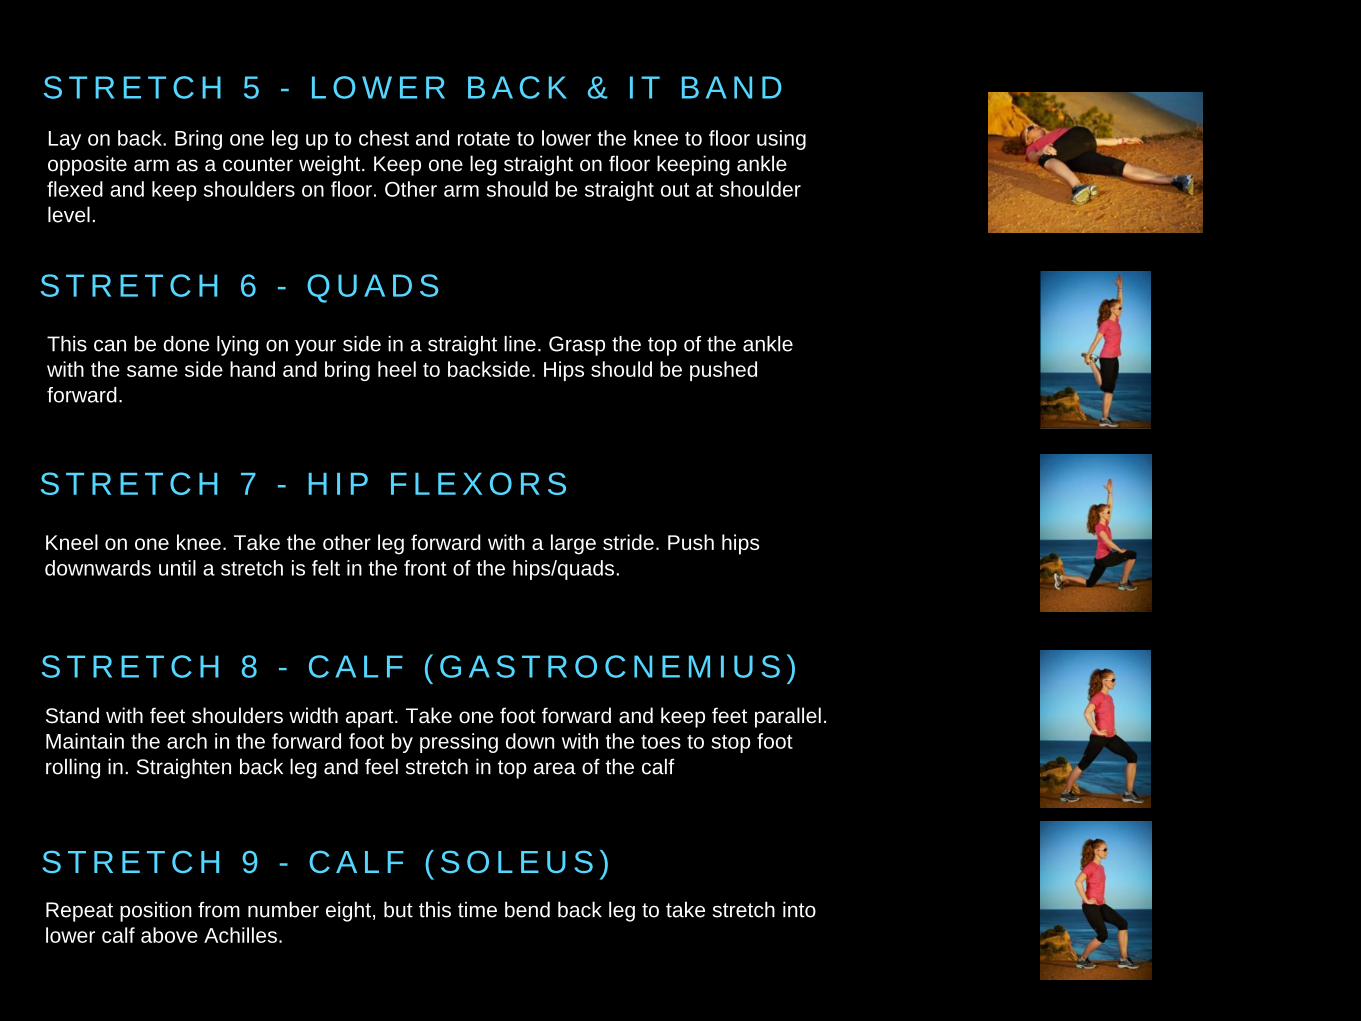
S T R E T C H 5 - L O W E R B A C K & I T B A N D
S T R E T C H 6 - Q U A D S
Lay on back. Bring one leg up to chest and rotate to lower the knee to floor using
opposite arm as a counter weight. Keep one leg straight on floor keeping ankle
flexed and keep shoulders on floor. Other arm should be straight out at shoulder
level.
This can be done lying on your side in a straight line. Grasp the top of the ankle
with the same side hand and bring heel to backside. Hips should be pushed
forward.
S T R E T C H 7 - H I P F L E X O R S
Kneel on one knee. Take the other leg forward with a large stride. Push hips
downwards until a stretch is felt in the front of the hips/quads.
S T R E T C H 8 - C A L F ( G A S T R O C N E M I U S )
Stand with feet shoulders width apart. Take one foot forward and keep feet parallel.
Maintain the arch in the forward foot by pressing down with the toes to stop foot
rolling in. Straighten back leg and feel stretch in top area of the calf
S T R E T C H 9 - C A L F ( S O L E U S )
Repeat position from number eight, but this time bend back leg to take stretch into
lower calf above Achilles.
S T R E T C H I N G - T I P S
* Don’t forget to stretch both legs and repeat holding stretch for 40-45 seconds
each time.
* Never stretch cold muscles. The main benefit for endurance cyclists is
stretching after the ride.
* Instead of stretching pre ride, give yourself time to gently ease into your pace
or carry out some active, but light strength exercises such as static lunges.
* A good stretching routine will help to restore the muscle balance and allow you
to be more flexible.
* Do not underestimate the value of cross training, massage and stretching in
your schedule.
* Consider regular sports massage and yoga as well to help you stage on top of
a gradual build up in tightness…don’t wait until injury occurs!
C R O S S T R A I N I N G
W H A T I S C R O S S - T R A I N I N G ?
There are 2 types of cross-training or X training we all need to know about;
1) One is your conditioning work, which focuses on strengthening muscles but won’t make you
aerobically fitter. Examples are Pilates, core conditioning, weights and floor work such as the
plank or press-ups (see the page on strength and conditioning for more). All these areas should
play an important role in your training at least once a week in order for you to channel the
power of your core through your pedals.
2) The other is aerobic conditioning such as swimming, running, aqua jogging (yes running in
the pool with a buoyancy aid!), rowing and using a cross trainer. This exercises the heart and
muscles and will definitely keep you aerobically fit.
Your heart doesn’t know the difference between going for a ride or cross training it just works
as hard as you ask it to. You can really boost your fitness towards any cycling distance with
clever cross training.
C R O S S T R A I N I N G T I P S
Recreate your training plan on the
treadmill, cross-trainer, rower or in the
pool swimming or Aqua Jogging if you feel
exceptionally sore in the lower limbs after
hard days.
If the plan says 45 minutes recovery ride
this can be easily recreated on the kit
listed here. So can your threshold rides
and interval work. Remember the key is to
train to effort, and don’t worry about miles
or pace.
If you’re injured firstly consult a doctor or a
physiotherapist. If they say you are able,
still follow your training plan but use cross
train instead. Don’t lose that hard-earned
fitness - keep going! If you can see a
sports physio or injury expert they will also
offer treatment and training advice.
Ensure that the cross training is also pain
free.
Certain types of cross training are better
suited to certain sessions from your plan.
Don’t, for example, try to replicate your 4-
5 hour ride as a run! Instead XT for up to 3
hours mixing swimming, running and gym
work. Running, aqua-jogging and cross
trainer can be great for replicating
threshold sessions and the rower great for
high intensity strength and Vo2 max
intervals.
Try our core conditioning exercises earlier
in this pack once or twice a week for 10
-15 minutes holding and repeating each
position several times. These can all be
completed at home after a ride and
you don’t need to belong to a gym or
spend hours there!
Try not to ‘aimlessly’ cross train. Attack
your cross training sessions with the same
focus and commitment as you would your
rides and you’ll start to see the value of
these sessions. Consider gym classes or
outdoor exercise classes but be aware of
their relevance to cycling. The key above
all else is aerobic development and
muscular endurance. There are loads of
great classes out there, olympic lifting for
example, which will get you fit…but not
necessarily cycling fit. Pick you classes
wisely…and yes…spin classes can be
great! Ensure you are still fresh for your
main cycling sessions though.
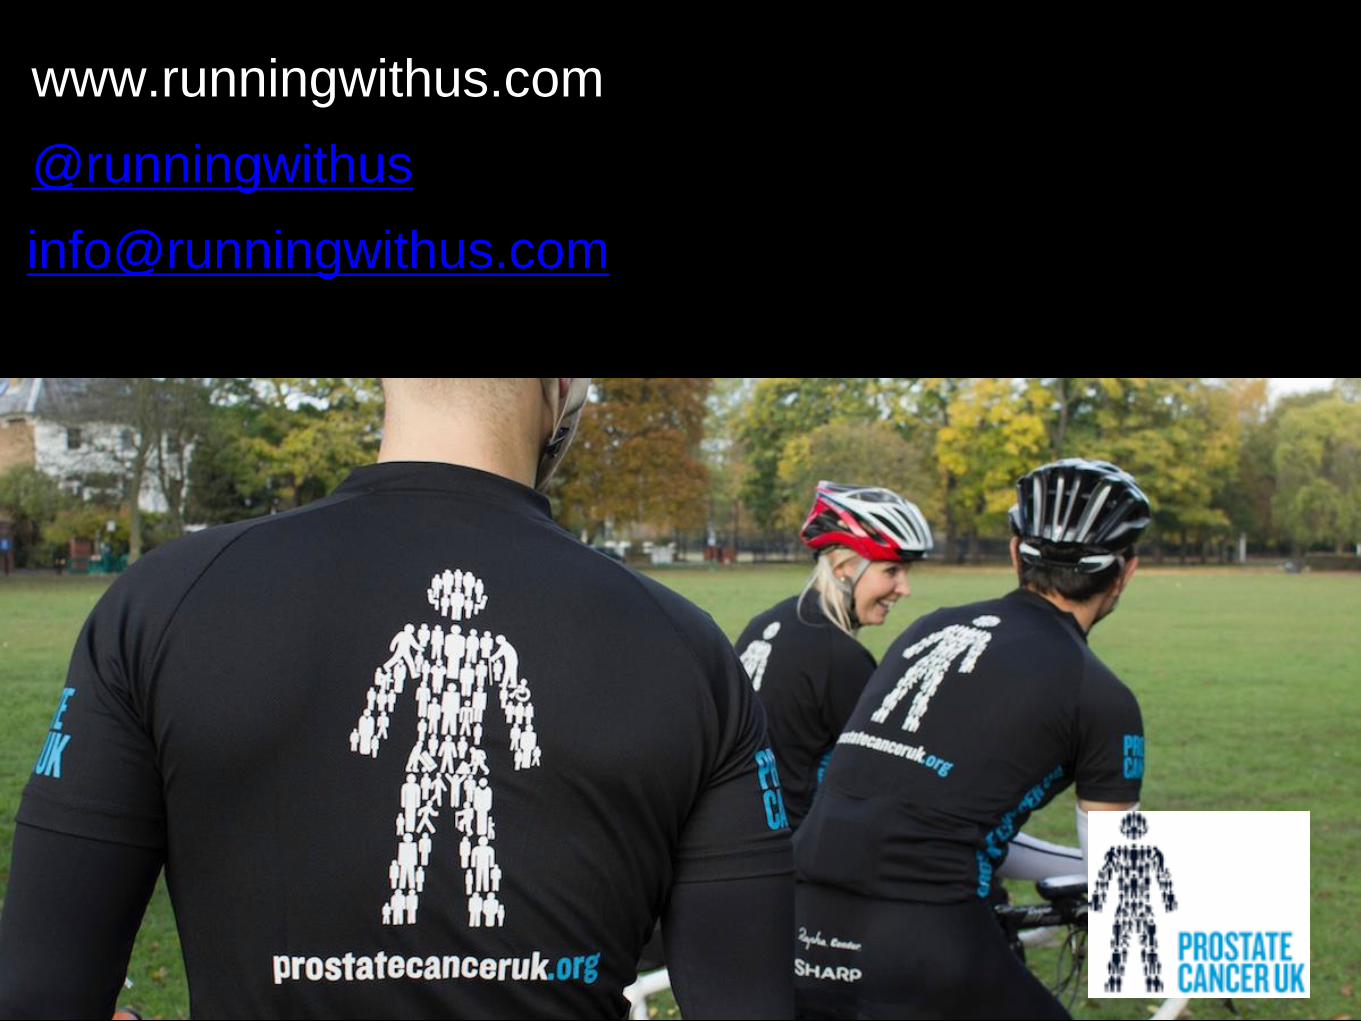
www.runningwithus.com
@runningwithus
Recommended